I tried making a tablet-like device by attaching the Raspberry Pi 5 to the original touch panel 'Raspberry Pi Touch Display 2'

'
Raspberry Pi Touch Display 2 – Raspberry Pi
https://www.raspberrypi.com/products/touch-display-2/
Touch Display 2 - Raspberry Pi Documentation
https://www.raspberrypi.com/documentation/accessories/touch-display-2.html
·table of contents
◆1: Checking the appearance of the Raspberry Pi Touch Display 2
◆2: Attach a Raspberry Pi 5 to a Raspberry Pi Touch Display 2
◆3: Check the usability
◆1: Checking the appearance of the Raspberry Pi Touch Display 2
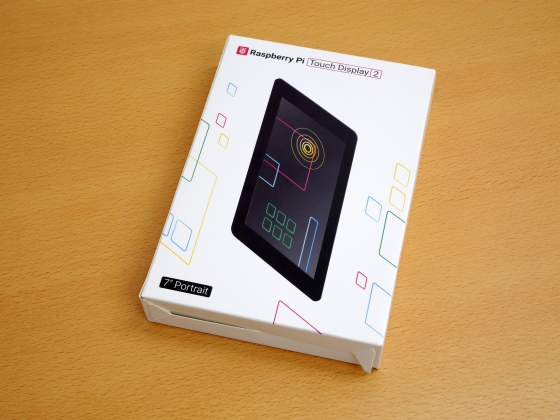
The Raspberry Pi Touch Display 2 package looks like this.
In addition to the Raspberry Pi Touch Display 2 itself, the box contained two types of data cables, a power cable, and screws.
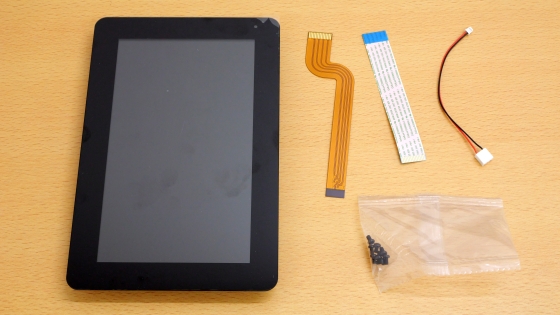
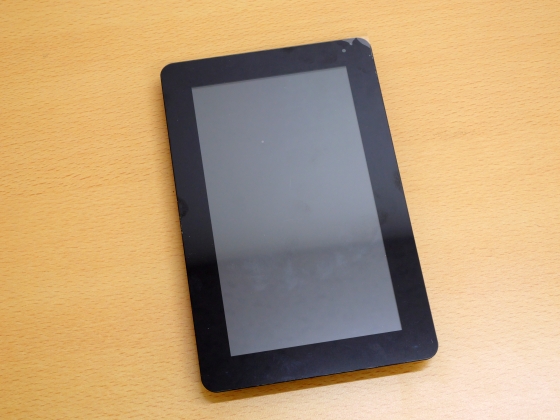
The Raspberry Pi Touch Display 2 has a resolution of 720 x 1280 pixels and the display area dimensions are 88mm x 155mm.
The bezel width on the long side is approximately 16mm.
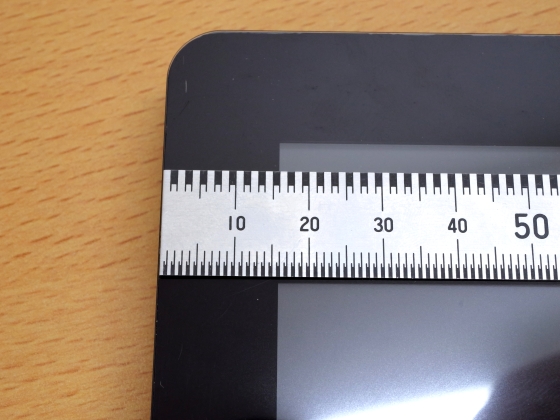
The short side bezel was approximately 17mm.
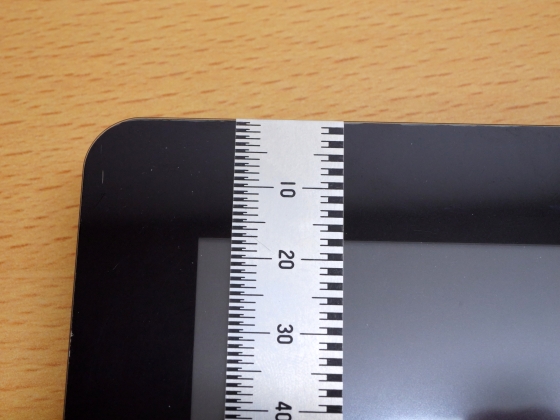
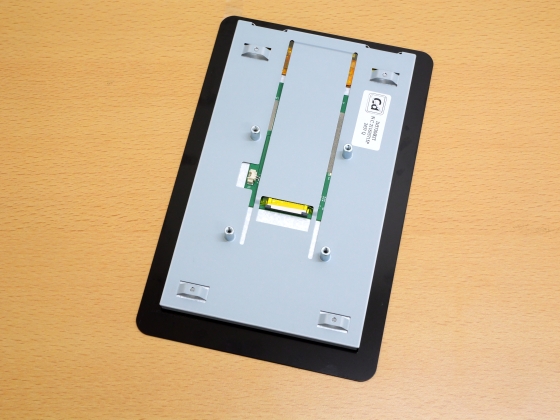
The back has a connector and screw holes for connecting to the Raspberry Pi series.
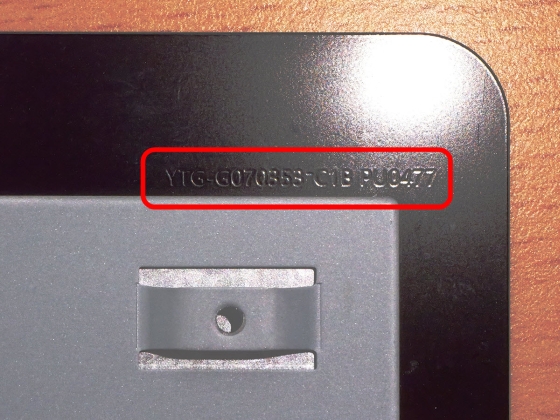
Also, the display part was marked 'YTG-G070853-C1B PU0477'.
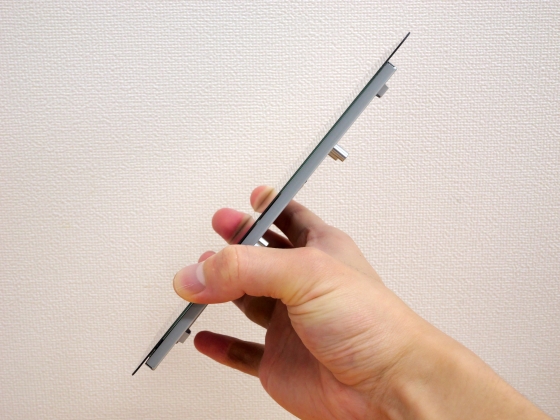
The display part is quite thin.
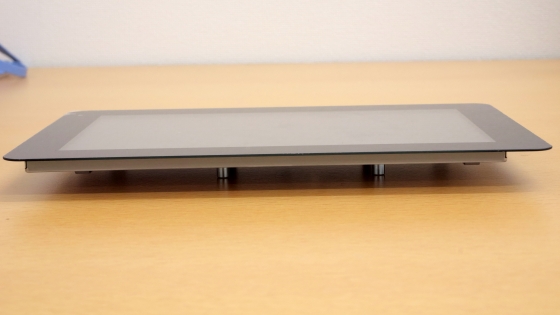
This is what it looks like from the side. The display part is made of a hard material so it won't bend even though it's thin.
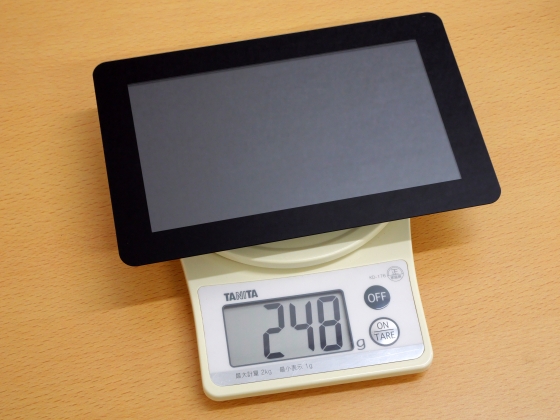
The actual weight was 248g.
◆2: Attaching a Raspberry Pi 5 to a Raspberry Pi Touch Display 2
The Raspberry Pi Touch Display 2 is compatible with all models from Raspberry Pi 1B+ onwards, except for the Raspberry Pi Zero series. This time we will install it on a Raspberry Pi 5.
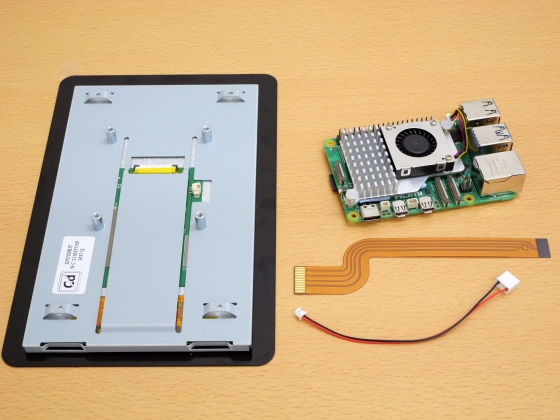
First, insert the data cable into the back of the Raspberry Pi Touch Display 2.
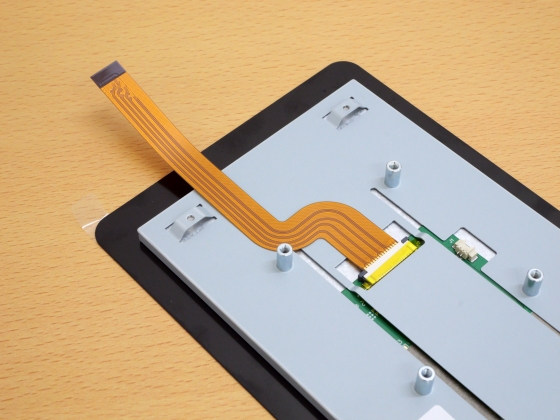
Next, insert the cable into the connector enclosed in the red frame on the Raspberry Pi 5.
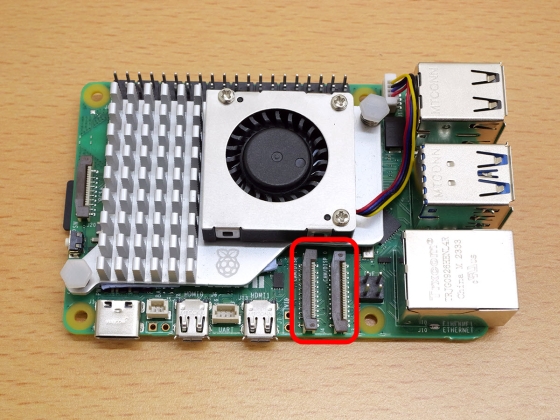
When you insert the cable, it looks like this. The connector tabs are made of plastic and are quite fragile, so you need to work carefully.
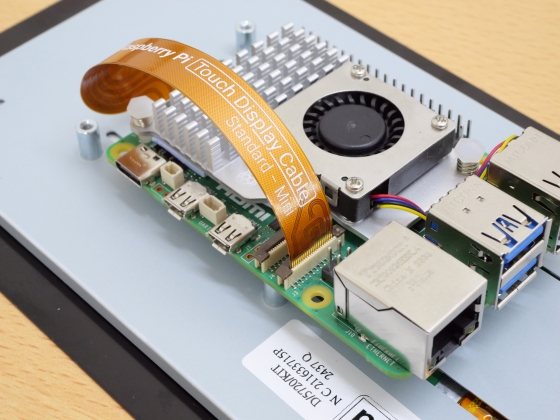
Next, connect the power cable to the Raspberry Pi Touch Display 2.
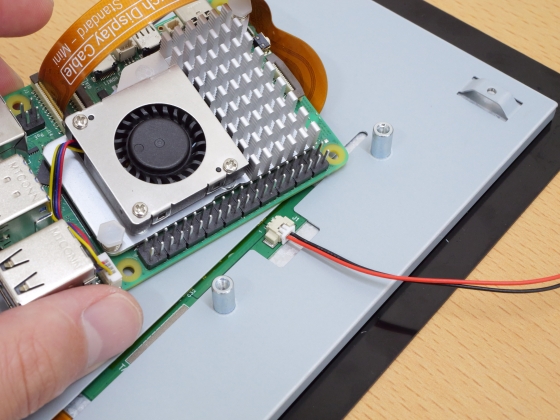
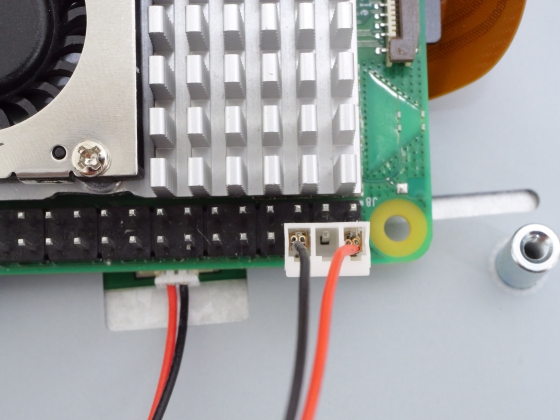
Next, connect the power cable to the GPIO pin of the Raspberry Pi 5. Connect the red wire to pin 2 and the black wire to pin 6.
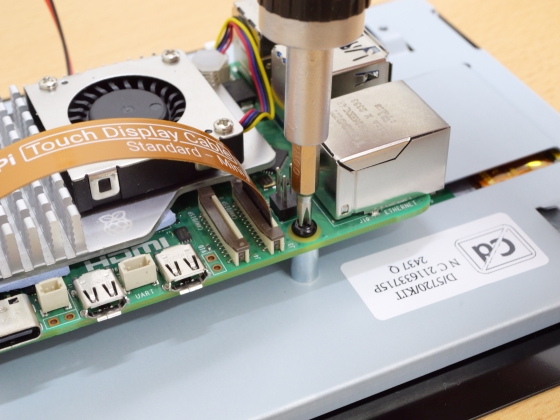
Finally, secure it with screws to complete the installation.
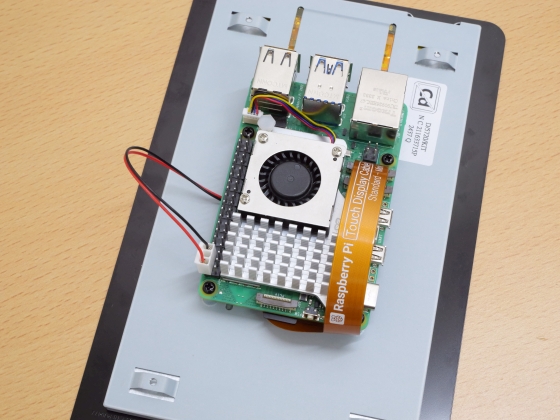
The appearance of the Raspberry Pi Touch Display 2 with the Raspberry Pi 5 attached is like this.
◆3: Check the usability
·boot
Connect the Raspberry Pi 5 to power.
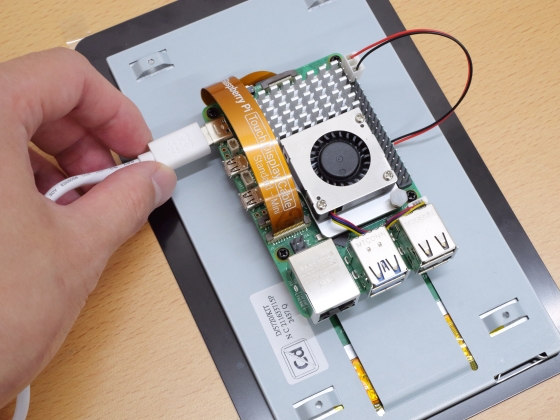
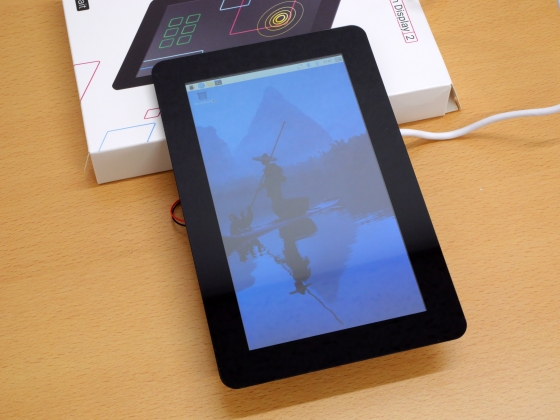
It started up without any problems and the display lit up. The drivers for the Raspberry Pi Touch Display 2 are installed as standard in the Raspberry Pi OS, so you can operate it by touch without any settings.
・Touch operation
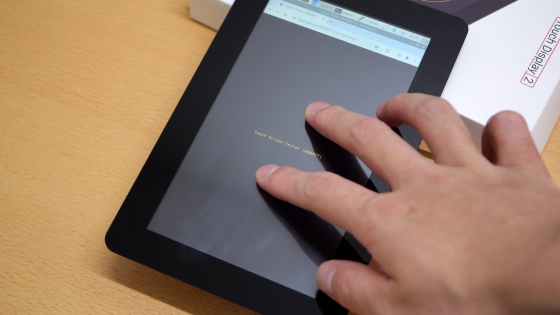
Below is a video recorded using a browser and displaying images on the Raspberry Pi Touch Display 2. The UI is not optimized for touch operation, so there are problems such as 'you can't scroll by swiping up and down' and 'the buttons are small,' but the response to touch operations is smooth.
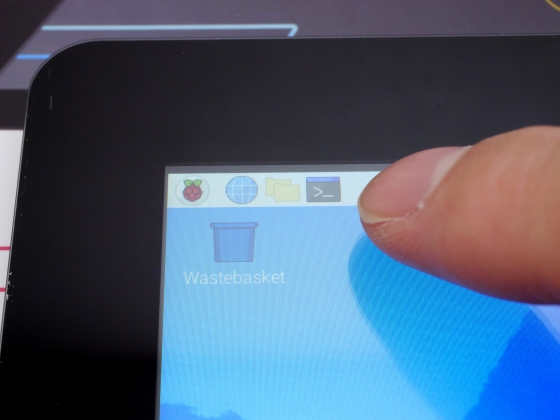
The touch response itself is smooth, but because there is a distance between the display surface and the touch surface, the touch position tends to be off unless you look at it from the front.
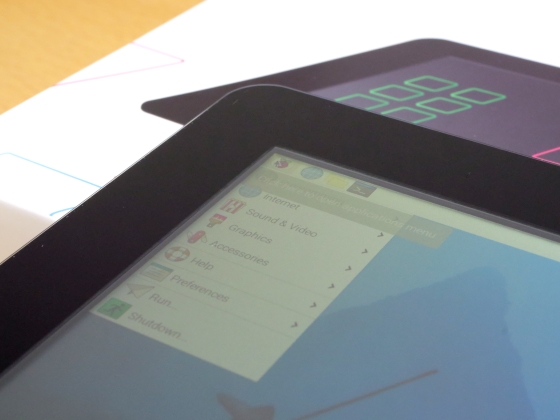
The Raspberry Pi Touch Display 2 supports five-finger multi-touch. However, at the time of writing, there was no response when I tried it on
- On-screen keyboard
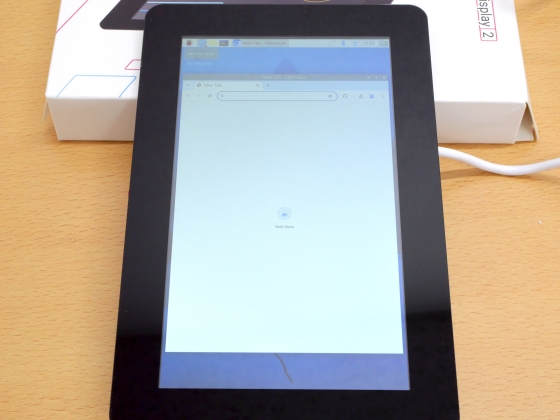
When you need to enter text, the on-screen keyboard will automatically appear at the bottom of the screen. Try launching 'Terminal.'
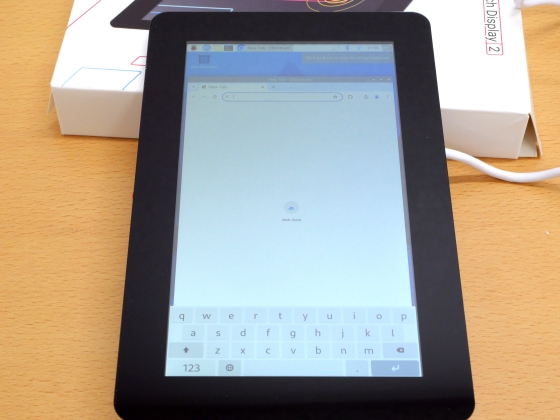
An on-screen keyboard was displayed at the bottom of the screen.
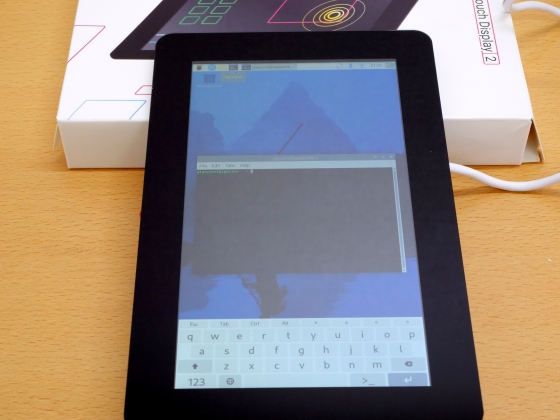
There are some apps where the on-screen keyboard does not start automatically. For example, the on-screen keyboard starts automatically in 'Terminal' and 'Firefox', but not in 'Chromium'.
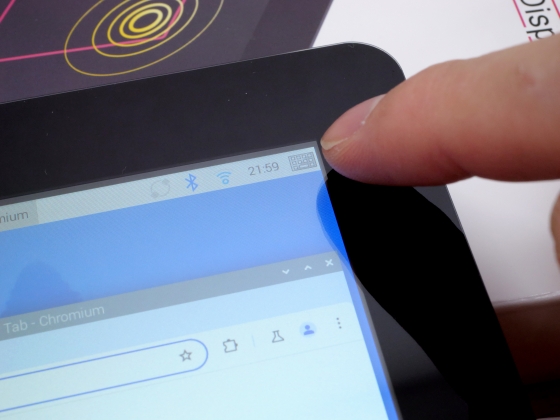
To manually launch the on-screen keyboard, simply tap the keyboard button in the top right corner of the screen.
This will display the on-screen keyboard at the bottom of the screen.
- Change display settings
Display-related settings can be changed in 'Screen Configuration' in the 'Preferences' category in the Start menu.
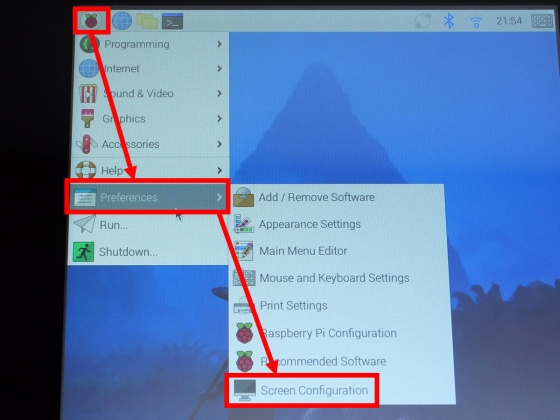
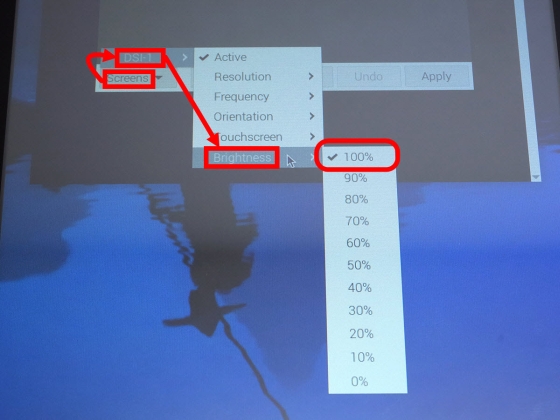
For example, to adjust the screen brightness, tap 'Screens' → 'DSI-1' → 'Brightness'. However, the Raspberry Pi Touch Display 2 was quite dark even at 100% brightness.
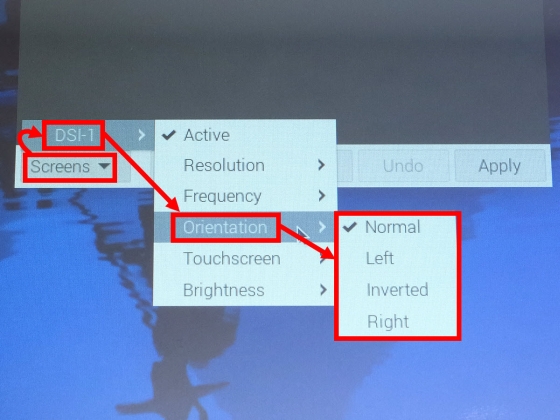
You can change the screen orientation by tapping 'Screens' → 'DSI-1' → 'Orientation.'
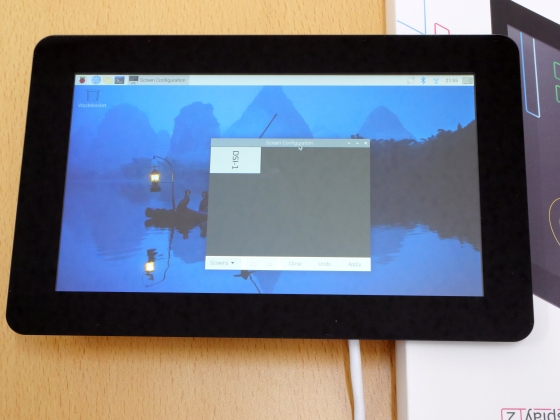
When you turn the screen sideways it looks like this.
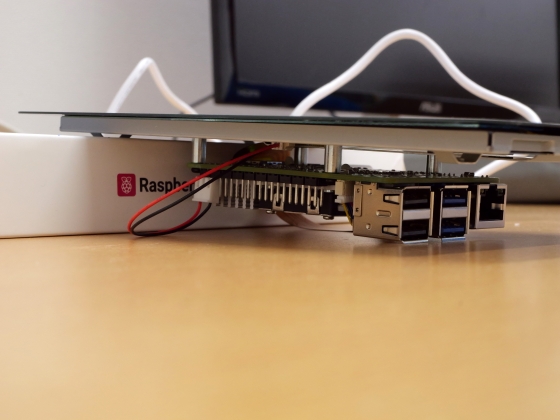
It's better to prepare a case
If you attach a Raspberry Pi series to the back of the Raspberry Pi Touch Display 2, the top of the Raspberry Pi will touch the desk when you place it on top of the desk. If you attach a fan to the Raspberry Pi, the fan and data cable will likely come into contact, so we recommend that you prepare a case for the Raspberry Pi or the Raspberry Pi Touch Display 2.
GIGAZINE is currently publishing a large number of review articles that try out various things with the Raspberry Pi 5. The summary of each article is summarized at the following link.
GIGAZINE review summary of Raspberry Pi 5 There are plenty of reviews that can solve questions such as 'What power supply is needed?', 'Is a cooler necessary?', 'OS installation procedure?', 'How to connect M.2 SSD?', and 'Details of RTC function' - GIGAZINE

Related Posts:


