Summary of steps to install and start the OS on 'Raspberry Pi Compute Module 5' which cannot boot from a microSD card

The
Compute Module hardware - Raspberry Pi Documentation
https://www.raspberrypi.com/documentation/computers/compute-module.html
The Raspberry Pi Compute Module 5 is a computer with the same SoC as the Raspberry Pi 5 , and you can combine it with your favorite I/O board to create your own device. For more information on the Raspberry Pi Compute Module 5 and the official I/O board, see the following article. This time, we have summarized the steps to actually install the OS and start it up.
I received the development kit for the industrial Raspberry Pi 'Raspberry Pi Compute Module 5', so I took a closer look at the contents and the installed chips. Review - GIGAZINE

·table of contents
◆1: Prepare the necessary items
◆2: Install the necessary software on your PC
◆3: Preparing the Raspberry Pi Compute Module 5
◆4: Write the OS to the Raspberry Pi Compute Module 5
◆1: Prepare the necessary items
To install the OS on the Raspberry Pi Compute Module 5, you will need a Raspberry Pi Compute Module 5 connected to an I/O board, a PC for writing the OS, and a USB connection cable to connect the Raspberry Pi Compute Module 5 to the PC. This time, we will use the official I/O board and a Windows PC. The Raspberry Pi Compute Module 5 is being used after filing a notification under the ' Special System for Experiments Using Uncertified Equipment .'

◆2: Install the necessary software on your PC
First, install the software that recognizes the Raspberry Pi Compute Module 5 as a writable storage on your PC. First, click the link below to access the distribution page.
Compute Module hardware - Raspberry Pi Documentation
https://www.raspberrypi.com/documentation/computers/compute-module.html#set-up-the-host-device

Click 'Windows' and then click 'Windows Installer.'

Once the installer has finished downloading, double-click it to run it.

When the installer starts, click 'Next'.

Read the terms carefully and click 'I Agree'.

When the selection screen for the components to be installed appears, click 'Next' without making any changes.

Click 'Install' without changing the installation destination.

Wait a few minutes for the installation to complete. A black screen will appear during the installation, but it will disappear automatically after a while.

When the installation is complete, click 'Next'.

Click Finish to close the installer.

In addition, 'Raspberry Pi Imager' is also required to install the OS. If you do not have Raspberry Pi Imager installed on your PC, please install it by referring to
3. Preparing the Raspberry Pi Compute Module 5
Next, disable the 'process of booting the OS from eMMC flash memory' so that you can write the OS to the Raspberry Pi Compute Module 5.
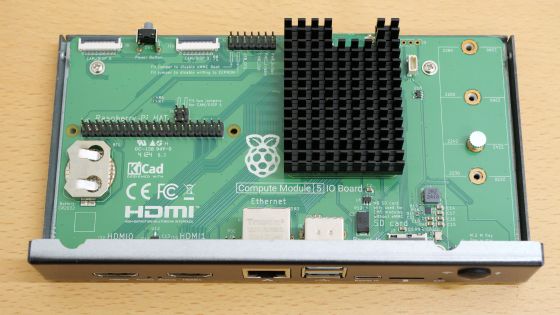
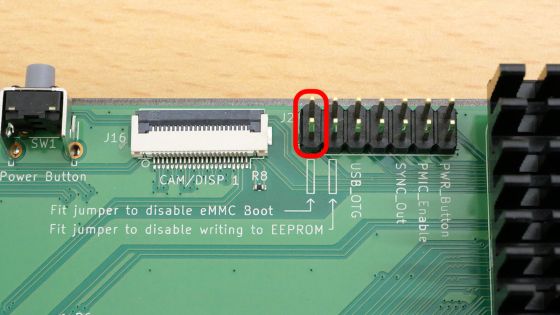
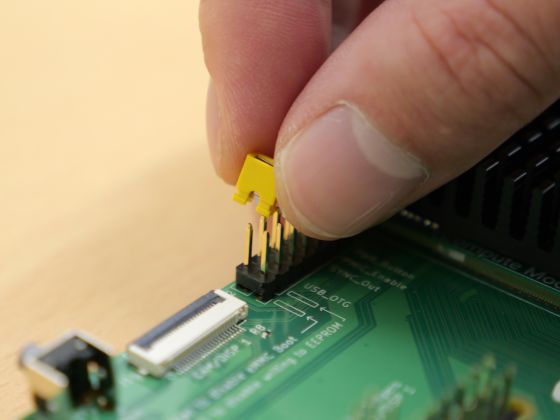
For the official I/O board, simply connect the two pins marked 'Fit jumper to disable eMMC Boot' on the left side of the Raspberry Pi Compute Module 5.
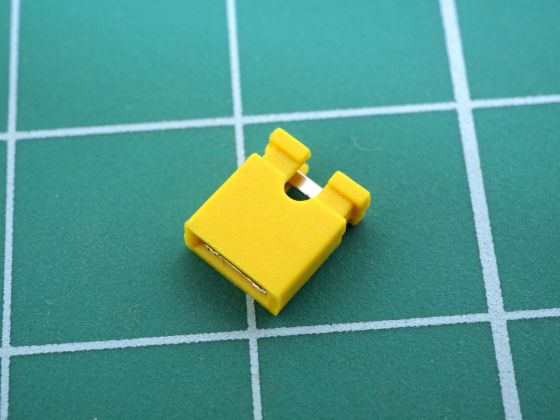
It is useful to have
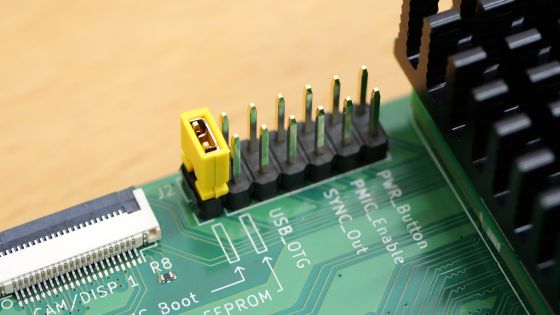
Once you put the jumper pins in like this, you're ready to go.
4. Write the OS to the Raspberry Pi Compute Module 5
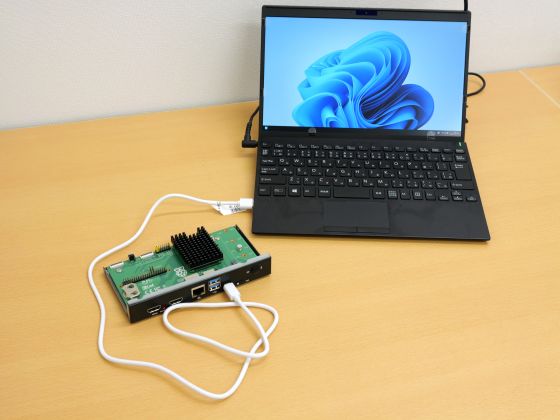
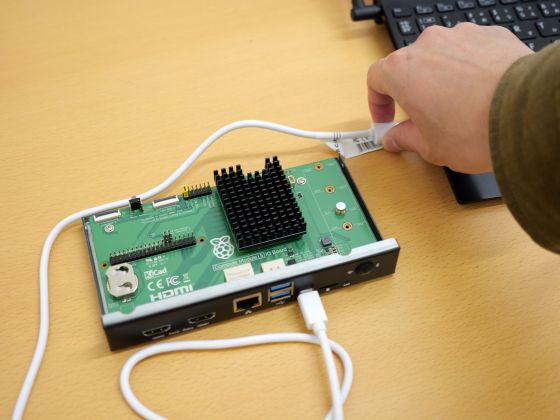
Once the preparations are complete, we can move on to writing the OS. First, connect the USB Type-C port on the I/O board to any USB port on your PC using a USB cable.
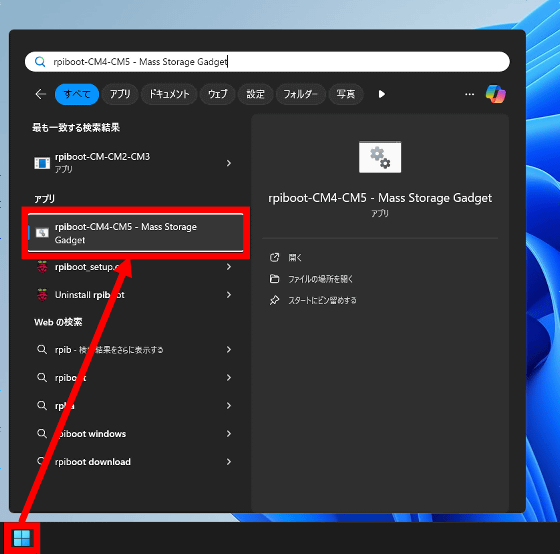
Next, search for 'rpiboot-CM4-CM5 - Mass Storage Gadget' from the start menu and launch it.
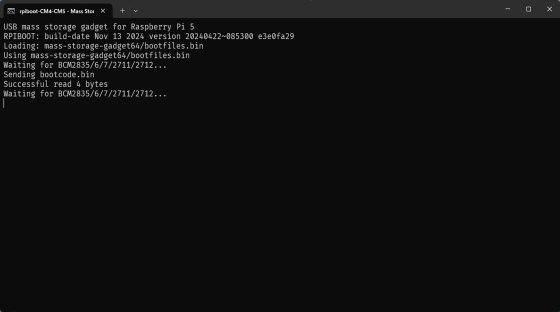
Once the command prompt opens, wait a moment.
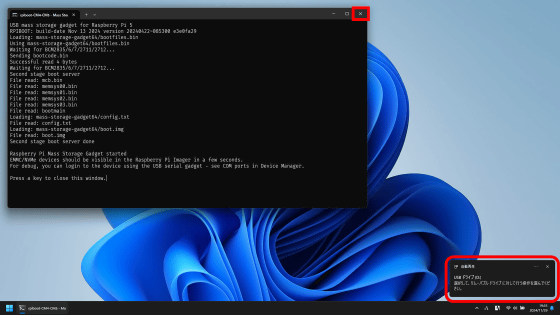
When you see the 'New storage connected notification', close the command prompt.
Next, launch “Raspberry Pi Imager”.
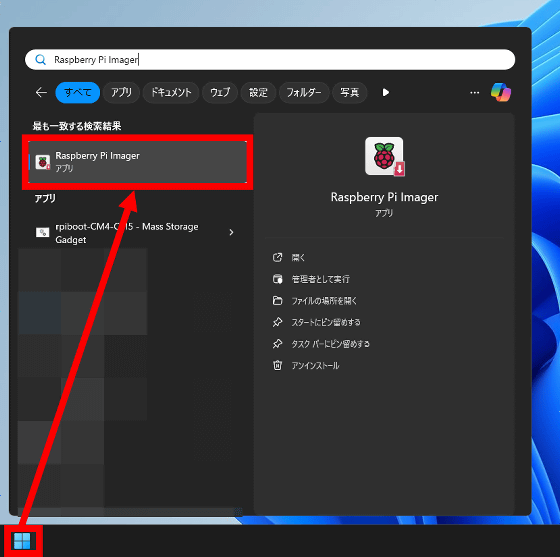
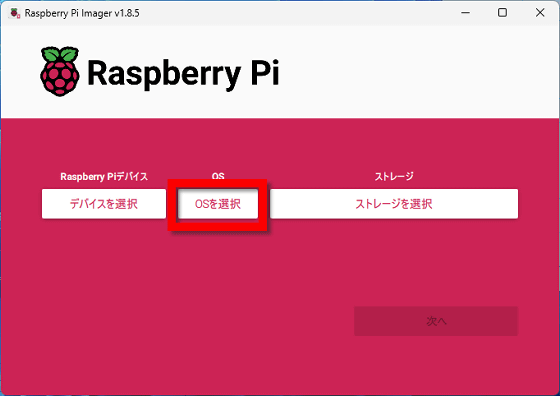
Click 'Select OS'.
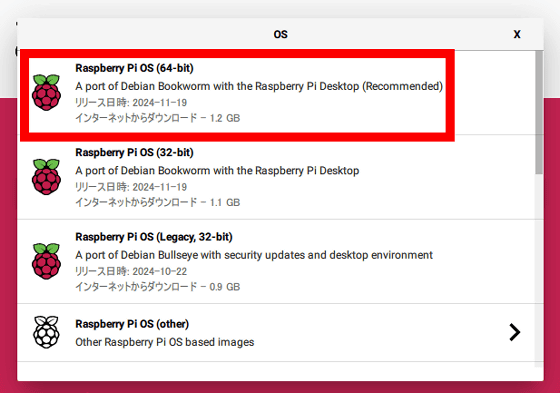
Click 'Raspberry Pi OS (64-bit)'.
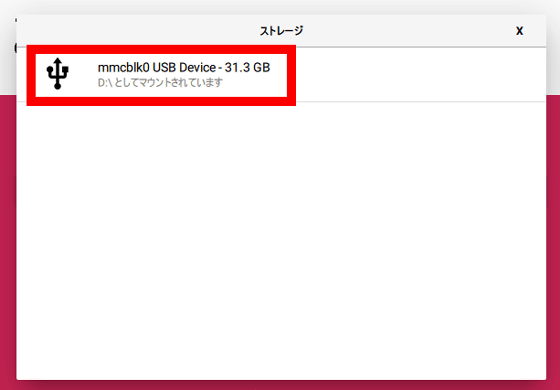
Click 'Select Storage'.
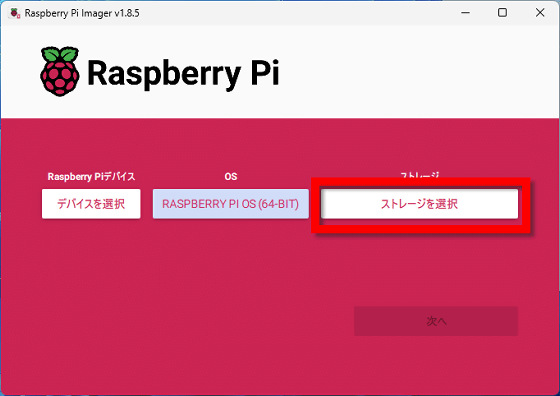
Select the storage device that was recognized in the previous step.
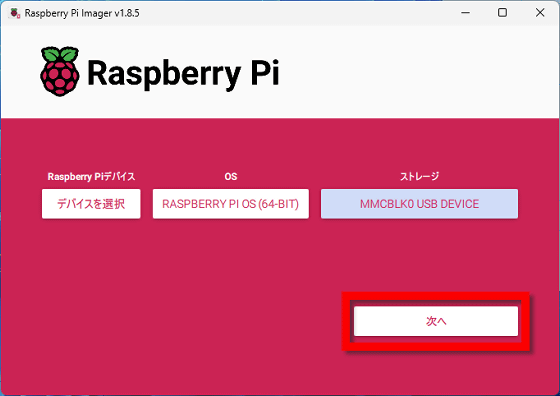
Click “Next”.
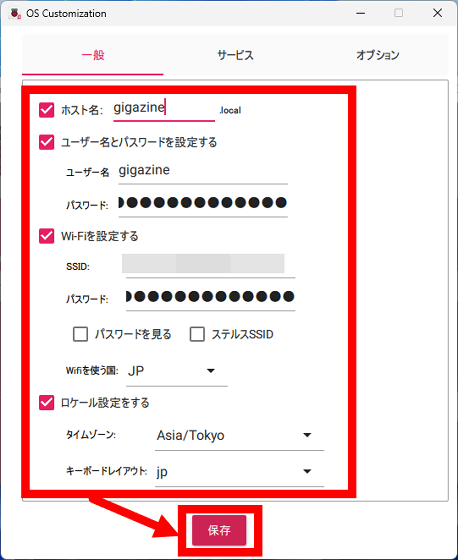
Click 'Edit settings.'

After setting the 'host name,' 'user name,' 'password,' 'Wi-Fi SSID and password,' and 'region,' click 'Save.'
Click “Yes”.

When the data deletion warning appears, click 'Yes'.

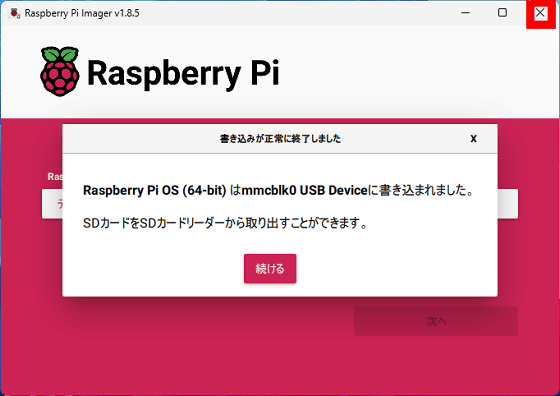
Wait a while until the writing is complete.
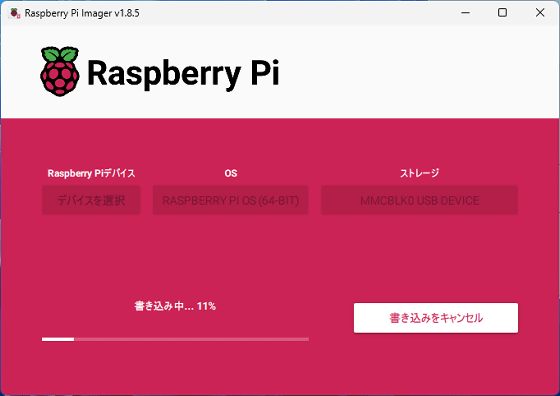
Once the OS writing is complete, you can close Raspberry Pi Imager.
Next, disconnect the Raspberry Pi Compute Module 5 from the PC.
Also remove the jumper pins.
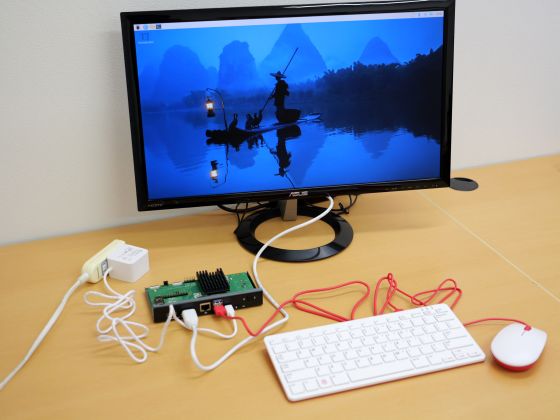
After that, simply connect the Raspberry Pi Compute Module 5 to a power source and display, and you can boot up and use the OS just like a regular Raspberry Pi.
Related Posts:


