Review of the high-performance gaming display 'AW2725QF' that can switch between FHD/360Hz and 4K/180Hz depending on the game and can also enlarge part of the screen

On September 12, 2024, Dell's gaming brand Alienware released the 4K-compatible 27-inch display ' AW2725QF '. It supports 'dual resolution' with FHD/360Hz high refresh rate mode and 4K/180Hz high graphics mode, and its feature is that you can switch the resolution according to the game. I was able to borrow such an AW2725QF from Dell, so I took a closer look at its functions.
Alienware 27 4K Dual Resolution Gaming Monitor - AW2725QF | Dell Japan
Alienware AW2725QF Monitor User's Guide - aw2725qf-monitor.pdf
(PDF file) https://dl.dell.com/content/manual10676330-alienware-aw2725qf-monitor-user-s-guide.pdf?language=en-us
This is the 'AW2725QF' package.

The contents include the display unit, stand base and stand axis, power cable, USB Type-A to USB Type-B cable, DisplayPort cable, HDMI cable, and various documents.

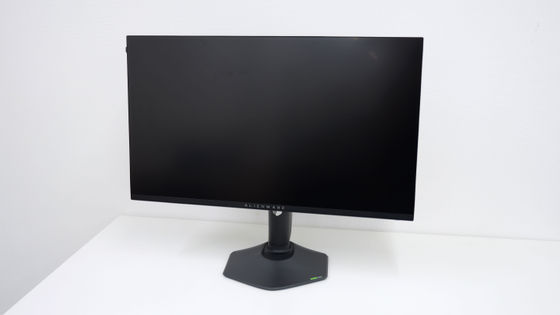
The display size is approximately 36 cm in height and 61 cm in width, and the screen size is 27 inches.
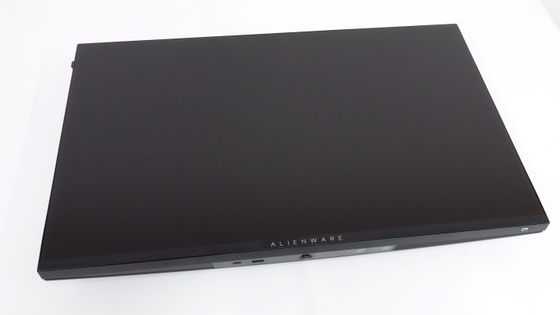
The left side looks like this.
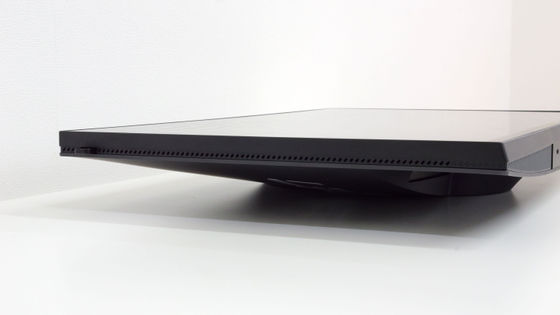
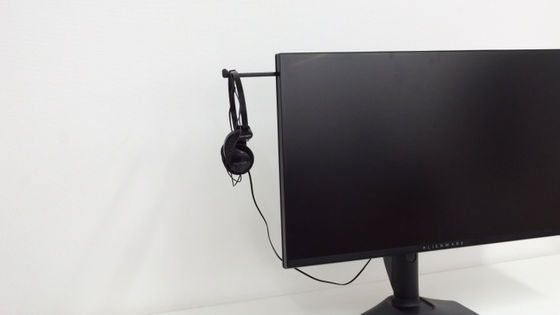
At the top of the left side is a headset hanger for hanging headphones, which can be pulled out.
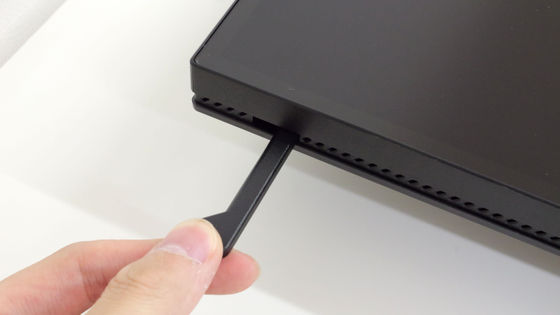
When fully extended, it is approximately 9cm long. The maximum load capacity is 400g.

There's nothing on the right side.
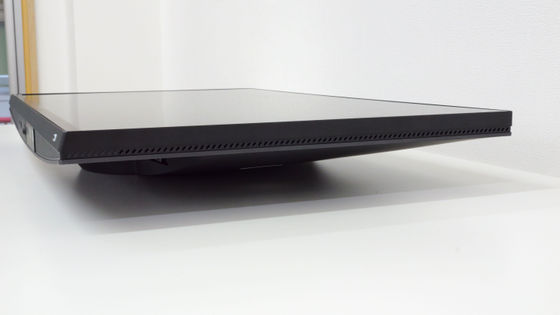
The top is also devoid of any buttons or ports.
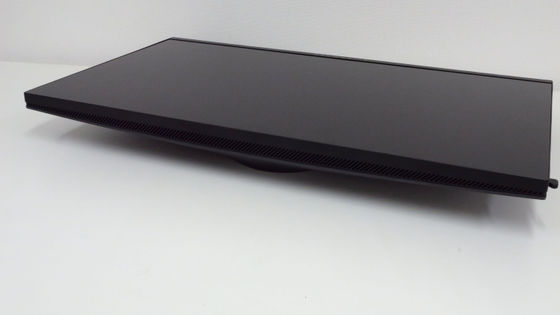
There are several ports on the bottom.
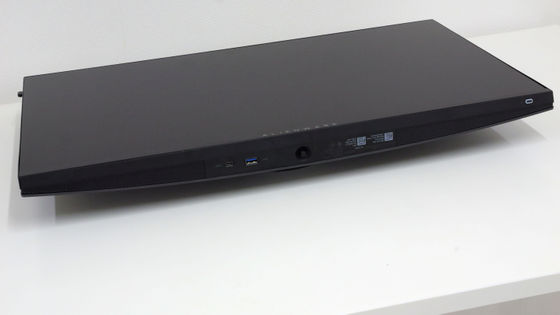
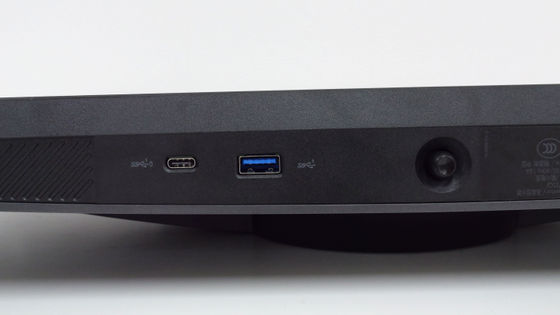
The ports on the left side of the bottom are, from the left, a USB Type-C port (USB 3.2 Gen1, downstream 5Gbps) and a USB Type-A port (USB 3.2 Gen1, downstream 5Gbps, USB Battery Charge Rev.1.2 compatible). To the right of the ports is a joystick.
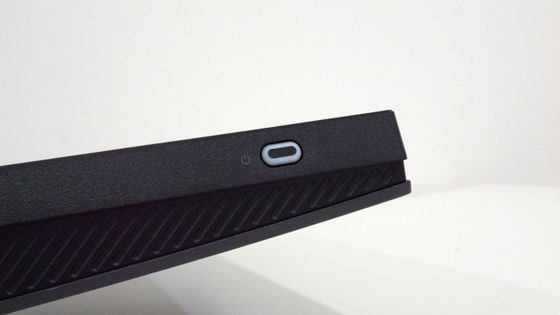
On the right is the power switch.
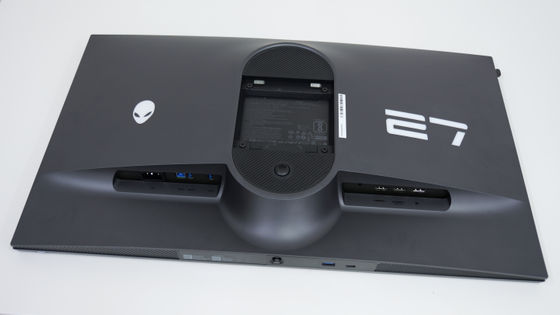
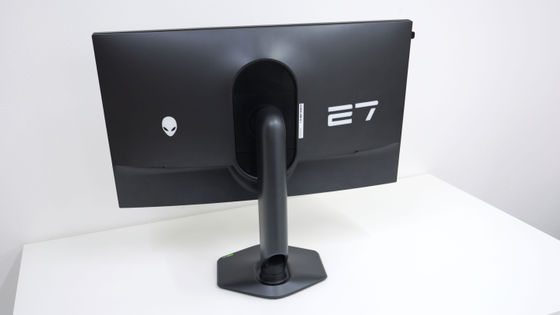
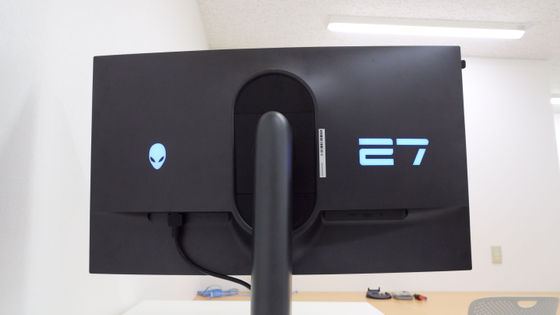
The back looks like this. There is an Alienware symbol, the alien mark, on the left center, and several ports are located at the bottom.
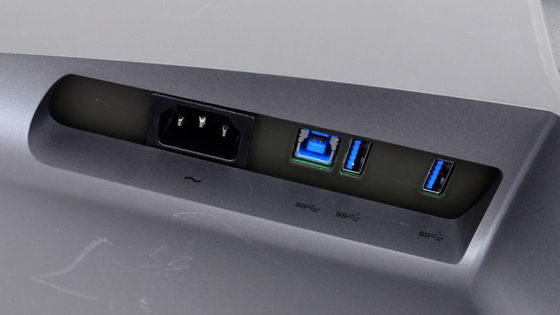
On the left side of the back (on the right side when viewed from the front) there is a power port, a USB Type-B port (USB 3.2 Gen1, upstream, 5Gbps), and two USB Type-A ports (USB 3.2 Gen1, downstream, 5Gbps).
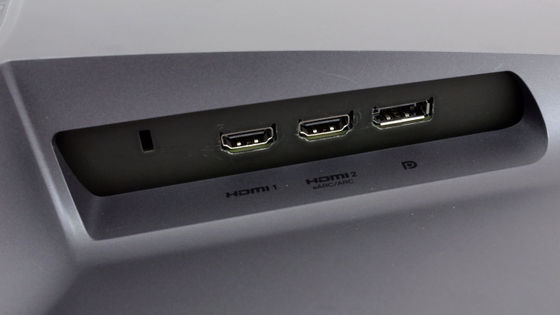
The right side of the back looks like this. The square hole on the far left is for attaching a separately sold string to physically lock the display. To the right of the hole are two HDMI ports (HDMI 2.1) and one DisplayPort (DisplayPort 1.4). All HDMI and DP ports support HDCP 1.4, HDCP 2.2, and HDR. Also, only the HDMI port on the right supports eARC/ARC.
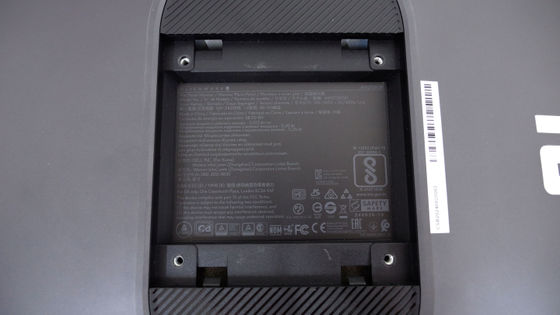
There is a socket in the center of the back for attaching the stand.
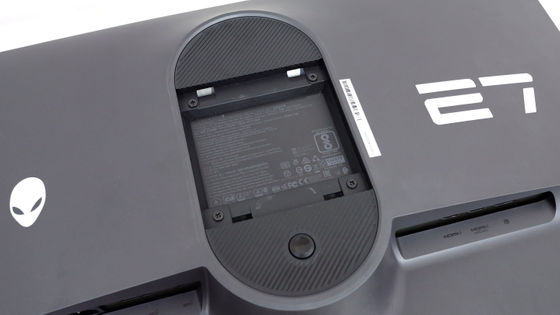
The included stand can be simply snapped into place, but there are also screw holes that comply with the VESA standard (100mm x 100mm), so you can also attach a display stand other than the one included.
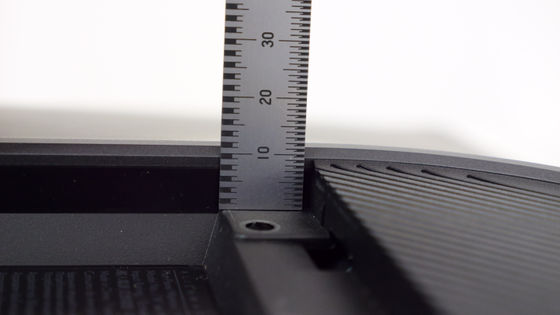
The socket is approximately 1cm deep.
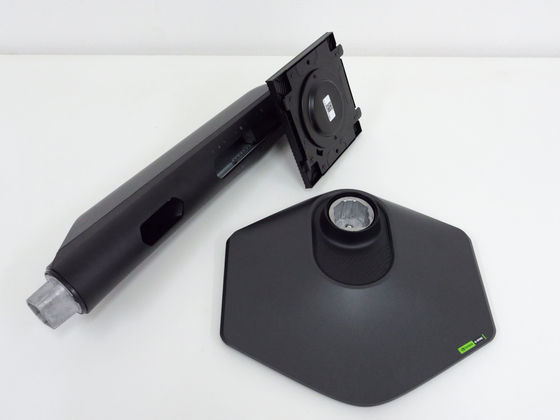
Next, attach the display to the stand. This is the stand shaft and stand base that came with the product.
First, insert the stand shaft into the stand base.
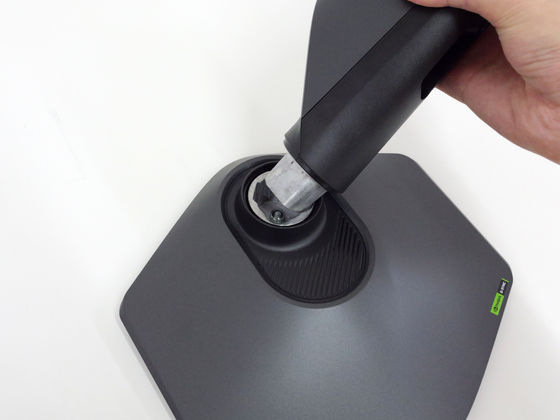
When you insert it, a screw will pop out from the back of the stand base, so turn it by hand to secure it in place.
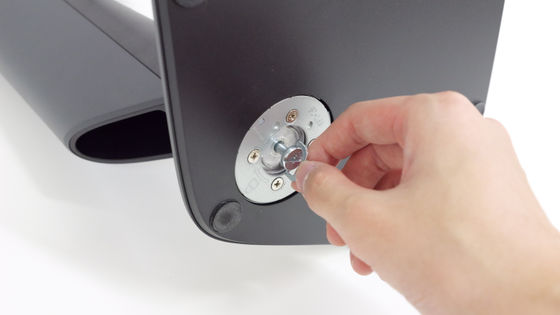
Fixation is complete.
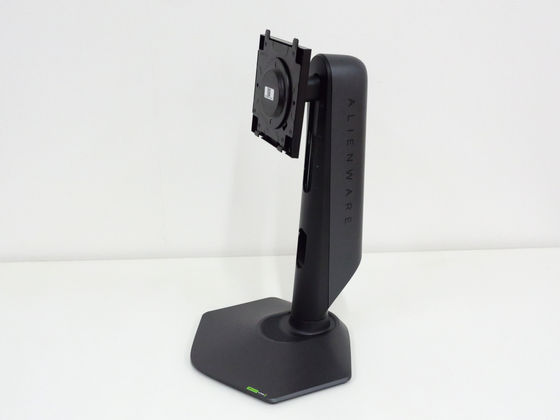
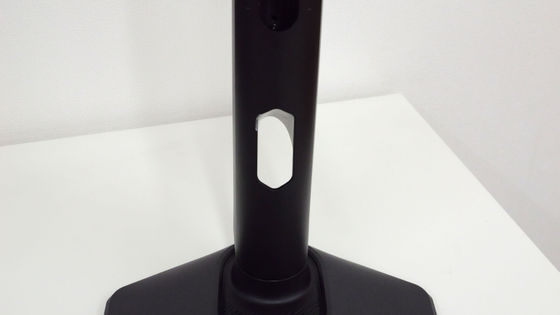
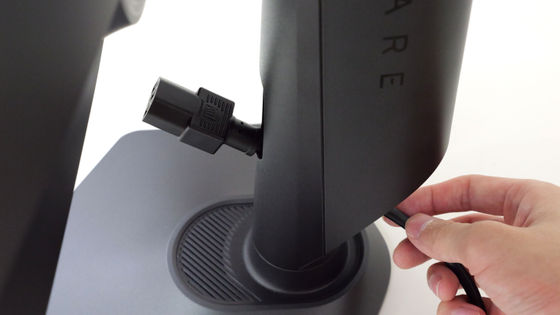
You can see that there are holes in the stand shaft for passing cables through.
Next, align the protrusion on the stand with the top of the display socket and snap it into place. You will hear a click when it is fully seated.
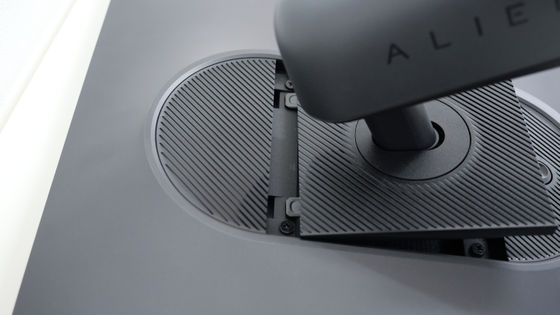
The stand can be attached without using screws.
This is what it looks like from the front.
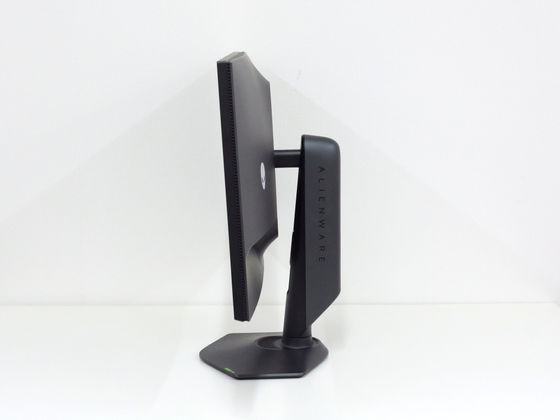
Here's a side view. The display can be tilted forward and backward, left and right, and rotated right and left. Below is the display tilted to the maximum toward you. It can be tilted forward up to 5 degrees. The display itself is light and moves smoothly, so it's easy to adjust the angle.
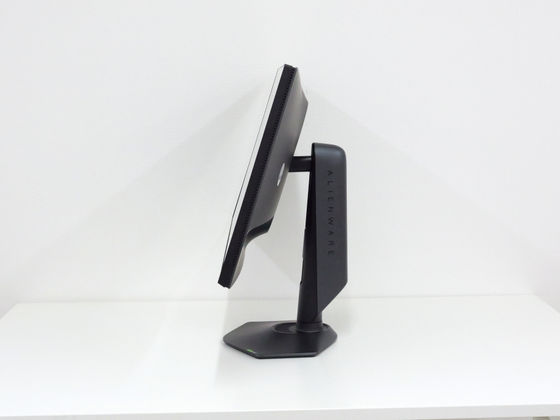
This is what it looks like when tilted backwards. The maximum tilt angle is 21 degrees.
It can be tilted up to 20 degrees left and right.
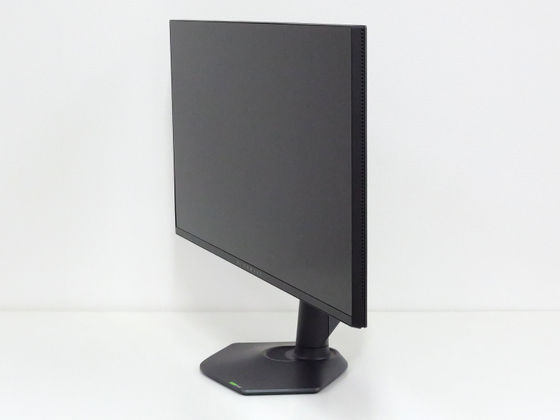
You can also rotate it 90 degrees to the right or left.
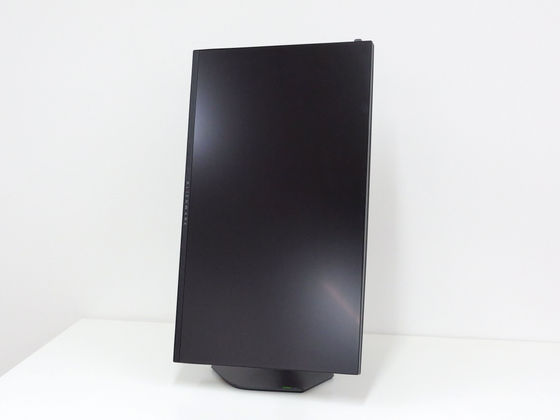
The height can be adjusted continuously by pressing down on the axis.
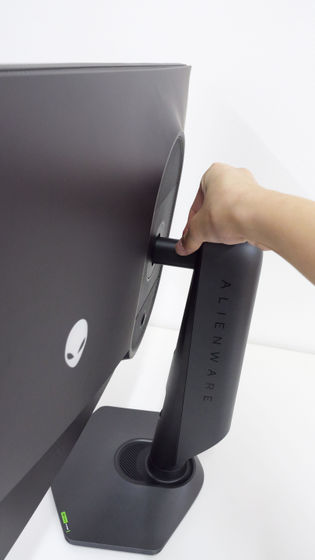
The maximum vertical width is 11cm.
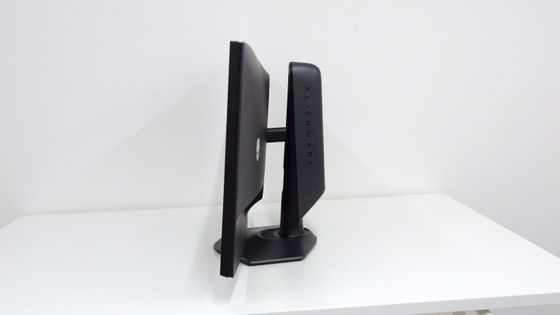
This is what it looks like when you pull out the headset hanger and hang your headphones on it. The hanger itself is strong and won't sag, but if you hang something too heavy on it, the screen will rotate.
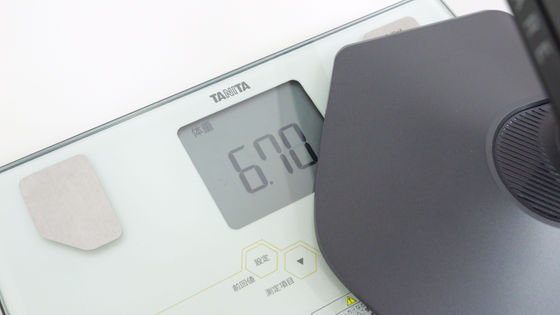
Weight with stand is 6.7kg, without stand it is 4.75kg.
Next, connect the display to a power source. When connecting the power cable, make sure to pass it through the hole in the stand axis so that the cable can be bundled together.
When connected to a power source, the alien mark and the number '27' on the back will light up.
When you connect to a PC, information will be displayed on the display for a few seconds.
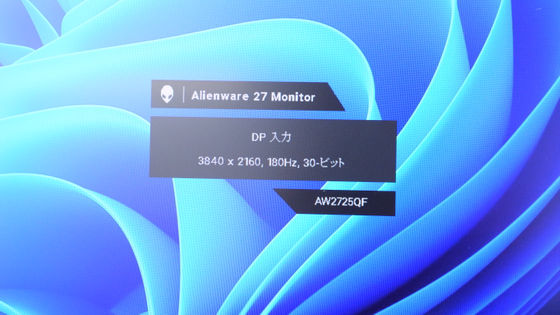
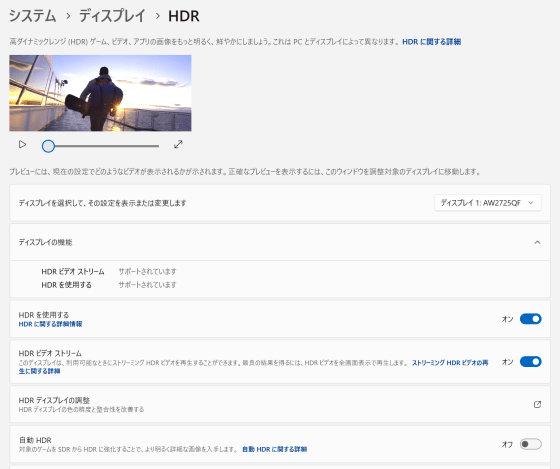
The 'AW2725QF' also supports HDR, so if your graphics card, cables, and other devices are HDR-compatible, HDR will be turned on automatically as shown below.
You can change the settings using the joystick on the bottom of the display. Operating the joystick once will display basic information as shown below.
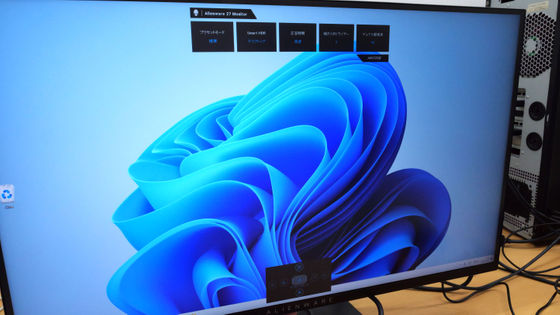
The current main settings are displayed at the top.
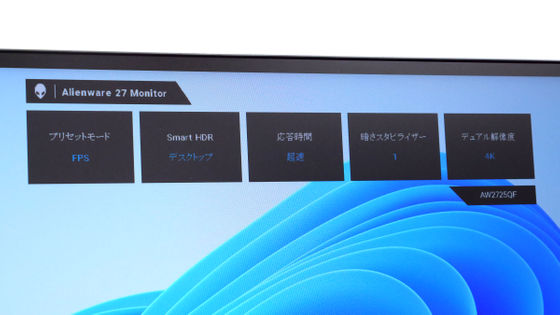
At the bottom is the settings menu.
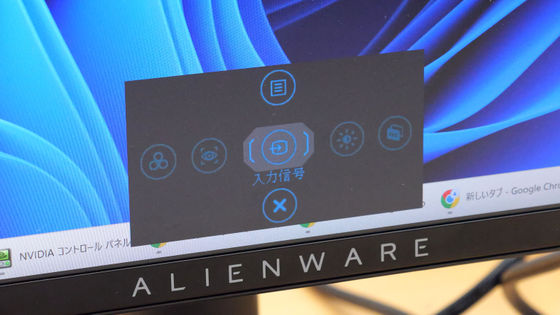
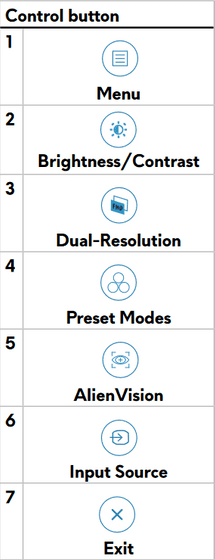
With the Settings menu open, move the joystick left or right to quickly access the following quick settings:
◆1. Menu : Show all settings
◆2. Brightness/Contrast : Displays the brightness and contrast settings.
◆3. Dual Resolution : Switch between 4K and FHD with one click
◆4. Preset Mode : Switch between preset resolutions and refresh rates
◆5.AlienVision : Displays game settings such as crosshairs
◆6. Input source : Switch between DP and HDMI input sources
◆7.Exit : Stop displaying
Moving the joystick back and forth and left and right moves the cursor, and pressing it down confirms the selection. In addition, the highlight feature of the 'AW2725QF' is the quick dual resolution switching, which can be performed by pressing and holding the joystick. I actually tried switching between dual resolutions.
In addition, I switched between the FHD/360Hz and 4K/180Hz settings to shoot the 'Apex Legends' screen. The first 20 seconds were set to FHD/360Hz, and the last 20 seconds were set to 4K/180Hz. At FHD, even with the highest graphics settings in the game, it showed smooth movement at 360fps, but at 4K, even with the lowest graphics settings, it was barely able to get 120fps. If you are concerned about delays in FPS games or fighting games, I recommend playing at FHD/360Hz.
Switch between FHD/360Hz and 4K/180Hz on the gaming display 'AW2725QF' to play 'Apex Legends' - YouTube
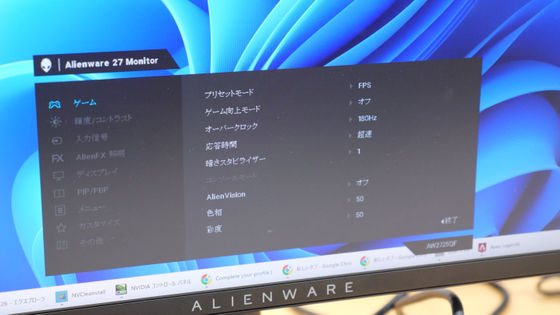
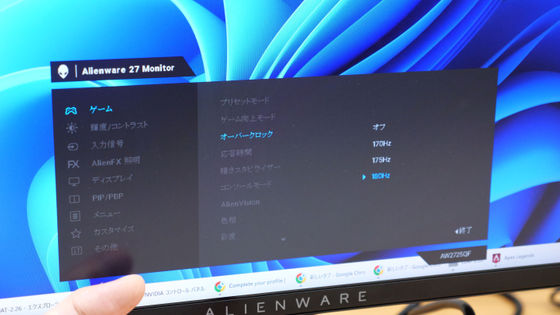
Here is a list of all the settings you can access from the Settings menu: 'Game', 'Brightness/Contrast', 'Input Source', 'AlienFX Lighting', 'Display', 'PIP (Picture-in-Picture)/PBP (Picture-by-Picture)', 'Menu', 'Customize', and 'Other'.
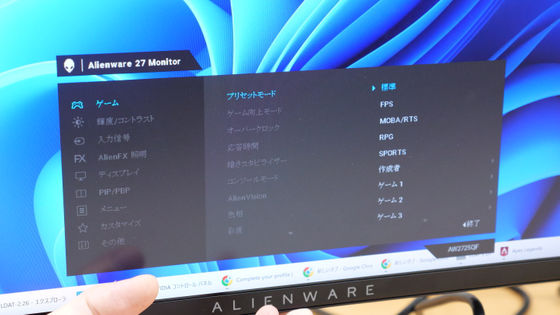
The 'Preset Mode' in 'Gaming' allows you to switch between presets with resolution, brightness, refresh rate, etc. adjusted to suit your needs. For example, setting it to FPS will result in a high refresh rate, and setting it to SPORTS will make the screen brighter.
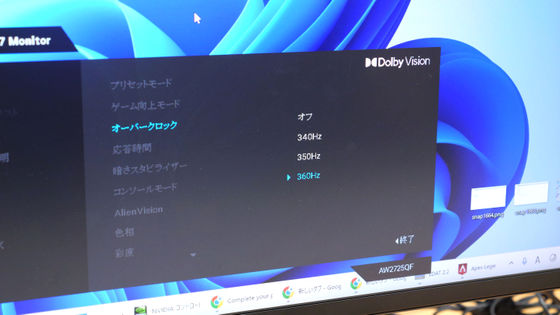
'Overclocking' is a setting that changes the refresh rate. For 4K, the base refresh rate is 165Hz, but the maximum is 180Hz.
For FHD, the default is 330Hz, but you can set it up to 360Hz.
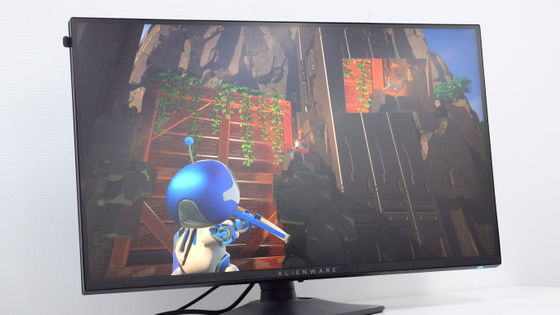
There was also a feature unique to gaming brand products called 'AlienVision.' Below is Alien Vision with a crosshair displayed in the center of the screen.

If you enable the AlienVision 'Bino' setting, which enlarges a portion of the center of the screen and displays it in the upper right corner, it will look like this:
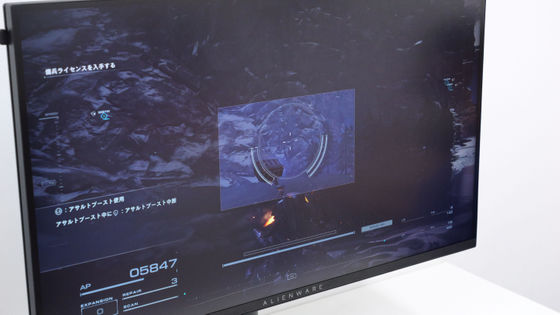
The 'Night' setting brightens only a part of the screen, making it easier to see objects even when the game screen is dark.
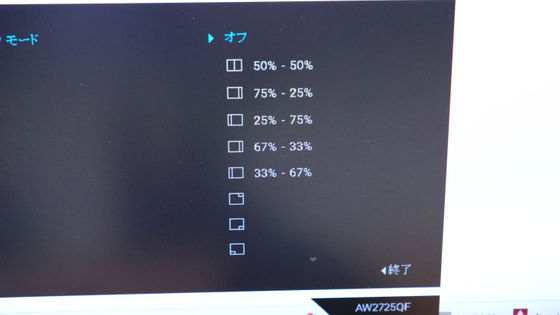
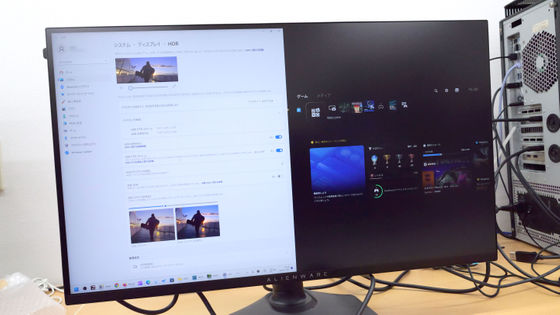
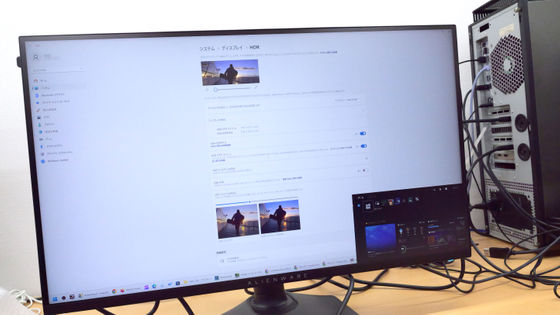
PIP/PBP receives two or more input signals and displays them on a single screen, making it possible to display one image on each side of the screen, or to display only one of the images in a small size in the corner of the screen.
Below is the PC image on the left and the PlayStation 5 (PS5) image on the right.
The smallest display method is capable of displaying a single image at 1/8 its size.
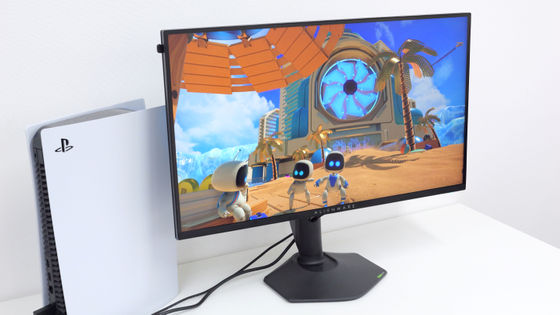
Other specifications include a contrast ratio of 1000:1, sRGB compatibility, and anti-glare support. There are no speakers, so if you want to hear the sound, you will need to prepare headphones separately. When I actually played games on both PC and PS5, the game showed smooth movements and vivid colors, so it is a product that can be recommended to gamers who want to enjoy various games to the fullest, such as high-definition games and games that require quick reactions.
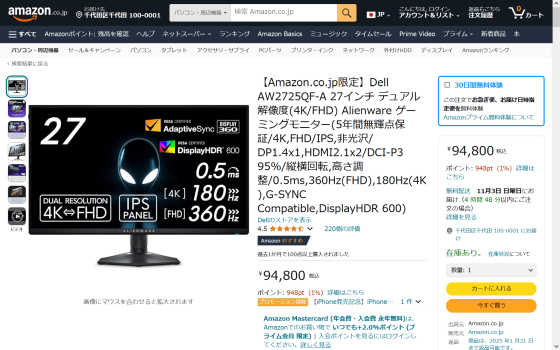
The price of the 'AW2725QF' on the official website is 89,799 yen including tax. On Amazon.co.jp, the Amazon-exclusive model AW2725QF-A with a 5-year no-bright-point warranty is sold for 94,800 yen including tax.
Related Posts:


