Summary of how to install and set up 'Jellyfin' on Windows, which allows you to stream videos, music, e-books, etc. for free at home or on the go
Jellyfin is a content management system that can stream videos, images, music, books, etc. With Jellyfin, you can stream content stored on your home PC from another PC, smartphone, tablet, etc. at any time, so I actually set up a server on a Windows PC.
The Free Software Media System | Jellyfin
Go to the Jellyfin download page, select 'Windows' under 'Server' and click 'Downloads.'

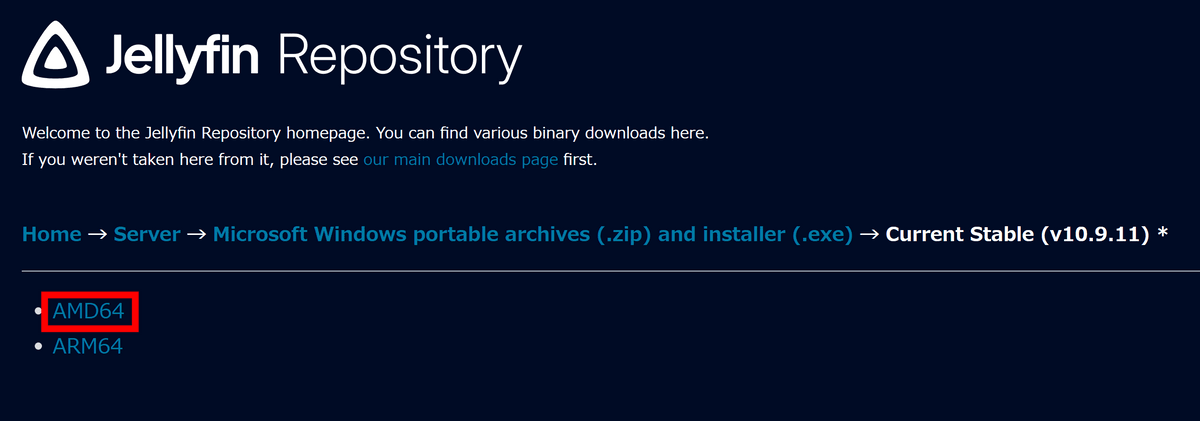
This time, we will use a PC equipped with an x86-64 architecture CPU, so click 'AMD64'.
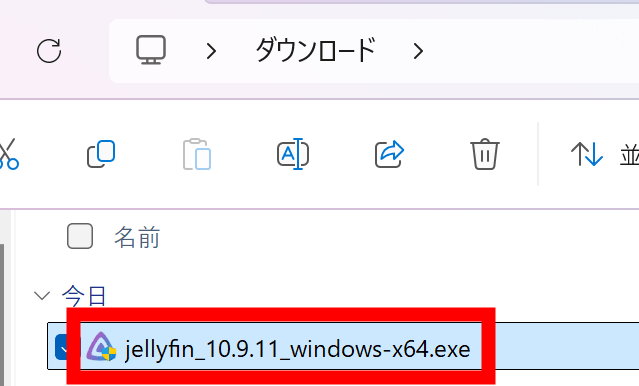
Click on 'Jellyfin_○○.○.○○_windows-x64.exe'.

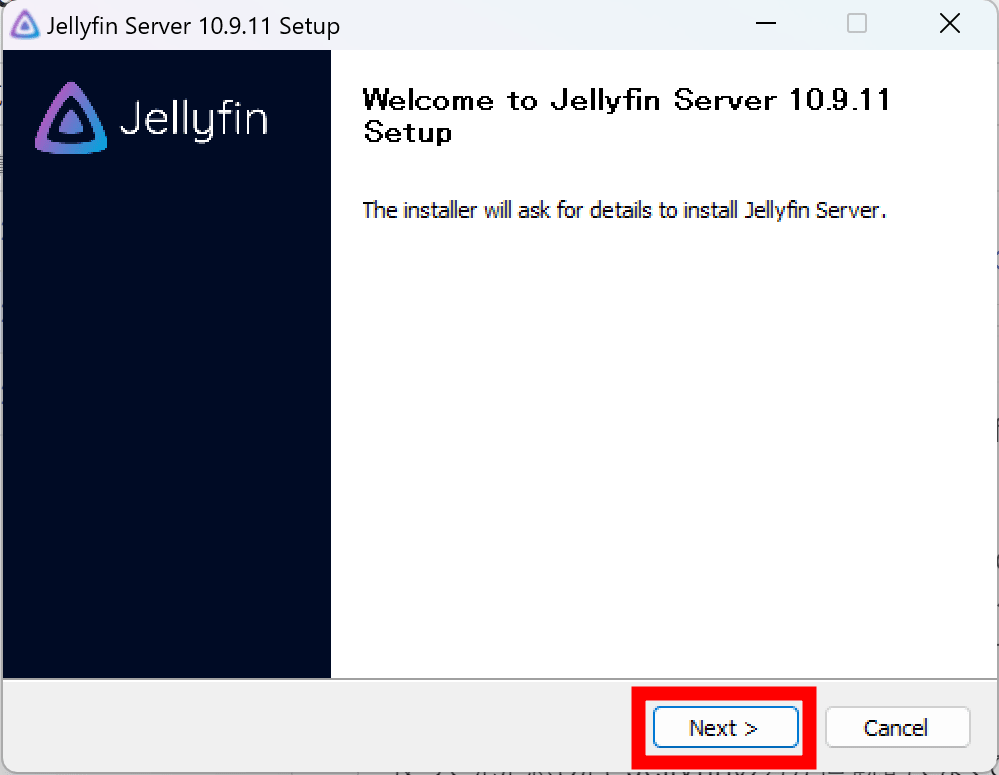
Double-click the installer to launch it.
Click “Next”.
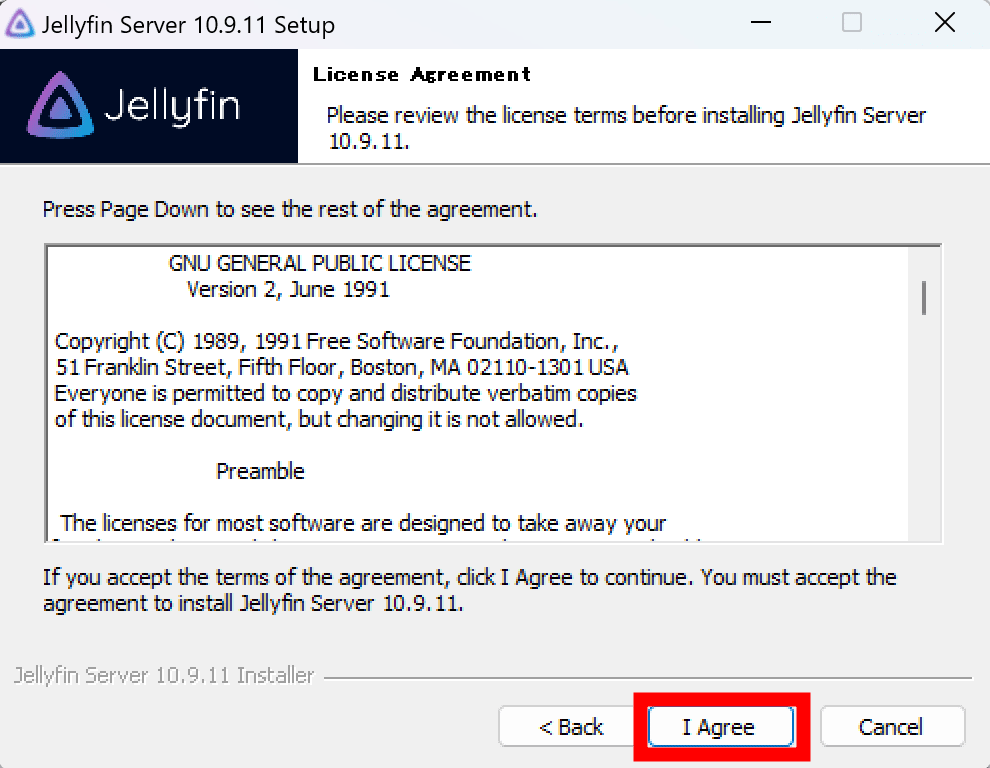
The terms of use will be displayed. Click 'I Agree'.
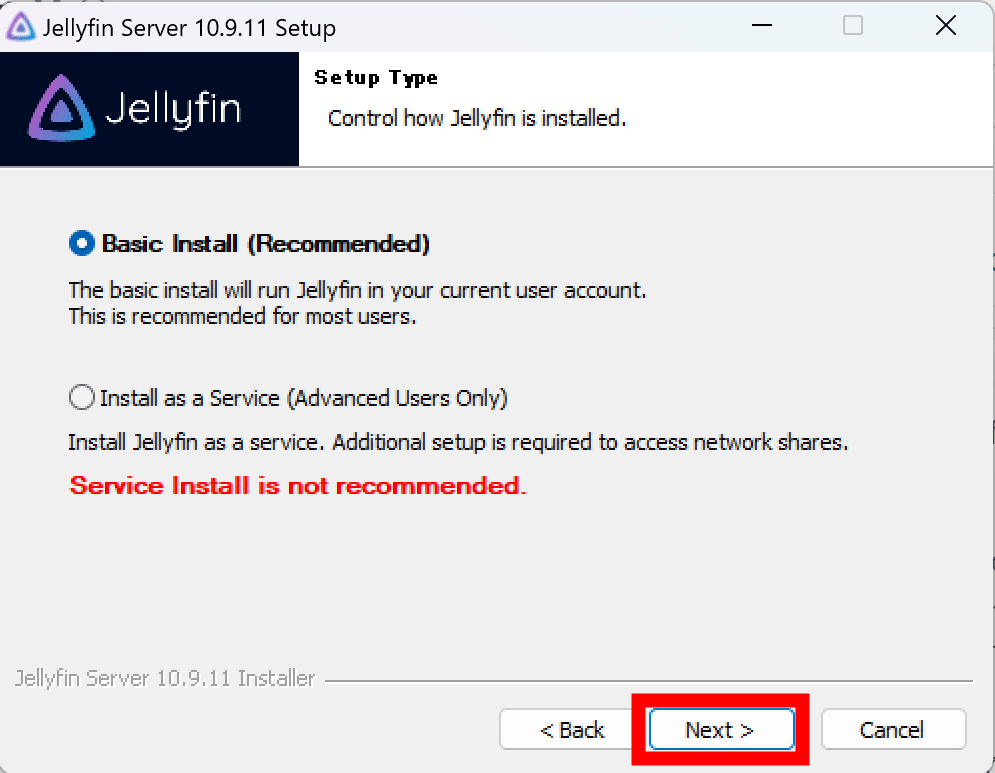
You can choose the installation method, but at the time of writing, 'Install as a Service' has a bug and some functions cannot be used. Click 'Next' without changing from 'Basic Install'.
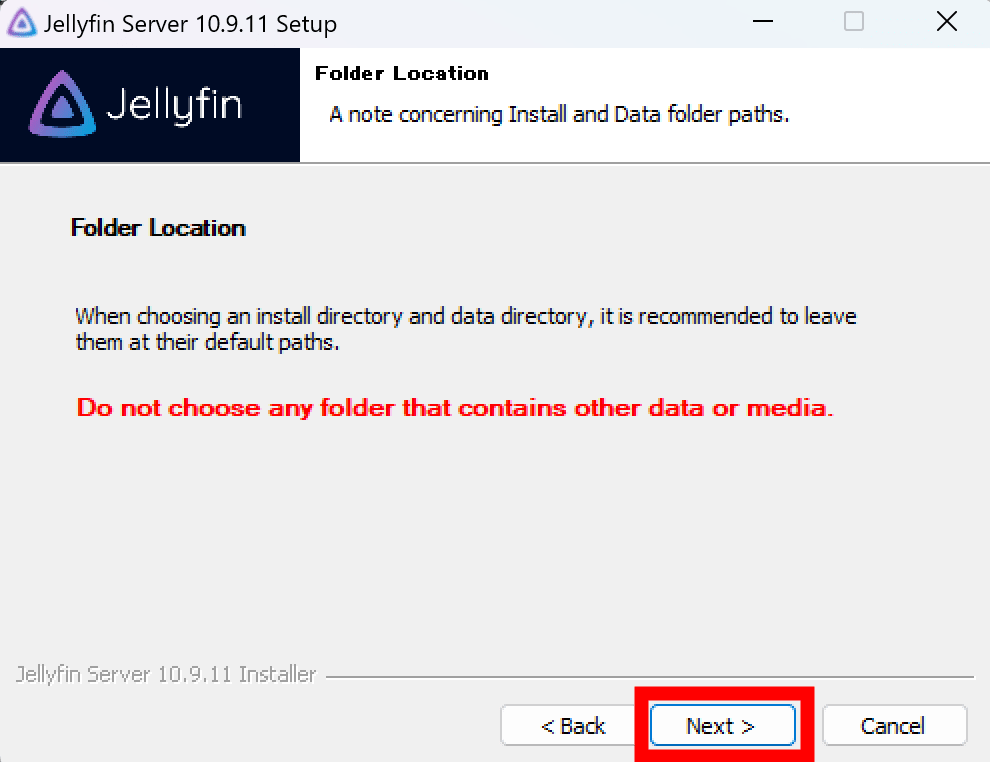
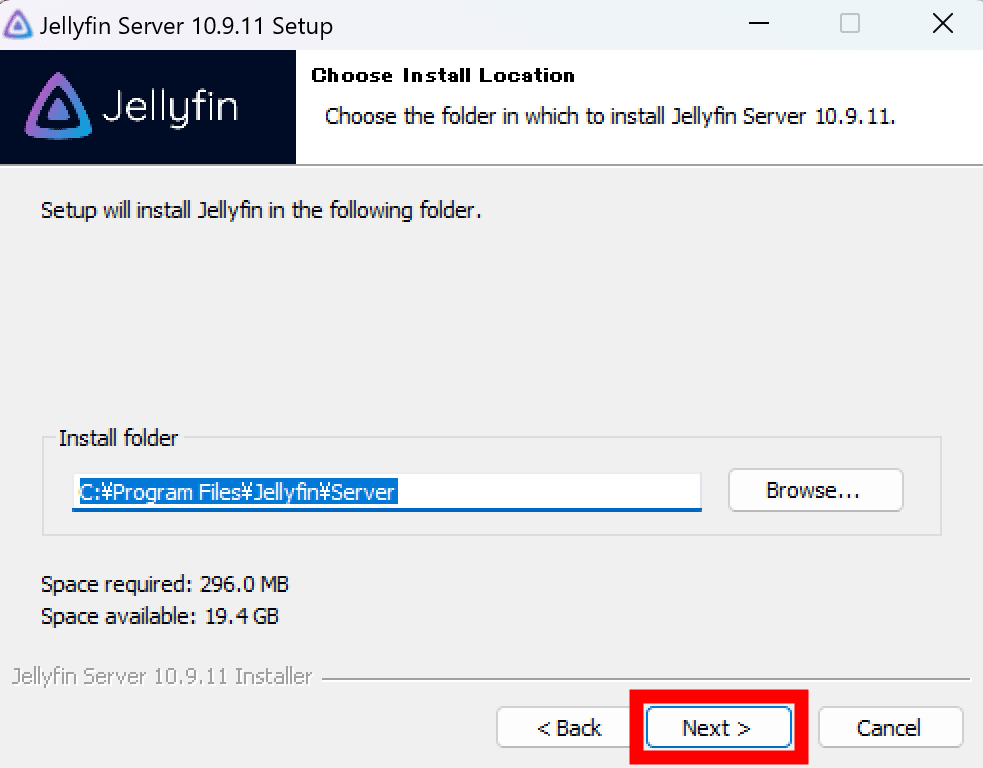
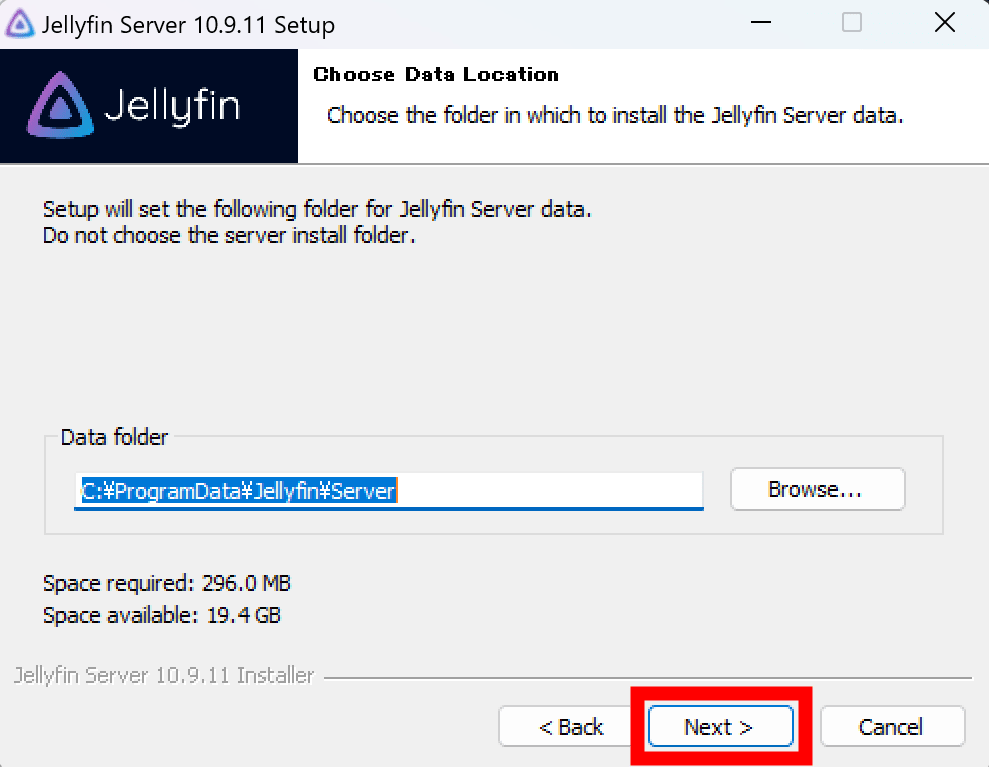
Next, select the installation destination and data storage destination folder. It says 'Do not select a folder that contains other data or media.' Click 'Next'.
Click Next.
Click “Next”.
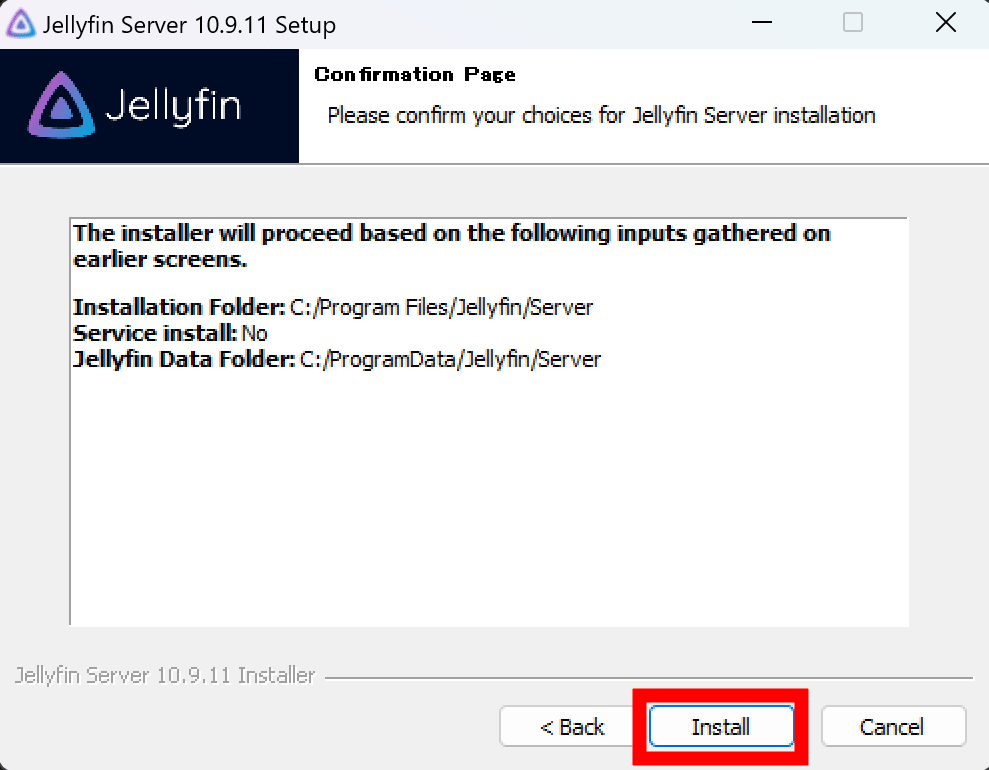
Click Install.
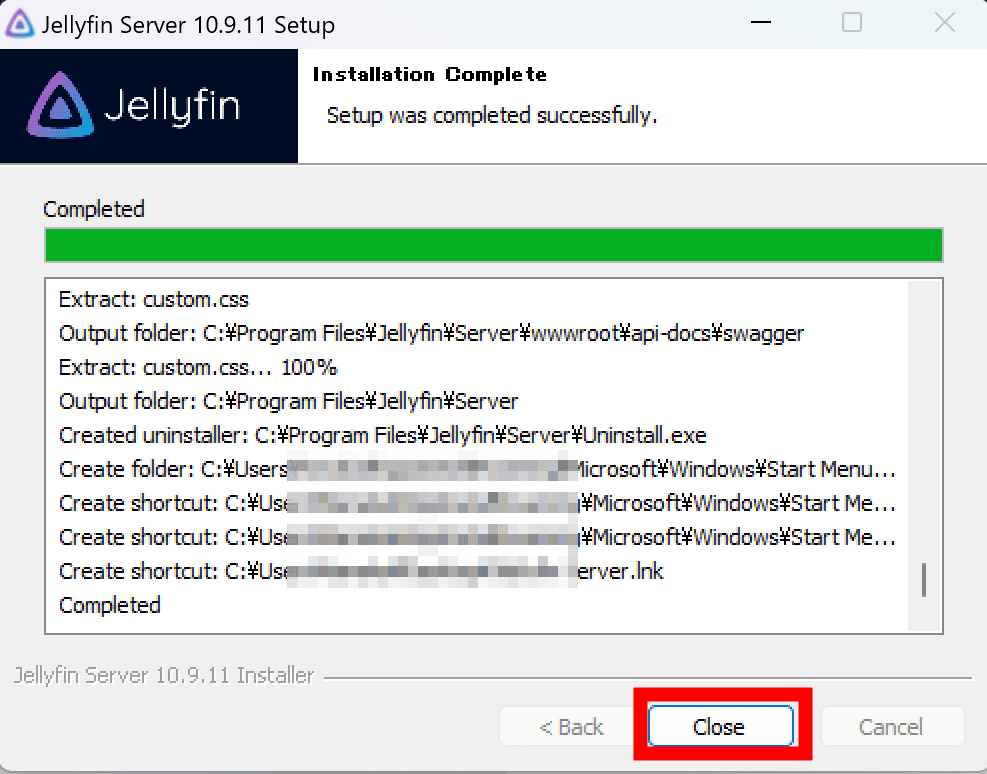
Wait a while and when the installation is complete, click 'Close'.
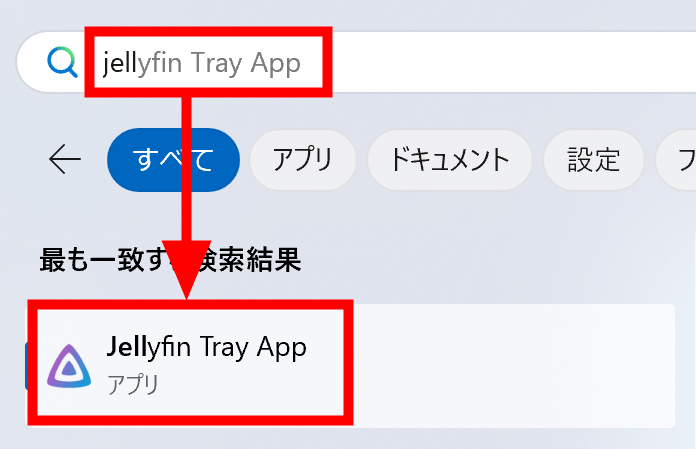
Open the Start menu, search for 'Jellyfin Tray App' and launch it.
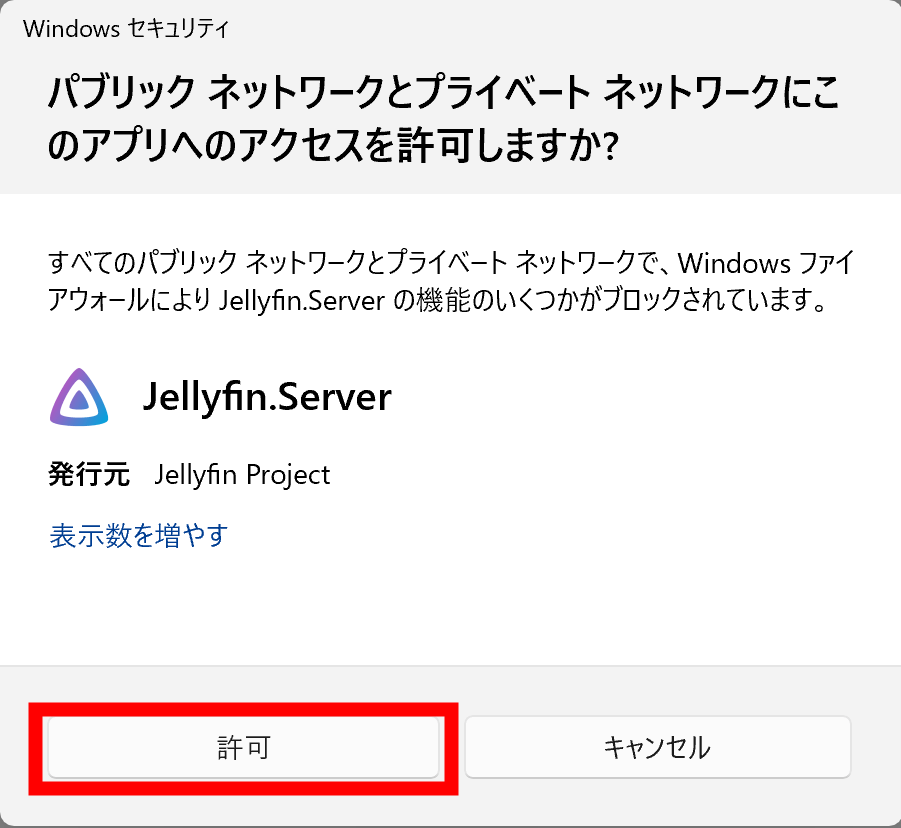
Click 'Allow'.
When I access
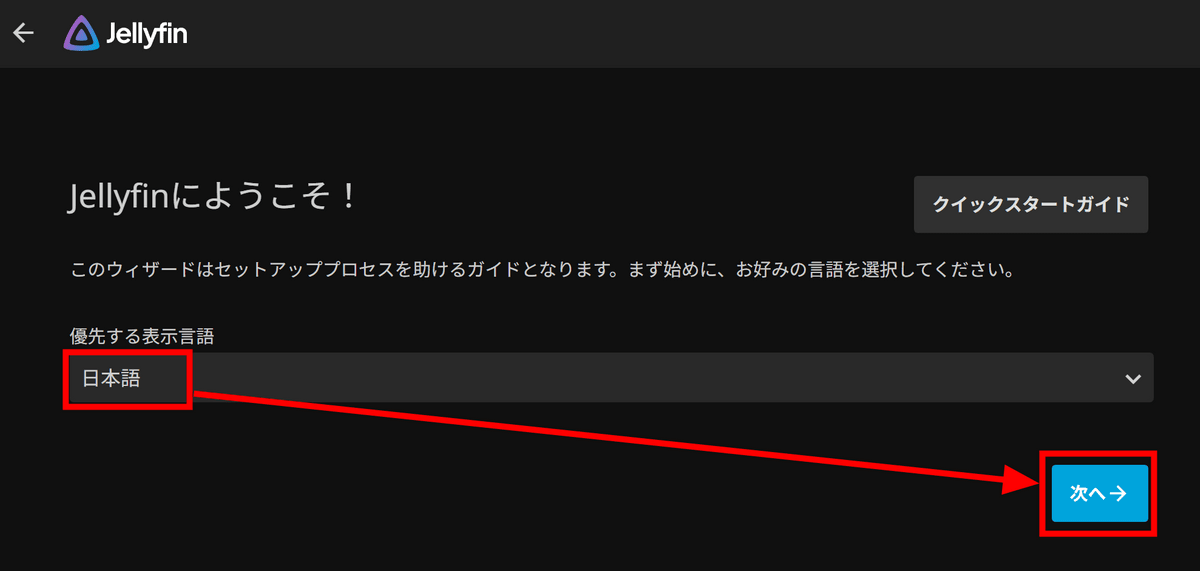
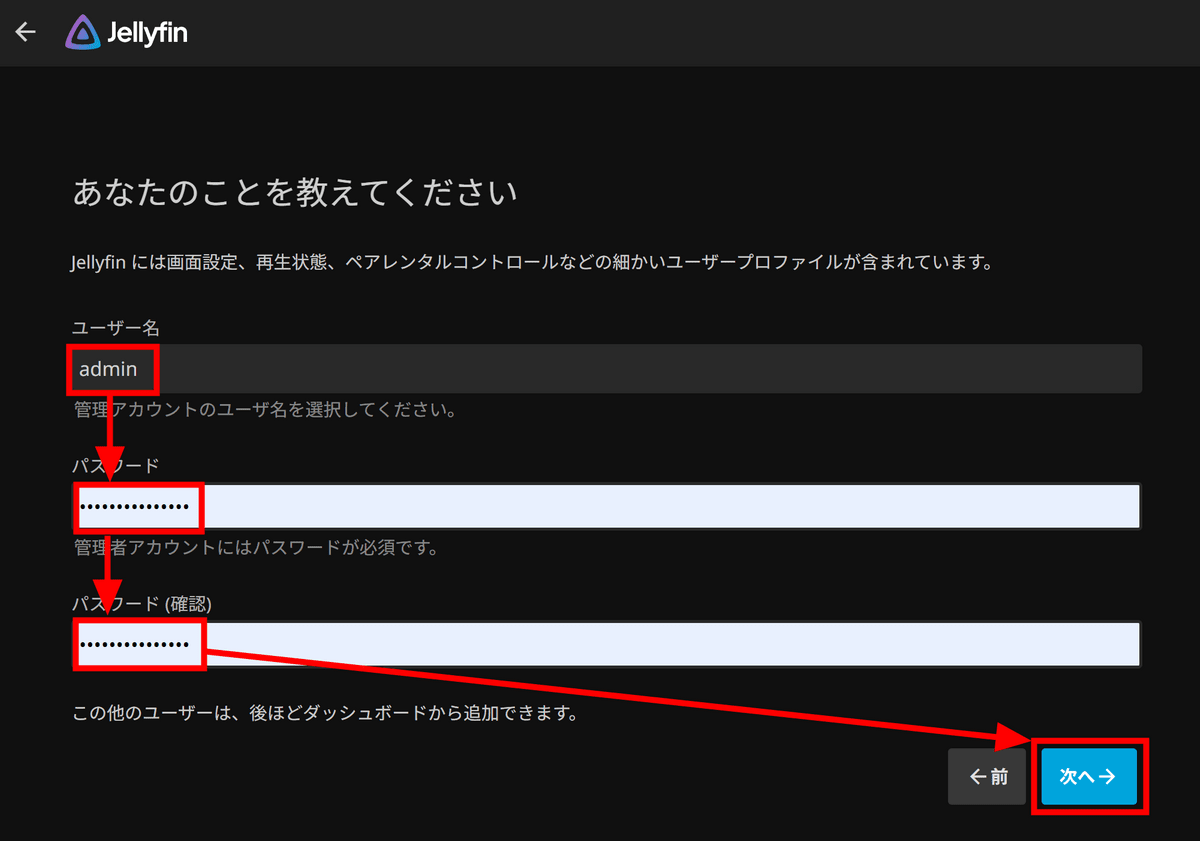
Enter the username and password for the administration account and click 'Next'.
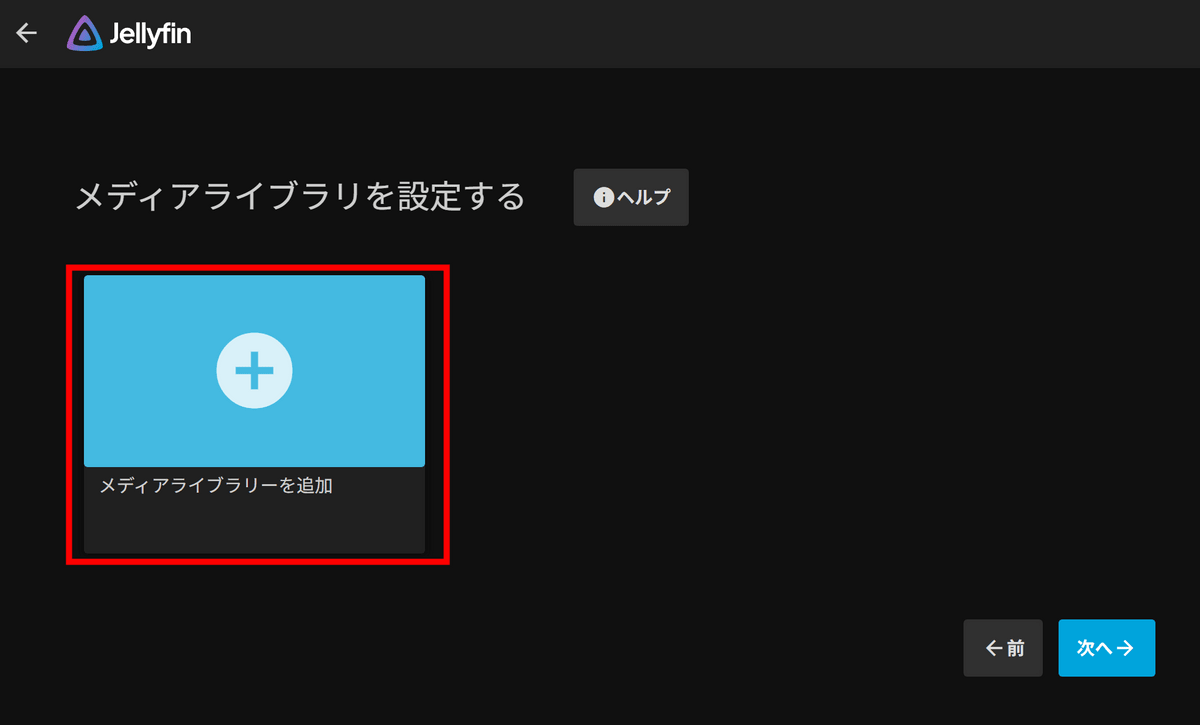
Click Add Media Library.
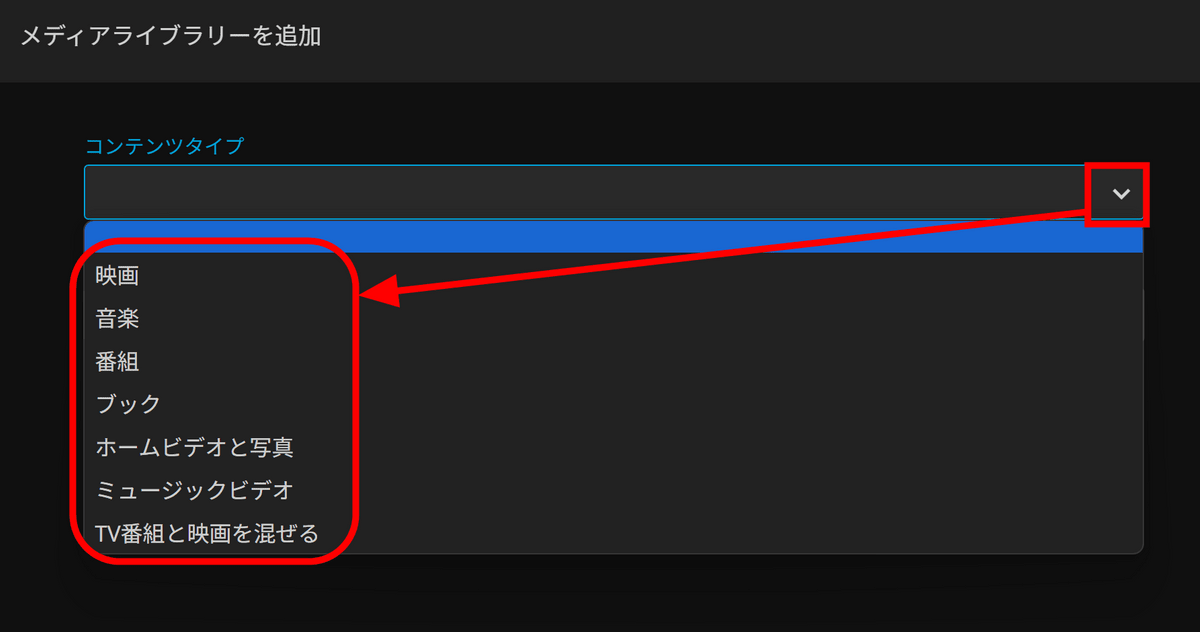
For each library, you can choose the content type from 'Movies,' 'Music,' 'Shows,' 'Books,' 'Home Videos and Photos,' 'Music Videos,' or 'Mixed TV Shows and Movies.'
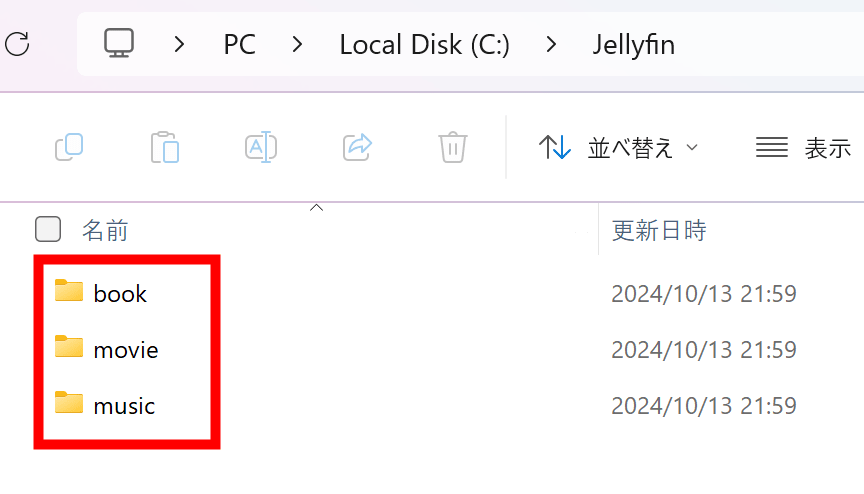
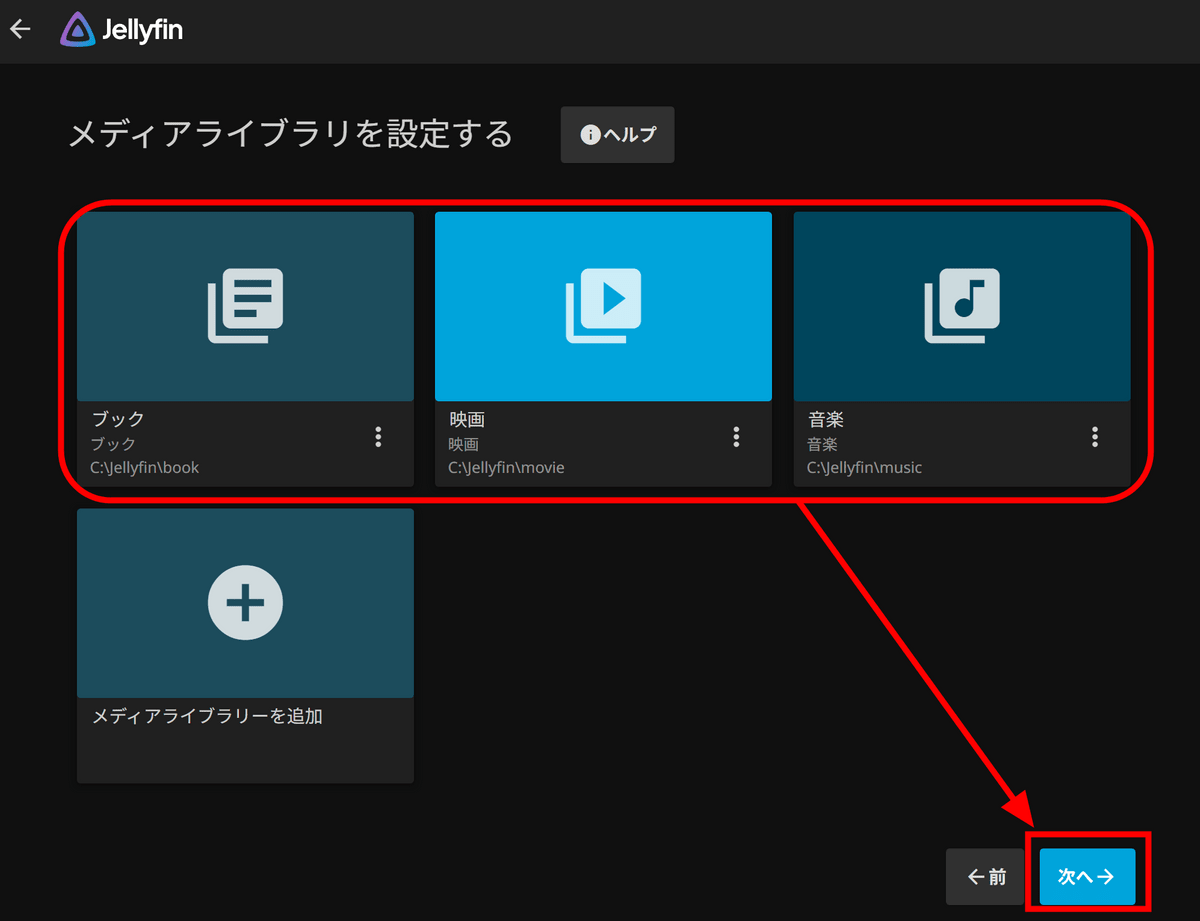
This time, we will create libraries for 'Books,' 'Movies,' and 'Music.' First, create a folder for each library in a suitable folder. For ease of understanding, we named them 'book,' 'movie,' and 'music.'
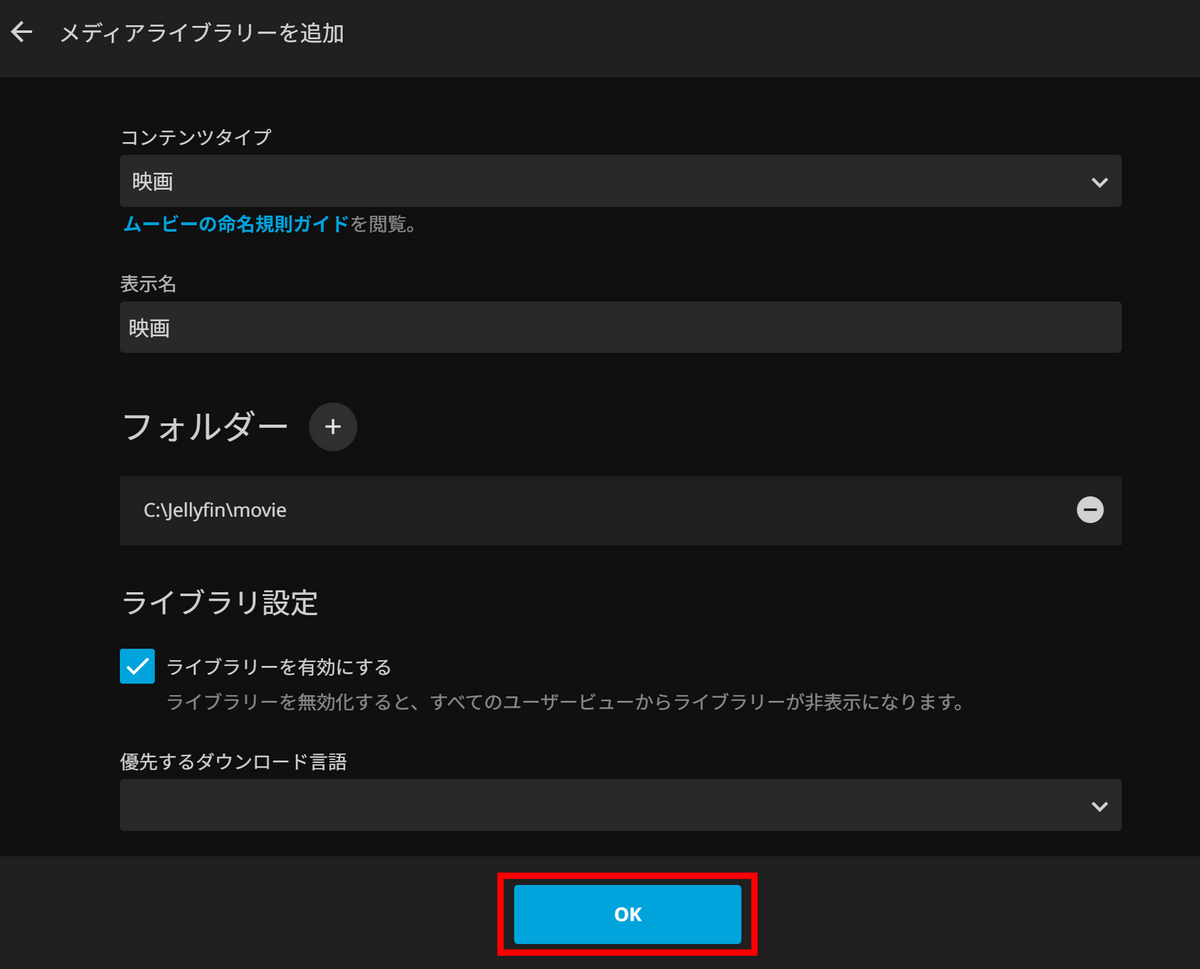
Next, return to the Jellyfin screen, select 'Movies' as the content type, enter the easy-to-understand 'Movies' as the display name, and click 'Folders.'
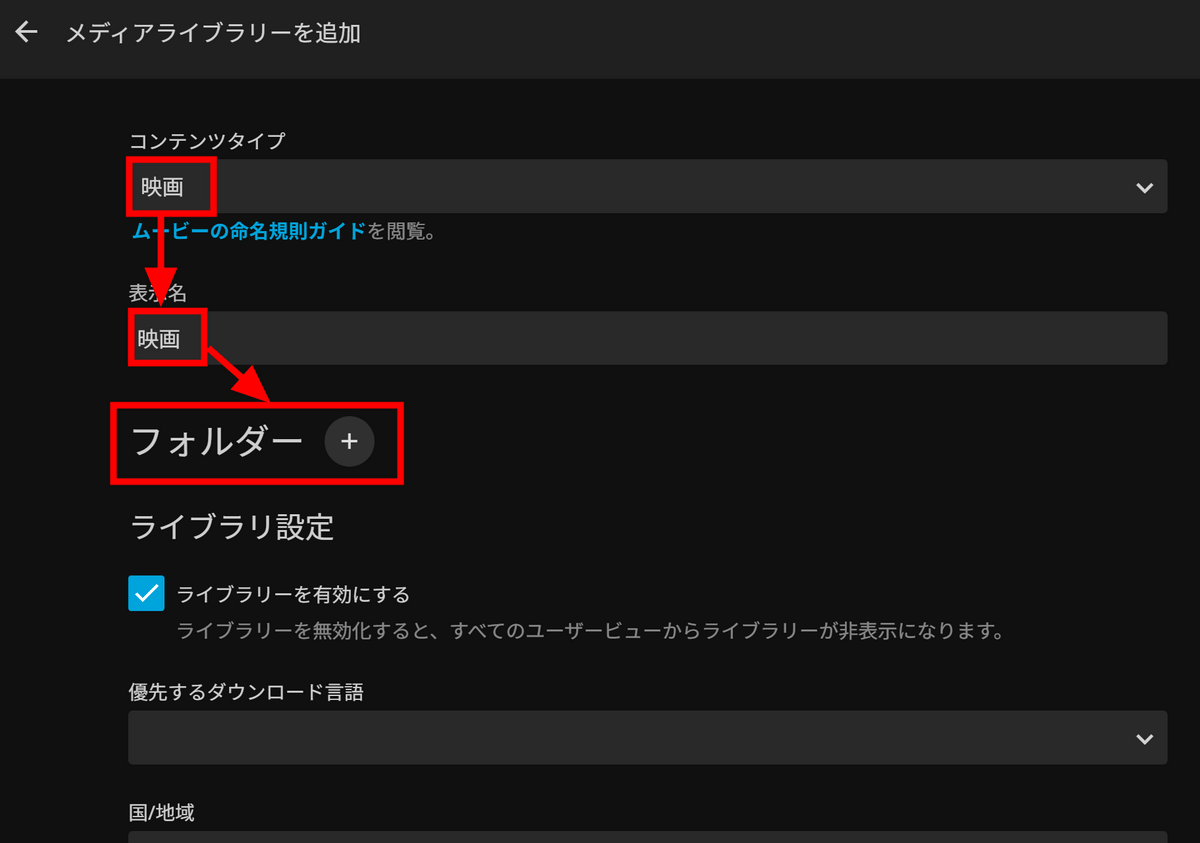
Enter the path to the 'movie' folder you prepared earlier and click 'OK'.

Click OK again.
I created a media library for 'Books' and 'Music' in the same way. Click 'Next'.
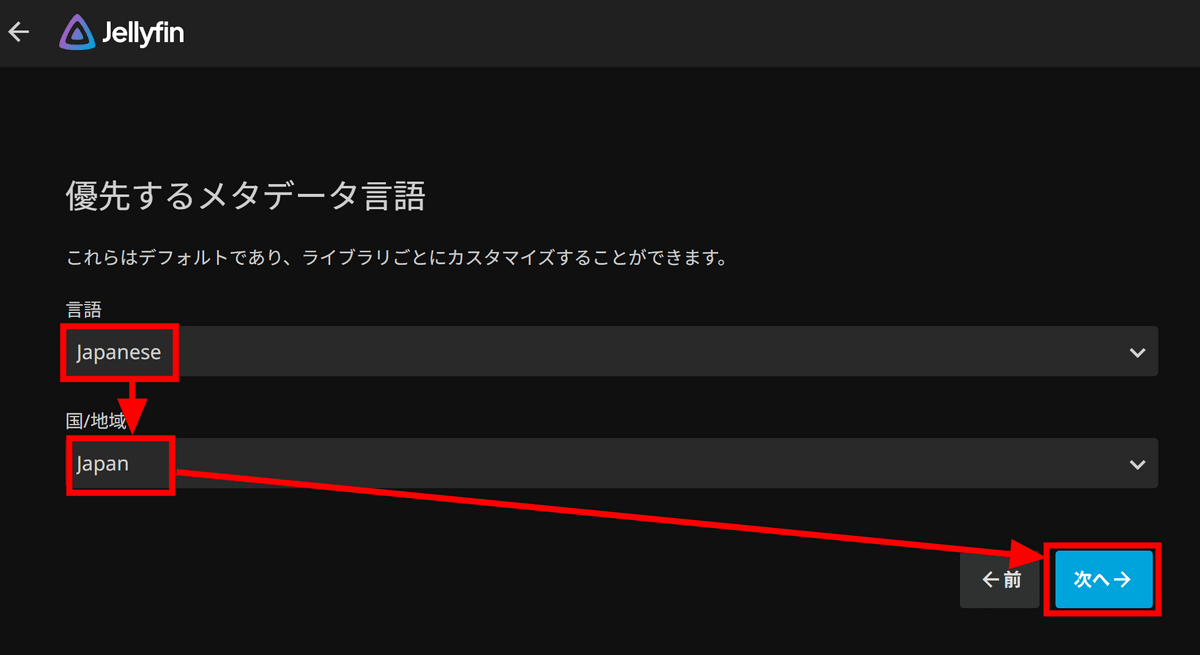
Select 'Japanese' as the preferred metadata language, set the country to 'Japan' and click Next.
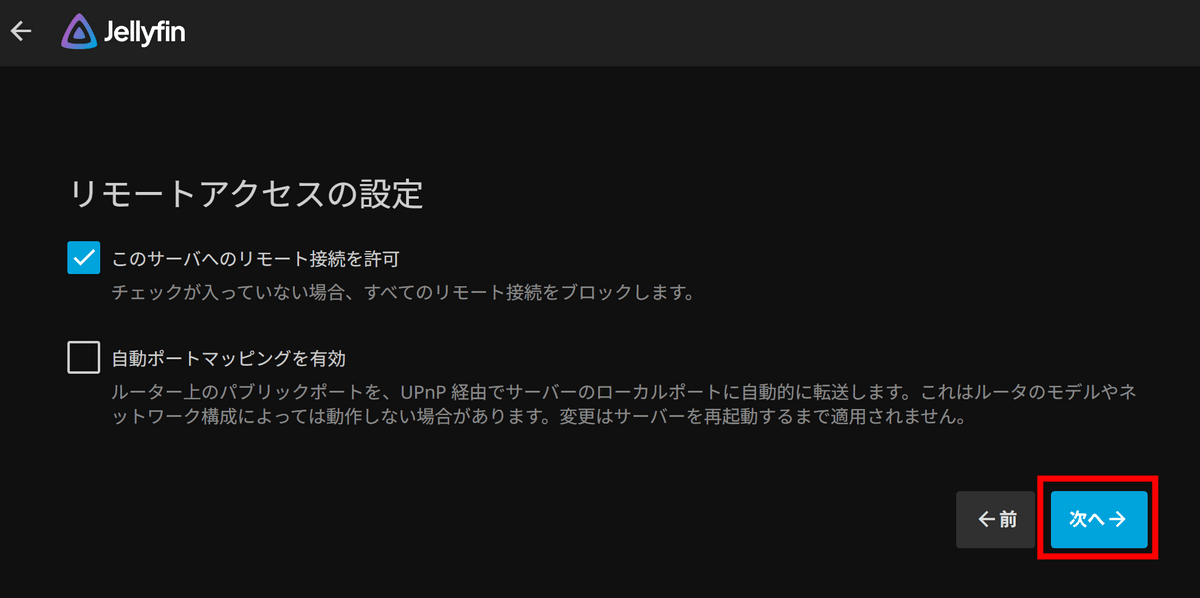
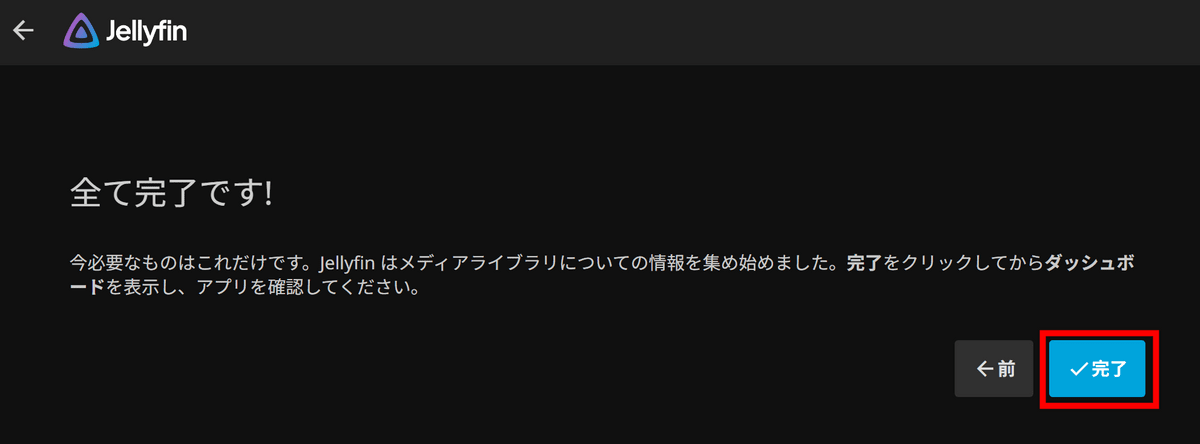
Click “Next”.
Click Finish.
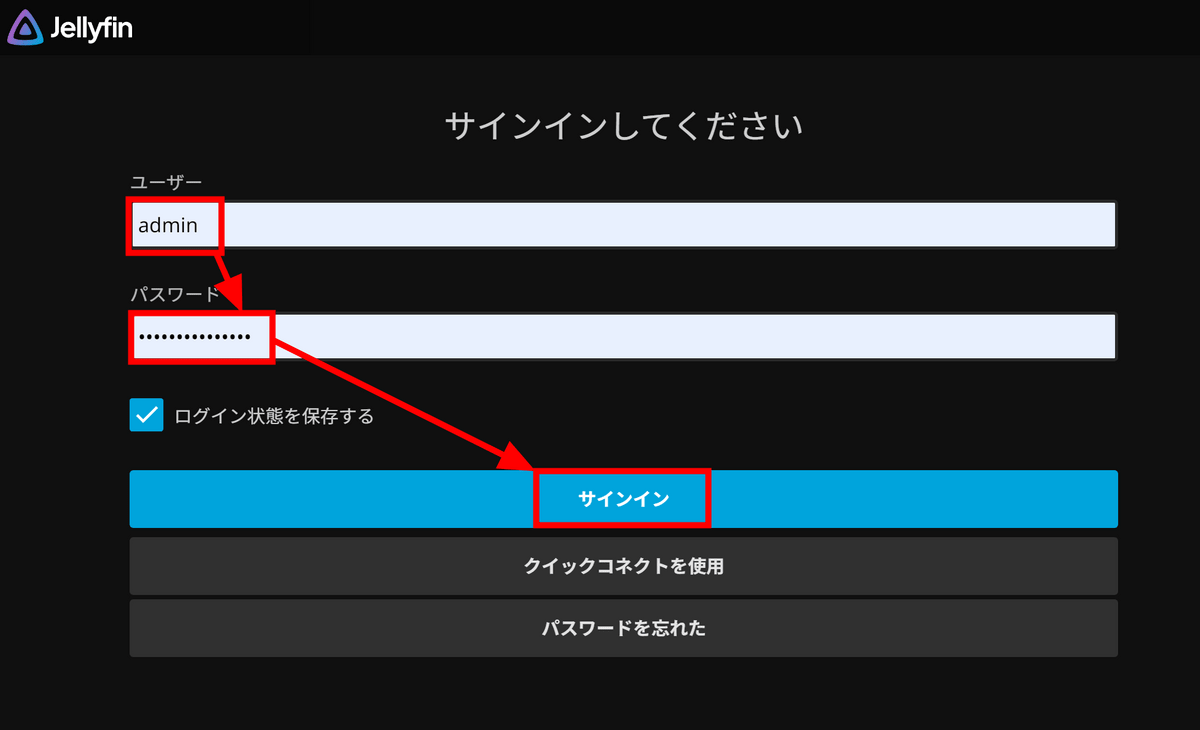
The sign-in screen will appear, so enter the username and password of the account you created earlier and click 'Sign in.'
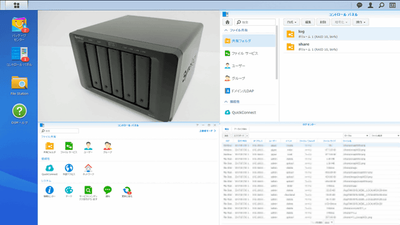
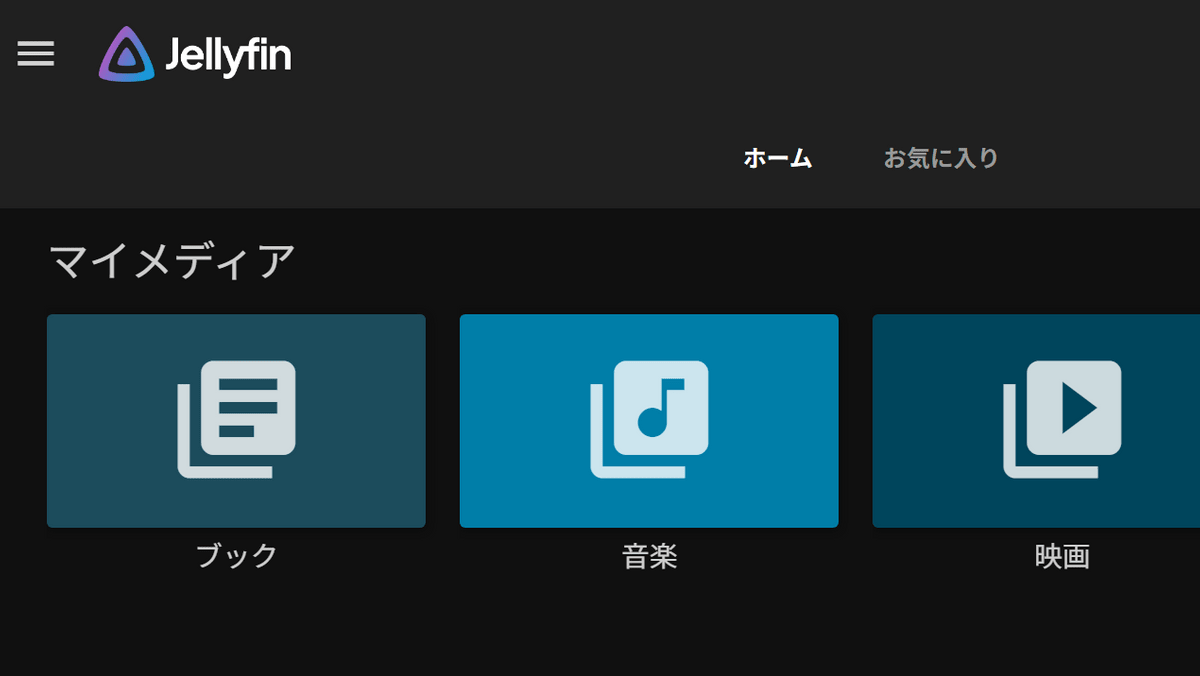
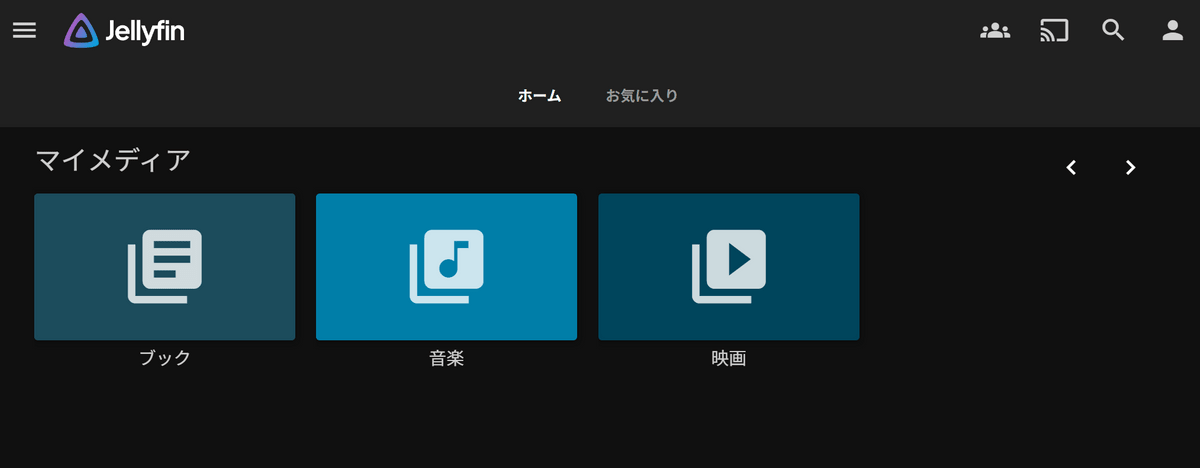
The media library is displayed.
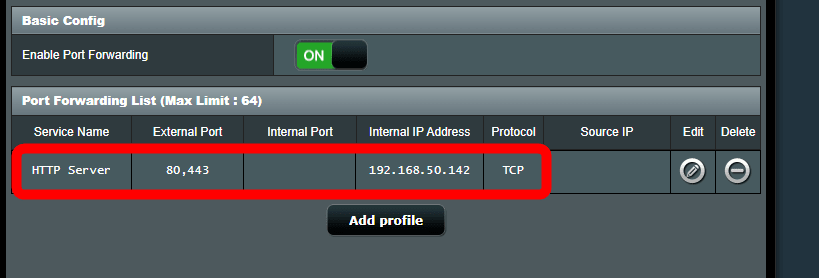
Next, we will configure the settings to access the router from outside via the Internet. First, open the router's management screen and manually assign a local IP address according to the router's manual, and fix the local IP address of the PC running the Jellyfin server.

Next, you will need to 'open ports' to map TCP ports 80 and 443 to the IP address you fixed earlier. This is a required setting for access from outside, so if you are using a provider that does not allow port opening
Once the port is open, install '
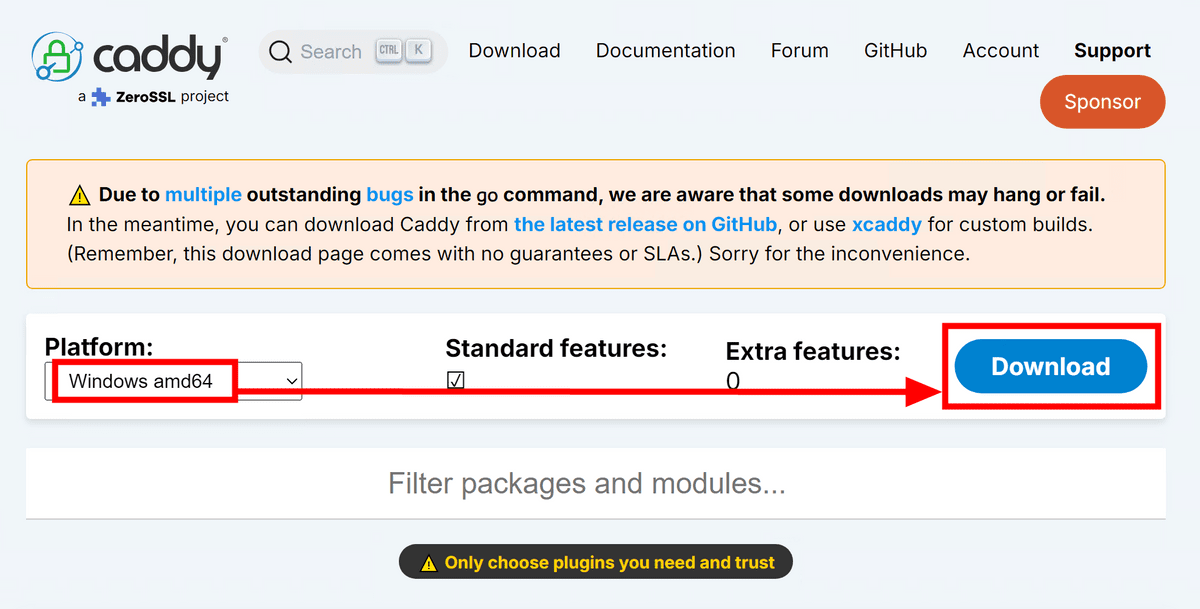
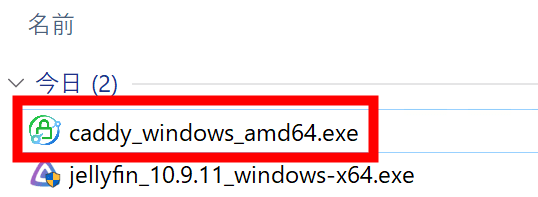
Copy the downloaded 'caddy_windows_amd64.exe' file.
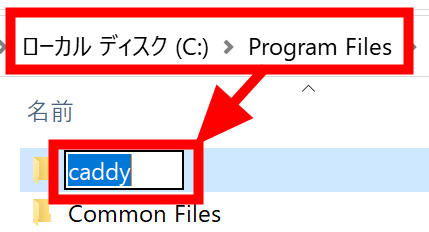
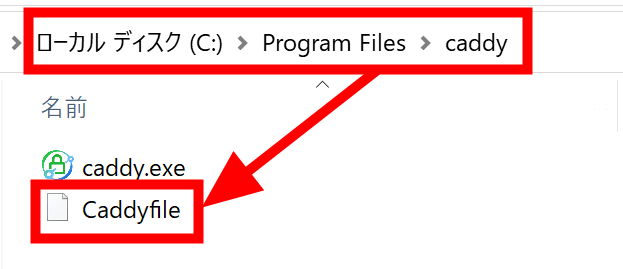
Create a folder called 'caddy' in ' C:\Program Files '.
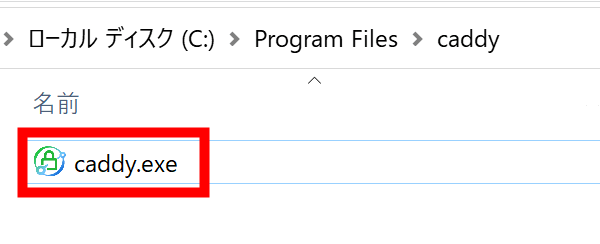
Paste the executable file you copied earlier into the 'caddy' folder and change the file name to 'caddy.exe.'
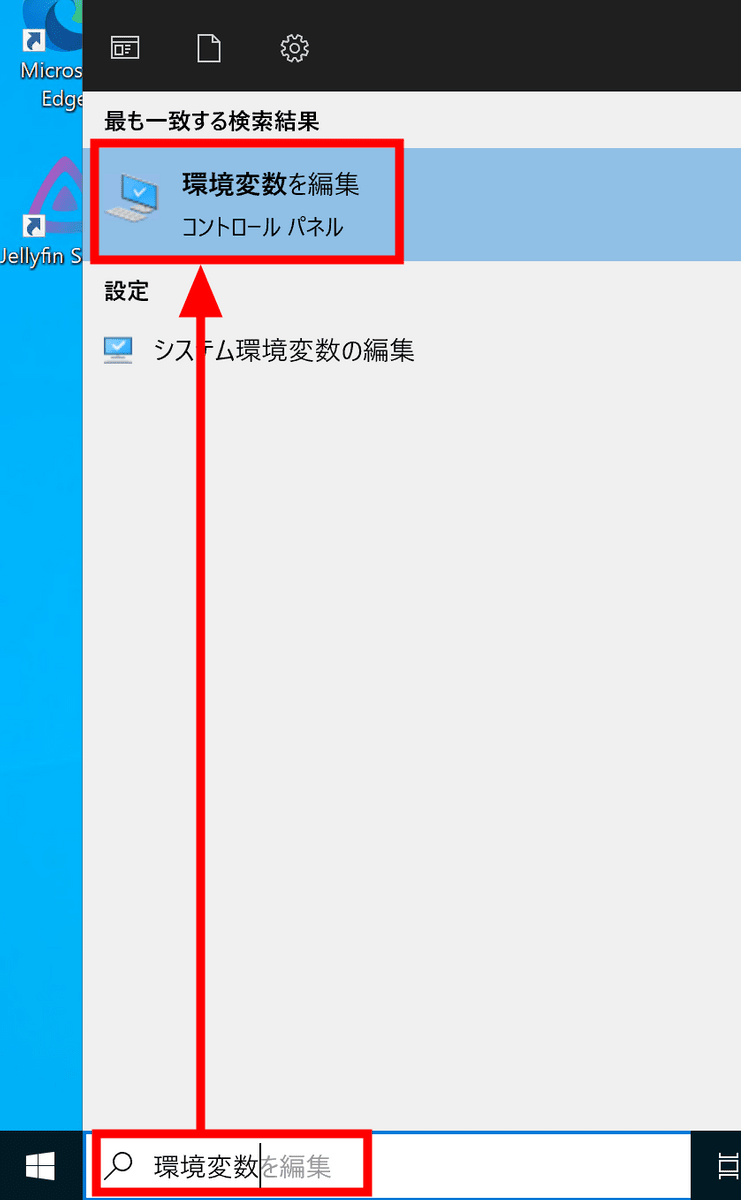
Search for and click 'Edit the environment variables' from the Start menu.
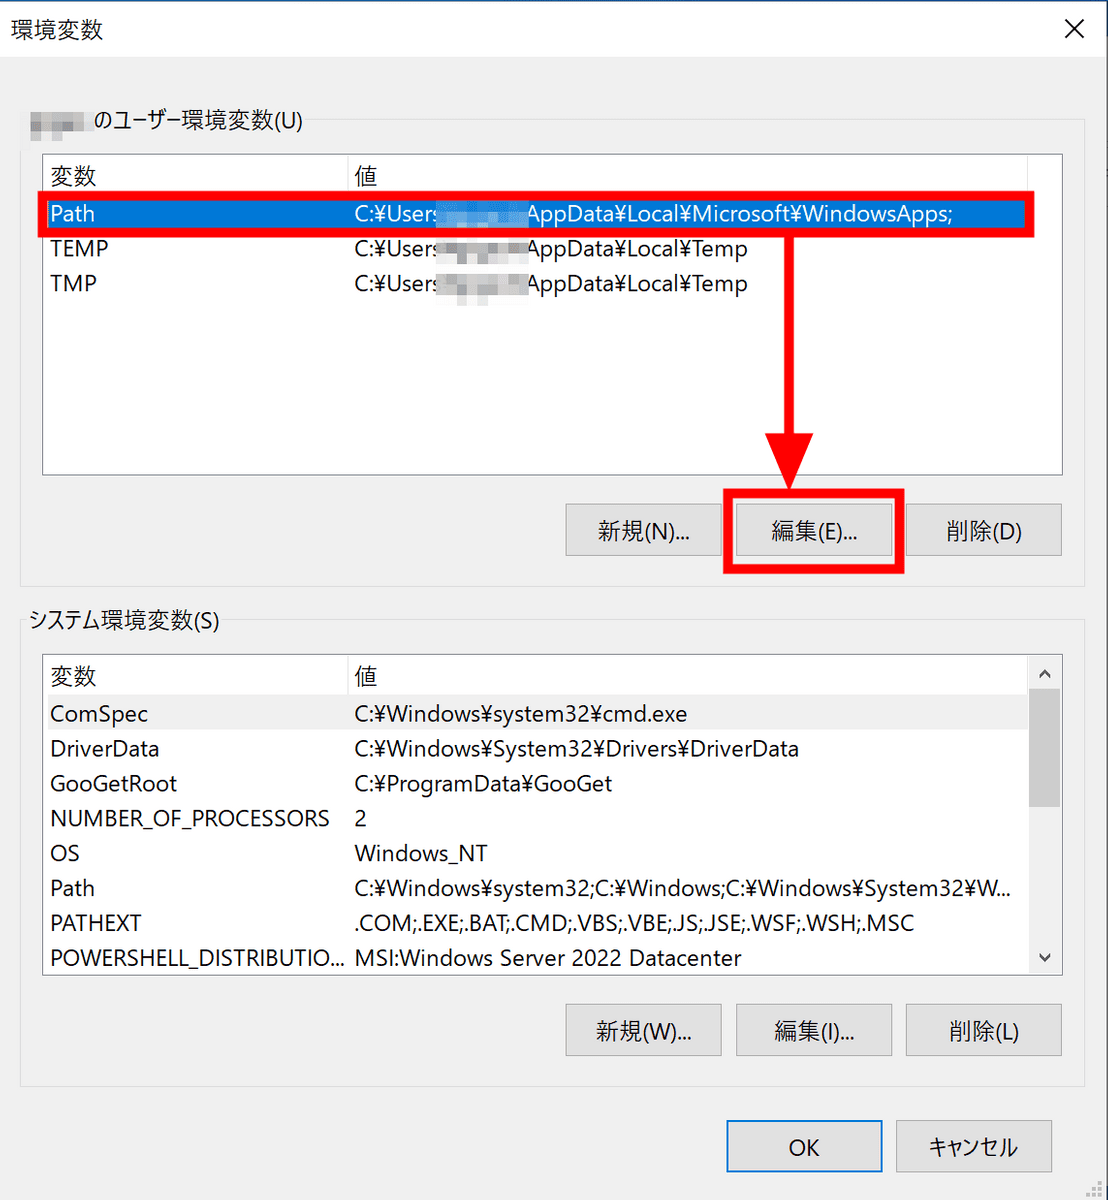
Select 'Path' under User Environment Variables and click 'Edit'.
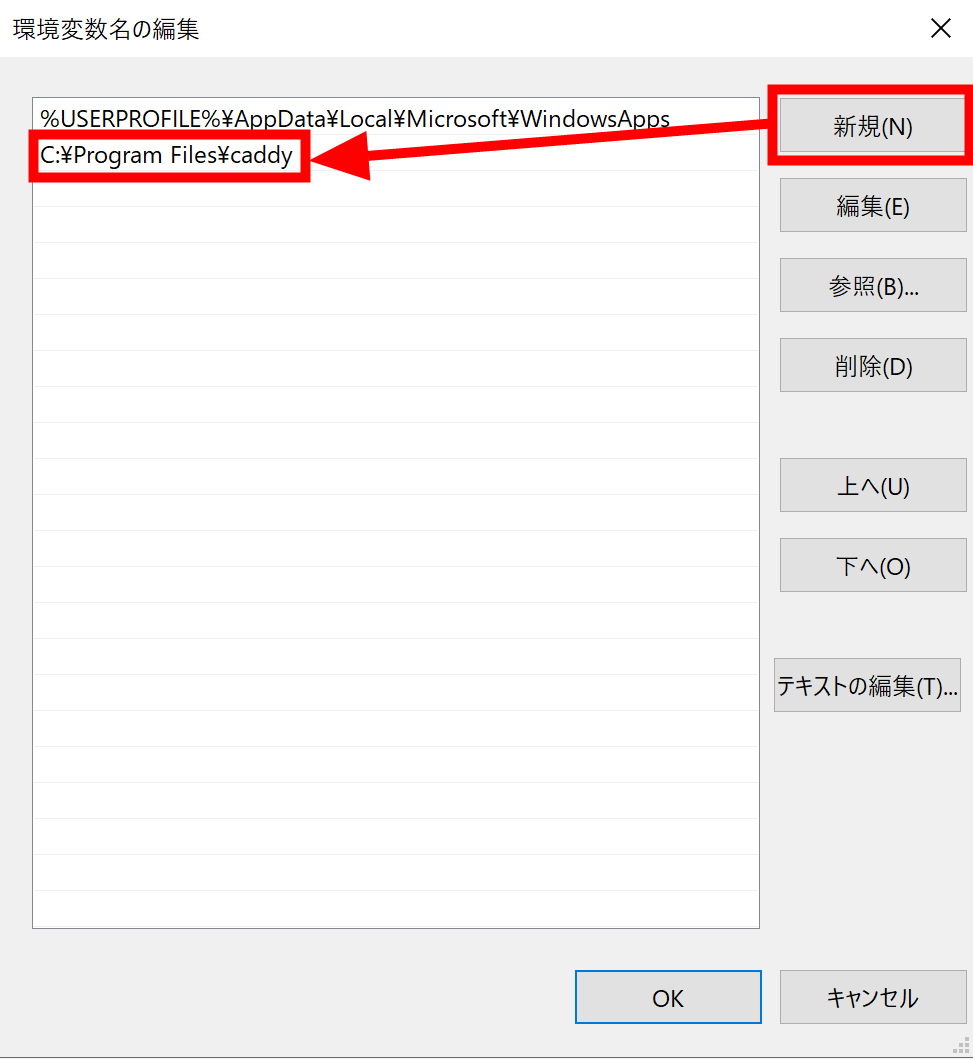
Click New, type C:\Program Files\caddy , and click OK.
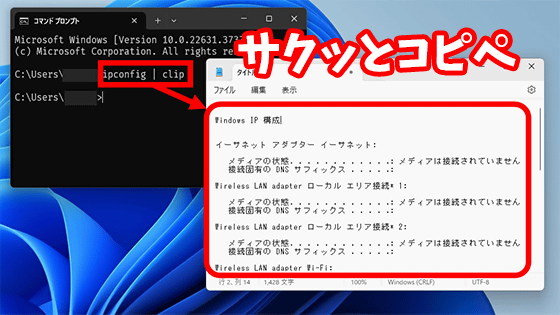
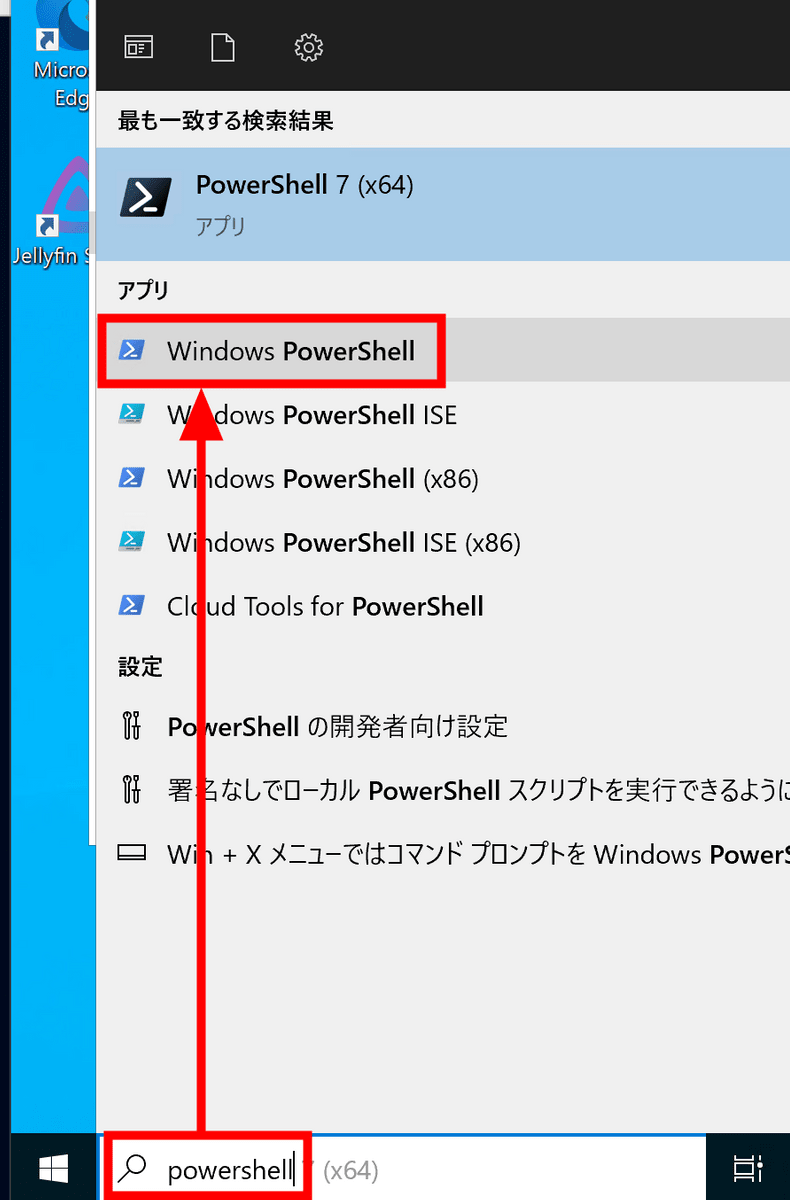
Search for 'Windows PowerShell' in the Start menu and click it.
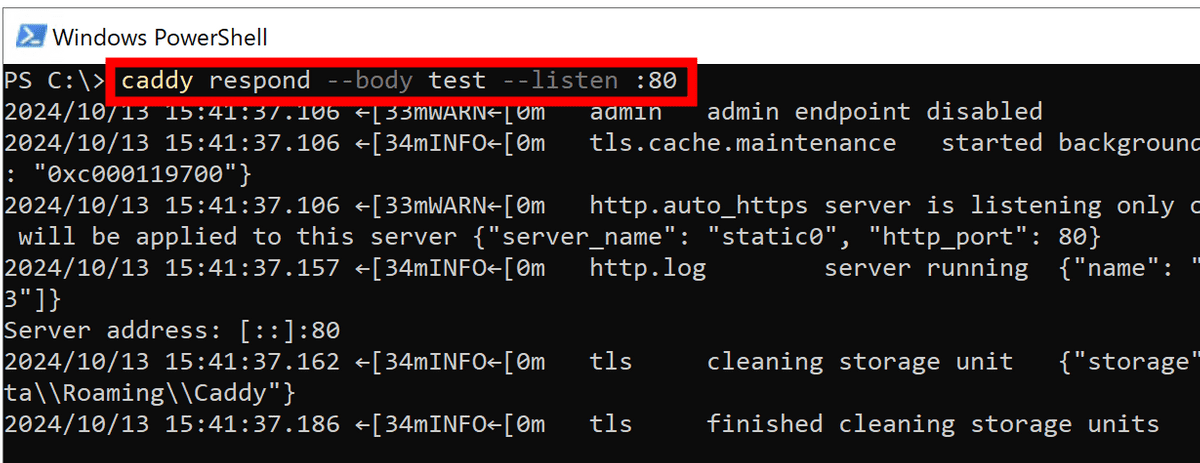
Select the command ' caddy respond --body test --listen :80 ', copy it, paste it with Ctrl+V, and press Enter to start the Caddy server.
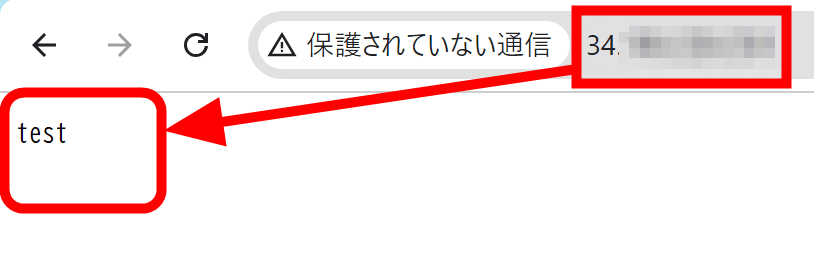
When you enter the global IP address from an external line using a browser on a smartphone or other device, 'test' is displayed. This completes the access check from outside. If you do not know your global IP address, access '
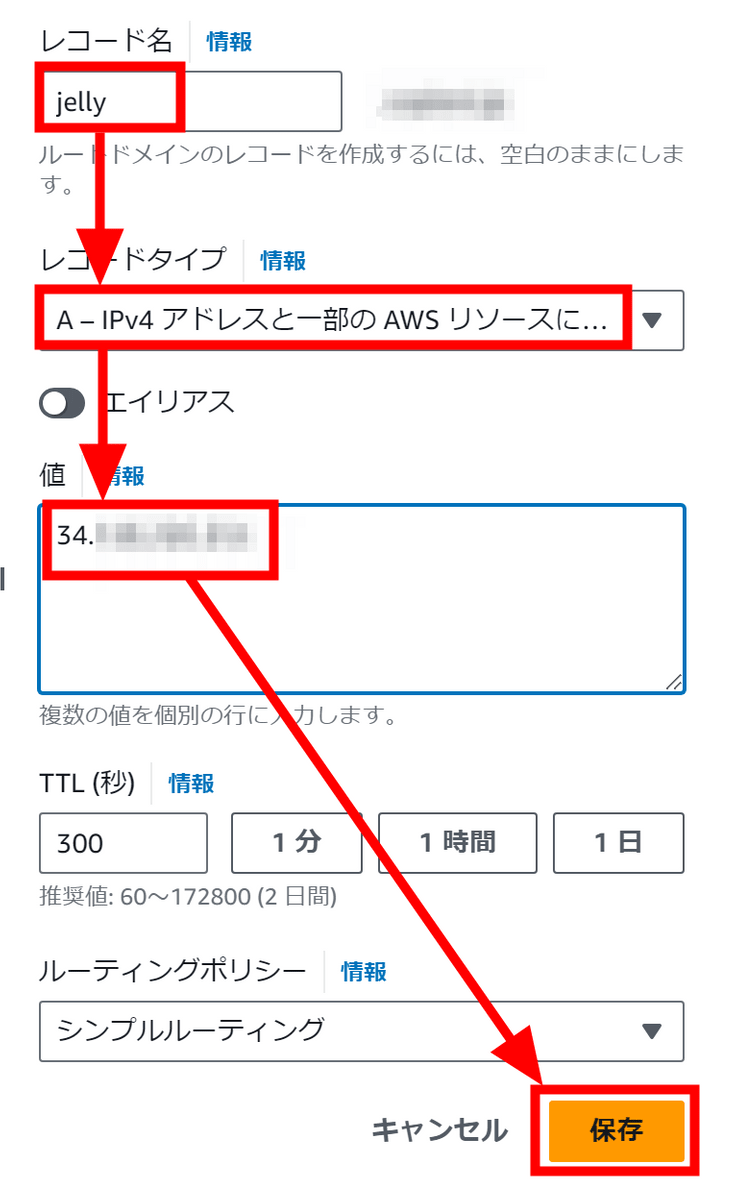
To use HTTPS, you need to configure DNS. Since I'm using a domain I already own, I set the global IP address I checked earlier to the A record of the subdomain 'jelly'. If you don't own a domain, you can use a free DDNS service such as
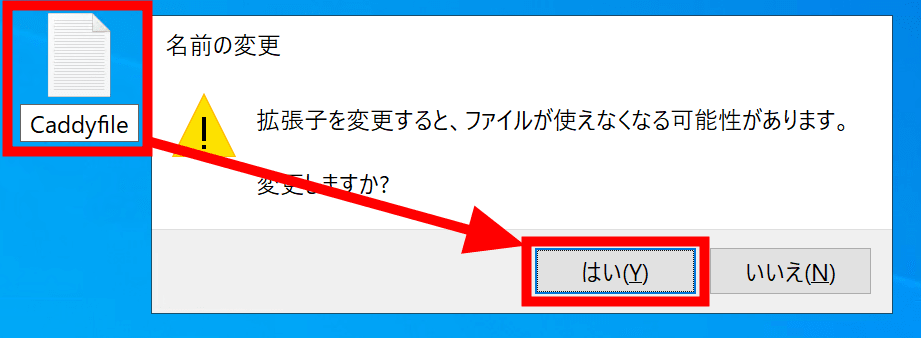
Configure the settings to redirect access to the Caddy server to Jellyfin. Create a text file on your desktop and rename it to 'Caddyfile'. A confirmation dialog will appear, so click 'Yes'.
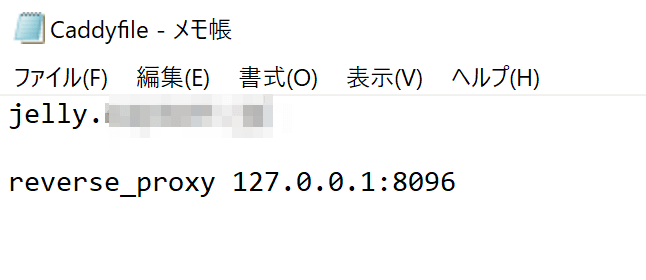
Open Caddyfile in a text editor such as Notepad, write the domain name you set earlier on the first line, and 'reverse_proxy 127.0.0.1:8096' on the third line, then save it.
Move Caddyfile to ' C:\Program Files\caddy '. Since you can't create files under the Program Files folder, you had to create the file on the desktop first.
Return to PowerShell and press Ctrl + C to quit the currently running Caddy. After moving to the Caddy folder using a command such as cd 'C:\Program Files\caddy' , enter the command 'caddy run' and the message 'Launch using Caddyfile' will appear.

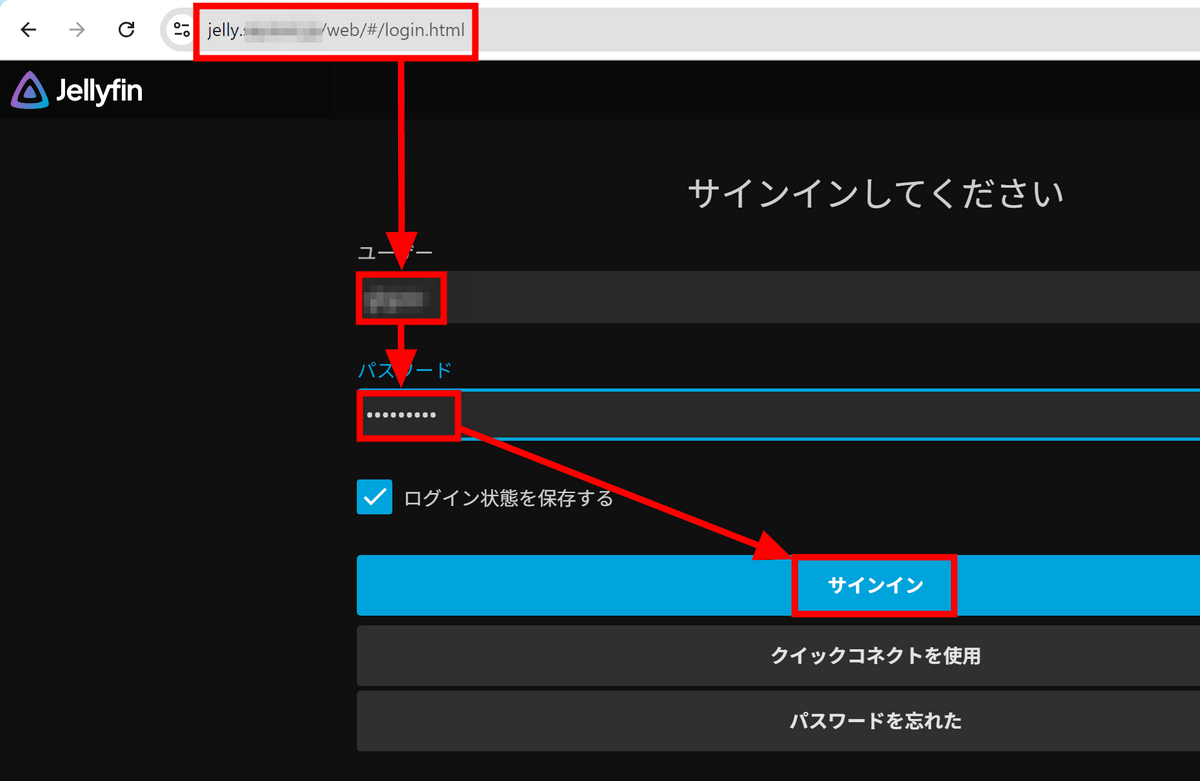
When I entered the domain into the browser of a PC connected to an external line, I was redirected to the Jellyfin login screen. I entered my username and password just like when I accessed locally and clicked 'Sign in.'
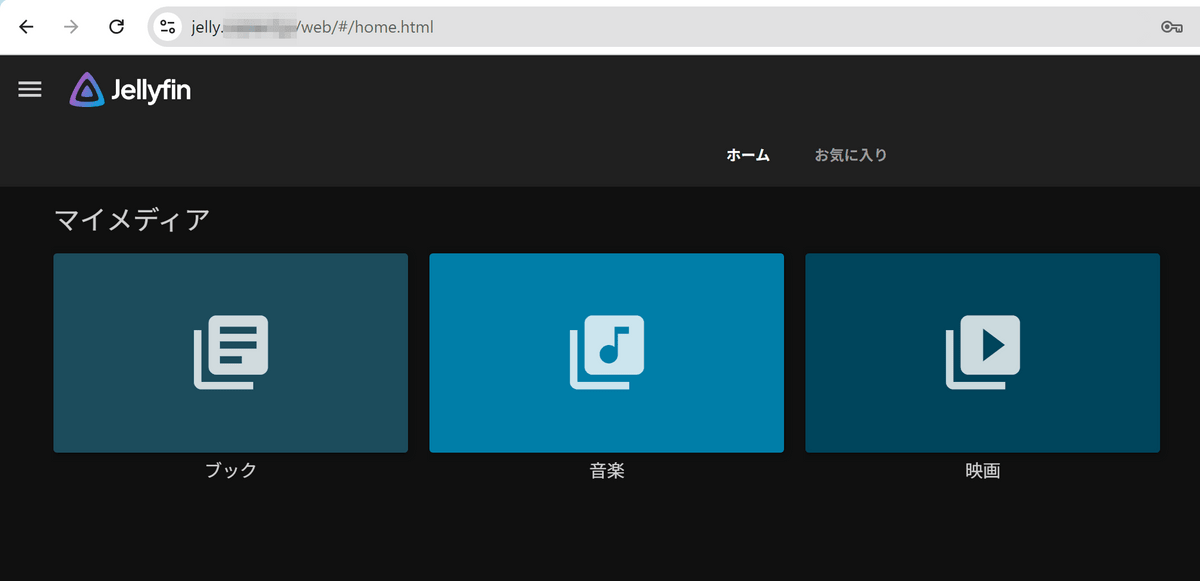
The media folder was displayed, confirming that the connection was successful.
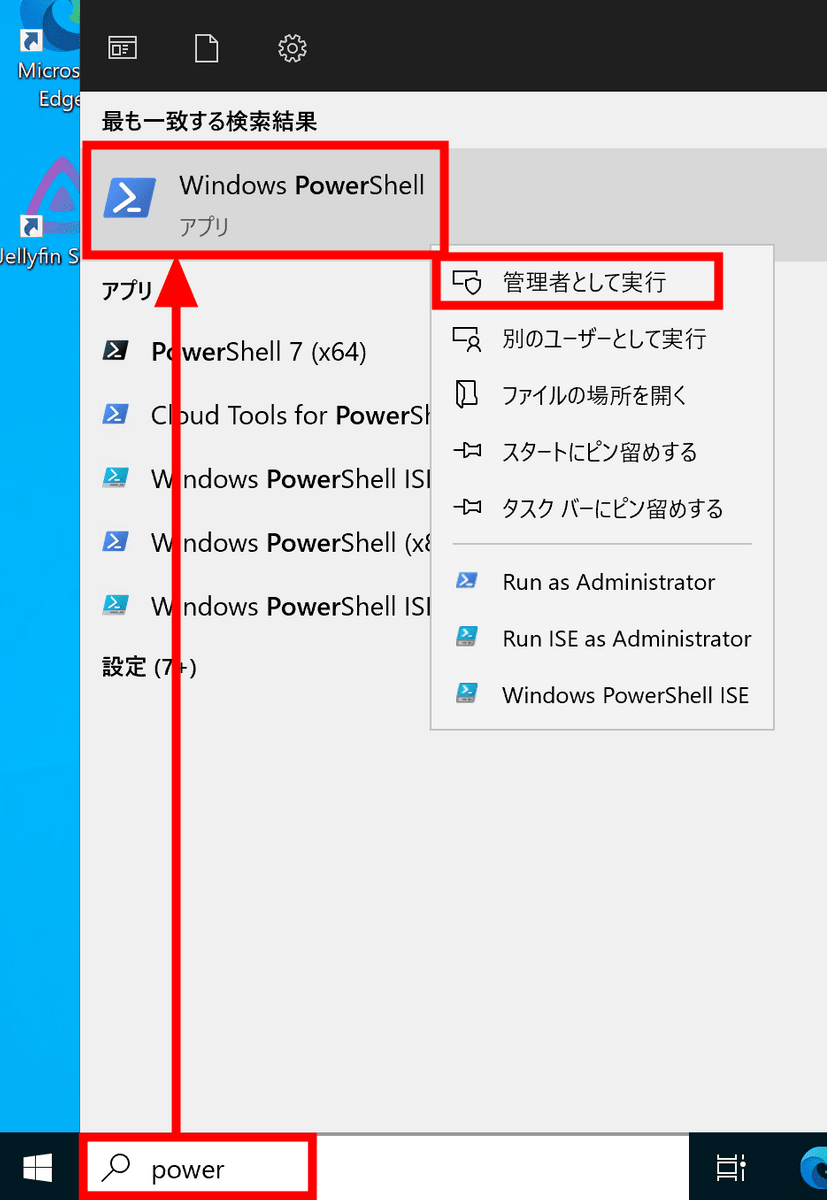
As a final step in the server installation, we will set up Caddy to start automatically when the PC is restarted. Search for 'Windows PowerShell' in the Start menu, right-click it, and click 'Run as administrator.'
Copy ' sc.exe create caddy start= auto binPath= 'C:\Program Files\caddy\caddy.exe run' ', paste it into PowerShell and press Enter. Next, copy ' sc.exe start caddy ' and paste it in the same way and press Enter. Caddy will now start automatically when you reboot.
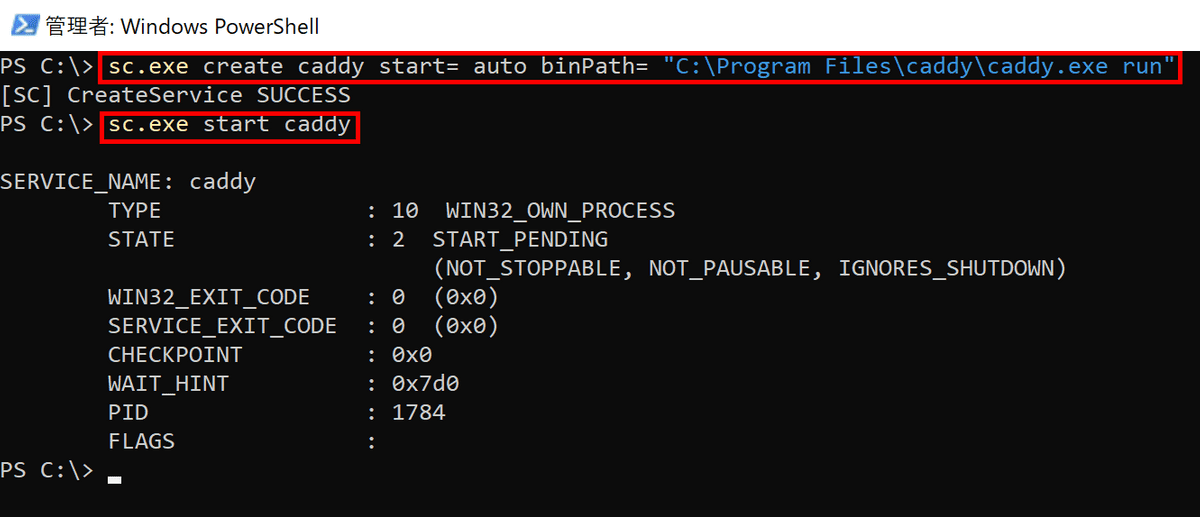
If you want to stop Caddy, use the command ' sc.exe stop caddy ', and if you want to stop it from starting automatically on reboot, you can remove Caddy from the services list with the command ' sc.exe delete caddy '.
In addition to the web client used in this article, Jellyfin also has clients for desktop, Android, iOS, Android TV and Fire TV, Roku , and Kodi .
In the next article we will actually use Jellyfin to stream content.
Continued
I actually tried streaming content with 'Jellyfin', which allows you to stream videos, music, e-books, etc. for free at home or on the go - GIGAZINE

Related Posts: