'Network Notepad' review that allows you to write free and simple network diagrams by dragging and dropping

As you start managing multiple servers, you will need to write a network diagram that represents the overall configuration of your servers and network equipment. With the free software ' Network Notepad ' for Windows, you can draw simple network diagrams by dragging and dropping.
Network Notepad
First, access the download page of Network Notepad and click 'Download'. Click Save File to save the file.
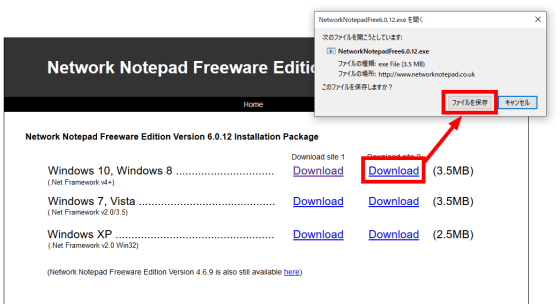
Double click the downloaded file.

The installer will start up, so click 'OK'.

Accept the license agreement and click 'Next'.

If you do not change the installation location, just click 'Next'.

Click 'Next'.

If you do not want to limit the users who use Network Notepad, just click [Next].

Click 'Install'.

After installation is complete, click Finish to launch Network Notepad.
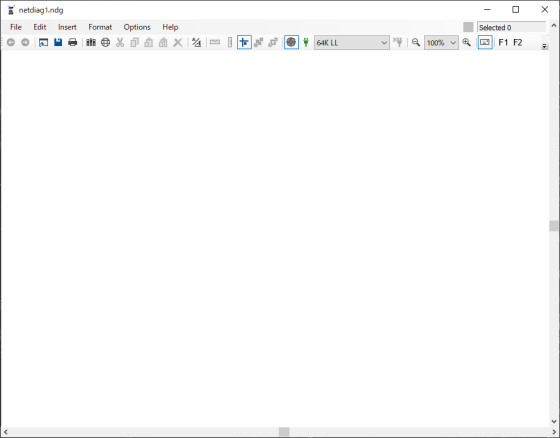
The white screen is displayed first. Place objects such as servers and switches here and write a network diagram.
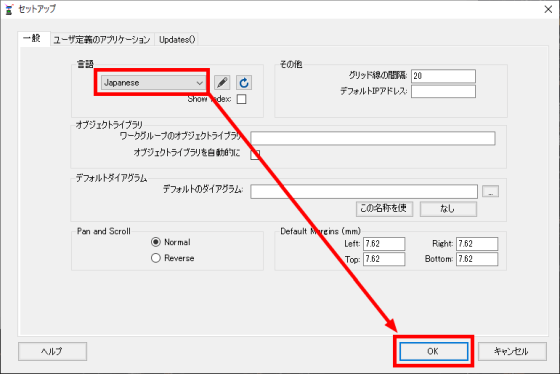
First, to change the language to Japanese, click 'Setup' from 'File'.

Select 'Japanese' and click 'OK'. You can now change the Network Notepad language to Japanese.
I will write a network diagram at once. Click 'Object Library'...

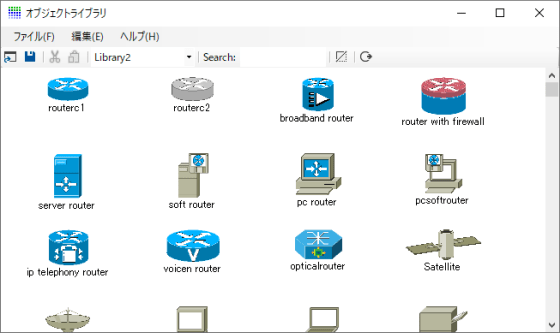
A list of objects that can be used to draw a network diagram is displayed.
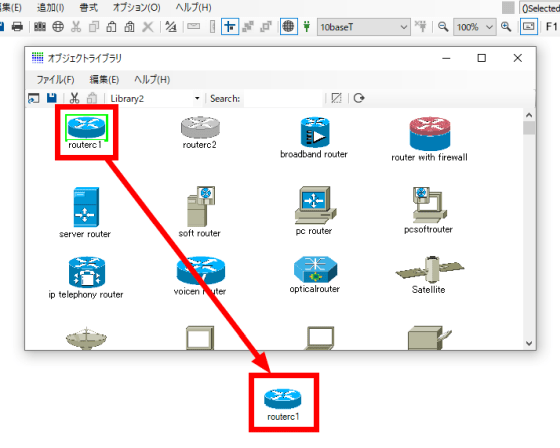
Place the objects you want to use by dragging and dropping them into the white campus area.
Right-click the placed object and click 'Properties' to set the object.

Set the name in 'Name' and the IP address in 'Address', and click 'OK'.

Next to the name and IP address is the setting of 'Character location for object'. For example, if you set it to 'N (North)', characters will be displayed above the object.

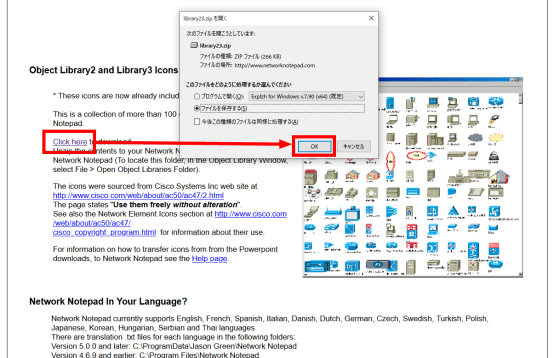
By default there are limited objects available, so add the additional objects provided by Network Notepad. Go to the same page where you downloaded Network Notepad and click 'Click here' to download the Zip file. Unzip the downloaded Zip file.
Click 'File' and 'Open Object Library' from the 'Object Library' button.
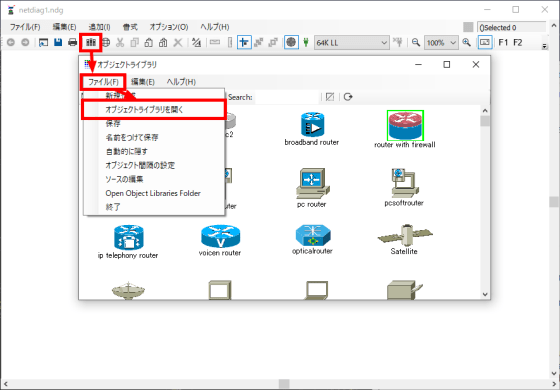
The directory in which the object is stored is displayed. Copy the contents of the Zip file that was expanded earlier to this directory.
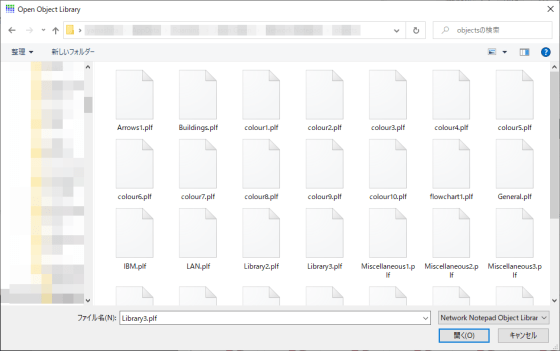
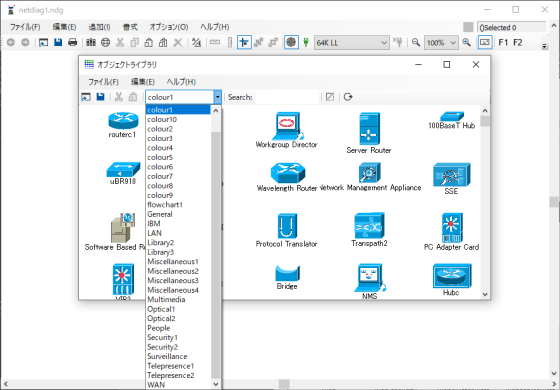
You have added the object.
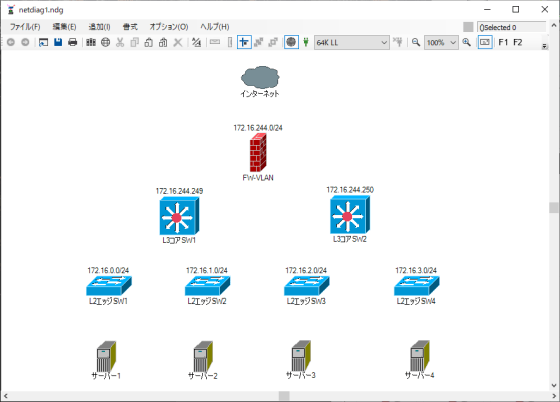
If you click the 'Auto Align' button and turn on Auto Align, the objects will be automatically aligned.

I arranged the object like this.
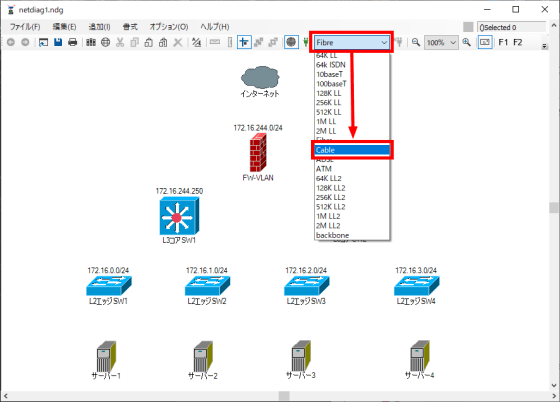
Then connect the objects together. Select the link according to the link status between objects.
If you click the linked objects and drag and drop the objects...

I was able to connect the objects together.

A simple network diagram is completed by connecting other objects together.
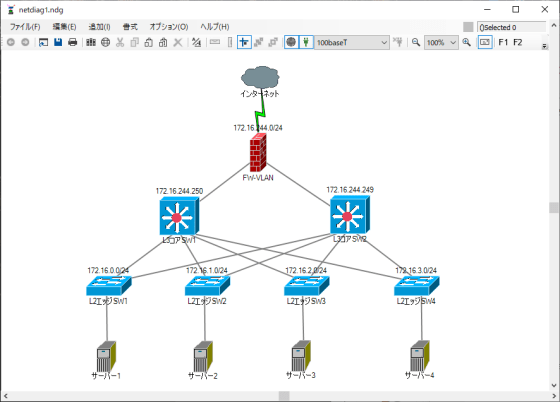
By right-clicking on the object for which the IP address is set, you can perform remote connection using telnet or VNC, and alive monitoring by ping.

Click 'Save' to save the created network diagram.

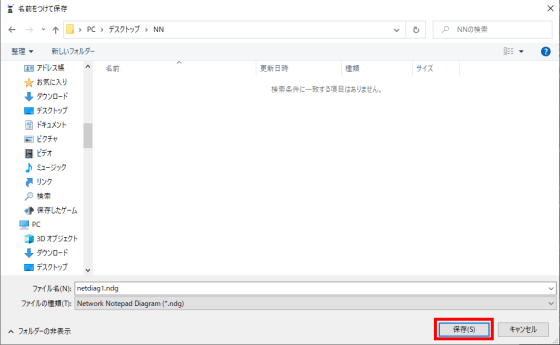
Select the directory you want to save and click 'Save'.
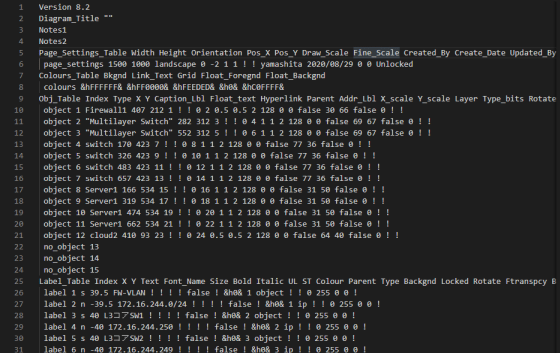
The saved file is a text file, so you can manage the differences with GitHub.
Since only one IP address can be set for one object, it seems difficult to manage a server with multiple IP addresses. However, it was a convenient function to manage life and death easily by right-clicking an object.
Related Posts:


