I tried out the Yamazen 'ELEIN Battery-Compatible Compact Cooler' which can be powered by batteries and can blow out cool air at temperatures 10 degrees below the surrounding temperature just by placing it.
Spot coolers are useful when you want cool air in only one part of a room, but don't want to have to go to the trouble of installing an outdoor unit, or in places where you can't install an outdoor unit. All you need to do is connect it to a power source and you can start using it right away. Yamazen, which handles a variety of home appliances, has added a battery-powered compact cooler (YBC-C04) to its
Battery-powered compact cooler | New battery that can be used anywhere: ELEIN
https://book.yamazen.co.jp/lp/elein/lineup/ybc-c04/
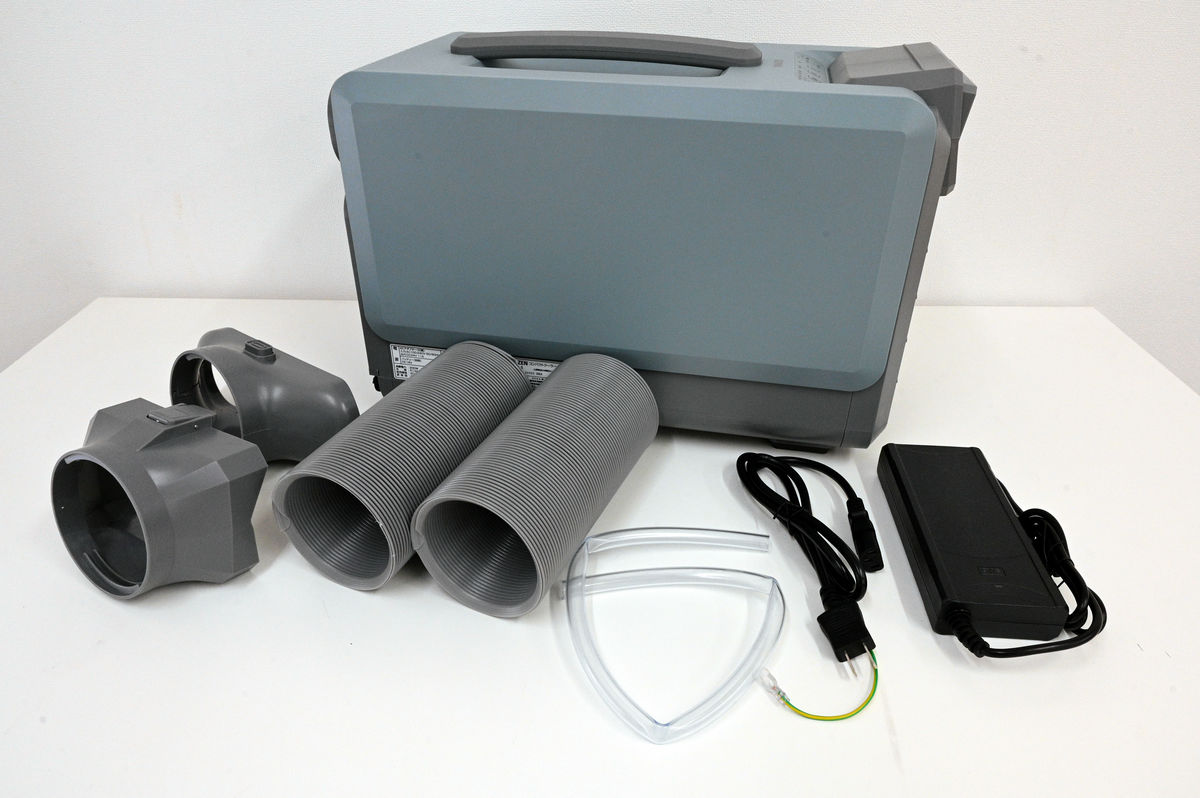
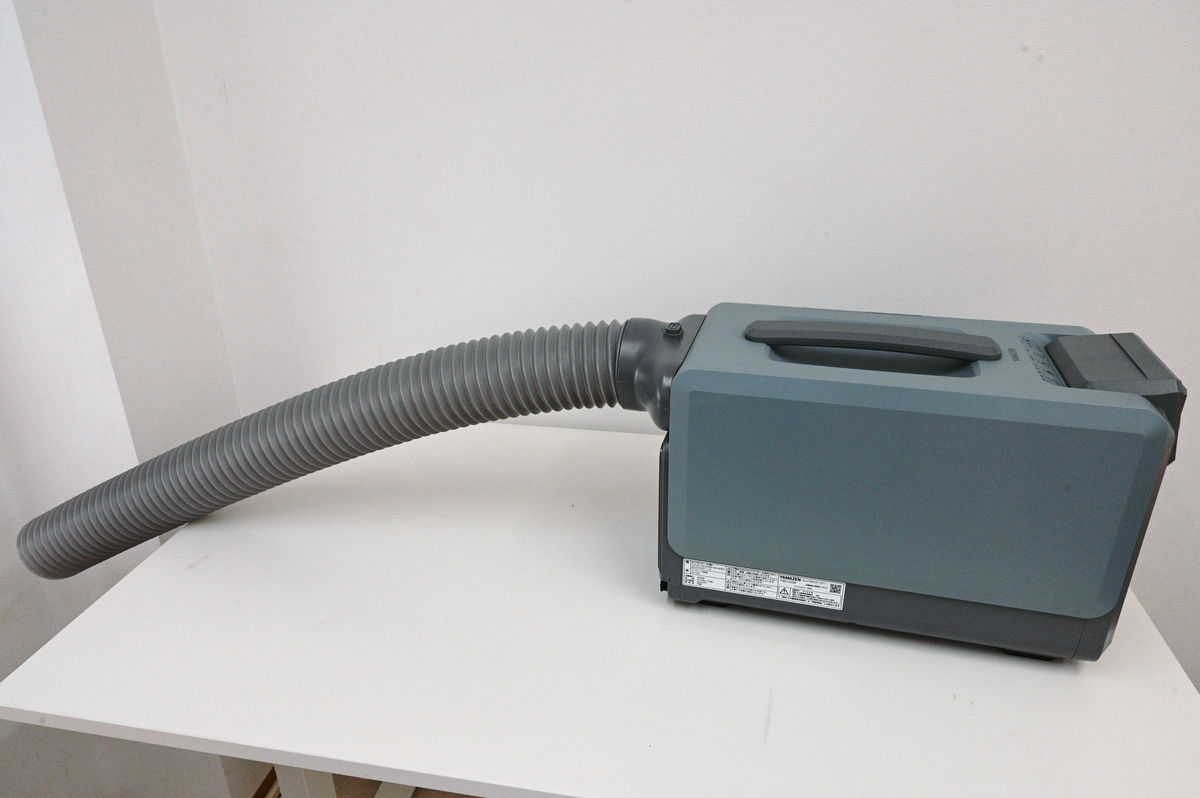
The 'battery-compatible compact cooler' body and all included items look like this.
The main body measures 230mm x 474mm x 322mm.
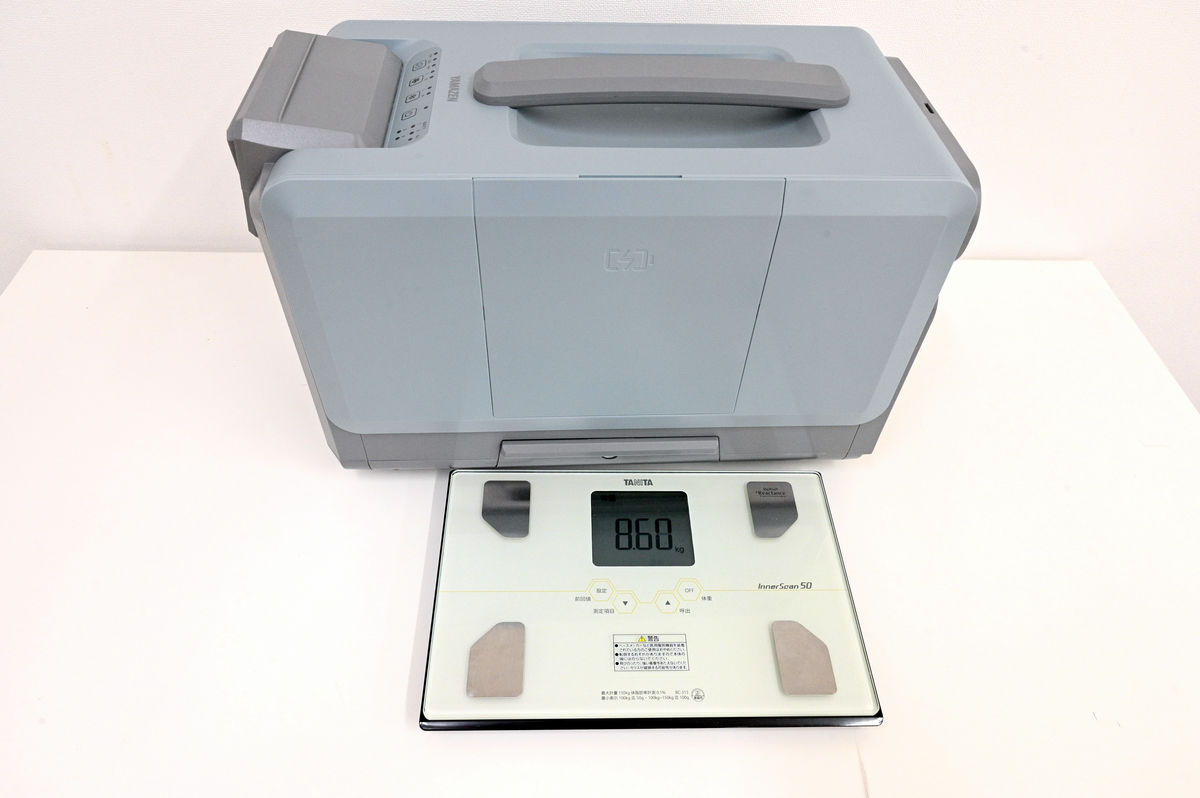
The actual weight was 8.6 kg.
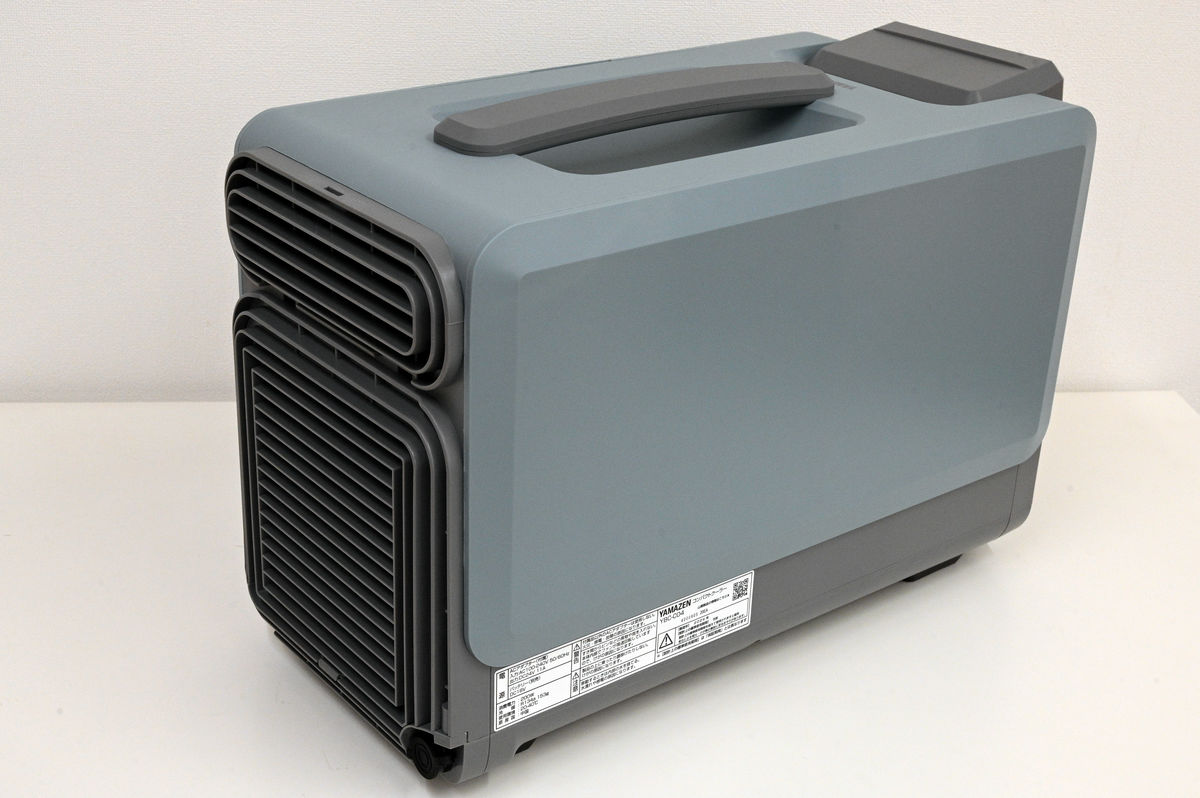
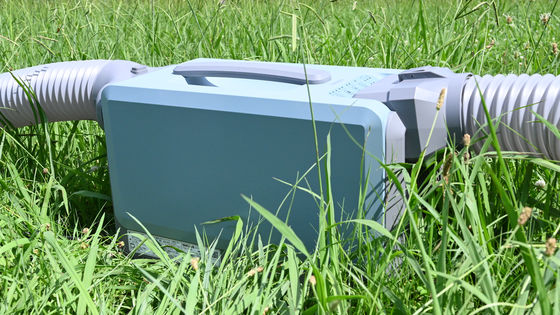
The other side looks like this. There are subtle differences in the shape of the end.
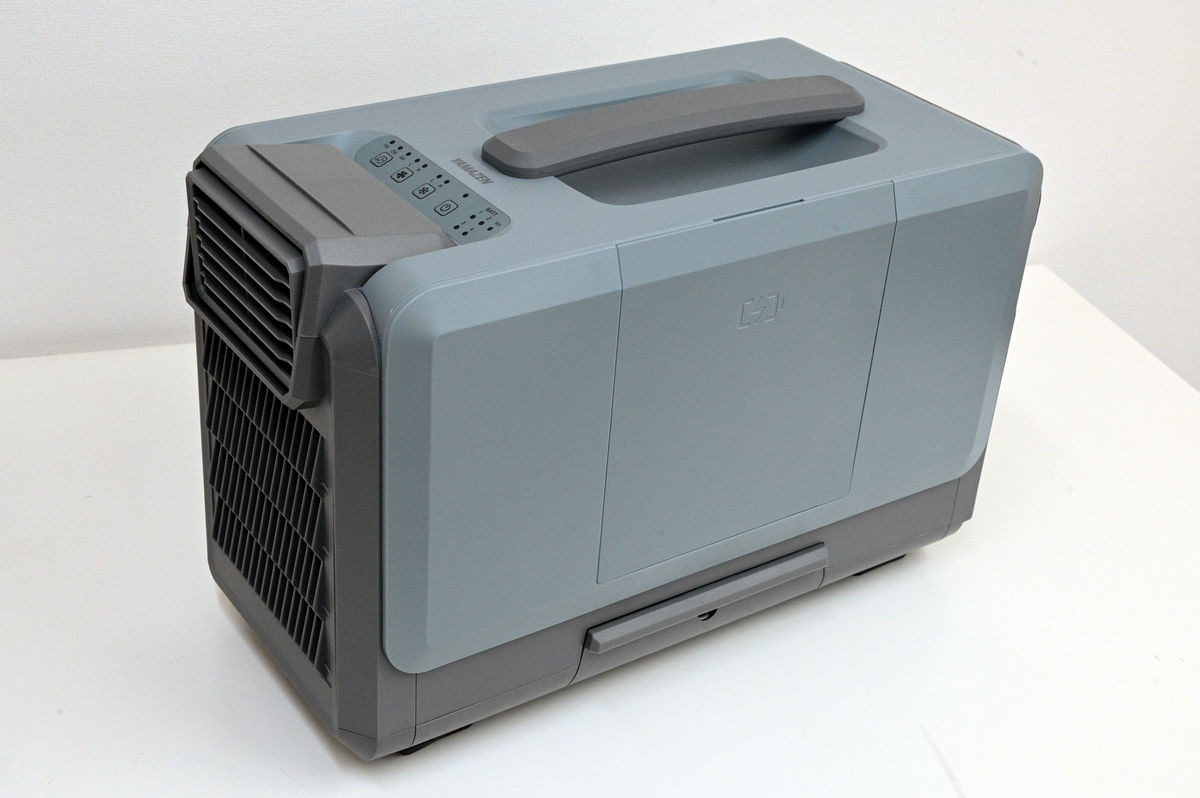
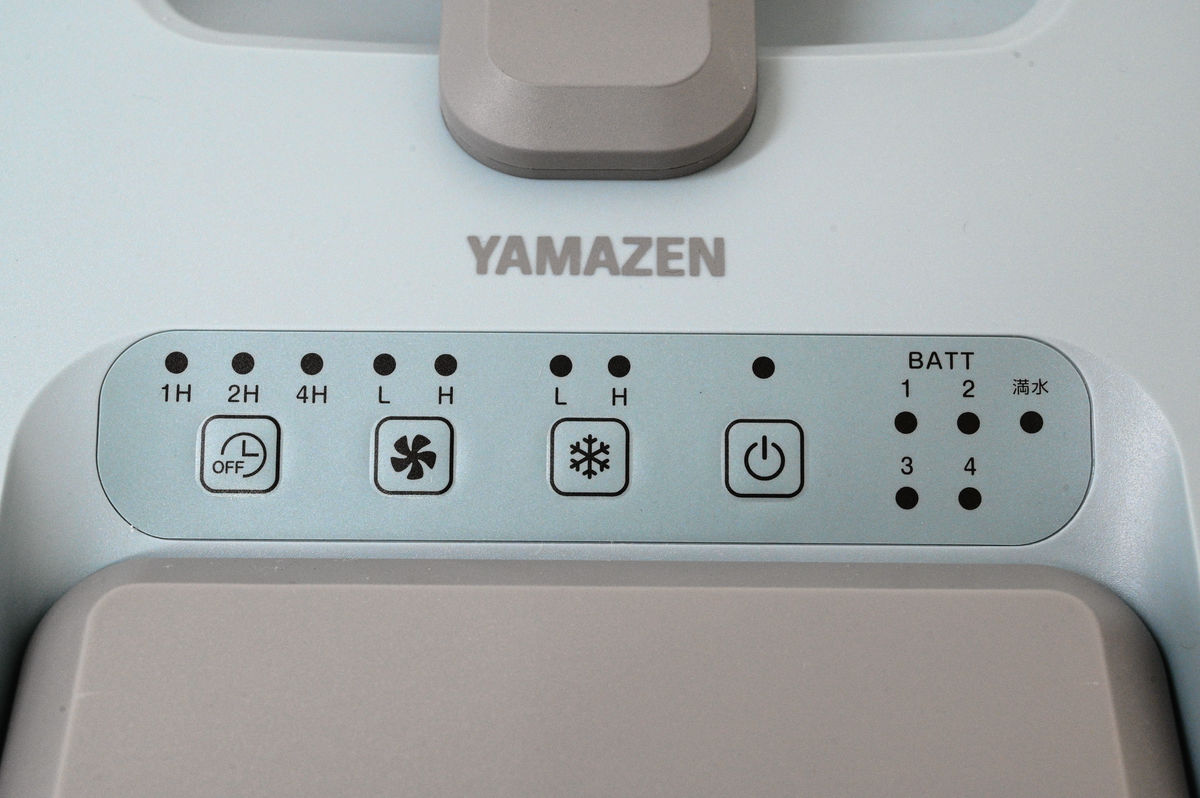
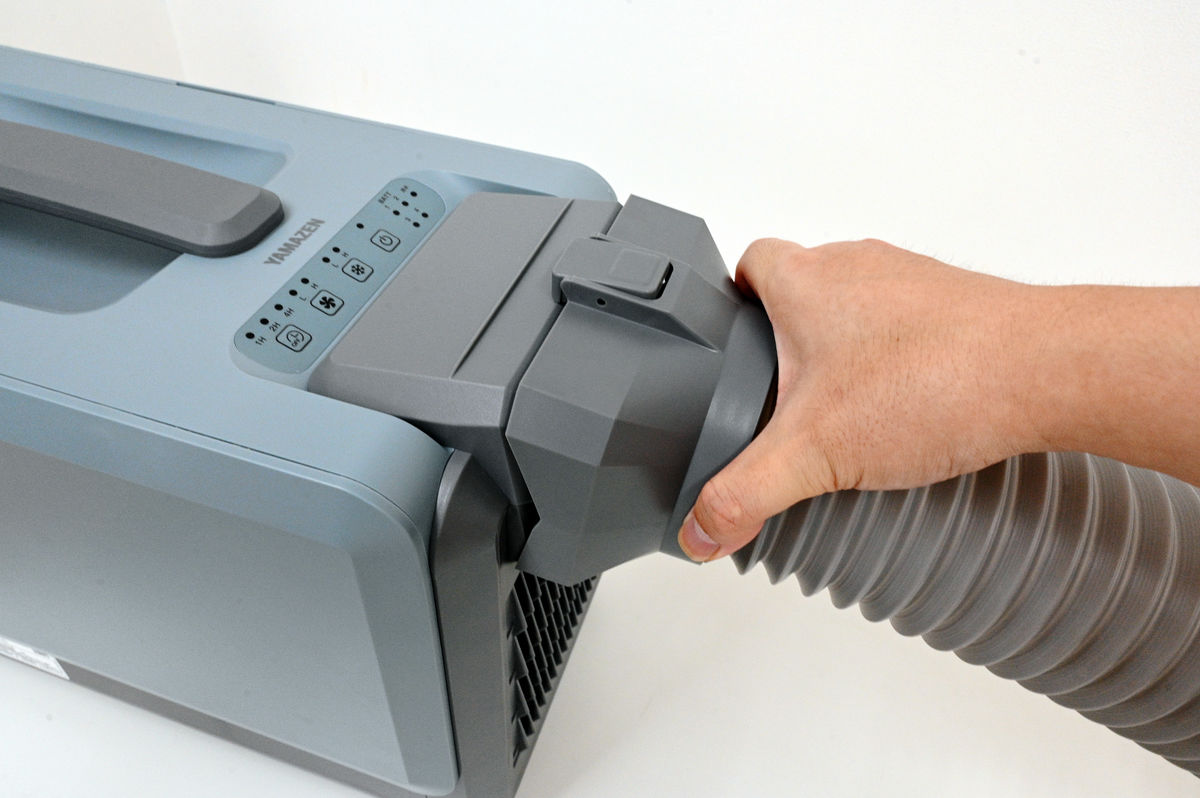
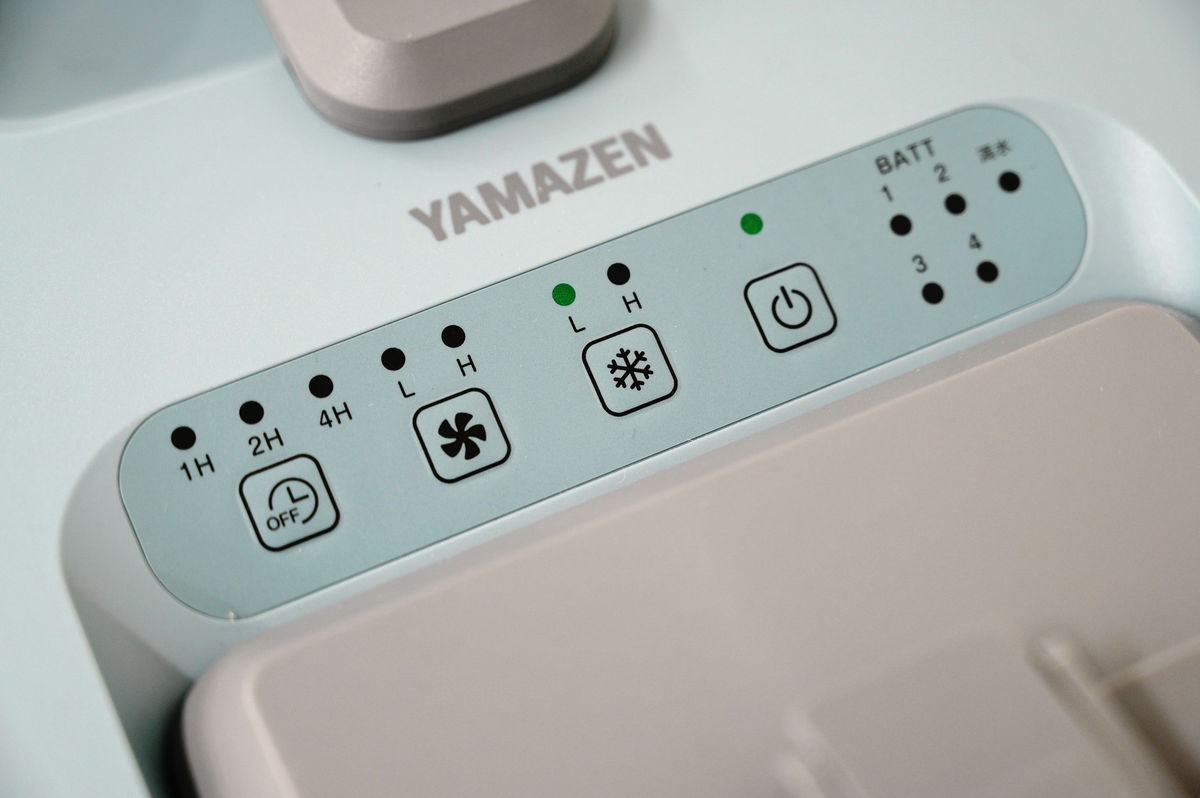
There is an operation panel on the right hand side of the top. From left to right, the buttons are 'Off timer,' 'Air blower,' 'Cool air,' and 'Power.'
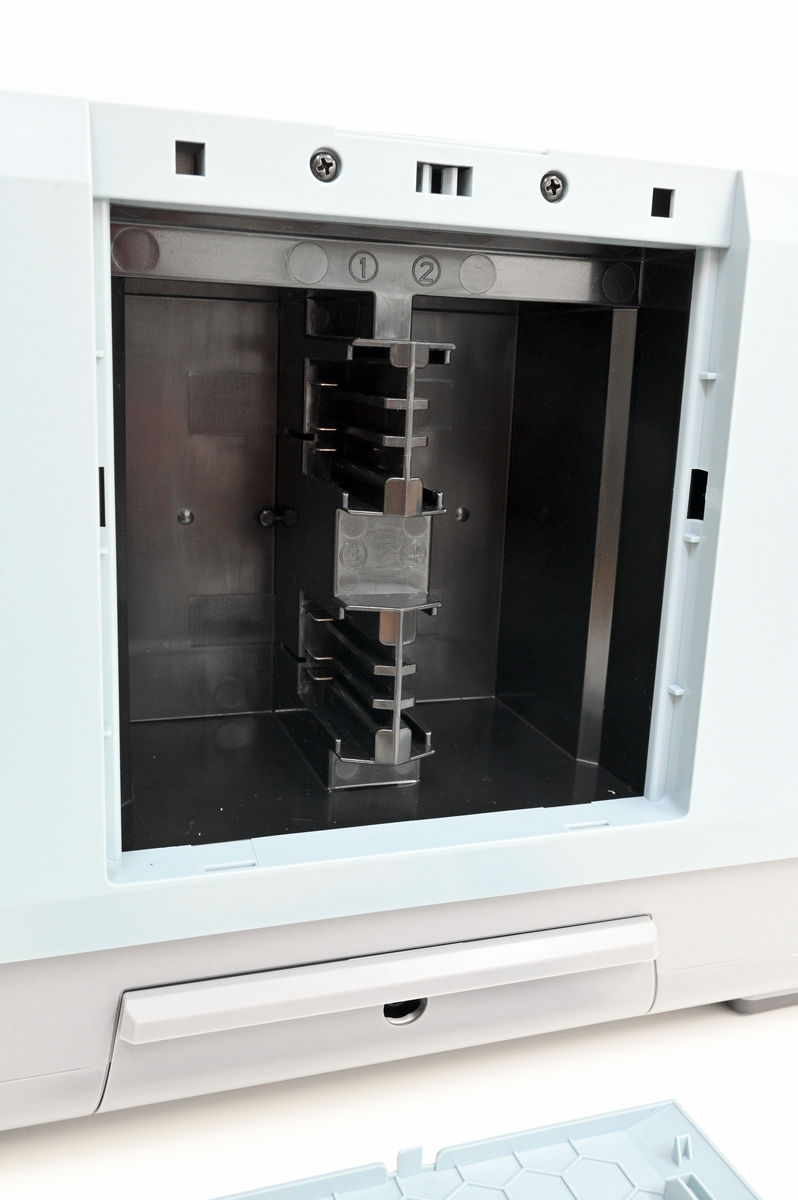
Remove the cover in the center of the back to reveal the battery slot.
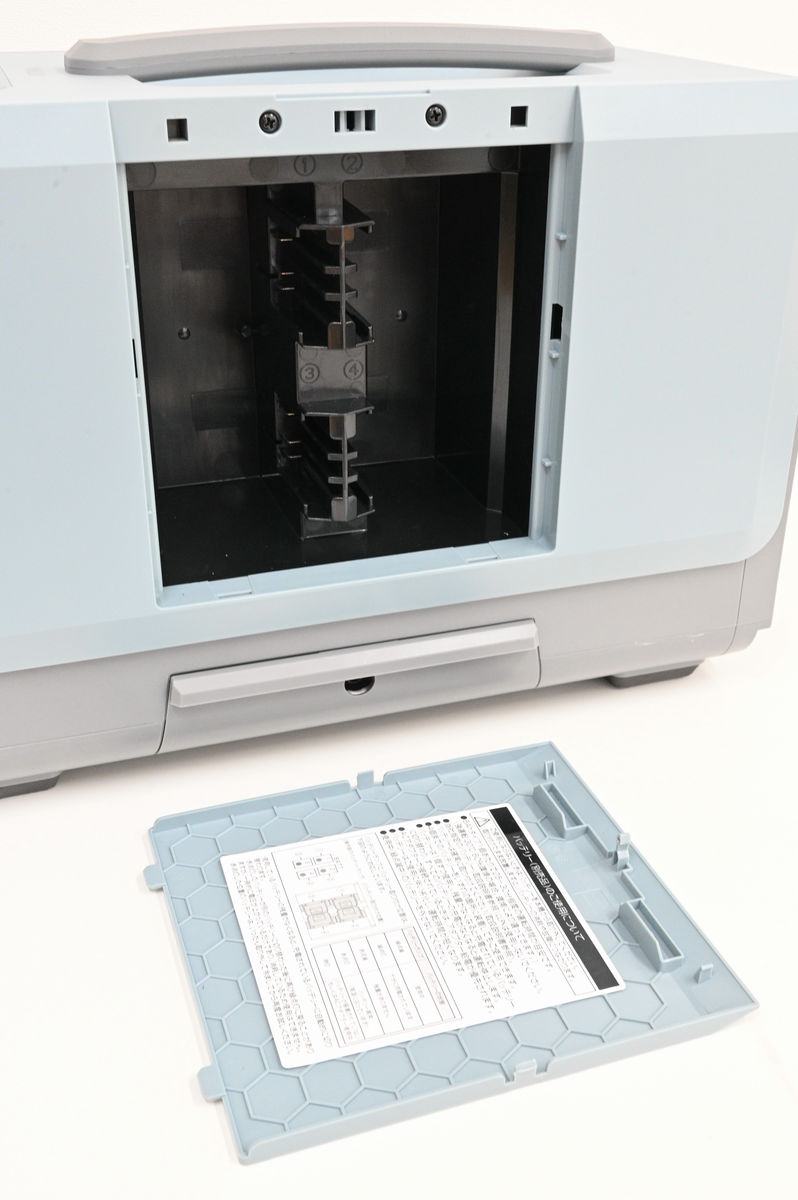
Up to four batteries can be installed. The batteries are the same lithium-ion battery 'YBDC-5A' as in the 'ELEIN' series, and both the battery and the charger are sold separately.
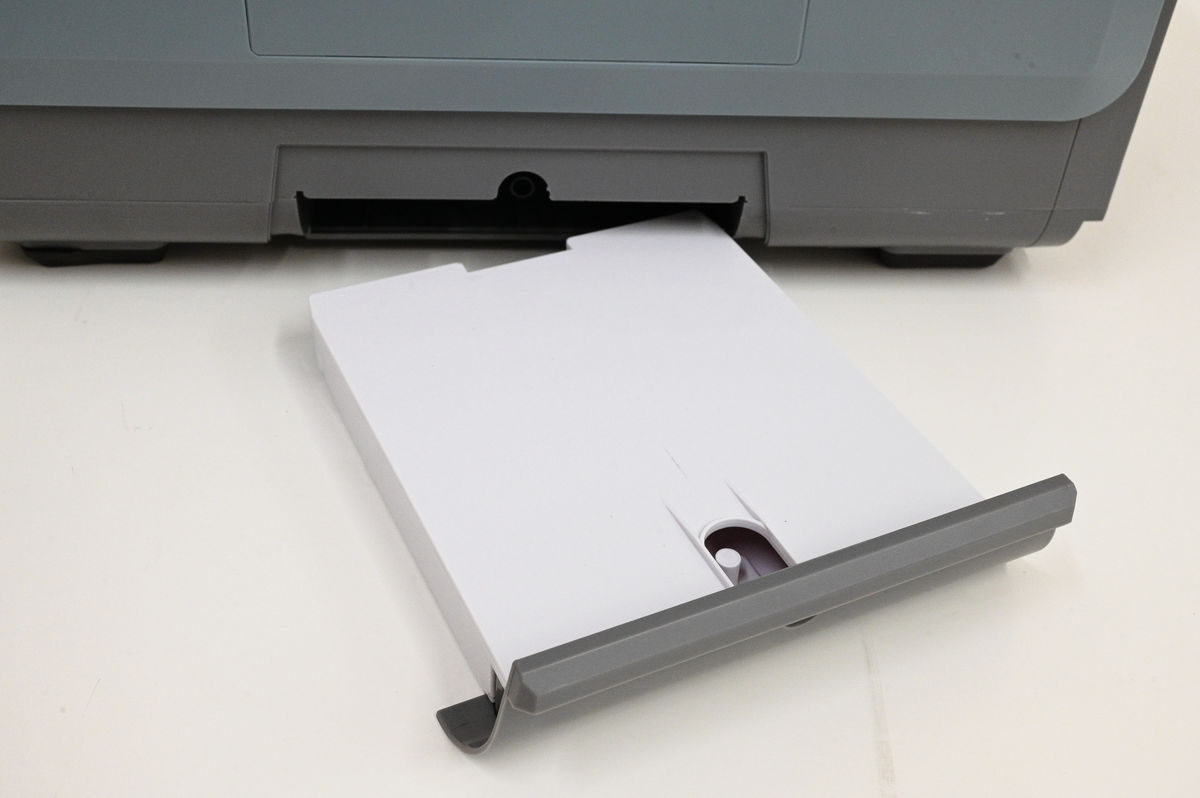
The removable tank underneath the battery is for draining water.
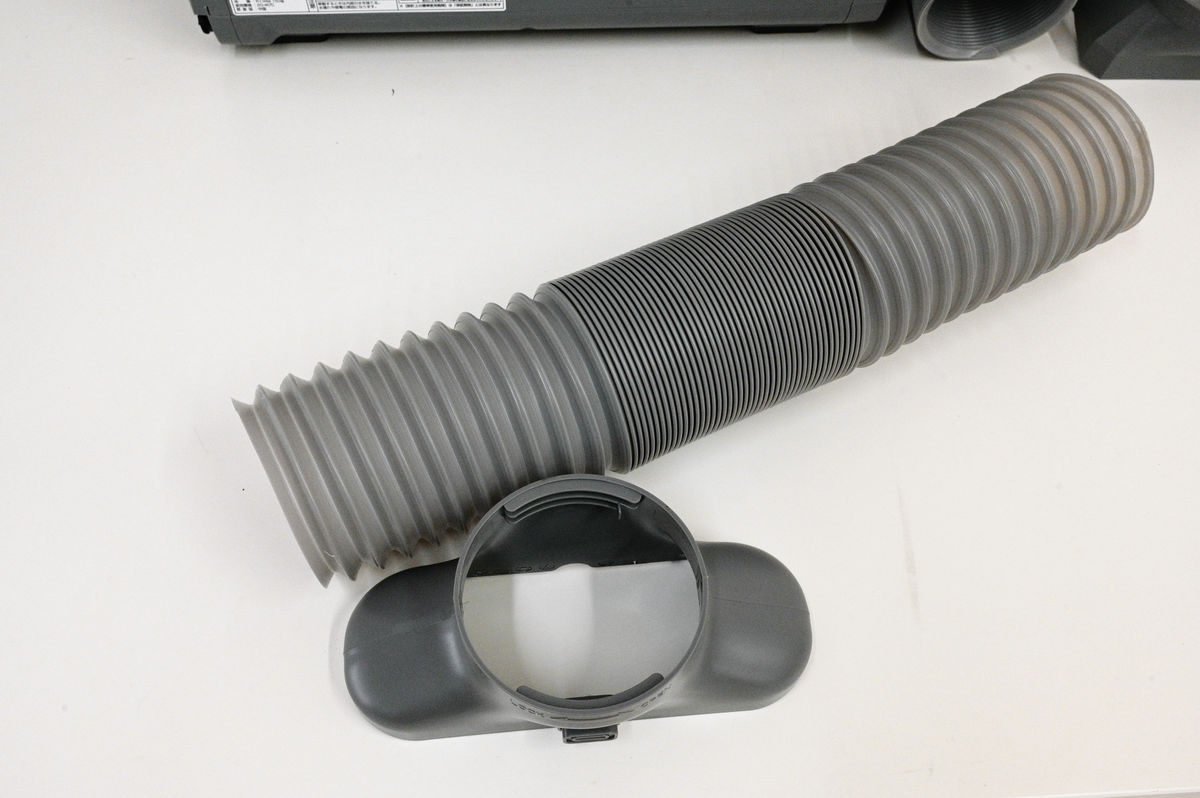
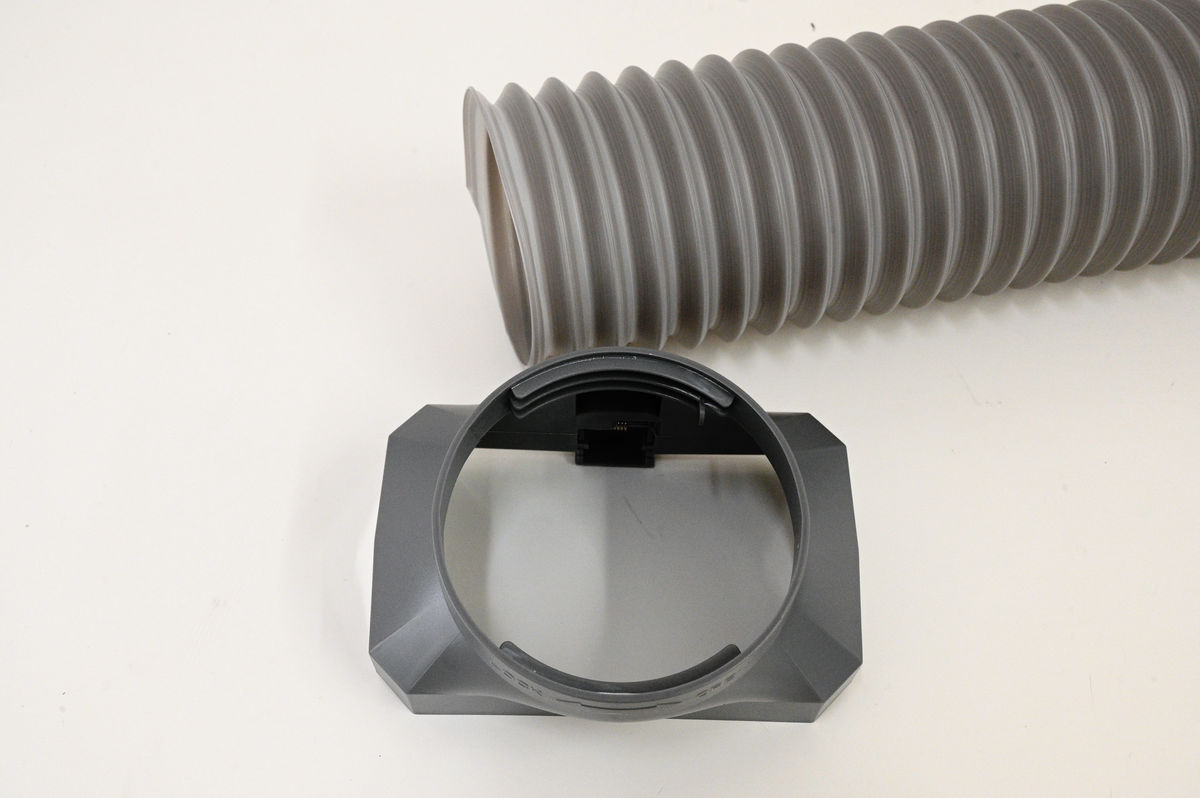
Before use, prepare the duct. First, start with the rounded corners of the exhaust port joint. Leave the duct extended.
Screw the duct clockwise so that it aligns with the groove inside the fitting.
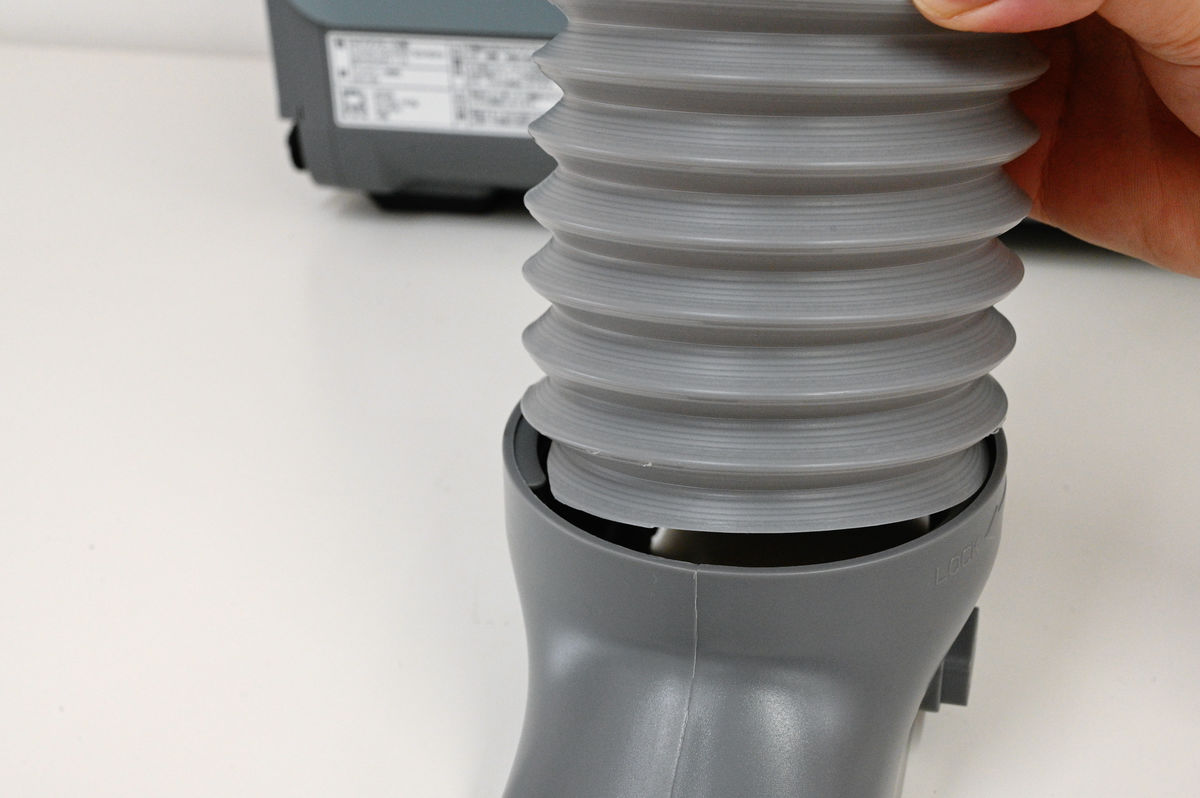
Just push it in until you can't screw it in any further.
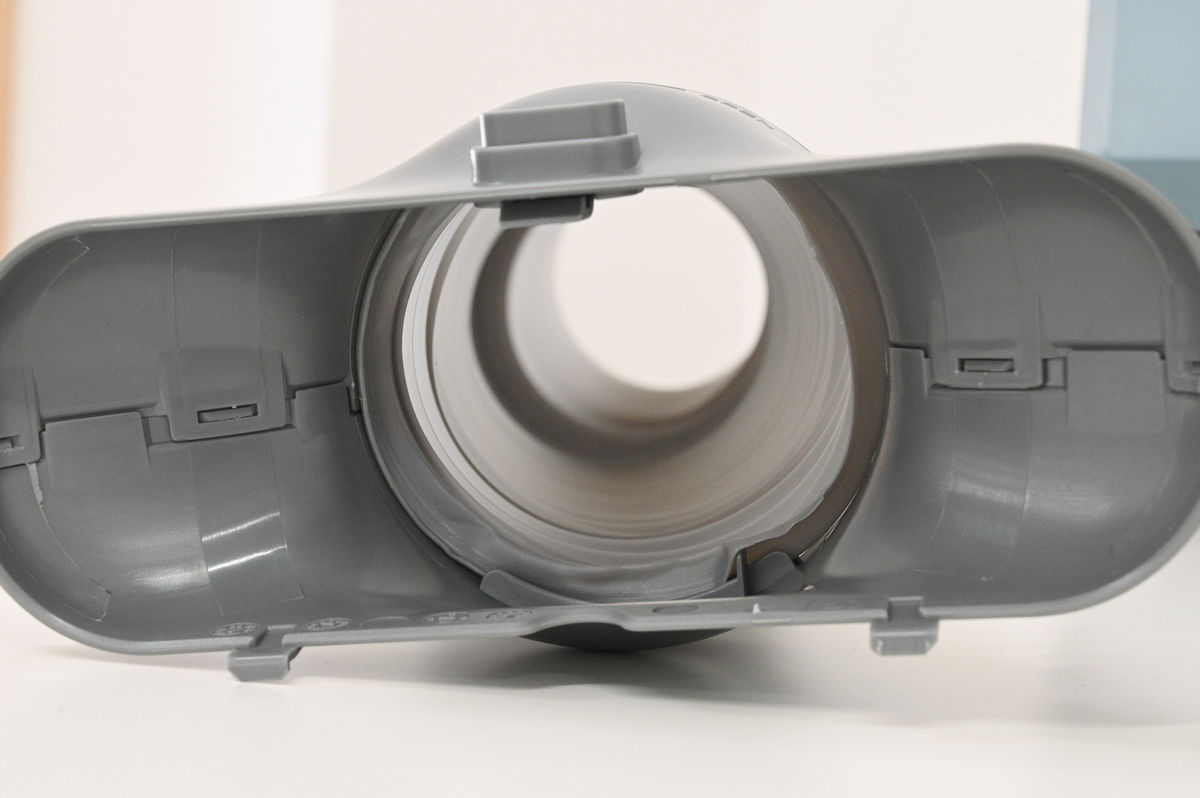
Align the lower tab of the fitting with the hole in the main body and snap the upper tab into place.
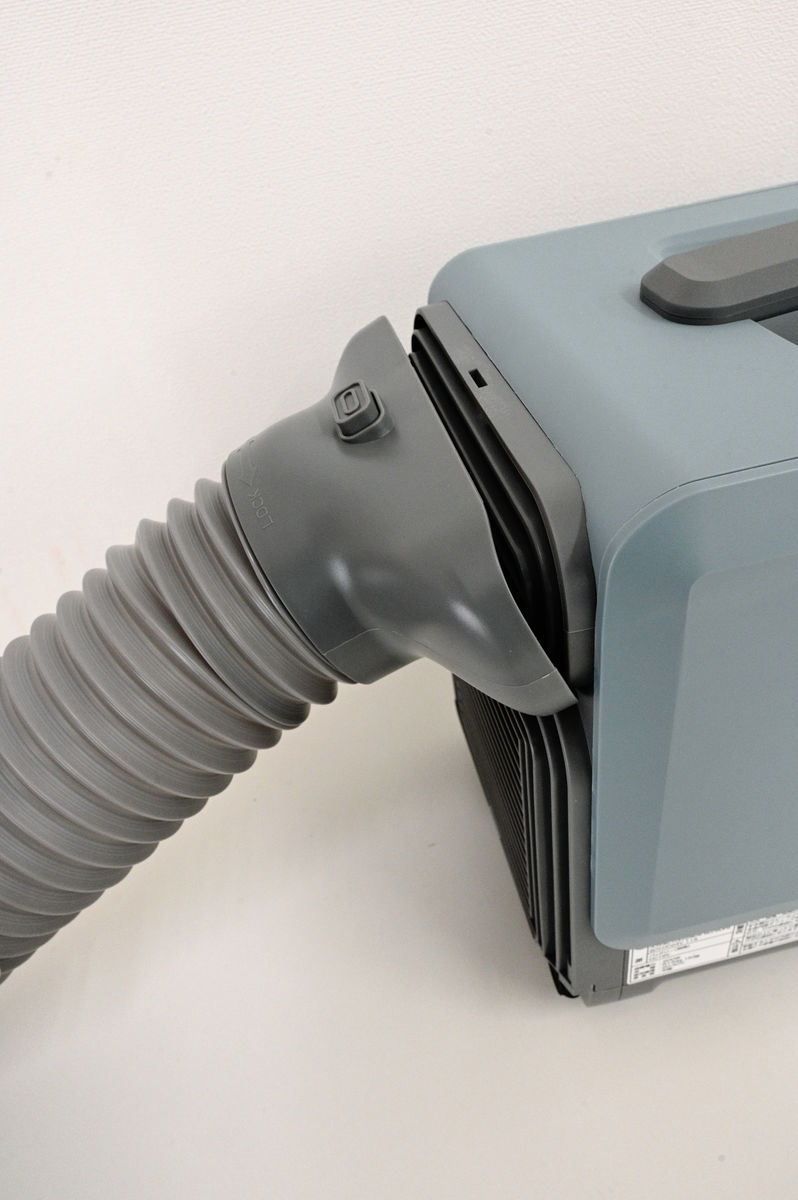
This is what it looks like when installed. The maximum extension of the duct is about 90cm + alpha.
In the same way, attach the duct to the air outlet fitting.
Once installed, first align the bottom tabs of this fitting, then snap the top into place.
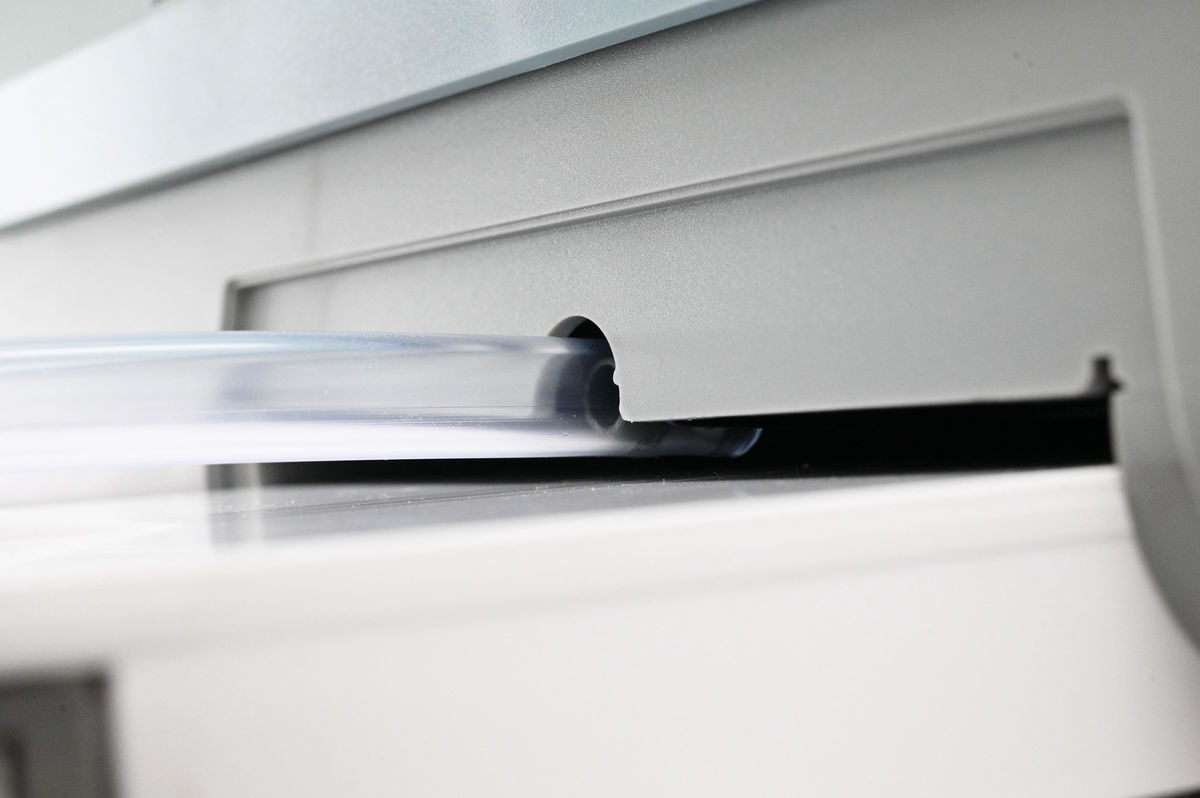
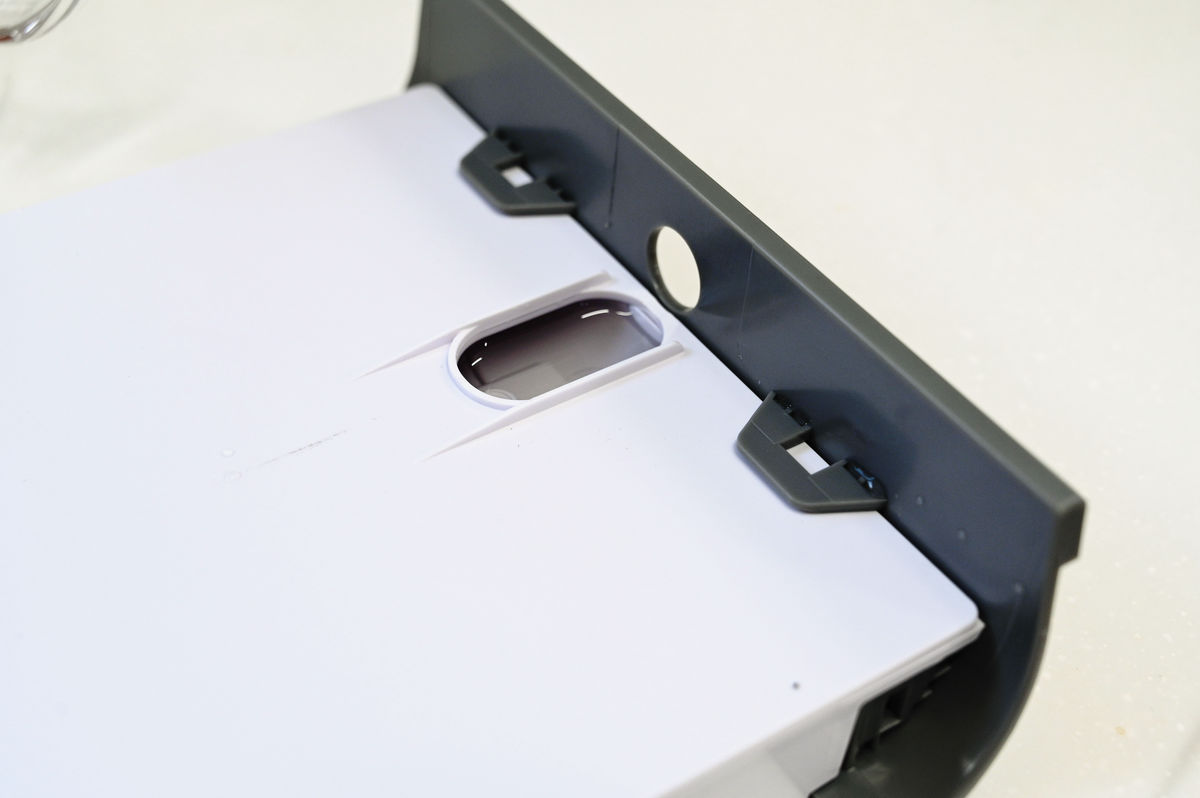
When using the cool air mode, drainage is required. If there is a drainage facility nearby, you can drain the water without using a tank by connecting the drainage hose. You will no longer have to worry about the condition of the drainage tank. Simply insert the drainage hose all the way into the hole in the drainage tank.
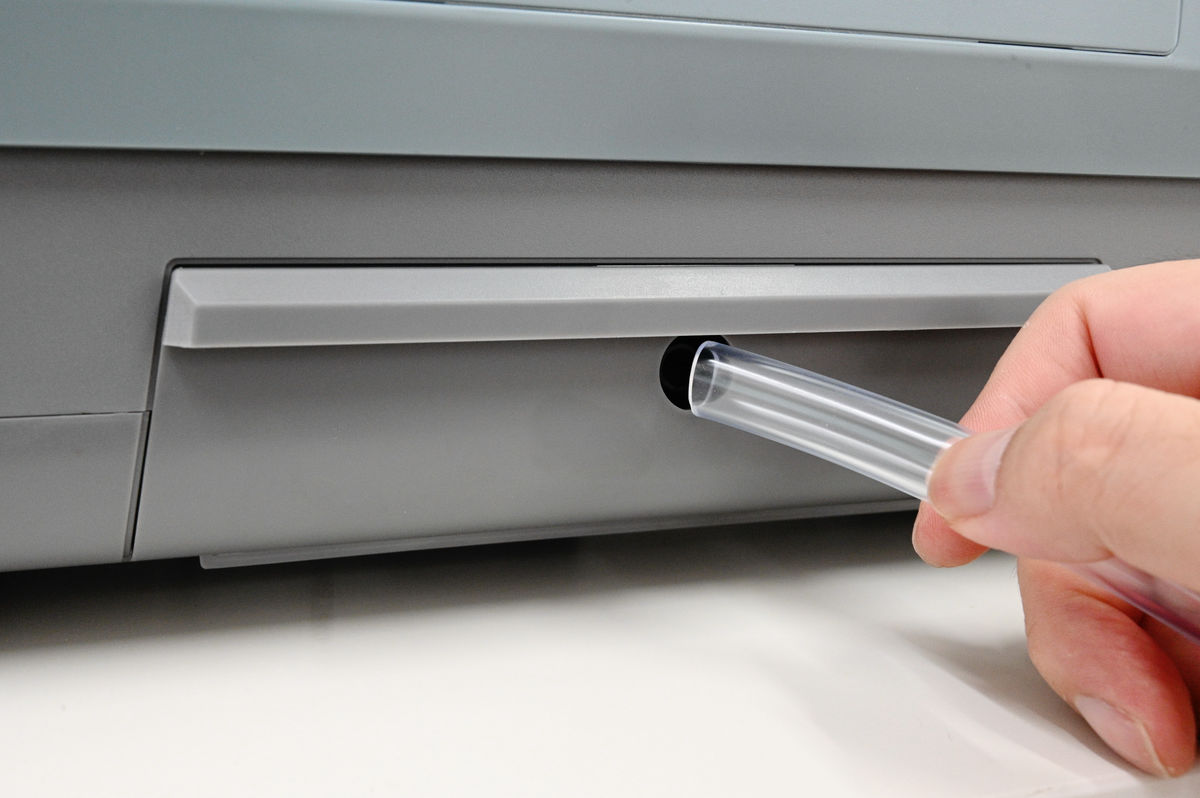
The drain hose will be attached on top of the drain tank like this.
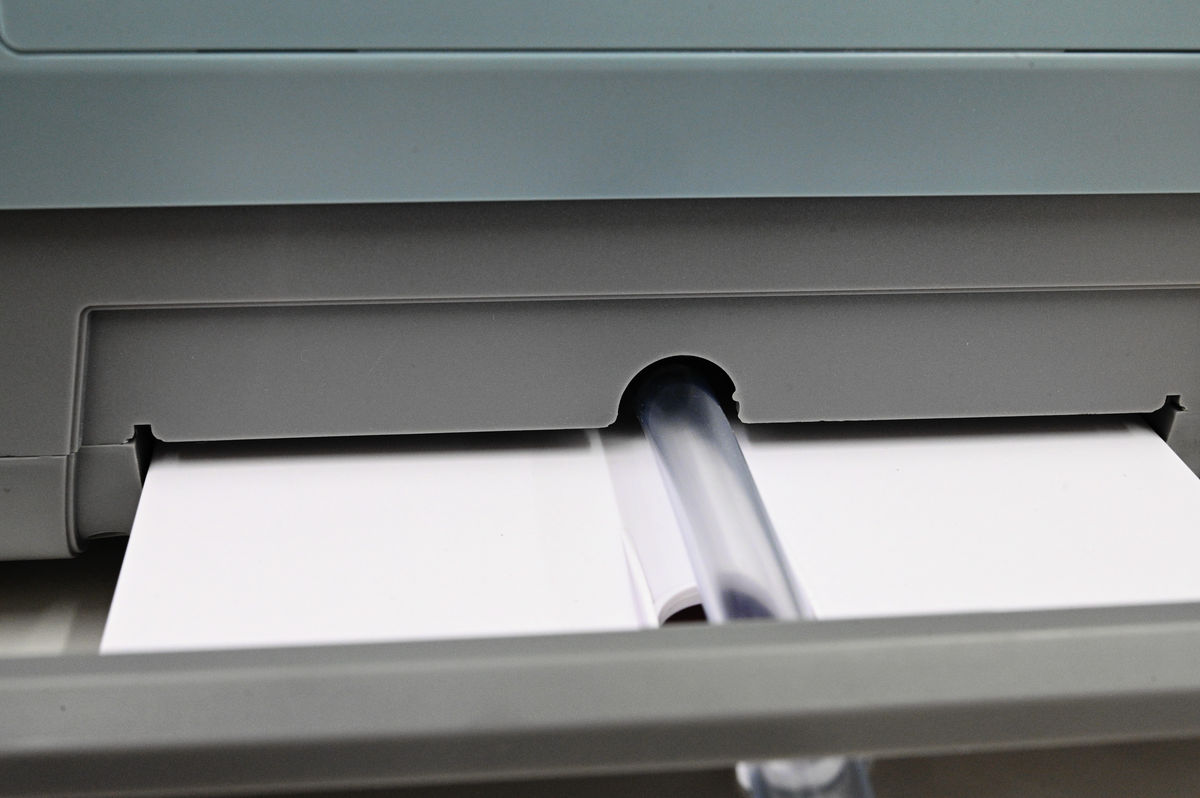
At the base of the drain, there is a notch at the bottom of the pipe, which allows water to drip into the drain tank. As long as you push the hose in so that it fills the notch, then you're fine.
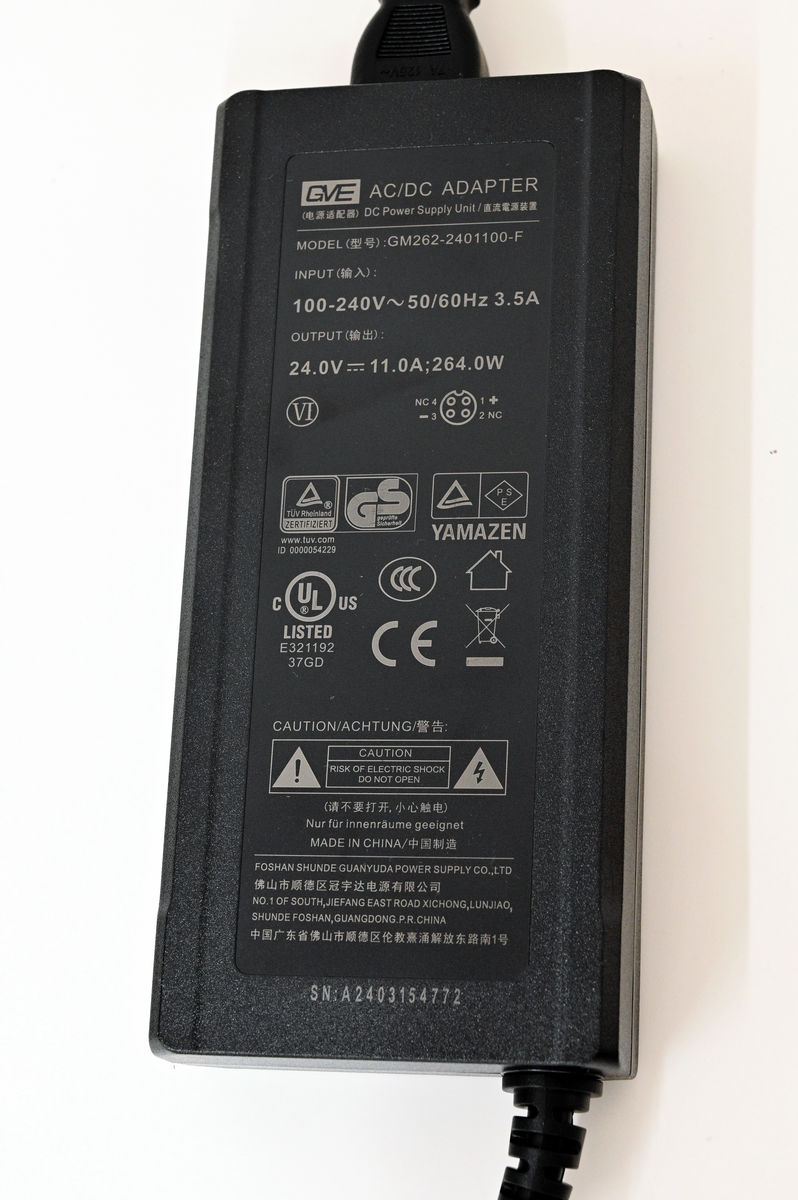
Finally, plug in the power supply. The AC adapter is 177mm x 80mm x 33mm, which is quite large compared to the one for a laptop.
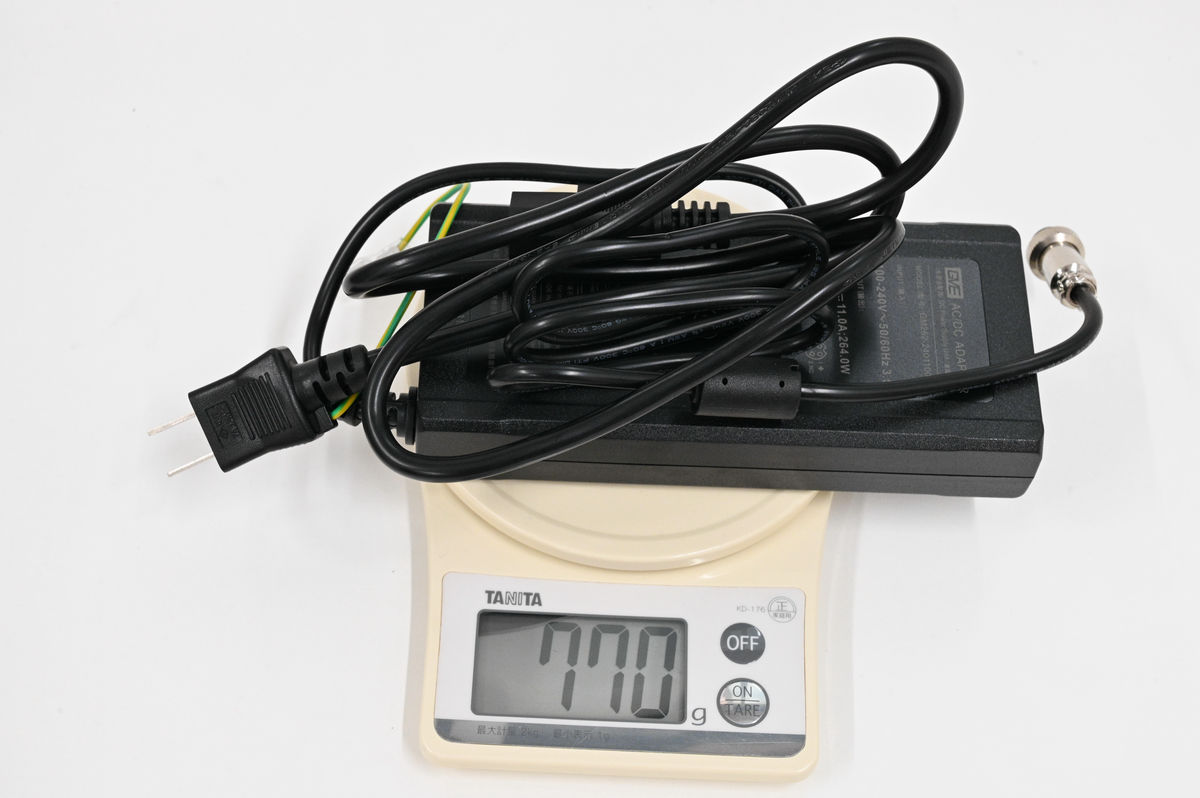
The actual weight, including the AC adapter and power cable, is 770g.
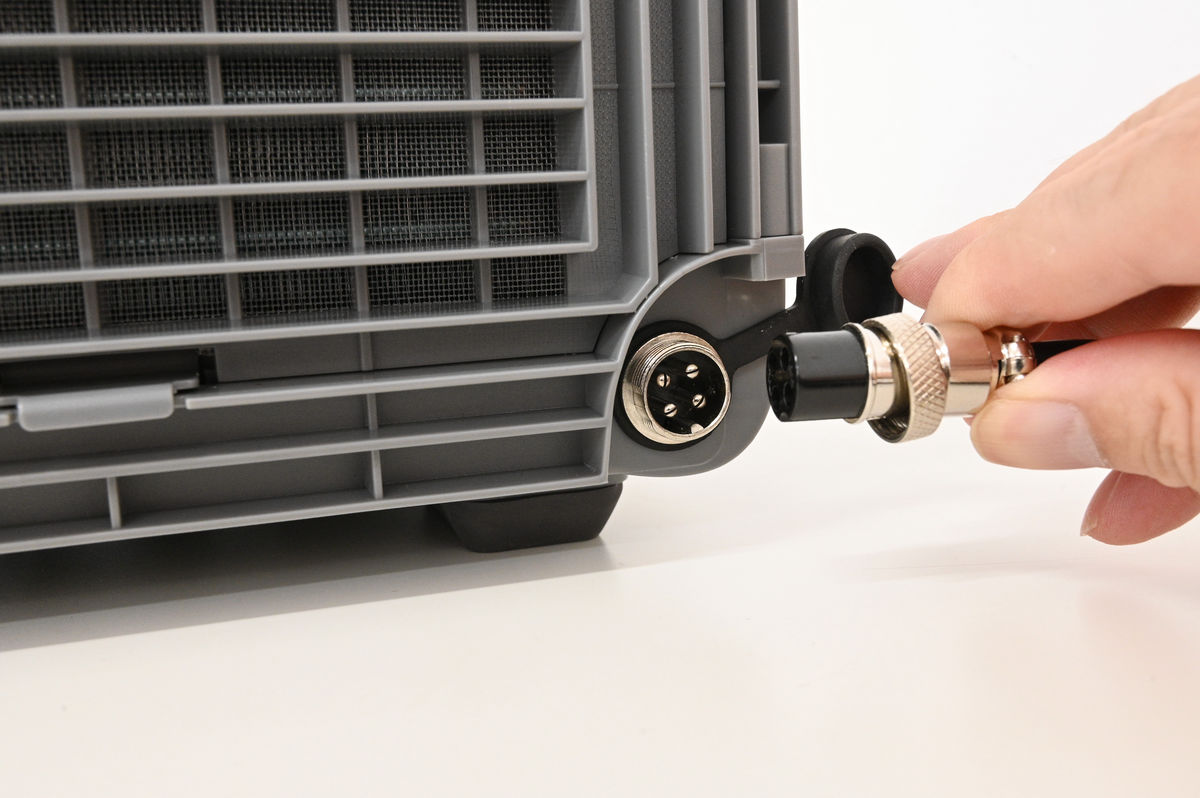
Open the cap on the bottom left side of the unit, align the connector notch, and connect it. When it is connected to the power source, it will beep once. The lamp will not light up.
When you press the power button, it will start up in 'weak' cool air mode. In this state, pressing the 'cool air' button will switch between strong and weak air. Pressing the 'air blowing' button will also switch between strong and weak air blowing.
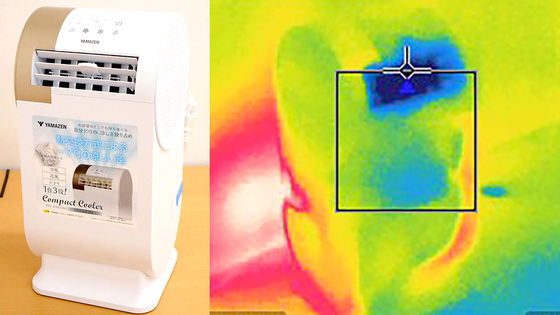
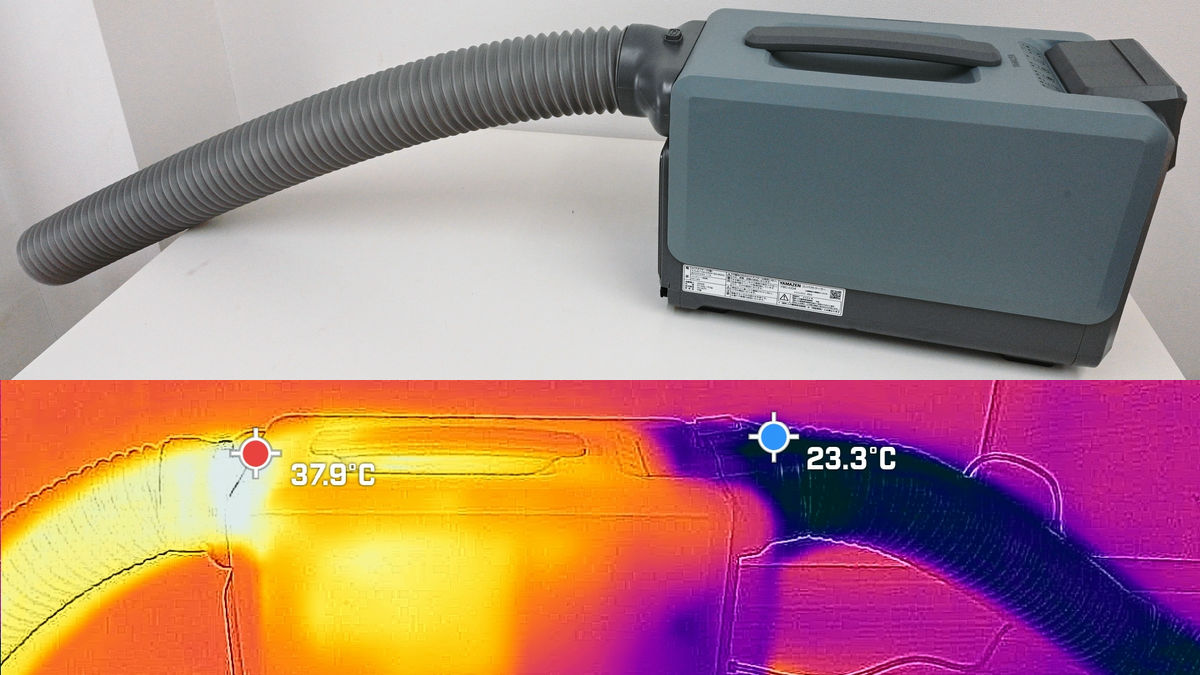
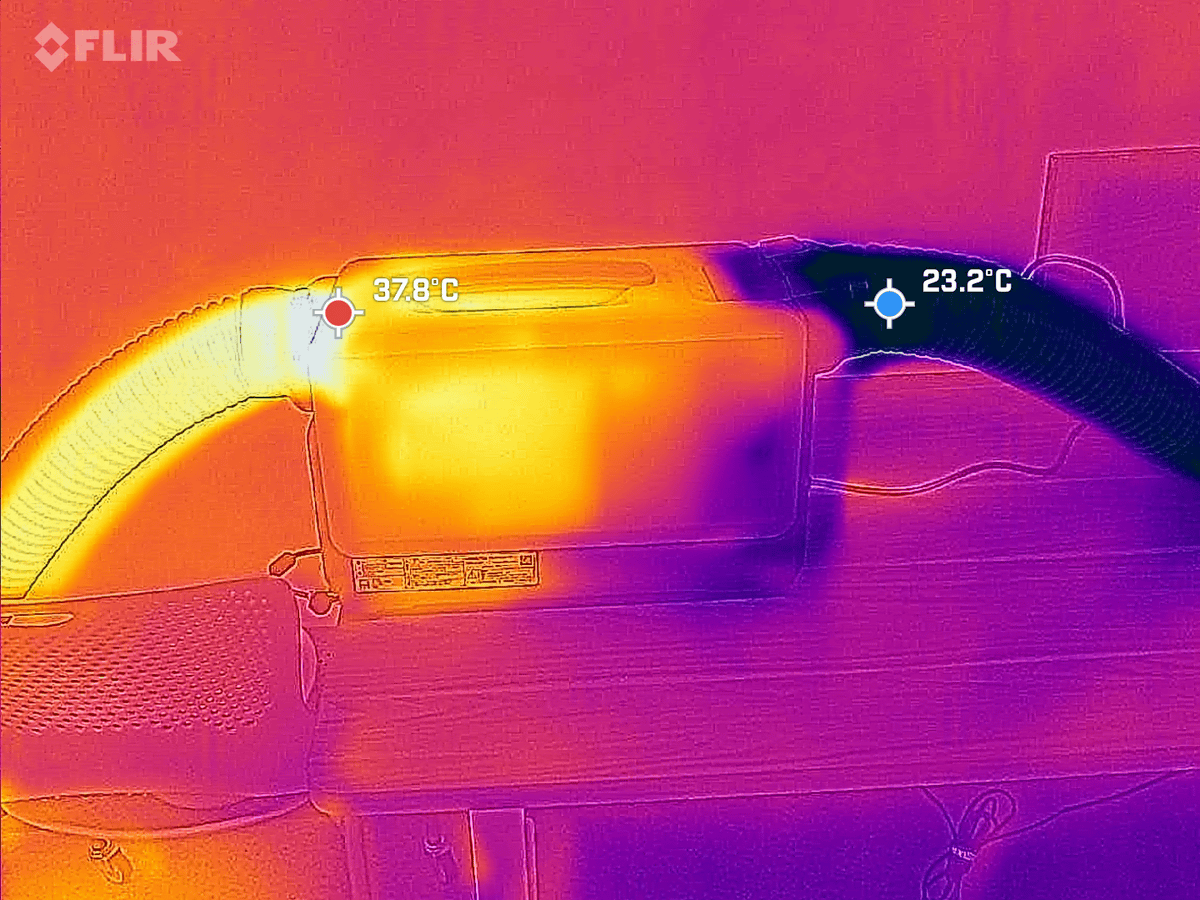
The cool air setting is 'weak' in a windless environment with a room temperature of about 27 degrees. Hot air is exhausted to the left side of the unit, while cool air is blown out to the right. When I took a picture of the unit from the front with the 'FLIR ONE Pro' which is capable of infrared thermography, the area around the exhaust port on the left side of the unit was about 38 degrees, and the duct on the right side of the unit was cold at about 23 degrees.
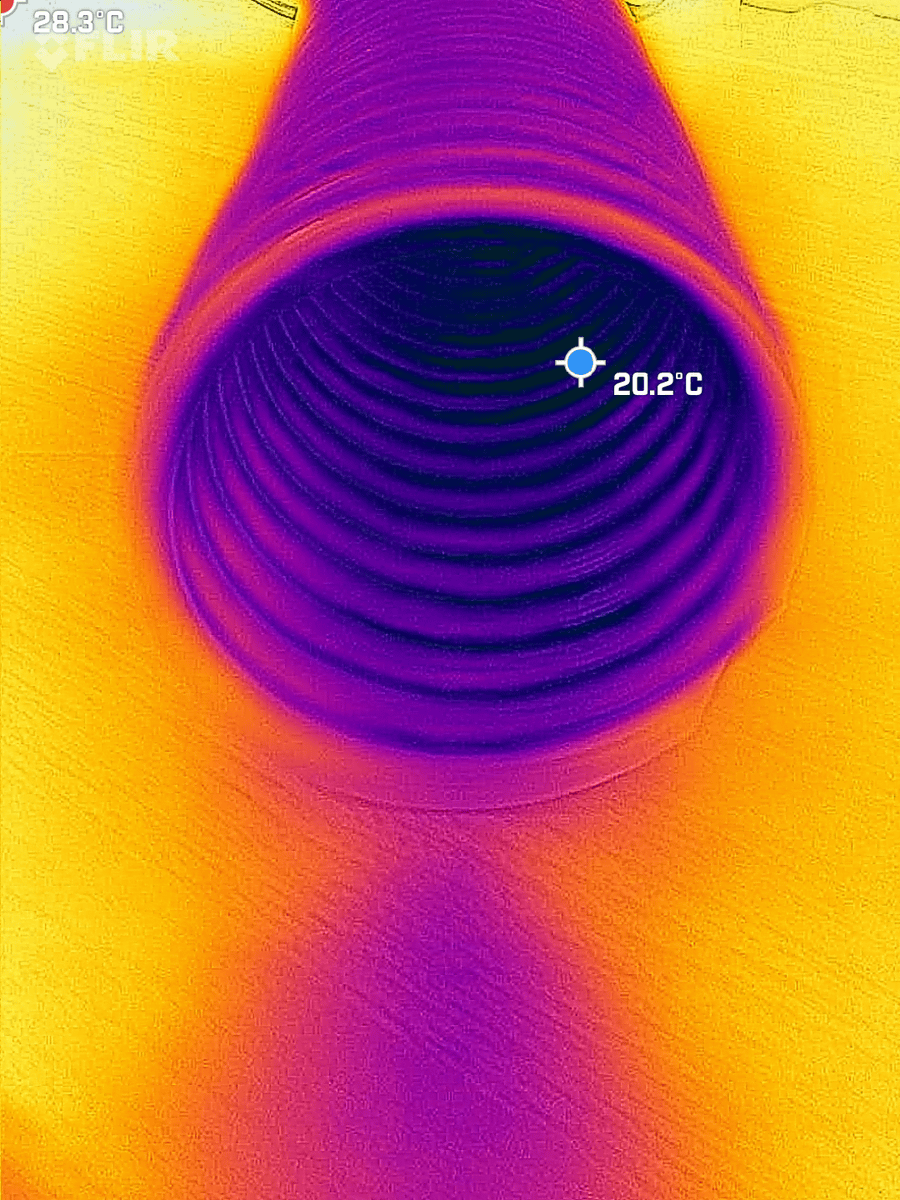
Looking into the tip of the duct from which the cool air is coming out, the temperature inside was recorded at around 20 degrees Celsius. The table on which the cooler is placed is about 28 degrees Celsius, so you can see that it is quite cold.
On the other hand, the temperature near the tip of the exhaust duct was about 32 degrees. The metal legs of a nearby chair were at about 24 degrees.
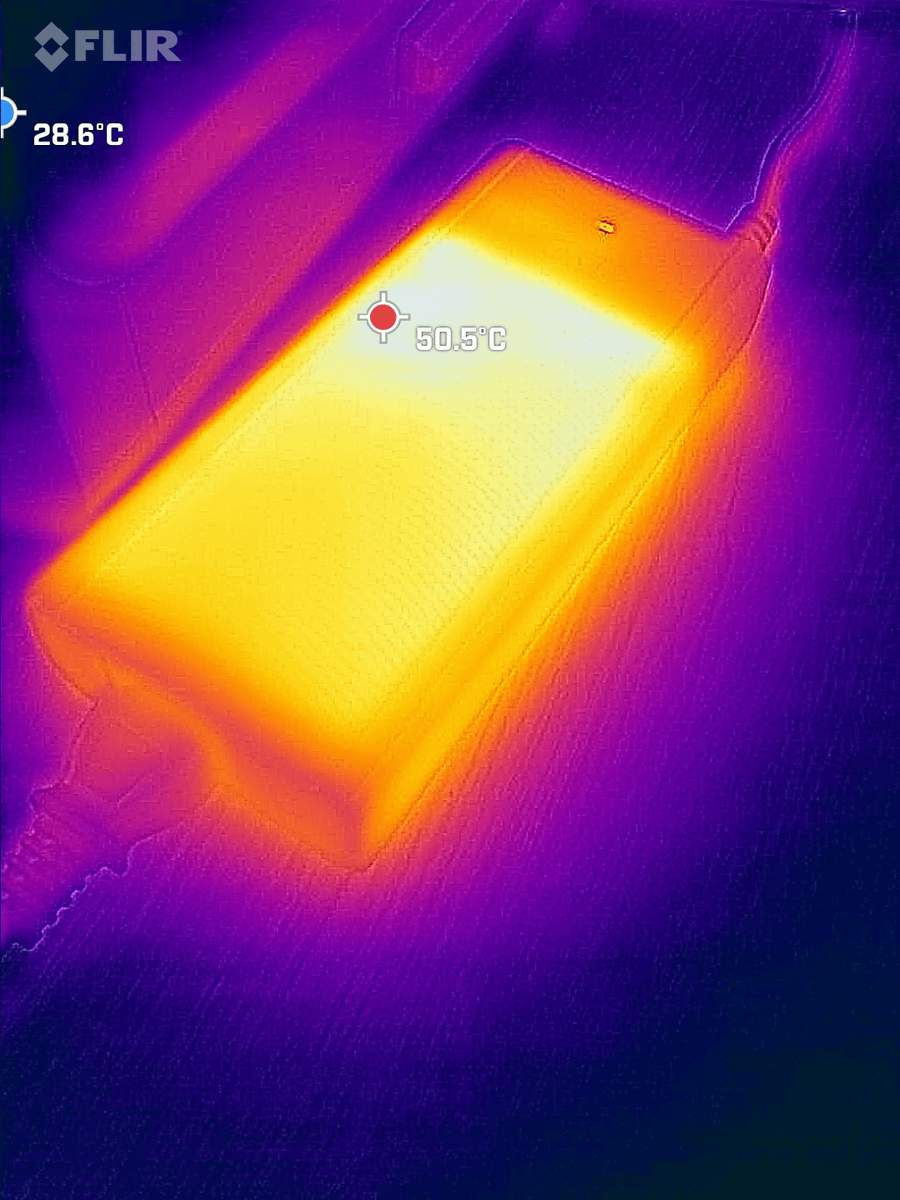
Not only the main unit but also the AC adapter was quite hot, exceeding 50 degrees.
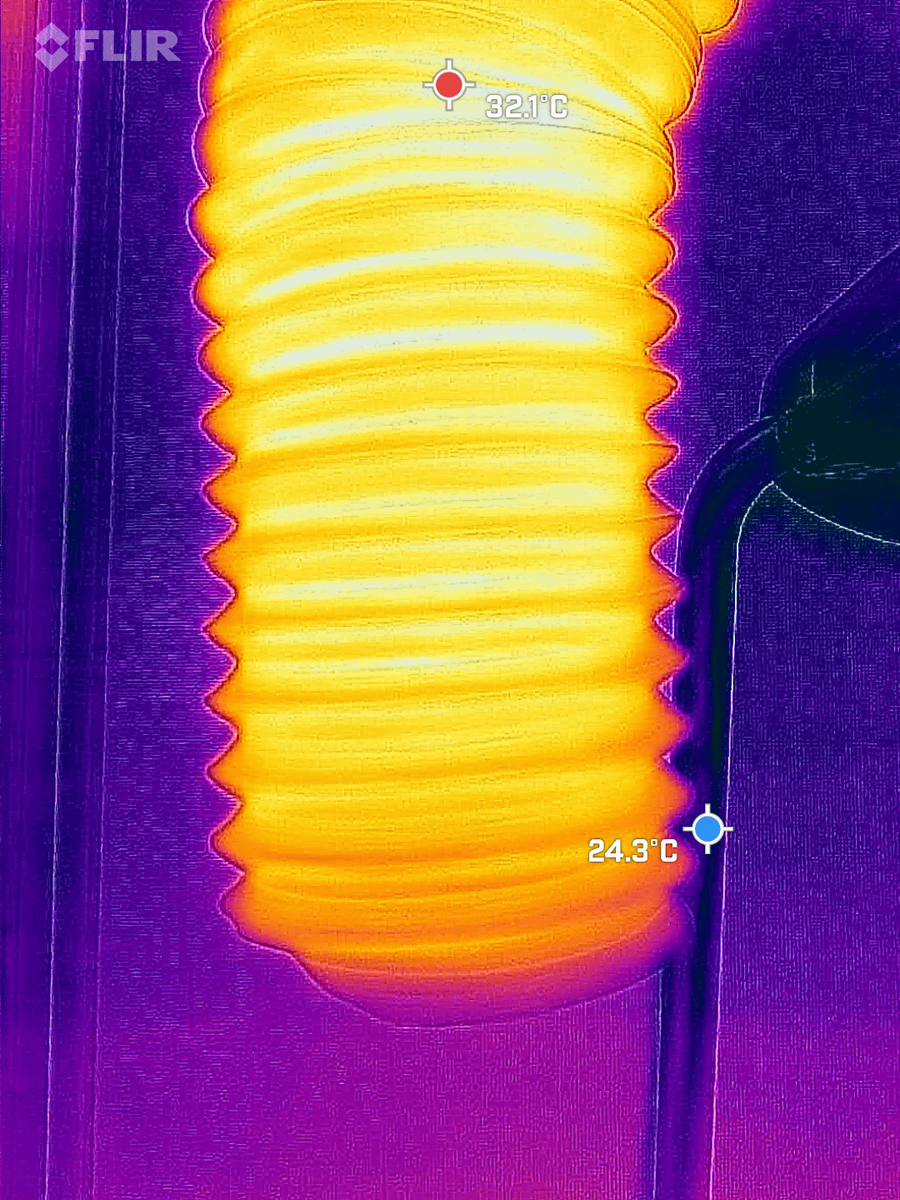
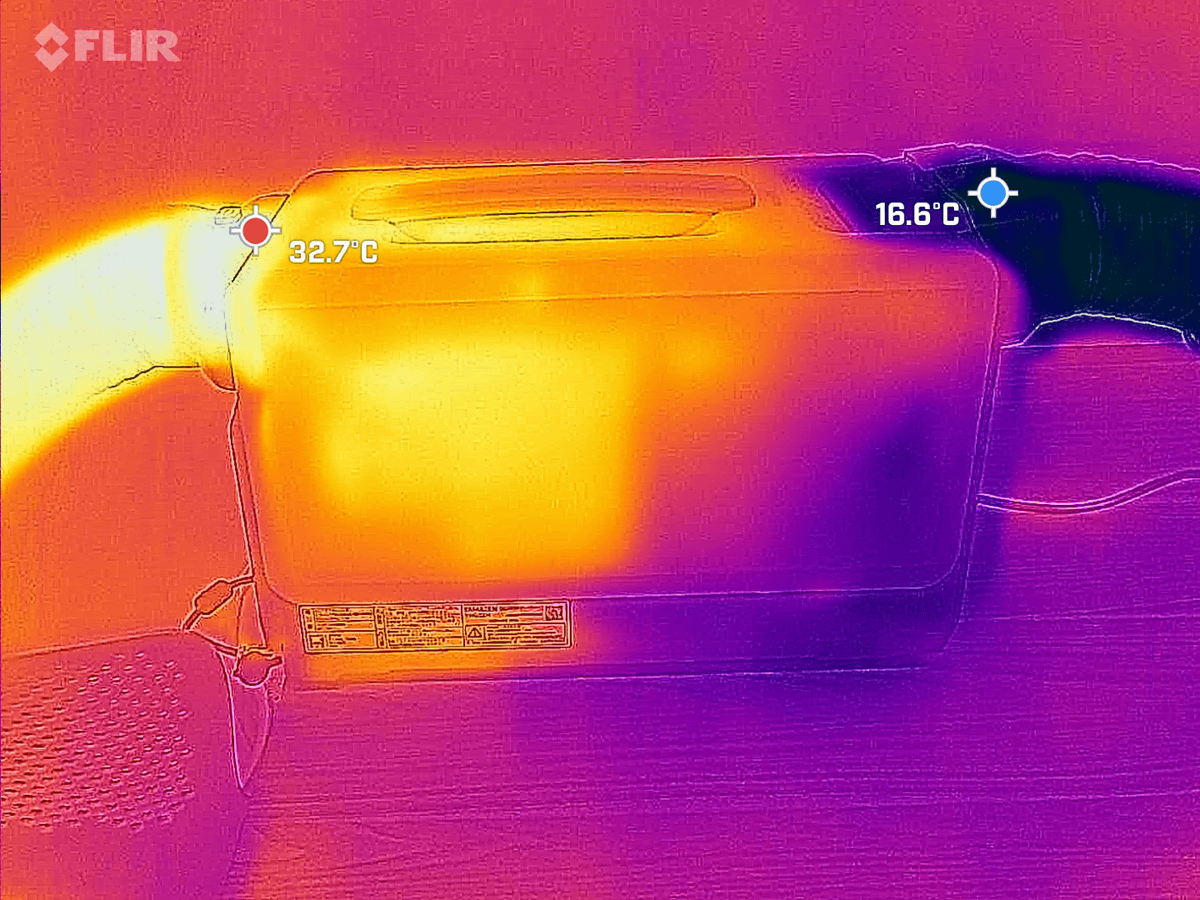
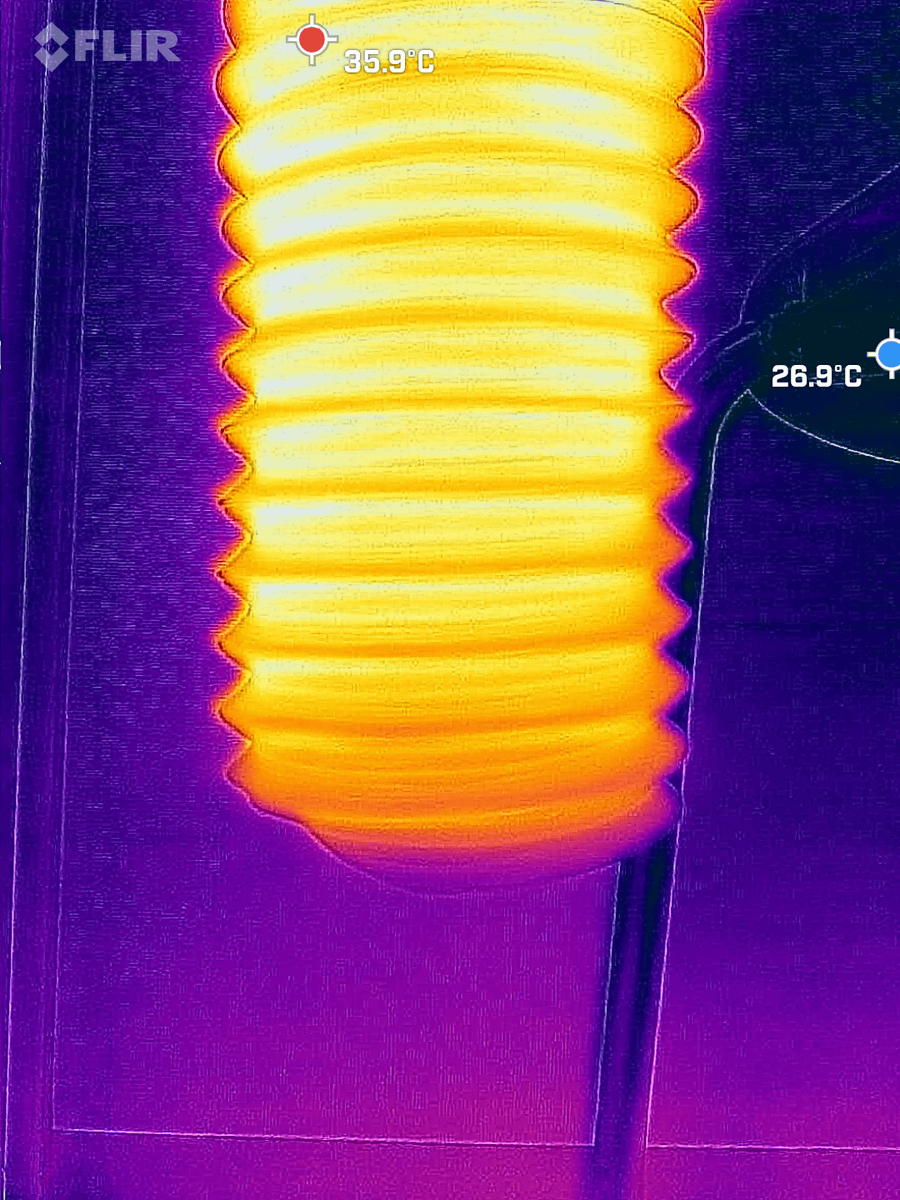
When the cold air is set to 'strong,' the temperature does not seem to change, but the stronger the wind, the cooler it feels. The temperature of the exhaust part is 32 degrees, and the temperature of the cold air outlet is in the 16 degree range.
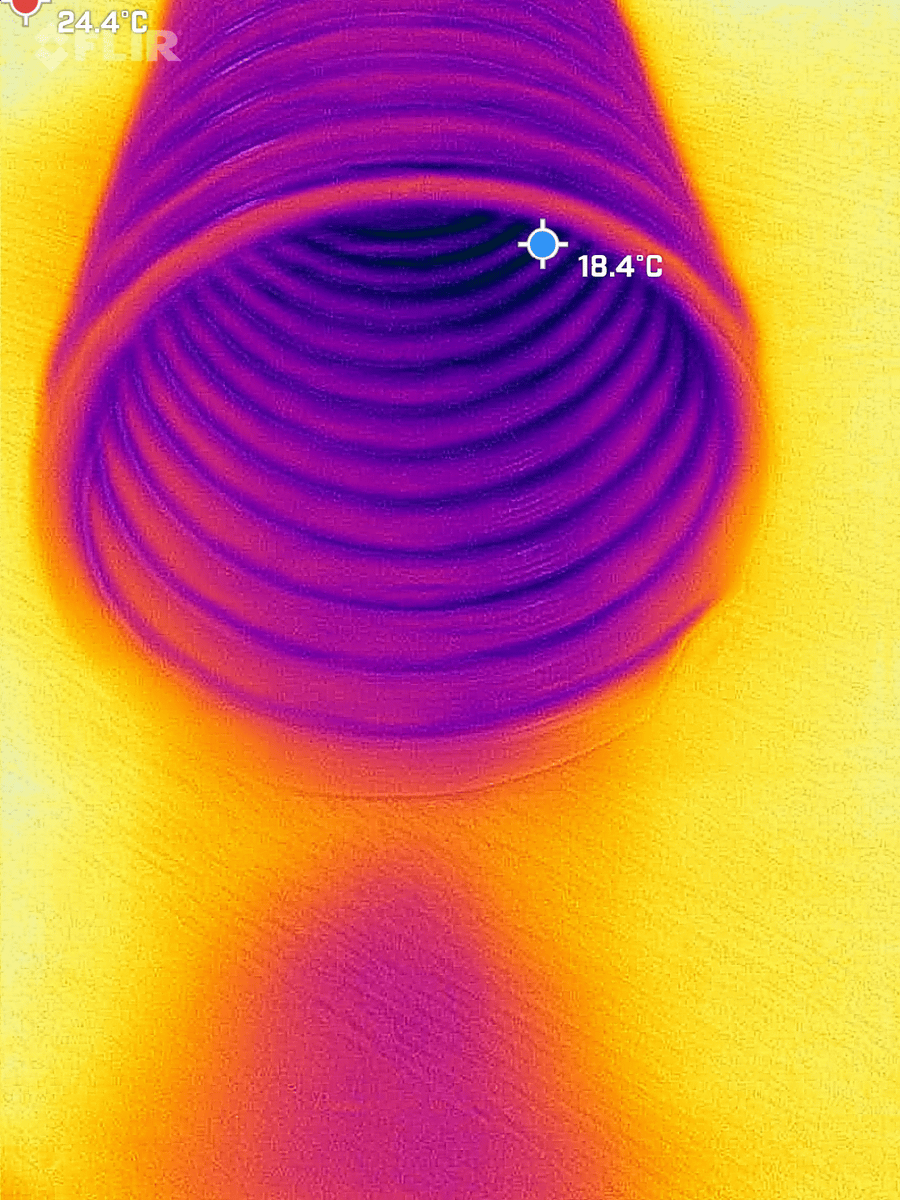
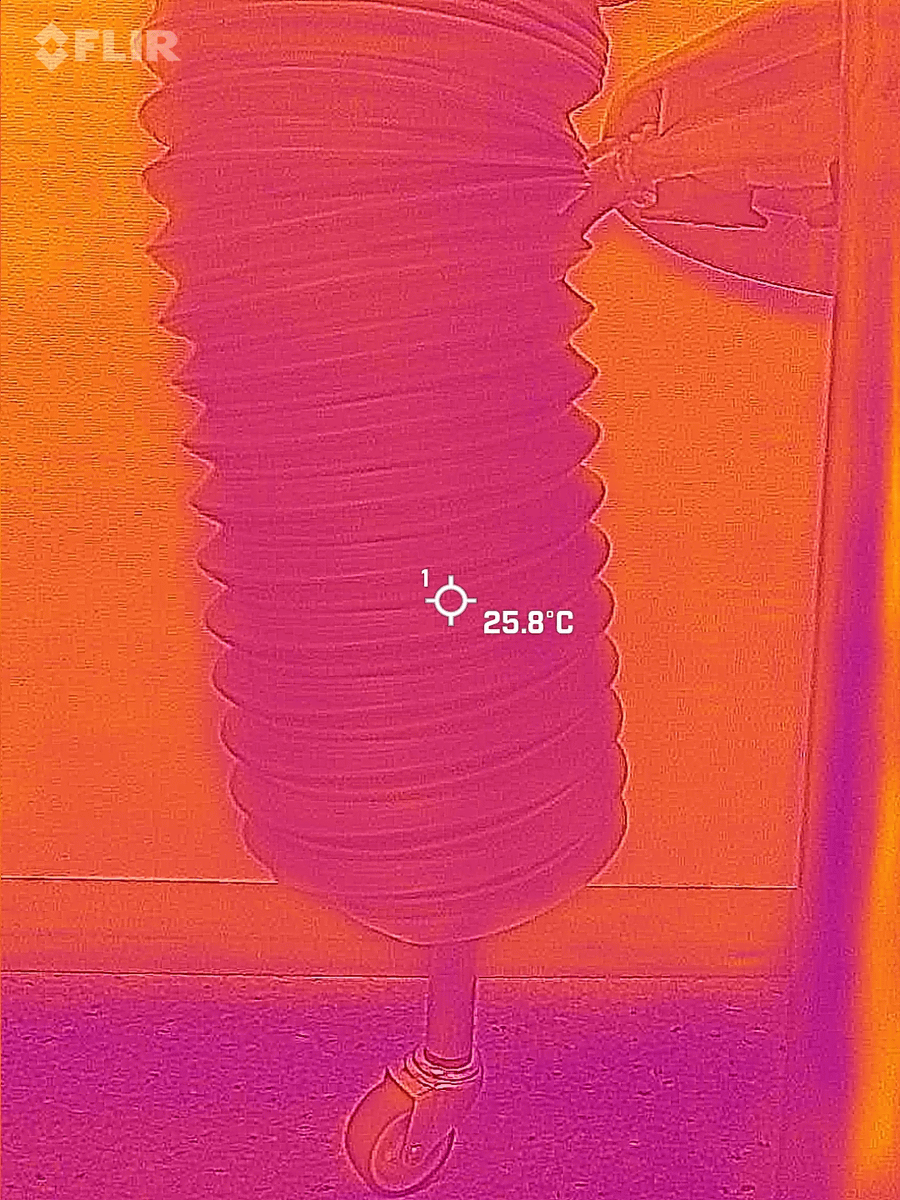
Looking into the duct on the cold air side, the temperature is in the 18 degree range. It's quite cool.
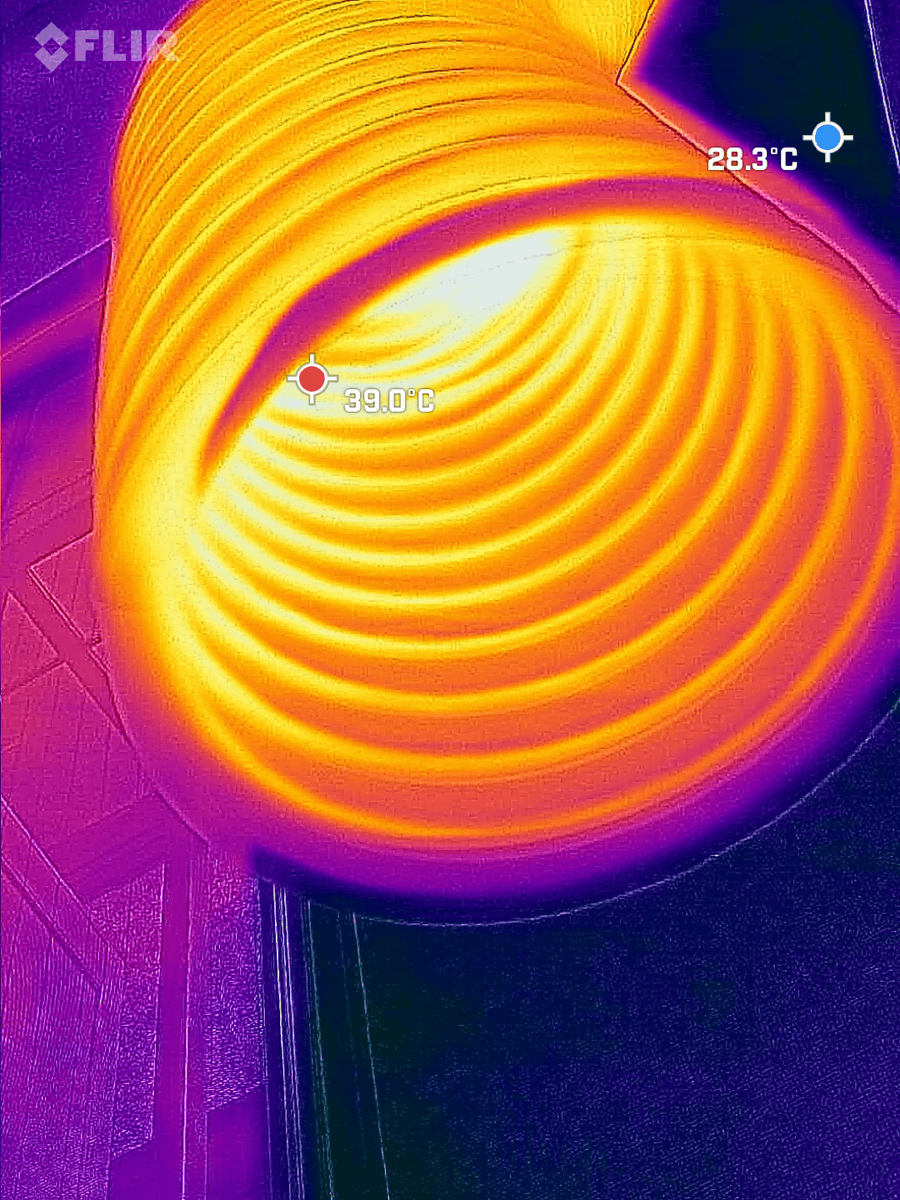
On the other hand, the exhaust duct is close to 36 degrees.
When I looked inside, it said 39 degrees.
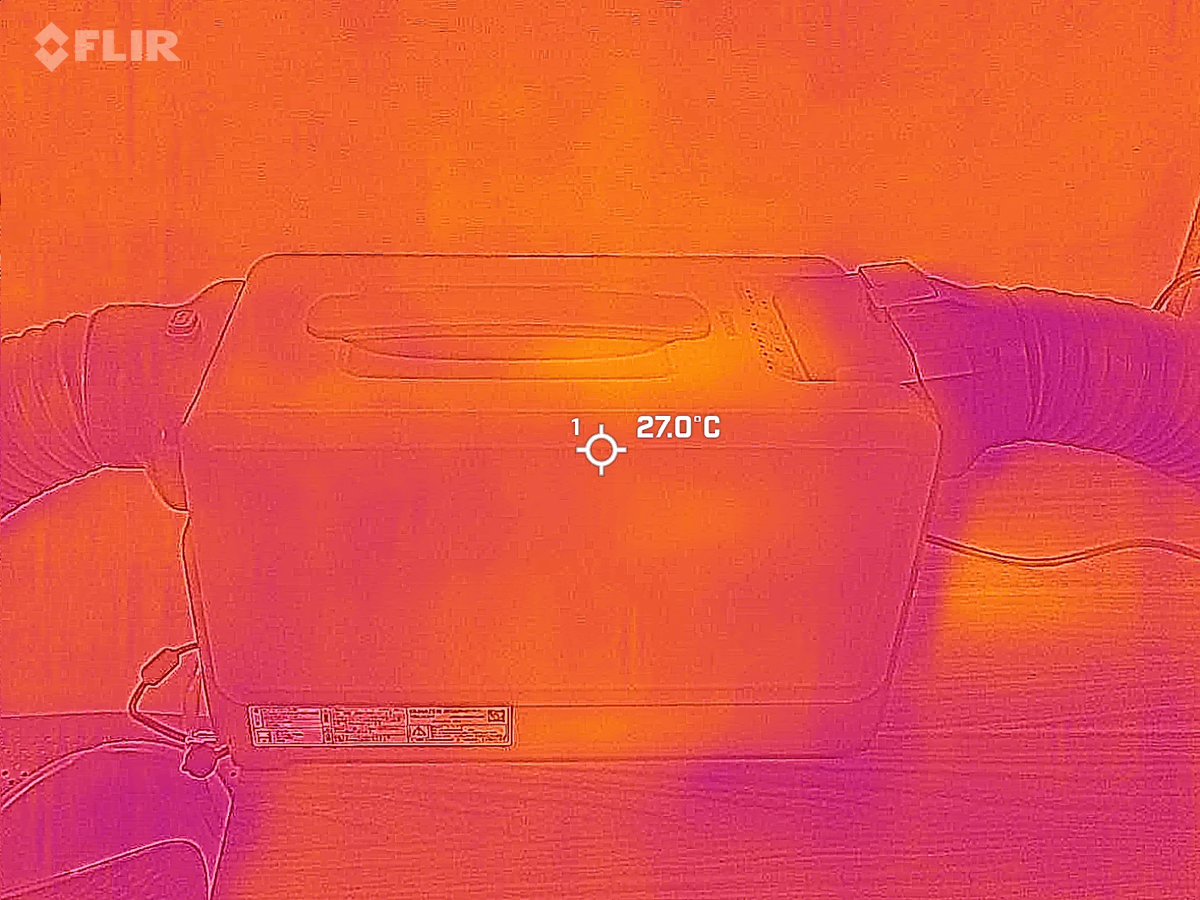
In addition, when you switch to 'fan' mode, it simply blows out air. Since there is no need to cool it, the main unit does not get as hot, at about 27 degrees.
The temperature on the wind outlet side is about 25 degrees.
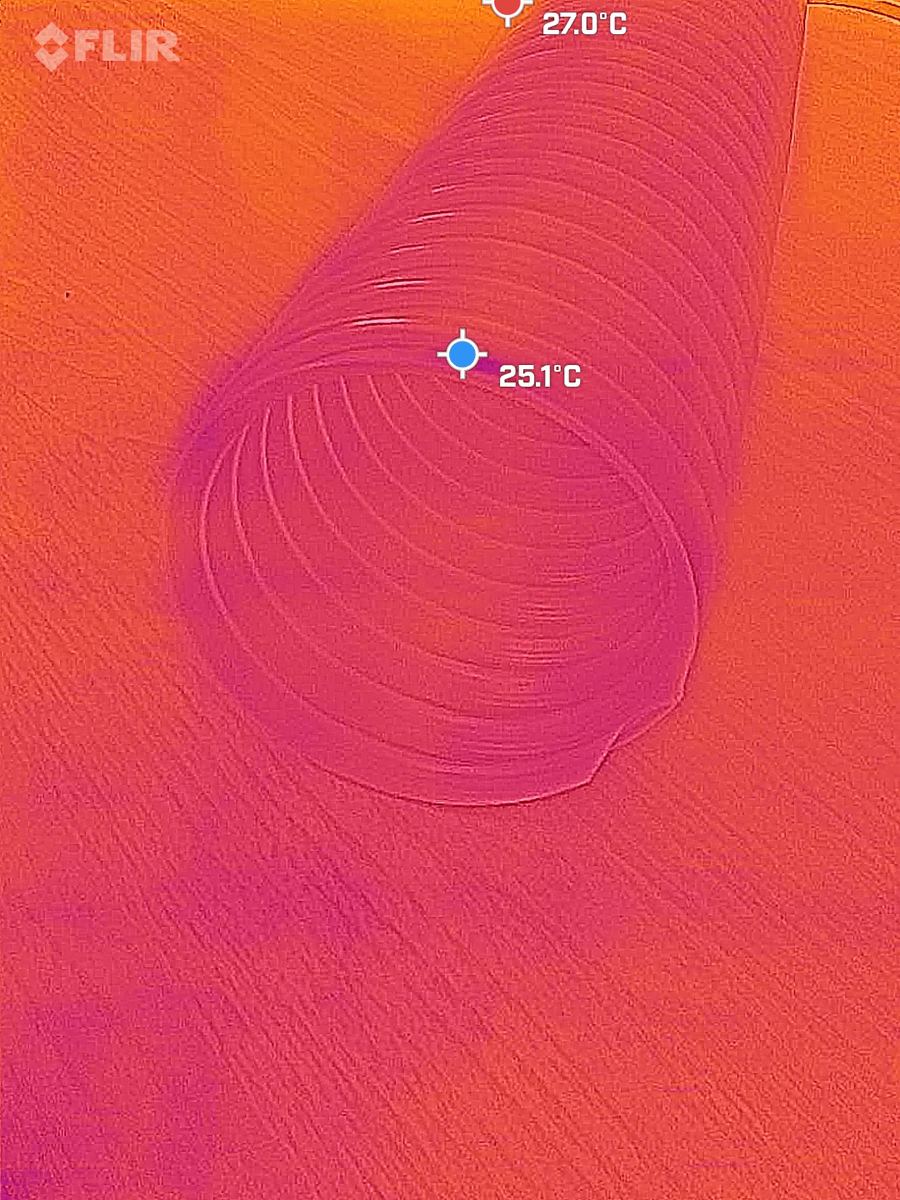
Since there is no need to exhaust cold air, no exhaust is being done, and the temperature of the exhaust duct is about the same as the surrounding area, at around 25 degrees. In fact, the wall is almost hotter.
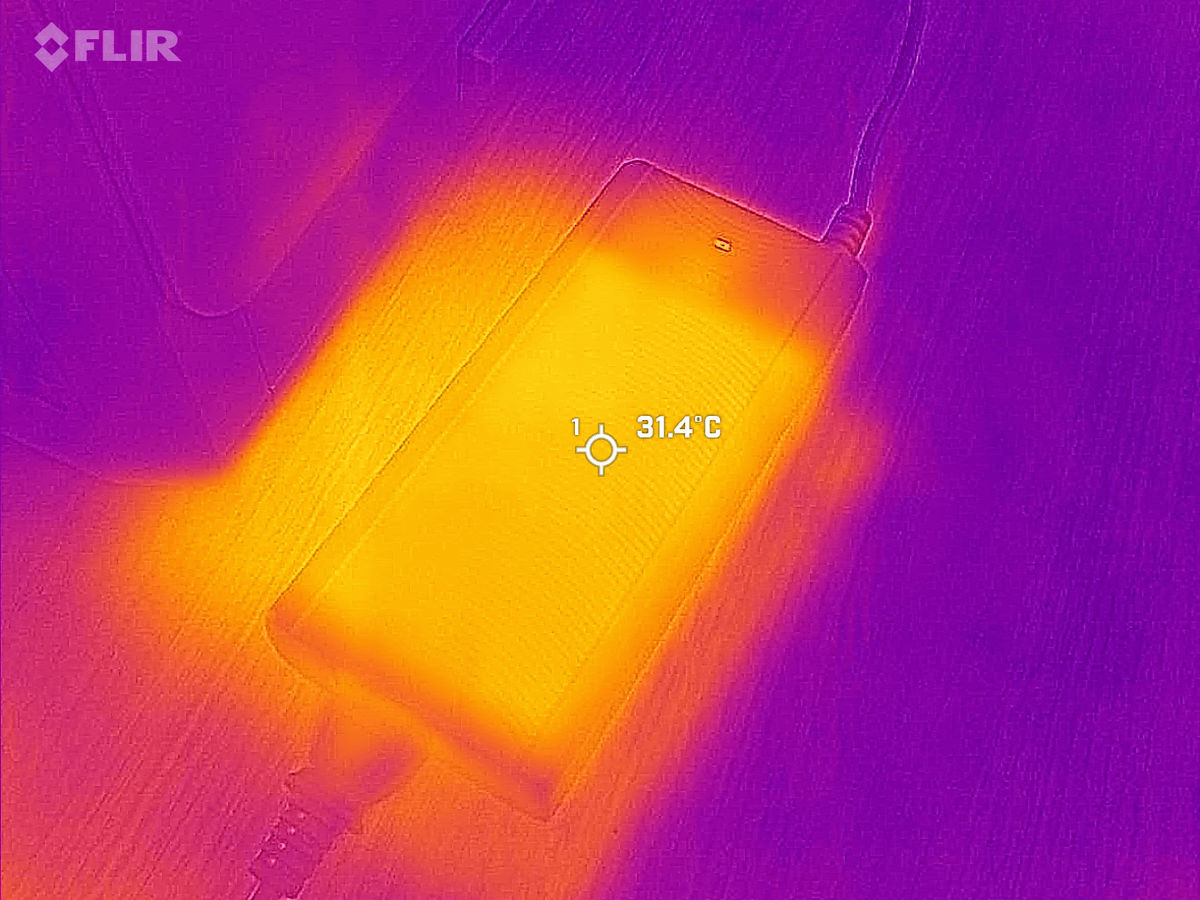
When the fan was on, the AC adapter did not get too hot, staying at around 31 degrees.
The amount of water discharged when the cool air setting is set to 'weak' for 30 minutes is approximately 100 ml.
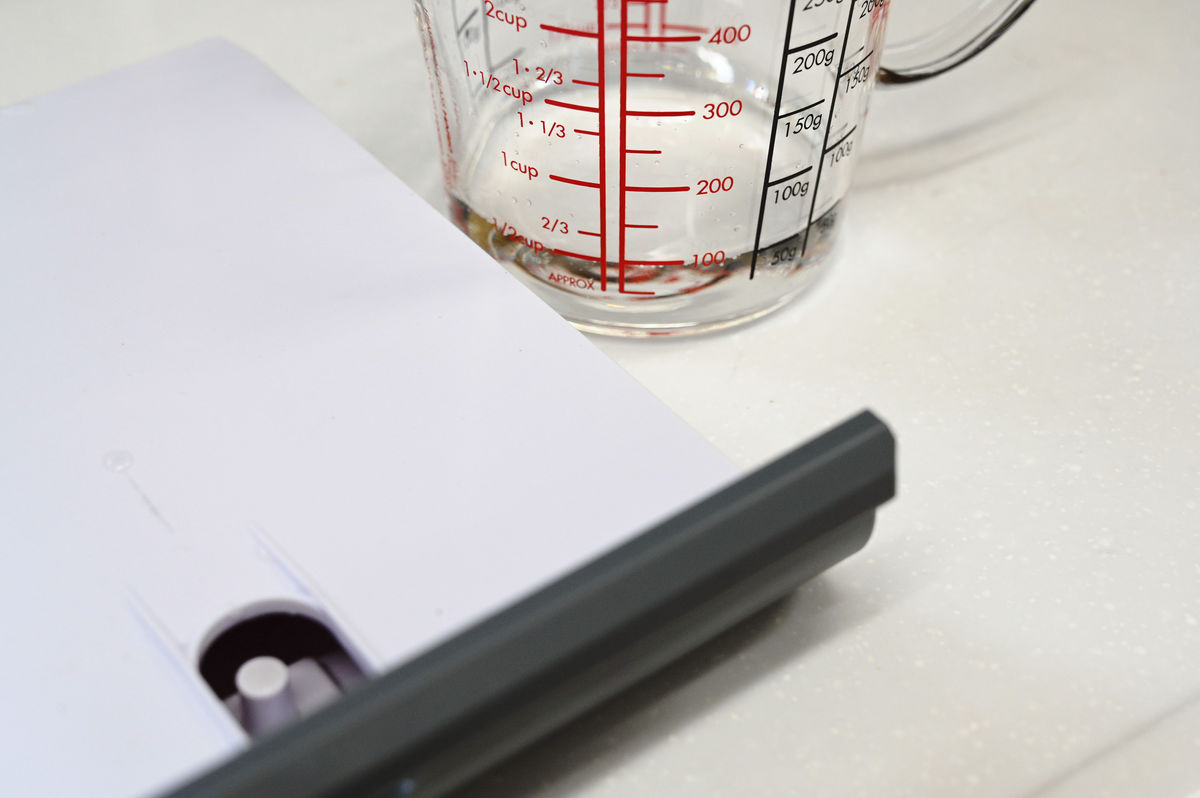
The tank capacity is approximately 500ml, so although this will vary depending on the temperature, it looks like you can drive it for roughly 2 hours and 30 minutes without worrying about the tank.
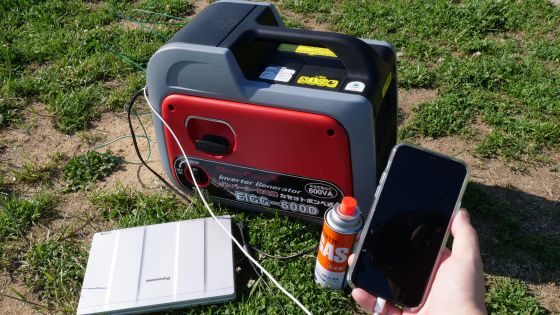
The great thing about this spot cooler is that it doesn't take up much space and you can just place it down and use it there, so I decided to take it outside and try using it.
Continued
Related Posts: