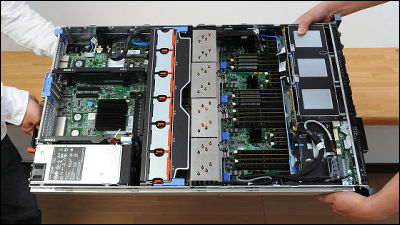
A review of the 'ASUS NUC 14 Pro' and 'ASUS NUC 14 Pro +', which are packed with Intel Core Ultra processors in ASUS's small cases

The small PCs 'ASUS NUC 14 Pro' and 'ASUS NUC 14 Pro +' announced by ASUS in May 2024 are equipped with the maximum configuration of '
ASUS NUC 14 Pro | NUCs | ASUS Japan
https://www.asus.com/jp/displays-desktops/nucs/nuc-mini-pcs/asus-nuc-14-pro/
ASUS NUC 14 Pro Plus | NUCs | ASUS Japan
https://www.asus.com/jp/displays-desktops/nucs/nuc-mini-pcs/asus-nuc-14-pro-plus/
So, this time we will disassemble the 'ASUS NUC 14 Pro' and 'ASUS NUC 14 Pro +' and check the inside. For the appearance of the 'ASUS NUC 14 Pro' and 'ASUS NUC 14 Pro +', please refer to the previous article below. The models rented this time are the ' ASUS NUC 14 Pro Mini PC ' and 'ASUS NUC 14 Pro Plus', which come standard with memory, SSD, and OS.
A review comparing the appearance of the small PC 'ASUS NUC 14 Pro' and 'ASUS NUC 14 Pro +' packed with Intel Core Ultra processors in a palm-sized body - GIGAZINE

◆ASUS NUC 14 Pro
First, open the case and unlock the two locks on the back.

A metal part covering the circuit board appeared.

Remove the Phillips screws on each corner.
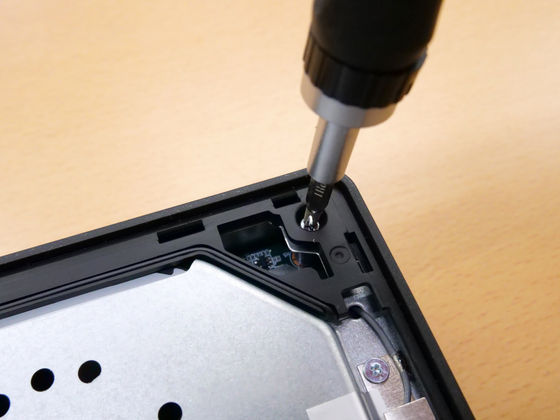
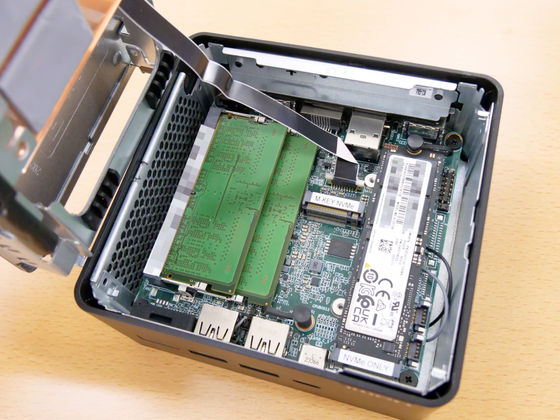
It opens up to reveal the memory, SSD, and circuit board. When opening it, be careful not to break the flex cables that are attached.
The model we rented this time is equipped with a slot for adding a 2.5-inch HDD.
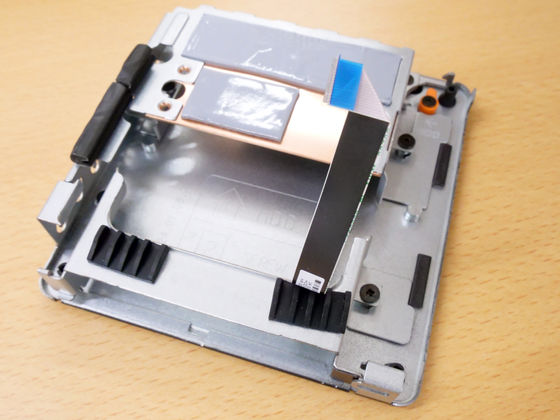
This is what the inside of the PC looks like with the cover removed.
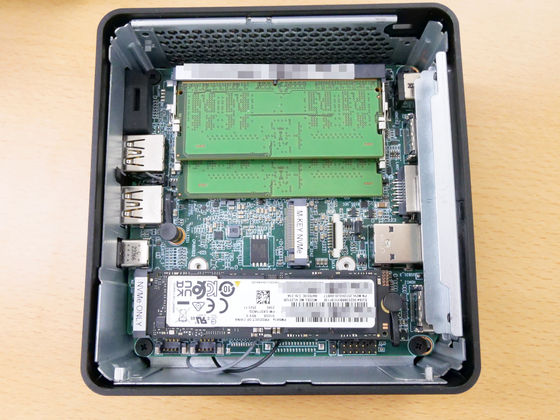
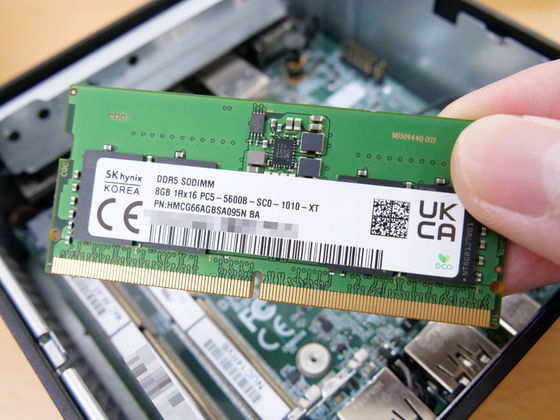
The default memory configuration is two SK Hynix 8GB DDR5
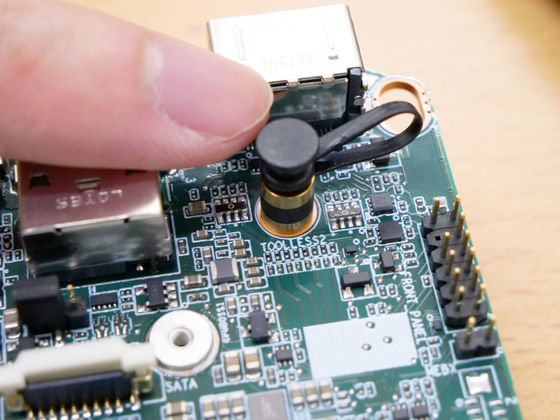
The SSD is held in place by flexible pins and can be easily removed by simply bending the pins.
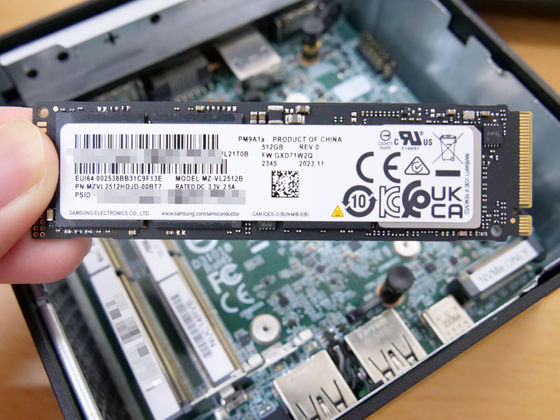
The SSD installed was a 512GB SSD '
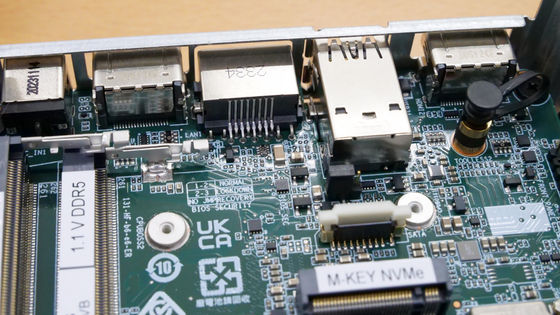
This is what it looks like when you remove the memory and SSD.
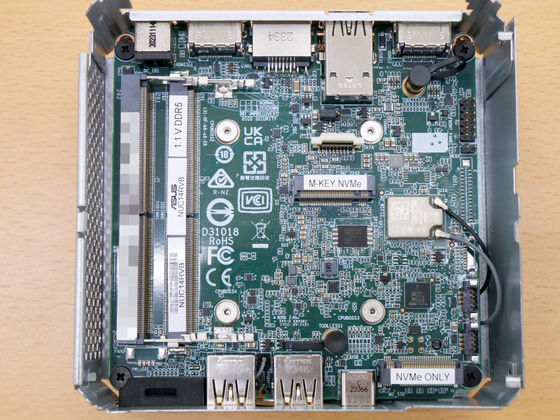
Terminals such as USB ports will be exposed.
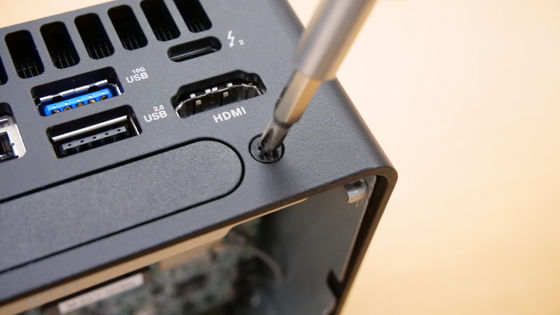
Further disassembly involves removing the screws that secure the expansion slot bracket.
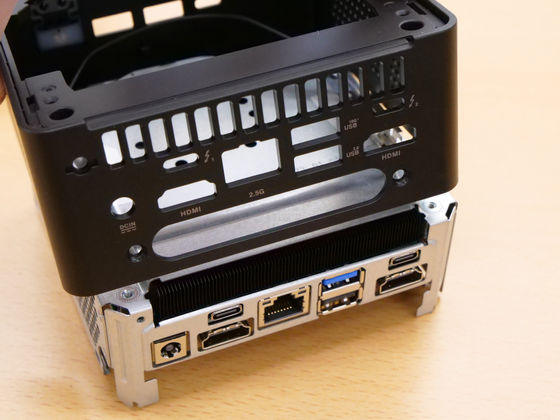
Remove the cover.
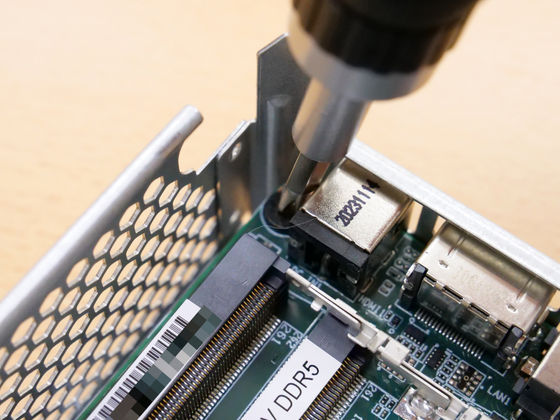
Remove the Phillips screws from the four corners of the board.
We managed to remove the board from the case. The surface is covered with a huge fan unit.
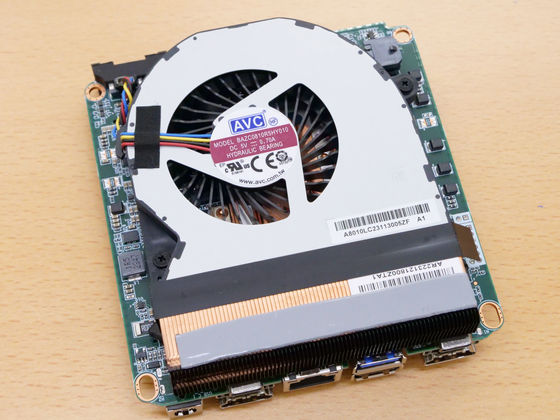
The surface of the board looks like this.
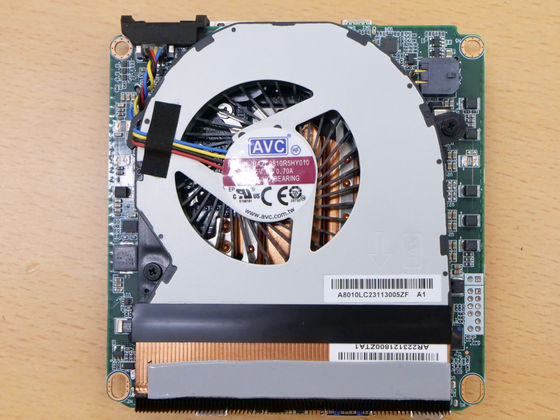
Beneath the fan unit lies the Intel Core Ultra 7 165H, as well as a hidden
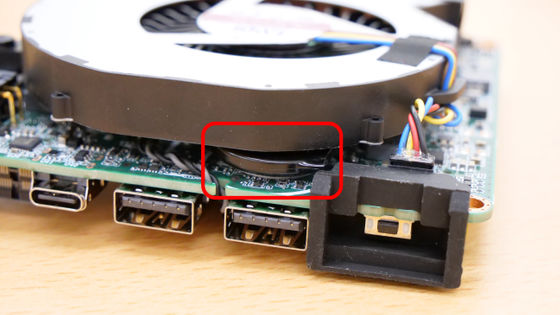
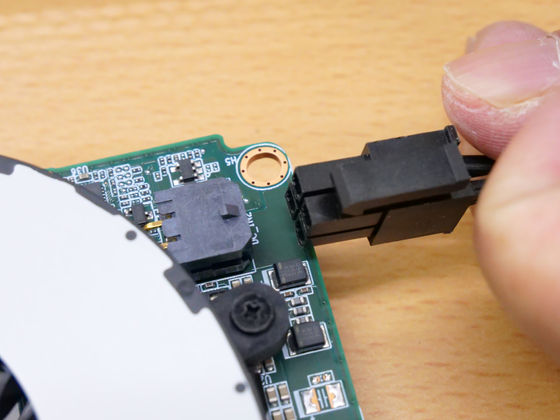
In addition to the normal DC power socket, the board also has another power connector.
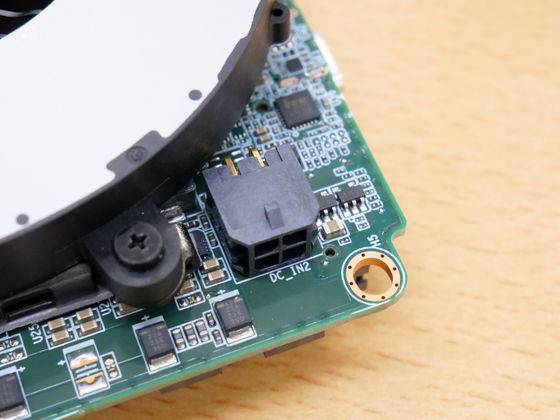
However, it was not possible to connect a standard
◆ASUS NUC 14 Pro+
Similar to the ASUS NUC 14 Pro disassembly procedure, start by unlocking the back.
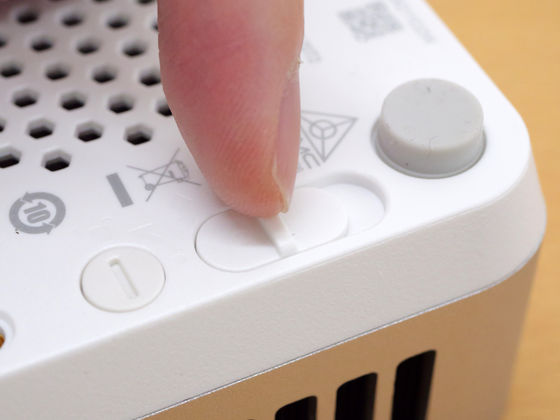
Slide the cover open.
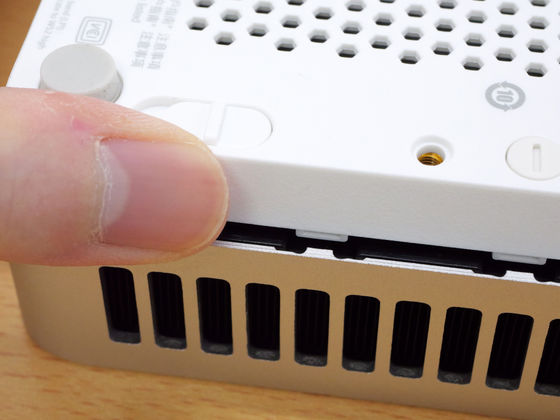
The fan unit has been revealed.
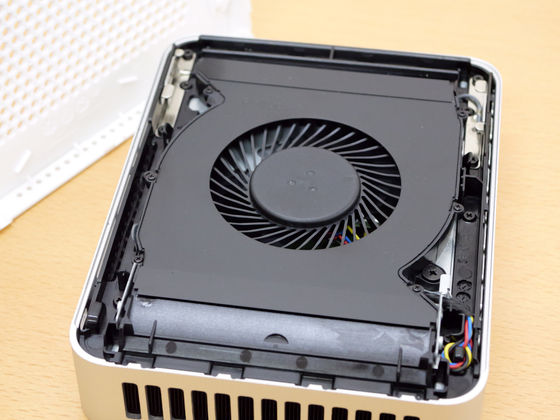
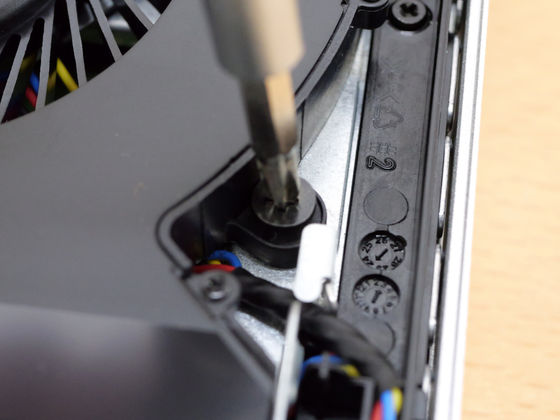
Remove the screws that secure the unit.
A metal cover appeared.
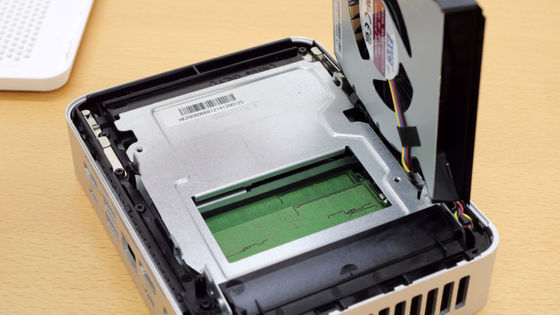
Remove the tabs that secure the cover.
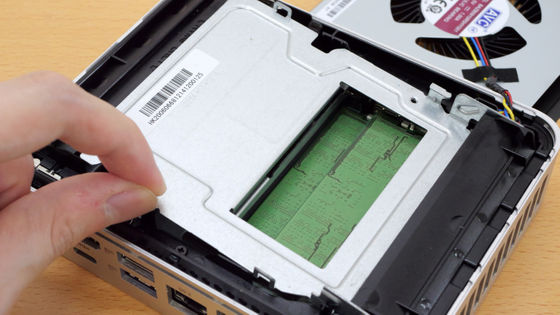
The inside was revealed.
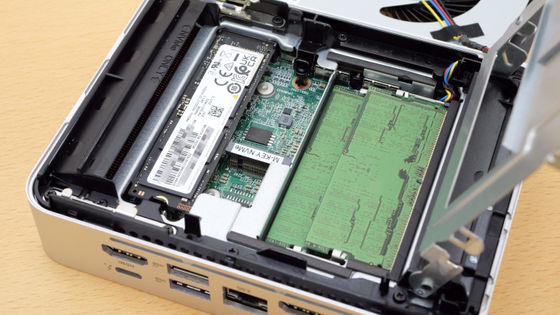
The ASUS NUC 14 Pro+ also allows you to replace the SSD without tools.
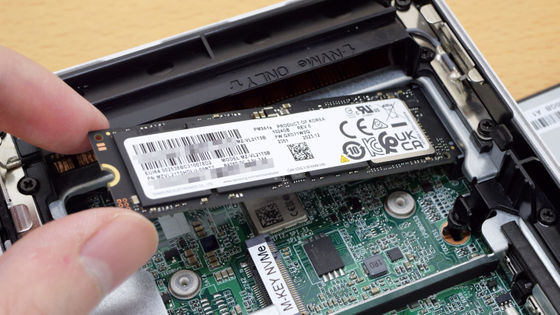
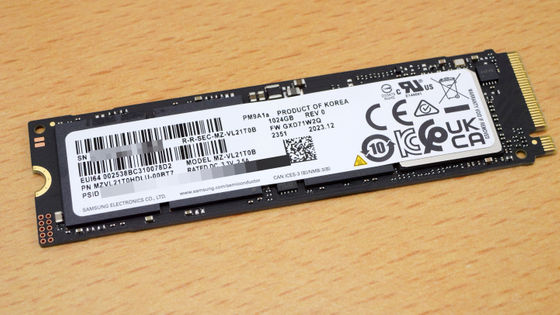
The ASUS NUC 14 Pro+ was equipped with Samsung's 1TB SSD '
The memory is the same as the ASUS NUC 14 Pro, with two
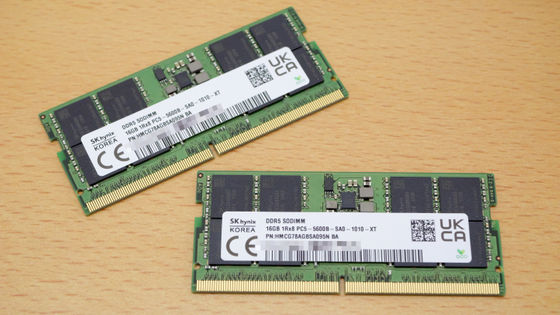
This is what it looks like when you remove the SSD and memory.
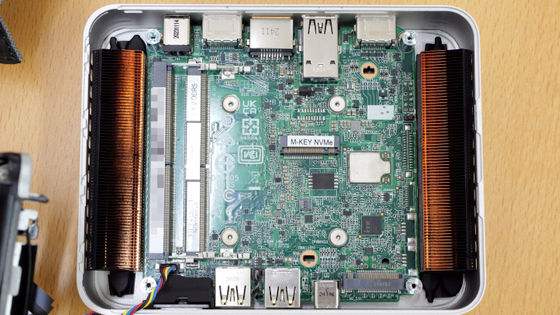
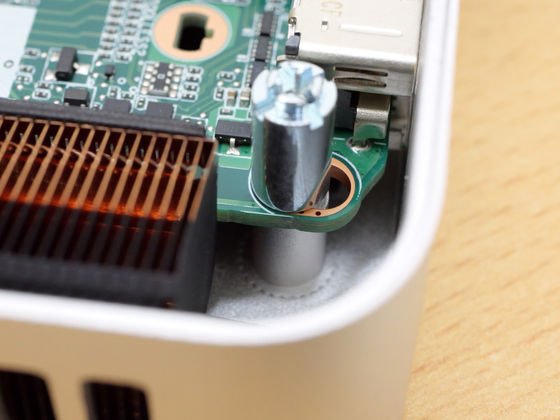
The board is firmly attached to the case, so further disassembly is difficult.
In a follow-up article, we will be benchmarking the ASUS NUC 14 Pro and ASUS NUC 14 Pro+.
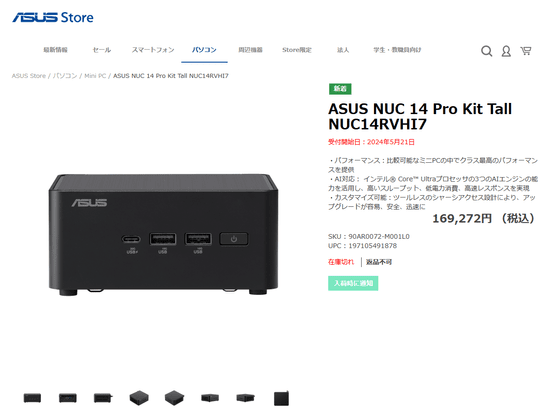
The ASUS NUC 14 Pro that I rented this time can be purchased on the ASUS official website. The price is 169,272 yen including tax.
ASUS Store - ASUS NUC 14 Pro Kit Tall NUC14RVHI7
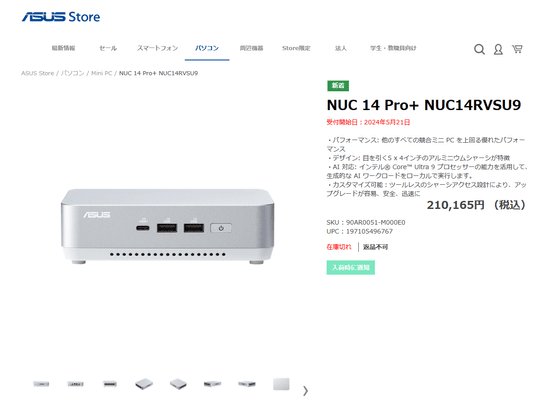
The ASUS NUC 14 Pro+ is available for purchase for 211,165 yen including tax.
ASUS Store - NUC 14 Pro+ NUC14RVSU9

Related Posts:


