Intel's ultra-compact barebone kit for gamers 'NUC 11 Extreme Kit' disassembled, what's inside?

The NUC 11 Extreme Kit (codename: Beast Canyon), which will be released by Intel in the third quarter of 2021,
Intel NUC 11 Extreme Kit Delivers High-End Gaming Experience
https://www.intel.com/content/www/us/en/newsroom/news/intel-nuc-11-extreme-kit-delivers-high-end-gaming-experience.html
intel-nuc-11-extreme-product-brief.pdf
(PDF file) https://download.intel.com/newsroom/2021/client-computing/intel-nuc-11-extreme-product-brief.pdf
So, this time I will disassemble the NUC 11 Extreme Kit and check the inside. For the dignity and appearance of the NUC 11 Extreme Kit vanity case, please refer to the previous article below.
Intel's ultra-compact assembly PC 'NUC 11 Extreme Kit' that allows you to build a high-spec gaming machine with your favorite grabbo is opened, an ultra-special cosmetic box that makes you feel like the moment you take out the weapons of science fiction works --GIGAZINE

First, open the case. If you remove the Phillips screws at the four corners on the back ...
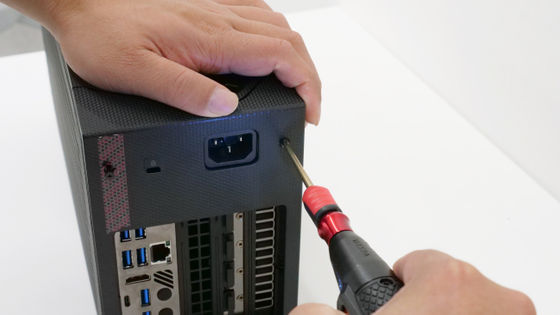
You can remove the back panel like this.
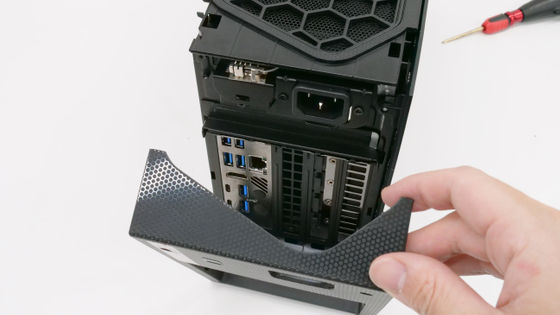
After removing the back panel, the side panel can be removed by simply sliding it lightly.
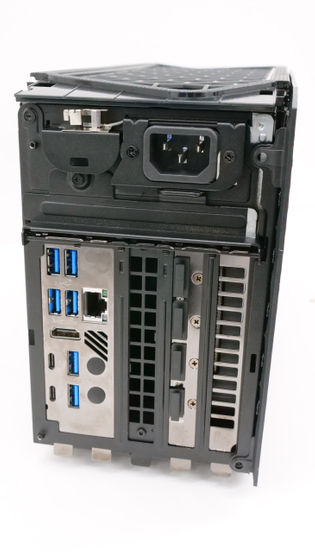
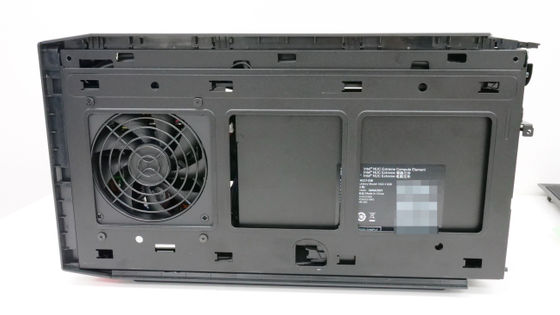
The following is the back after removing the panel.
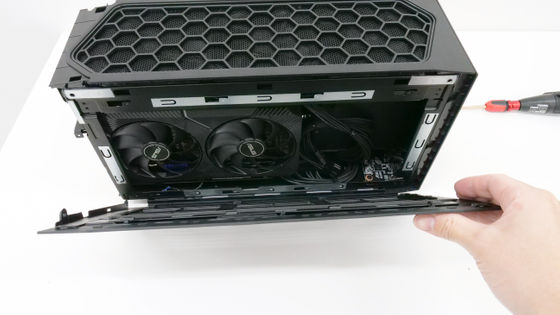
The left side when viewed from the front.
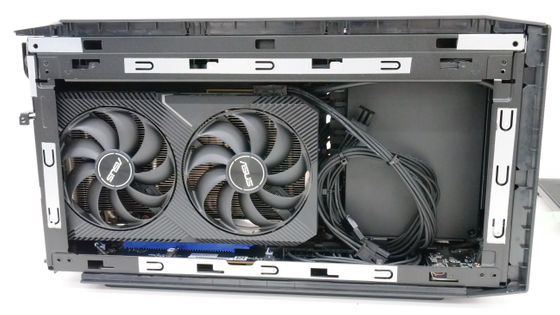
From the front to the right side.
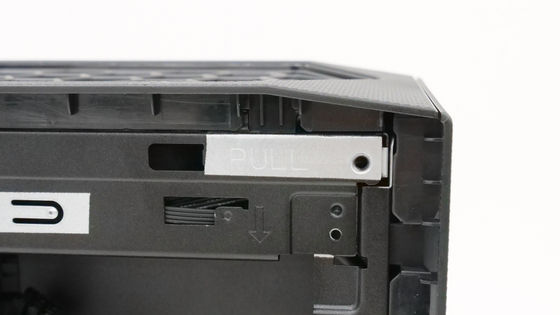
When viewed from the left side, there are metal fixtures with 'PULL' written on the front and back of the top side ...
When lifted, the top panel opened as shown below.
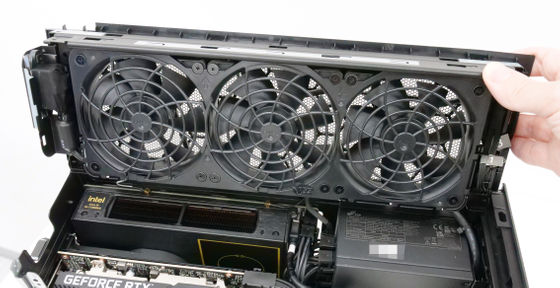
The contents are in a state of Gitch Gichi.
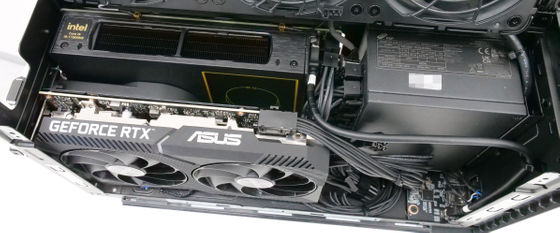
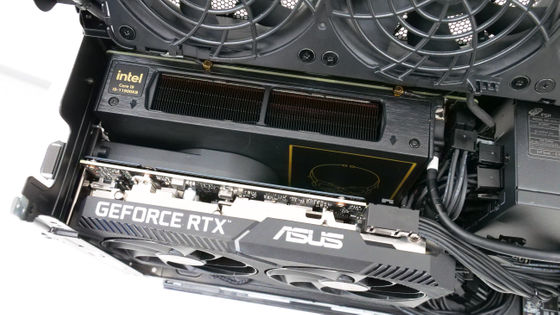
The front side is the FSP power supply 'FSP650-57SAB-A'.
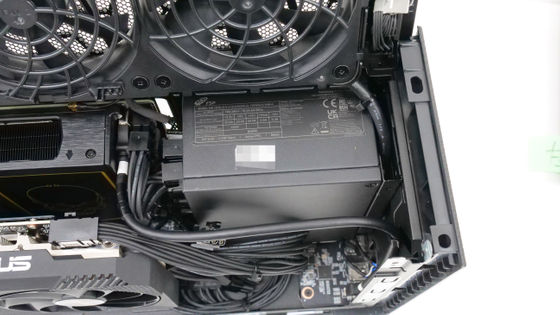
So, let's continue disassembling from here and check the contents of the Intel NUC Extreme 11 Compute Element. First, remove the Phillips screw on the back side to expose the screw part that fixes the expansion slot bracket.
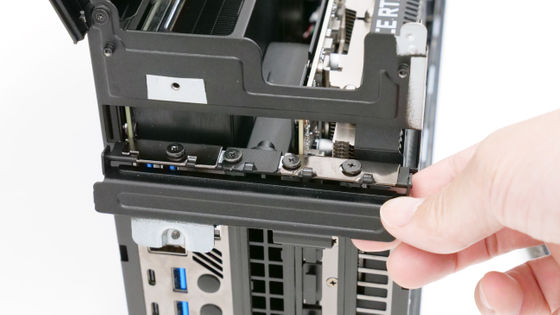
Remove this screw ...
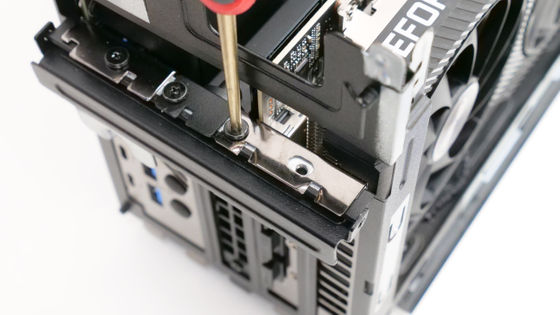
I'd like to remove the graphics board that hides the Intel NUC Extreme 11 Compute Element, but the claws in the PCI Express slot are quite deep.
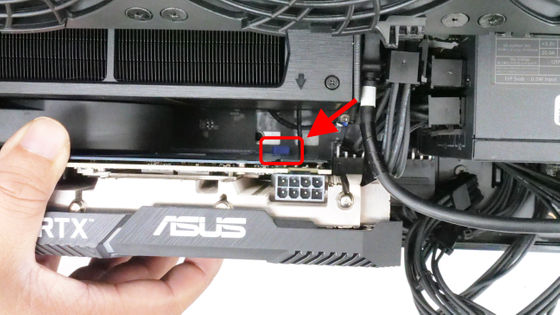
The graphic board will not come off unless you push down this claw, so stick your hand in ...
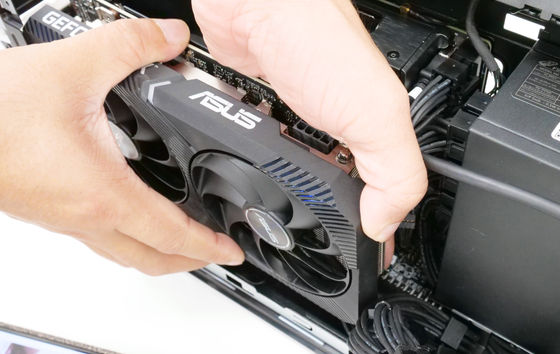
Go deeper ...
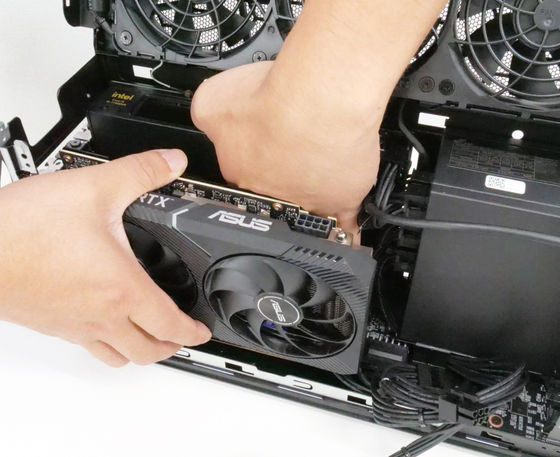
Removal completed.
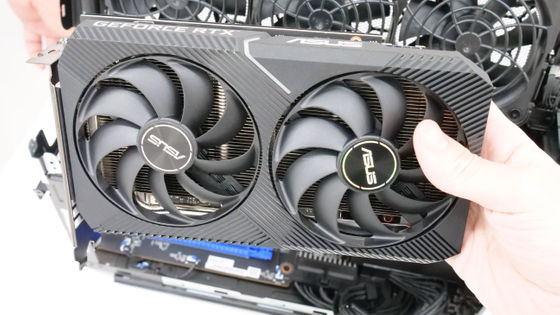
When I removed the graphics board, I found that the sides of the Intel NUC Extreme 11 Compute Element became visible and had skull and crossbones.
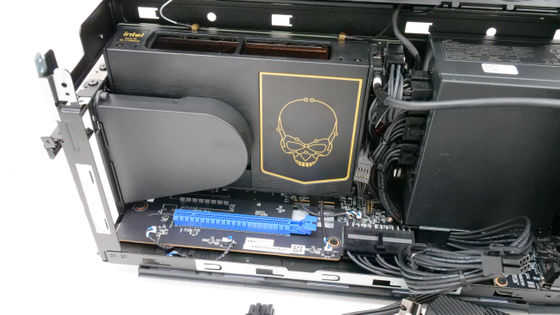
This bread-shaped plastic part is an air duct.
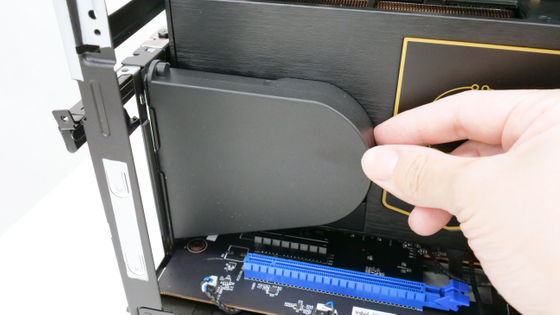
Removing the air duct exposes the Intel NUC Extreme 11 Compute Element fan.
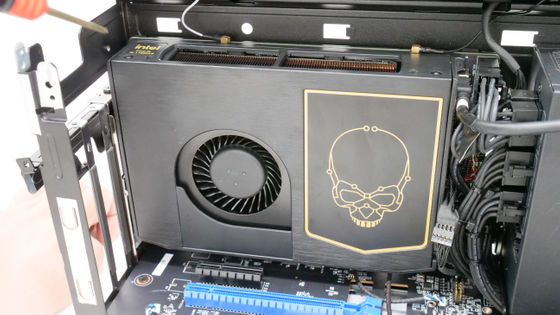
If you remove the screw on the top of the Intel NUC Extreme 11 Compute Element and remove the lid ...
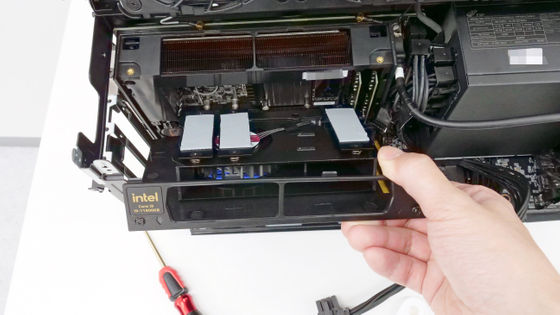
I could see the inside.
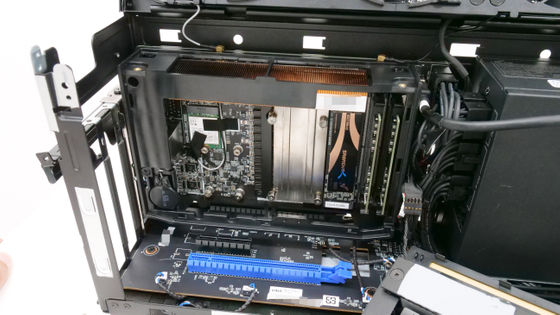
Two M.2 card slots on the back of the Intel NUC Extreme 11 Compute Element.
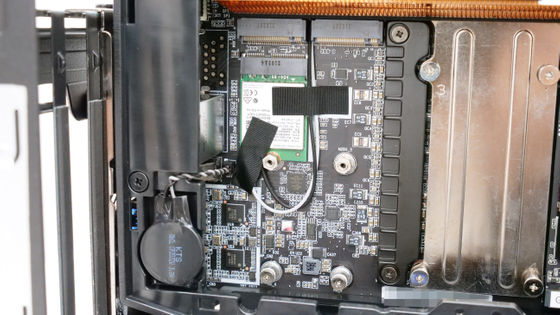
The front side has 1 M.2 card slot and 2 DDR4-compatible SO-DIMM slots (up to 64GB). In this rental machine, '
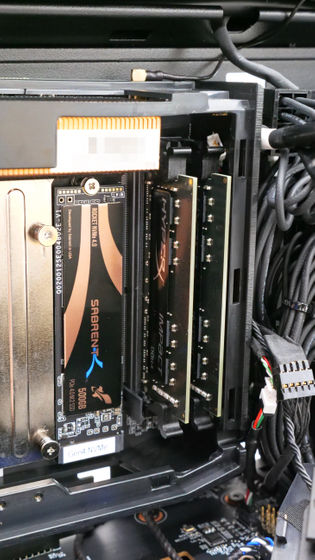
There is also one M.2 card slot on the bottom.
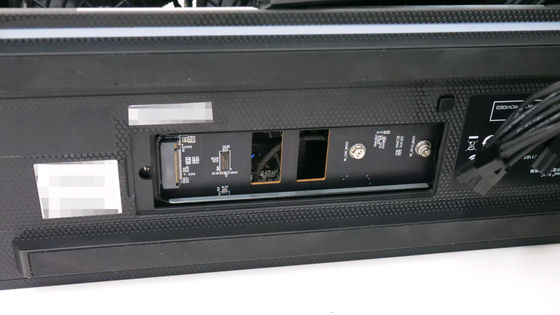
This Intel NUC Extreme 11 Compute Element is connected to the riser card on the bottom, so ...
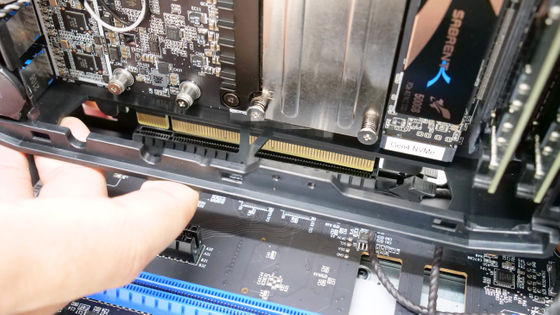
It looks like this when all are separated.
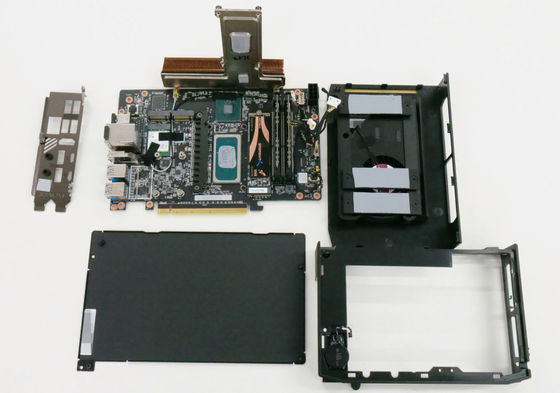
Now put the Intel NUC Extreme 11 Compute Element back in place and try adding more graphics boards. As shown below, PCI Express x4 slot and x16 slot are installed on the bottom side, so ...
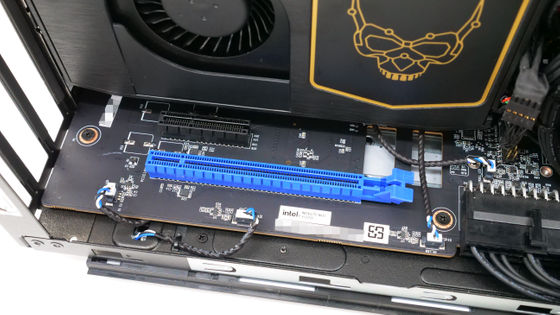
Install your 'GeForce GT 710' on the x4 slot side.
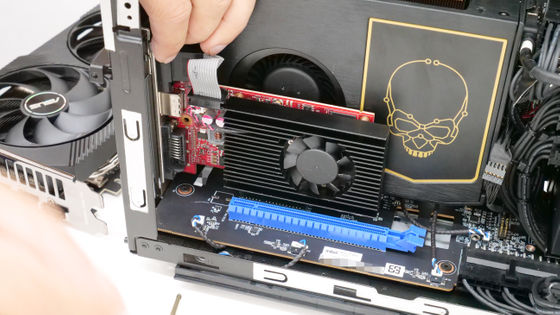
If you also install the ASUS DUAL-RTX3060-O12G that was touched from the beginning ...
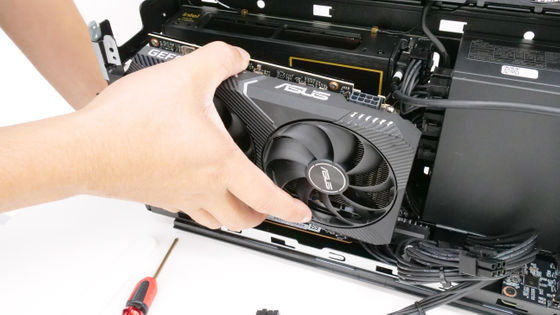
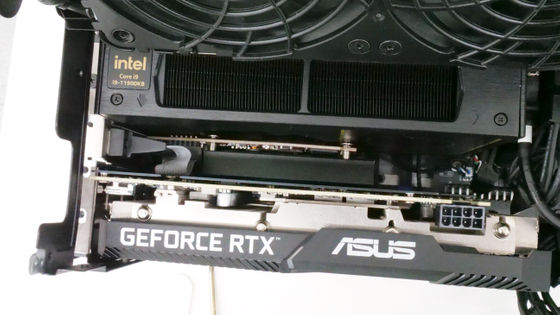
I just entered.
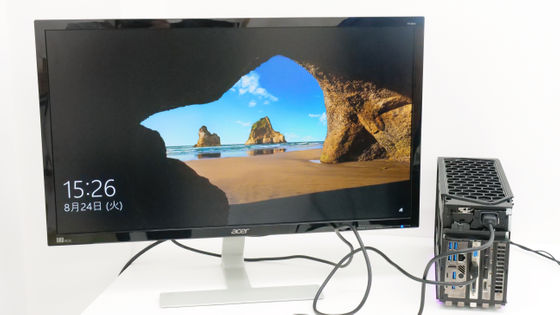
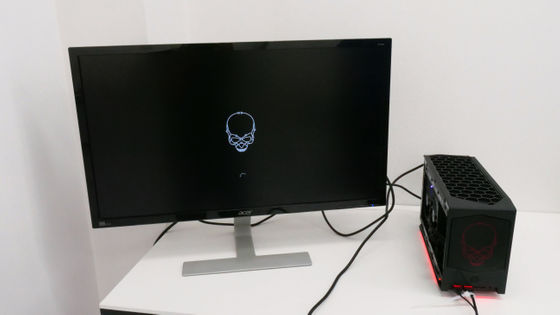
If you connect the HDMI cable to the GeForce GT 710 in this state ...
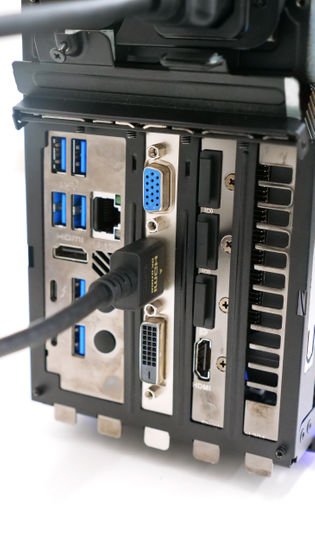
Output completed successfully. It seems that this PCI Express x4 slot can also be used sufficiently.
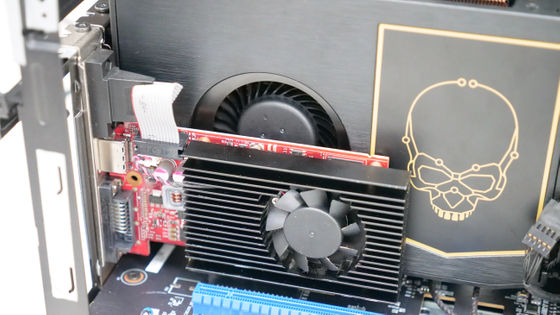
However, when installing something in the PCI Express x4 slot, it seemed better to avoid completely covering the fan of the Intel NUC Extreme 11 Compute Element, as shown below.
In the following article, we will benchmark the NUC 11 Extreme Kit.

Related Posts:


