A review of how to use Google's AI service 'NotebookLM' that allows you to create your own AI for free by specifying Japanese websites and files
Google's note-taking app '
NotebookLM | Note Taking & Research Assistant Powered by AI
https://notebooklm.google/
NotebookLM goes global with Slides support and better ways to fact-check
https://blog.google/technology/ai/notebooklm-goes-global-support-for-websites-slides-fact-check/
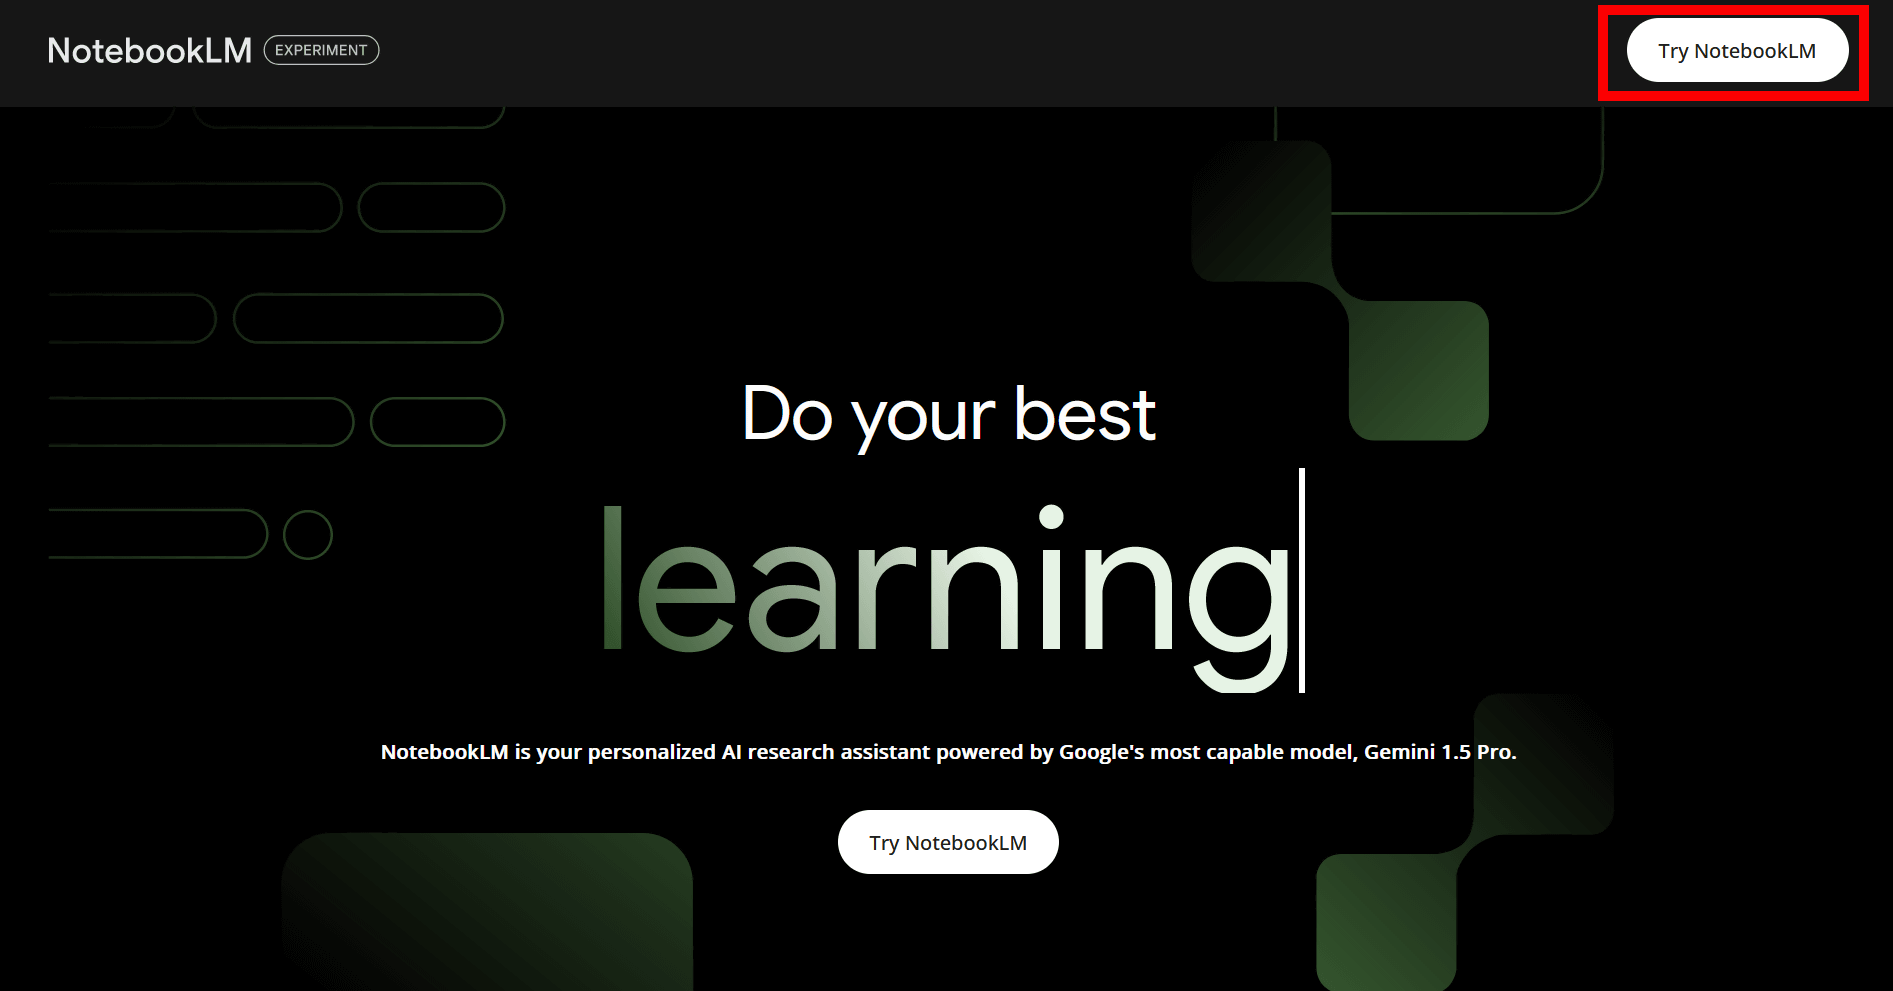
Access NotebookLM and click 'Try NotebookLM' in the upper right corner.
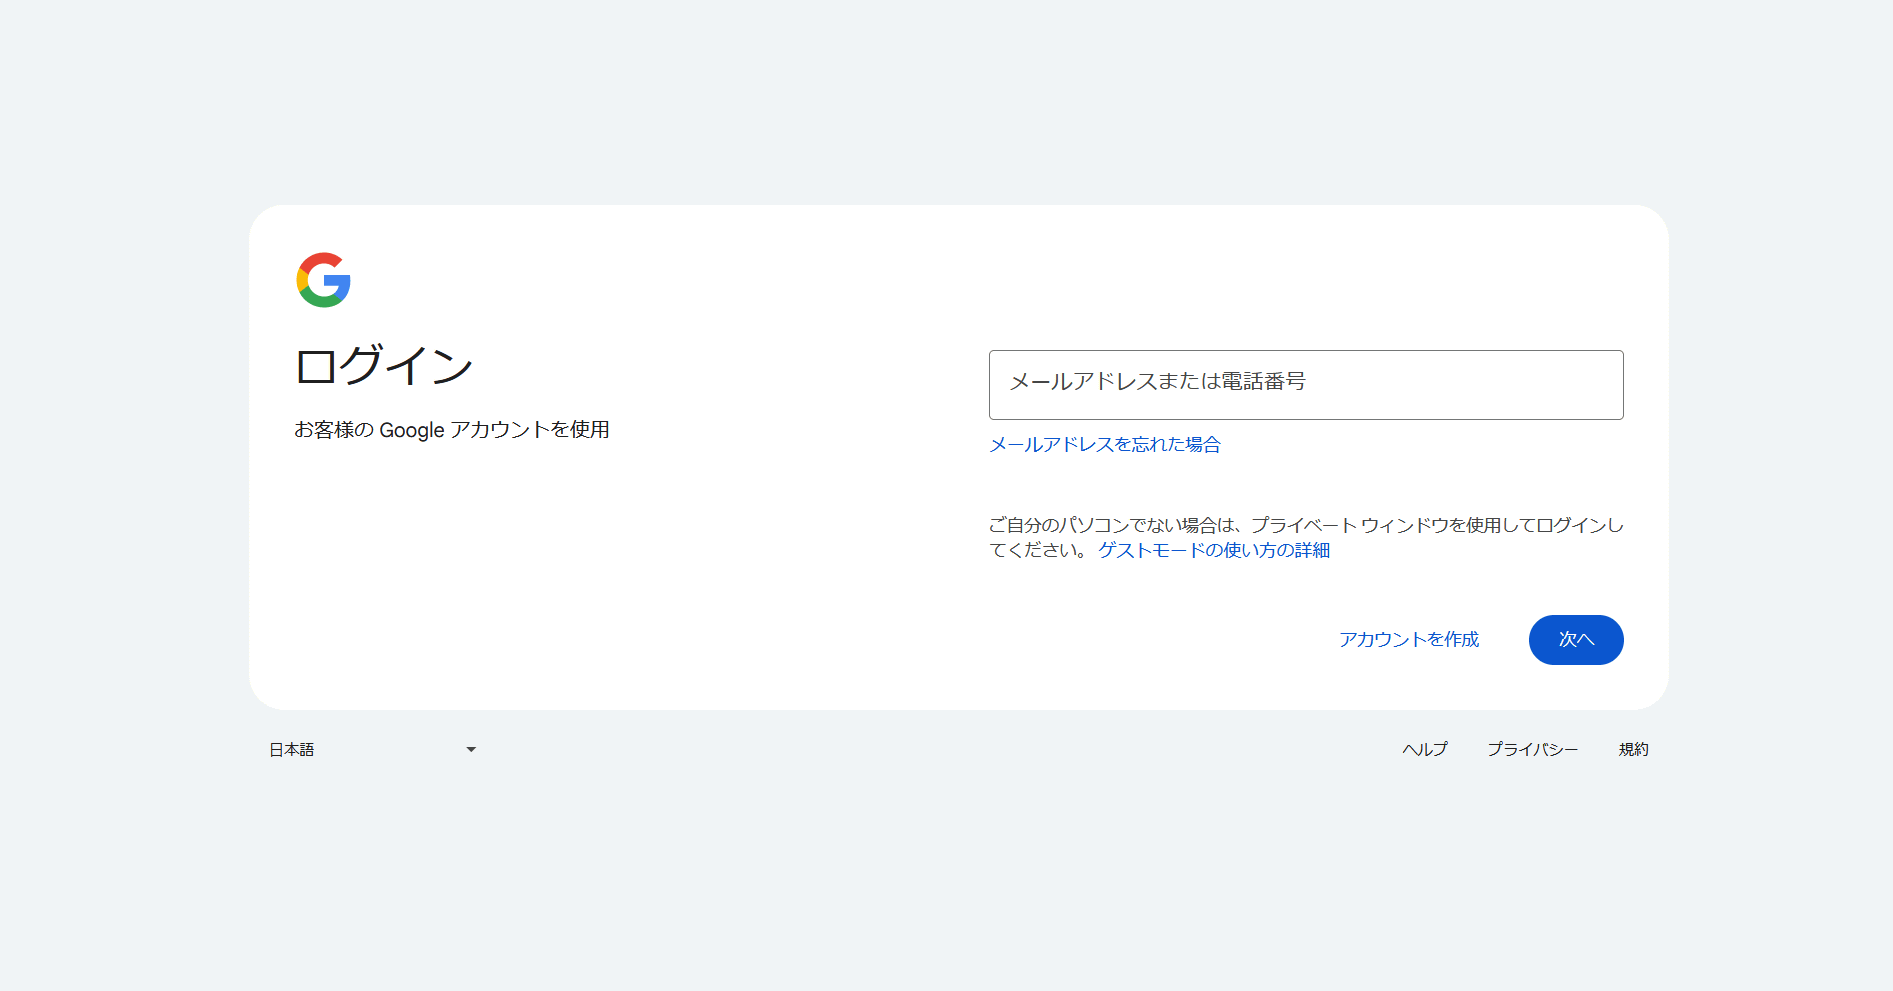
You need a Google account to use NotebookLM. Log in to your Google account.
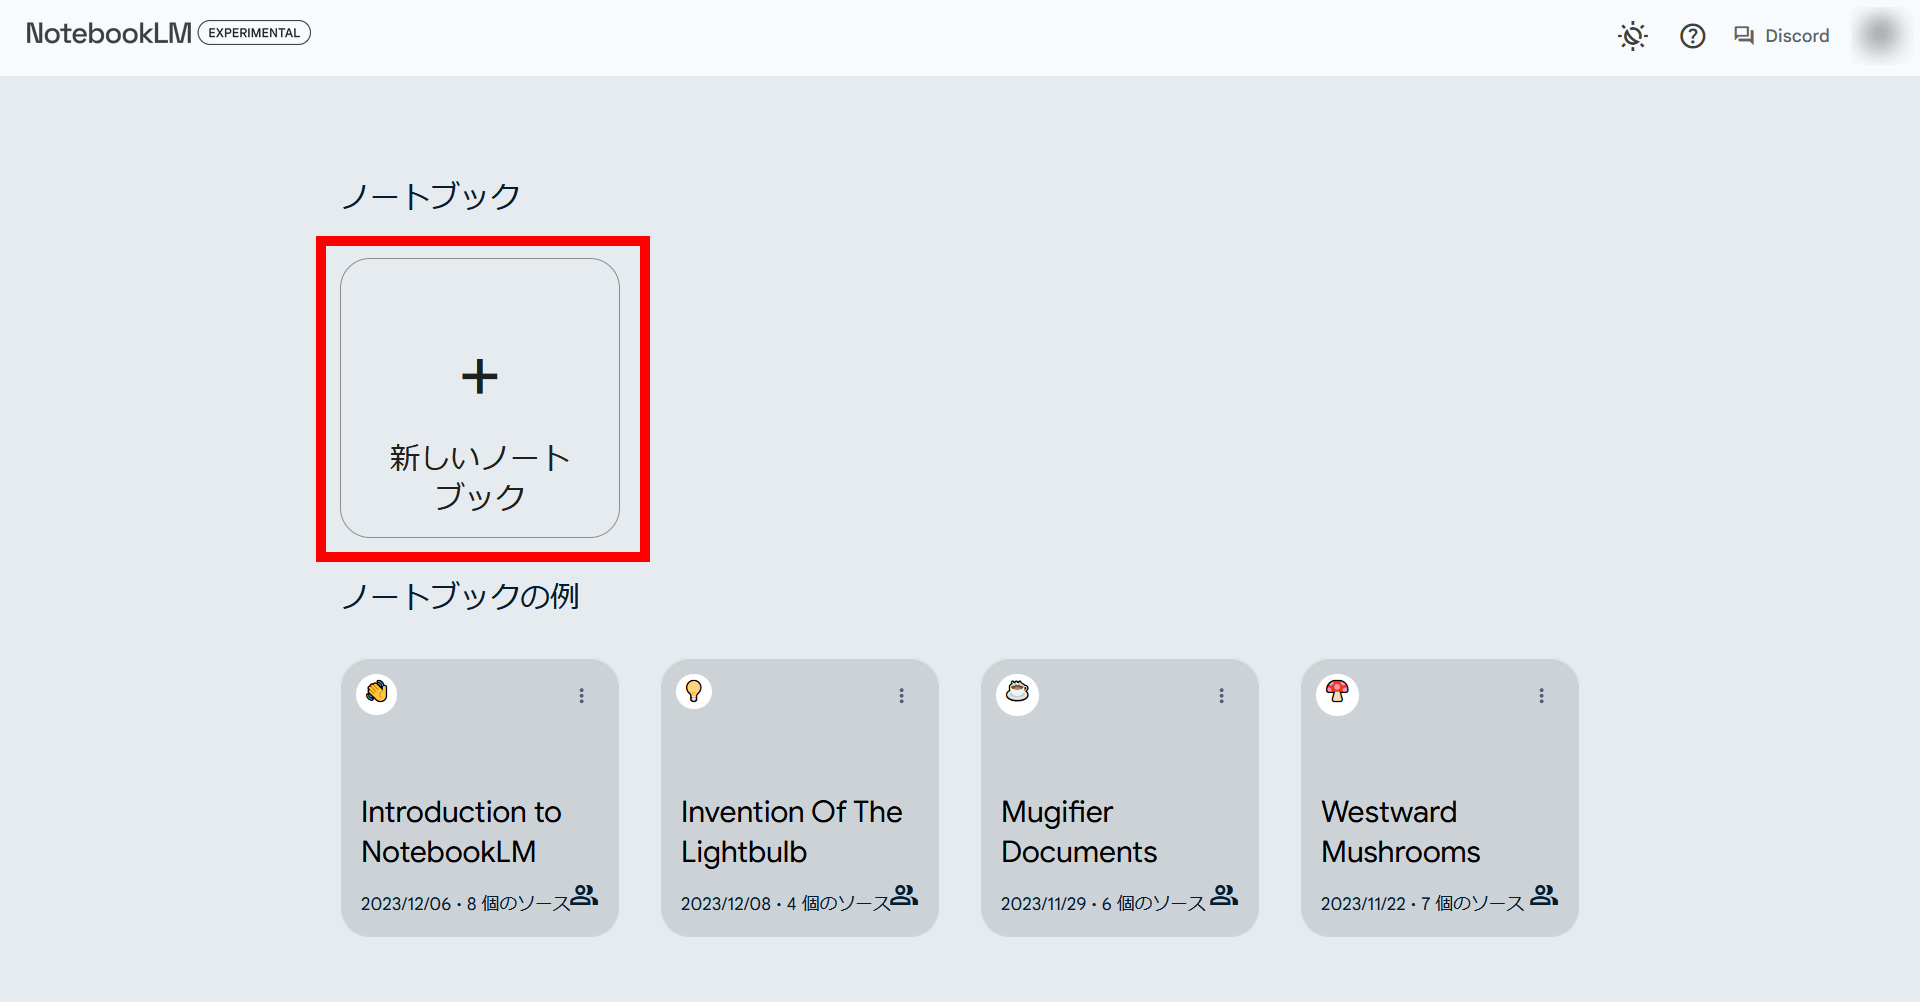
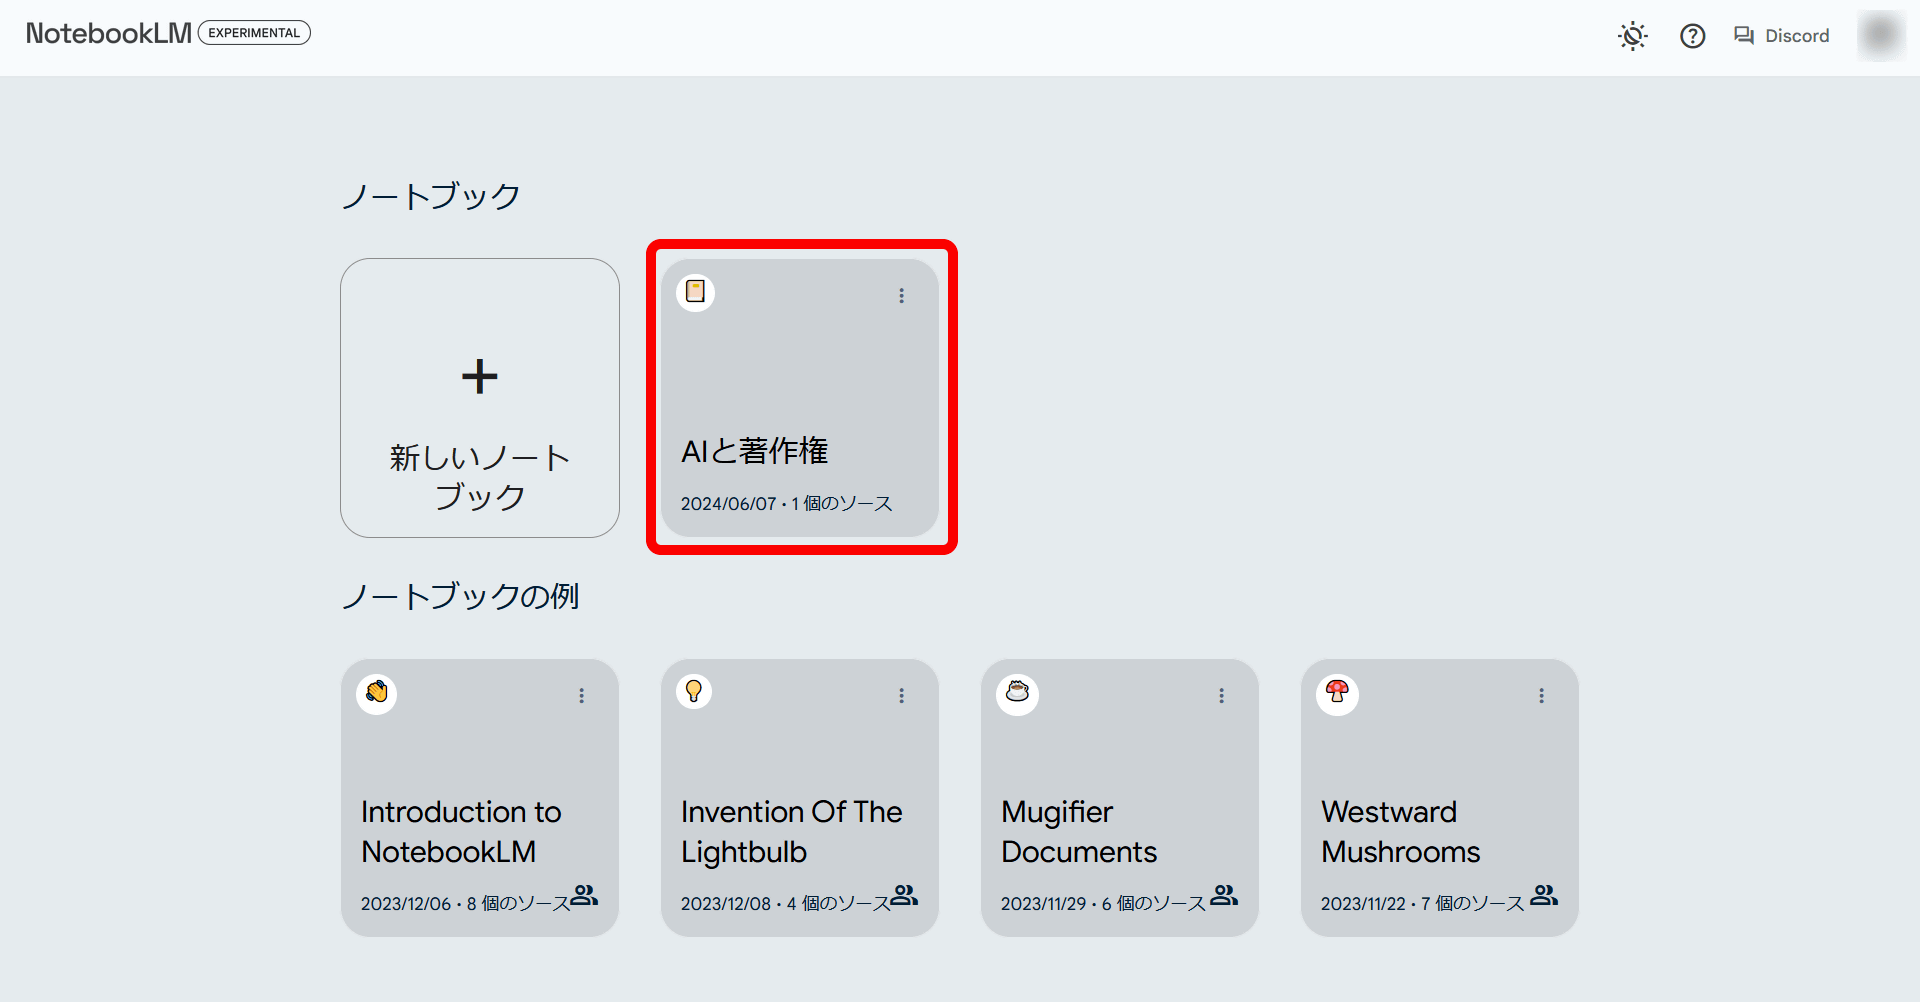
If you successfully log in, it will look like this. Click 'New Notebook'.
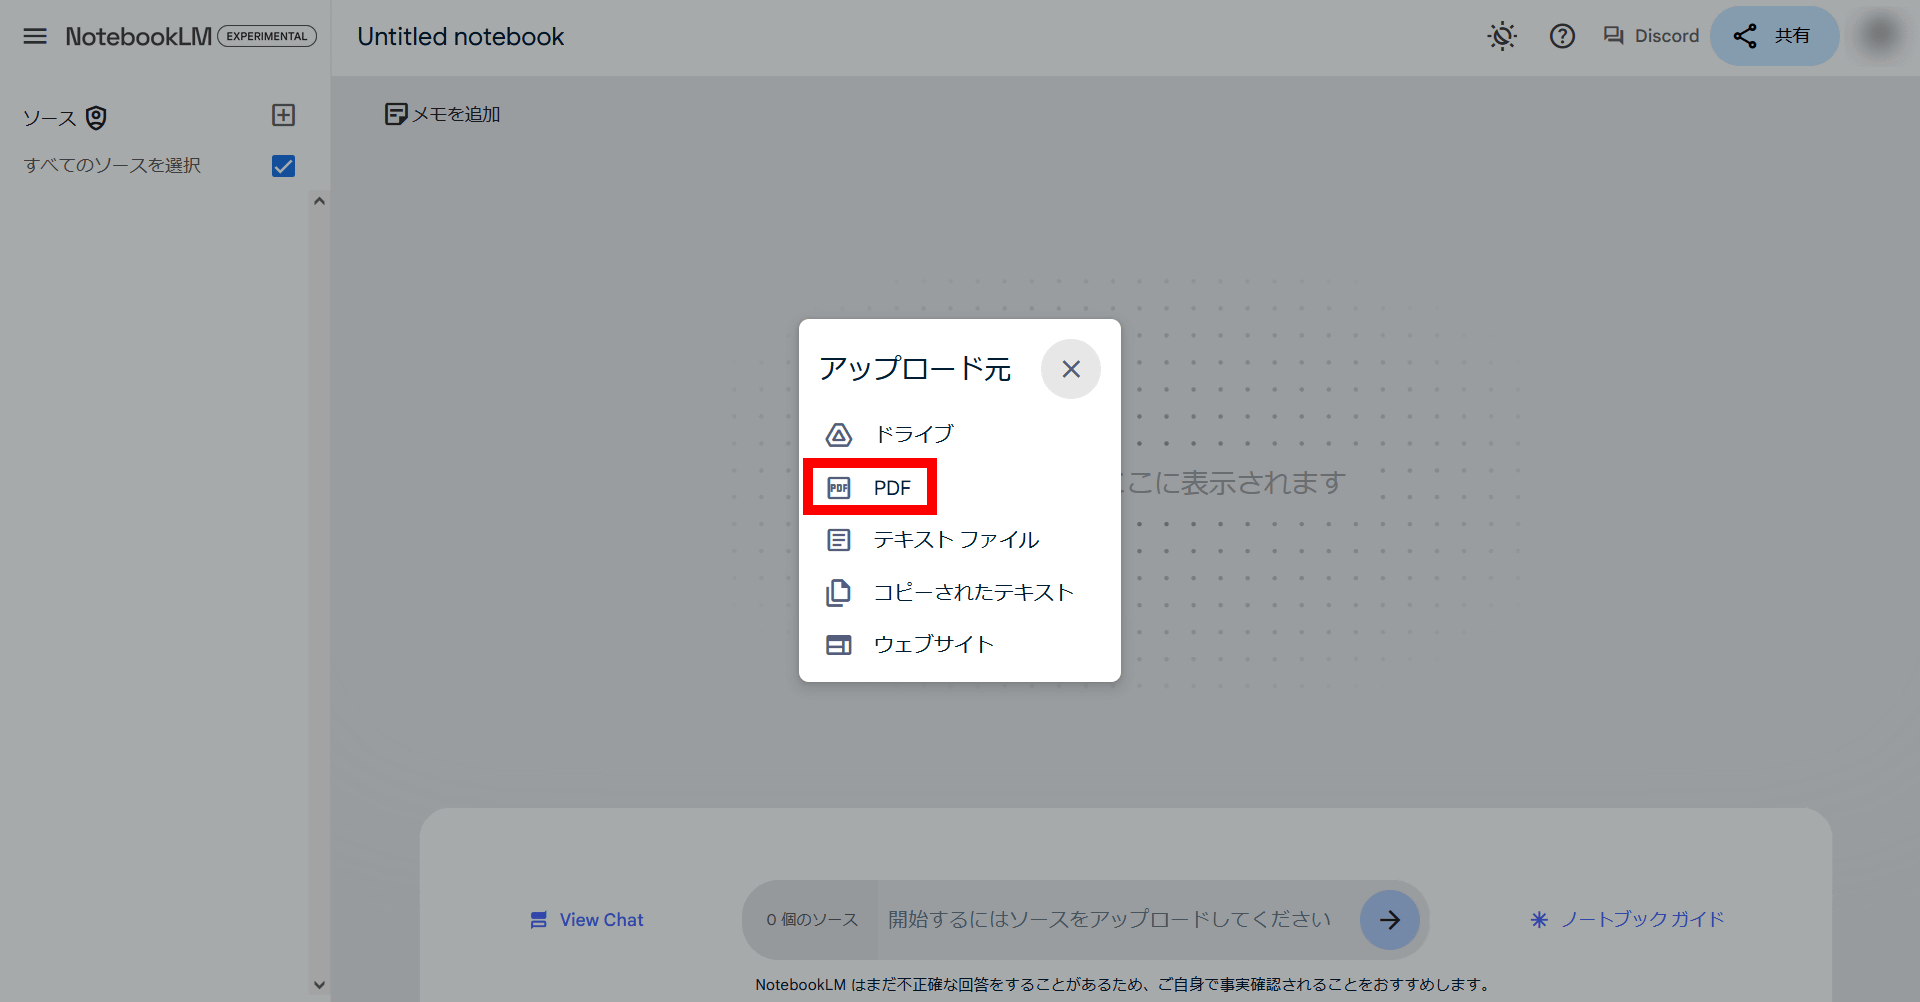
Then, select the source to load into NotebookLM. The source can be a Google Drive file, a locally stored PDF or text file, copied text, or a website. This time, we will load the PDF file '
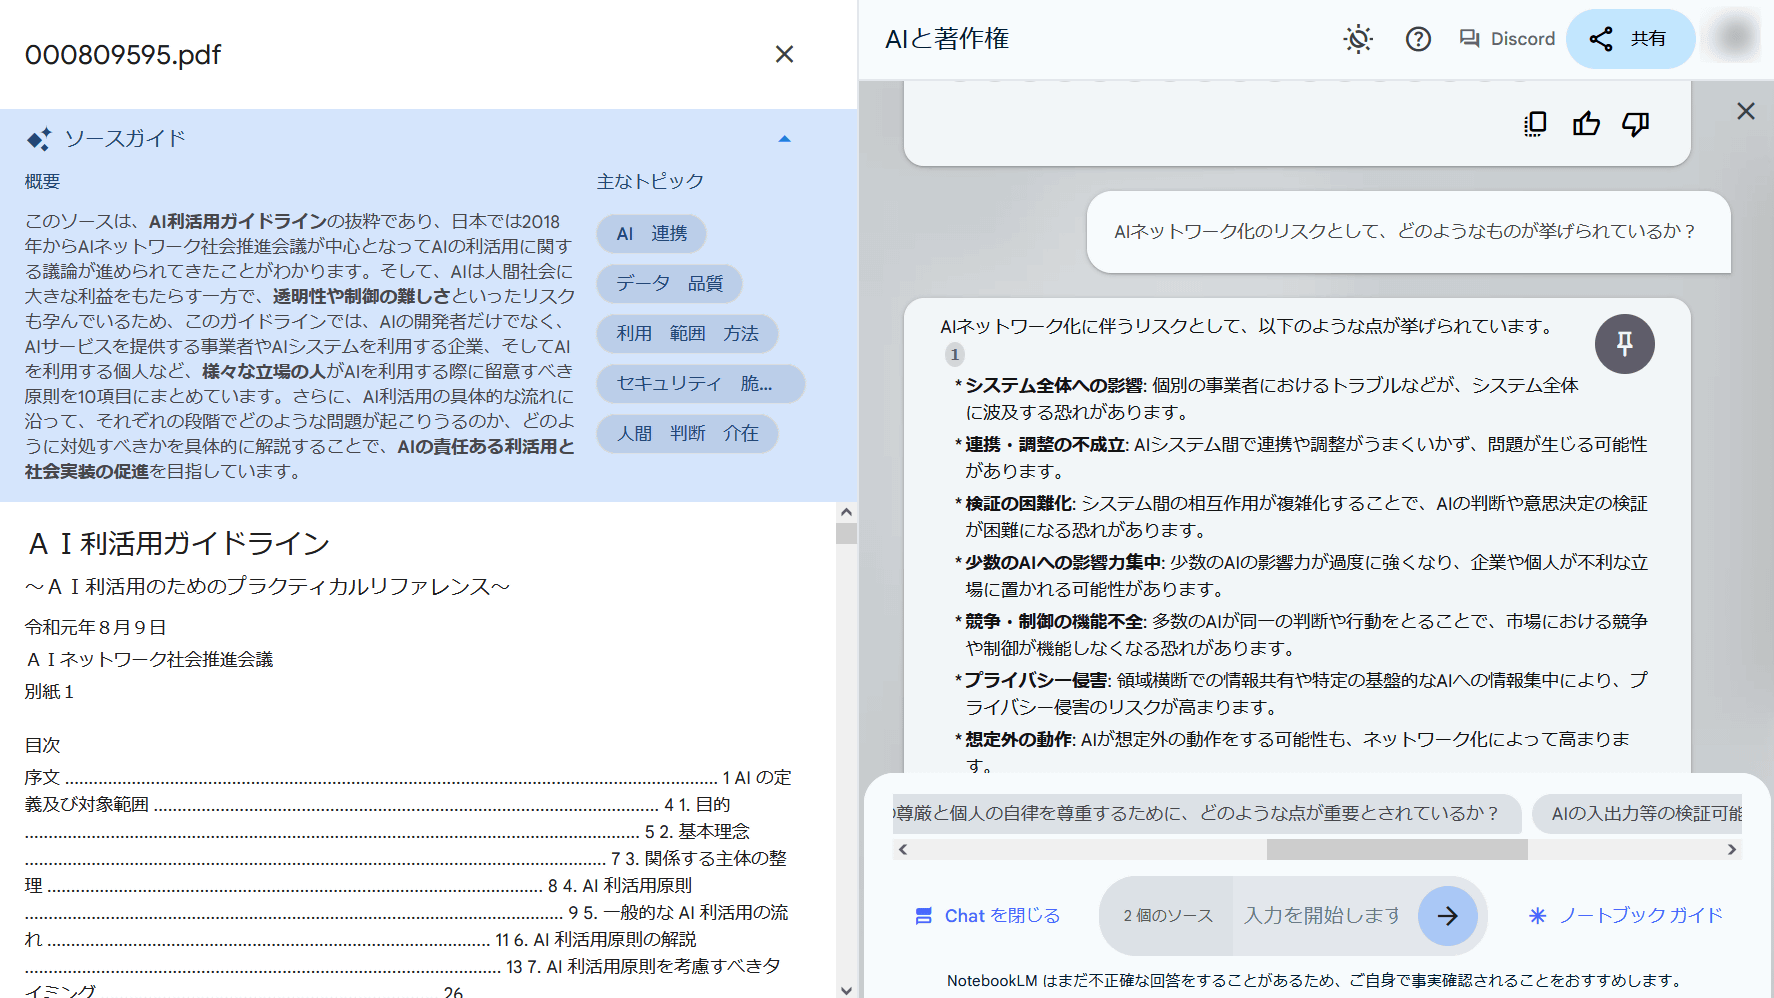
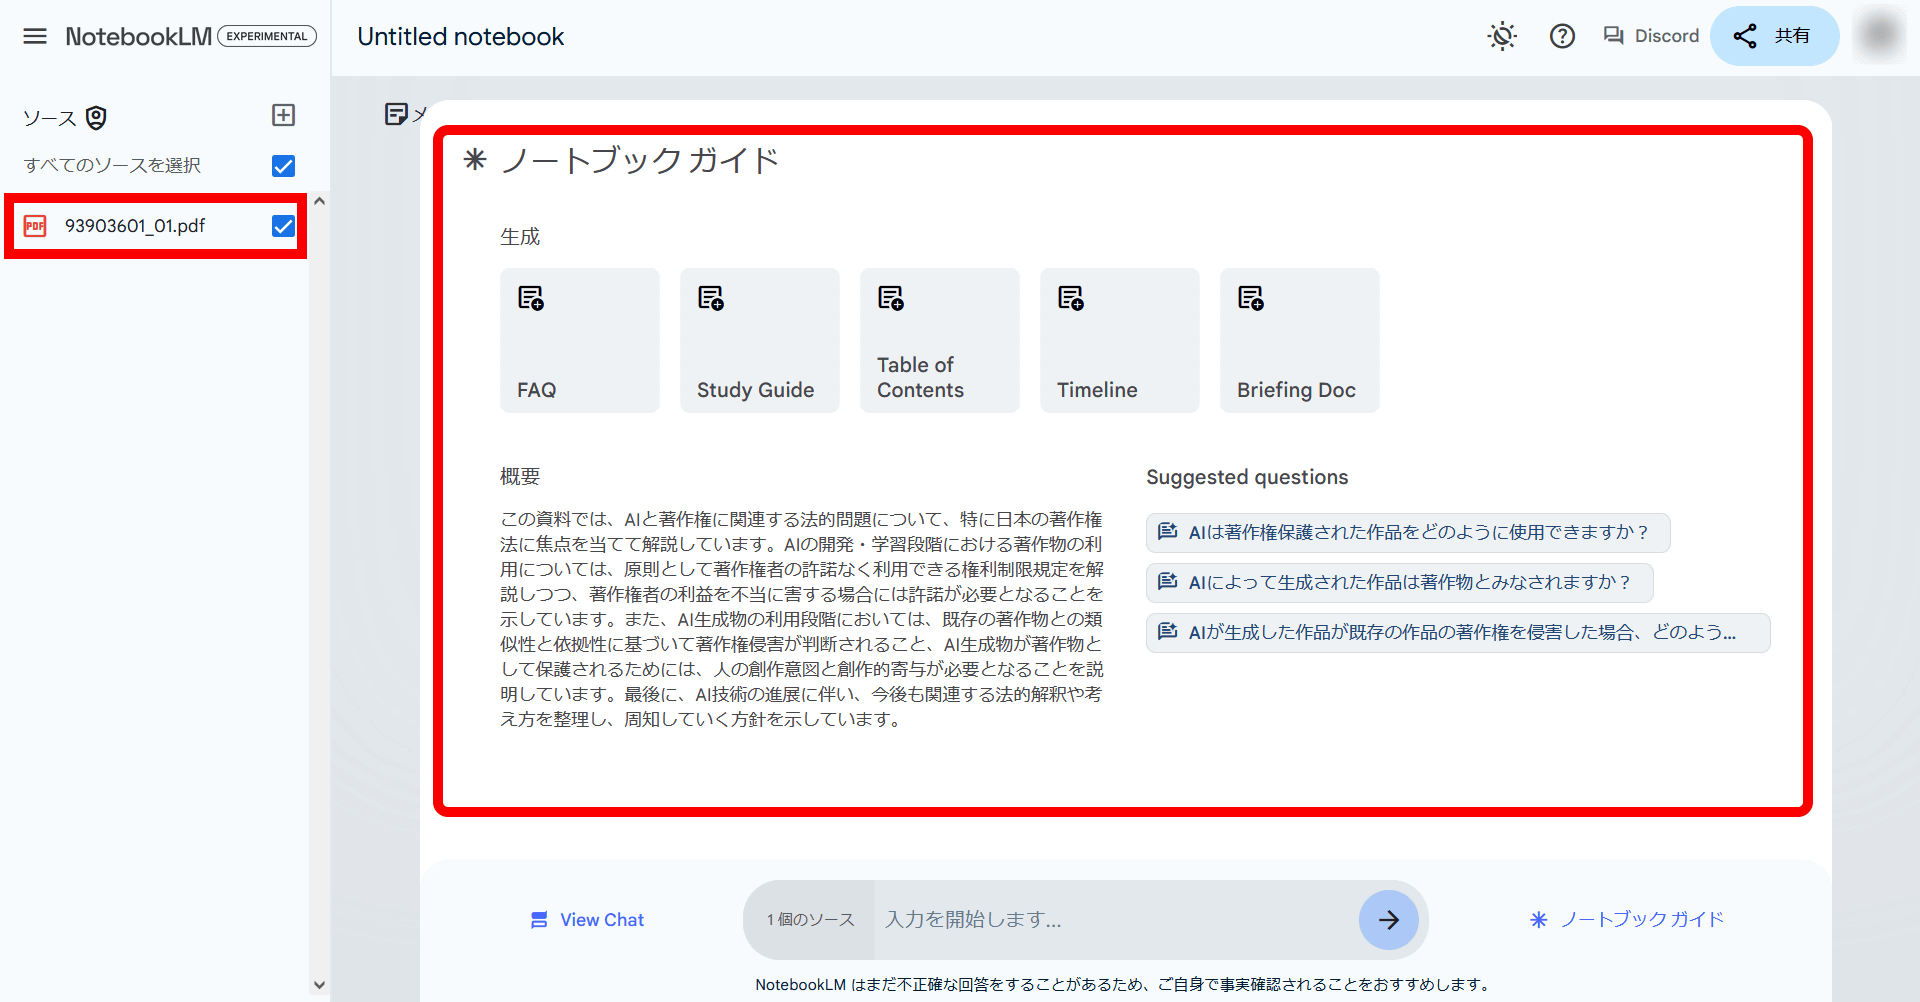
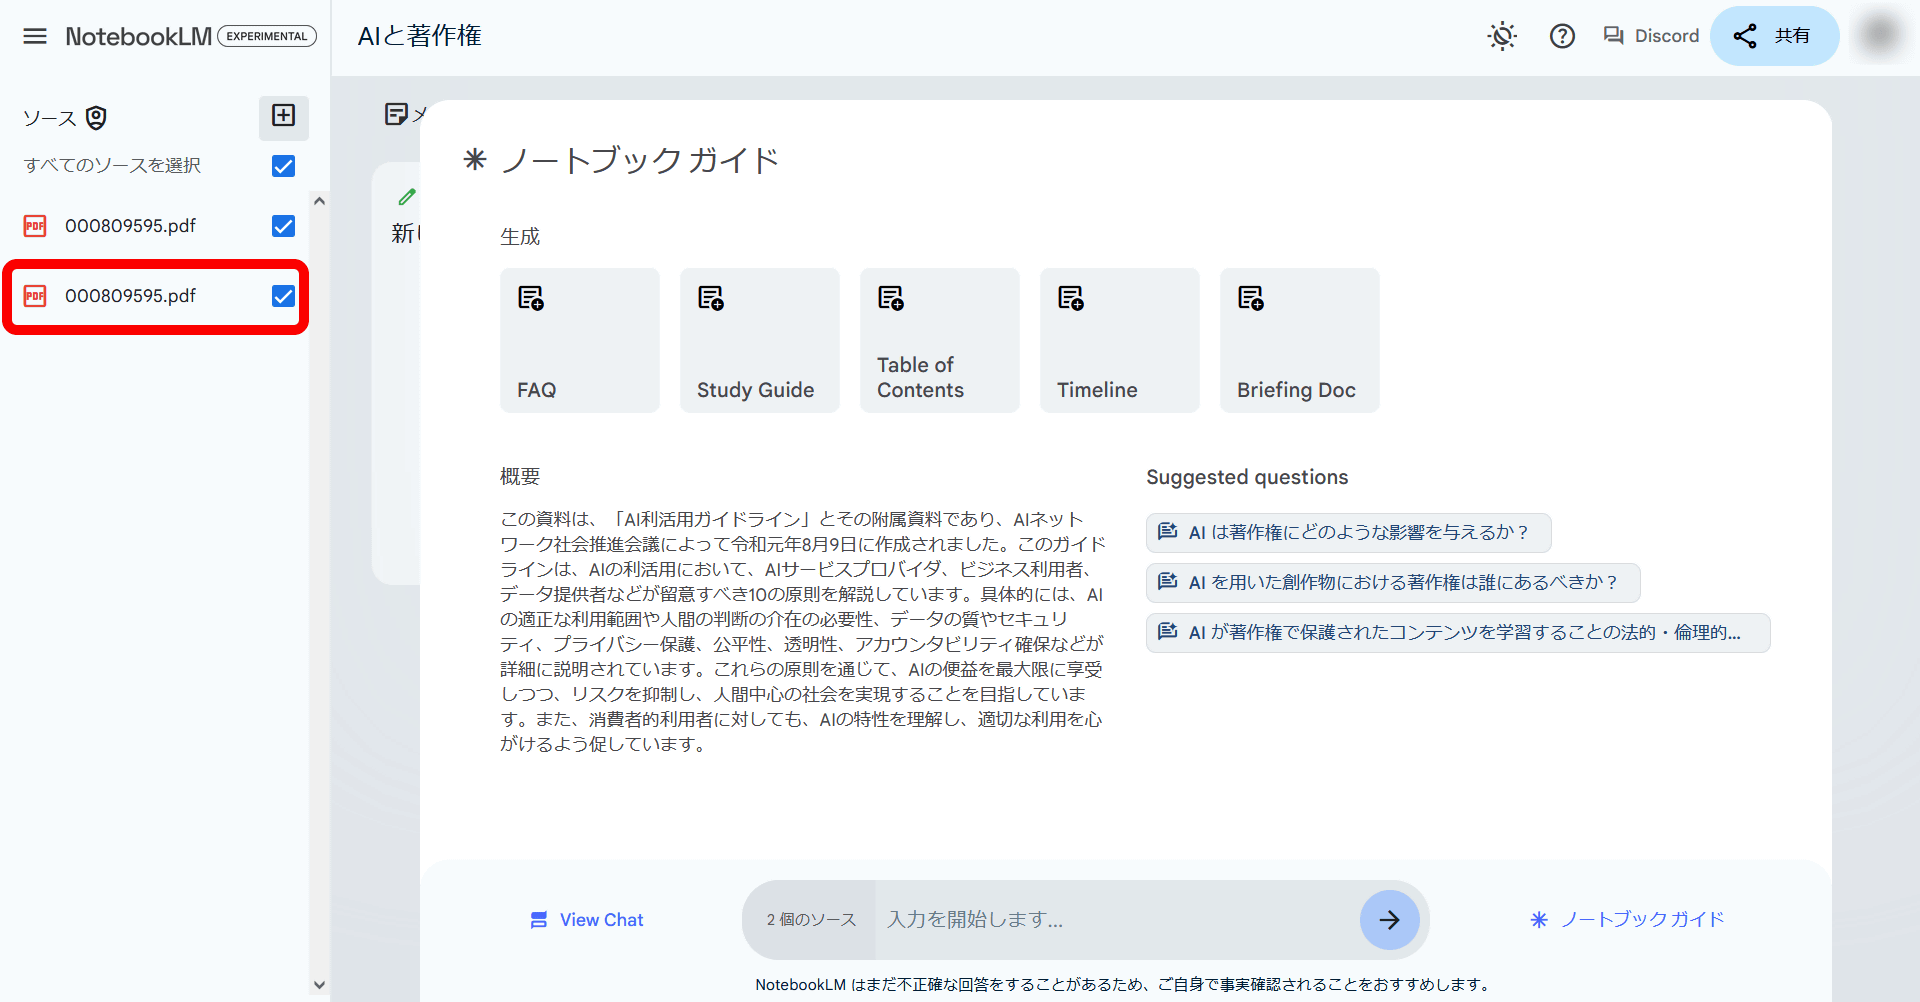
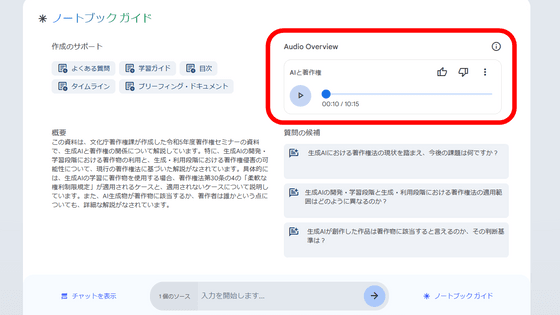
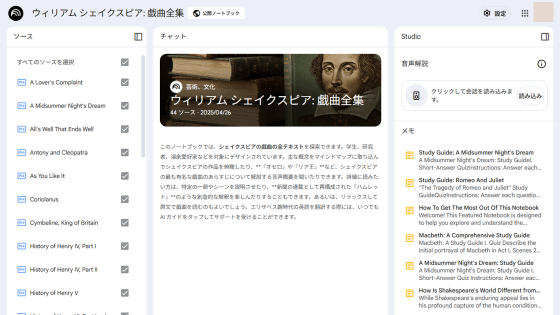
Once loaded, the PDF file name will be displayed in 'Source' on the left, and an overview of the 'Notebook Guide' will be displayed on the right. Click on the PDF file name in the 'Source' column.
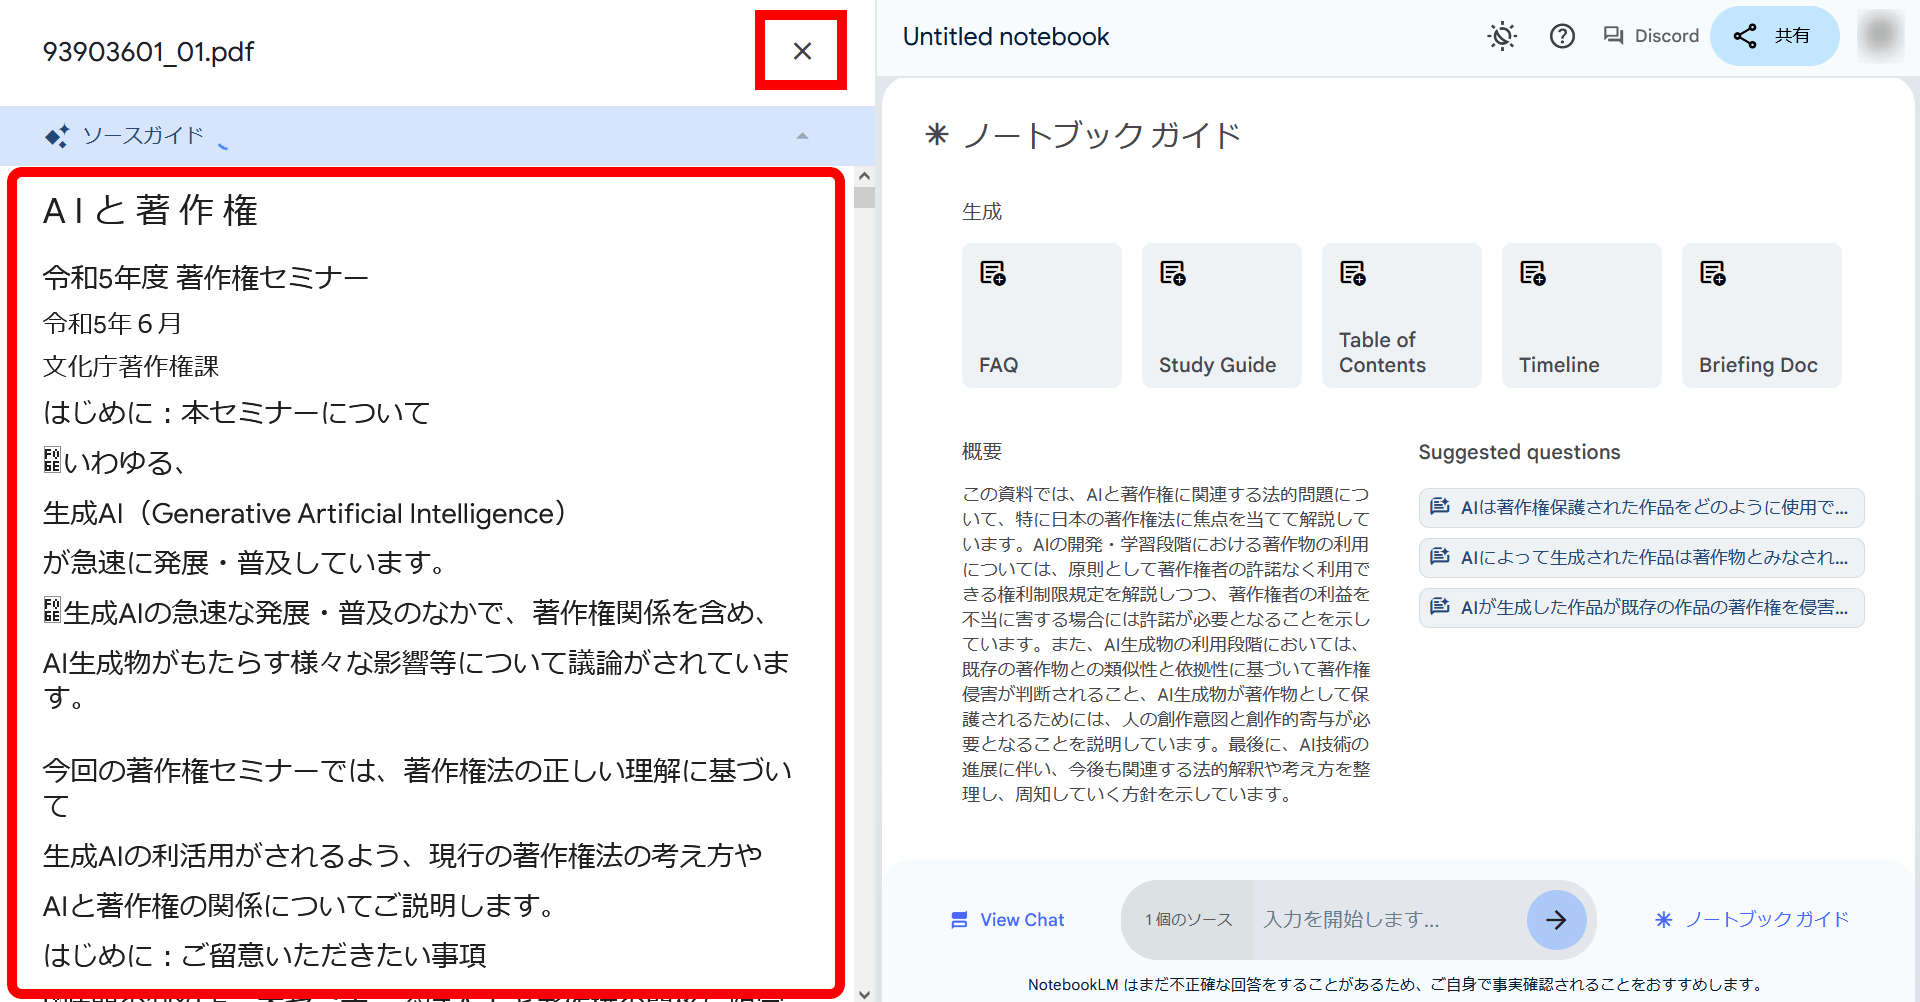
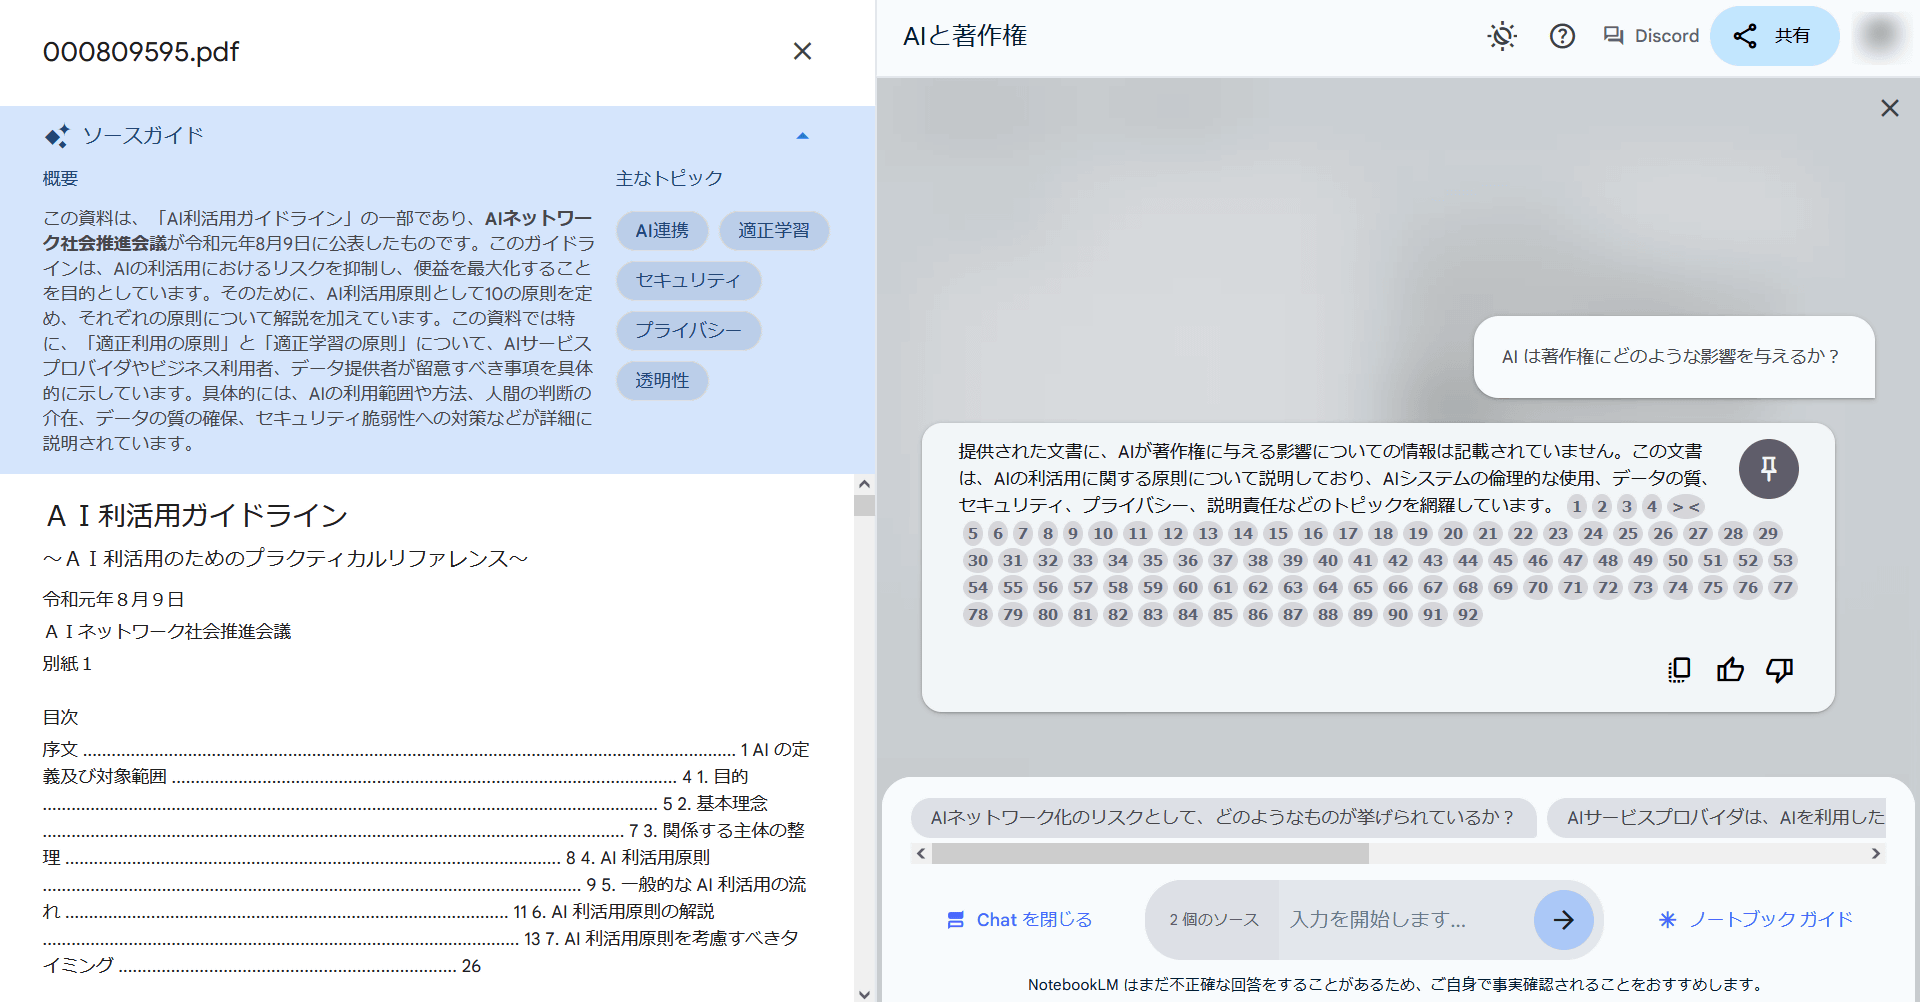
The text of the loaded PDF file will then be displayed. You can close it by clicking the × icon.
Enter your question about the source in the input field at the bottom of the right screen.
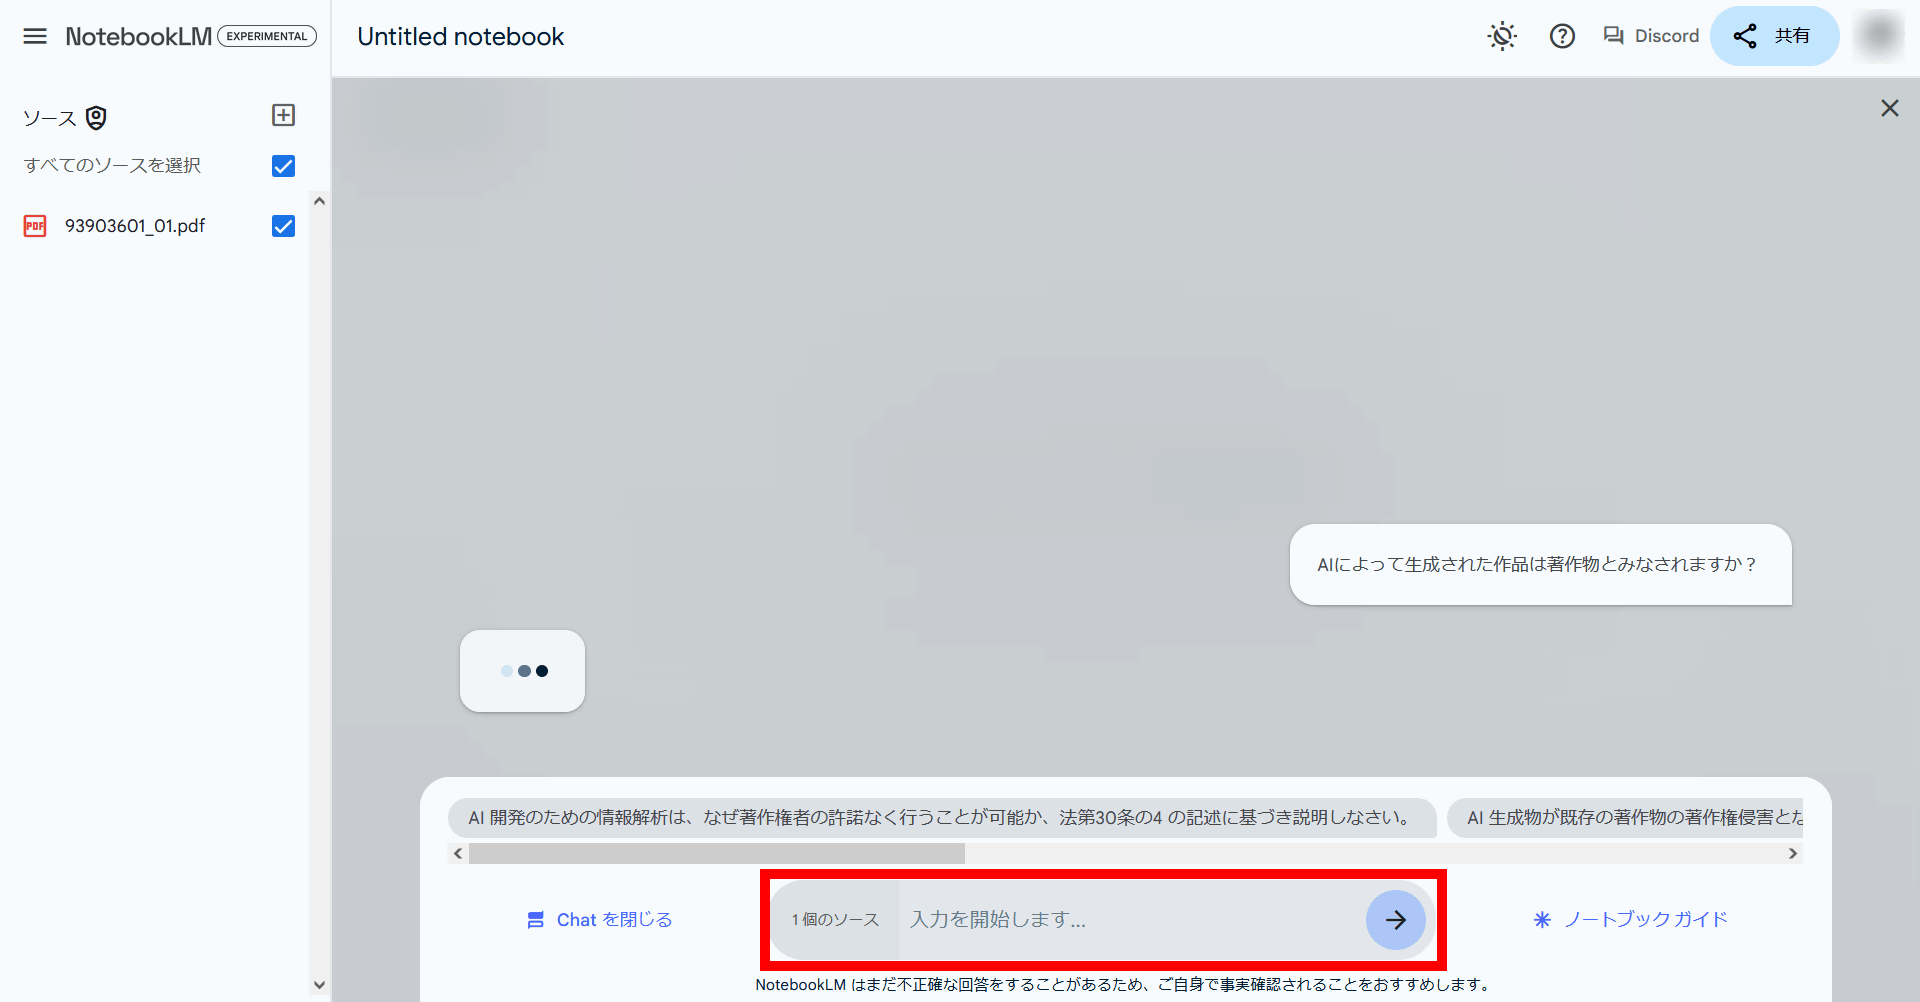
NotebookLM then provided answers based on the source PDF file.
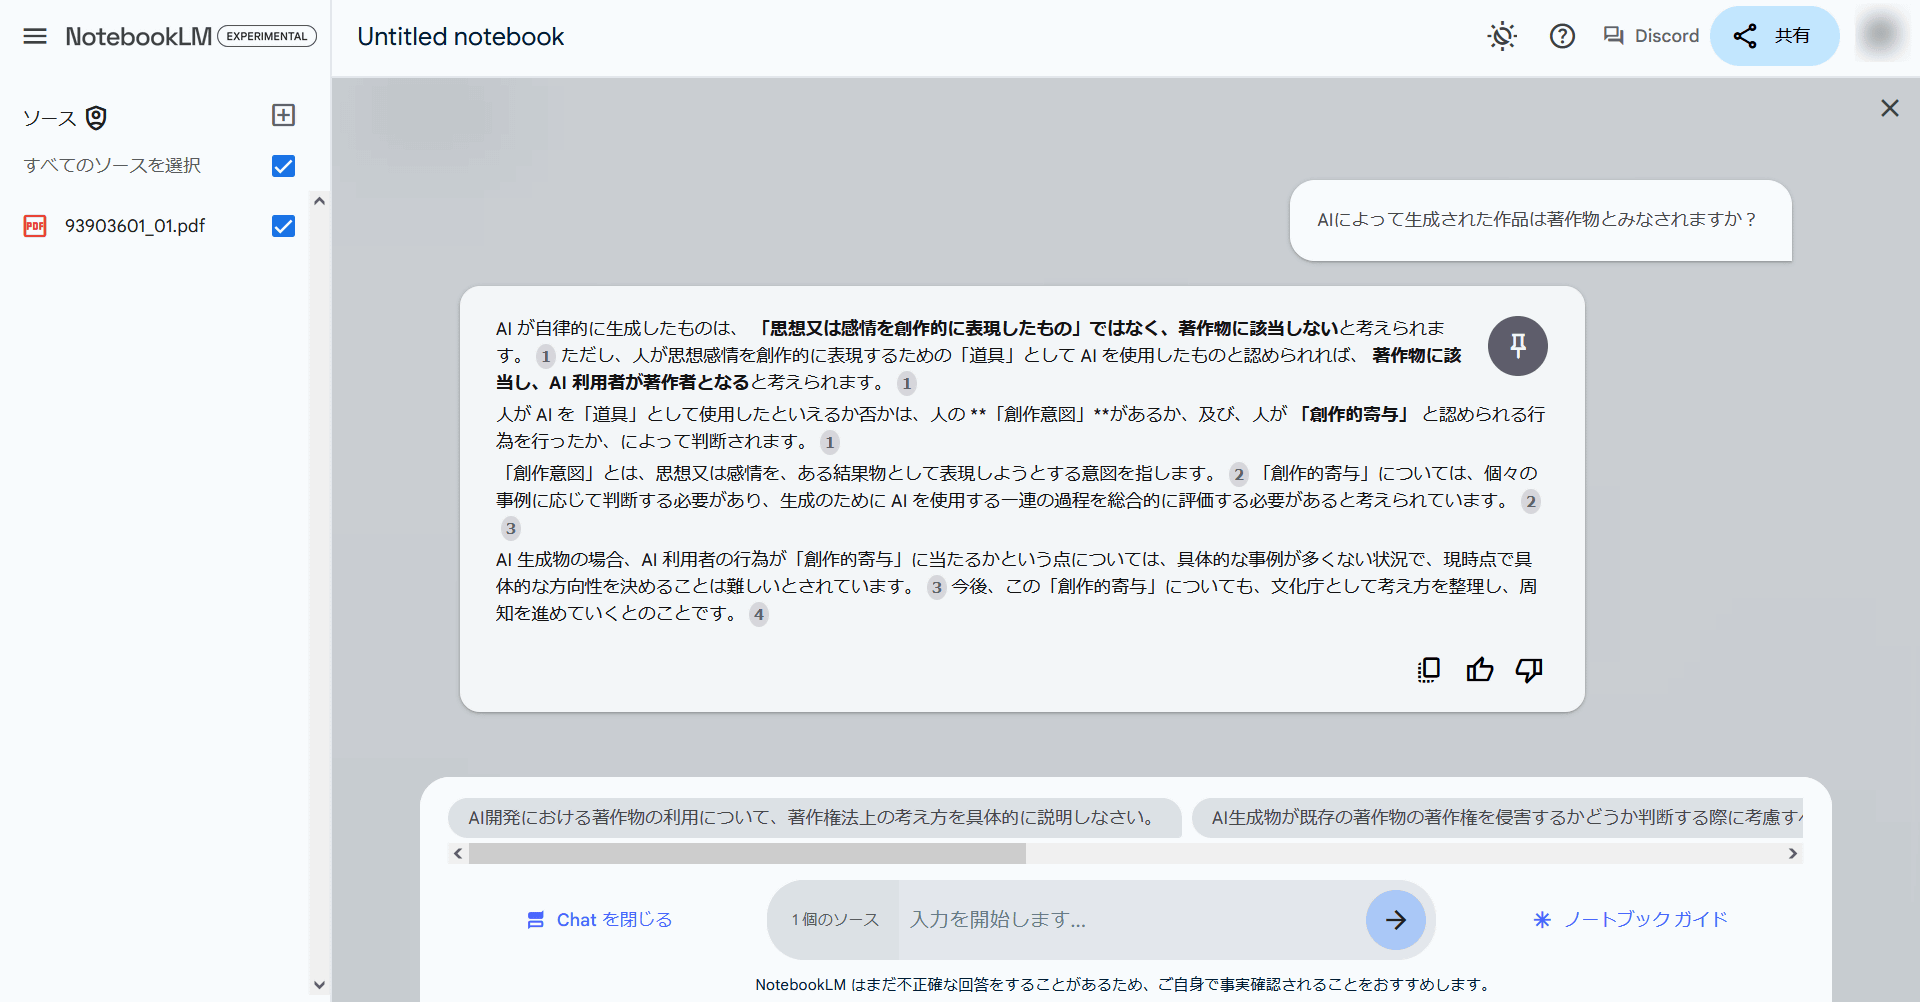
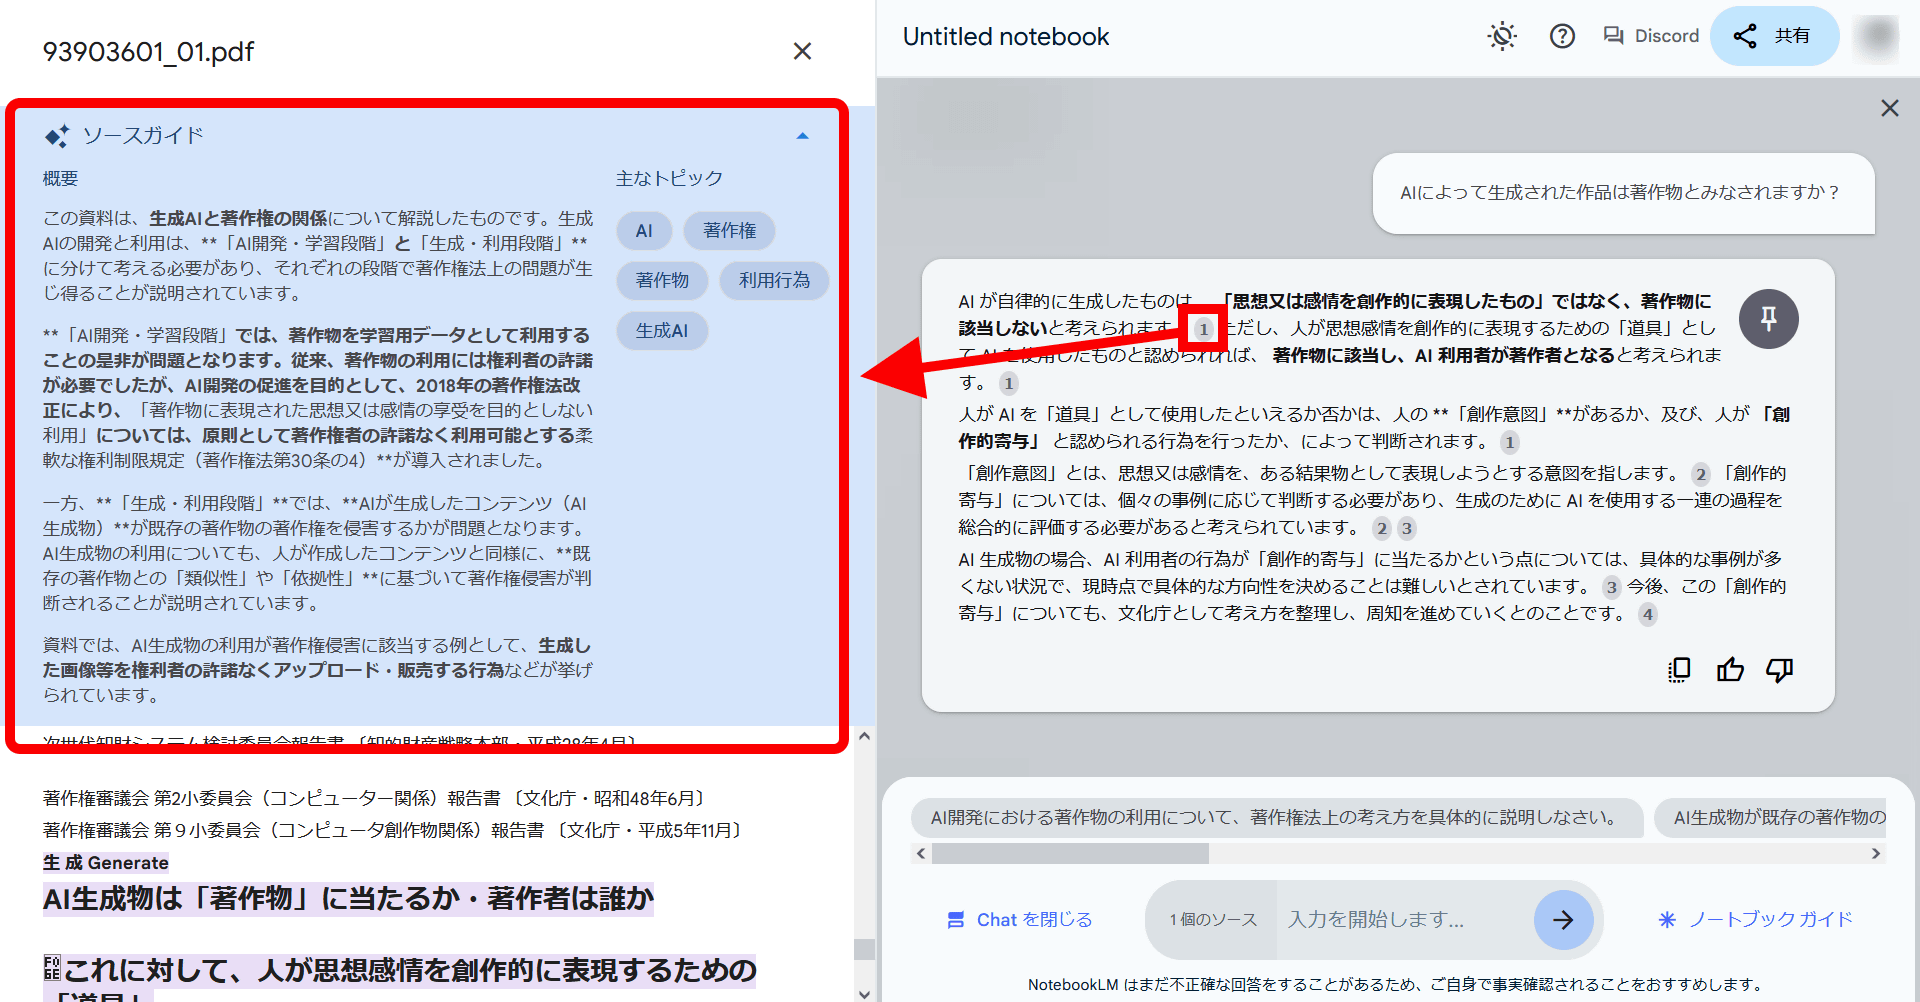
Each answer has a note number that indicates which part of the source the answer is based on. Clicking on this note number will display the relevant part and summary in the source guide on the left.
If you like an answer, click the pin icon in the top right corner of the speech bubble.
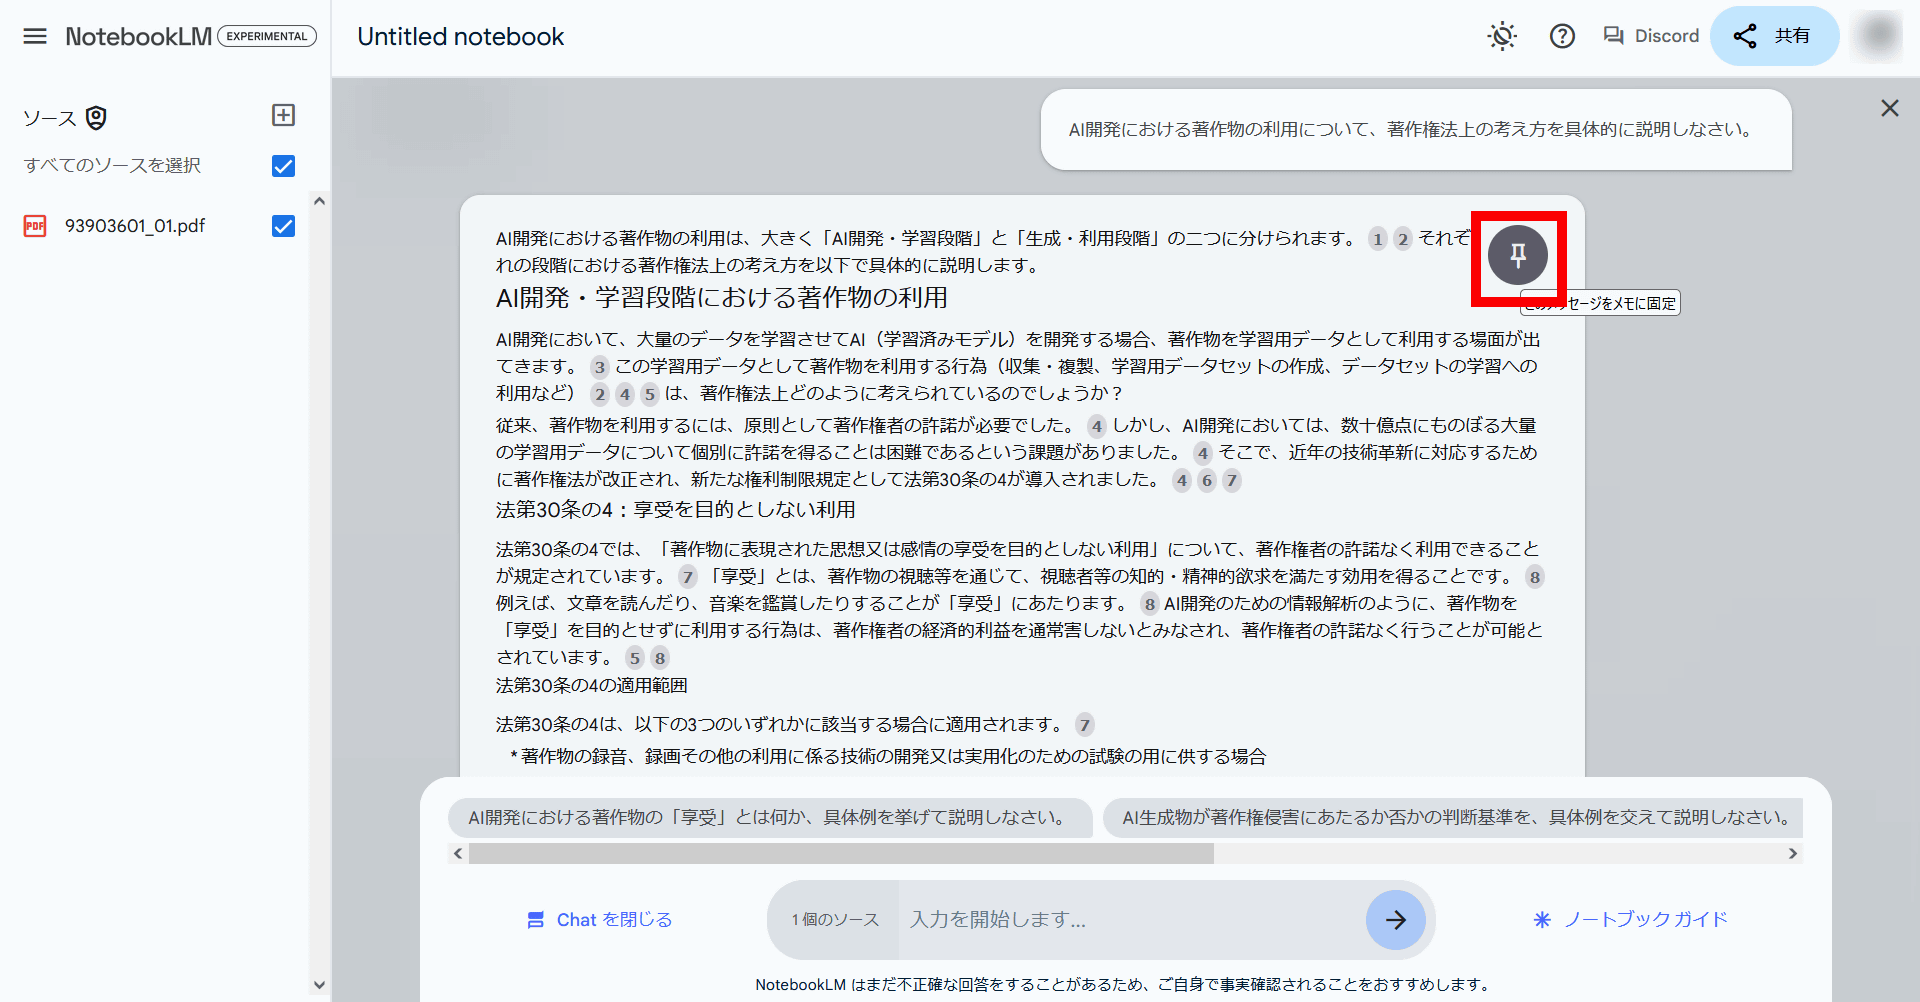
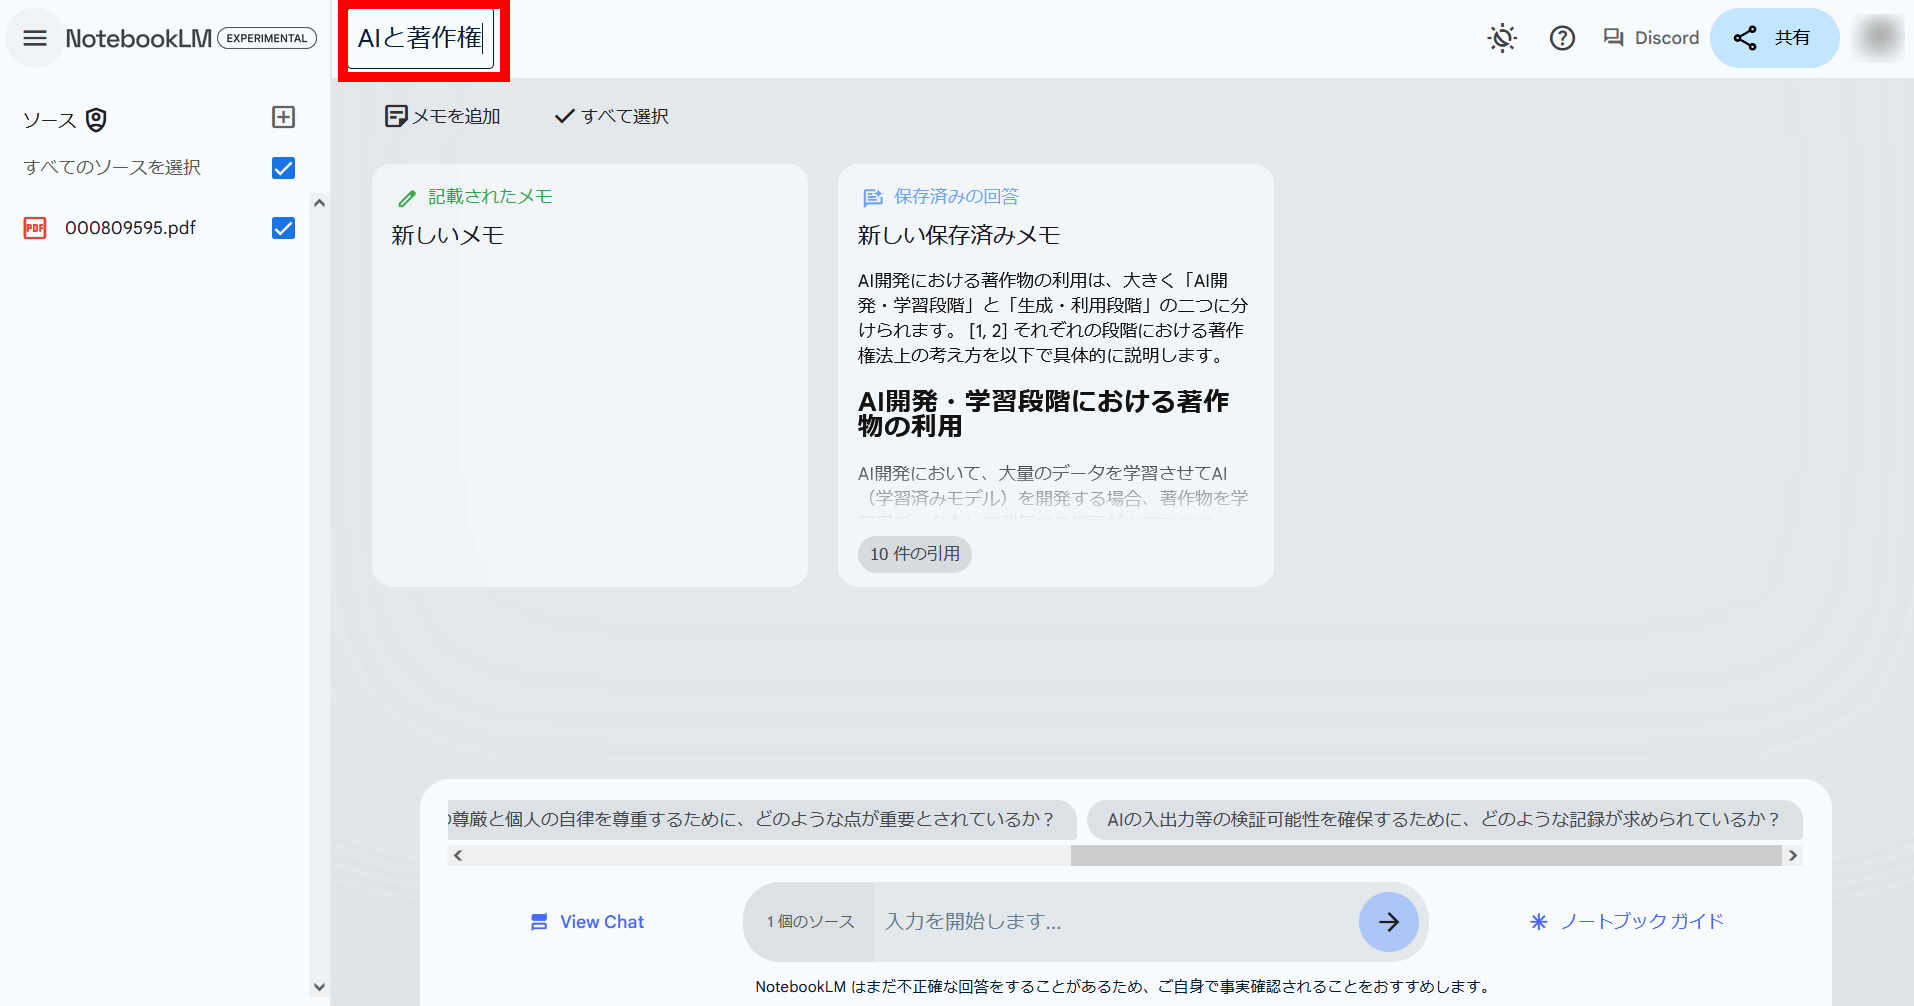
The answer will then be saved as a note, as shown below.

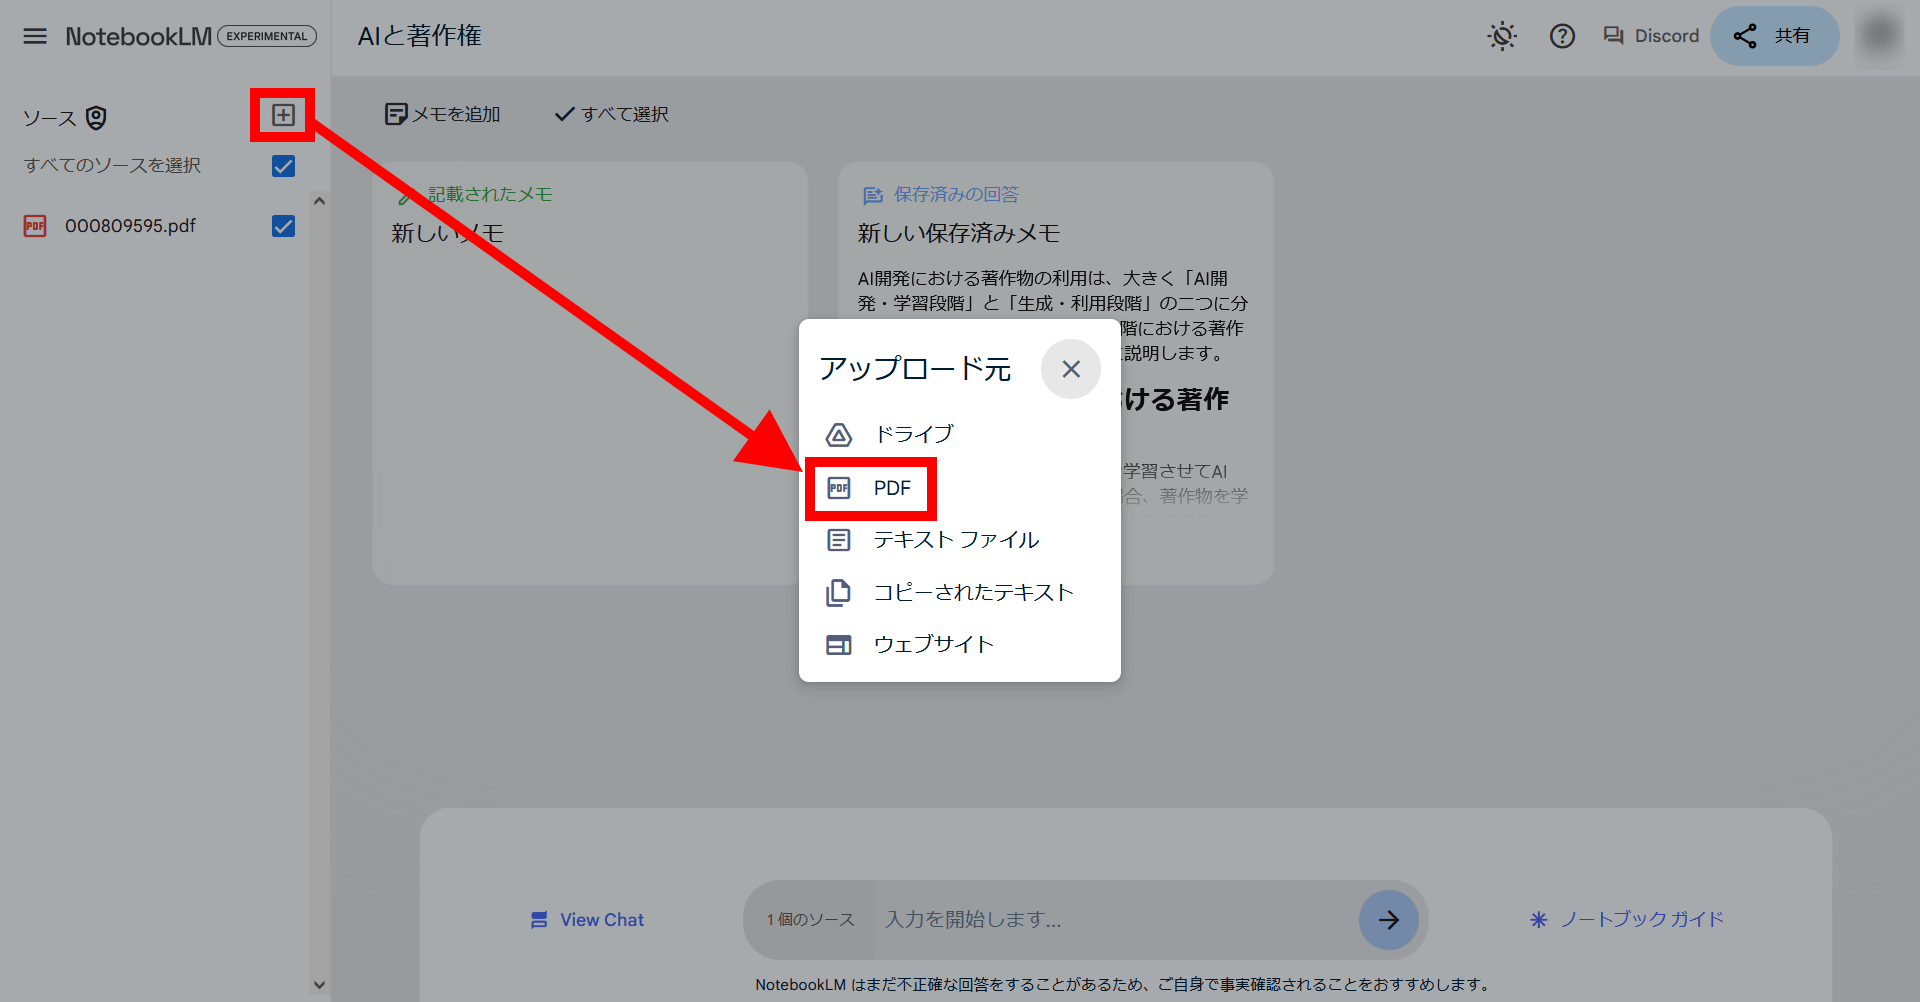
You can add more sources by clicking the + icon in the source. This time, I loaded the PDF file '
Then, the name of the loaded PDF file was displayed in 'Source'.
Now when I ask NotebookLM a question, I get an answer that quotes from both sources.
You can then change the title of your notebook by rewriting the title part at the top.
When I returned to the top of NotebookLM, my notebook was displayed like this:
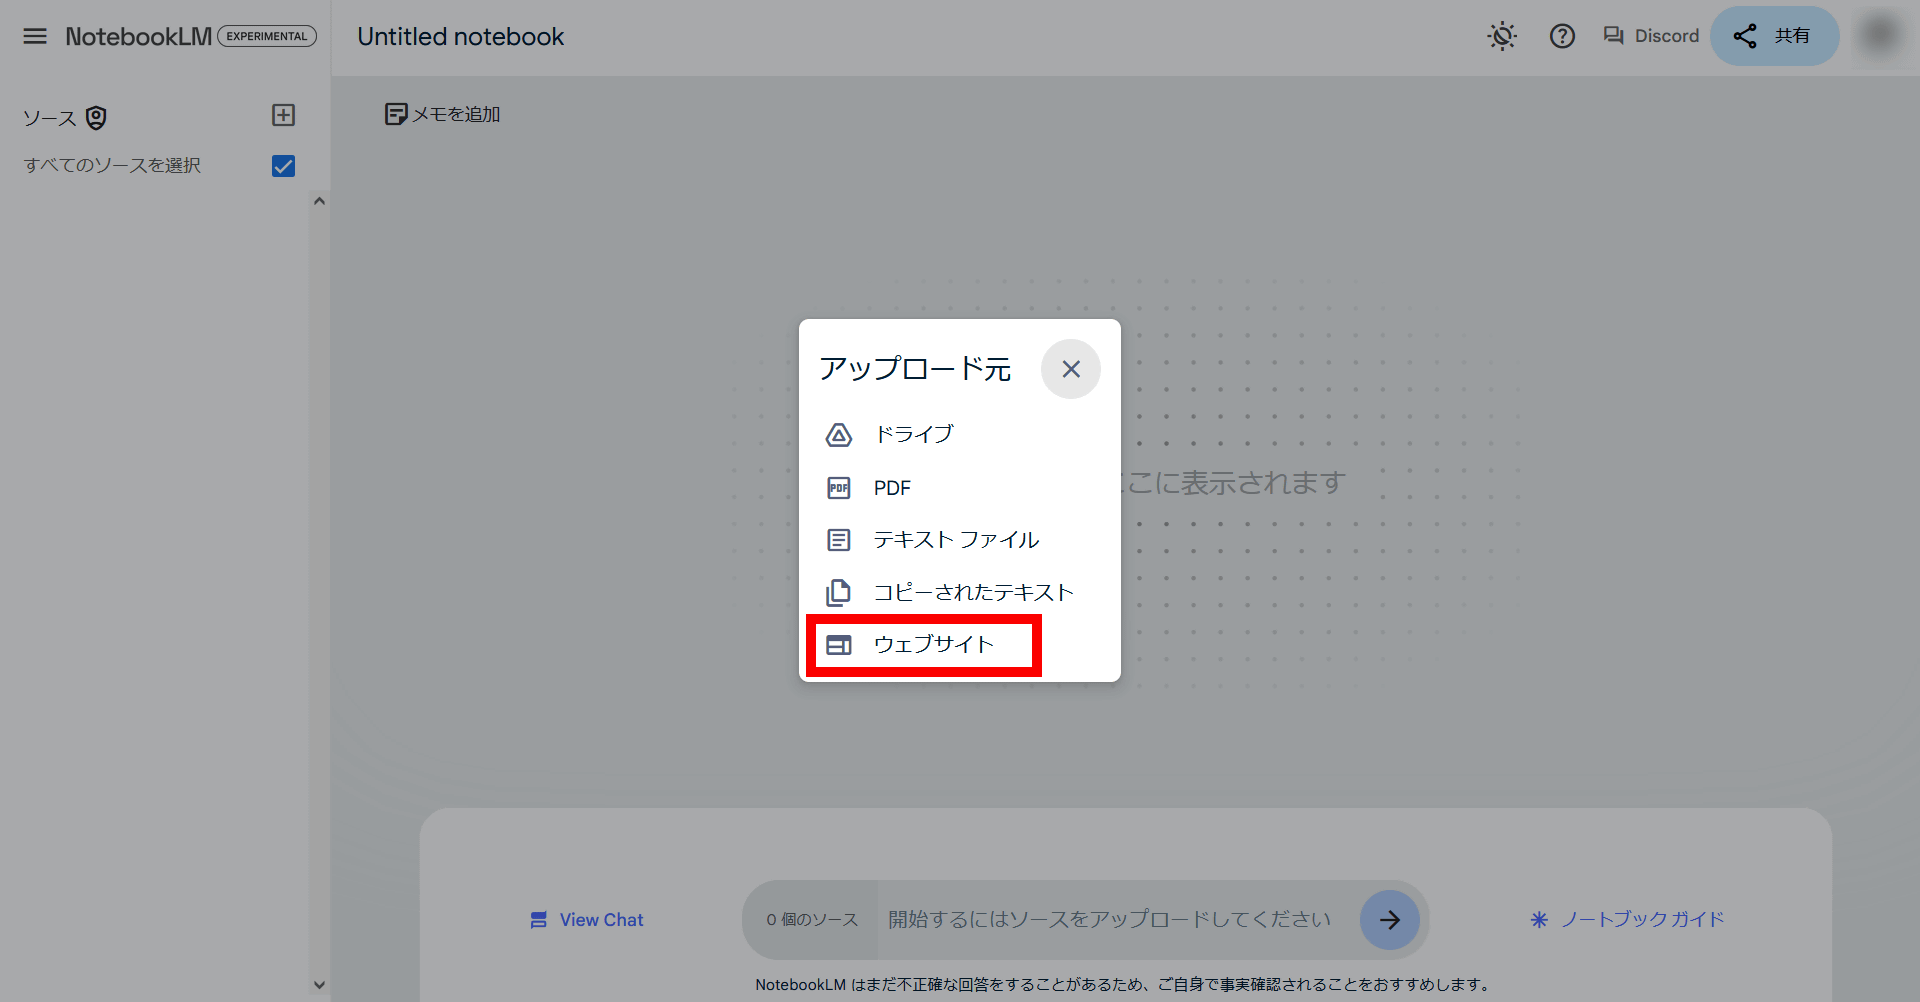
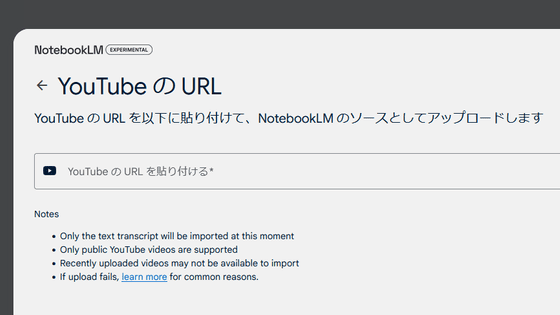
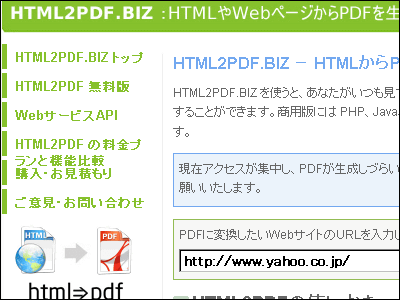
Now, in the new notebook, try loading a website. Click 'Website' under Upload source.
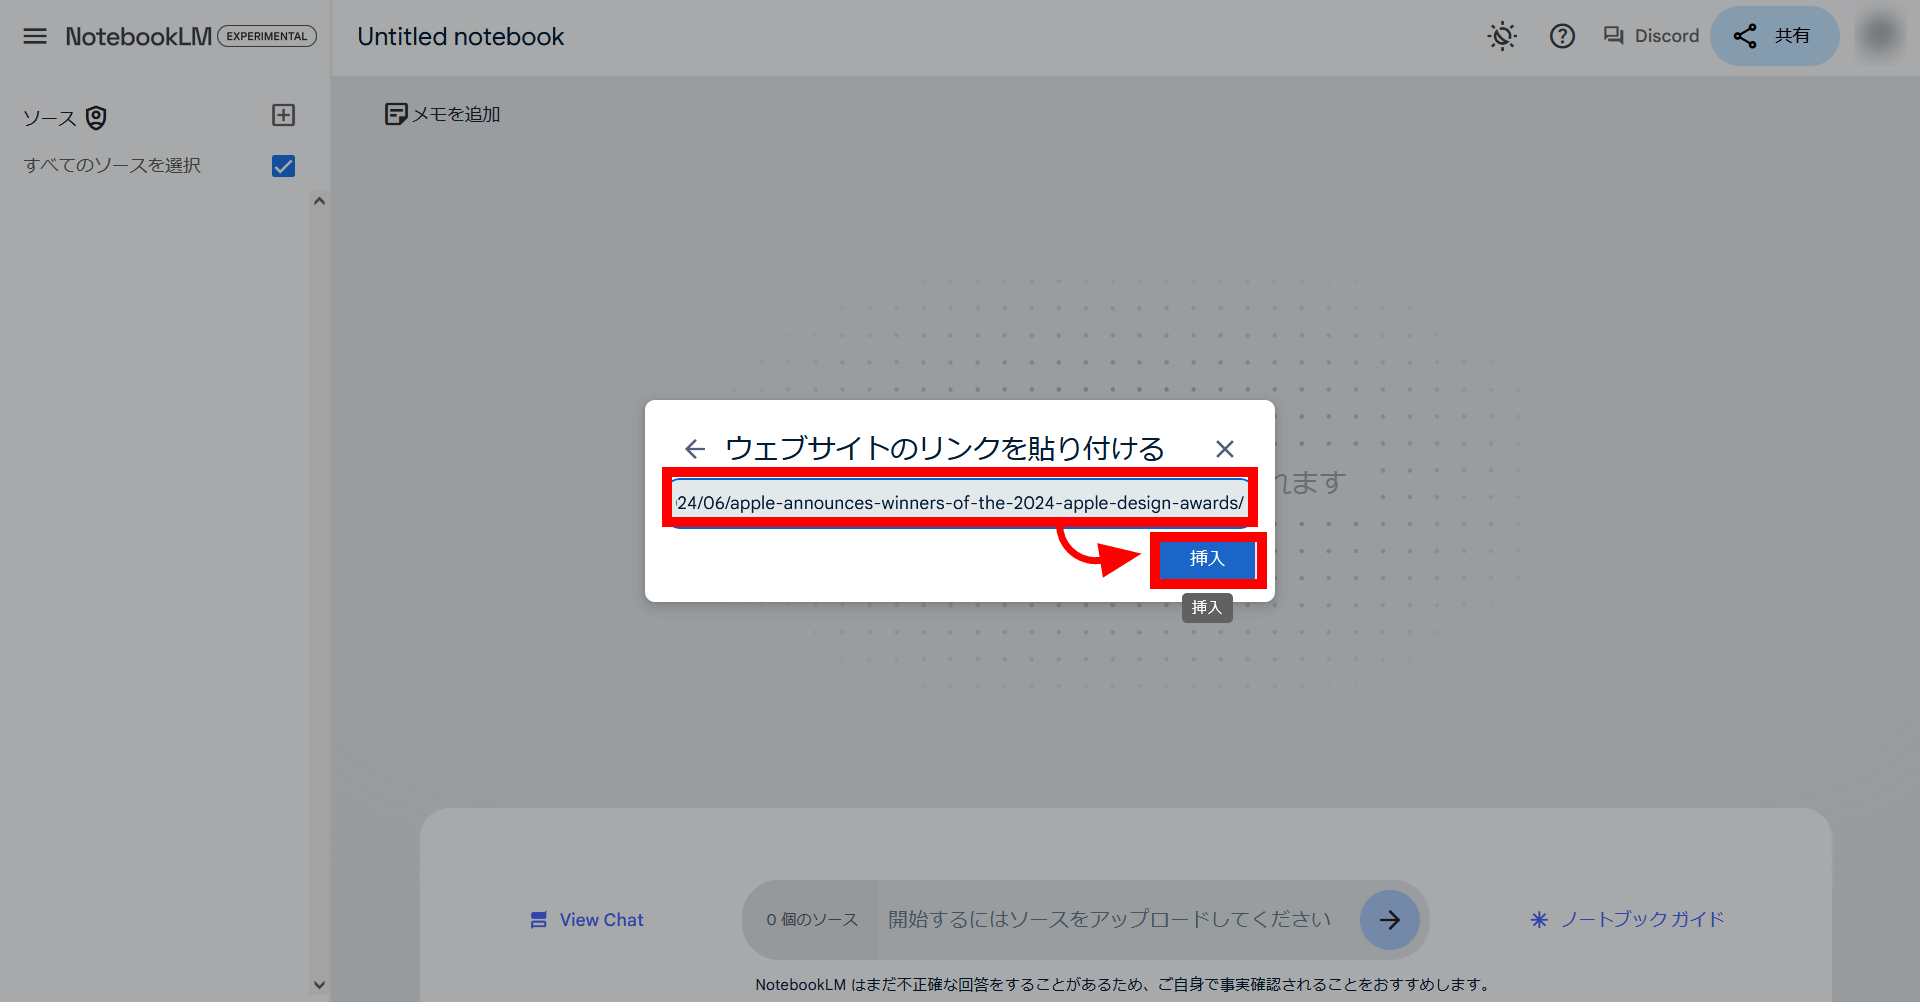
As an example, let's try reading
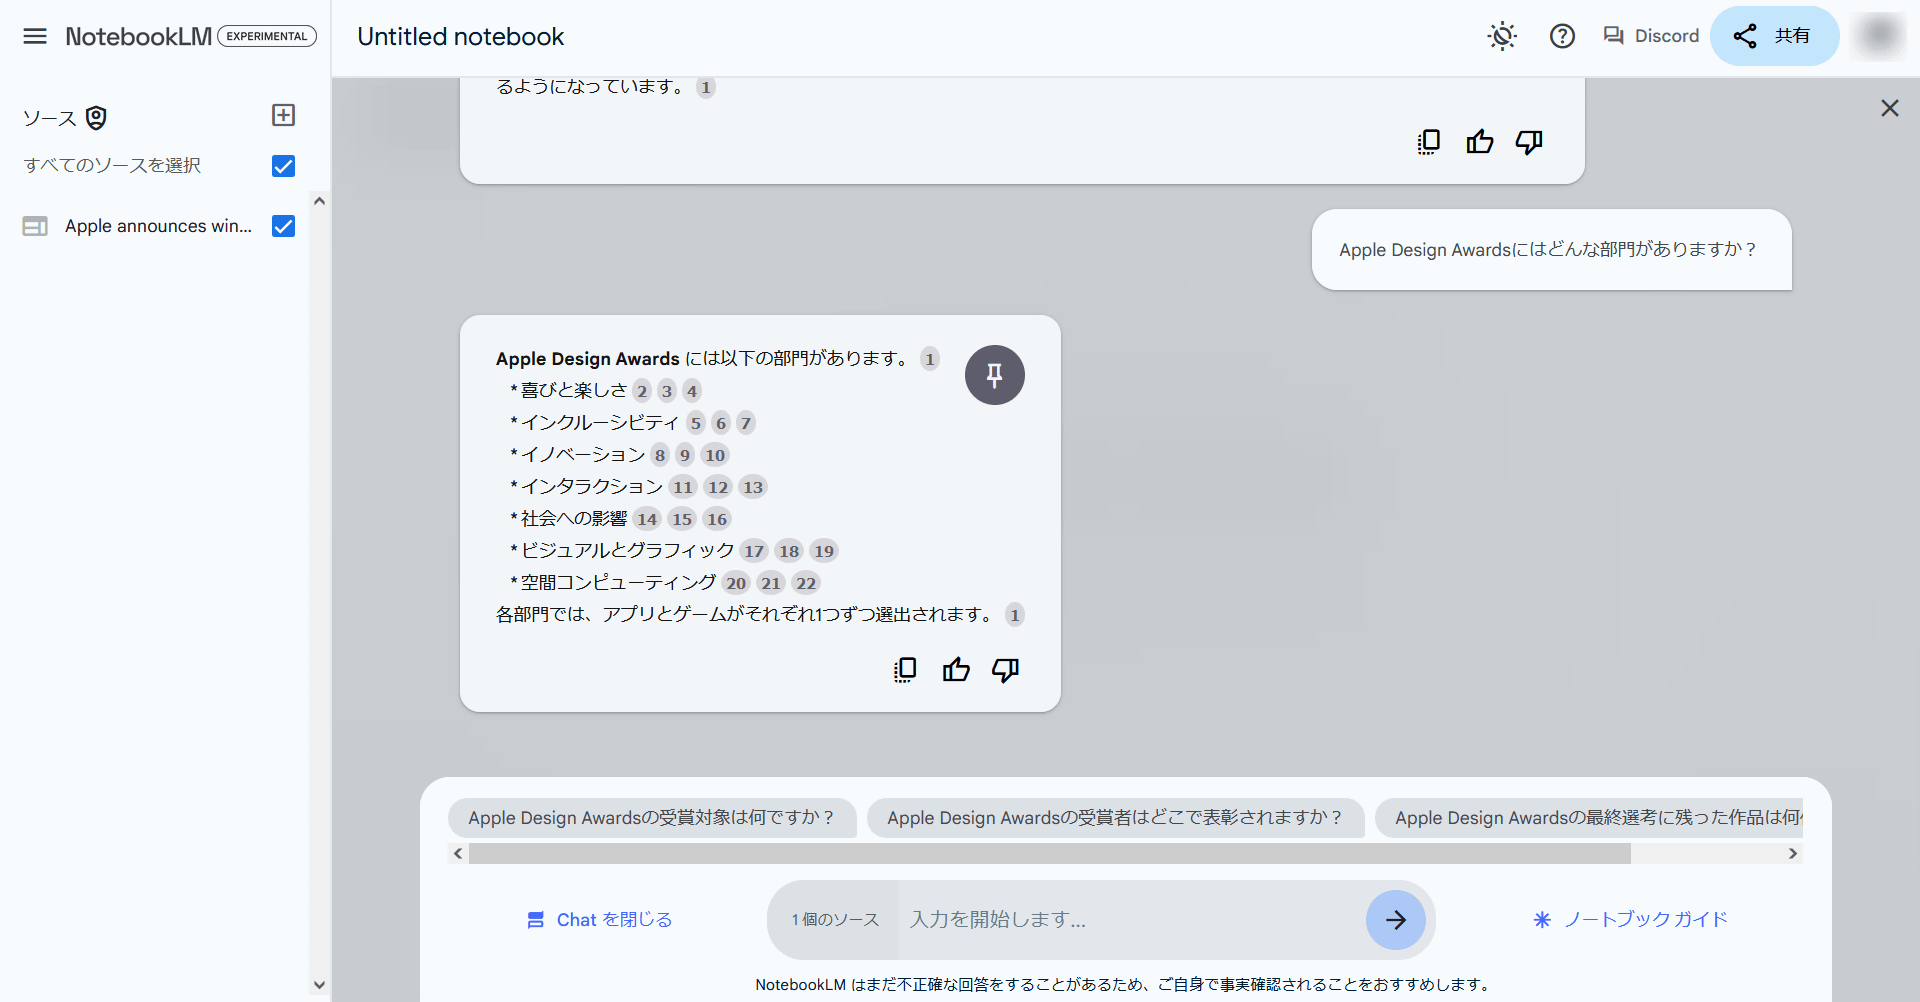
The contents of the news release will then be summarized like this, and if you ask a question it will respond based on the content.
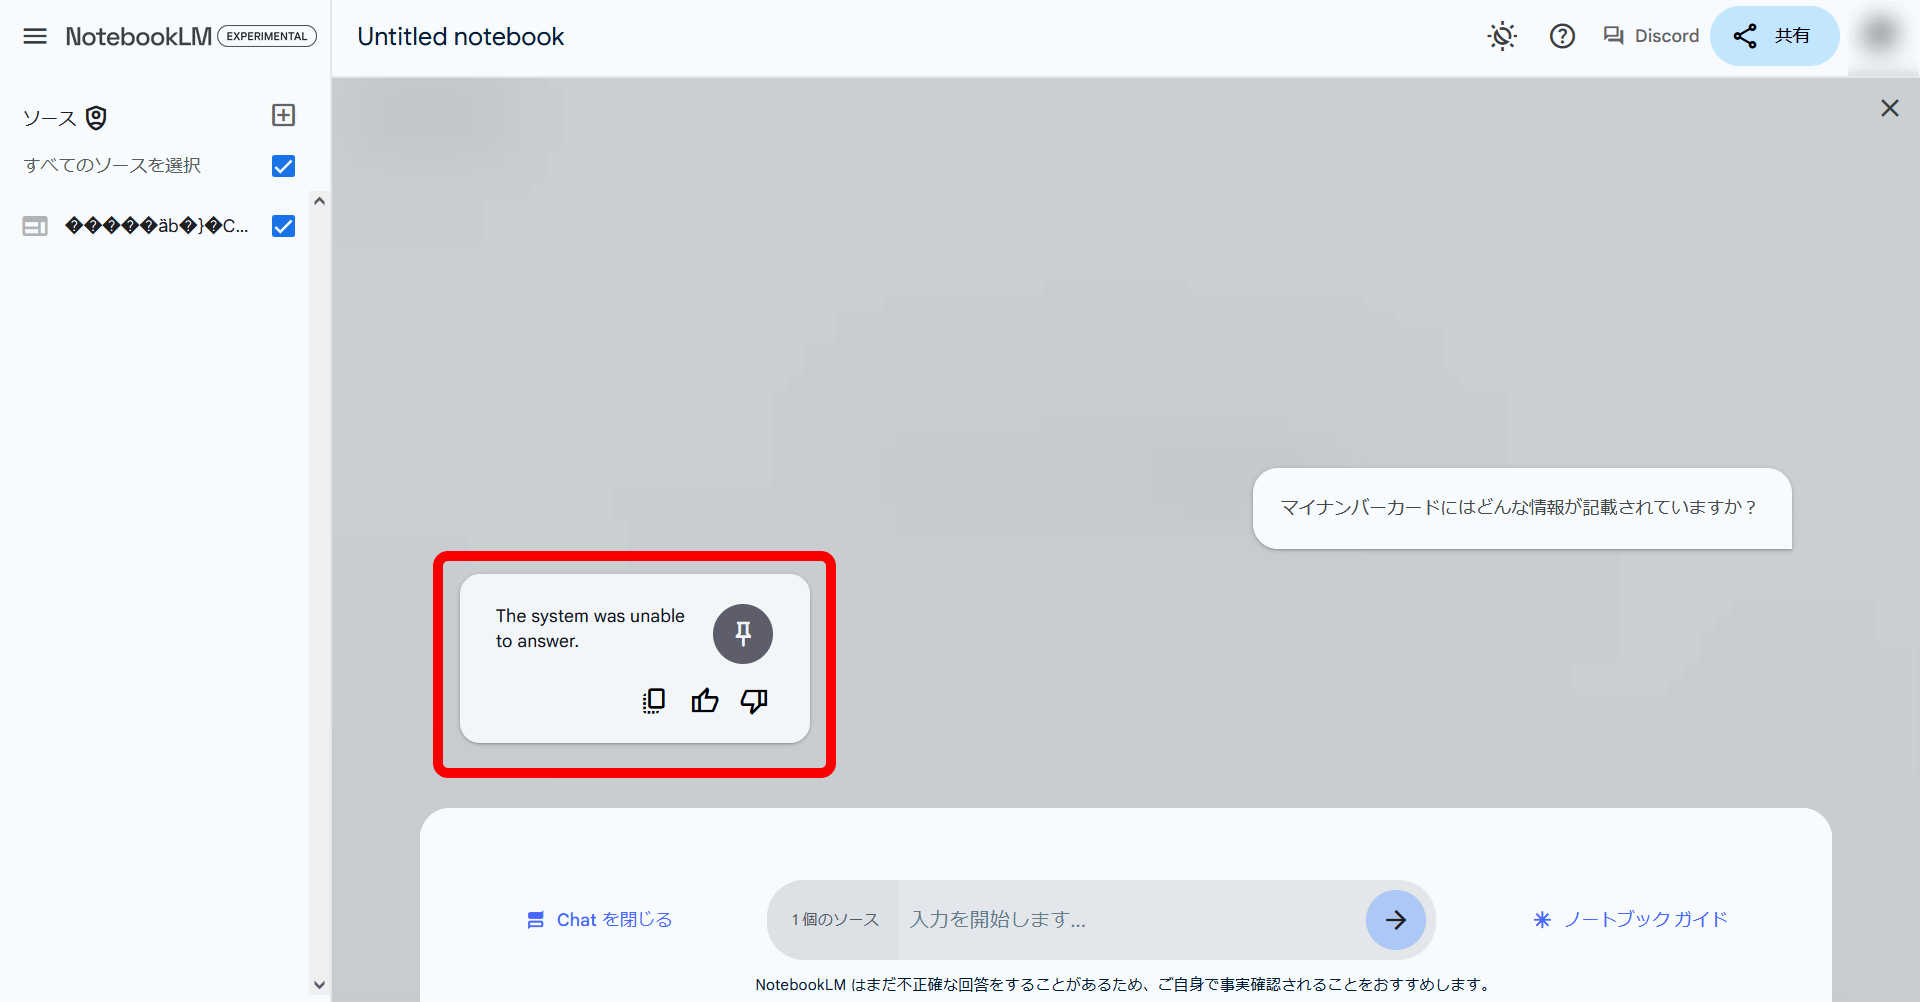
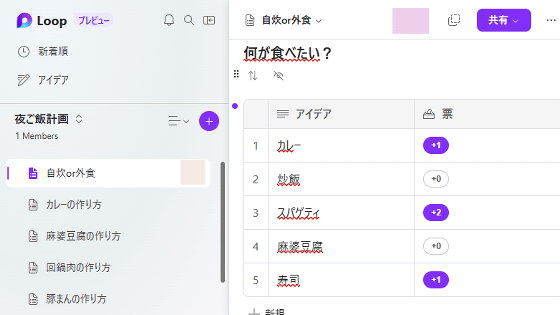
In another notebook, I tried loading a page about the Ministry of Internal Affairs and Communications' '
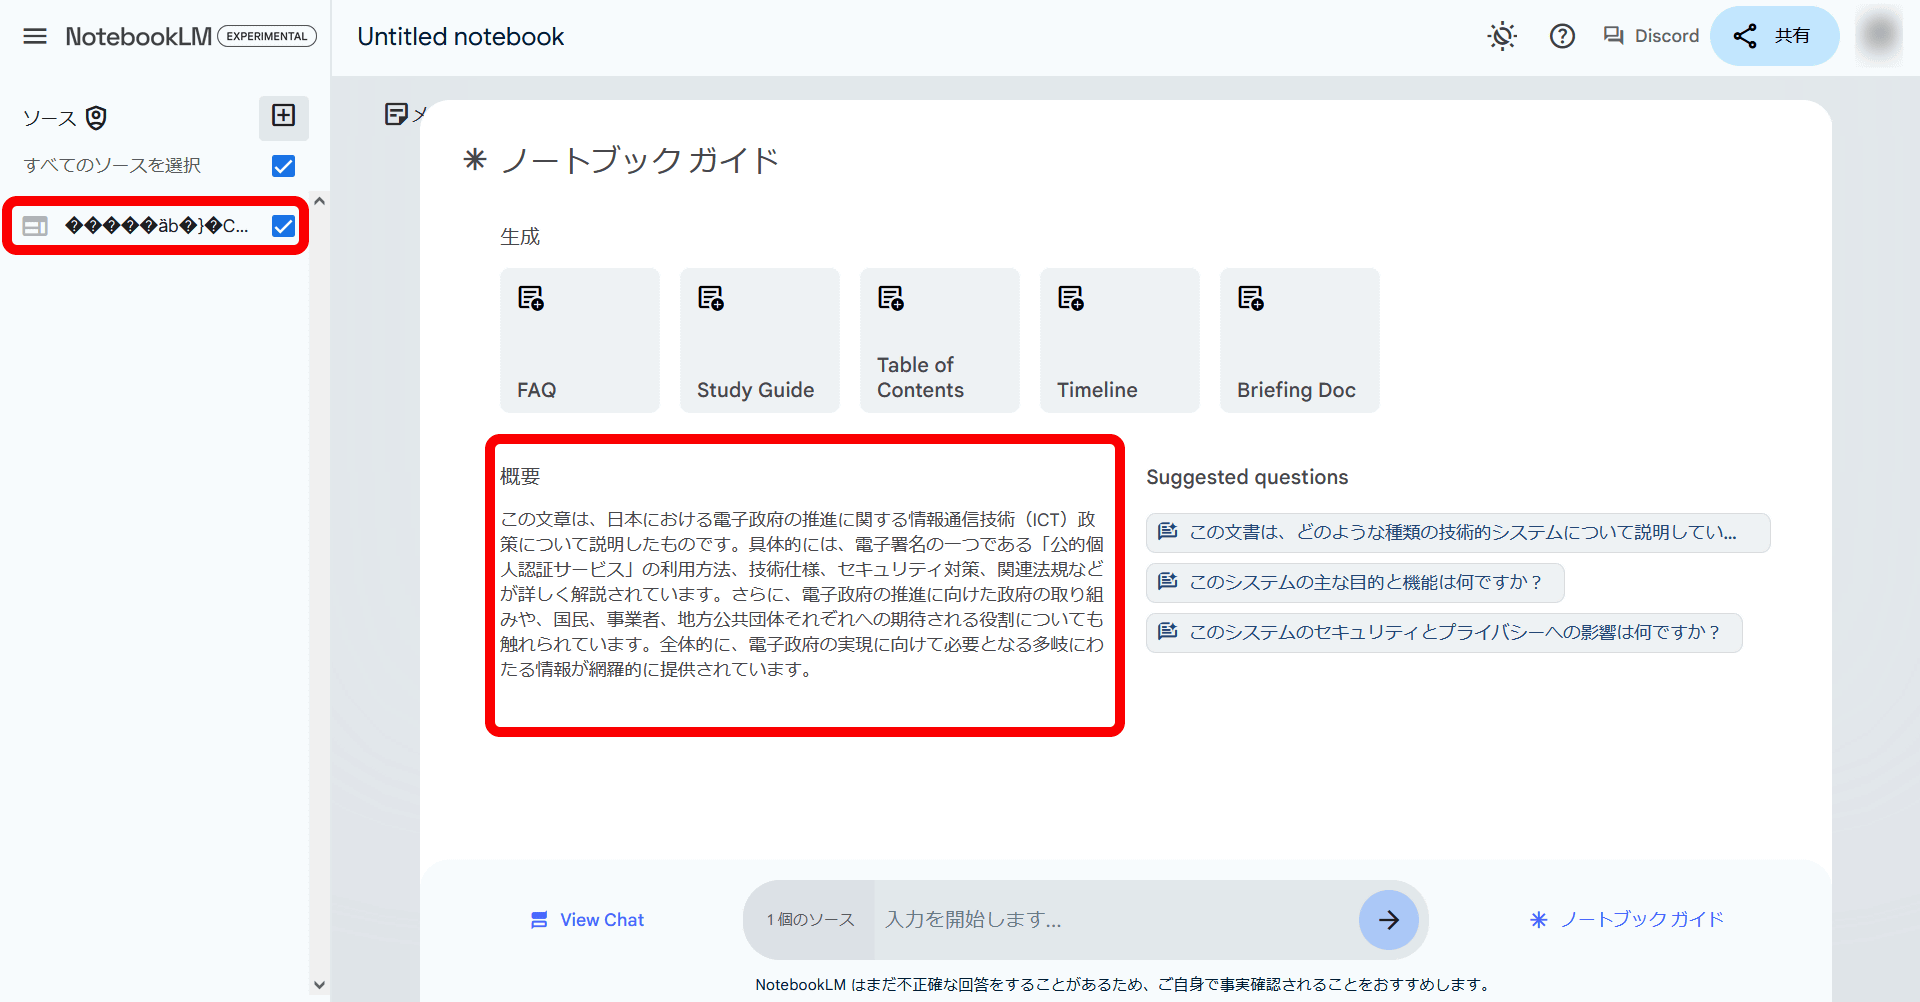
When I tried asking a question, I got an error and no answer was returned. I also tried specifying several Japanese sites, including GIGAZINE articles, as sources, but there were times when the loading failed, so it seems that at the time of writing the article, Japanese websites may not be compiled.
Related Posts:
in Software, Web Service, Review, Posted by log1i_yk