A review of Kino, a professional iPhone video shooting app that is easy to use even for beginners
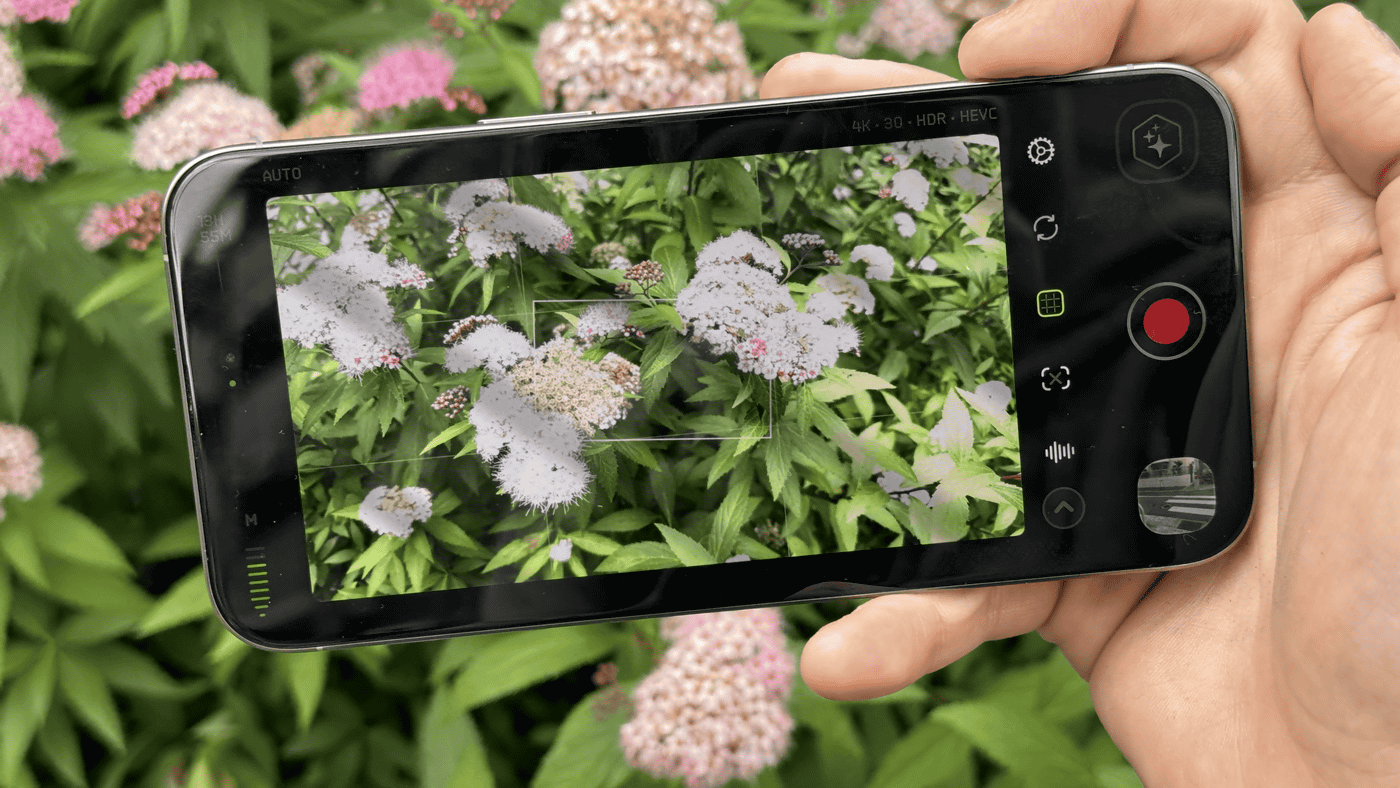
Kino — Pro Video Camera for iPhone
https://www.shotwithkino.com/
Kino - Pro Video Camera on the App Store
https://apps.apple.com/us/app/kino-pro-video-camera/id6472380172
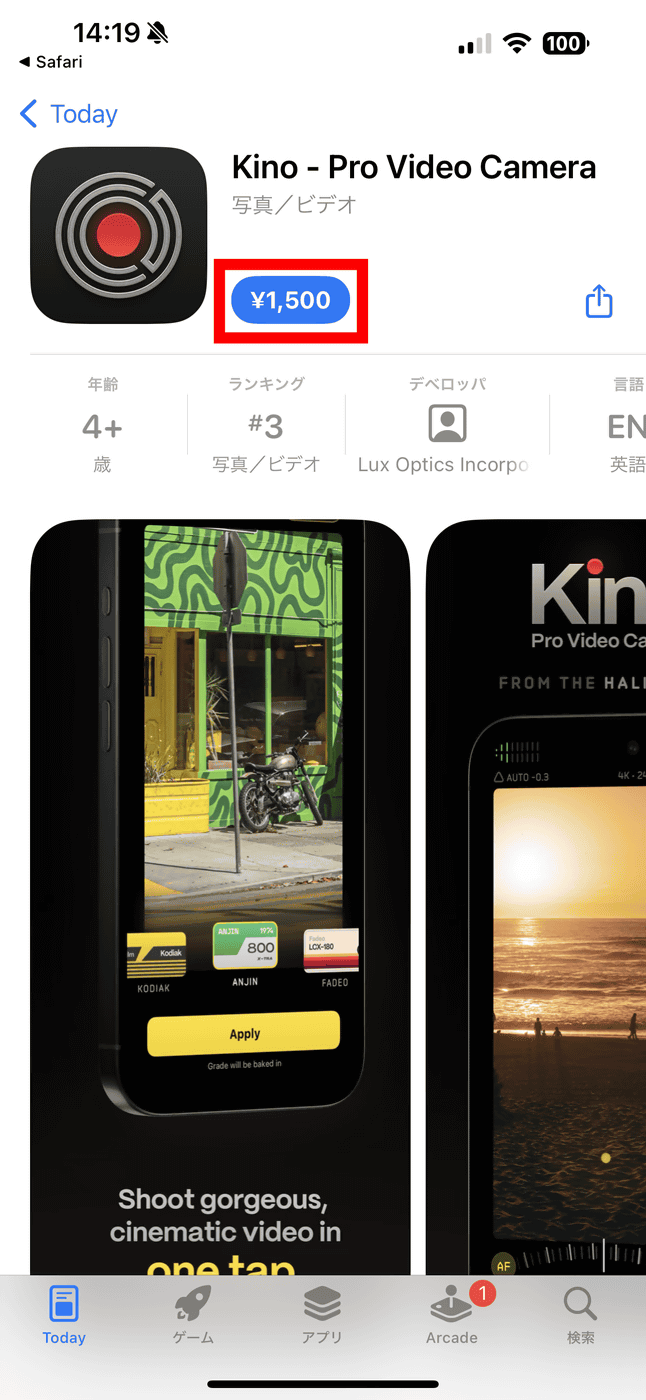
Visit the Kino page on the App Store and purchase it. The price is 1,500 yen including tax.
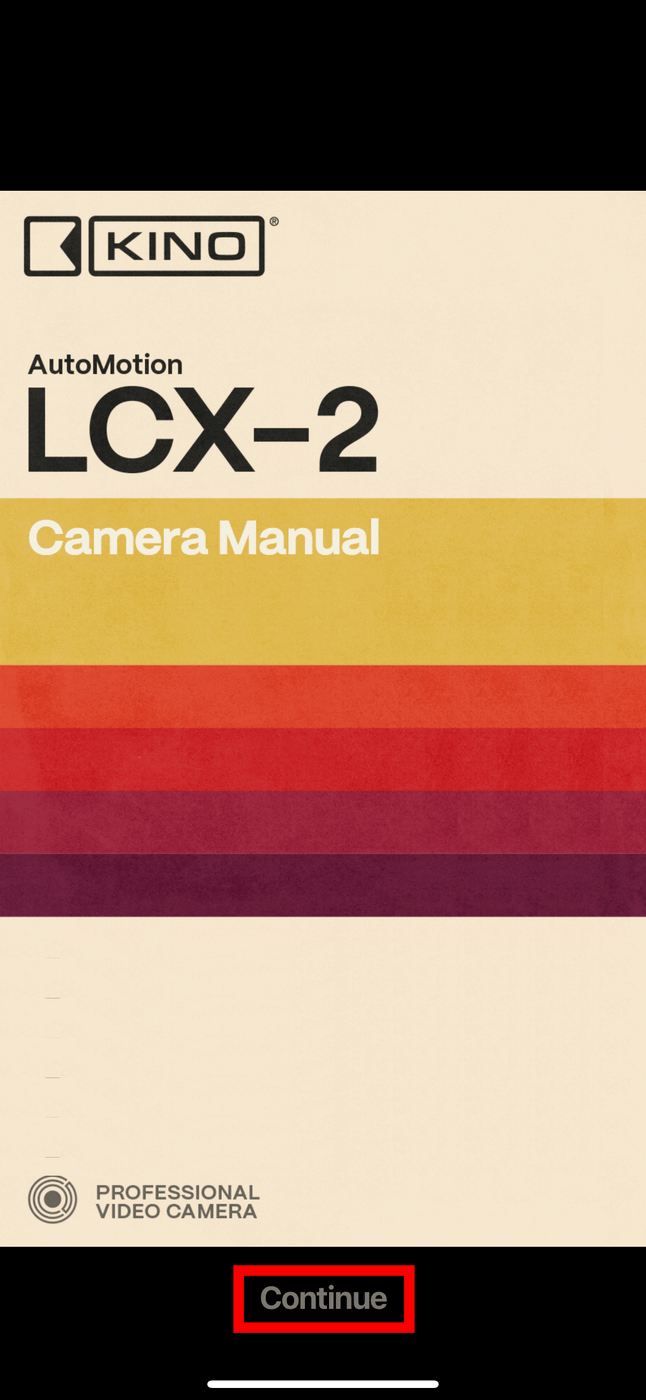
Launch the installed Kino. Swipe up on the screen.

Continue will appear at the bottom, so tap it until the manual ends.
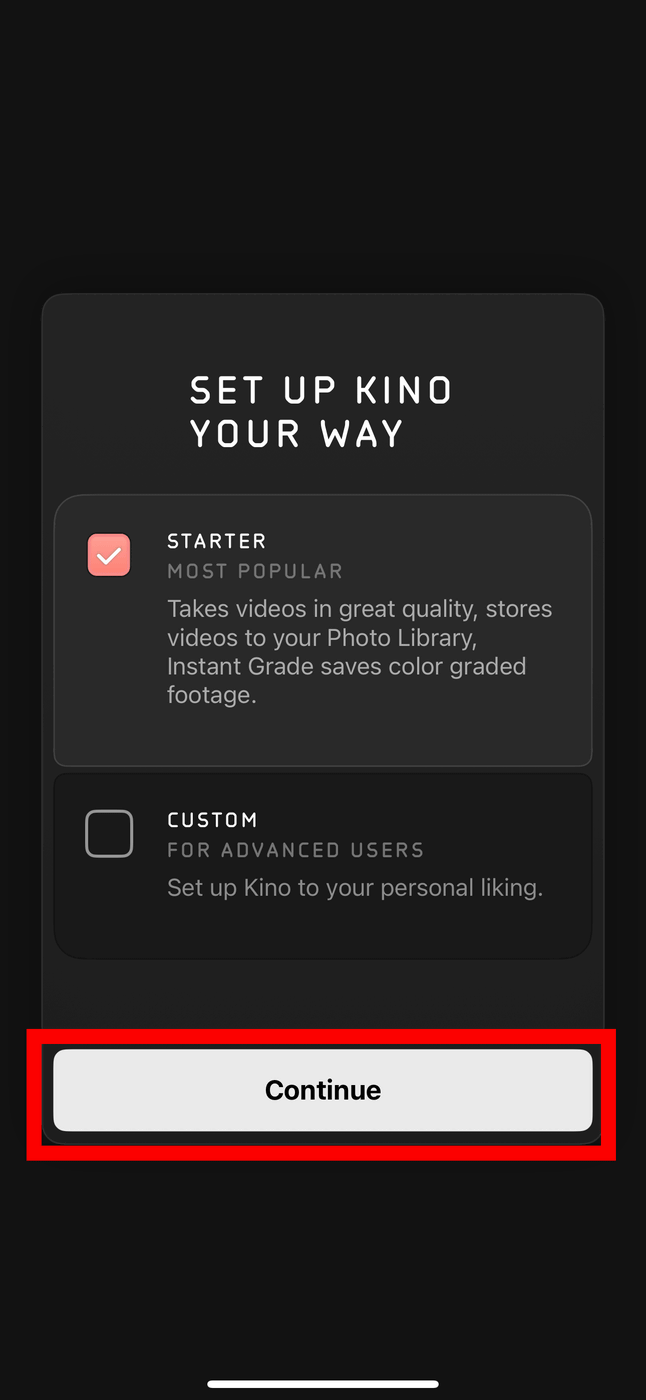
First, choose the initial settings for Kino from 'STARTER' and 'CUSTOM'. With 'STARTER', the color filter settings (described later) are preloaded, so first select 'STARTER' and tap 'Continue'.
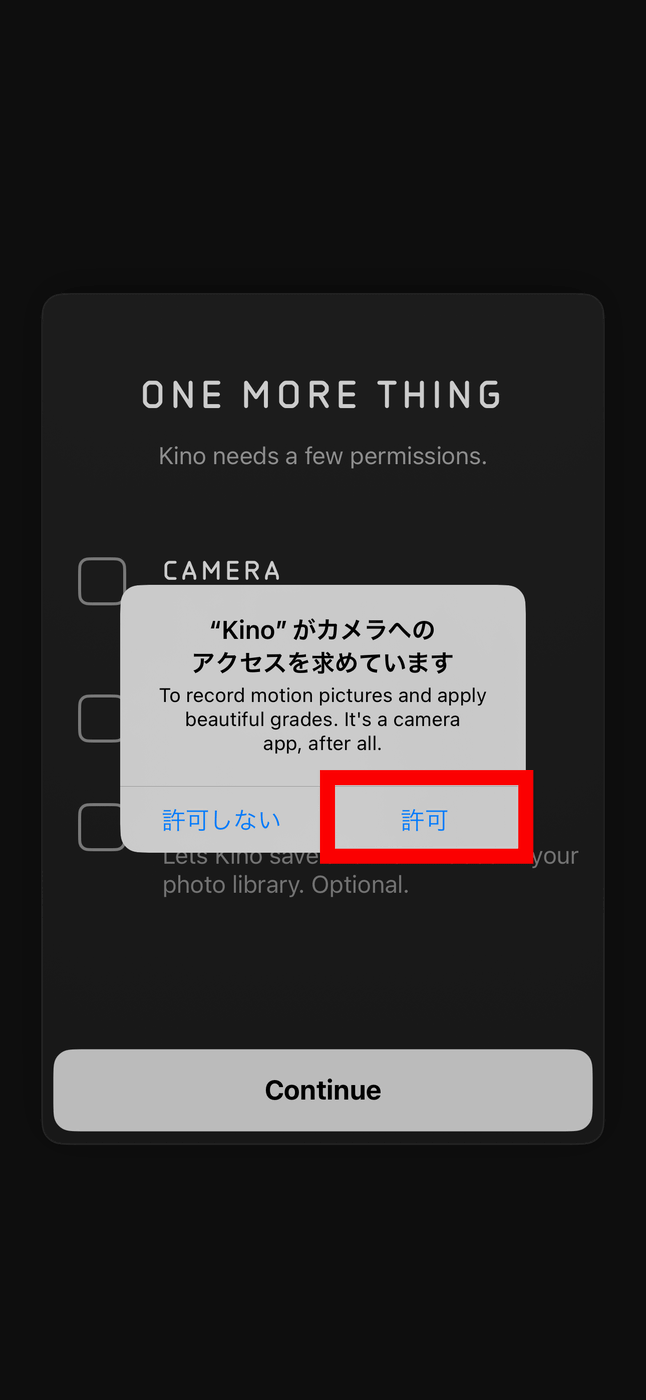
Next, you will be asked for permission to access your camera, microphone, and photo library. Tap 'Allow' to allow access to your camera.
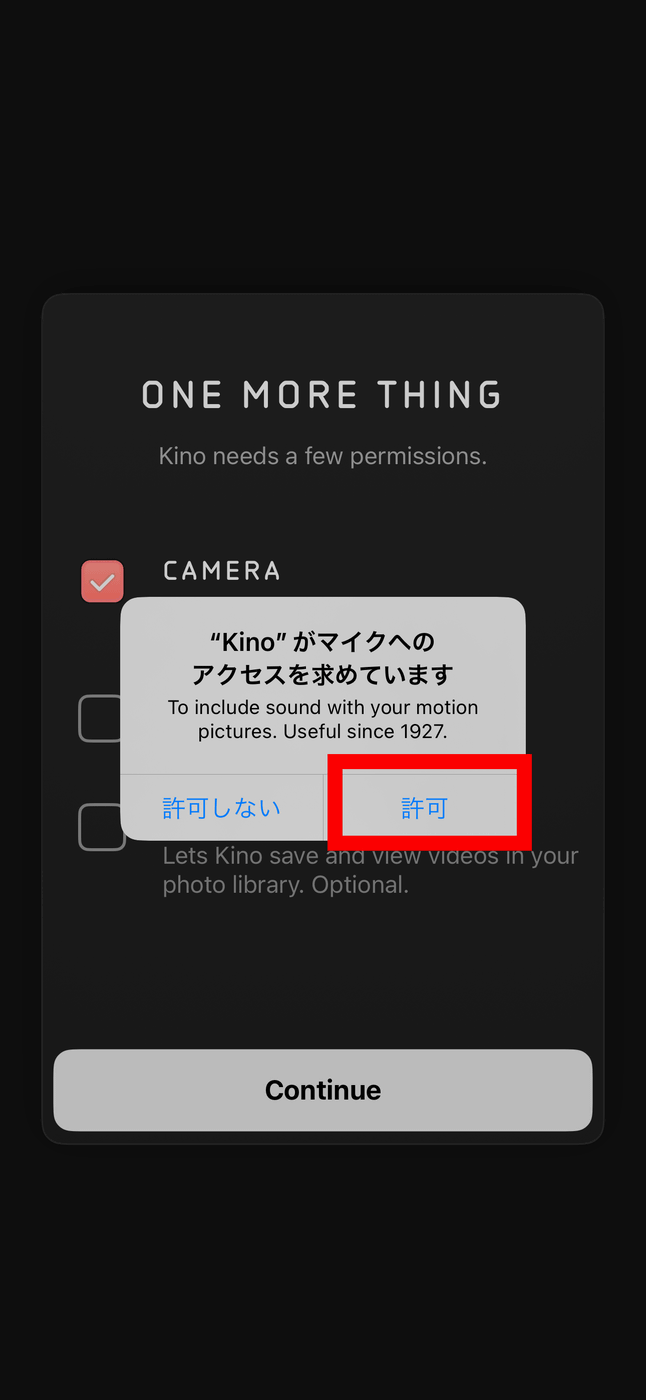
Next, 'Allow' access to your microphone
Tap 'Allow Full Access' to allow access to your photo library.

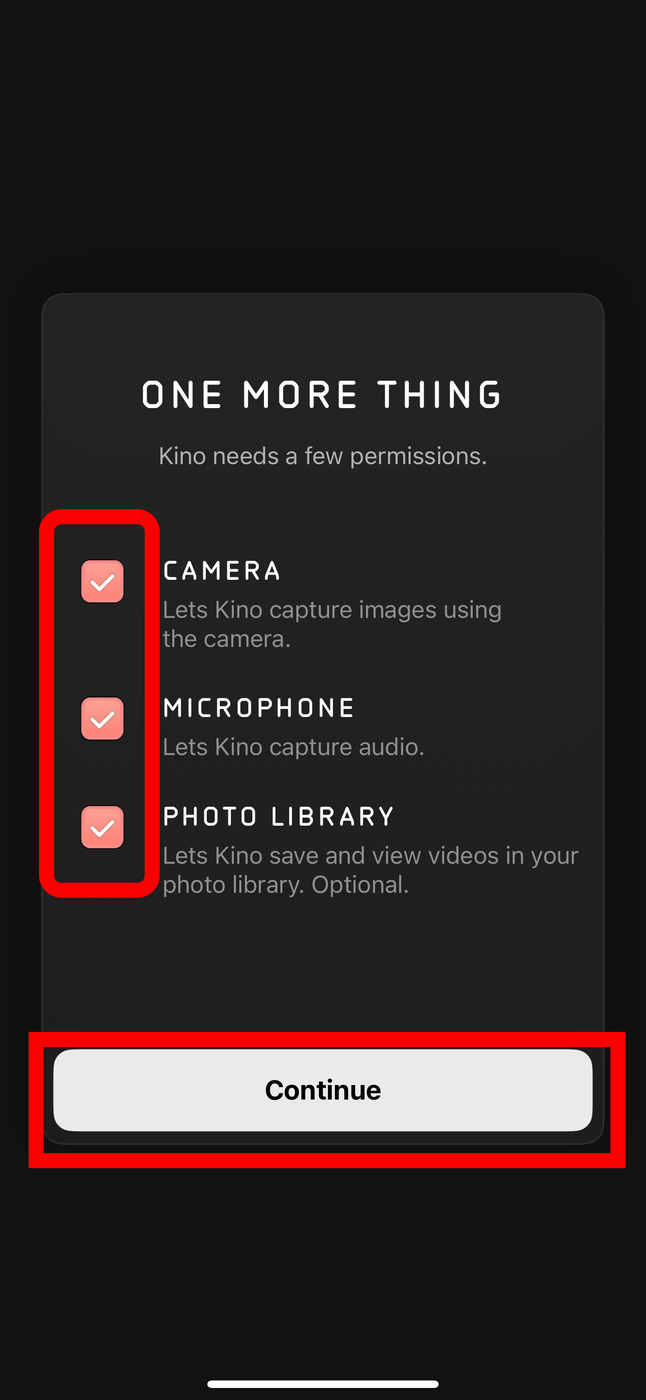
Once you have confirmed that the camera, microphone, and photo library items have check marks, tap 'Continue'.
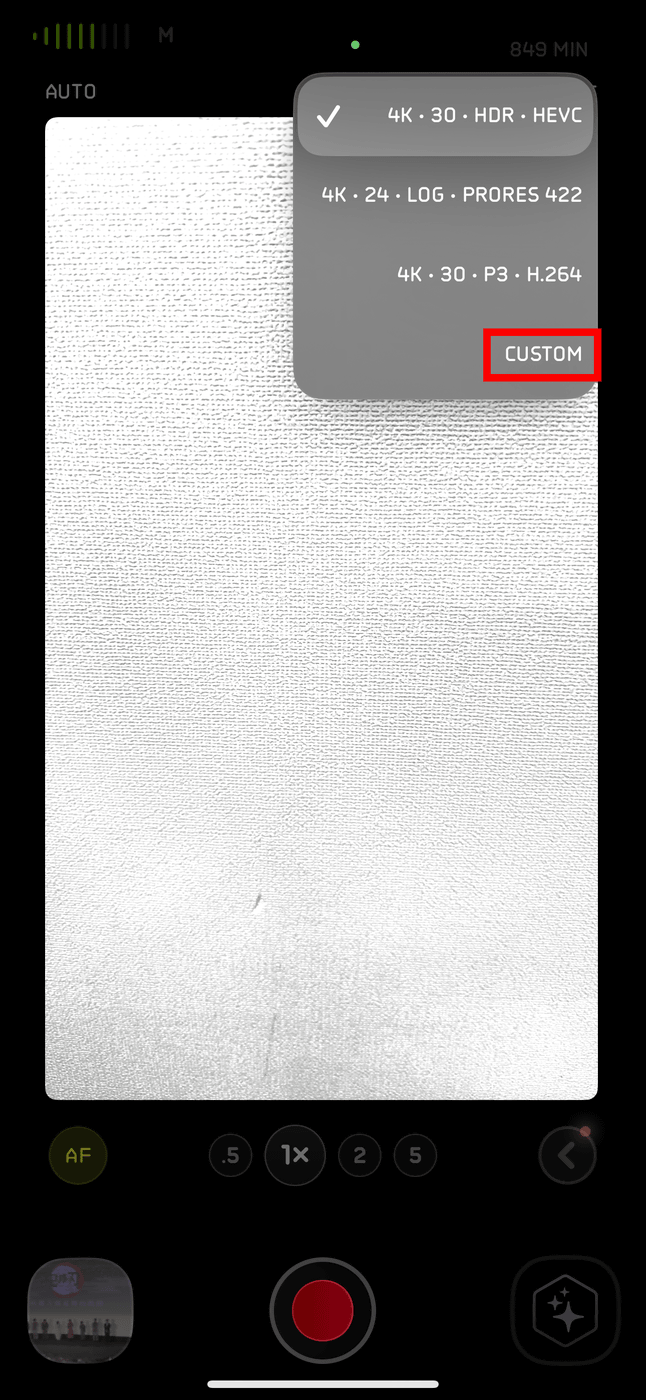
This will launch the camera, tap the top right to format your video recording.
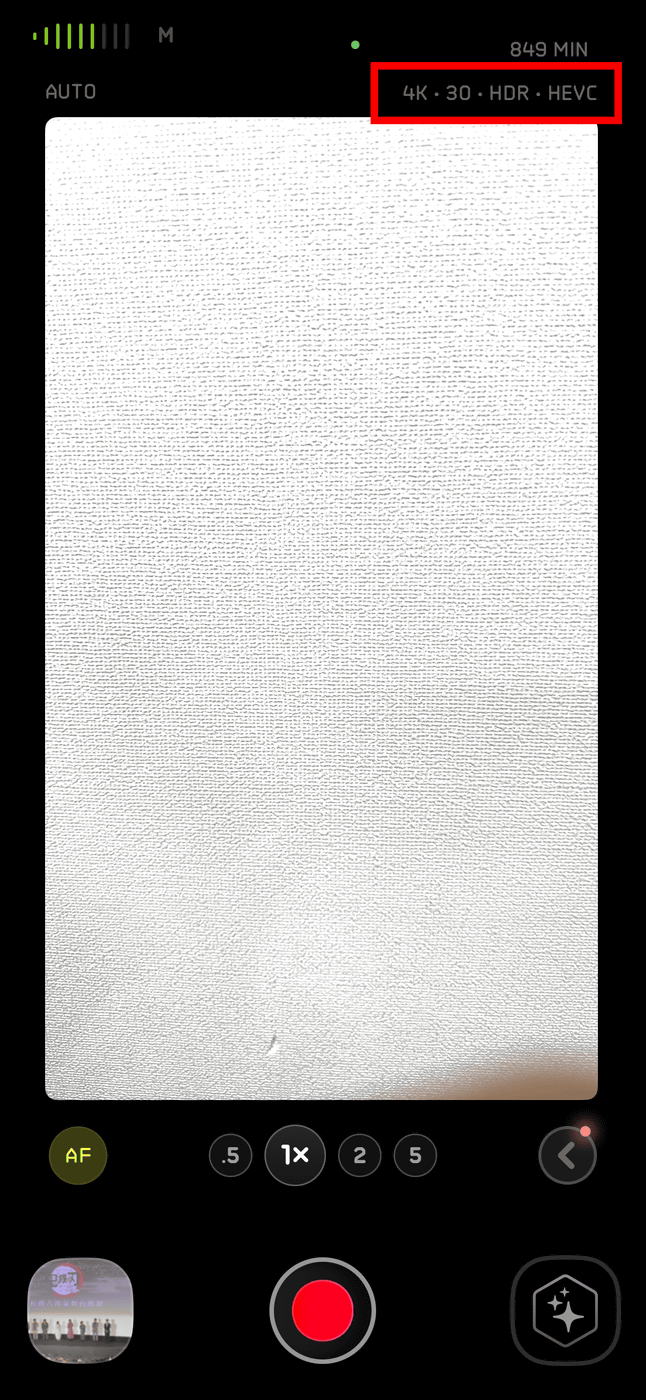
The default options are '4K 30 HDR HEVC', '4K 24 LOG PRORES 422', and '4K 30 P3 H264'. You can change the format settings in detail by tapping 'CUSTOM' at the bottom.
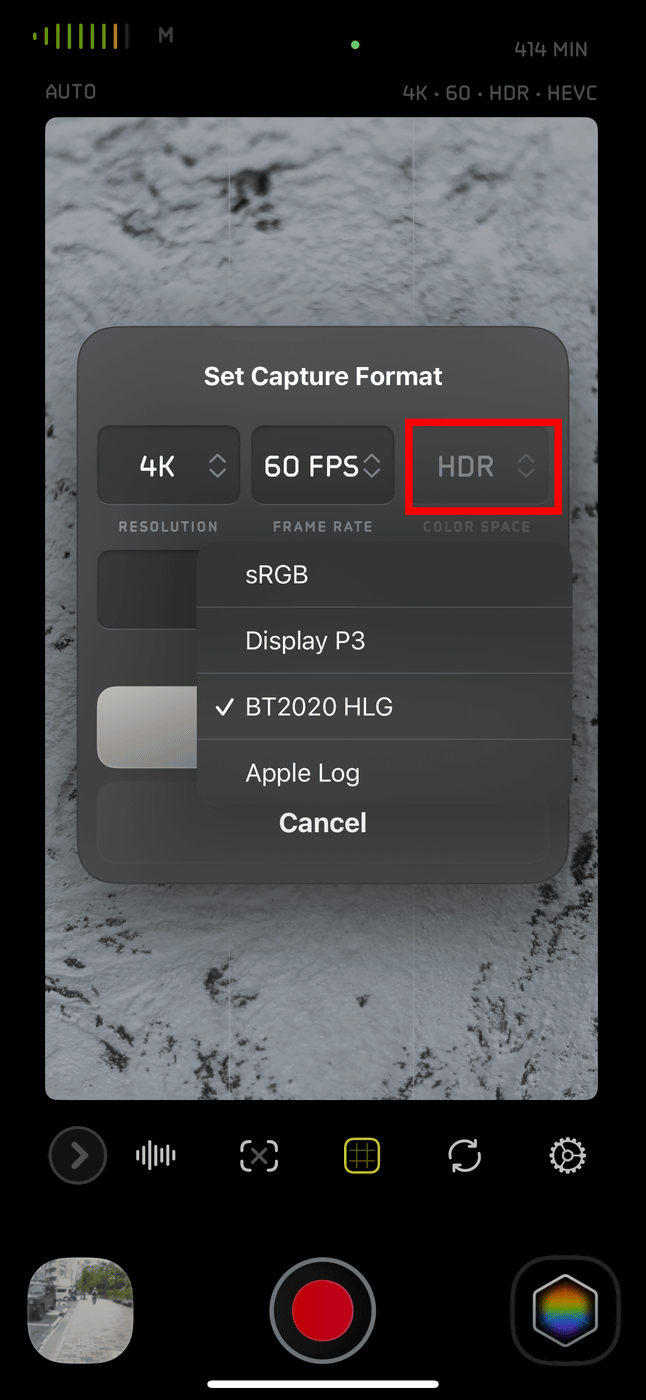
There are three image quality options: HD (1280 x 720), FHD (1920 x 1080), and 4K (3840 x 2160), and four frame rates: 60 fps, 30 fps, 25 fps, and 24 fps. There are four color grades: sRGB, Display P3, BT2020 HLG, and Apple Log.
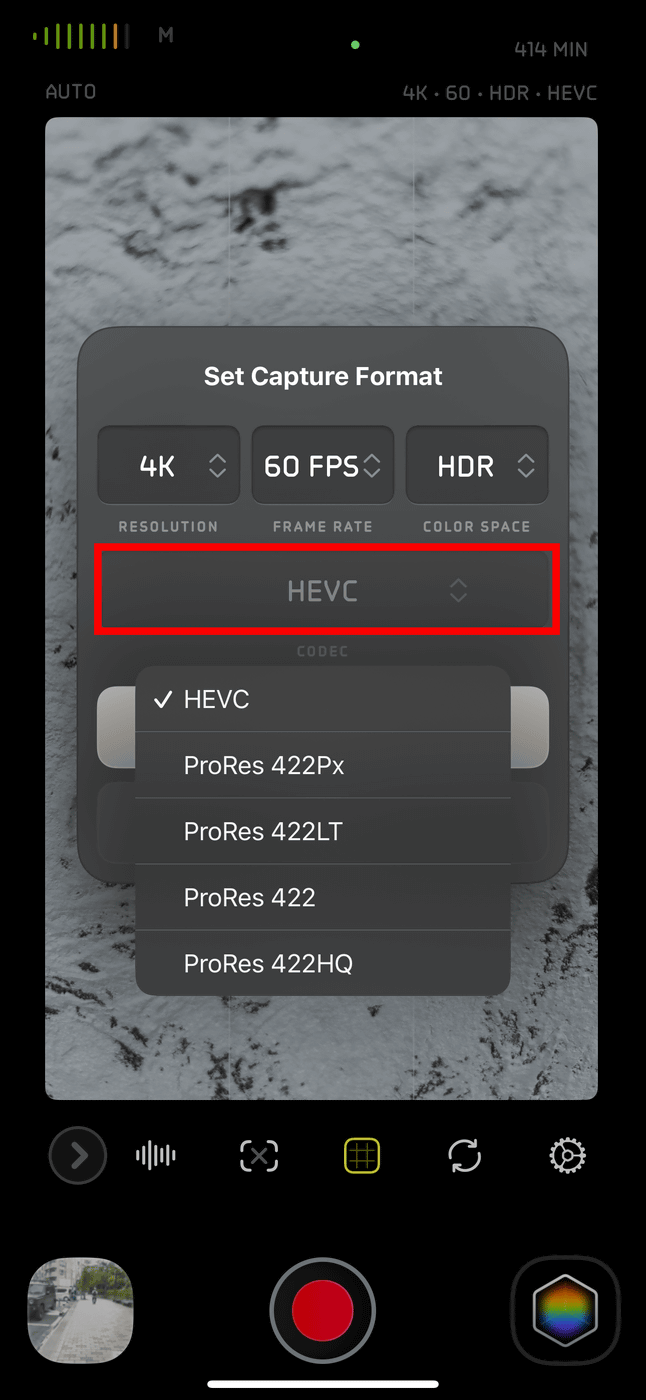
You can choose from four codecs: HEVC, ProRes 422Px, ProRes 422LT, ProRes 422, and ProRes 422HQ.
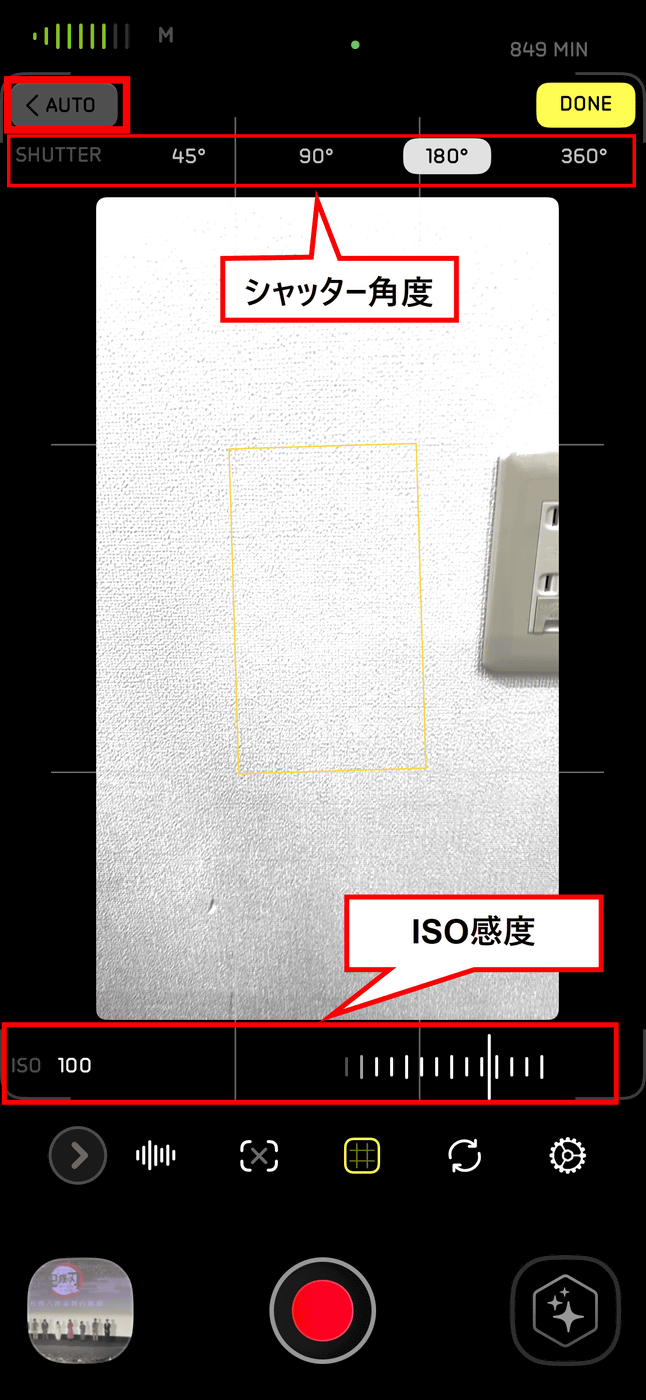
By tapping 'AUTO' in the upper left corner, you can choose between automatic and manual exposure settings.
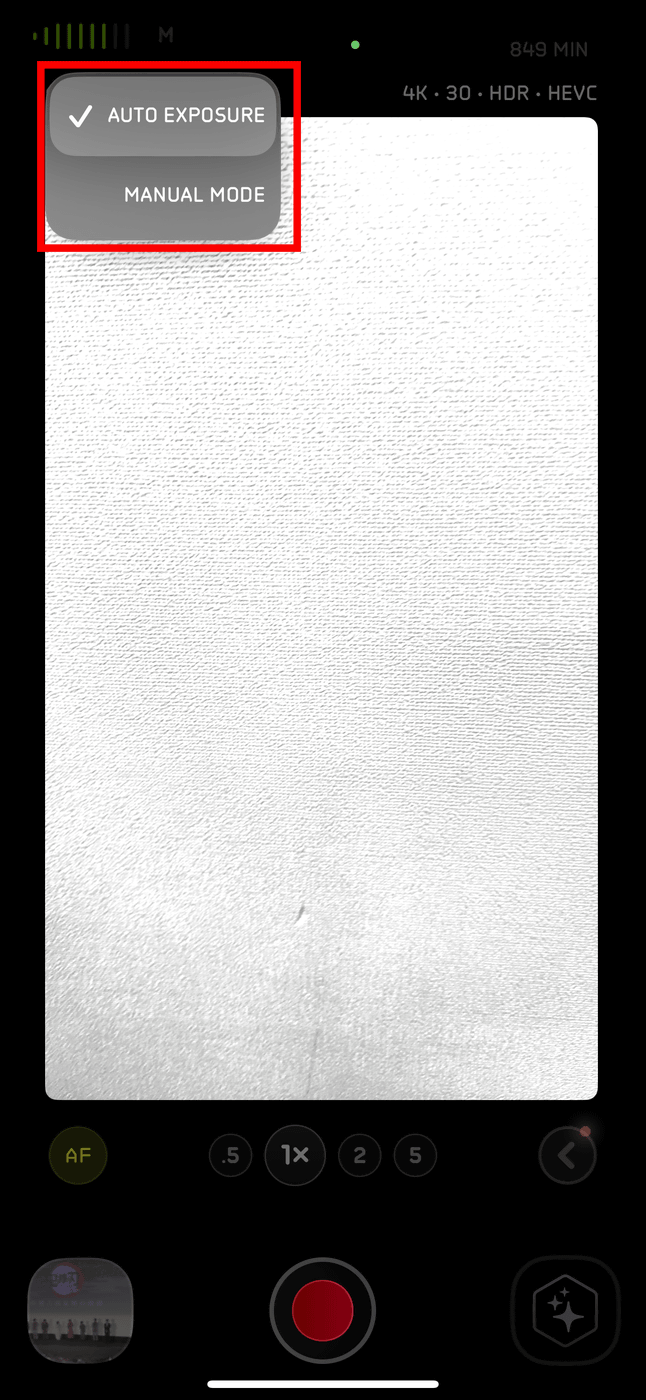
Manual lets you set
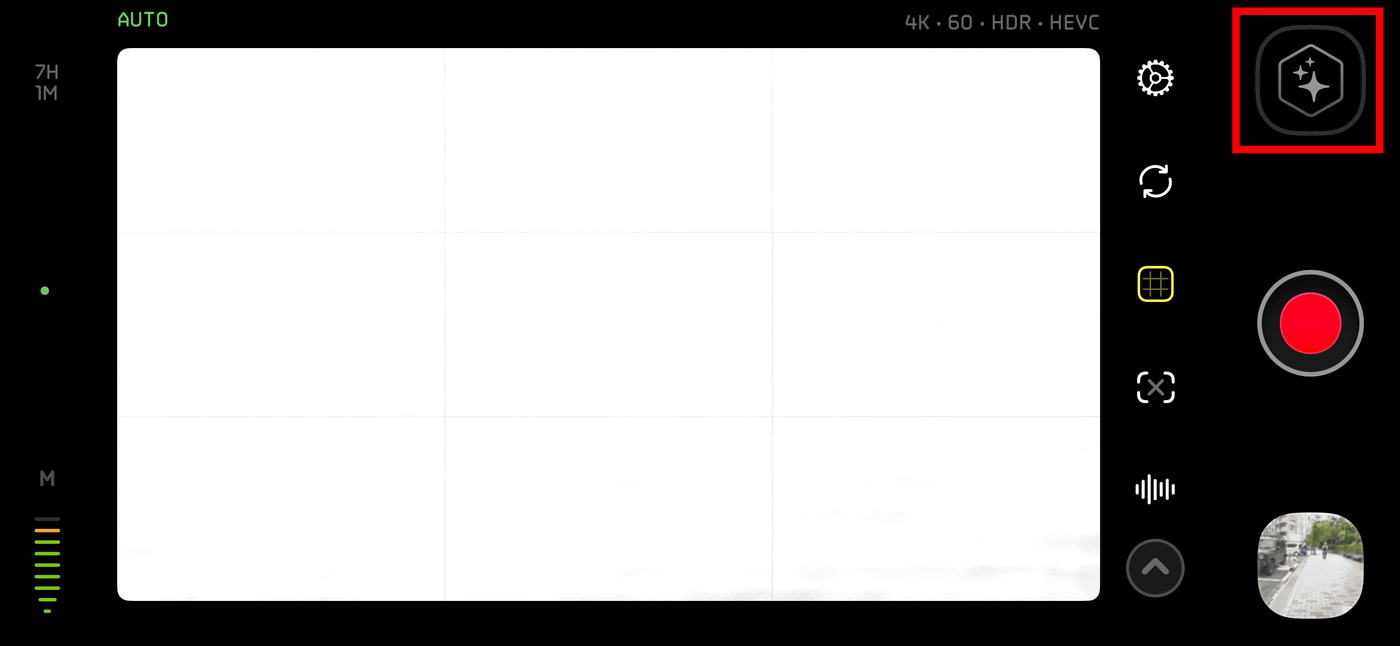
Of course, Kino also supports landscape orientation. By tapping the icon in the upper right corner, you can select
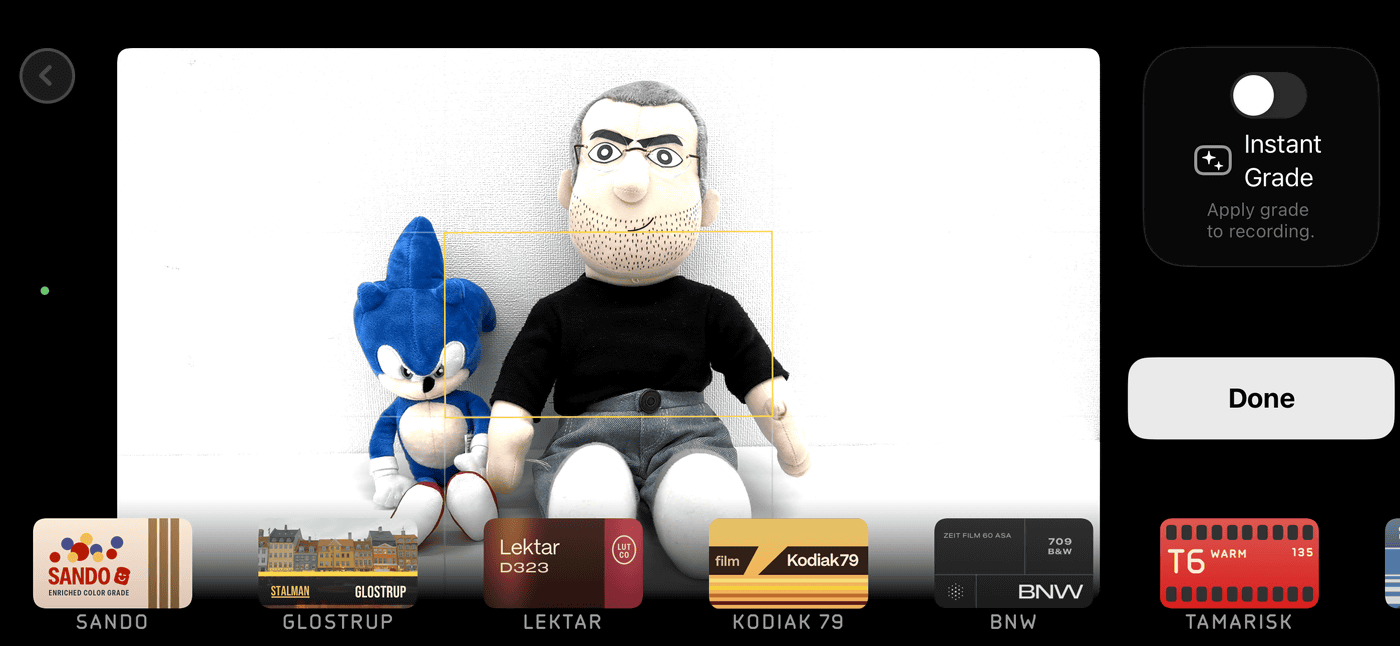
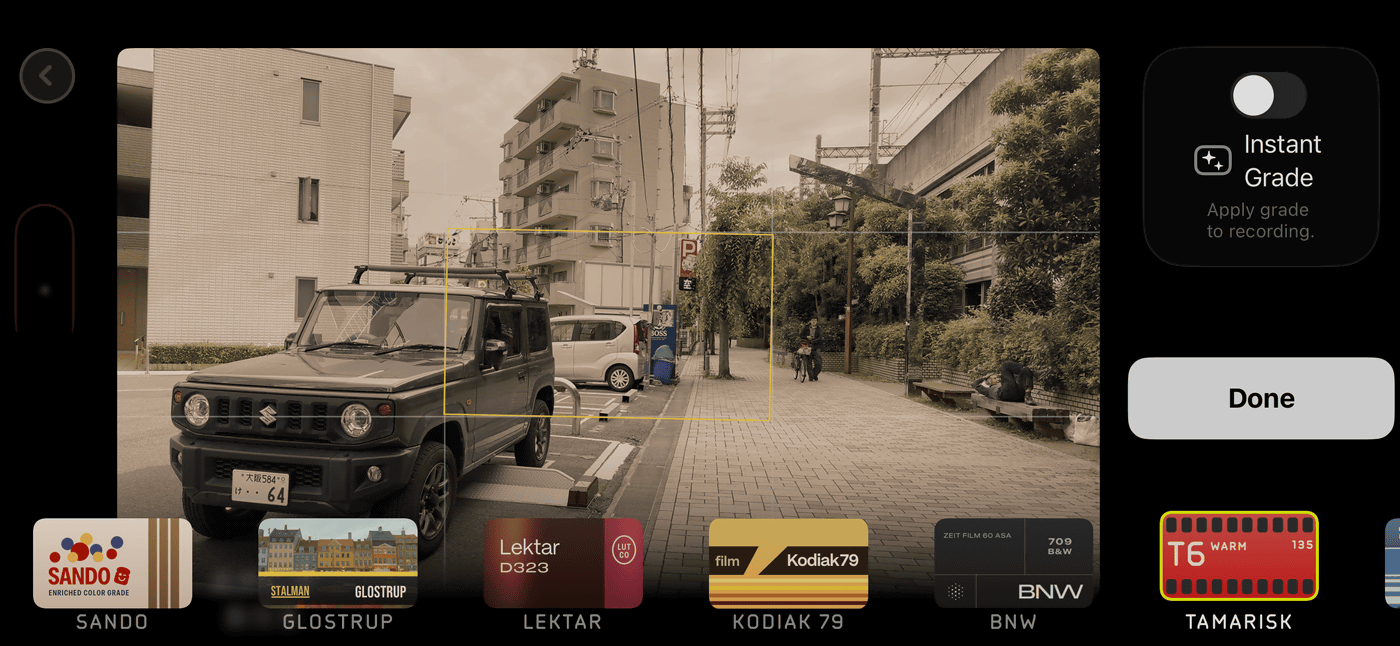
When you start Kino with 'STARTER', seven types of LUTs are registered by default. This is what it looks like when no LUT is set.
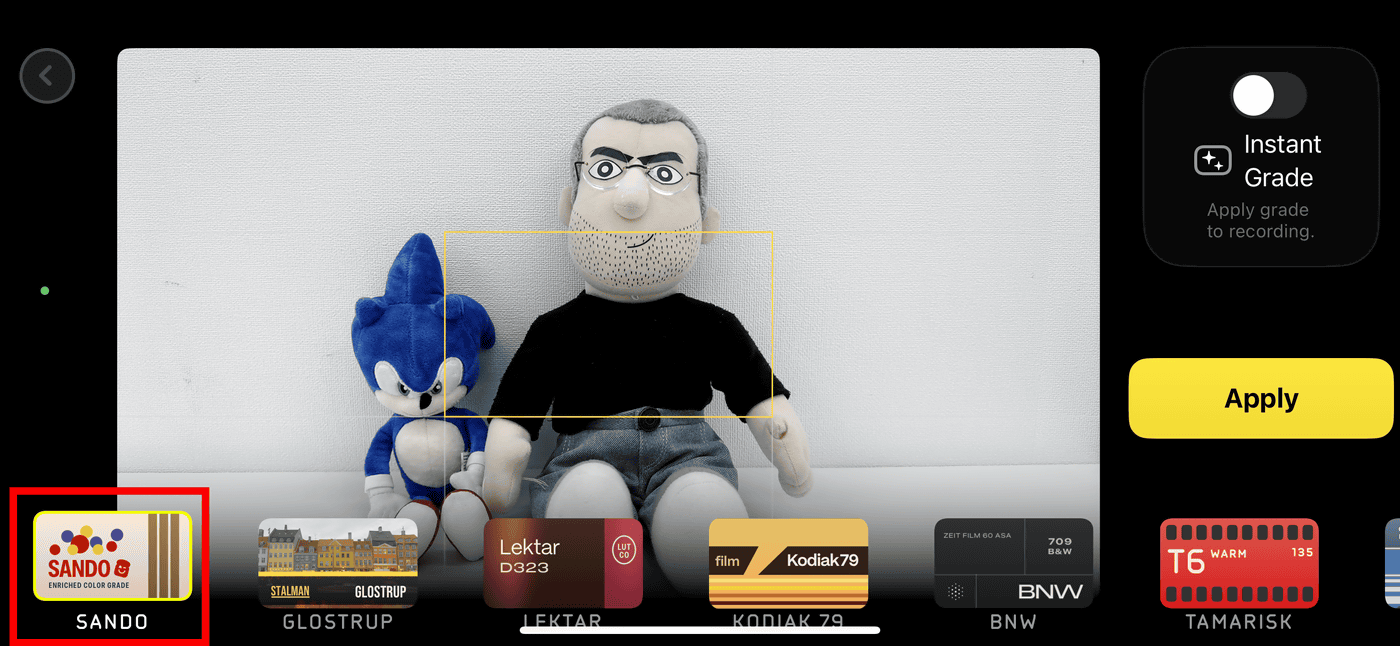
Below is the 'SANDO' setting.
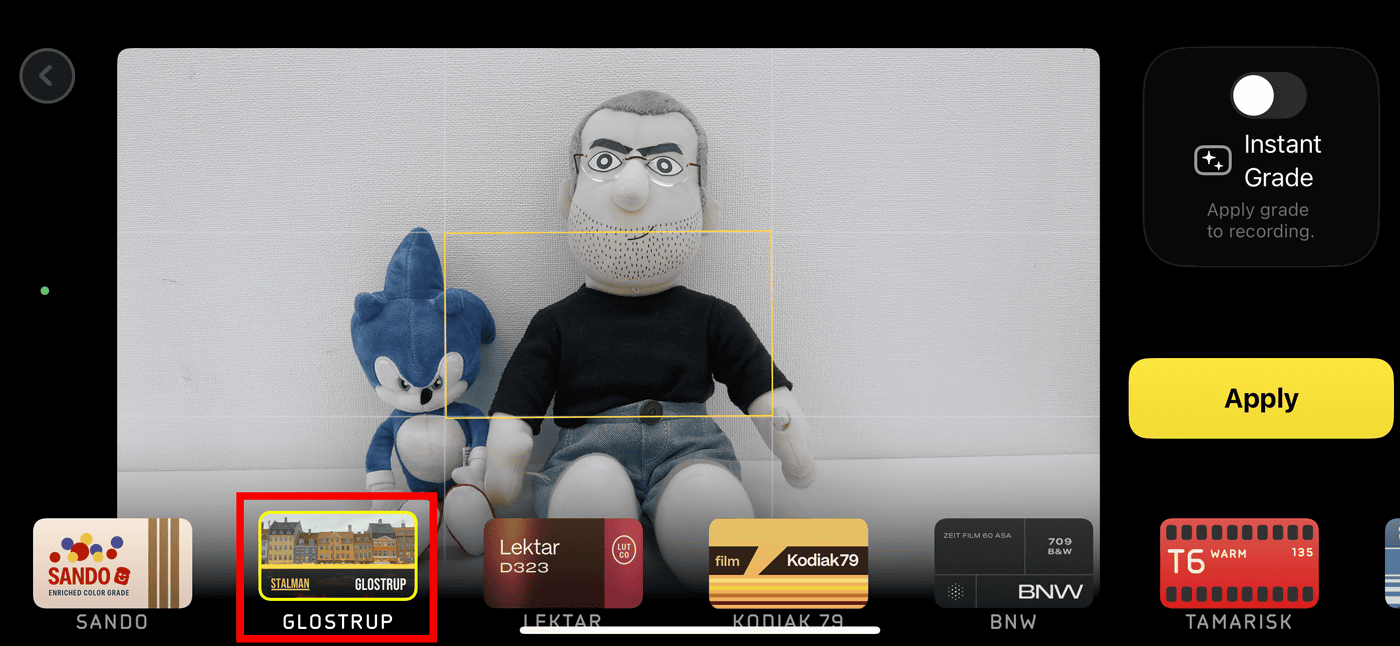
'GLOSTRUP'
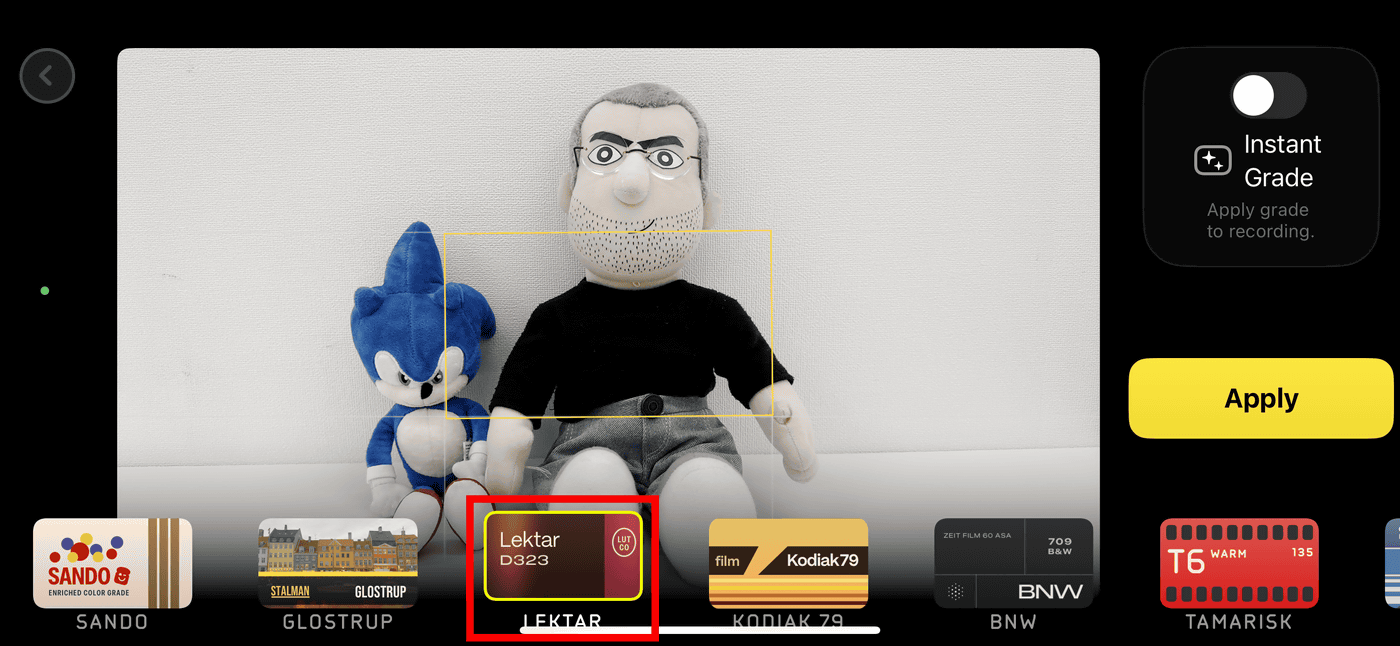
'LEKTAR' has a slightly higher color temperature and produces a softer image
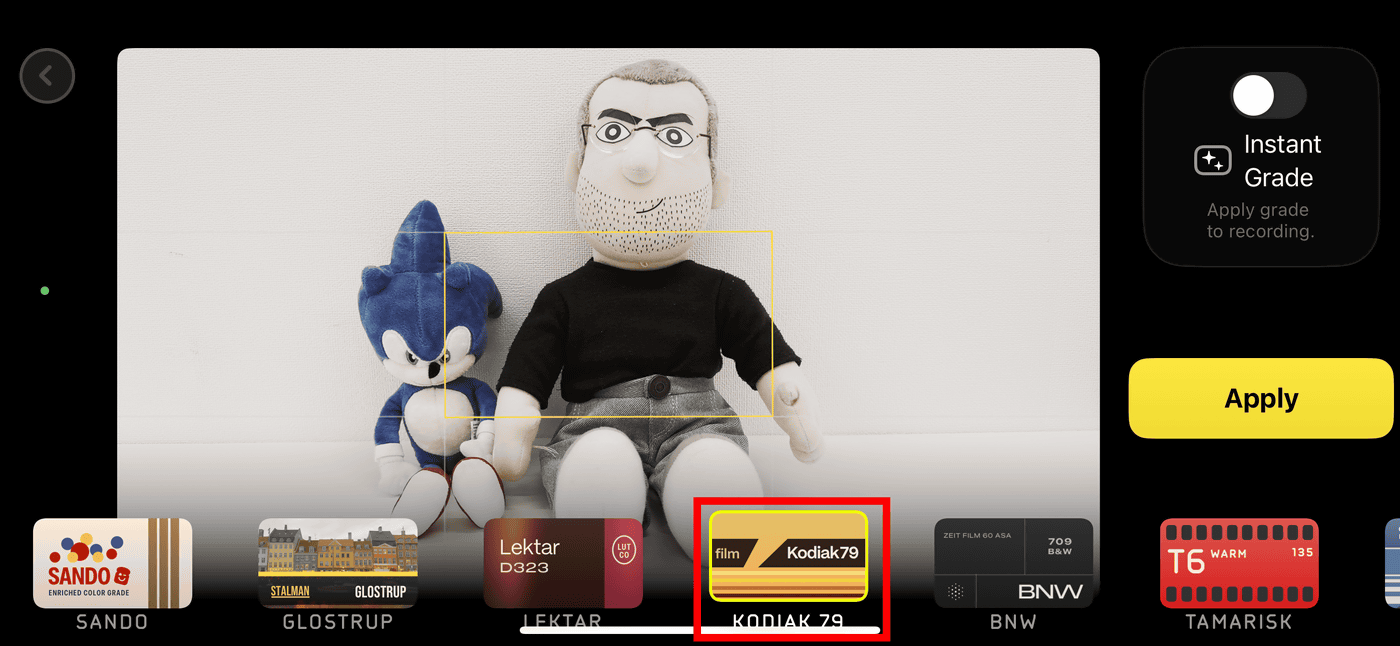
'KODIAK 79' is a warm-colored, slightly retro design
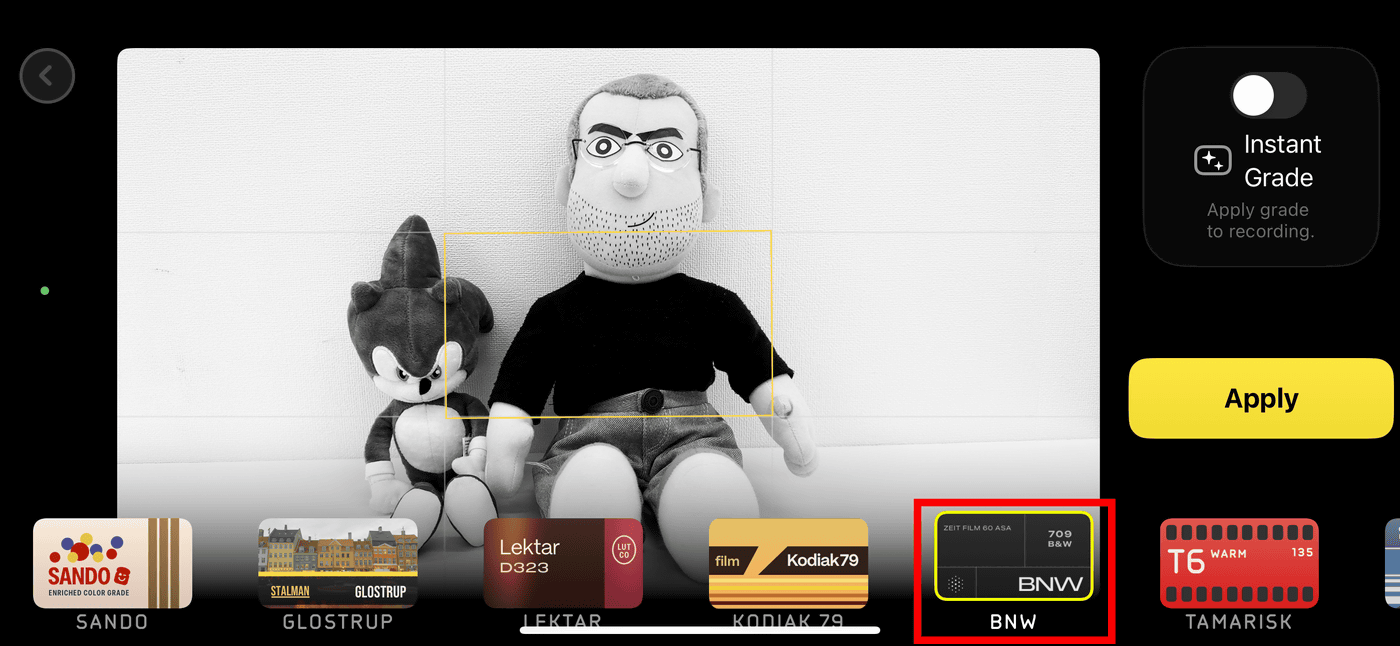
Monochrome 'BNW'
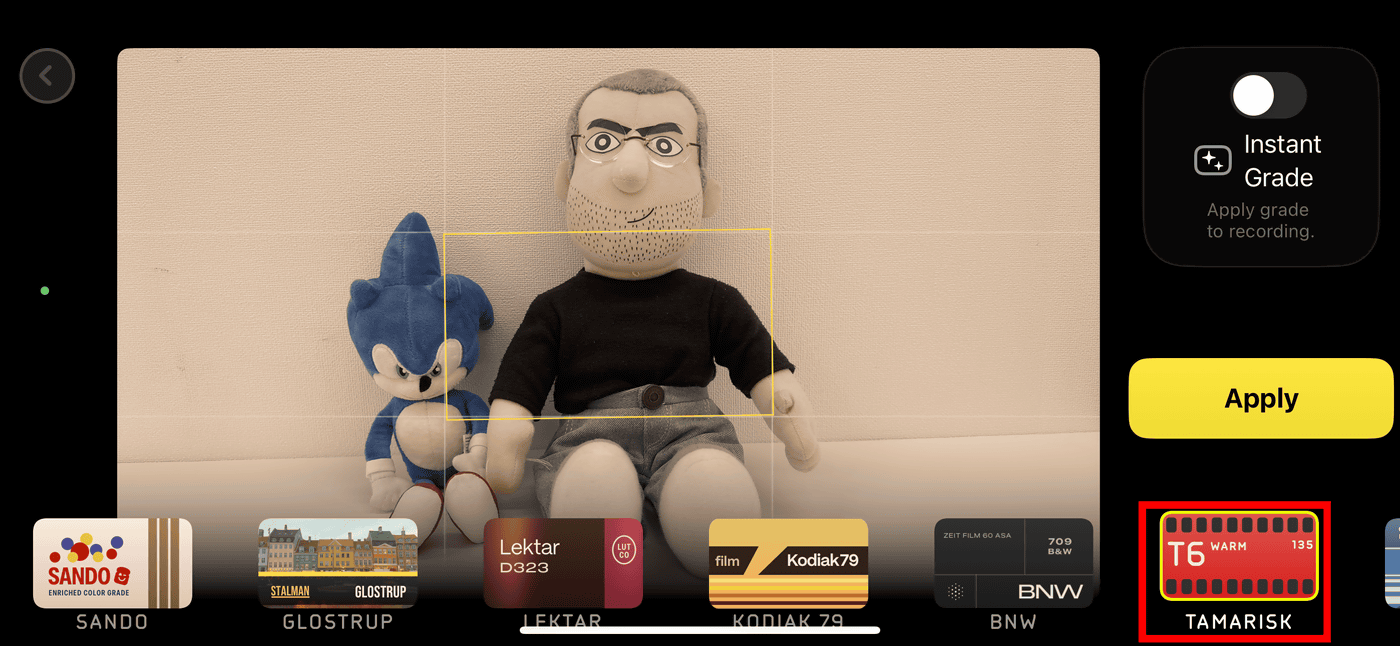
'TAMARISK' has a low color temperature and produces warm colors.
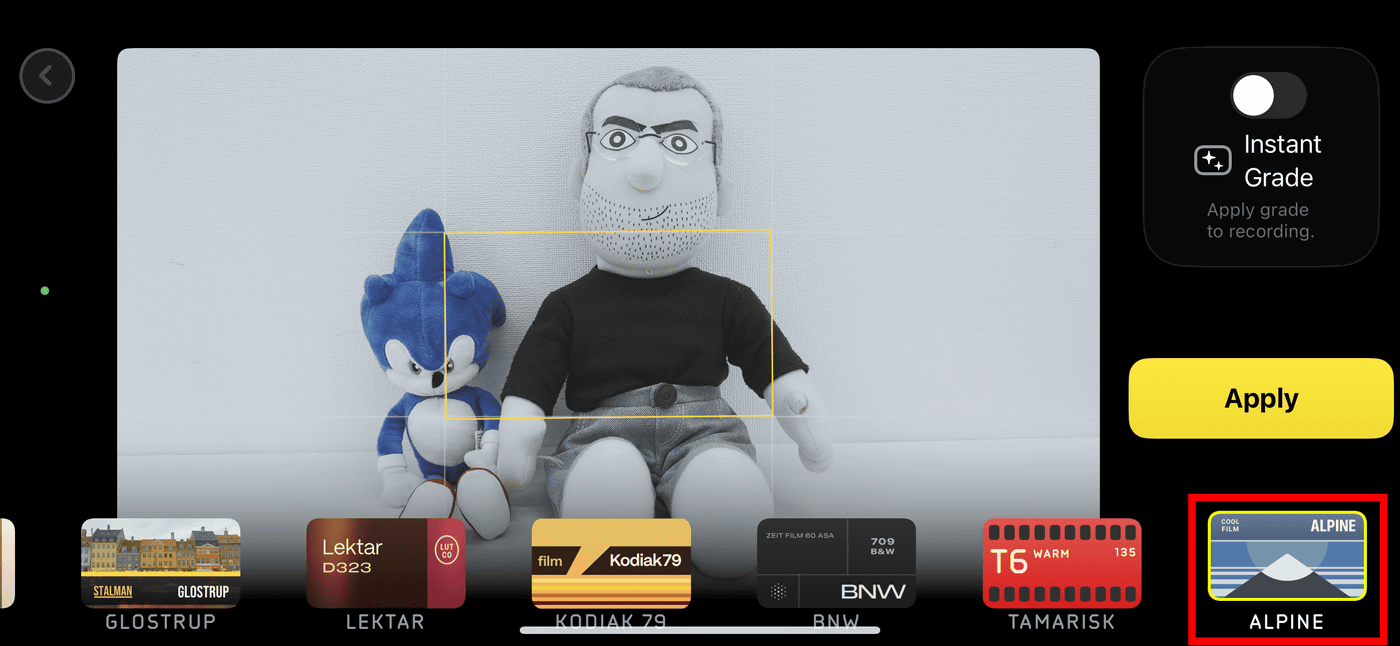
On the other hand, 'ALPINE' has a higher color temperature and cooler colors.
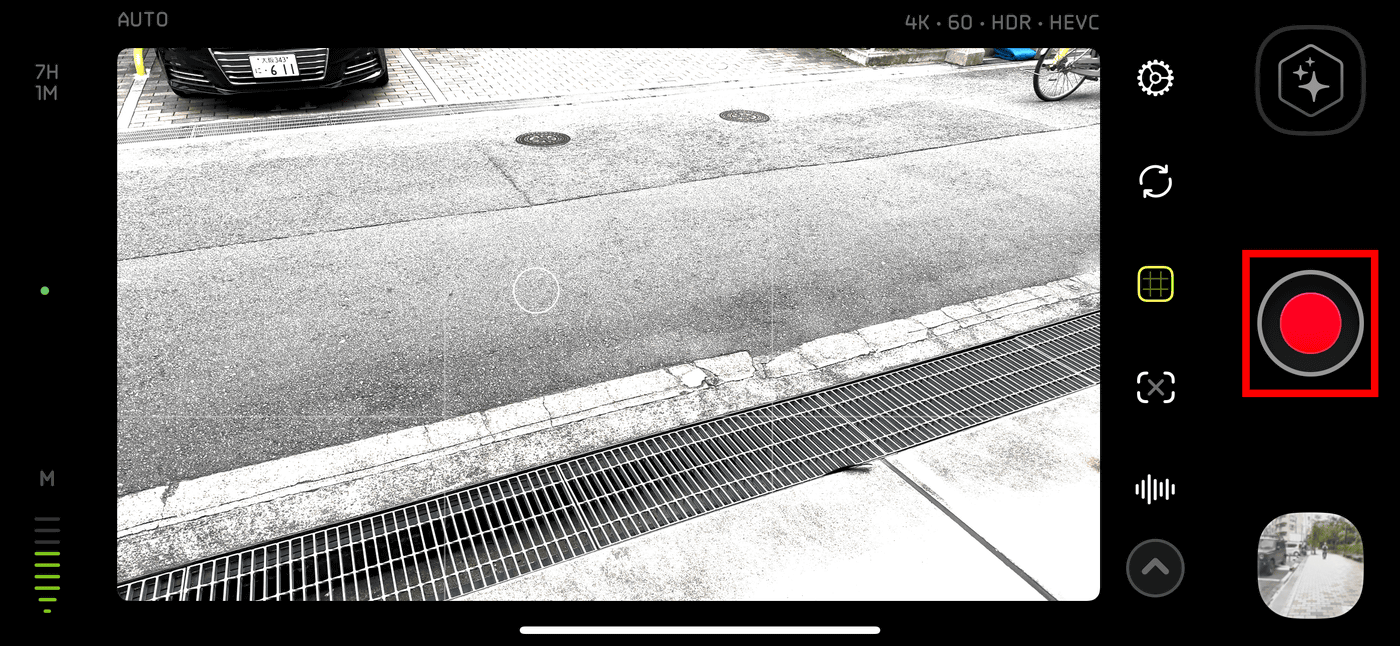
To record a video, just tap the red start recording button, and the file you record will be added to your photo library by default, but you can only record up to 45 minutes.
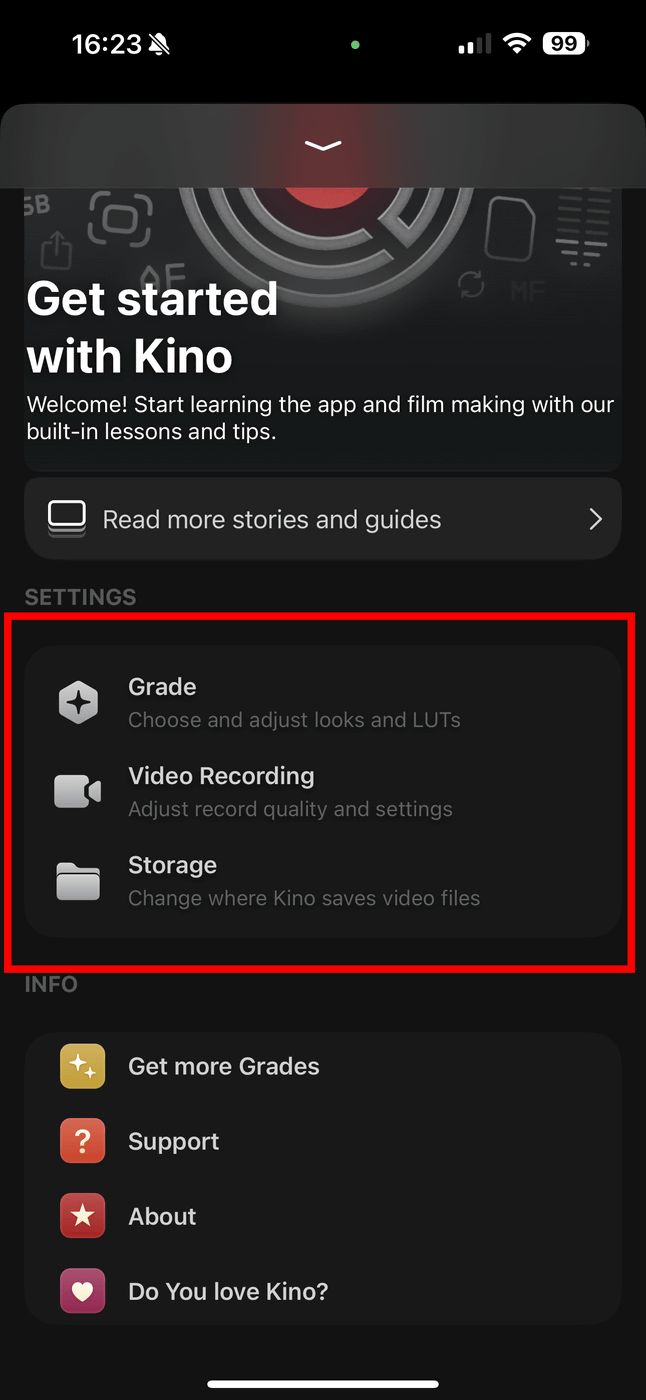
To configure the app, tap the gear icon.
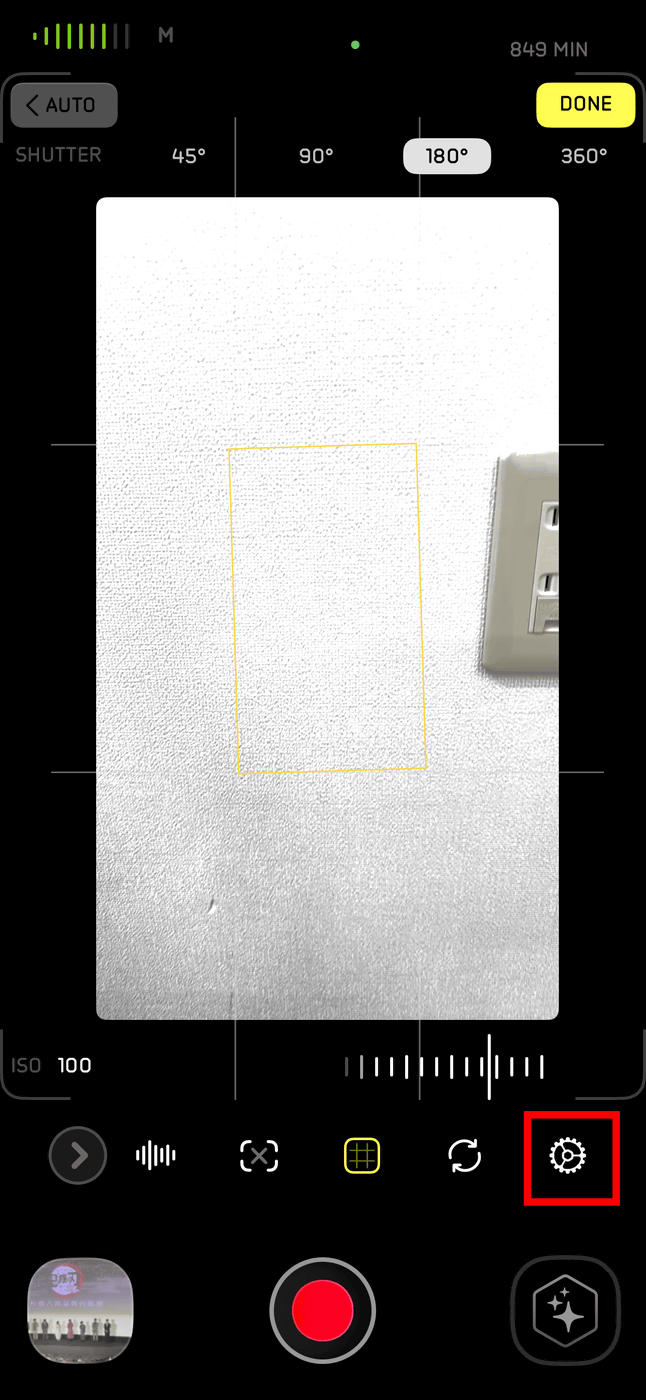
The three settings that can be set in the app are 'Grades (color grading),' 'Video Recording (recording settings),' and 'Storage.'
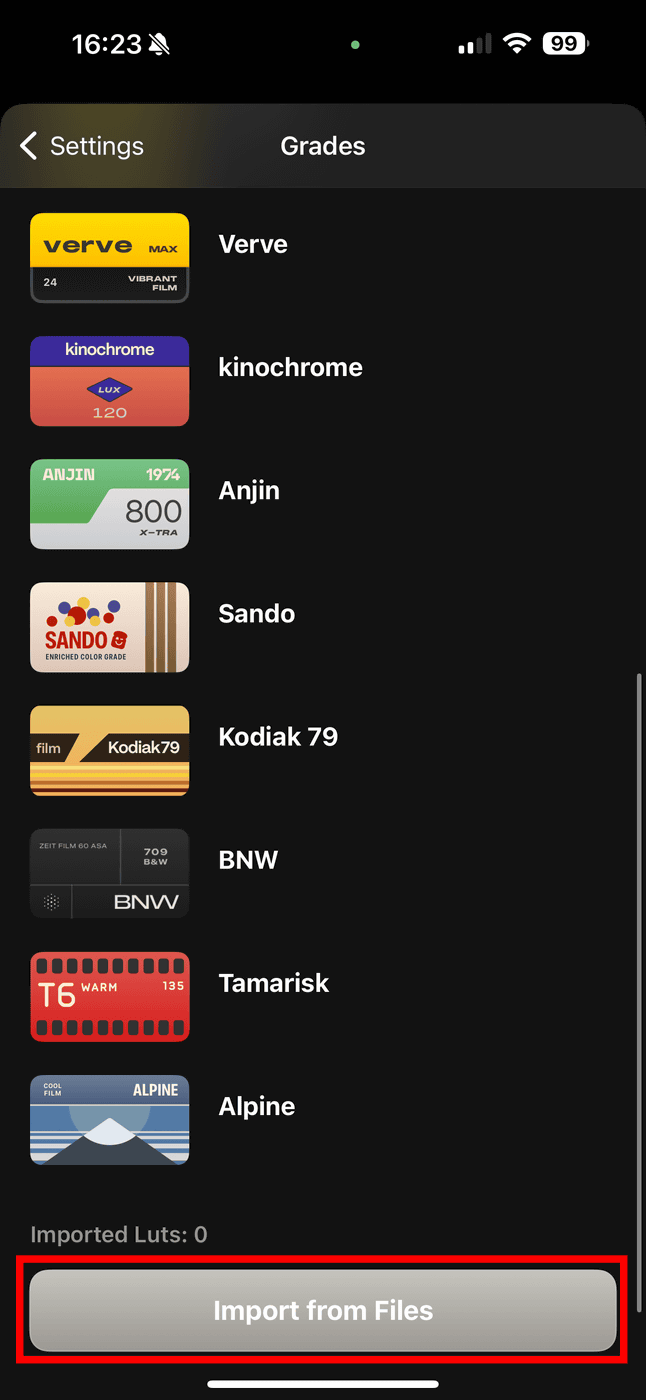
In “Grades,” you can tap “Import from Files” to load a
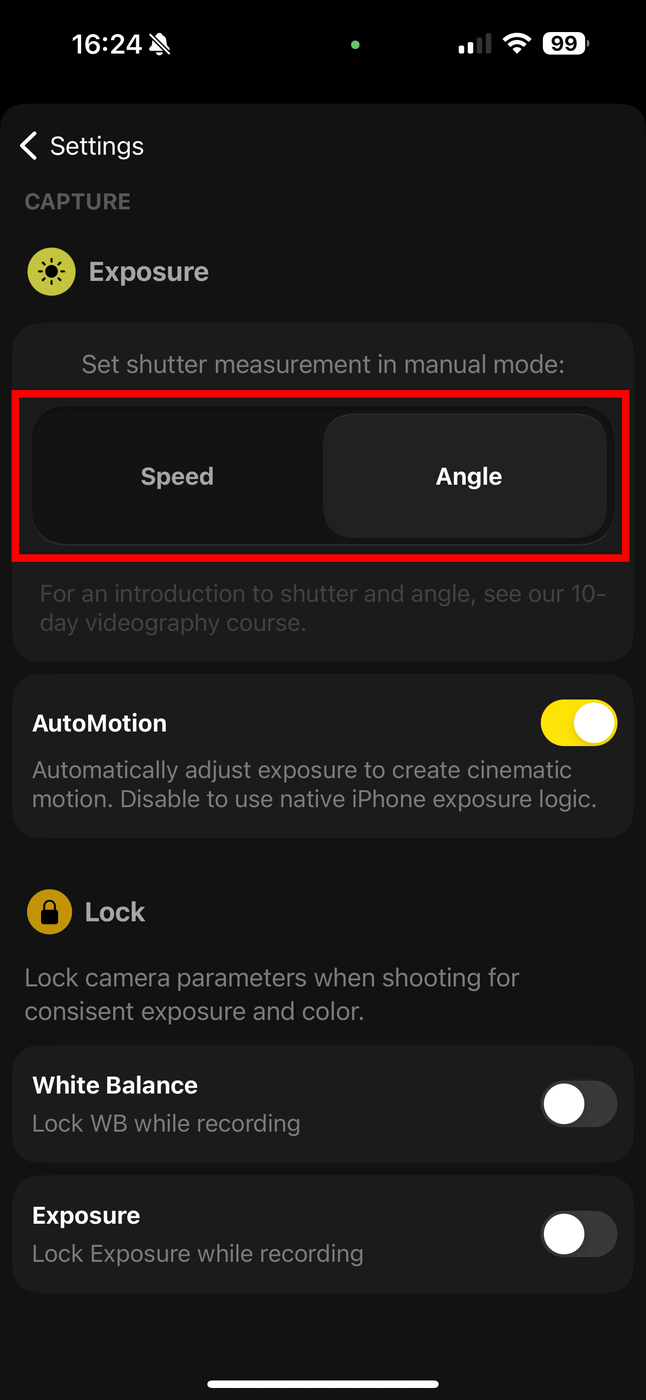
In 'Settings,' you can choose whether to display the exposure settings in manual shooting as shutter speed (Speed) or shutter angle (Angle). In addition, 'AutoMotion' is a function that automatically selects the optimal exposure settings for cinematic motion blur, and is turned on by default. In addition, you can choose whether to fix the white balance and exposure settings.
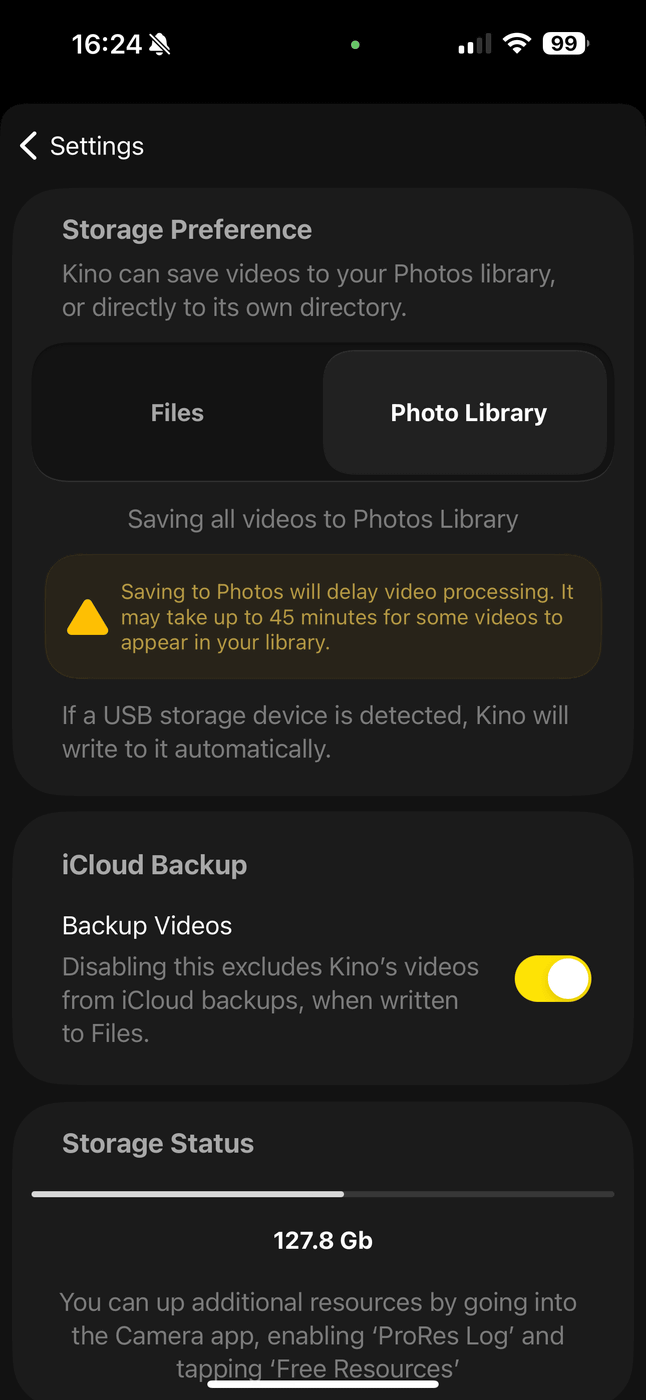
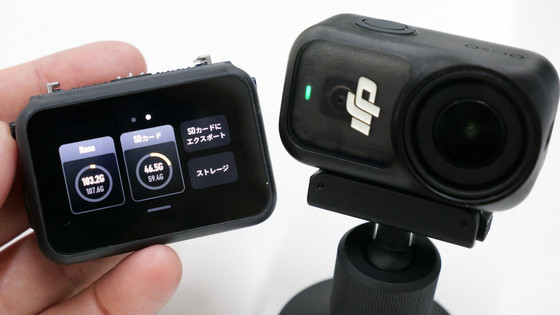
In 'Storage', you can choose to save the video to Files or Photo Library. Also, if you recognize a USB storage device, Kino will automatically save the video to the external storage.
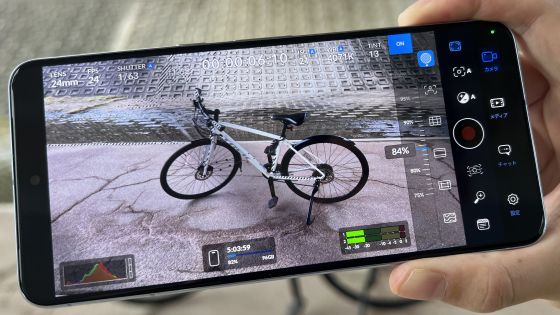
When I actually tried using Kino, I found the UI to be simple and easy to use. With Apple's native camera app, you have to change various settings from the 'Settings' app, which is very cumbersome as you have to leave the camera app first. However, Kino allows you to make detailed settings within the app, so you can shoot professional-quality footage on the spot.
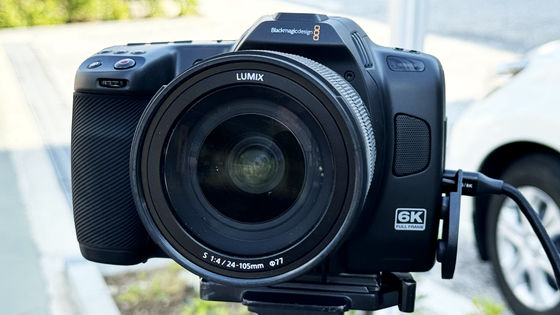
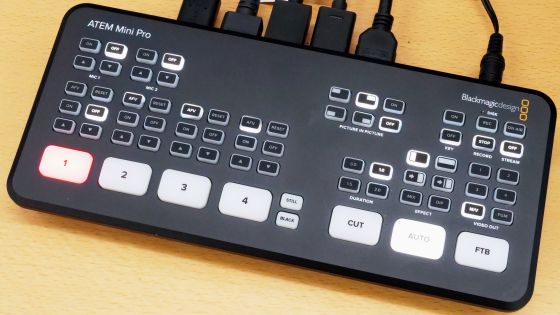
Another video shooting app that allows for similar detailed settings is Blackmagic Camera , released by Blackmagic Design . Kino is a paid app, while Blackmagic Camera is free and has more features, so if you are really particular about shooting video on your iPhone, we recommend Blackmagic Camera. However, Blackmagid Camera has a somewhat complicated UI due to the large number of settings, and it is difficult to use without knowledge. In comparison, Kino is easy to use even for beginners, and you can shoot with the LUT settings loaded from the .cube file reflected on the spot. In terms of casual ease of use, Kino is superior.
The price of Kino is $9.99 (1,500 yen in Japan) until May 31st, and after that it will be $19.99 (about 3,100 yen), so if you're interested, we recommend that you buy it early.
◆ Forum is currently open
A forum related to this article has been set up on the official GIGAZINE Discord server . Anyone can post freely, so please feel free to comment! If you do not have a Discord account, please refer to the account creation procedure explanation article to create an account!
• Discord | 'Do you use the standard smartphone camera app? Or do you use a different app?' | GIGAZINE
https://discord.com/channels/1037961069903216680/1246033241622970399
Related Posts:


in Software, Smartphone, Review, Posted by log1i_yk