The Android version of the highly functional camera app 'Blackmagic Camera' that displays exposure and white balance on the screen and makes it easy to adjust has been released, so I tried using it.
Blackmagic Design, known for developing professional cinema cameras and video editing software such as 'DaVinci Resolve,' also distributes the highly functional smartphone camera app ' Blackmagic Camera ' for free. The Android version of Blackmagic Camera was released on Monday, June 24, 2024, so I actually installed it and checked what features it has.
Blackmagic Design Announces Blackmagic Camera for Android | Blackmagic Design
Blackmagic Camera | Blackmagic Design
https://www.blackmagicdesign.com/jp/products/blackmagiccamera
·table of contents
◆1: Installing Blackmagic Camera for Android
◆2: The Blackmagic Camera screen looks like this
◆3: Focal length, exposure, and white balance can be freely adjusted
◆4: Zebra display and focus peaking are also possible
◆5: Other useful features
◆6: Summary
◆1: Installing Blackmagic Camera for Android
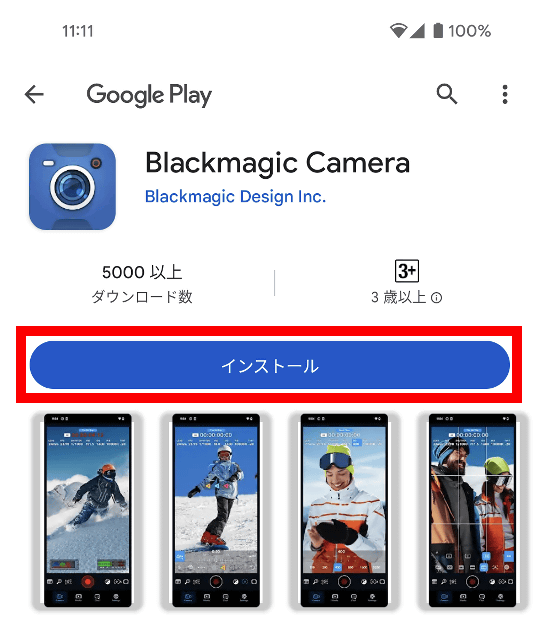
To install the Android version of Blackmagic Camera, first tap the link below to access the distribution page on Google Play. At the time of writing, it seems that it is only compatible with Google's Pixel series and Samsung's Galaxy series.
Blackmagic Camera - Apps on Google Play
https://play.google.com/store/apps/details?id=com.blackmagicdesign.android.blackmagiccam
When the distribution page opens, tap 'Install'.
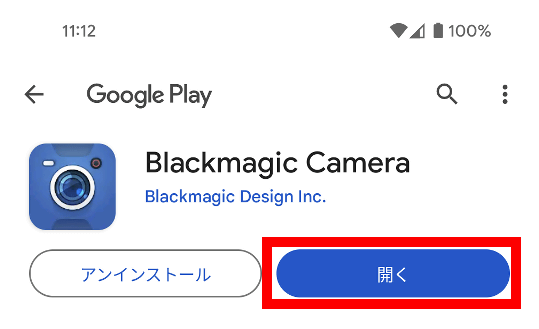
Once the installation is complete, tap 'Open.'
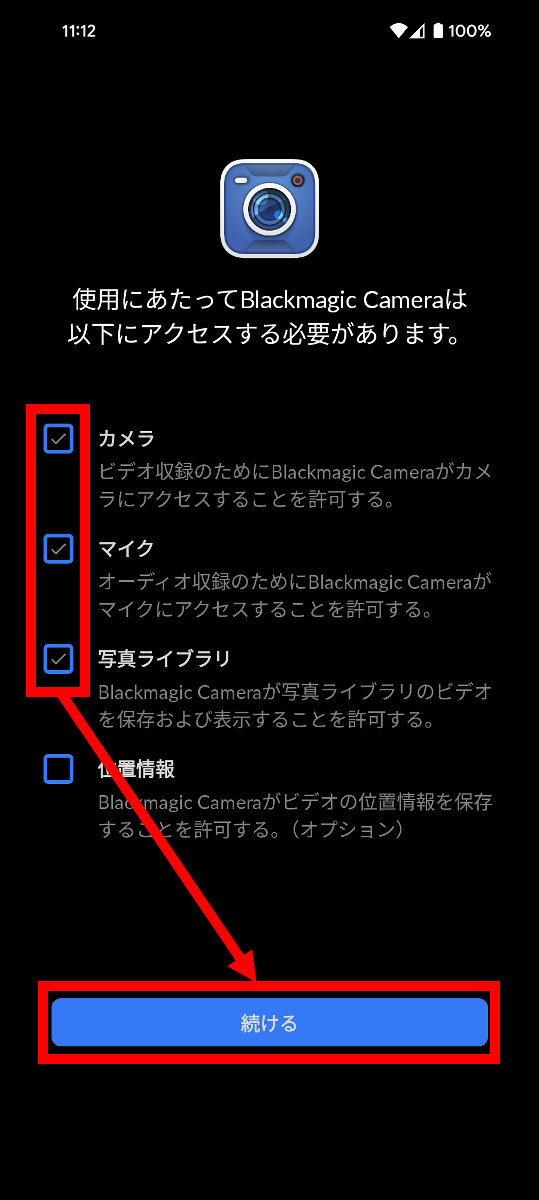
When you start up Blackmagic Camera for the first time, you will be asked for permission to access 'Camera', 'Microphone', 'Photo Library' and 'Location Information'. This time, I only allowed access to the required items 'Camera', 'Microphone' and 'Photo Library' and tapped 'Continue'. This completes the installation and initial settings.
◆2: The Blackmagic Camera screen looks like this
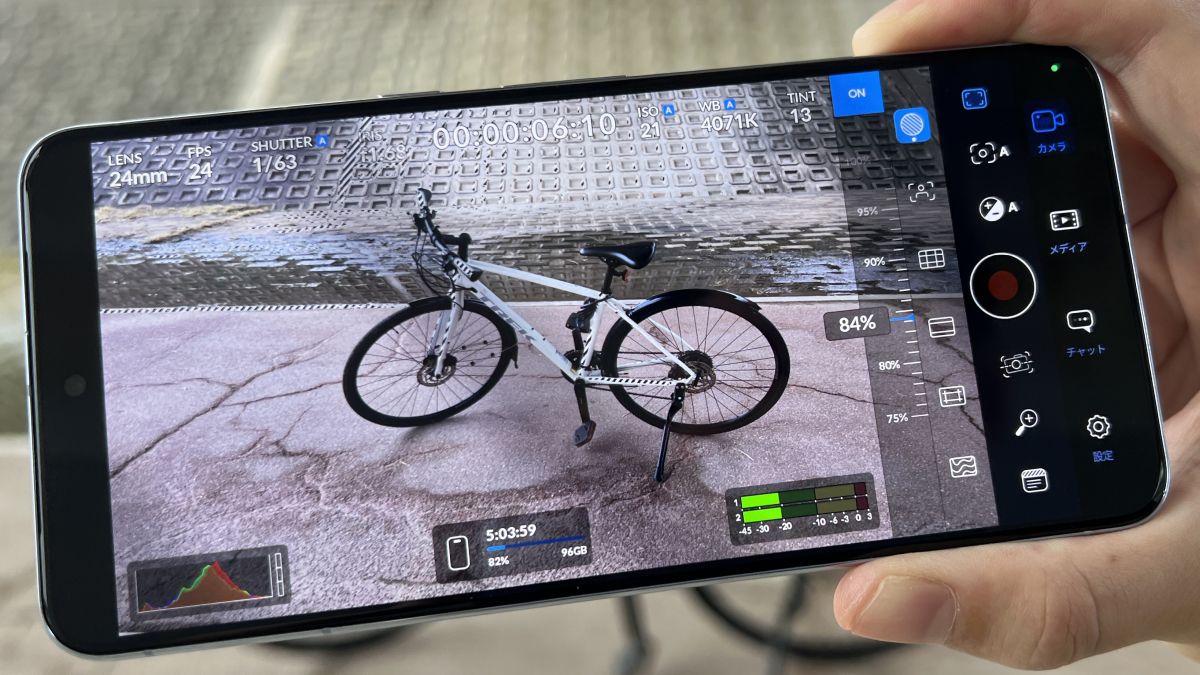
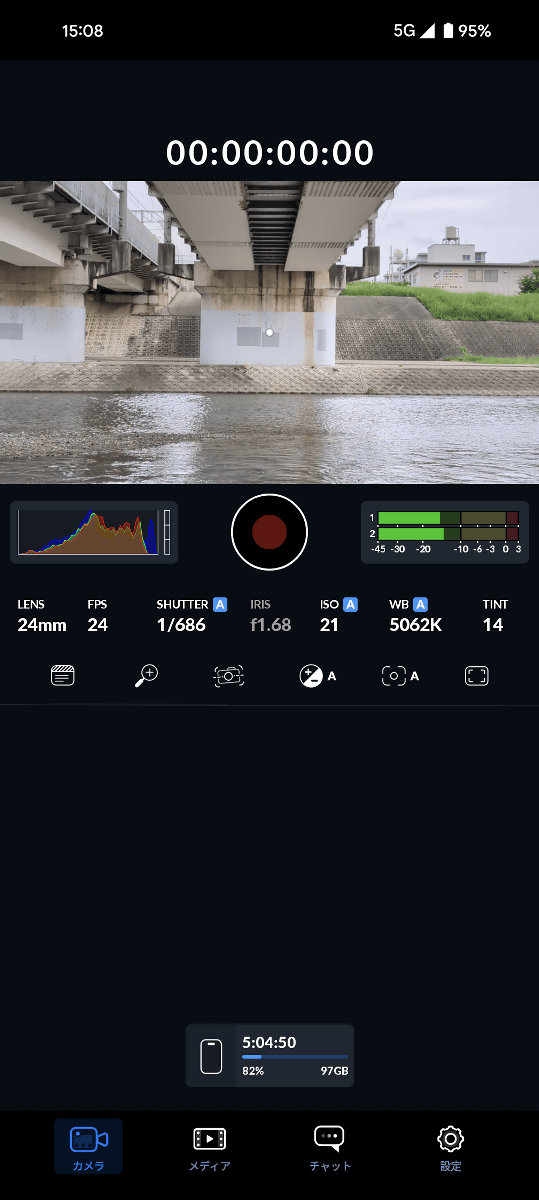
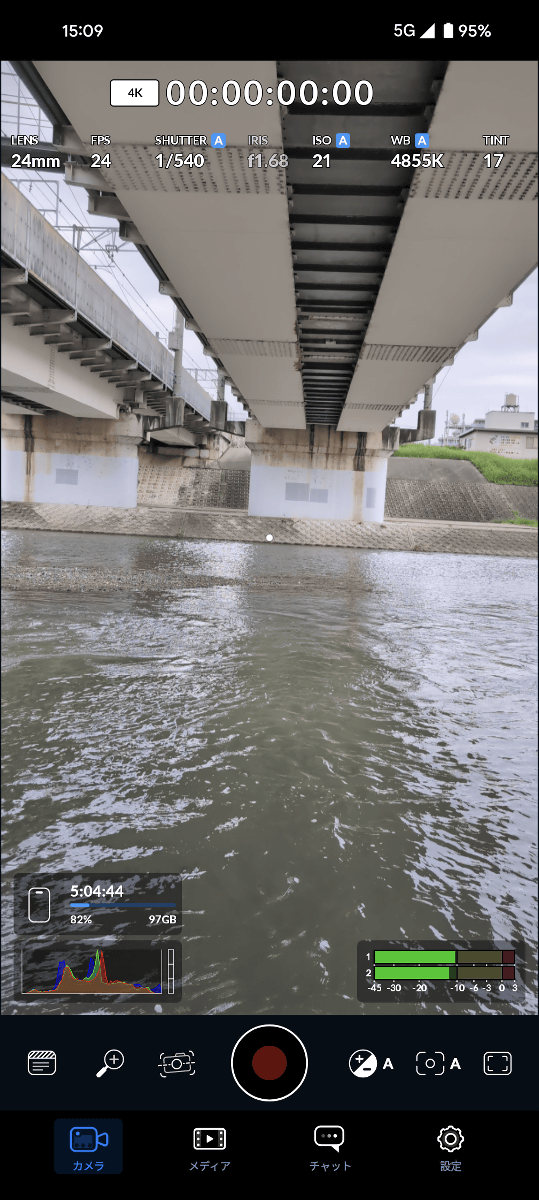
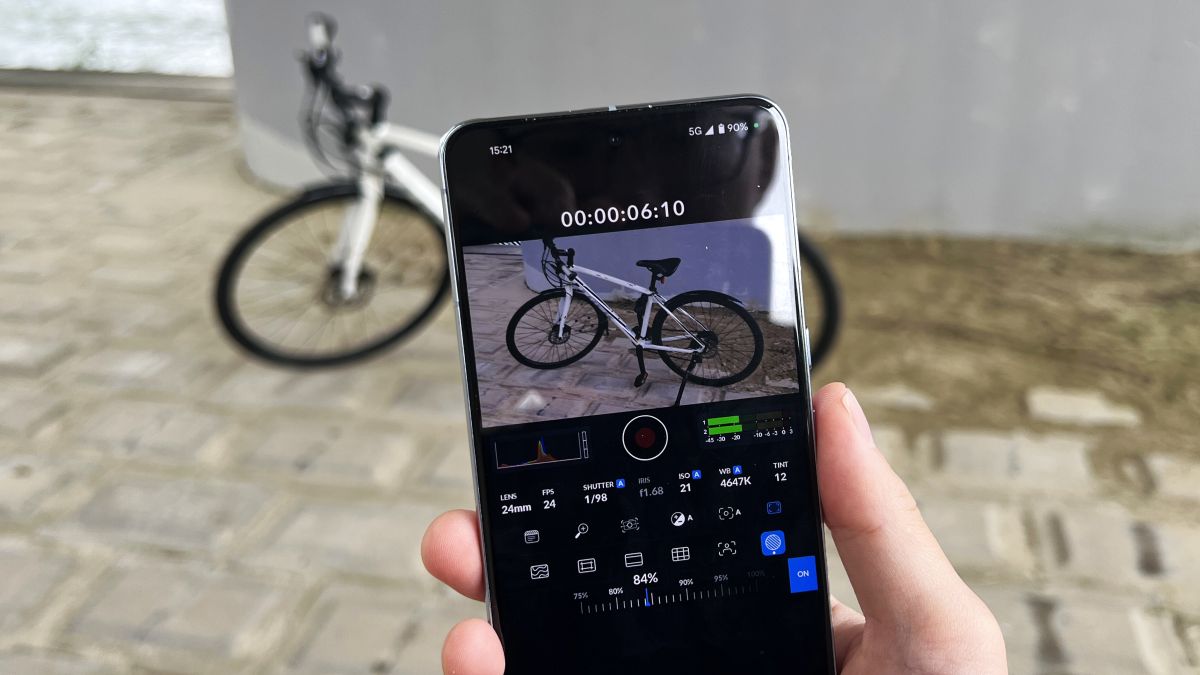
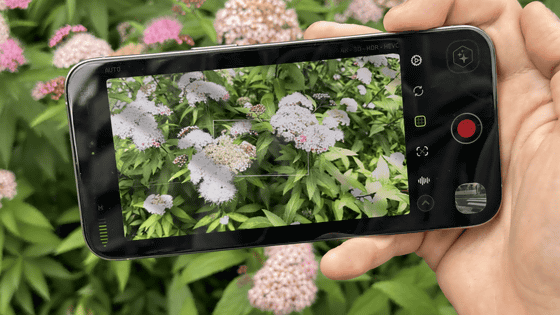
The Blackmagic Camera's shooting screen looks like this. The top of the preview screen displays the timecode, and the bottom displays the histogram, audio level meter, focal length, FPS (frame rate), shutter speed, aperture value, ISO, color temperature, and TINT (color tint). By default, the camera shoots in landscape orientation even when held vertically.
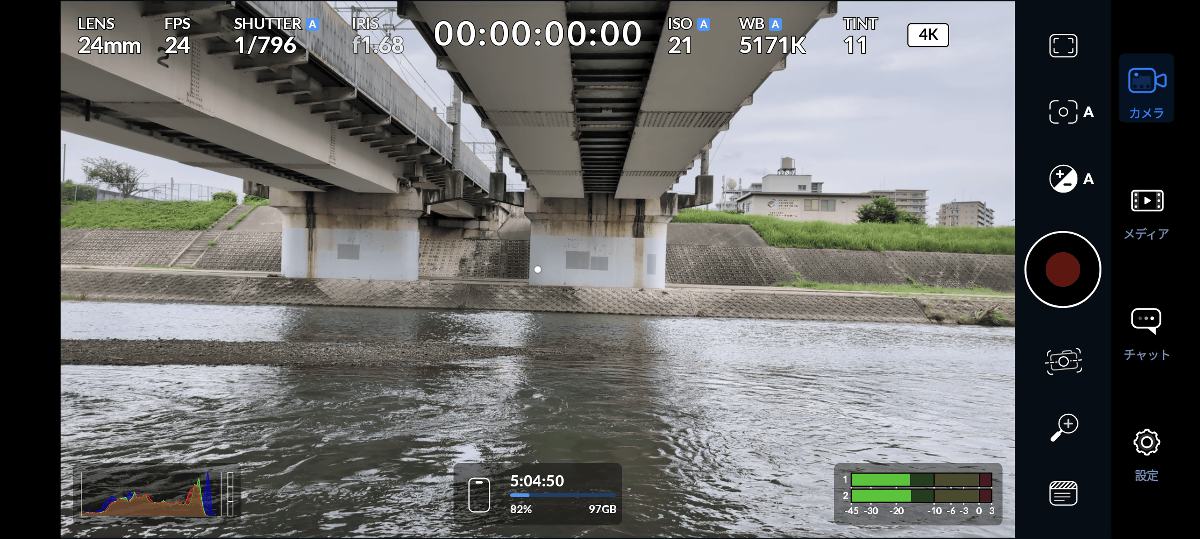
When held horizontally, the preview fills the entire screen.
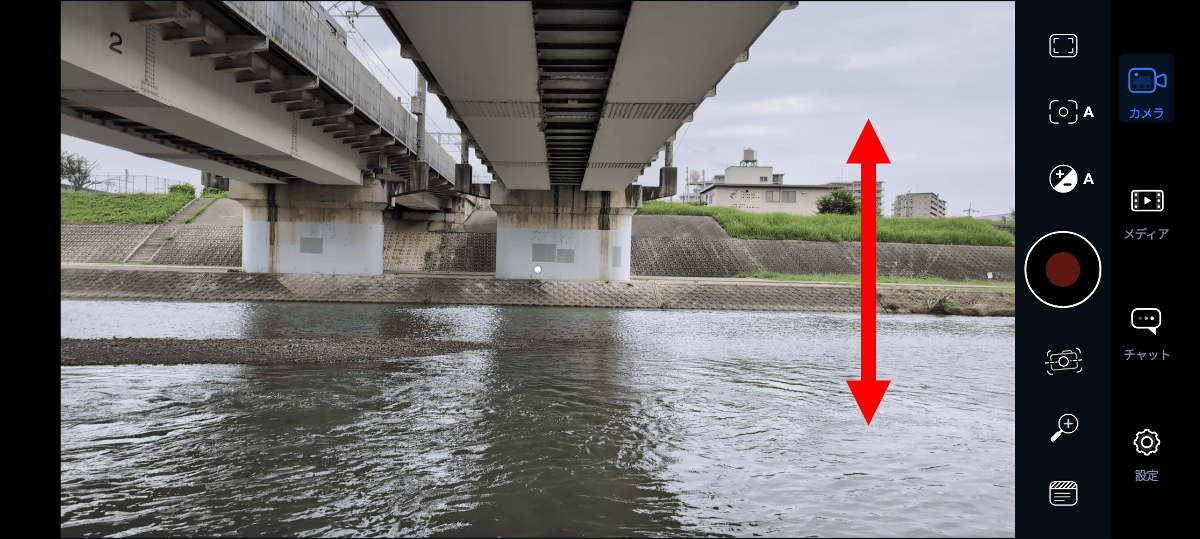
Swipe up or down on the screen to show or hide various information.
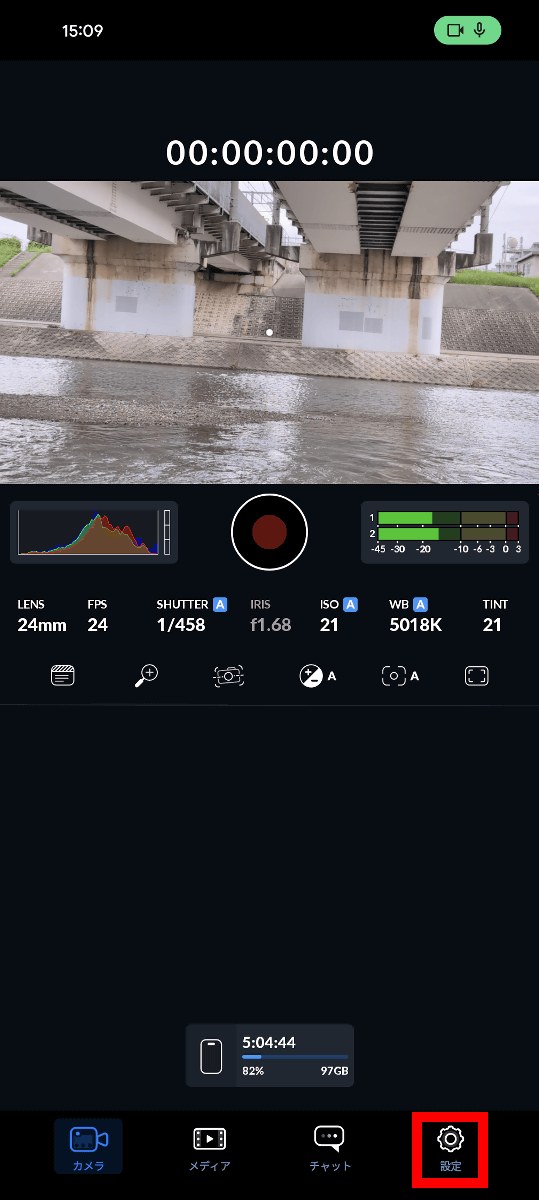
If you want to shoot in portrait orientation, tap 'Settings' at the bottom right of the screen.
Toggle 'Vertical Video' to ON.
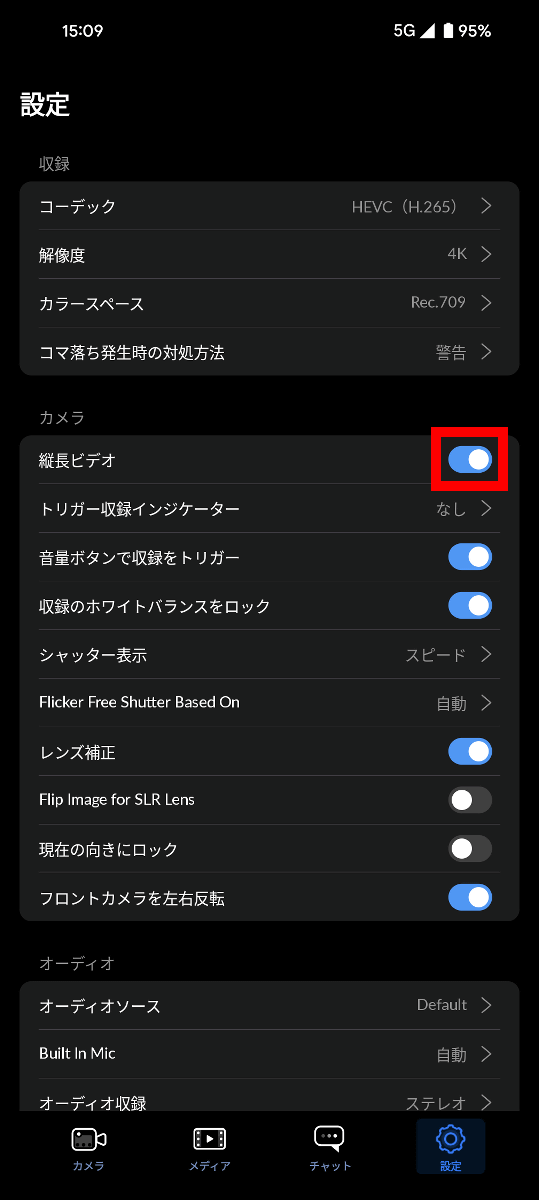
Now you can take photos in portrait orientation when holding the camera vertically.
◆3: Focal length, exposure, and white balance can be freely adjusted
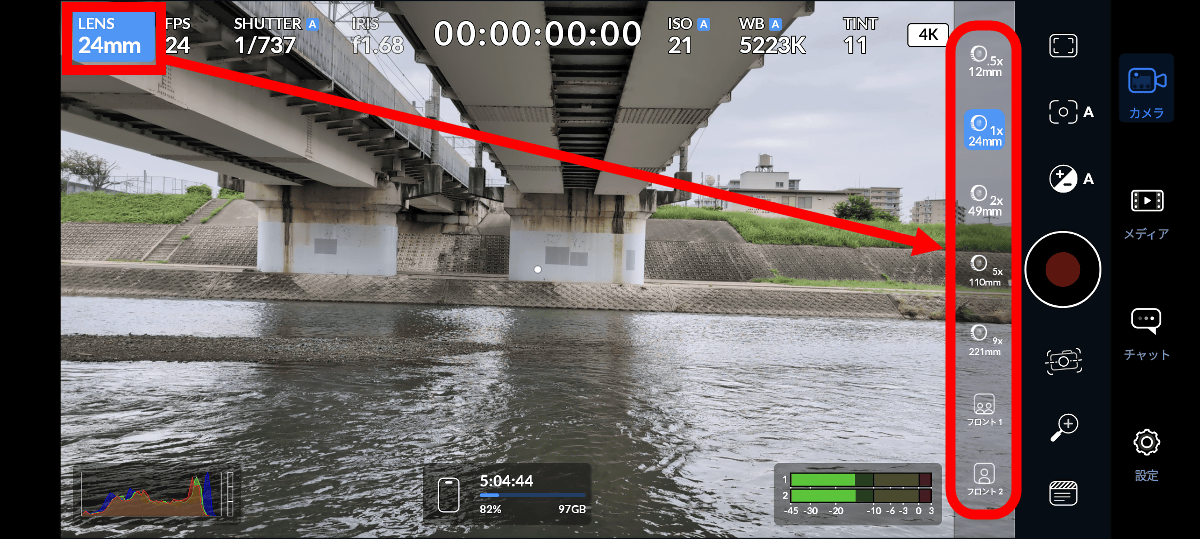
Tap 'LENS' to switch the focal length. The focal length is displayed in 35mm equivalent. In the case of the Pixel 8 Pro, the default focal length was 24mm.
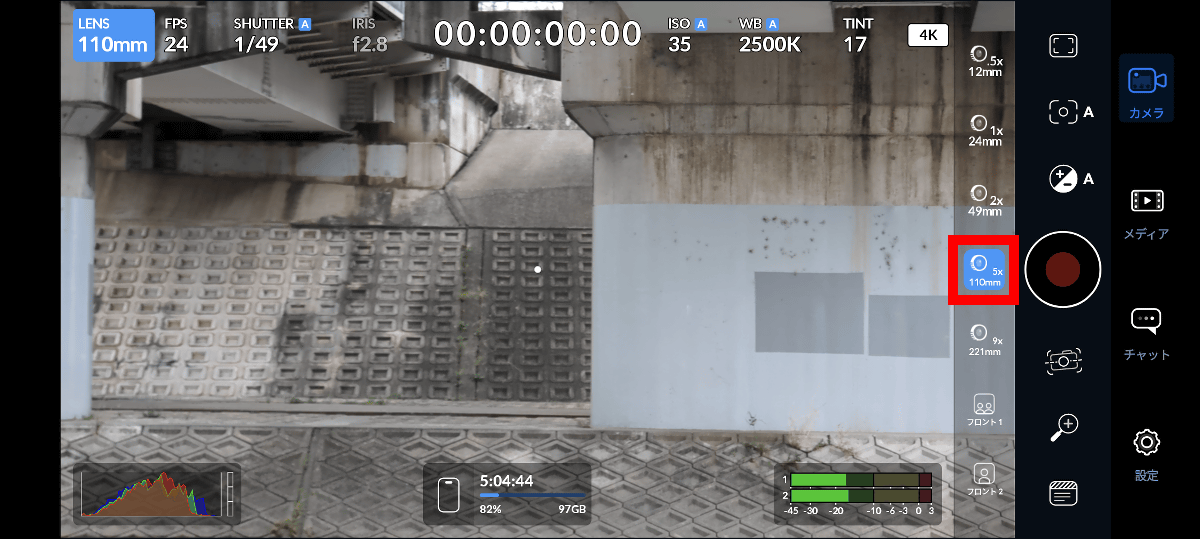
This is what it looks like when you switch the focal length to 110mm. You can adjust the focal length just like changing the lens on your camera.
FPS can be adjusted between 24 and 60.
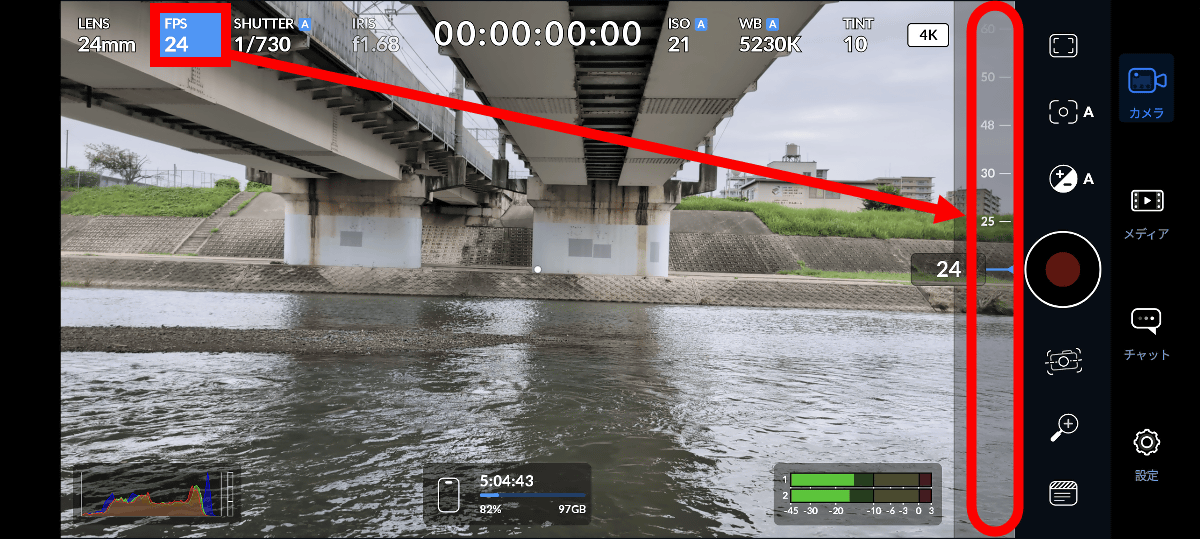
A movie shot at 24 FPS looks like this. Compared to a typical movie that can be shot with a smartphone, the number of frames per second is reduced, allowing you to shoot with a movie-like atmosphere.
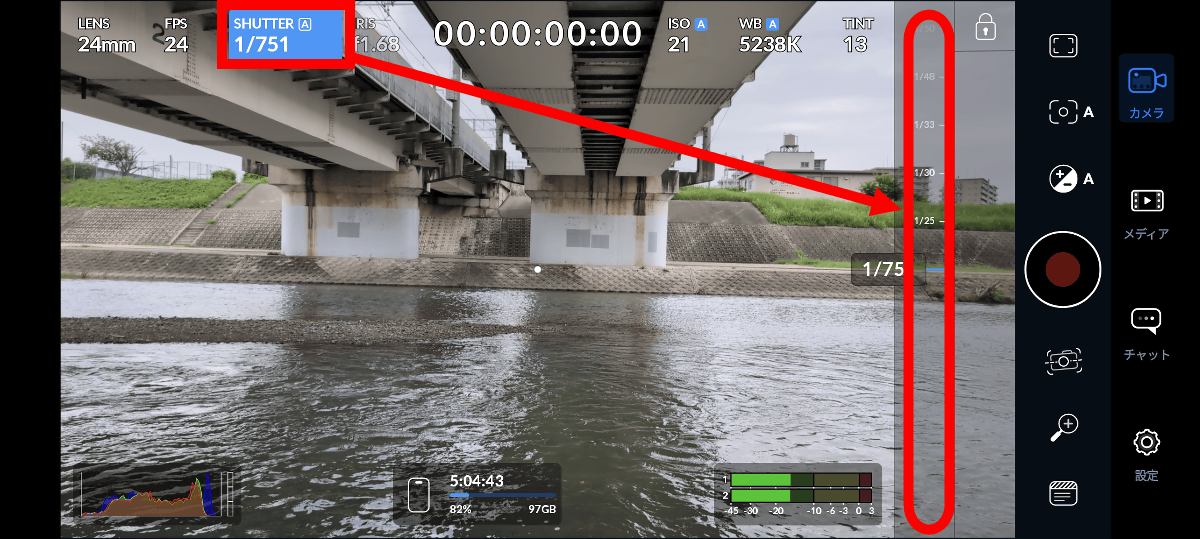
Tap 'SHUTTER' to adjust the shutter speed.
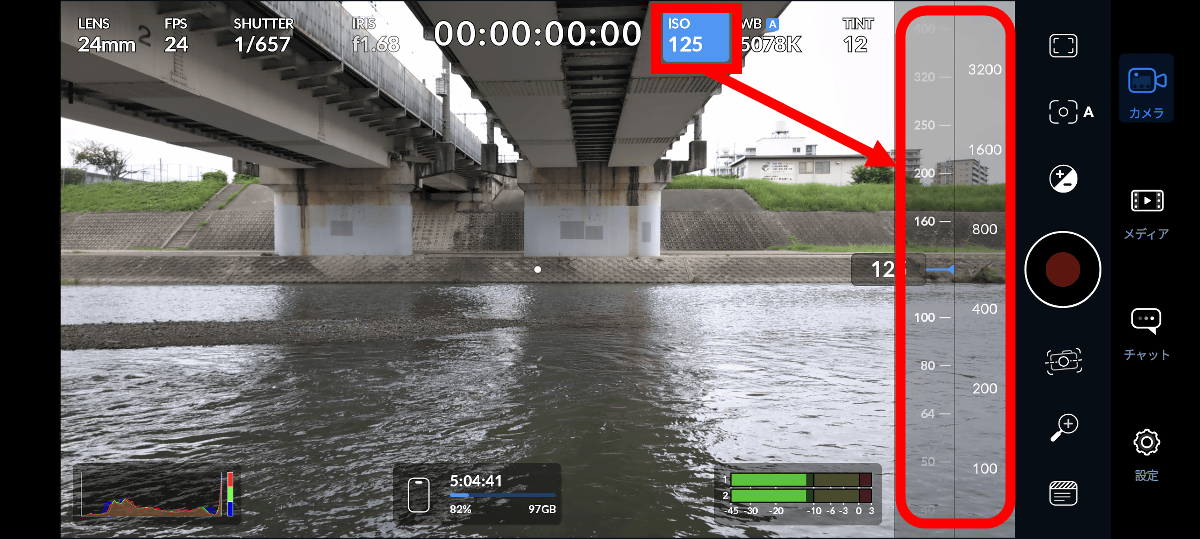
You can change the ISO by tapping 'ISO'.
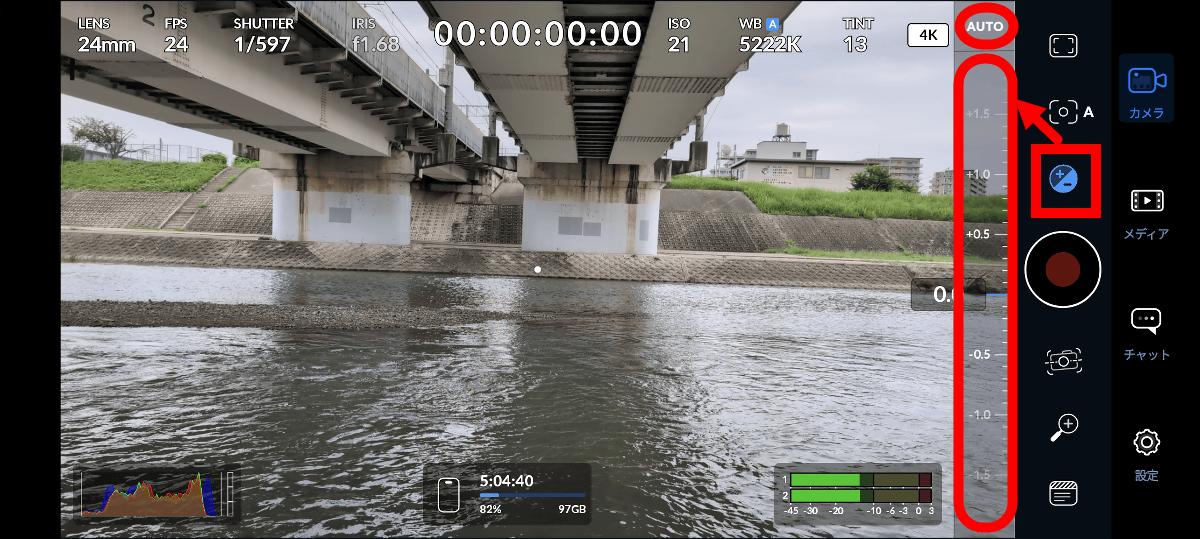
You can adjust the overall exposure by tapping the exposure button on the right side of the screen, or tap 'AUTO' to automatically adjust the shutter speed and ISO.
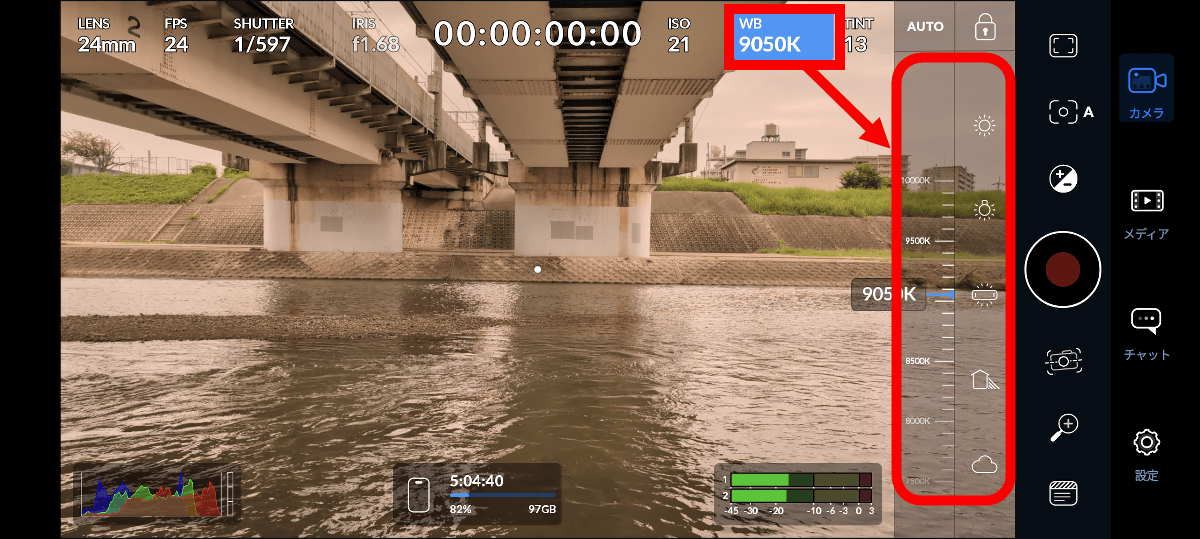
Tap 'WB' to change the color temperature.
Tap 'TINT' to adjust the hue.

◆4: Zebra display and focus peaking are also possible
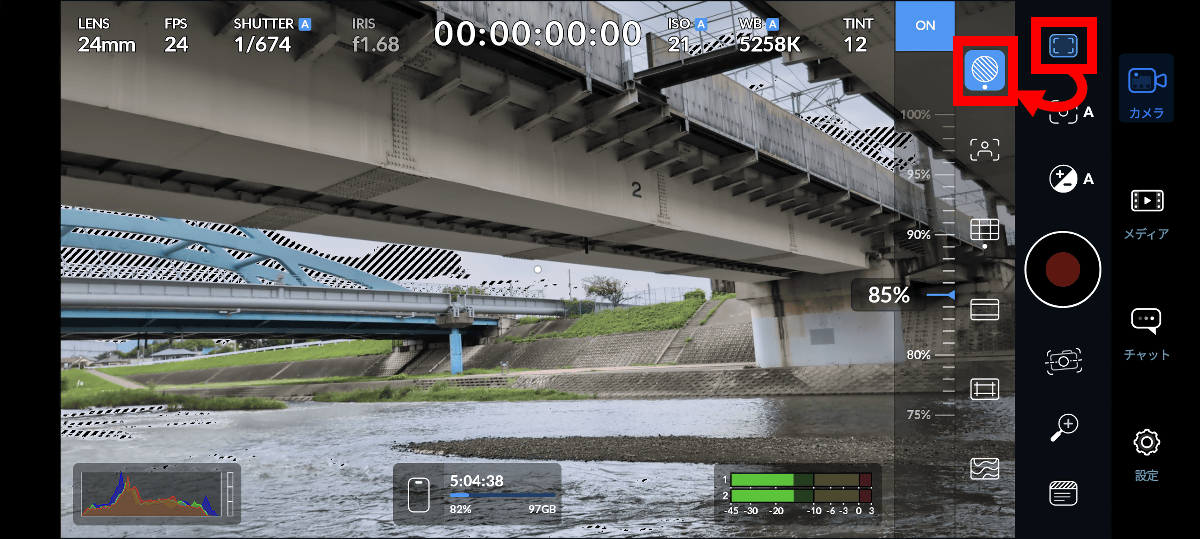
Tapping the button on the top right of the screen will bring up the zebra display and focus peaking menu. Here's what it looks like when the zebra display is enabled. It's useful for quickly checking areas that may be overexposed.
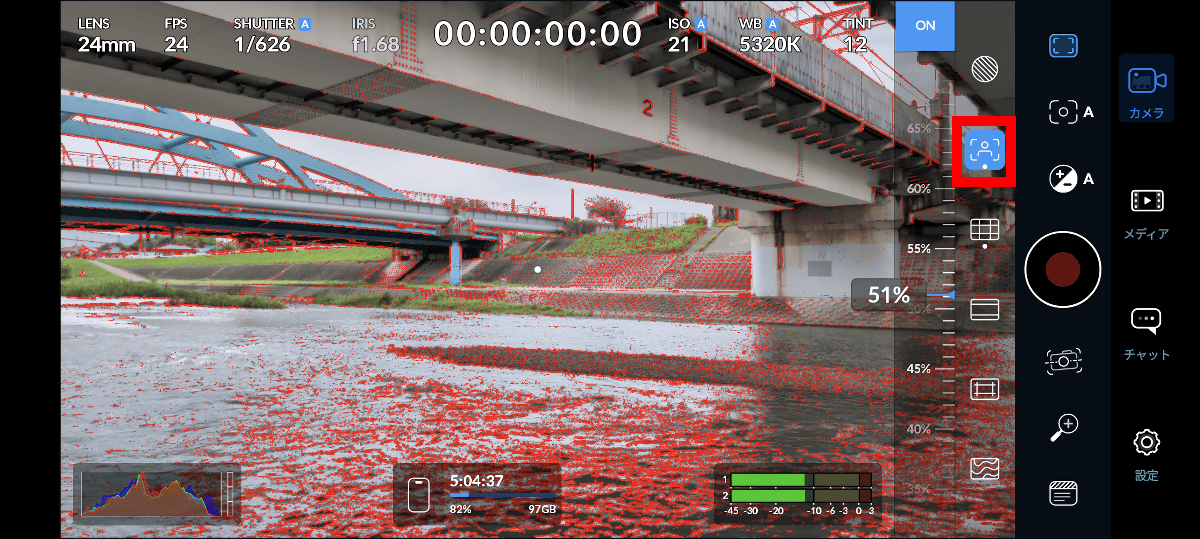
This is what focus peaking looks like.
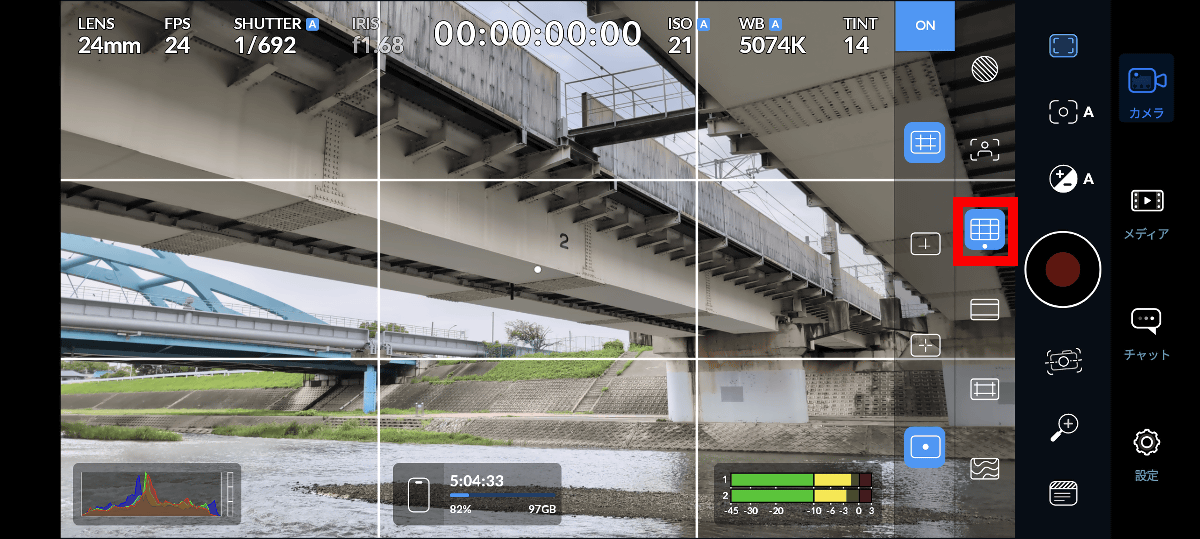
You can also draw grid lines to make it easier to compose your shot.
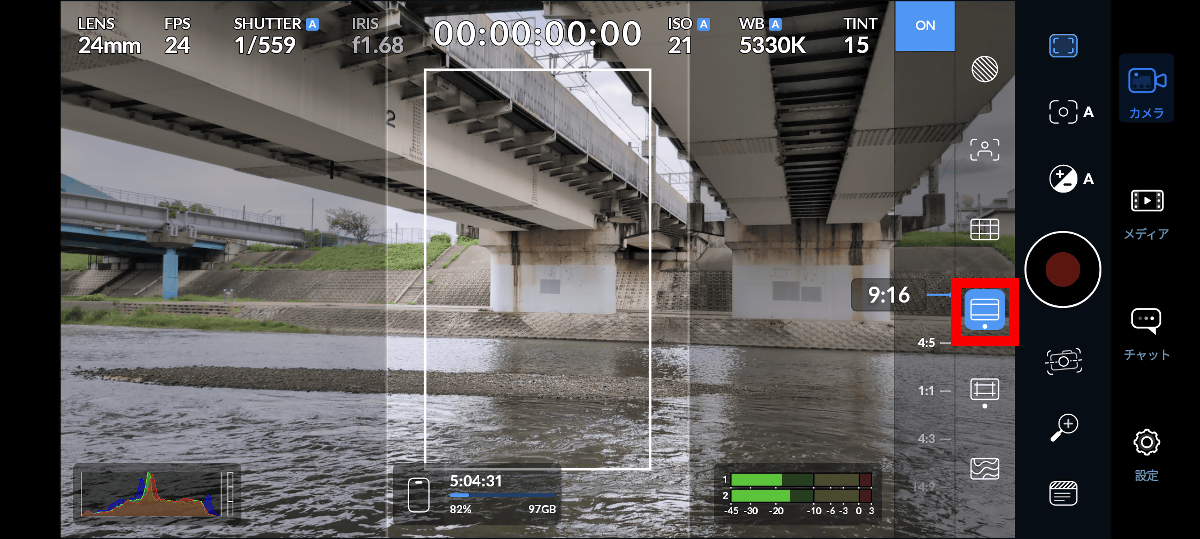
Frame guides such as '9:16' and '1:1' can also be displayed.
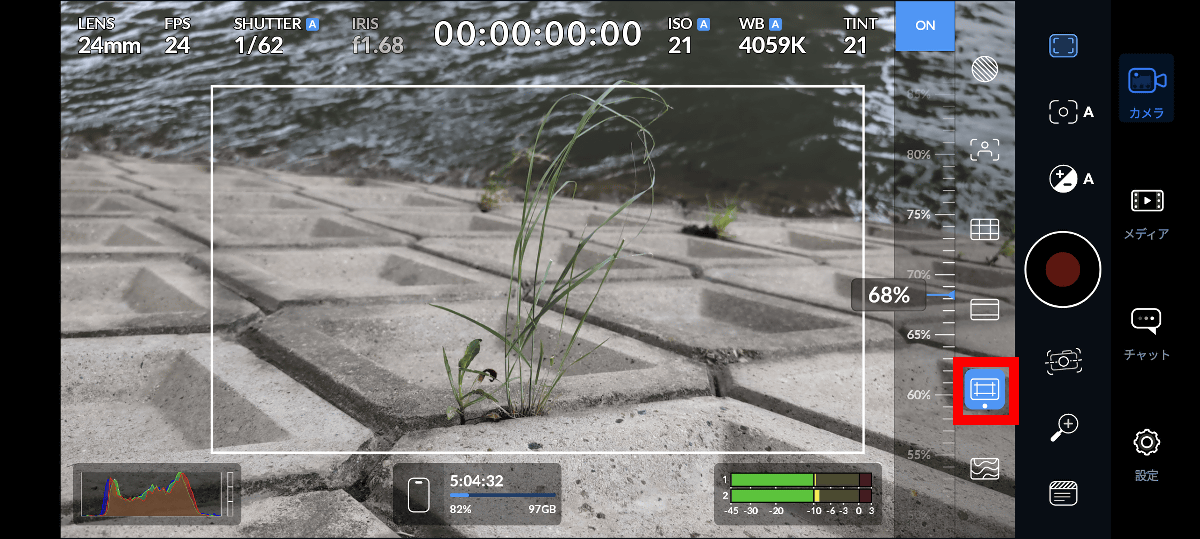
There is also a 'safe area guide' that prevents the subject from being cut off.
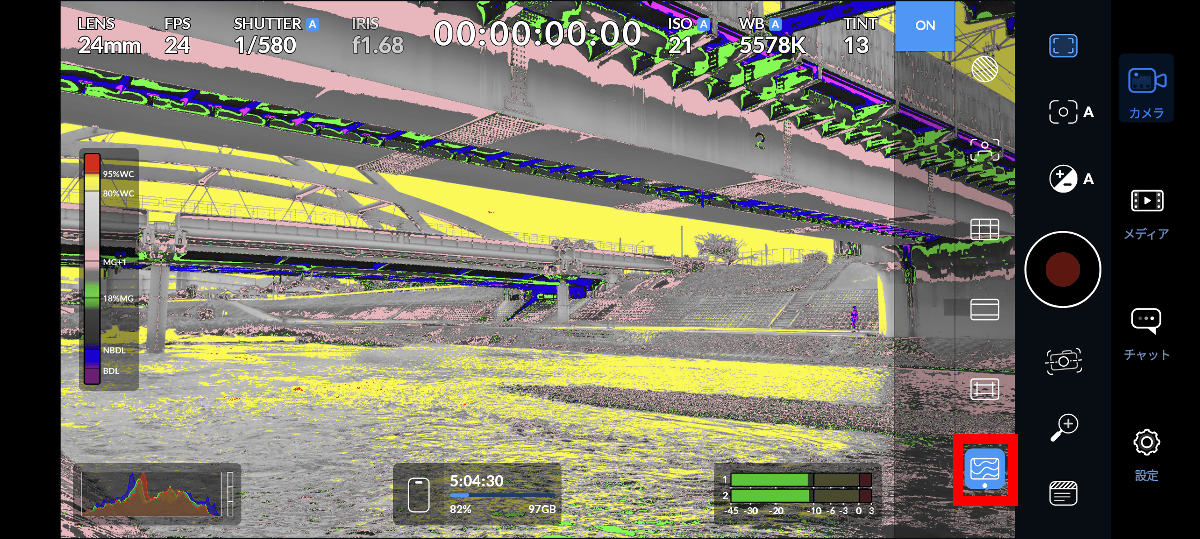
Below is a function called 'false color,' which allows you to color-code the area within the frame according to its brightness.
◆5: Other useful features
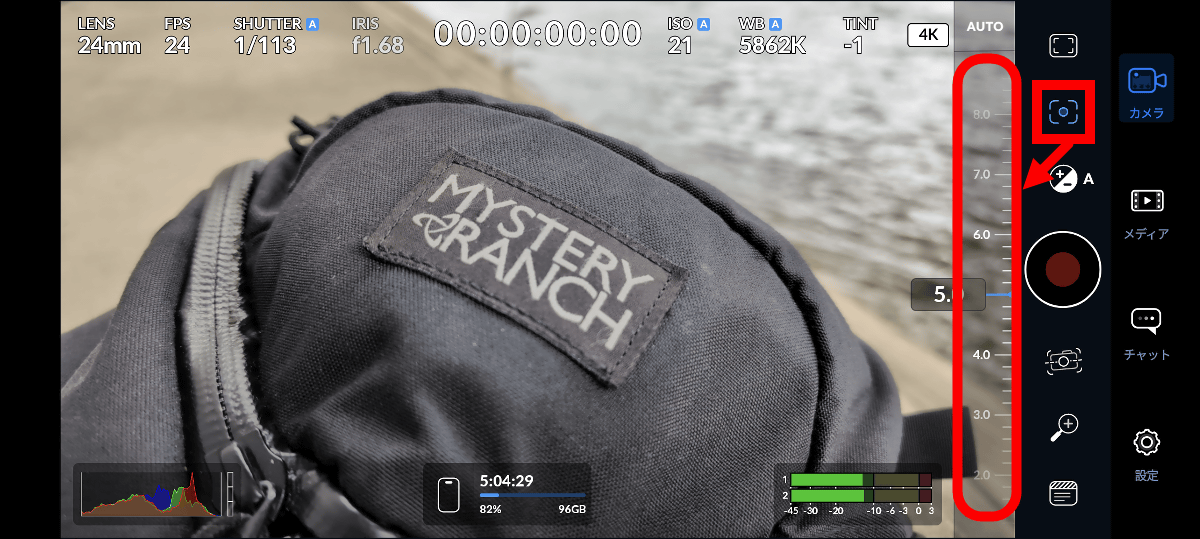
You can manually adjust the focus by tapping the button surrounded by a red frame.
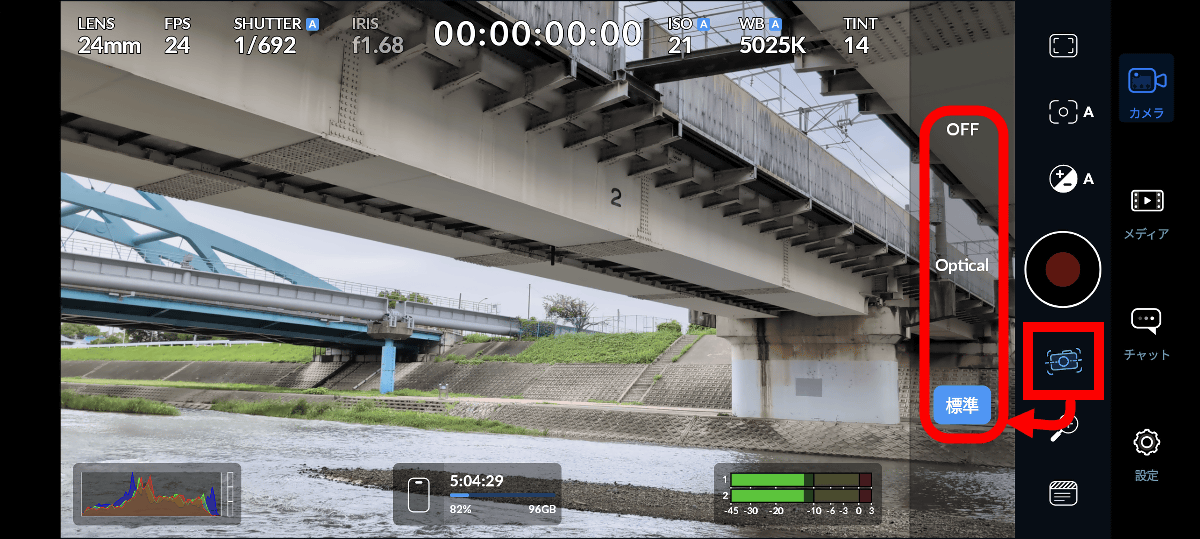
You can enable the image stabilization feature by tapping the button below the start recording button.
You can zoom by tapping the magnifying glass button. The starting point of the zoom depends on the focal length setting. In other words, if you set the focal length to 24mm, the zoom will start with 24mm as 1x, and if you set the focal length to 110mm, the zoom will start with 110mm as 1x.

When you tap the button surrounded by a red frame,
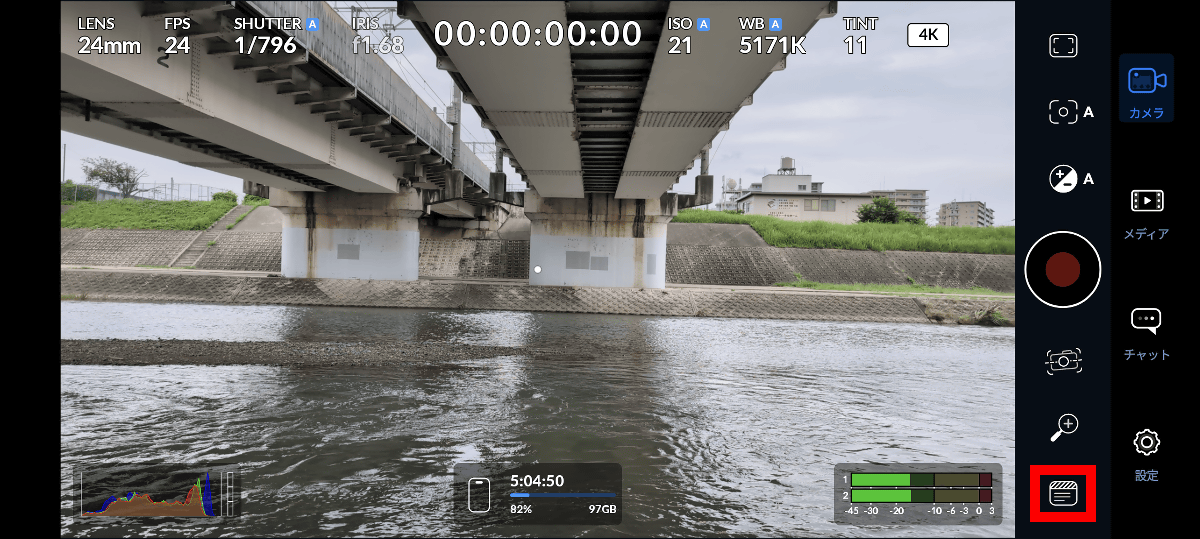
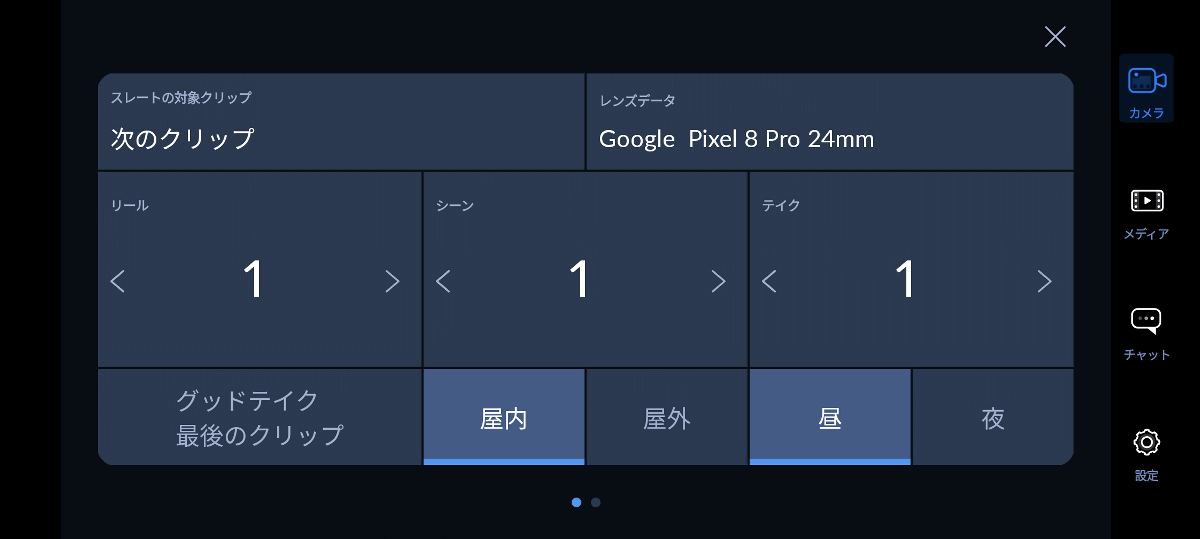
The clapperboard screen looks like this.
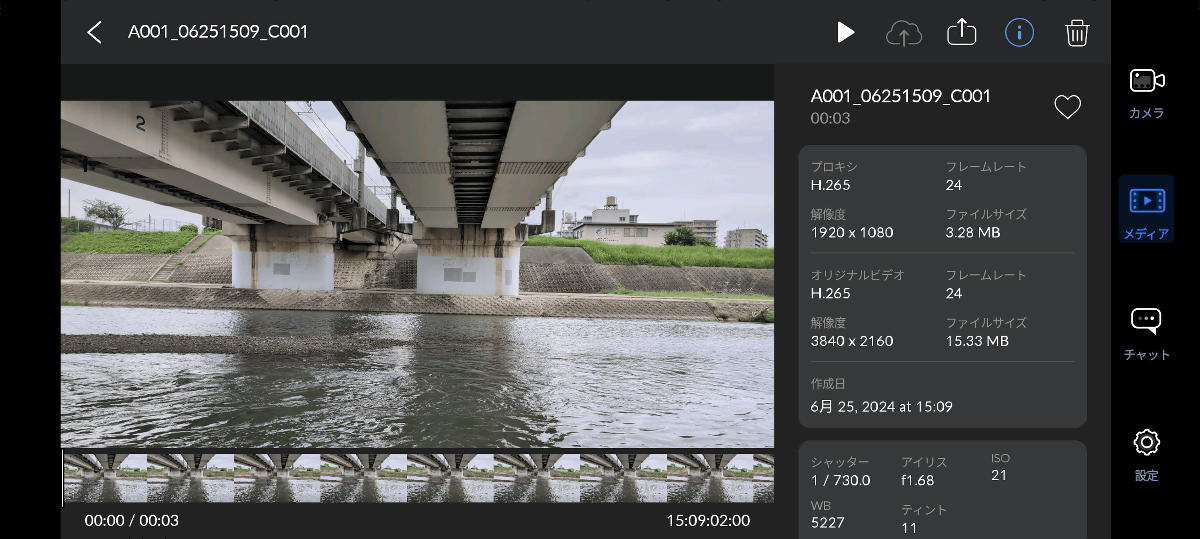
Tap 'Media' to display a list of movies shot with the Blackmagic Camera.
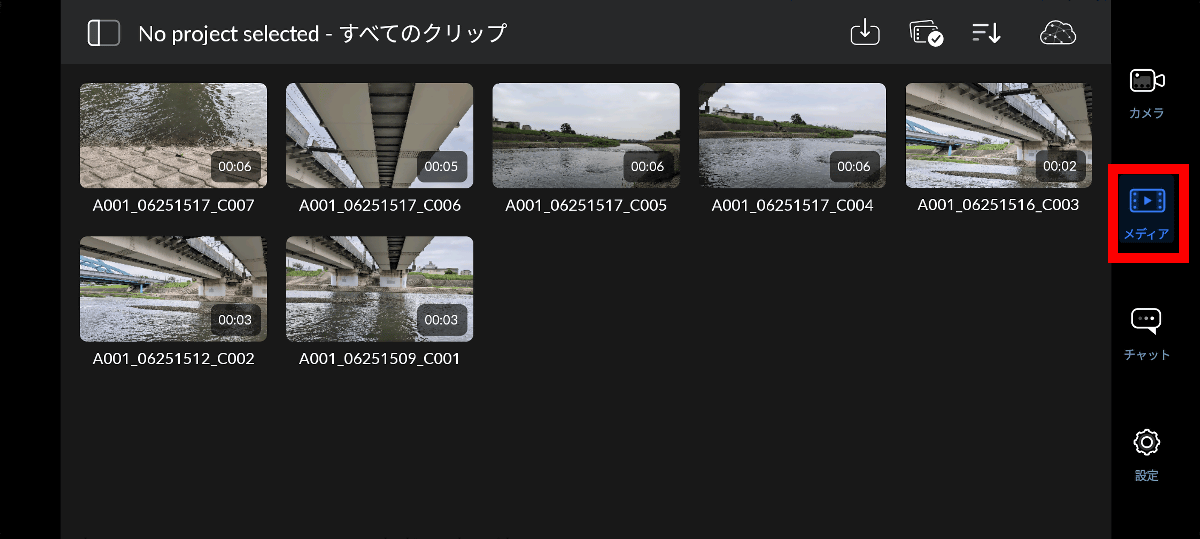
On the playback screen for each movie, you can also check information such as frame rate and resolution.
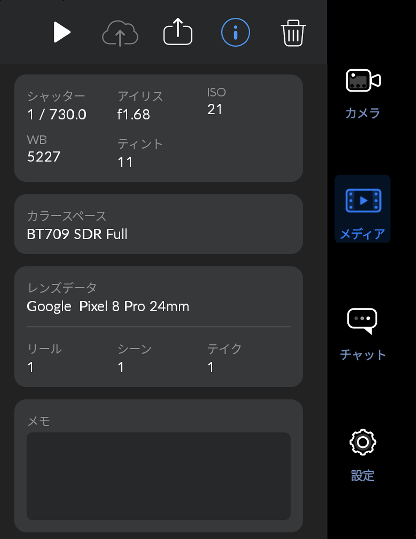
In addition to checking settings such as shutter speed and ISO, you can also check the number of takes recorded with the clapperboard.
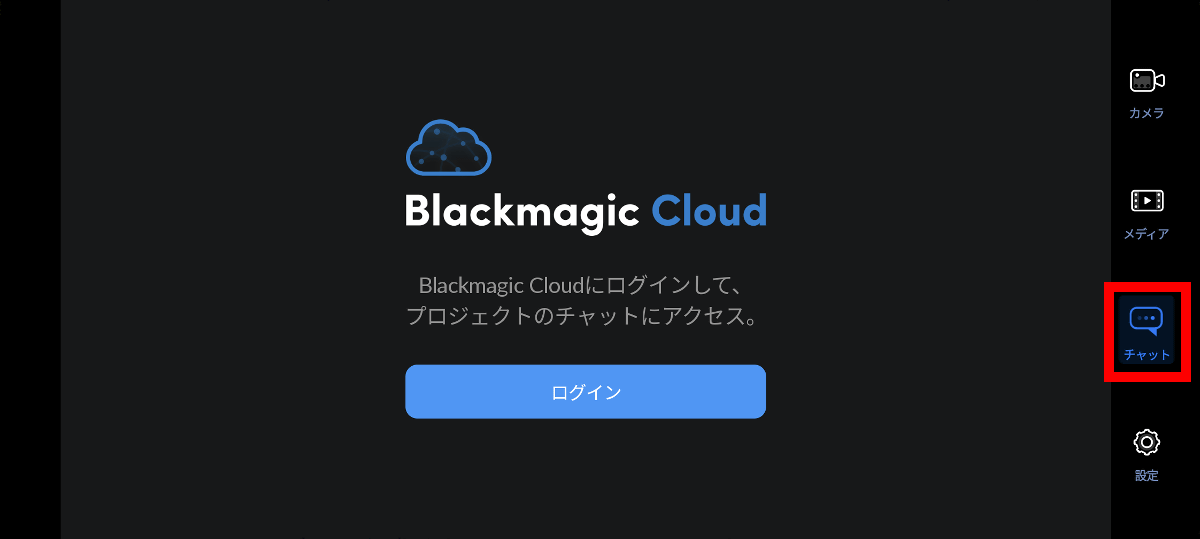
In the 'Chat' section, you can chat with project members by logging in to Blackmagic Cloud.
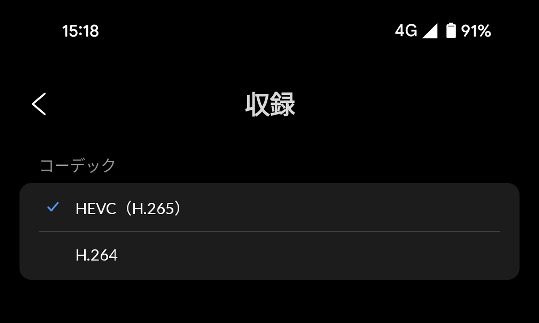
The settings screen allows you to fine-tune the video codec, resolution, etc.
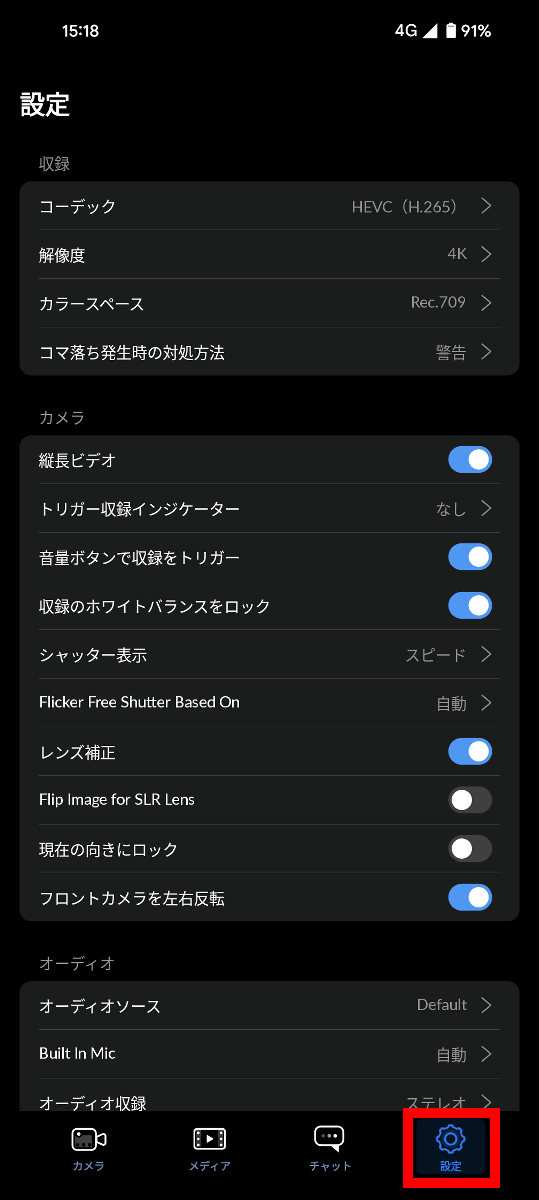
The codec setting screen looks like this. You can choose the codec from either 'HEVC (H.265)' or 'H.264'.
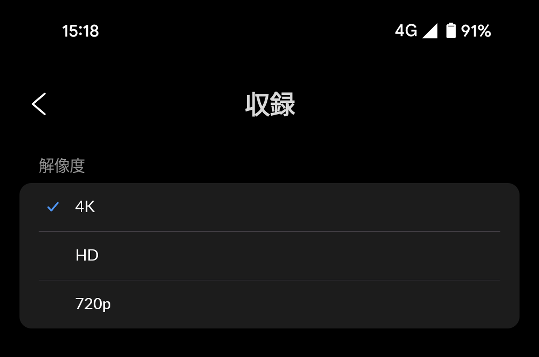
Resolutions can be selected from '4K', 'HD', and '720p'.
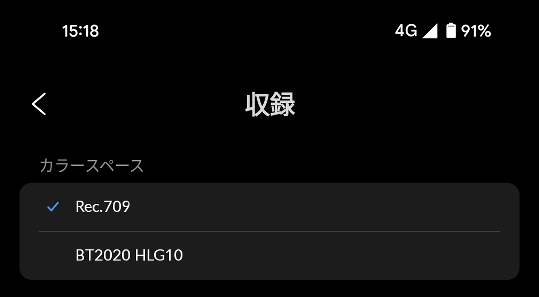
You can choose the color space from 'Rec.709' or 'BT2020 HLG10'.
◆6: Summary
Many Android smartphones come with a standard camera app with a simple screen, and you need to open a menu to set the exposure and white balance. With Blackmagic Camera, you can display settings such as exposure and white balance on the screen, and you can easily adjust various settings. On the other hand, there are no filters that allow you to easily change the style of the image, and video editing is left to other apps such as DaVinci Resolve on the PC, so it is not suitable for purposes such as 'I want to quickly shoot a video with an atmosphere.' For this reason, Blackmagic Camera is a recommended camera app for advanced users who want to prepare an editing environment and then fine-tune various settings.
◆ Forum is currently open
A forum related to this article has been set up on the official GIGAZINE Discord server . Anyone can post freely, so please feel free to comment! If you do not have a Discord account, please refer to the account creation procedure article to create an account!
• Discord | 'How often do you shoot videos with your smartphone? What do you shoot?' | GIGAZINE
https://discord.com/channels/1037961069903216680/1255451371558142025
Related Posts:

in Video, Software, Smartphone, Review, Posted by log1o_hf