Review of 'OpenVINO AI Plugins for GIMP', an OpenVINO plugin that enables image generation AI in GIMP and processing on NPU

A
GitHub - intel/openvino-ai-plugins-gimp: GIMP AI plugins with OpenVINO Backend
https://github.com/intel/openvino-ai-plugins-gimp/tree/main
Table of Contents
1: How to install
2: How to use
◆1: How to install
The prerequisites for use are an Intel Core Ultra and 16GB or more of memory. It can be installed on Windows and Linux, and this time we will install it on Windows by following the document below.
openvino-ai-plugins-gimp/Docs/user_guide_for_windows_users.md at main · intel/openvino-ai-plugins-gimp · GitHub
https://github.com/intel/openvino-ai-plugins-gimp/blob/main/Docs/user_guide_for_windows_users.md
First, download Python 3.9.13 (EXE file) from this link . The recommended version is Python 3.9 or Python 3.10, so if you already have these installed, you can skip this step. The documentation has a link to 'link'.

Run the downloaded file.

Check 'Add Python 3.9 to PATH' and click 'Install Now'.
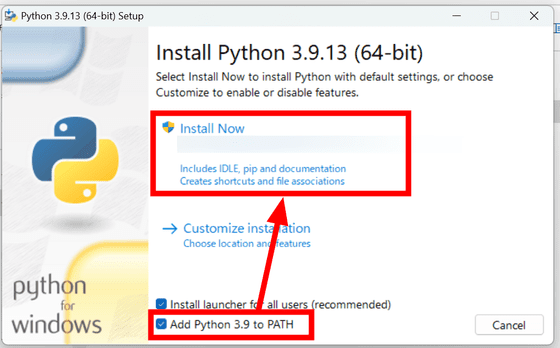
When you're done, click 'Close.'

Next, download Git (the EXE file) from this link .

Run the downloaded file.
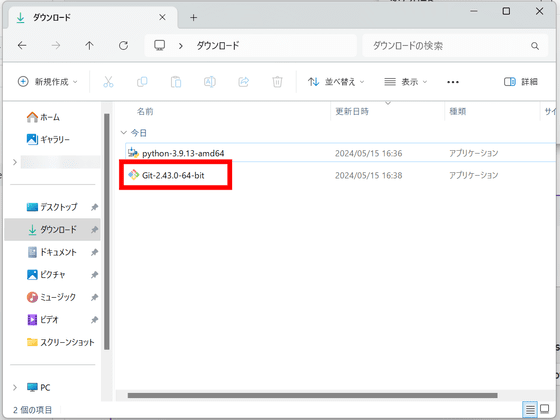
When the setup wizard appears, click 'Next'.
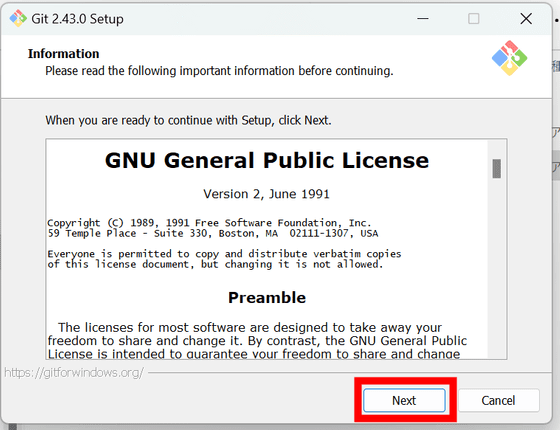
Click “Next”.

'Next'

'Next'

'Next'

'Next'
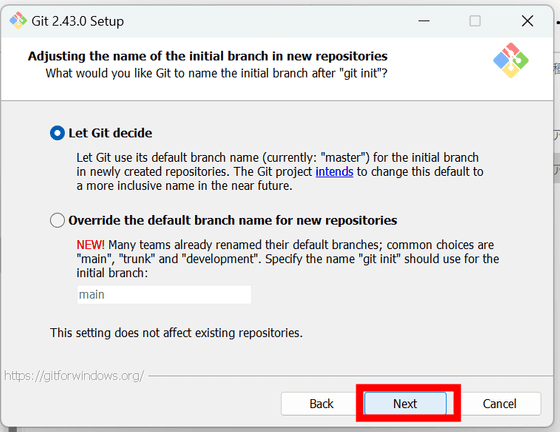
'Next'
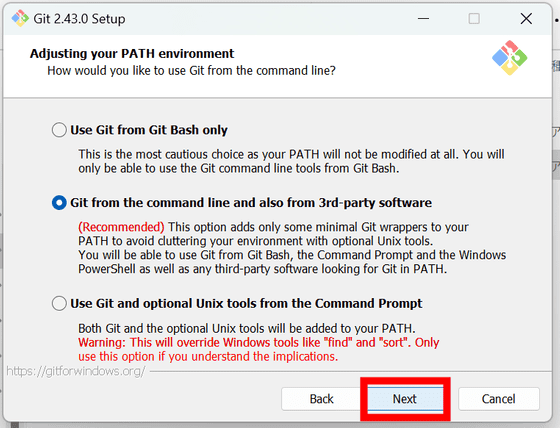
'Next'
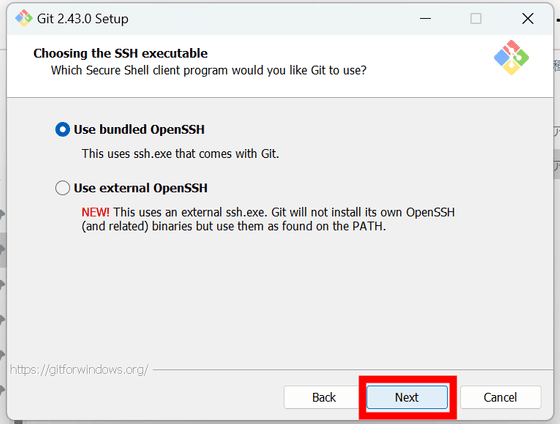
'Next'
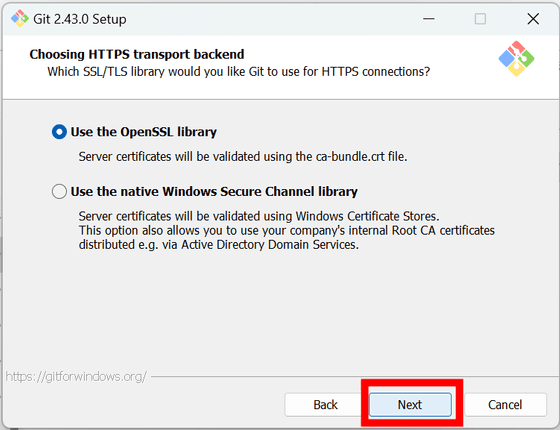
'Next'
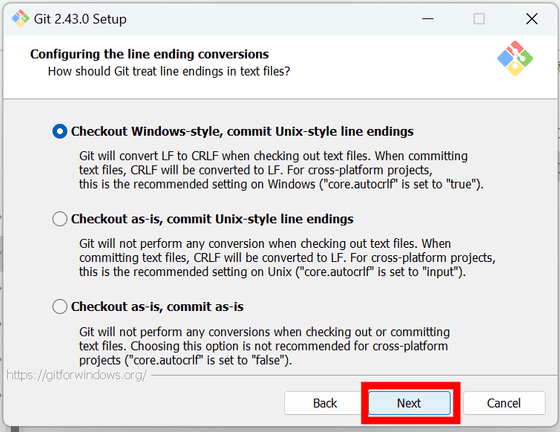
'Next'
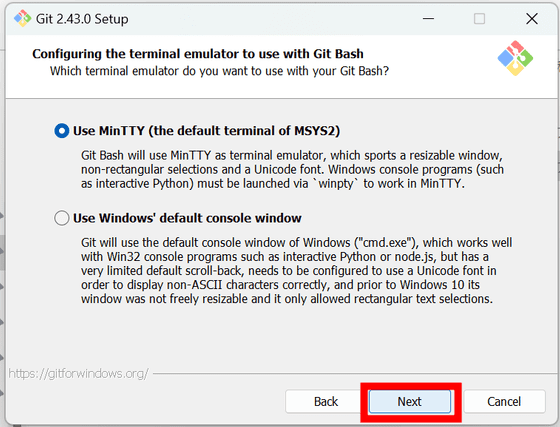
'Next'

'Next'
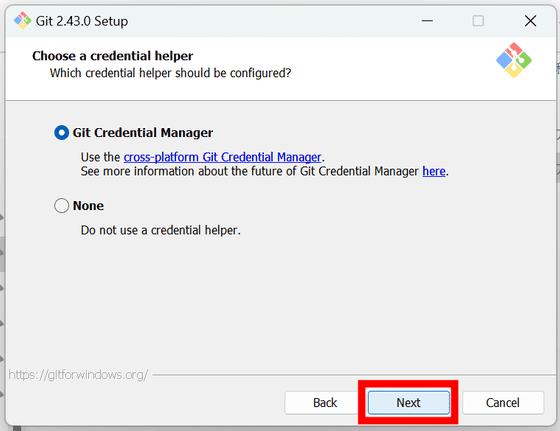
'Next'
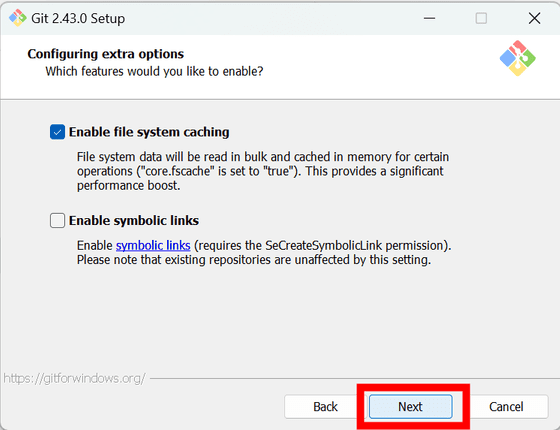
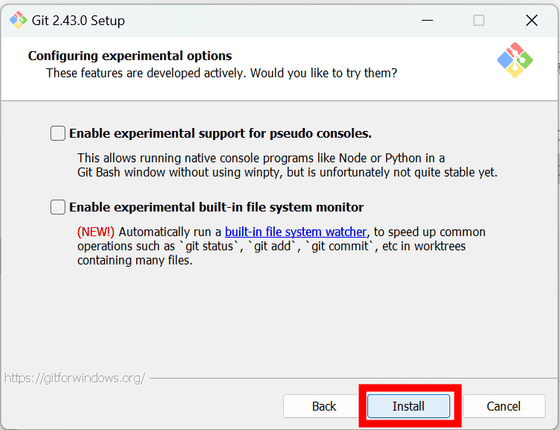
'Install'
Uncheck 'View Release Notes' and click 'Finish'.

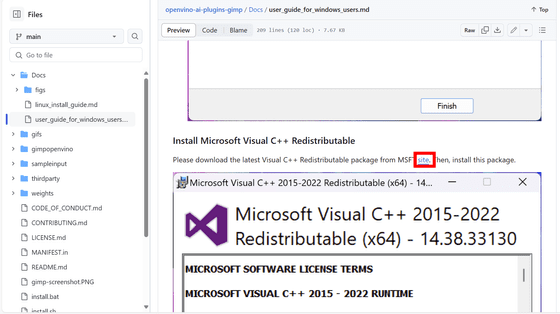
Next, download the Microsoft Visual C++ Redistributable (EXE file) from
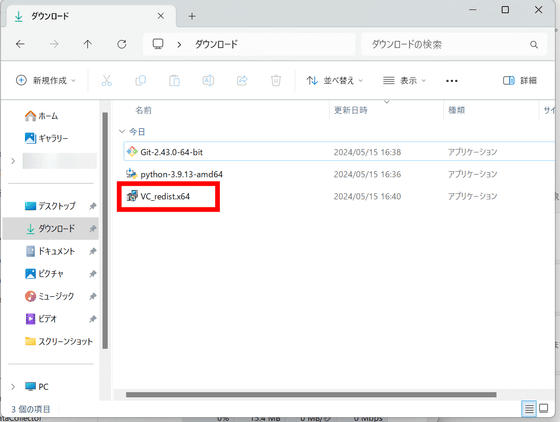
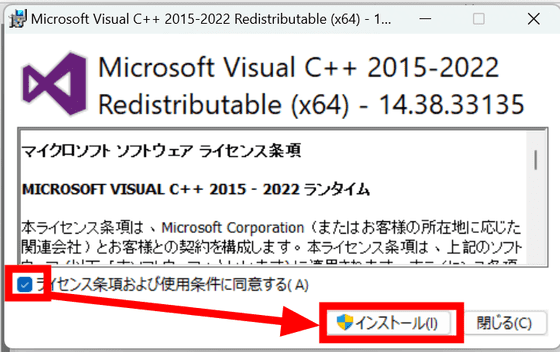
Run the downloaded file.
Check 'I accept the license terms and conditions' and click 'Install'.
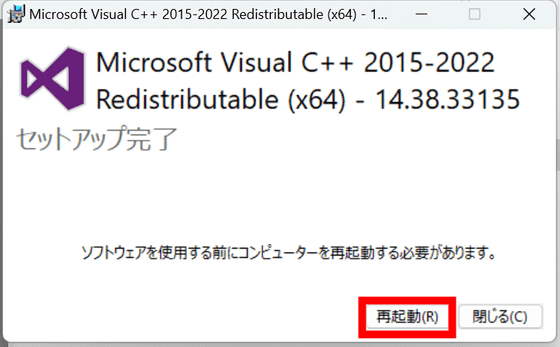
Click Restart to restart your PC.
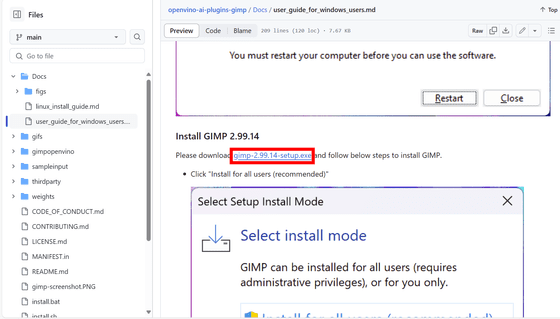
Next, download GIMP 2.99.14 (EXE file) from
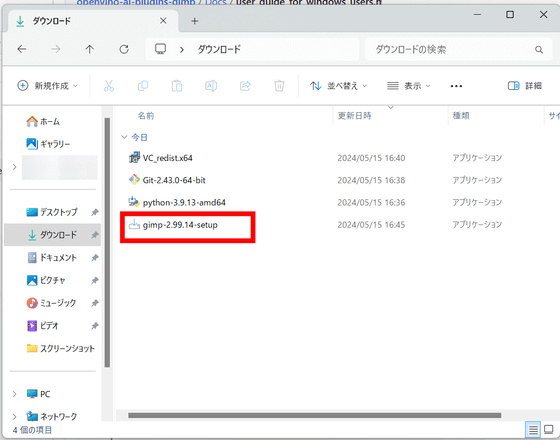
Run the downloaded file.
Click 'Install for all users.'

Click “OK”.

Click “Continue”.
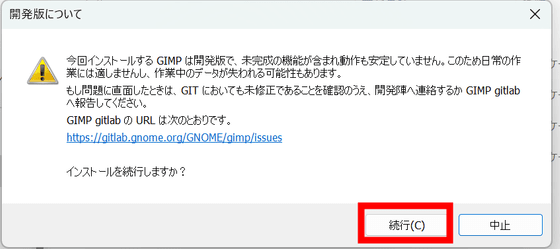
Click 'Install'.

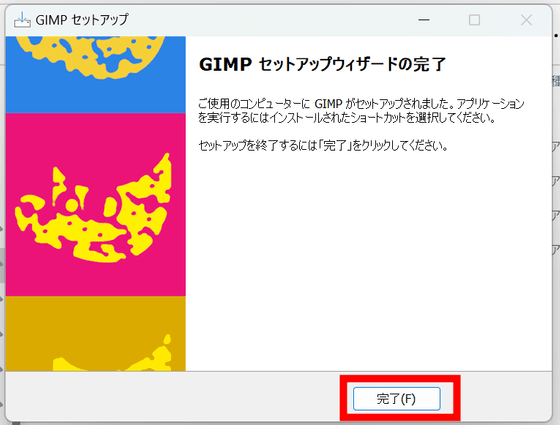
Click Finish.
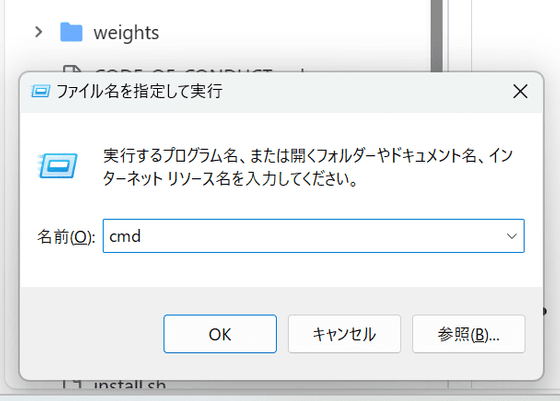
Press Ctrl+R to open 'Run', then type 'cmd' and click OK to open the command prompt.
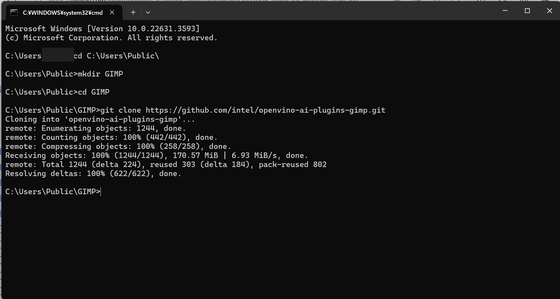
Run the following command to download the required packages. You can change 'C:\Users\Public\' to your desired download location.
[code]cd C:\Users\Public\
mkdir GIMP
cd GIMP
git clone https://github.com/intel/openvino-ai-plugins-gimp.git[/code]
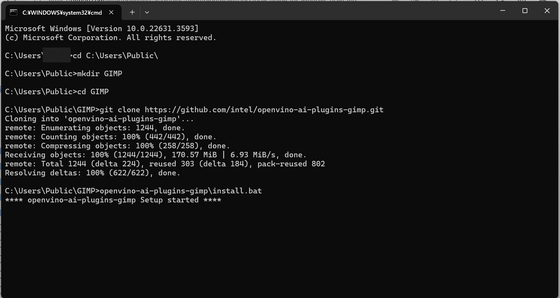
Once you have executed all the commands you should see something like this:
Next, enter and execute the following command:
[code]openvino-ai-plugins-gimp\install.bat[/code]
Various things will be displayed so please wait for a while.
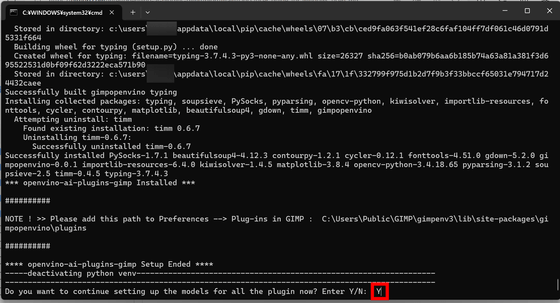
When asked 'Do you want to continue setting up the models for all the plugin now?', enter 'Y' and press the Enter key. Wait again.
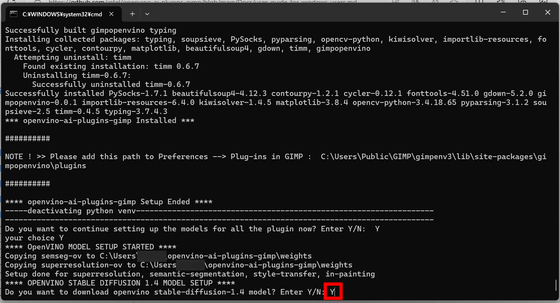
Next, you will be asked 'Do you want to download openvino stable-diffusion-1.4 model?' Enter 'Y' here as well and enter.
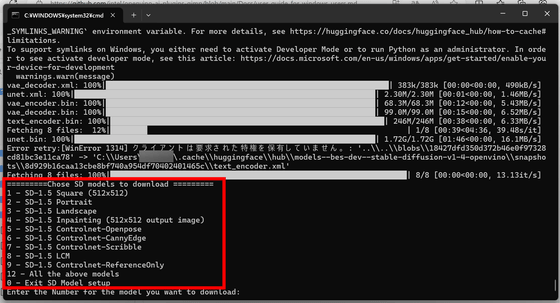
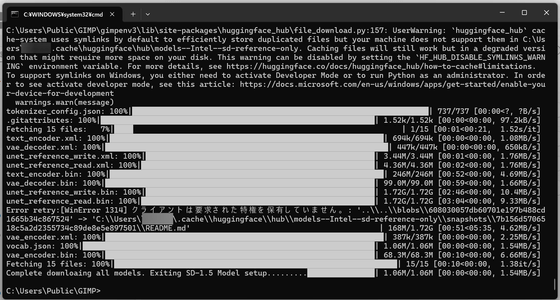
Next, you will be asked to select the model you want to download. Basically, enter '1' and press the Enter key, and when the download is complete and the following screen appears again, press '0' to proceed. This time, I entered '12' because I wanted to download all the models displayed, but it took about an hour to complete the download. If you only select '1', it will take about 10 minutes.
Once all the processes are completed, you can close the command prompt.
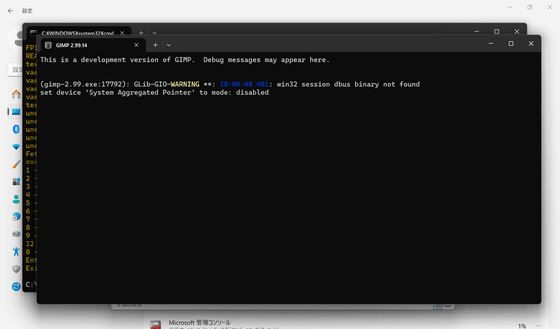
Next, start GIMP. When starting up, the following dialog will be displayed.
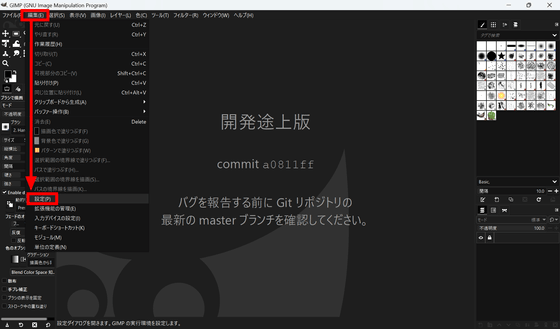
Once launched, go to 'Edit' and then 'Preferences'.
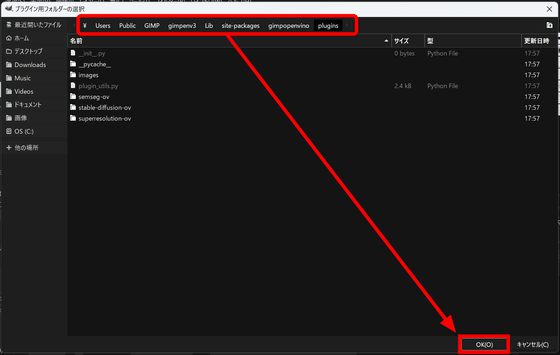
Click 'Plugins' under 'Folders' in the left tab, click the folder icon with a + sign, and then click the icon showing the folder contents.
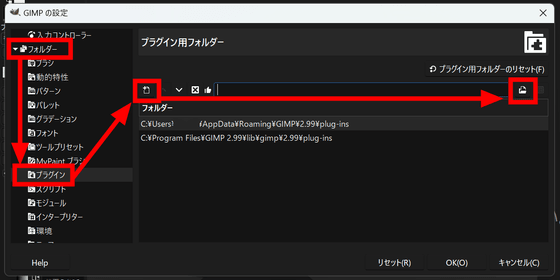
Specify 'C:\Users\Public\GIMP\gimpenv3\lib\site-packages\gimpopenvino\plugins' and click 'OK'.
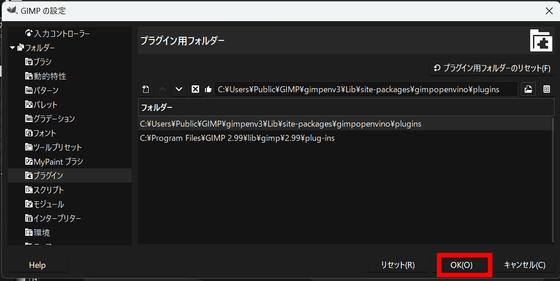
Click “OK” and restart GIMP.
◆2: How to use
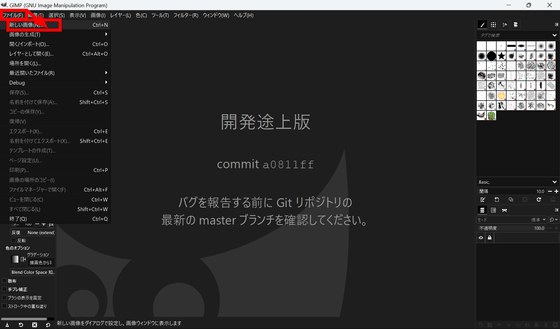
From the File menu, select New Image.
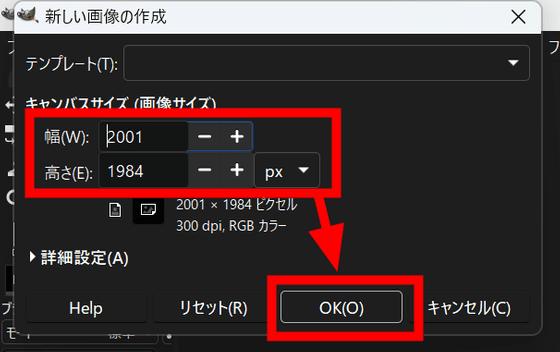
Decide the width and height as you like and click 'OK'. A pure white image will be created.
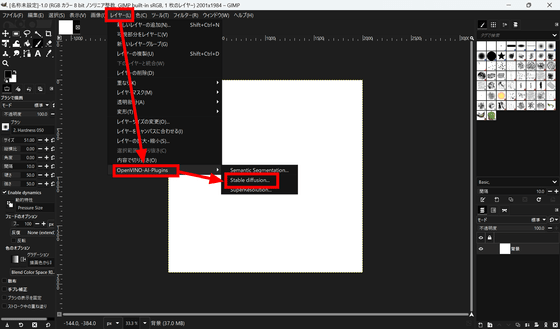
Next, go to 'Layer' and hover over 'OpenVINO-AI-Plugins' and click 'Stable diffusion.'
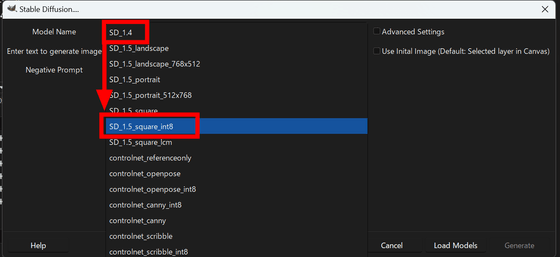
Next, select the model. Anything is fine, but the default is 'SD1.5_square_int8'.
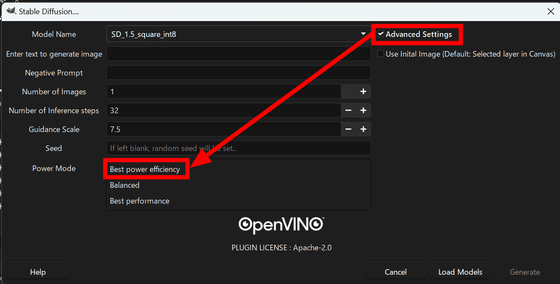
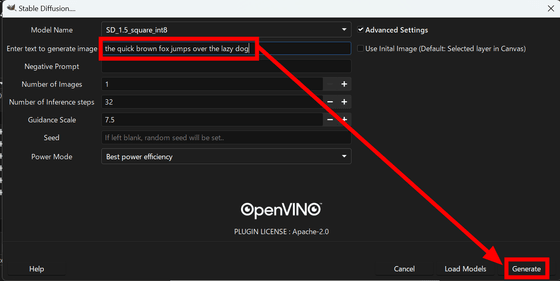
Check 'Advanced Settings' and select 'Best Power Efficiency' or 'Balanced' from 'Power Mode' if you want to use the NPU for inference. This time, select 'Best Power Efficiency'.
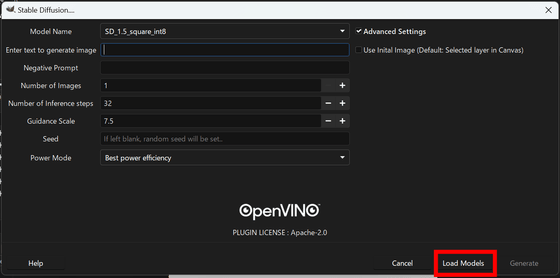
Click 'Load Models' and wait a while.
Once the model has finished loading, enter the prompt in English in 'Enter text to generate image' and click 'Generate'.
Wait a moment and the image will be generated.
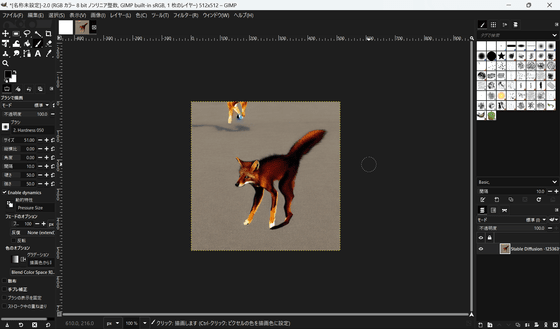
Other images generated this time are as follows:

The NPU was working properly during the processing.
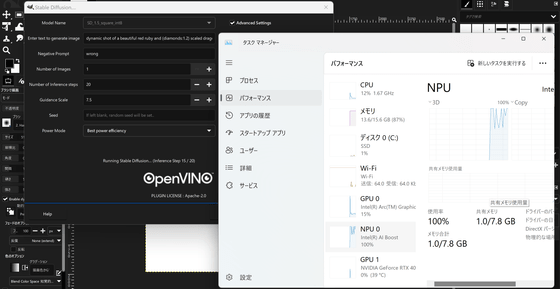
However, it is not the case that the NPU is faster; in the model we tested, processing was faster when using Intel Arc Graphics.
Comparison of image generation speed of Stable Diffusion plug-in for GIMP using 'Intel Arc Graphics' (left) and 'Intel Core Ultra 7 155H' (right) - YouTube
Related Posts:
