I tried using a chat AI 'PrivateGPT' that works completely offline and protects privacy

Chat AI is useful because it can summarize long sentences, search multiple sources of information at once and assemble an appropriate response, but high-performance chat AI is basically only available online. Since it cannot be used, there is a risk of information leakage. ' PrivateGPT ' is a chat AI that emphasizes privacy as its name suggests. Not only can it be used completely offline, but it is also possible to read various documents and answer them, so I actually tried using it and tried it.
Private GPT
imartinez/privateGPT: Interact privately with your documents using the power of GPT, 100% privately, no data leaks
https://github.com/imartinez/privateGPT
Before using PrivateGPT, we will configure various environment settings. First, download the ' Git Installer '. Once downloaded, double-click the installer to start it and proceed with the installation without changing any settings.
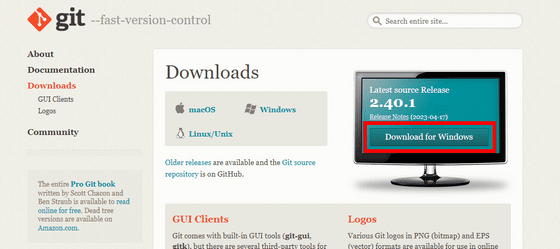
Next, go to
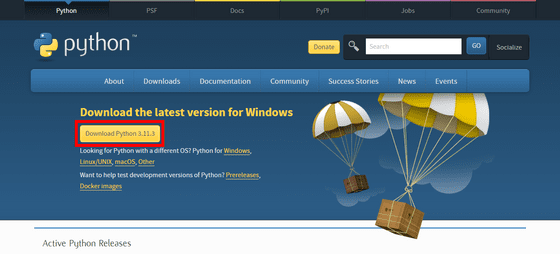
Check 'Add python.exe to PATH' and click 'Install Now'. Other settings are OK if you proceed with the installation with the default settings.
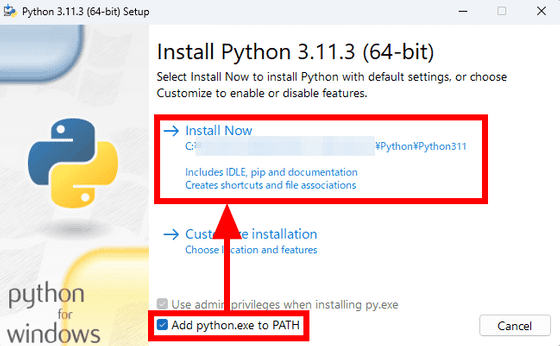
Furthermore, go to

Proceed with the installation without changing any settings, and when the following 'Workload' screen appears, check 'Universal Windows Platform Development'.
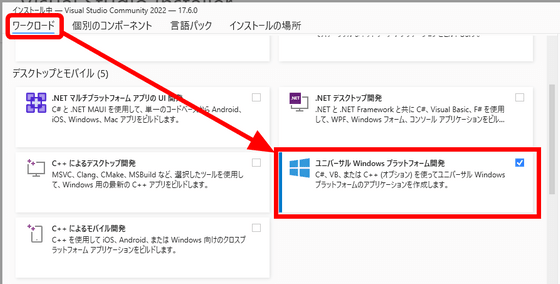
Click 'Individual Components' to switch tabs, enter 'cmake' in the search window, and check 'C++ CMake Tools for Windows' that appears. Click 'Install' in the lower right.
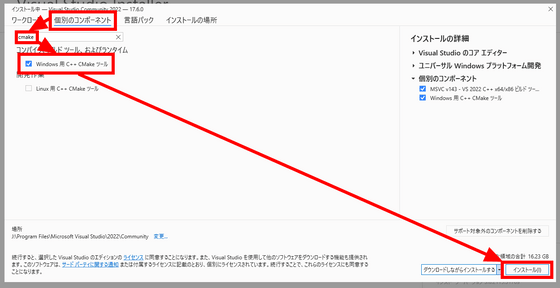
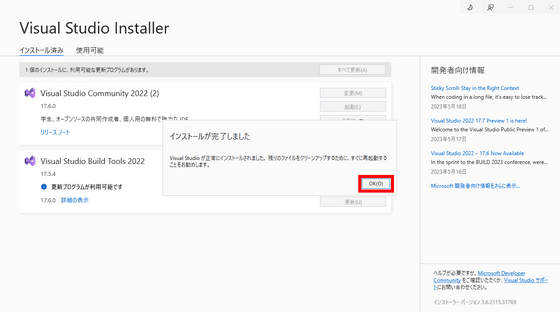
After the installation is complete, you will be asked to restart your PC, so restart your PC.
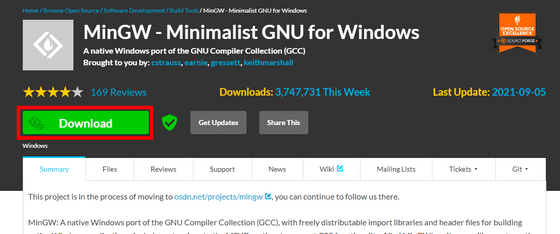
Finally install MinGW.
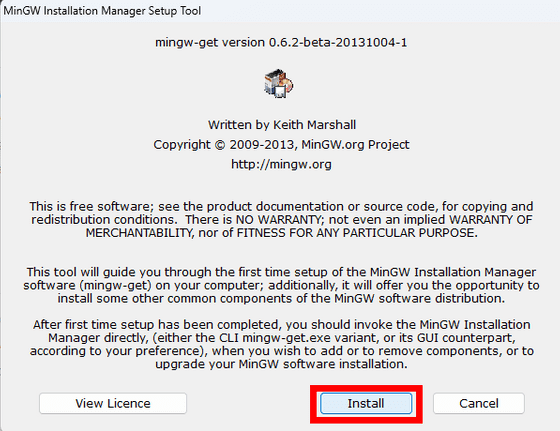
Start the installer and click 'Install'.
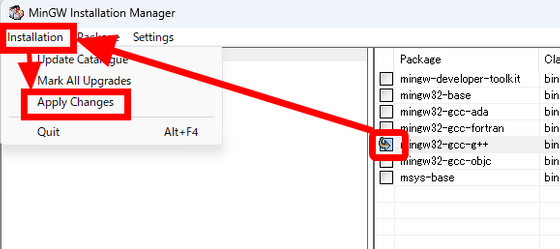
'MinGW Installation Manager' will be installed and started. 'Basic Setup' should be selected, so click the 'mingw32-gcc-g++' checkbox on the right screen and click 'Mark for Installation'.

Confirm that the check box has an arrow mark and click 'Apply Changes' in the 'Installation' menu.
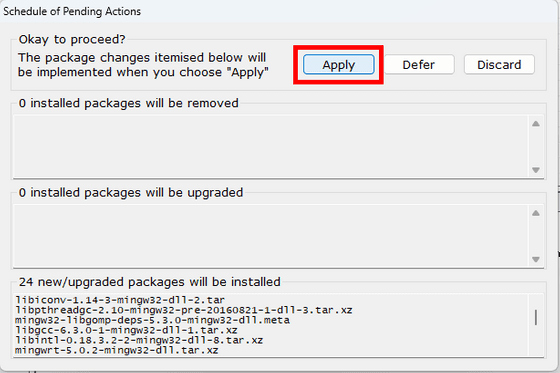
A confirmation screen will be displayed, so click 'Apply'.
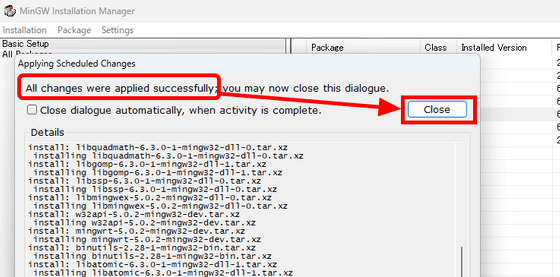
Installation is complete when 'All changes were applied successfully' is displayed. Click 'Close' to close the screen.
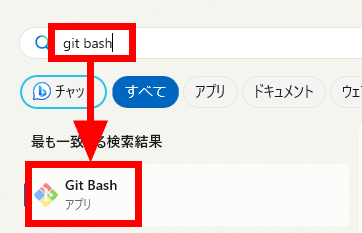
This completes the environment construction. Since 'Git Bash' is installed at the same time when Git is installed, start it from the start menu.
Enter the following command in Git Bash to download privateGPT.
[code]git clone https://github.com/imartinez/privateGPT.git
cd privateGPT[/code]
Also, download the necessary libraries with the following command.
[code]pip install -r requirements.txt[/code]
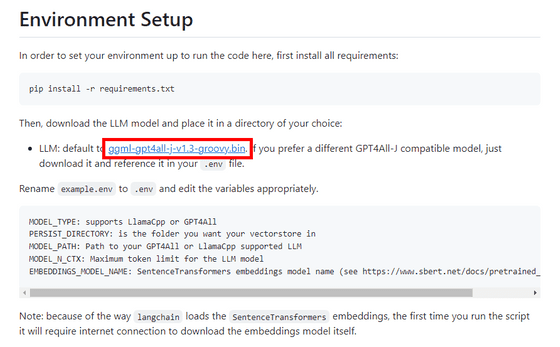
Next, prepare the language model. Any model compatible with GPT4All-J is OK, but this time I downloaded `
Enter the command below to open the privateGPT folder in Explorer.
[code]explorer .[/code]
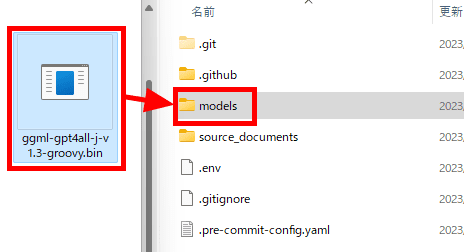
Create a new folder inside the 'privateGPT' folder, rename it to 'models', and move the downloaded model into the models folder.
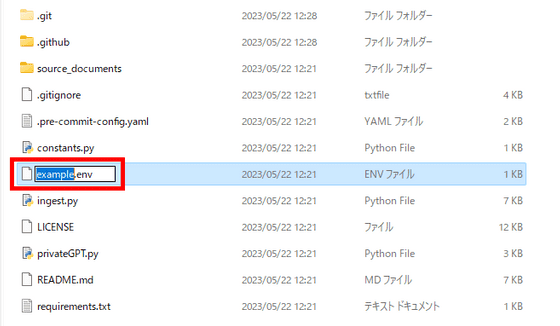
Furthermore, rename 'example.env' to '.env'.
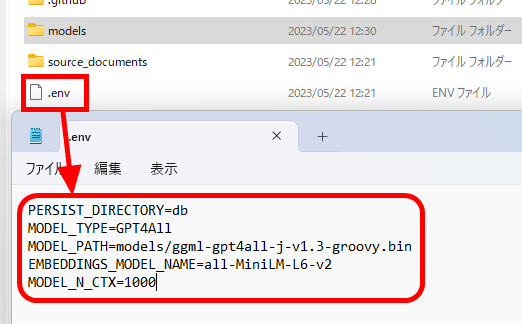
The contents of the '.env' file look like this. If you want to use another model or change the upper limit of tokens, you need to change the description of this '.env' file. I will not change anything this time, so leave it as is.
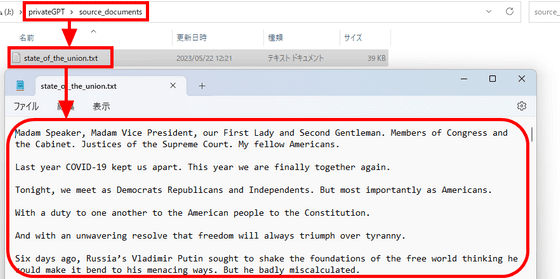
Also, save the documents you want the chat AI to read in 'source_documents'. 'state_of_the_union.txt', which is included from the beginning, is President Biden's State of the Union address.
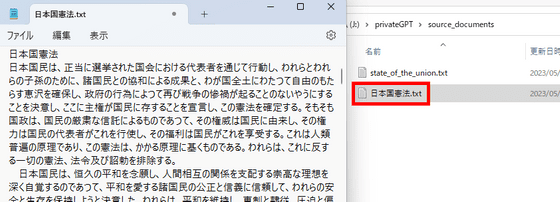
I tried to save the Constitution of Japan additionally.
It is possible to make AI read the document with the following command.
[code]python ingest.py[/code]
After a while, 'Ingestion complete!' Was displayed. Finally all the preparations were completed.

Use the following command to start chat AI.
[code]python privateGPT.py[/code]
Only the first time, necessary files are downloaded. When this download is over, turn off the Internet connection and OK.

At first, I simply asked 'Hello! Who are you?' An answer was generated over about 10 minutes, and a reasonably good answer was returned to the Answer part. However, because the influence of embedding is too strong, the content of the State of the Union address, which is not related to Answer, was attached as an information source.

The resource consumption while generating the answer looks like this. It seems to use 30-40% of the i7-6800K CPU and 8GB-10GB of memory. GPU utilization remained at 0%.

When I asked a question along the contents of the State of the Union speech, it looked like this.
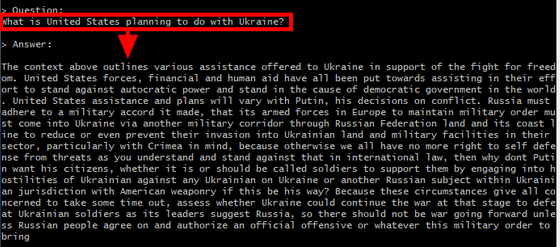
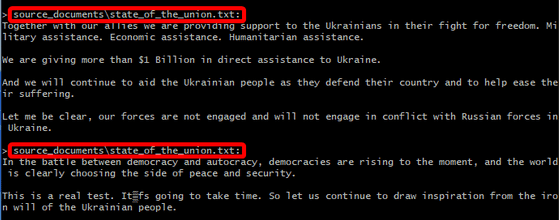
This time, the information source also properly displayed the part along the contents.
I also tried to see if Japanese was available, but unfortunately I got an error.

Related Posts:


