``NMKD Stable Diffusion GUI'' that can install image generation AI ``Stable Diffusion'' in Windows environment with one button & can be operated with GUI is finally here
AI Stable Diffusion , which can generate highly accurate images from input character strings, will be open to the
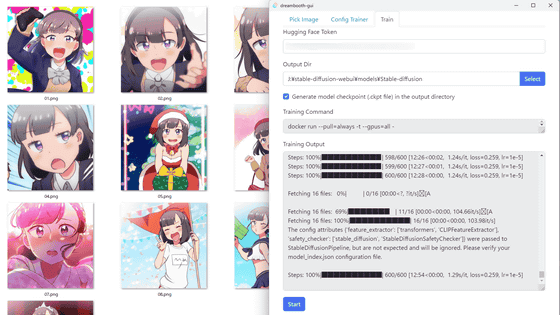
My easy-to-install Windows GUI for Stable Diffusion is ready for a beta release! It supports img2img as well, various samplers, can run multiple scales per image automatically, and more!
https://www.reddit.com/r/StableDiffusion/comments/x1hp4u/my_easytoinstall_windows_gui_for_stable_diffusion/
NMKD Stable Diffusion GUI - AI Image Generator by N00MKRAD
https://nmkd.itch.io/t2i-gui
SD GUI 1.2.0 - Icedrive
https://icedrive.net/s/21xjhaj13kGY499jPvk4taa1ZN9N
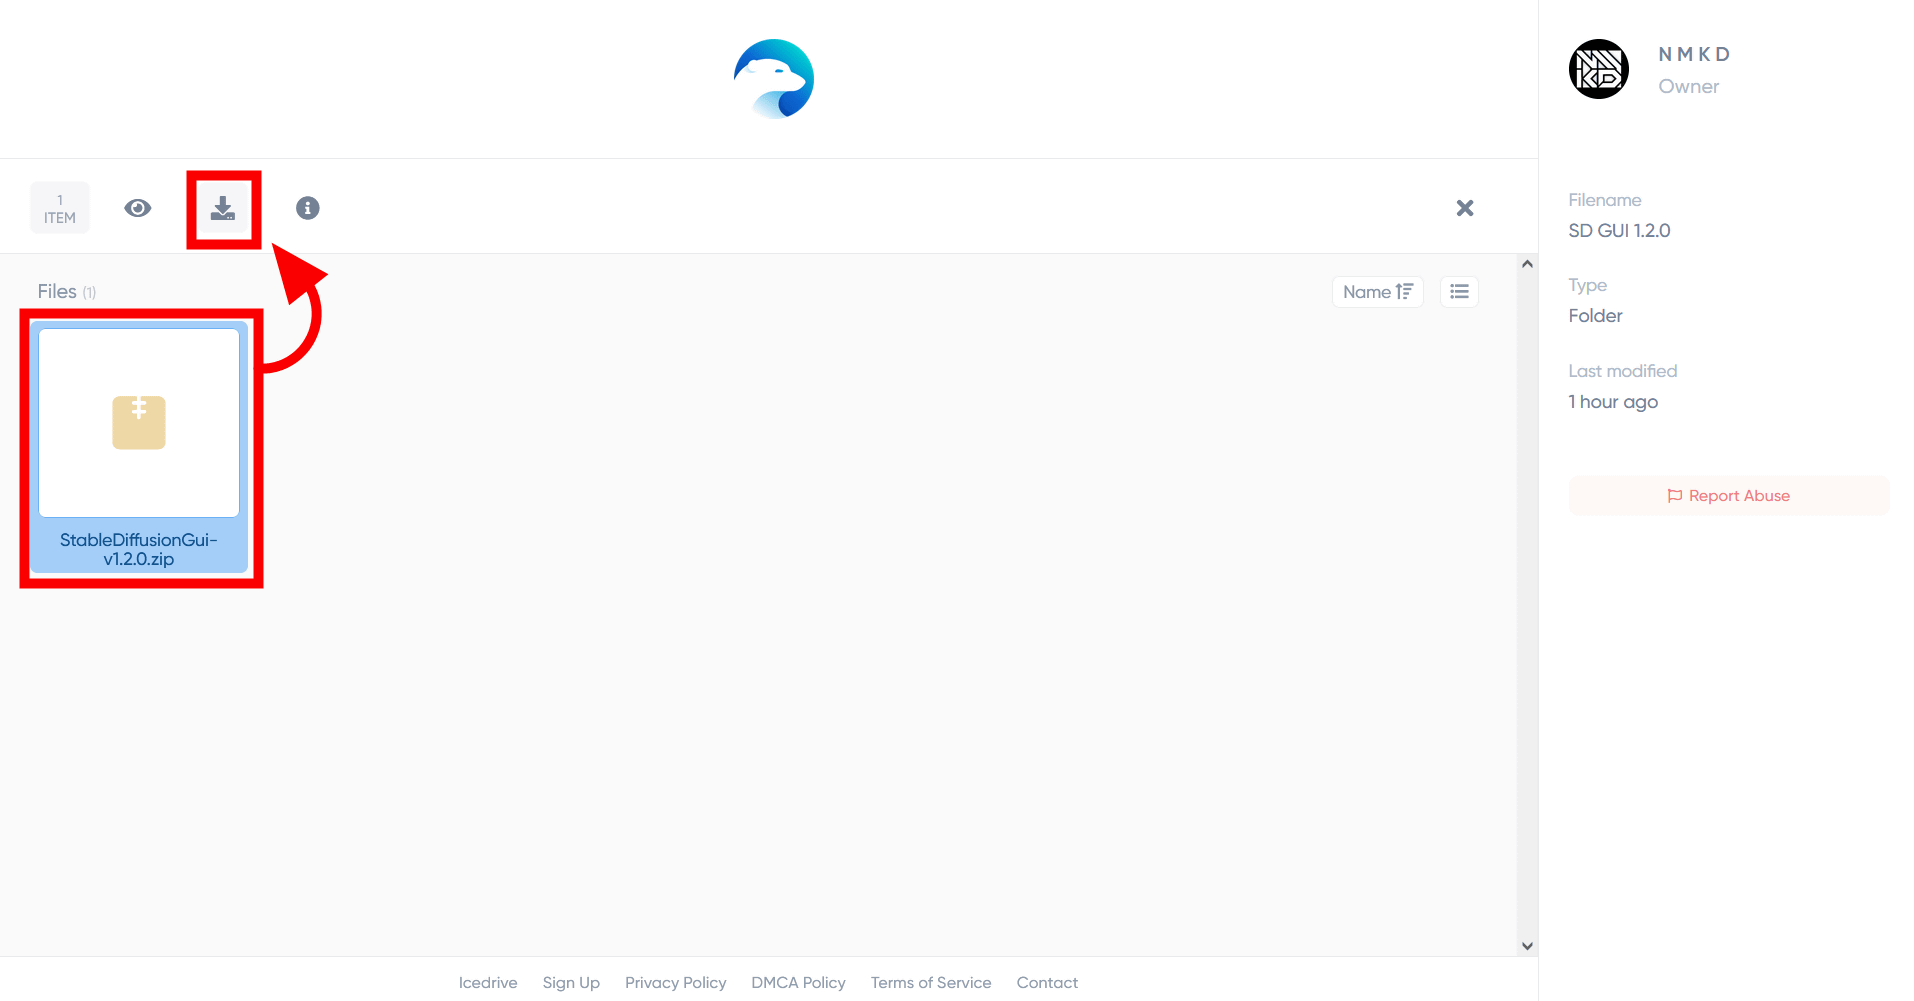
Access the distribution site , select 'StableDiffusionGui-v1.2.0' and click the download icon at the top to download the ZIP file.
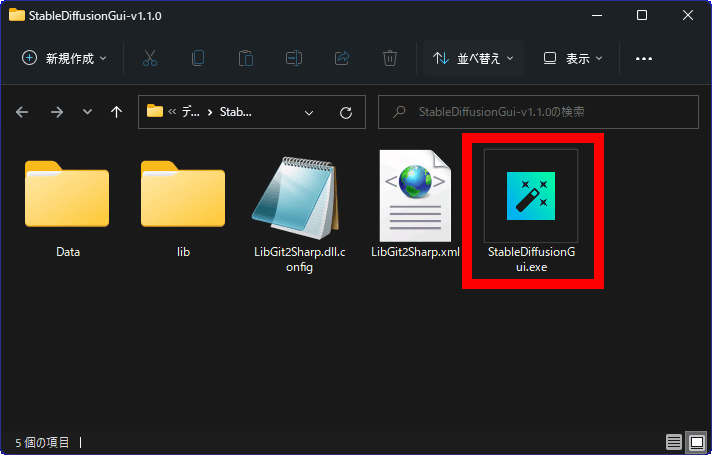
Unzip the downloaded ZIP file with
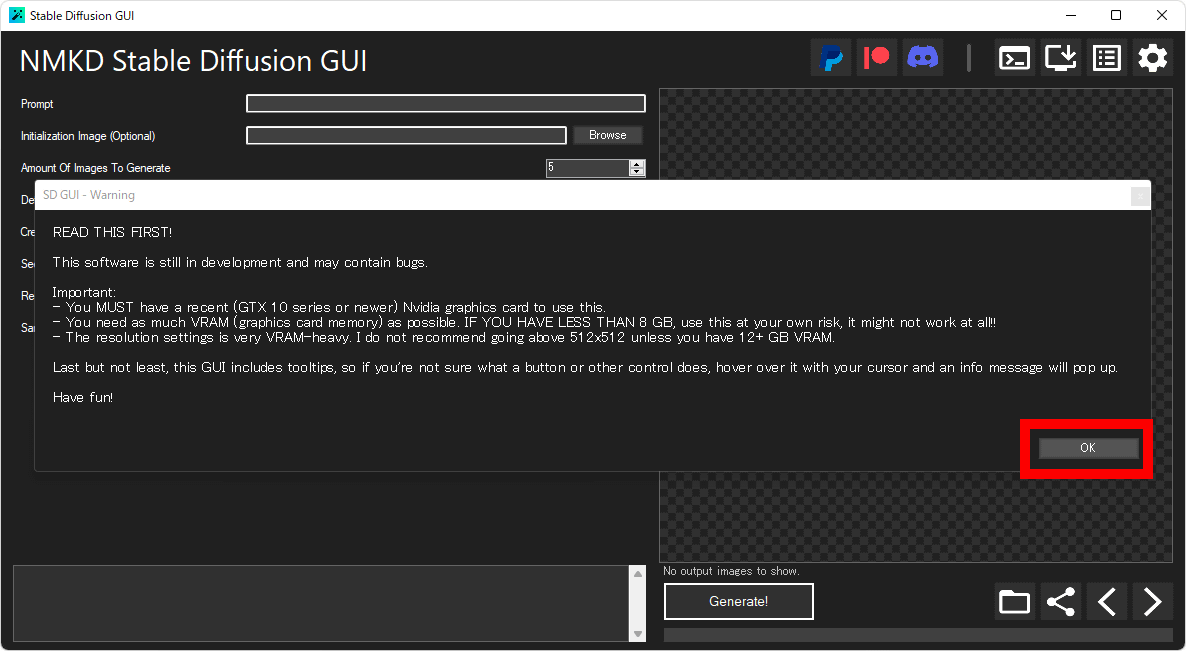
When NMKD Stable Diffusion GUI starts, ``Be sure to update the driver of NVIDIA GPU'' ``Stable Diffusion consumes a lot of VRAM, so it may not work well if VRAM is less than 8GB'' ``VRAM is not more than 12GB In that case, the resolution of the generated image should be smaller than 512 x 512 pixels' is displayed. Click 'OK'.
Then, the NMKD Stable Diffusion GUI automatically checks whether the necessary items to run Stable Diffusion are installed. Click 'OK'.

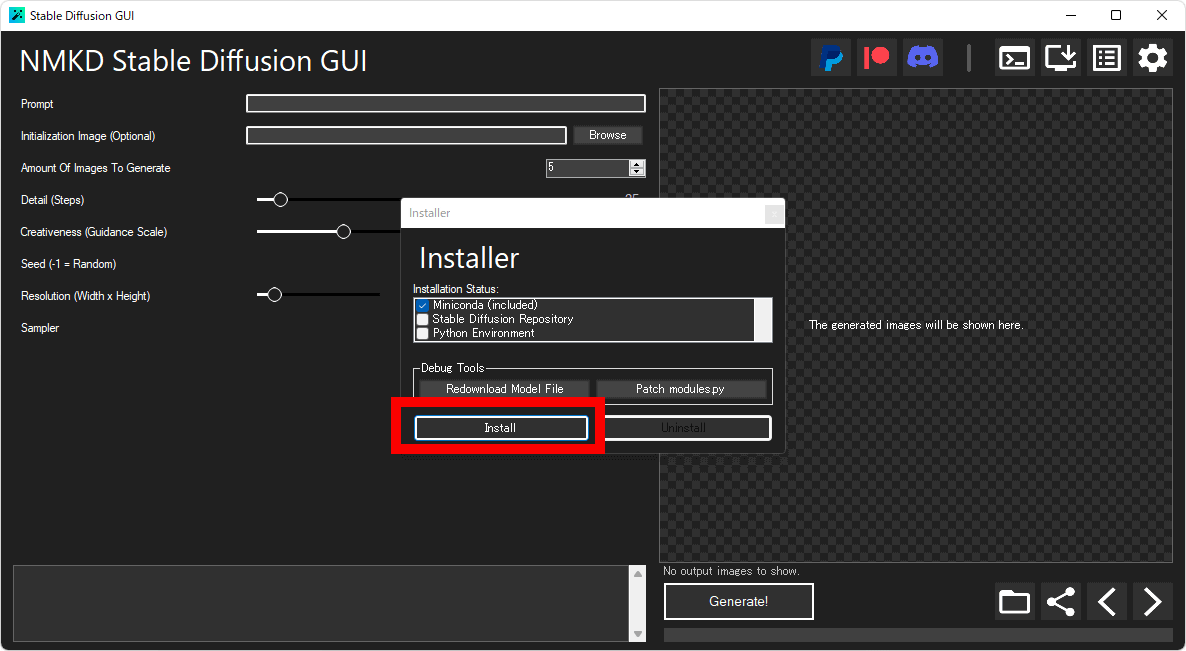
The NMKD Stable Diffusion GUI comes with an Anaconda-based distribution from the start, and all you need to do is download the Stable Diffusion repository and Python, PyTorch, and Cuda ToolKit. Click Install.
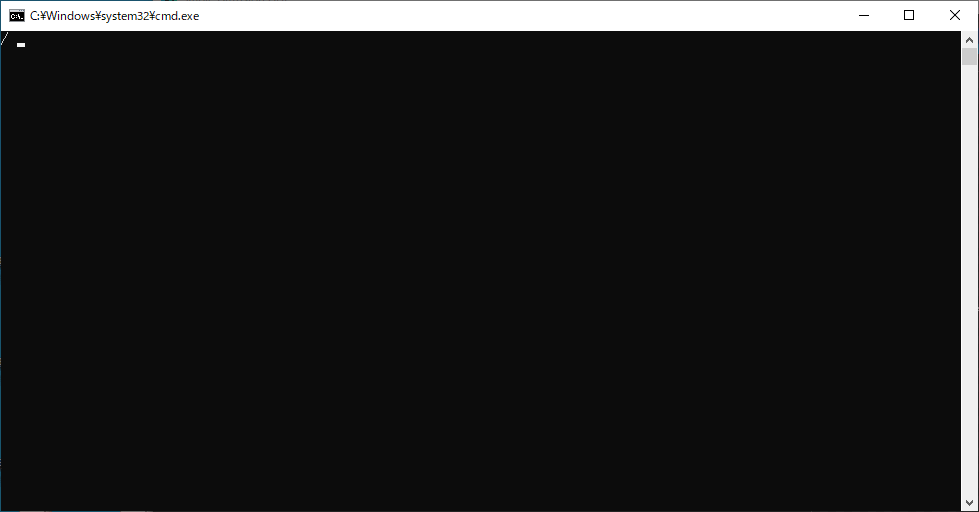
A command prompt will open and the installation will start automatically.

After downloading the repository, all necessary tools will be installed automatically.
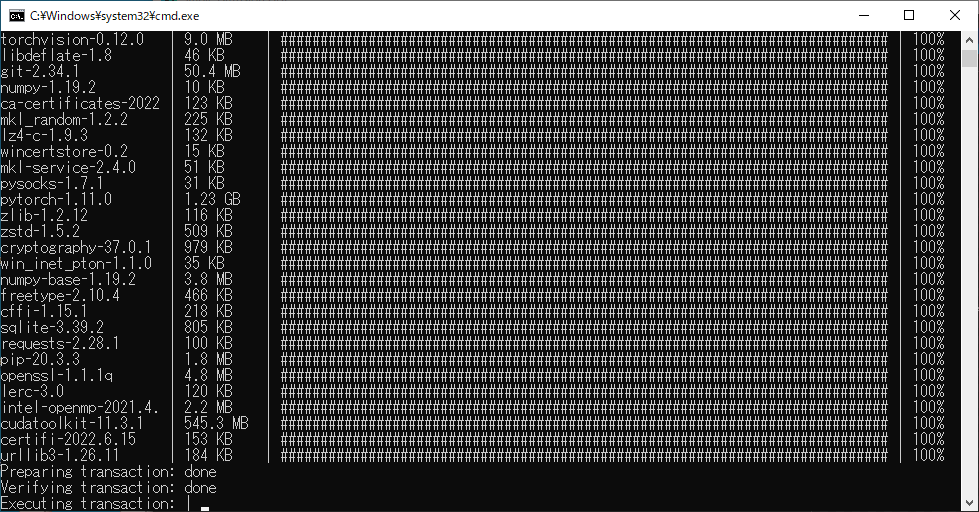
When everything is complete, the command prompt will look like the one below. Wait a few minutes for the installation to complete.
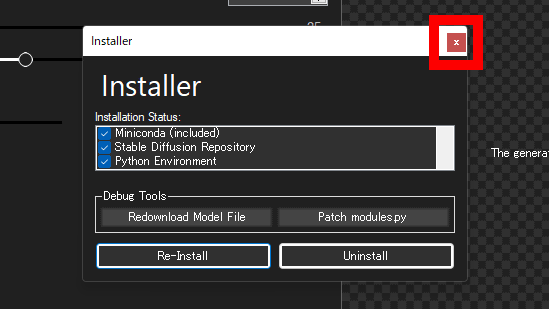
All items of Installation Status are checked. Click the X in the upper right to close the Installer window.
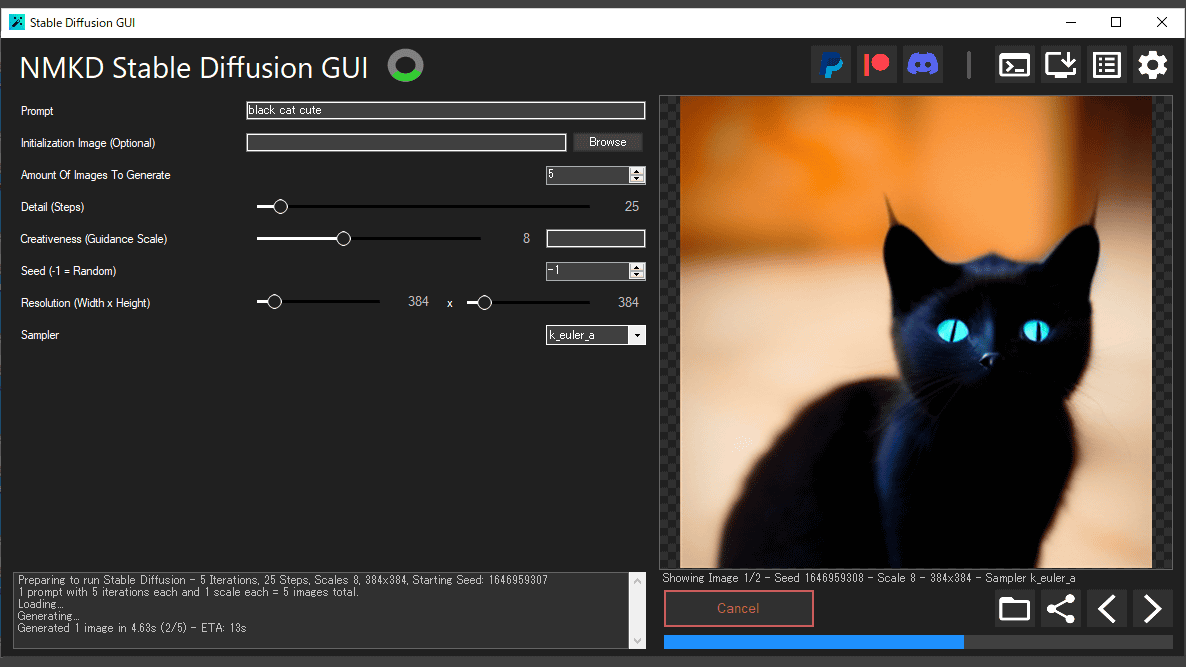
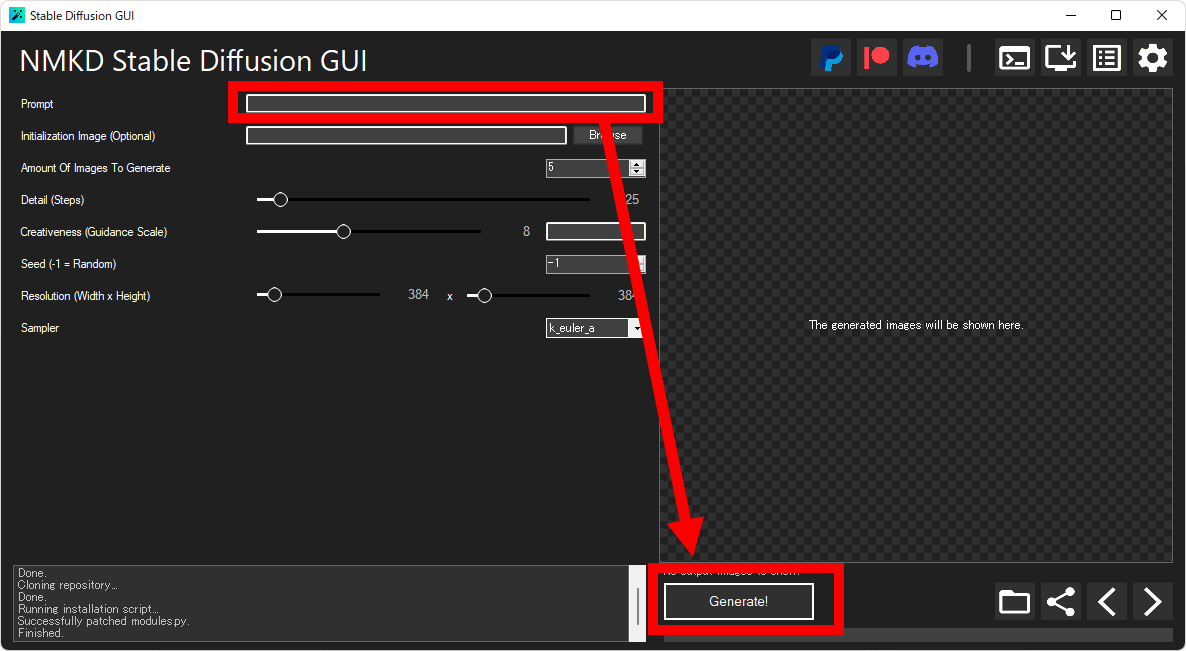
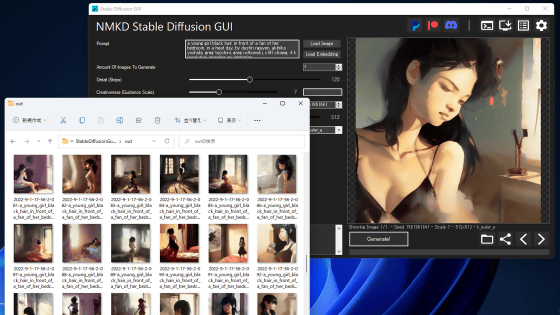
NMKD Stable Diffusion GUI looks like this. Enter a character string in the 'Prompt' item and click 'Generate!' to generate the image.
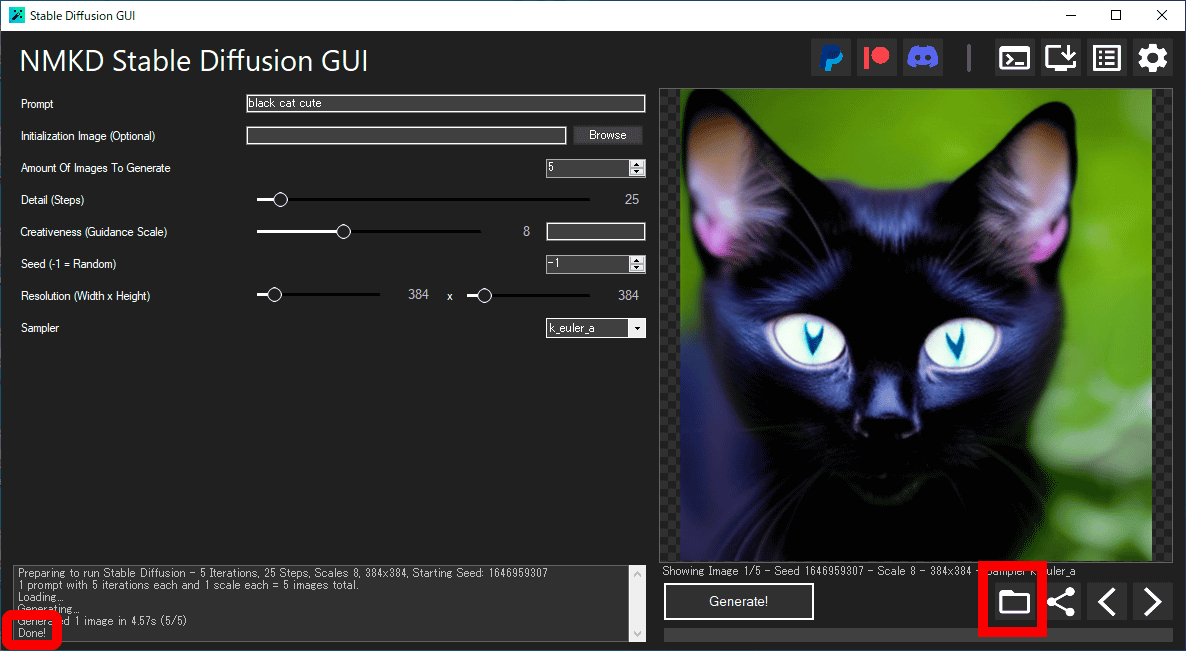
By default, 5 images are generated for one prompt. When image generation is completed, 'Done!' is displayed in the lower left log, and the generated image is displayed in the right column. Click the folder icon at the bottom right to display the folder in which the output image is saved.
You can understand the specific usage and setting method of NMKD Stable Diffusion GUI by looking at the following article.
Summary of how to use ``NMKD Stable Diffusion GUI'' that can easily install image generation AI ``Stable Diffusion'' on Windows for free, you can quickly understand the tricks of setting spells and generating images - GIGAZINE
Related Posts: