Free image generation AI ``Stable Diffusion'' can be easily installed and used by beginners on Windows & ``Artroom Stable Diffusion'' usage summary that also supports img2img

To generate an image using the image generation AI ``Stable Diffusion'', which was released to the public in August 2022, you can either install it in a local environment equipped with an NVIDIA GPU using the command line, or use
GitHub - artmamedov/artroom-stable-diffusion
https://github.com/artmamedov/artroom-stable-diffusion
Stable Diffusion One-Click Install Local GUI : StableDiffusion
https://www.reddit.com/r/StableDiffusion/comments/x0gl9k/stable_diffusion_oneclick_install_local_gui/
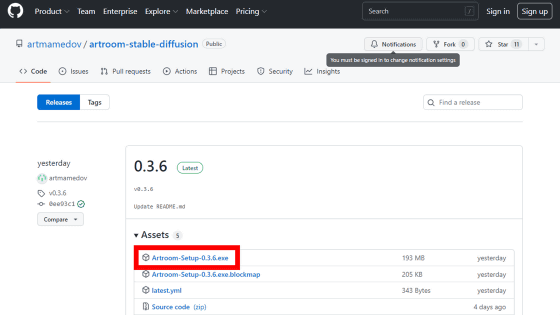
Access the Artroom Stable Diffusion release page and download the EXE format installer (file size 192MB). At the time of writing the article, Artroom Stable Diffusion was an open beta version and the version was 0.3.6.
As a preparation for installation, the PC must be equipped with an NVIDIA GPU and the driver must be updated to the latest version. The PC specifications used in the review are Windows 10 Pro, memory 32 GB, GeForce GTX 1060 and VRAM 6 GB. The recommended spec for Stable Diffusion is VRAM 12B or higher, so I'm a little worried.
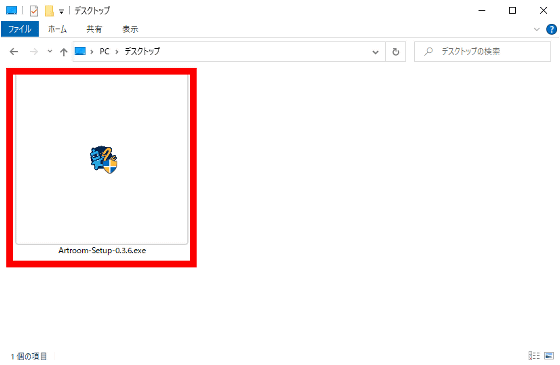
Once you're ready, double-click the downloaded installer to launch it.
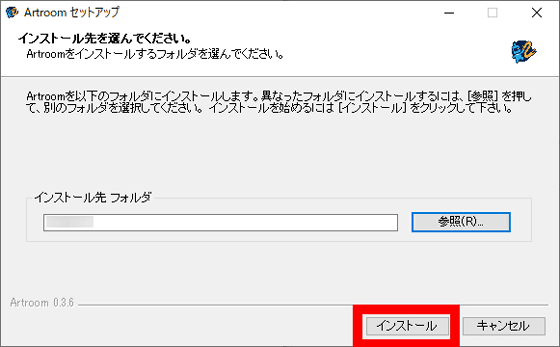
Click 'Install'.
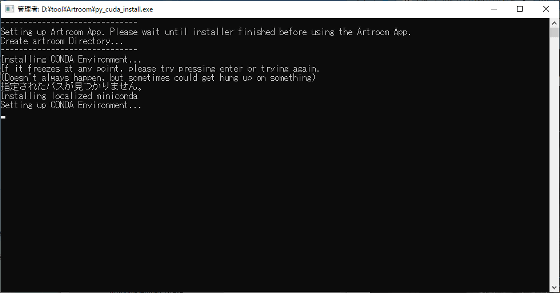
Then, a command prompt will be launched with administrator privileges and the installation will start.
When the Conda environment is built, the completion of the setup wizard will be displayed, so click 'Finish'.
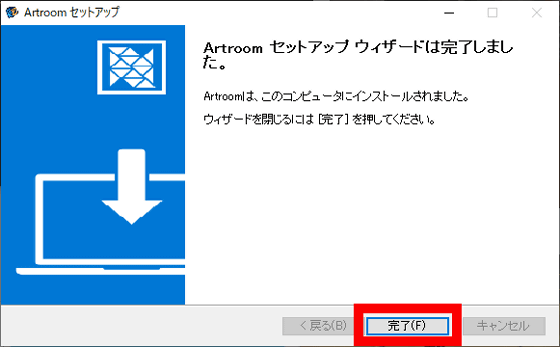
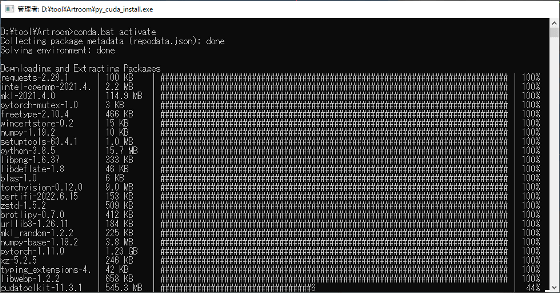
After that, the CUDA Tool Kit and PyTorch are also installed.
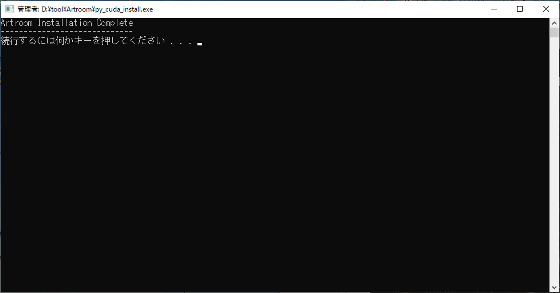
When the installation is complete, the following screen will appear. Press the key.
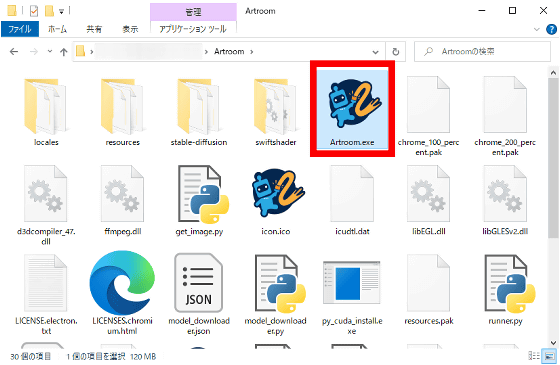
Double-click 'Artroom.exe' in the installation folder to start it.
'
It looks like this when you start it. First, enter 'cat and dog' at the prompt and click 'Run'.
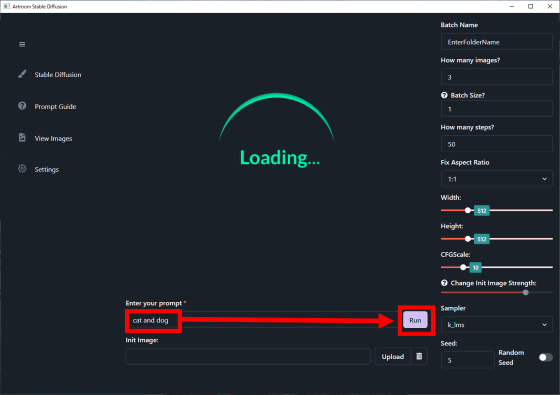
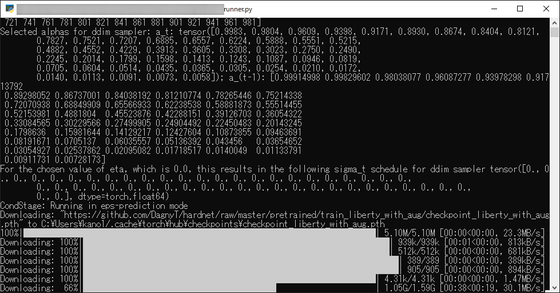
The first time, the Stable Diffusion model is downloaded, and then the image is generated.
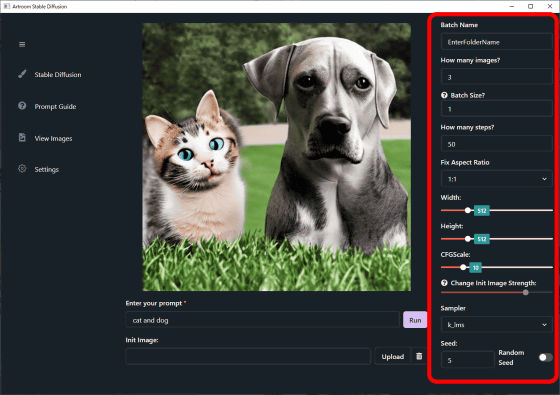
When the generation is finished, the image will be displayed in the center. I tried using it on a weak PC, but the time it took to generate an image was about 1 minute per image. The menu on the right is various settings, from the top, batch name setting, number of images to be generated, batch size, number of steps to be generated, aspect ratio setting, image resolution, CFGScale, sampler, seed value.
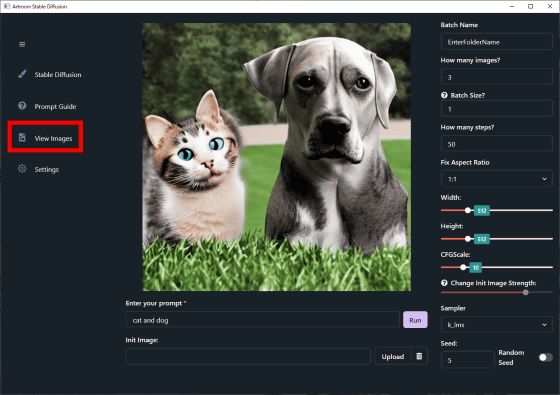
You can view the storage folder of generated images by clicking 'View Images' in the left column.
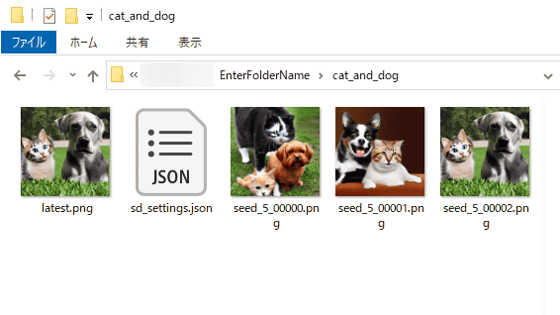
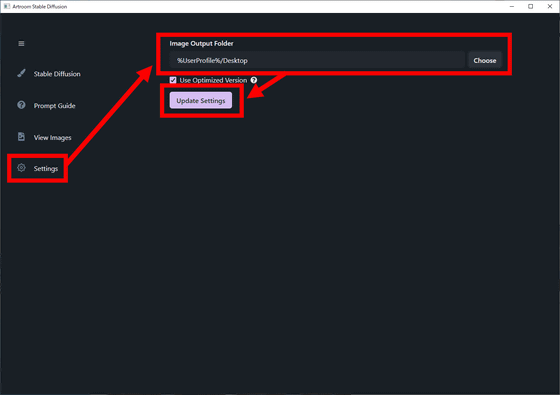
To specify the folder for image output, click 'Setteings', specify the folder with 'Image Output Folder', and click 'Update Settings' OK
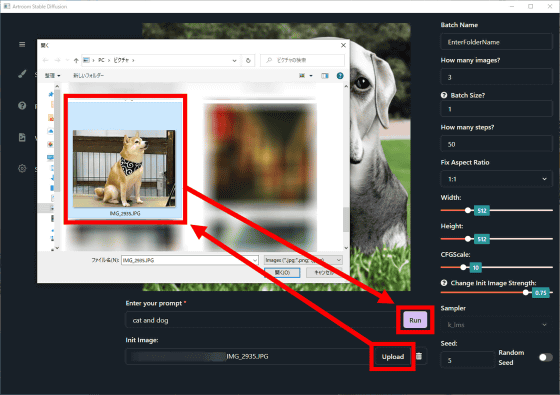
Artroom Stable Diffusion can also use img2img, which can generate images from model images. Click 'Upload', select the model image, and click 'Run'. This time I used a photo of a Shiba Inu.
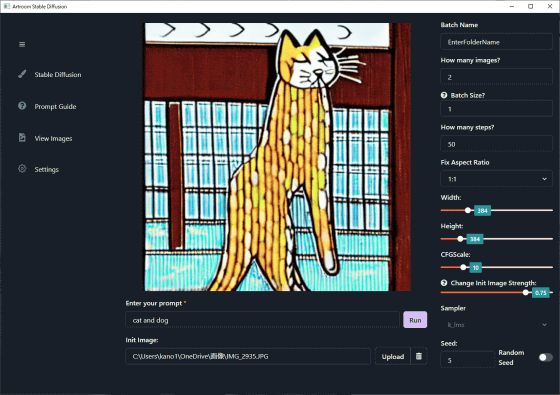
This is the output image. Although it is 'cat and dog', there is only a cat, and it should have been a photograph, but for some reason it became a stained glass image. If you use sites such as
Related Posts:


