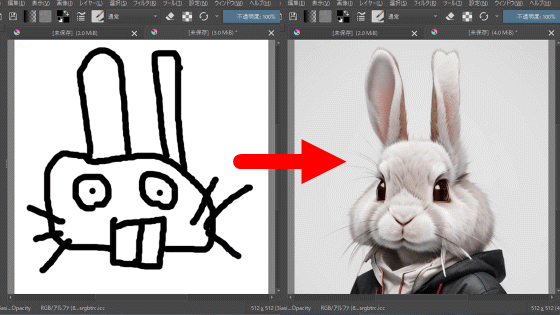
``Dream Booth Gui'' review that allows you to easily use ``Dream Booth'' that allows you to additionally learn patterns and styles from just a few illustrations to the image generation AI ``Stable Diffusion''
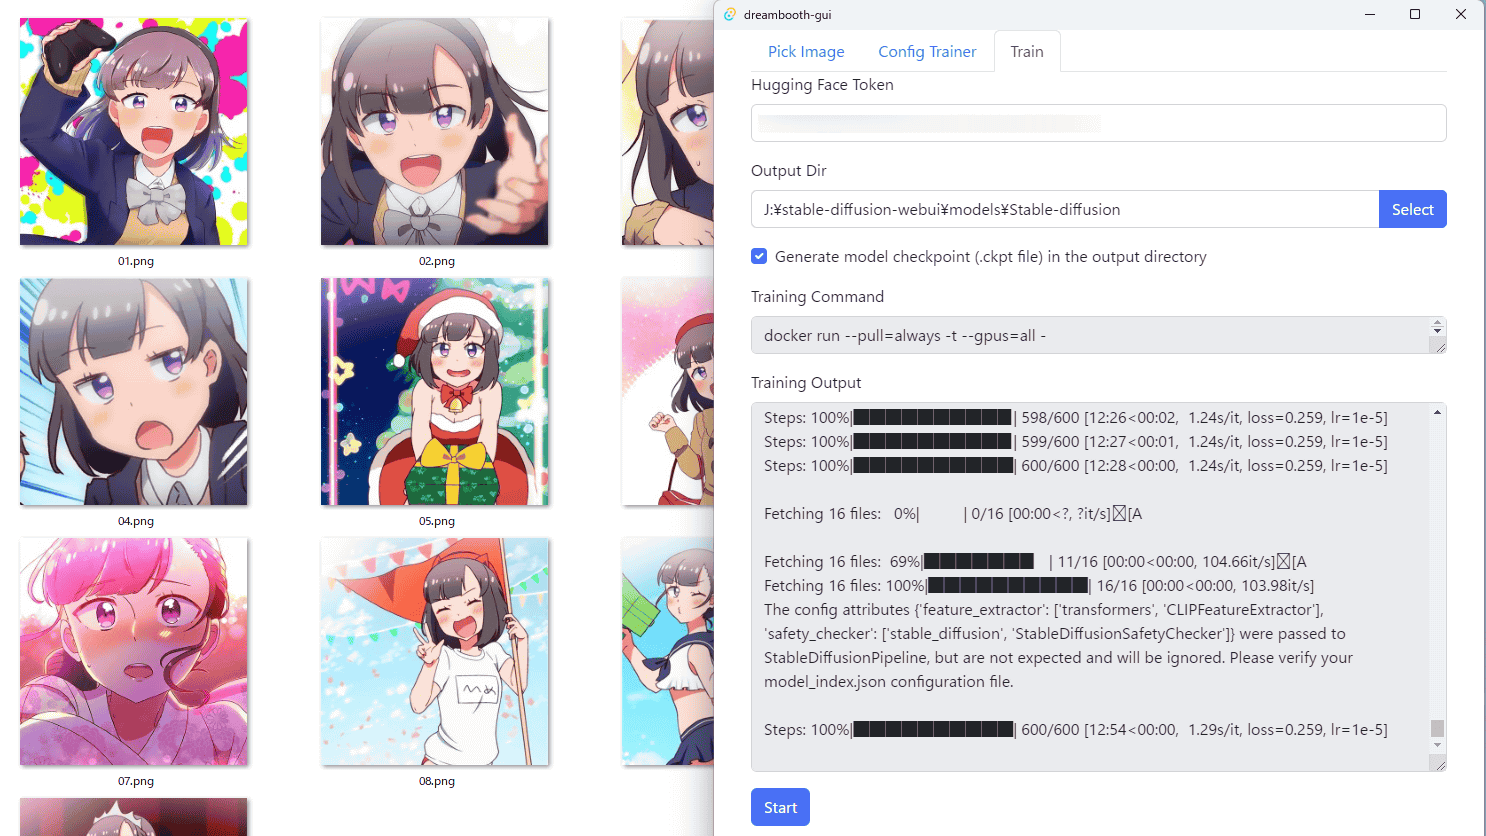
Image generation AI 'Stable Diffusion' automatically generates images along input character strings called prompts or spells based on pre-learned data sets. There is a method called '
GitHub - smy20011/drebooth-gui
https://github.com/smy20011/drebooth-gui
To use Dreambooth Gui, you need to install Docker and WSL2.
The Docker installer can be downloaded from the following site.
Docker: Accelerated, Containerized Application Development
https://www.docker.com/
Click 'Download Docker Desktop' on the above site to download the EXE format installer. The file size is 537MB.

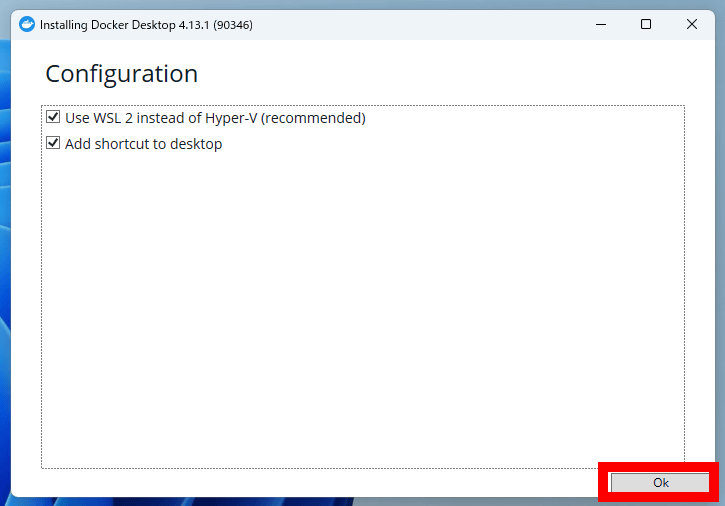
Launch the installer. 'Click Ok to start the installation.
When you click 'Close and restart' displayed after installation is completed, the OS will restart.

After restarting, Docker's desktop application starts and the agreement to the service agreement is displayed, so click 'Accept'.

Installation is now complete. Click the 'x' in the upper right to close the window.

The installation of WSL2 is summarized by Microsoft below.
Install WSL | Microsoft Learn
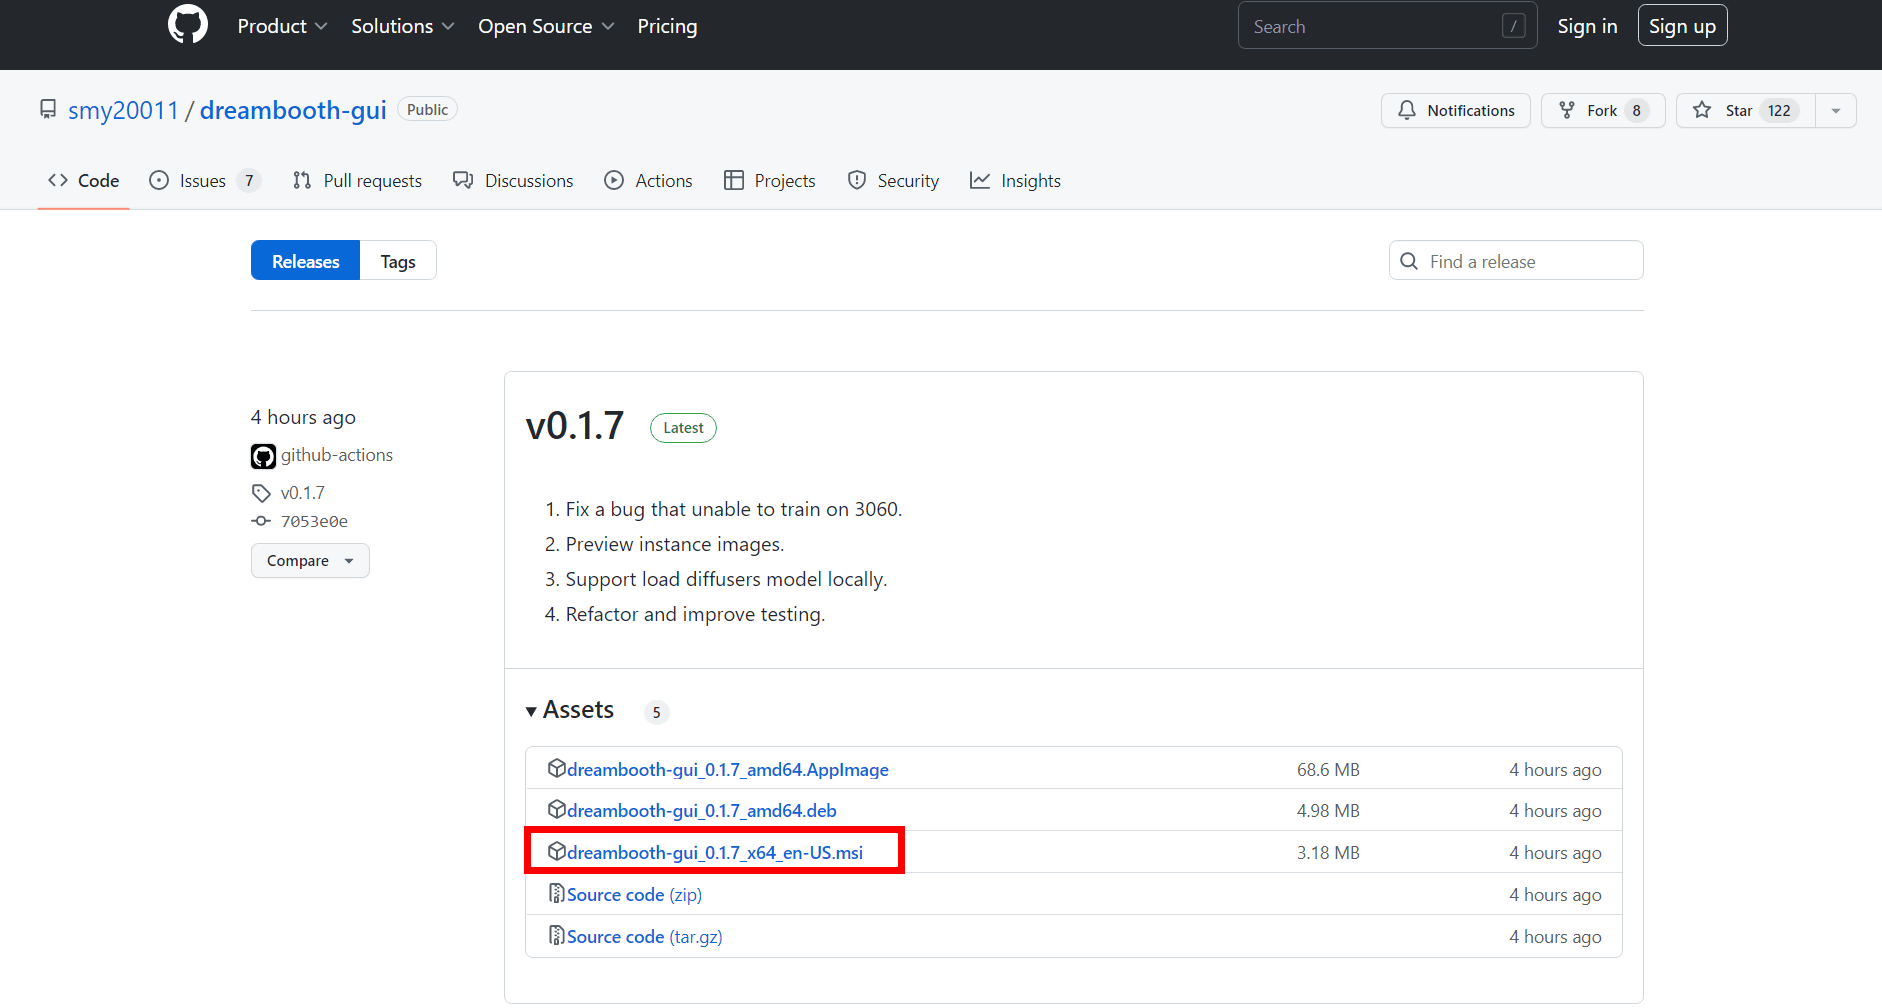
Next, download the installer for Dreambooth Gui. The download link for the installer can be found on the GitHub page below.
Releases smy20011/drebooth-gui GitHub
https://github.com/smy20011/drebooth-gui/releases
Click 'drebooth-gui_0.1.7_x64_en-US.msi' to download. The file size is 3.18MB.
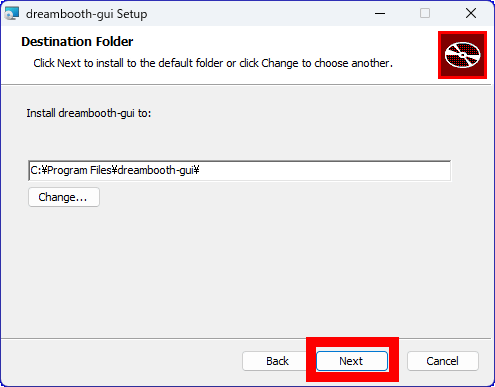
Start the installer and click 'Next'.

Click Next.
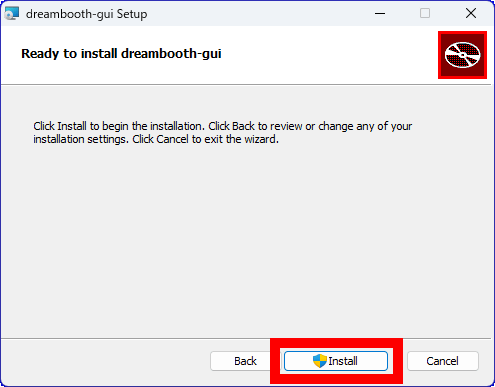
Click 'Install'.
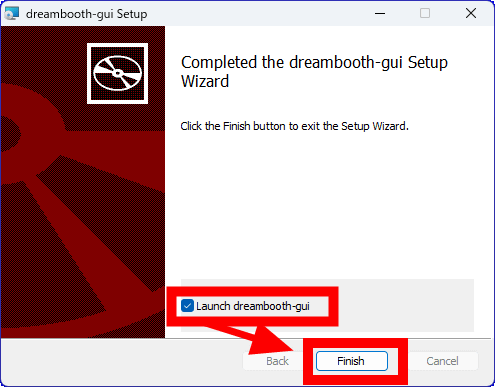
After installation, check 'Launch dreambooth-gui' and click 'Finish'.
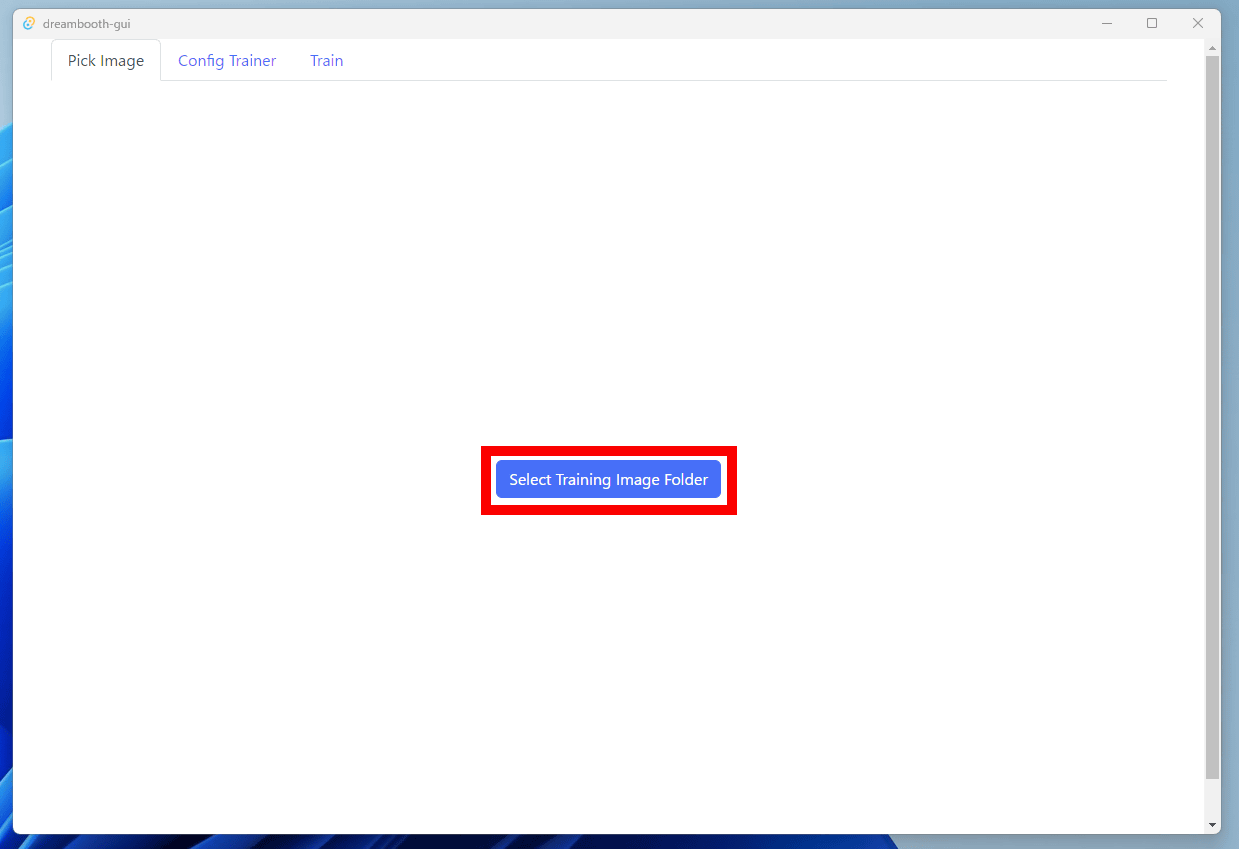
When Dreambooth Gui starts up, it looks like this. Click 'Select Training Image Folder' displayed in the center.
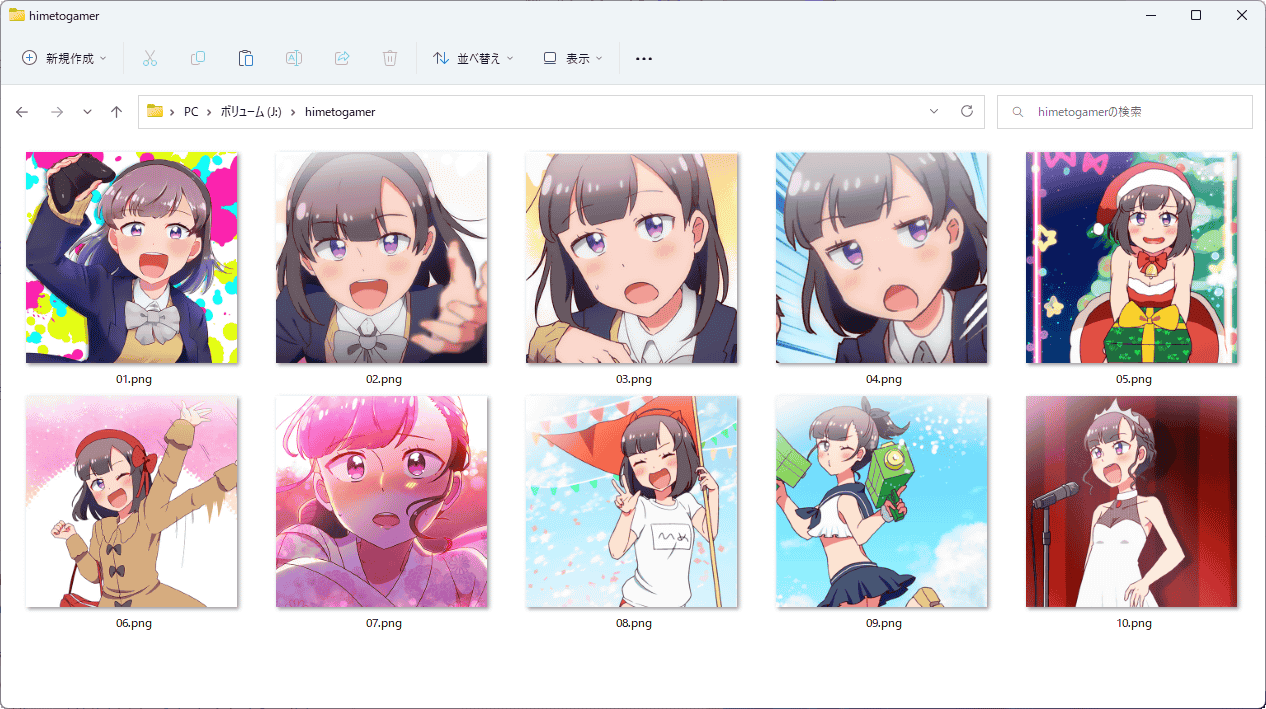
Select the folder containing the images you want to additionally learn. This time, I selected a folder containing 10 images of Arika Himemiya, the main character of the manga '
Select a folder to move to the learning settings screen. 'Model' can specify the model to be additionally learned, and by default it is set to download the Stable Diffusion v1.4 model from the

After completing the learning settings, click the 'Train' tab. If you specify the Hugging Face repository for the model to be additionally trained

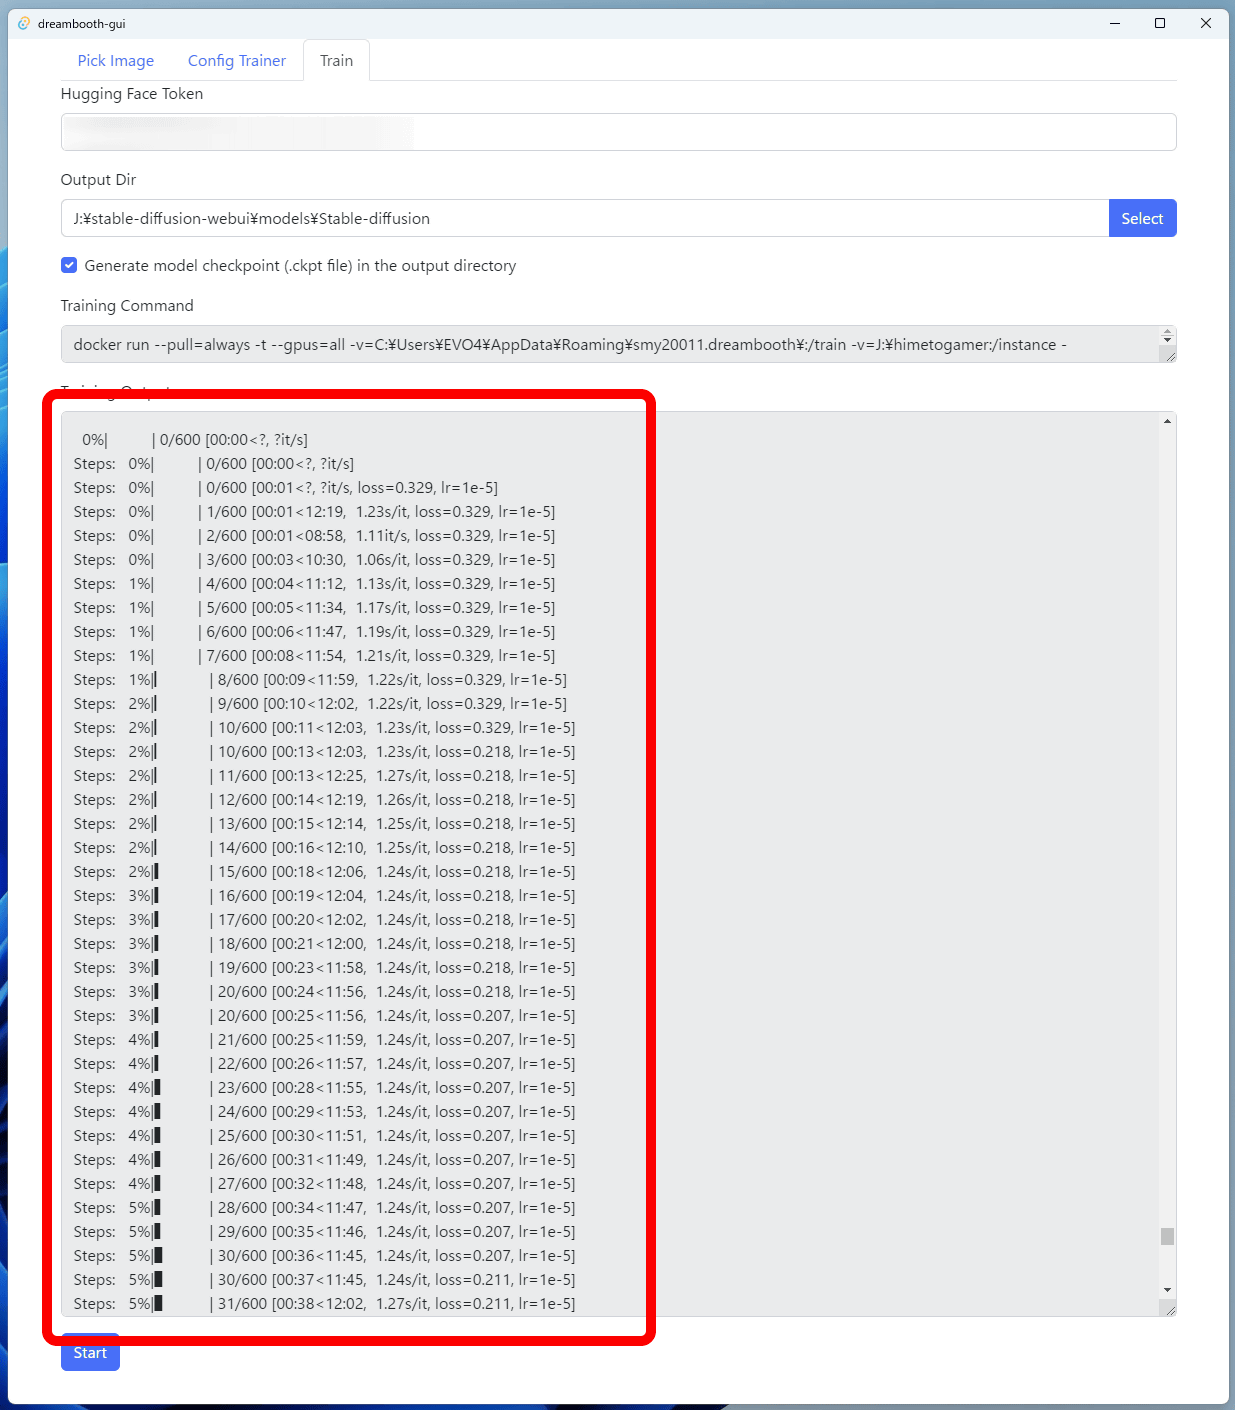
With an NVIDIA GPU equipped with 12GB of VRAM, it took about 1 hour and 10 minutes to complete the additional training of 10 images 600 times. When additional learning is completed, 'Finished!' Is displayed, so click 'OK'.
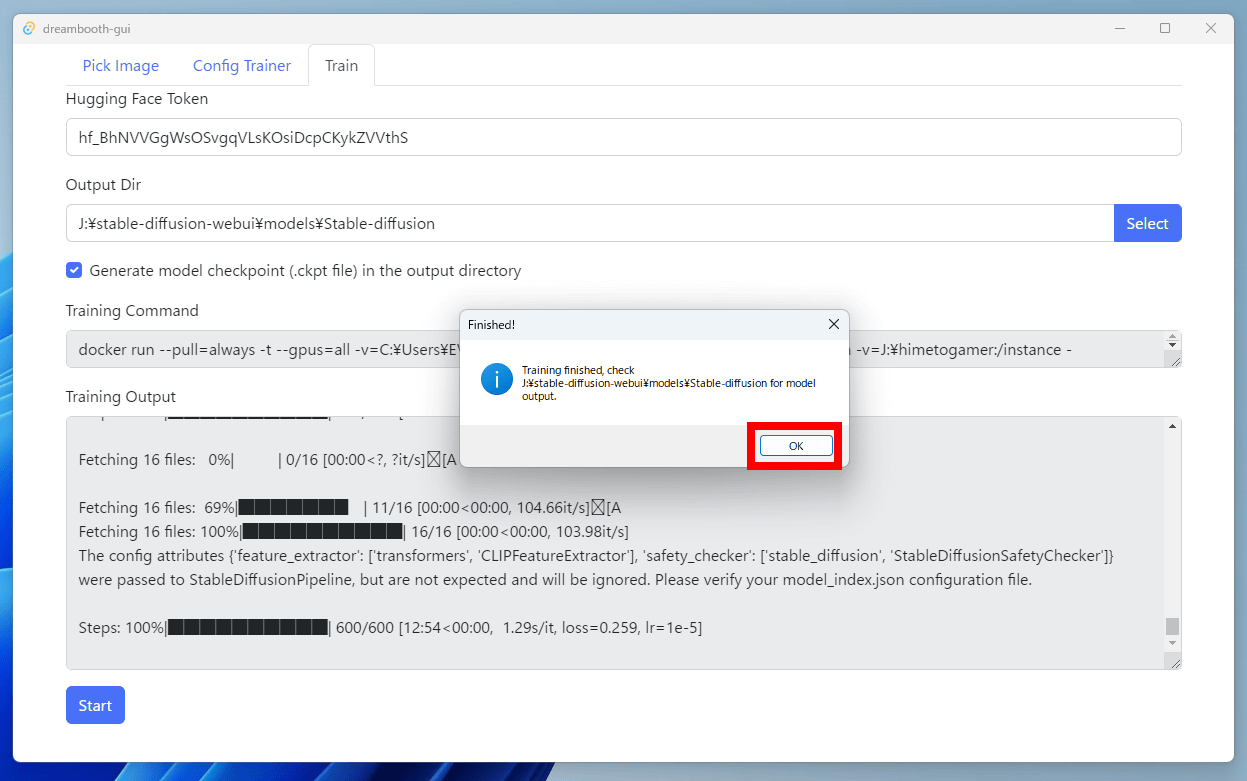
The GUI showed the log of additional learning.
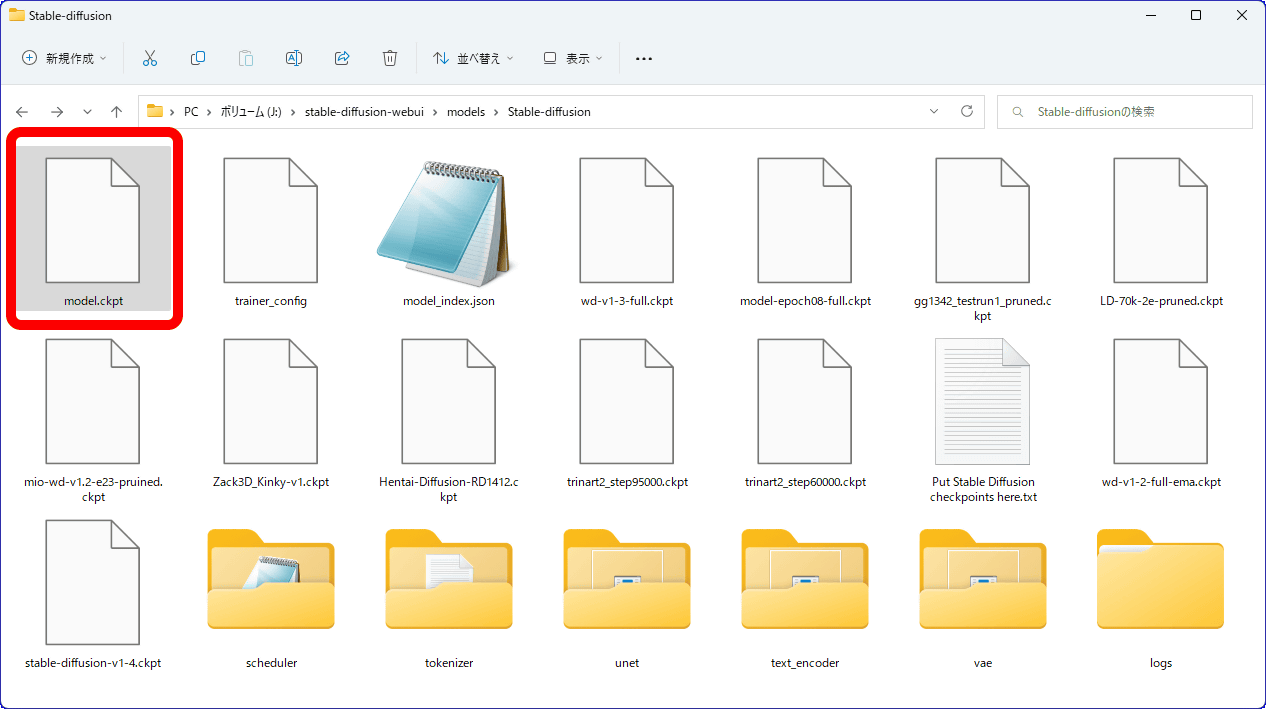
Looking at the output destination directory, the additionally trained model was output in the form of 'model.ckpt'.
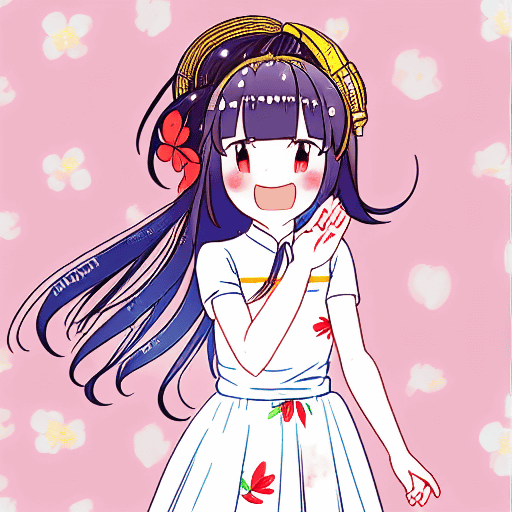
Immediately, I asked AI to automatically generate illustrations. The prompt is 'little chinese girl with flowers in hair wearing an white dress, sks himetogamer, highly detailed, anime, manga', the number of generation steps is 30, the generation sampler is Euler a, the CFG scale is 7, and the seed value is 675338939. 'sks himetogamer' in the prompt is the part that specifies the additional elements learned this time.
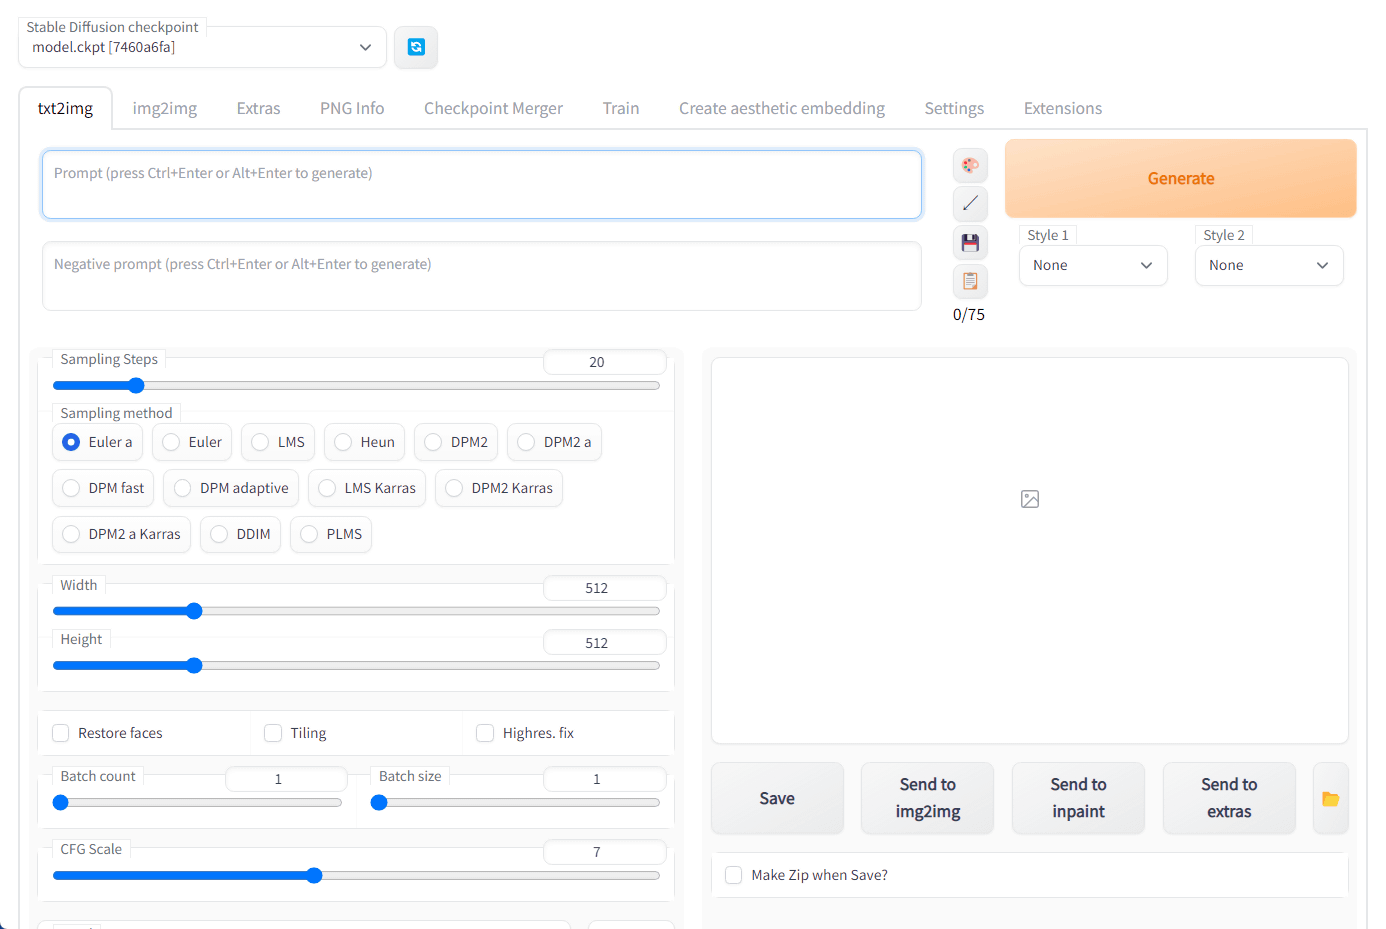
Start AUTOMATIC1111 version Stable Diffusion web UI.
First of all, the illustration automatically generated with normal Stable Diffusion v1.4 is below. It is an illustration of a Chinese hairstyle, a flower hair ornament, and a white dress as specified.

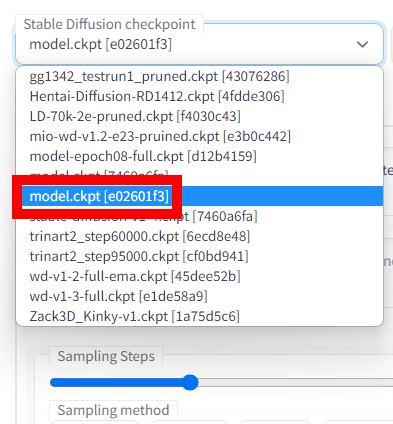
Next, I had the additionally trained model output with the same prompts and settings. To switch models with the AUTOMATIC 1111 version Stable Diffusion web UI, click 'Stable Diffusion checkpoint' in the upper right.
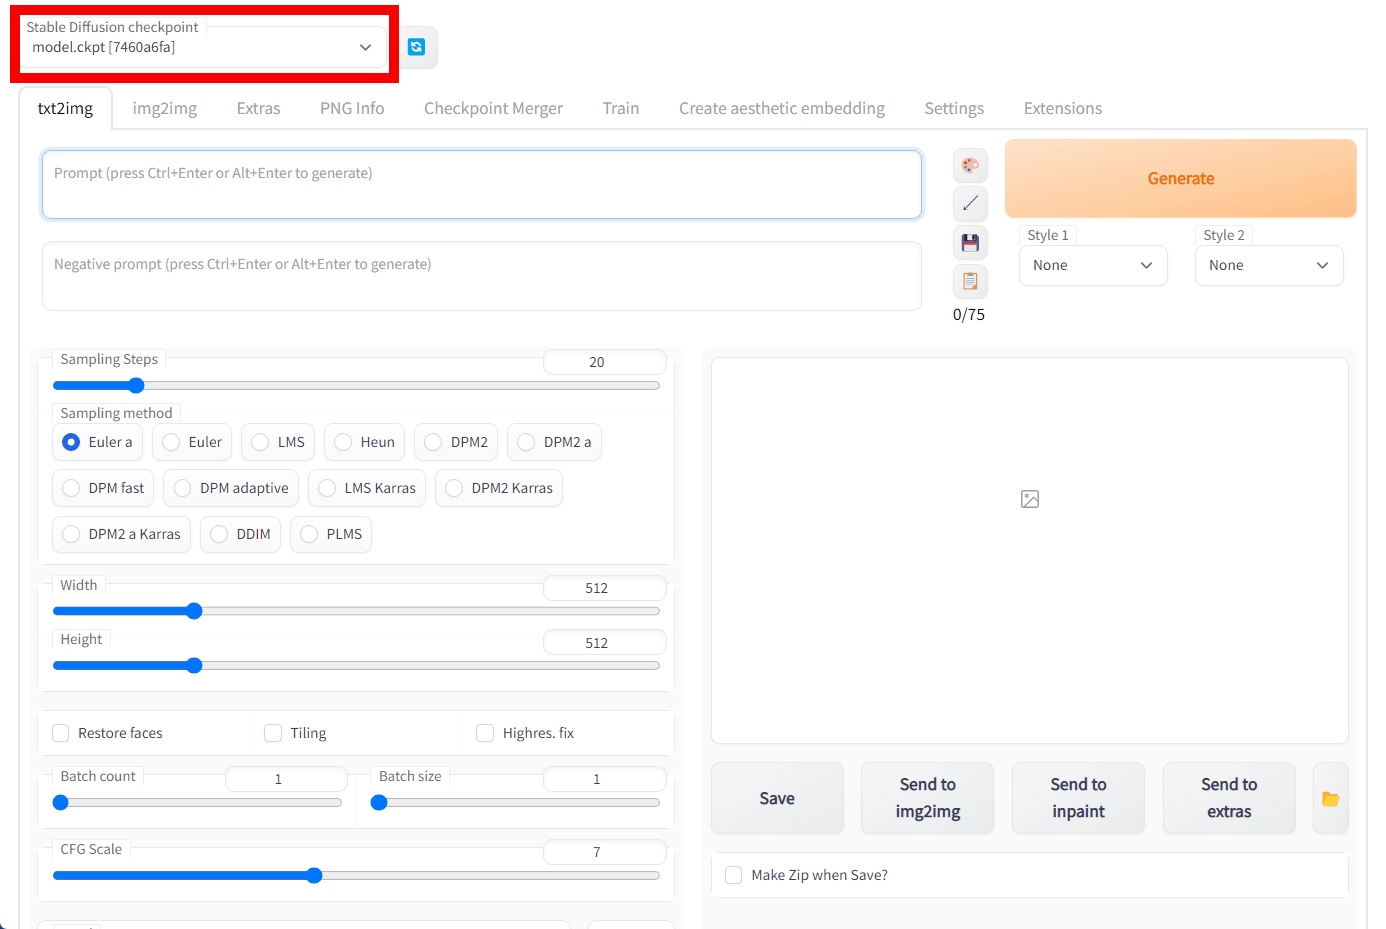
This pull-down menu shows the AI models in the 'stable-diffusion-webui/models/Stable-diffusion' directory. Select the model 'model.ckpt[e02601f3]' that was additionally learned this time.
Below is an illustration automatically generated by an additional trained model with the same prompts and settings. Since only 10 images were used for additional learning, the reproducibility of the pattern is not that high, but the illustrations clearly show features reminiscent of the data for additional learning, such as the hair color, how it is painted, and the expression of an open mouth. increase. If you increase the number of images, you can expect to reproduce the pattern and style with higher accuracy.
Related Posts: