Summary of how to create beautiful illustrations from doodles by incorporating image generation AI into the free drawing app 'Krita', Stable Diffusion and ControlNet can be quickly introduced without commands

' krita-ai-diffusion (AI Image Diffusion) ' is a plug-in that incorporates the image generation AI 'Stable Diffusion' into the free and highly functional painting application '
GitHub - Acly/krita-ai-diffusion: Streamlined interface for generating images with AI in Krita. Inpaint and outpaint with optional text prompt, no tweaking required.
https://github.com/Acly/krita-ai-diffusion
·table of contents
◆1: Installing Krita
◆2: Installing AI Image Diffusion
◆3: Illustration generation with AI Image Diffusion
◆4: Steps to generate beautiful illustrations from doodles
◆1: Installing Krita
Krita and AI Image Diffusion are compatible with Windows, macOS, and Linux. When using AI Image Diffusion, it is recommended to use a graphics board with 6GB or more of VRAM, but it is possible to operate it at extremely low speed even in environments that do not have a compatible graphics board. This time, I will run it on a Windows machine equipped with a GeForce RTX 3060 with 12GB of VRAM capacity. Approximately 10GB of free storage space is required to install AI Image Diffusion.
First, click the link below to access the Krita download page.
Krita Desktop | Krita
https://krita.org/jp/download-jp/krita-desktop-jp/
Once you access the download page, click the button labeled 'Windows installation version 64-bit version' to download the installer.

Once the installer has finished downloading, double-click to run it.

Click 'OK'.

Click 'Next'.

Read the license carefully, check the agreement, and click 'Next'.

Click 'Next'.
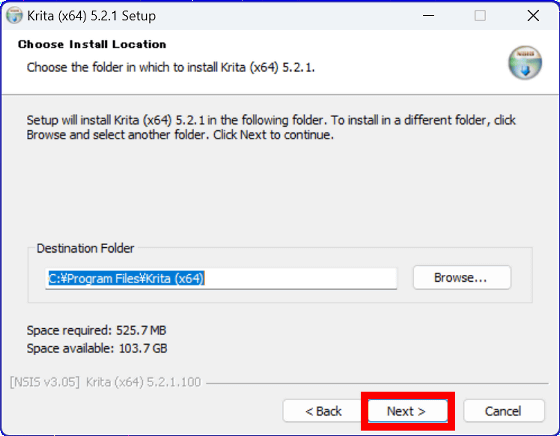
Click 'Next'.
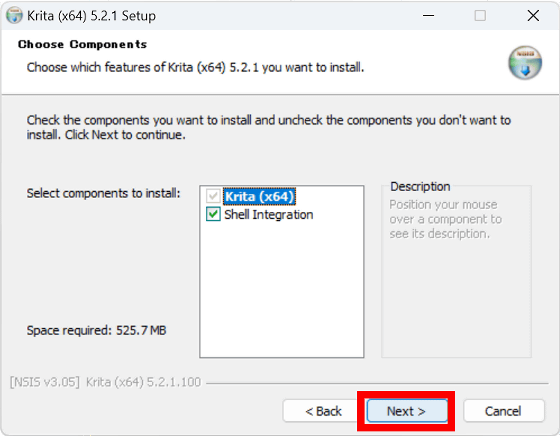
When the license is displayed, read it carefully and click 'I Agree'.

Click 'Next'.

Click 'Install'.

When the installation process is complete, click 'Next'.

Click 'Finish' to complete the Krita installation.

◆2: Installing AI Image Diffusion
To install krita-ai-diffusion, first click the link below to access the distribution page.
Release Version 1.7.1 · Acly/krita-ai-diffusion · GitHub
Once you access the distribution page, download the latest board at that time. This time, I clicked 'Download krita_ai_diffusion-1.7.1.zip' to download version 1.7.1.
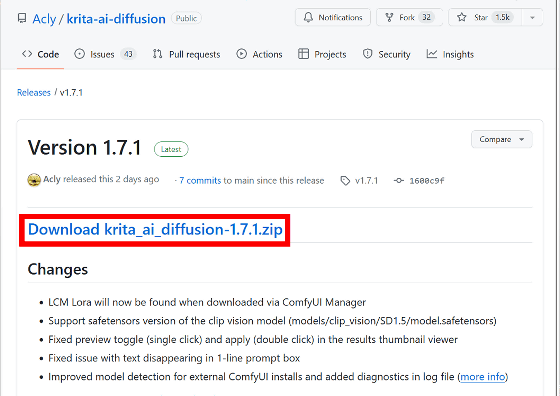
Once the download is complete, launch Krita.
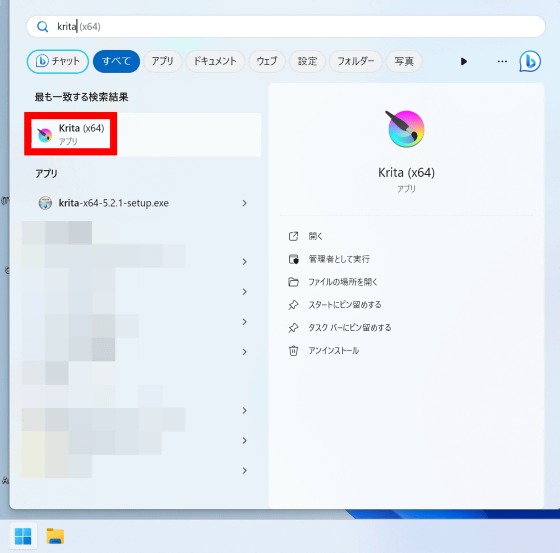
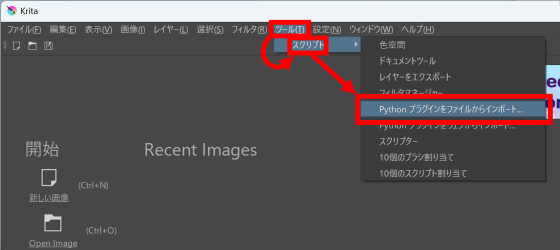
Once you start Krita, go to Tools → Scripts, then click Import Python Plugin from File.
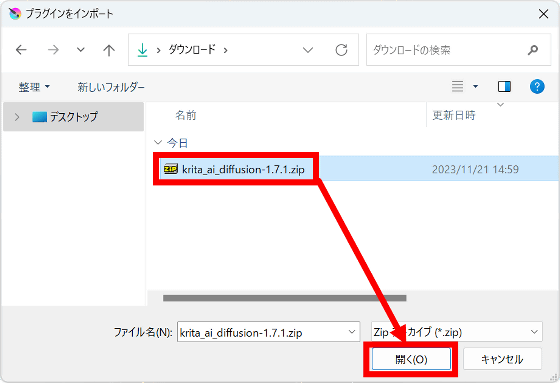
Select the downloaded ZIP file and click 'Open'.
When the screen below appears, click 'Yes' to enable AI Image Diffusion.

Once you have enabled AI Image Diffusion, quit Krita.
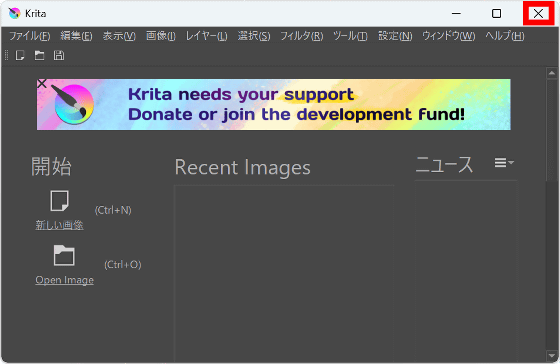
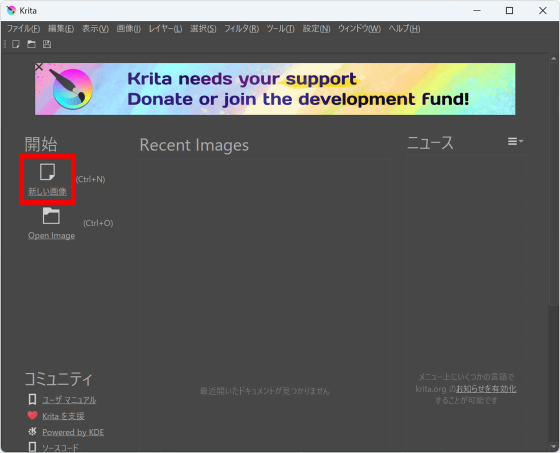
Start Krita again and click 'New Image'.
Since we are not creating an image yet, click 'Create' without changing the image size settings or anything else.
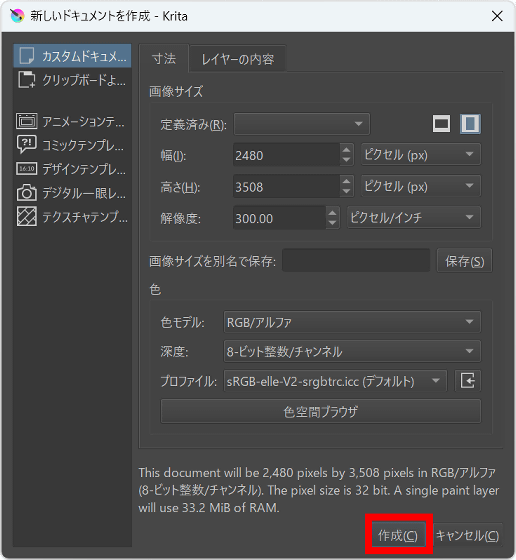
When the image editing screen opens, follow the menu in the order of 'Settings' → 'Dock Panel' and click on AI Image Diffusion.

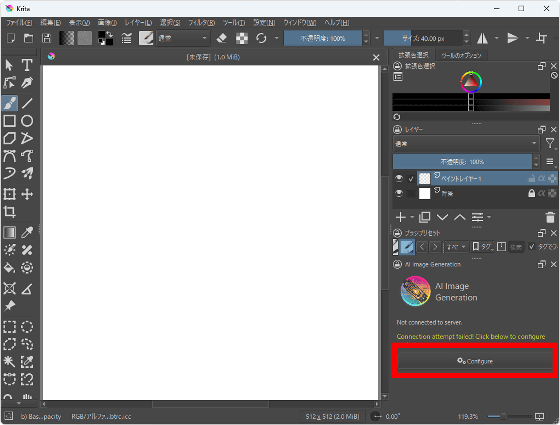
When the AI Image Diffusion docking panel is displayed at the bottom right of the screen, click 'Configure'.

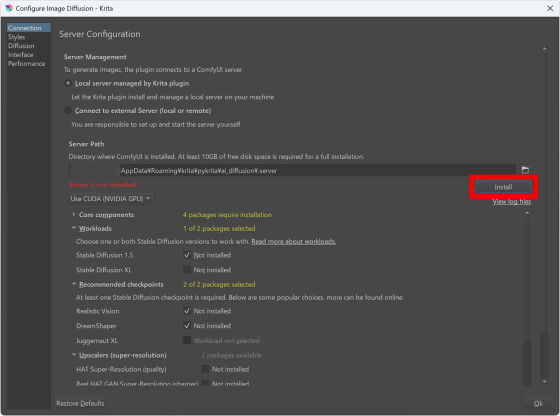
Click 'Install' to begin downloading and installing the necessary files. At this time, please note that approximately 10GB of free storage space is required.
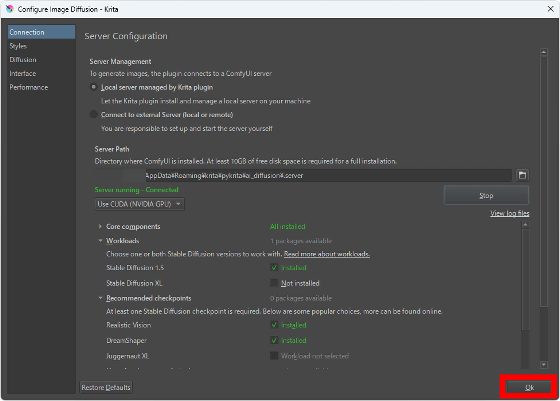
When downloading and installation is complete, click 'OK'. The installation of AI Image Diffusion is now complete.
◆3: Illustration generation with AI Image Diffusion
The steps to generate an illustration using AI Image Diffusion are as follows. First, launch Krita, create a blank image of any size, and click 'Configure' in the AI Image Diffusion docker panel. Please note that if the image size is too large, processing will take a long time. This time I created an image of 512 x 512 pixels.
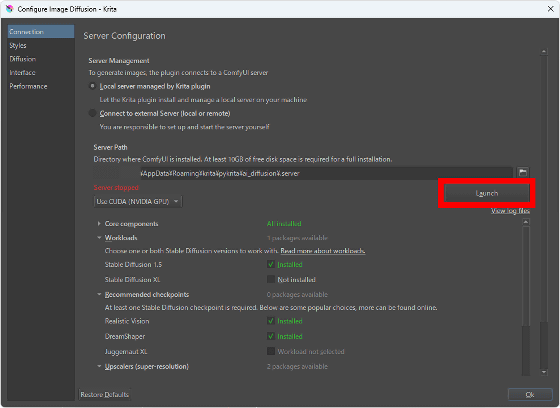
When the following screen is displayed, click 'Launch'.
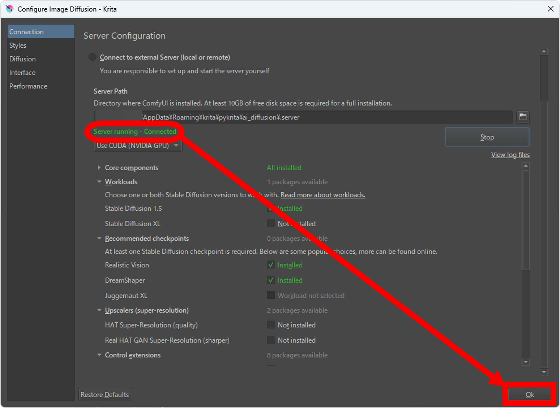
When 'Server running - Connected' is displayed in green text, click 'OK'.
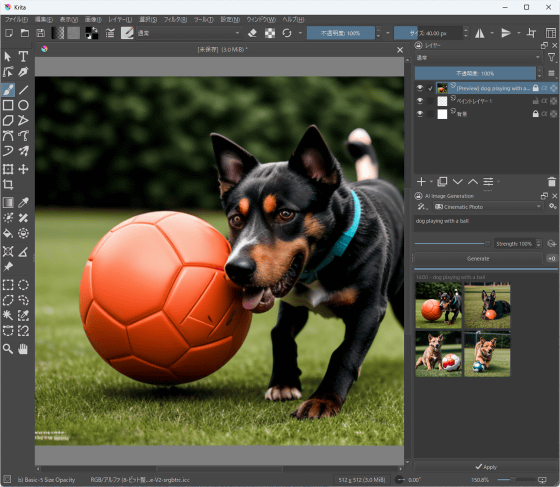
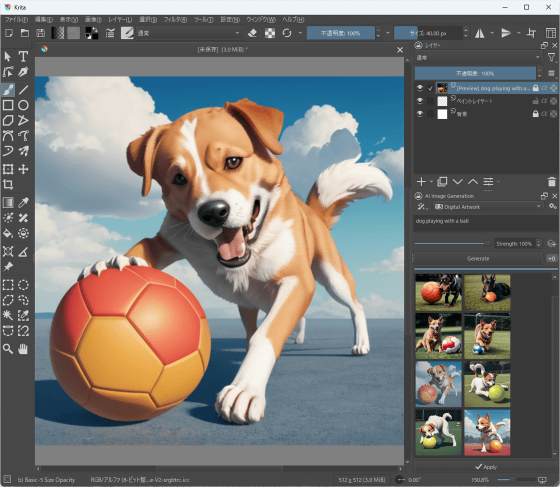
A prompt input field will appear in the AI Image Diffusion docker, so enter any prompt and click 'Generate'. This time I entered 'dog playing with a ball'.

After waiting for a while, an image of a dog playing with a ball was generated.
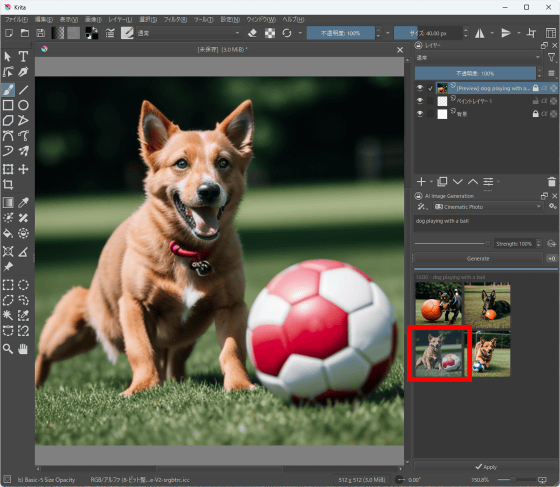
Multiple images are generated at once, and you can switch the image applied to the layer by clicking the thumbnail in the docker panel.
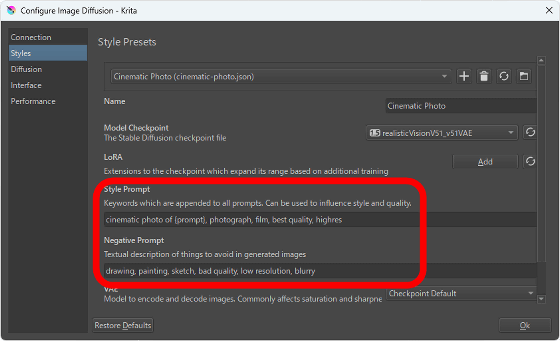
AI Image Diffusion is equipped with a style preset function that automatically inserts prompts and negative prompts.In the initial state, there are two style presets: 'Cinematic Phot' and 'Digital Artwork'. Saved. As a test, switch the style preset to 'Digital Artwork' and generate an image.

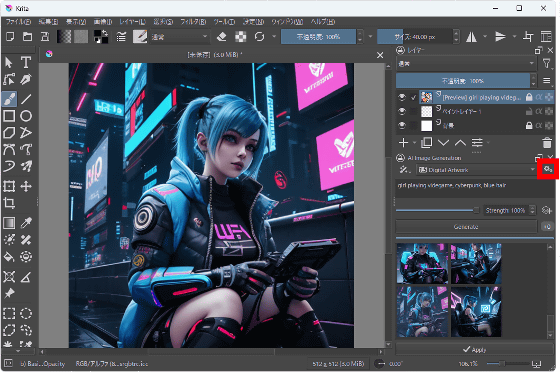
A digital art style image has been generated.
Below is an image generated with the style preset set to 'Digital Artwork' and the prompt set to 'girl playing videogame, cyberpunk, blue hair'. You can turn your ideas into reality in an instant. If you want to edit the template, click the settings button at the top right of the docking panel.
The style preset editing screen will then be displayed. You can control the style of the generated image to some extent by editing 'Style Prompt' and 'Nagative Prompt' on this screen.
◆4: Steps to generate beautiful illustrations from doodles
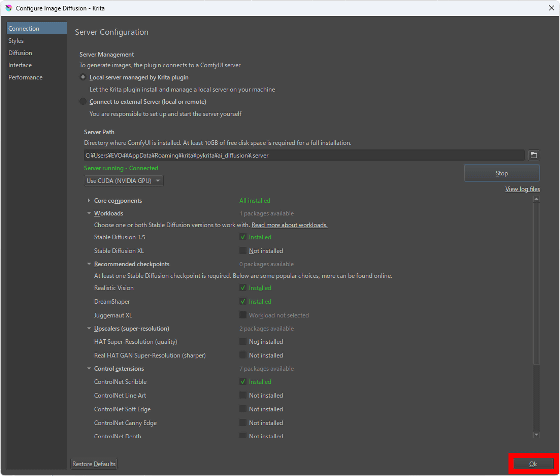
AI Image Diffusion uses ControlNet to enable operations such as ``generating beautiful illustrations from rough sketches.'' To generate beautiful illustrations from drafts, you must first download and install the necessary ControlNet files.
First, open the AI Image Diffusion settings screen, click 'Connection', check 'ControlNet Scribble', and click 'Install'.
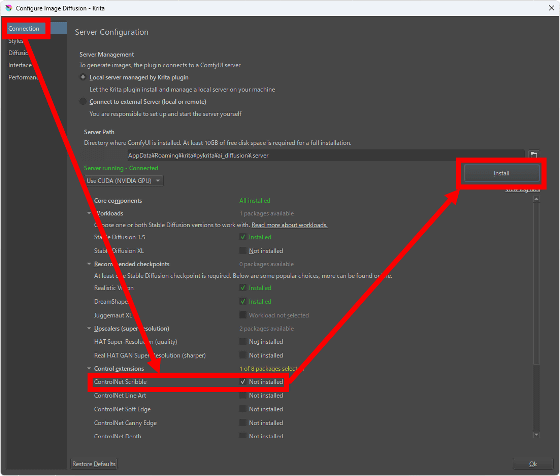
When the installation is complete, click 'OK'.
Next, create a new image, draw a draft, and click the button surrounded by a red frame on the right side of the docking panel. This time I drew a picture of a rabbit with long ears.
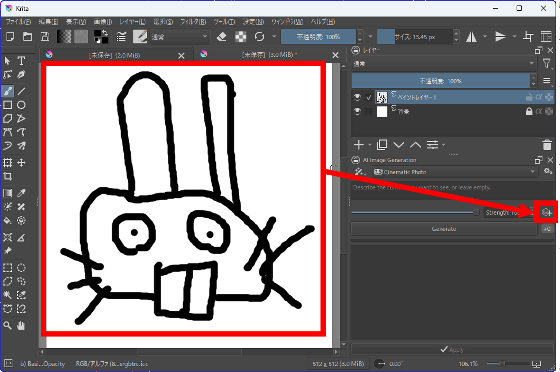
Then click 'Image'.

Click 'Scribble'.

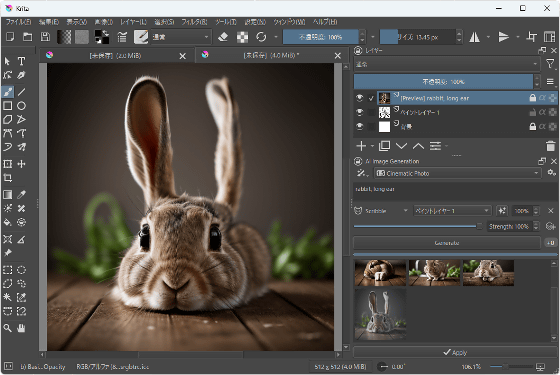
Finally, enter the prompt and click 'Generate' to generate the image. This time I entered 'rabbit, long ear'.

The generated result looks like this.
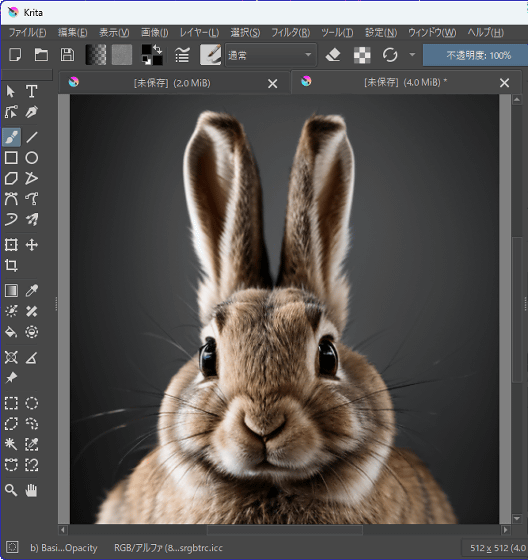
The following is generated by changing the prompt to 'rabbit, long ear, portrait' to display only the rabbit's face.
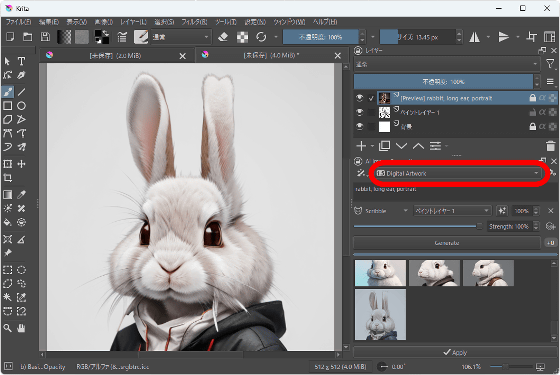
Furthermore, below is the style preset changed to 'Digital Artwork'. I was able to create a beautiful illustration from a rough sketch.
This time, prepare a draft like the one below.
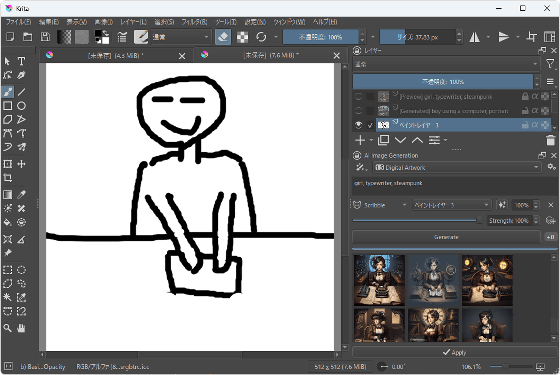
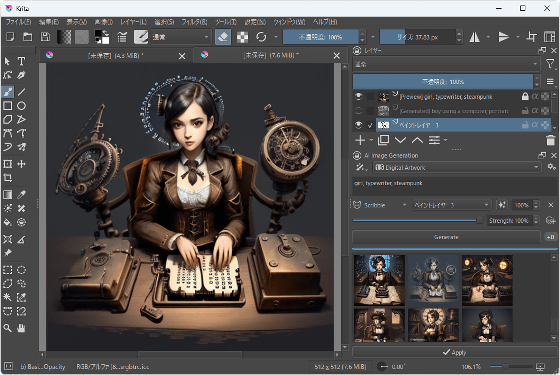
Below is an illustration generated with the prompt 'girl, typewriter, steampunk' based on the draft. Steampunk-like objects were added while maintaining the composition specified in the draft.
Related Posts:


