Summary of how to use ``Tagger for Automatic1111's Web UI'' that enables you to quickly generate illustrations that take over the original elements by reading the elements of the illustration with the image generation AI ``Stable Diffusion''
In the image generation AI 'Stable Diffusion', you can freely generate images by entering sentences (prompts). However, in order to generate your favorite image, you need to stick to the prompts, and until you get used to it, you can't say 'generate your favorite image quickly'. If you use ' Tagger for Automatic1111's Web UI ', you can read the elements of the reference image, derive the Danbooru tag, and create a prompt that can generate an 'image similar to the reference image' in one shot. I tried.
GitHub - toriato/stable-diffusion-webui-wd14-tagger: Tagger for Automatic1111's Web UI
Tagger for Automatic1111's Web UI is provided as an extension for UI 'Stable Diffusion web UI (AUTOMATIC1111 version)' that can easily handle Stable Diffusion. You can check the installation procedure of Stable Diffusion web UI (AUTOMATIC1111 version) in detail in the following article.
Image generation AI ``Stable Diffusion'' works even with 4 GB GPU & various functions such as learning your own pattern can be easily operated on Google Colabo or Windows Definitive edition ``Stable Diffusion web UI (AUTOMATIC 1111 version)'' installation method summary - GIGAZINE
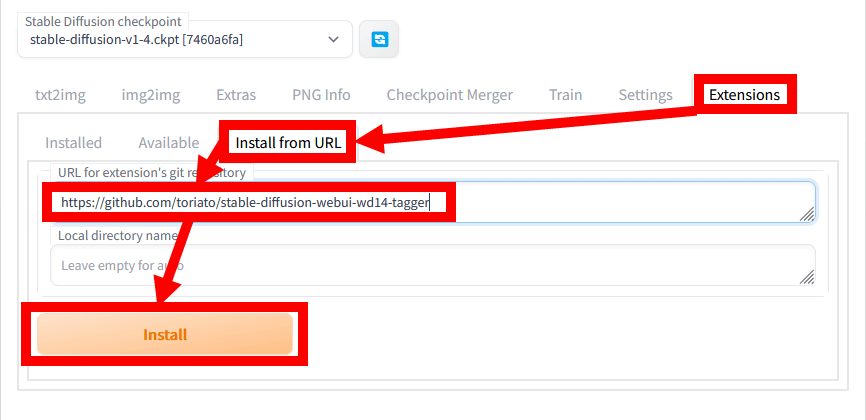
After installing Stable Diffusion web UI (AUTOMATIC 1111 version), start it, click 'Extensions' at the top of the screen and select 'Install from URL'. Then enter ' https://github.com/toriato/stable-diffusion-webui-wd14-tagger ' in the input field and click 'Install'.
When the installation is completed, click 'Installed' and click 'Apply and restart UI'.
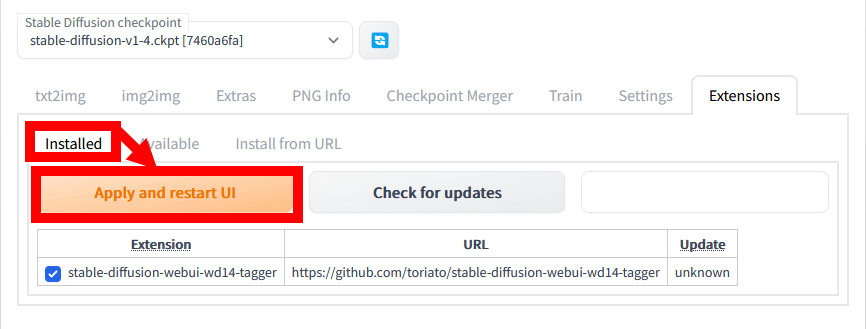
After that, restart the Stable Diffusion web UI (AUTOMATIC1111 version) to complete the installation of Tagger for Automatic1111's Web UI.

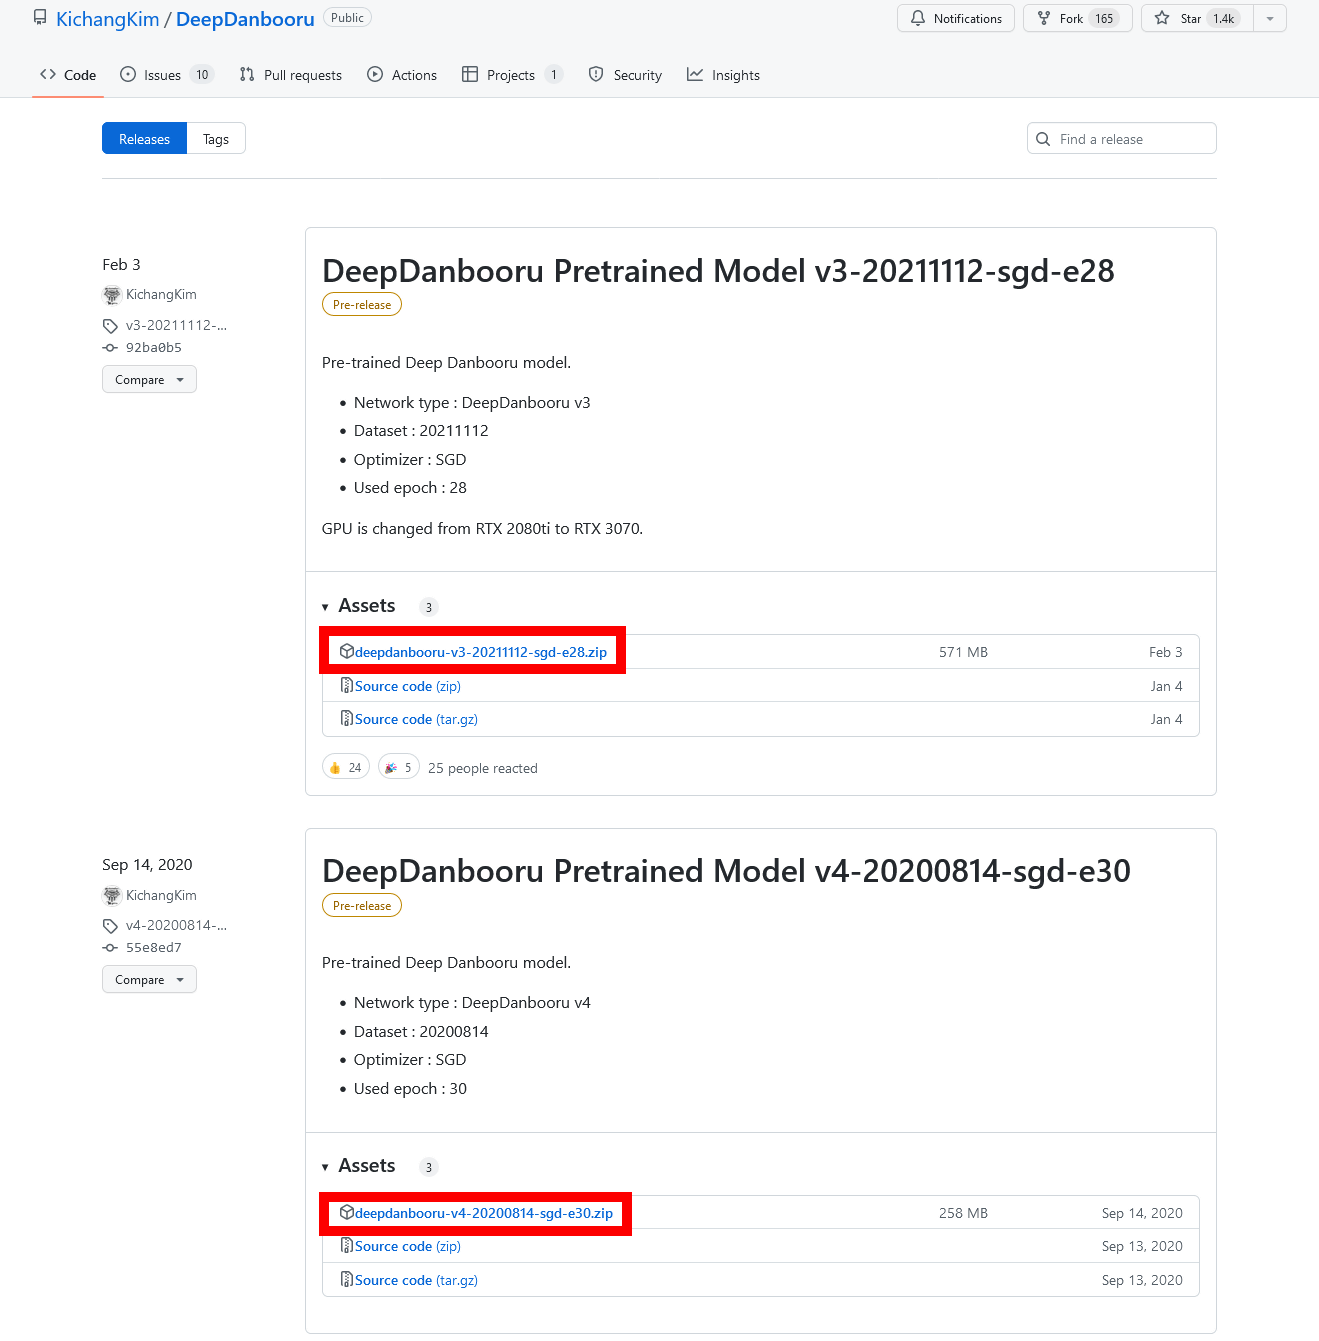
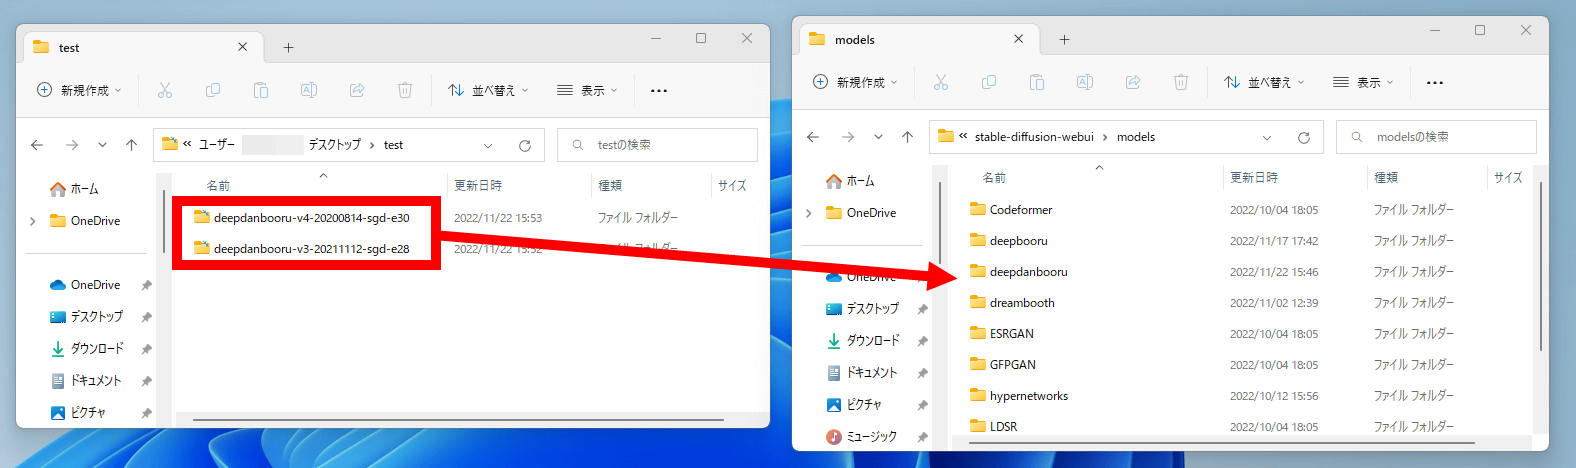
After installing the main unit, download the necessary model data. First, go to the DeepDanbooru model distribution page and download `` deepdanbooru-v3-20211112-sgd-e28.zip '' (571MB) and ` ` deepdanbooru-v4-20200814-sgd-e30.zip '' (258MB).
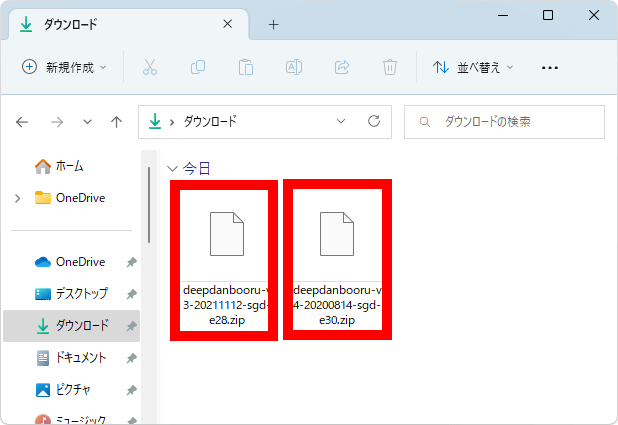
The model data is distributed in ZIP format, so unzip it after downloading.
Move the unzipped folder to the 'models' folder in the installation folder of Stable Diffusion web UI (AUTOMATIC1111 version).
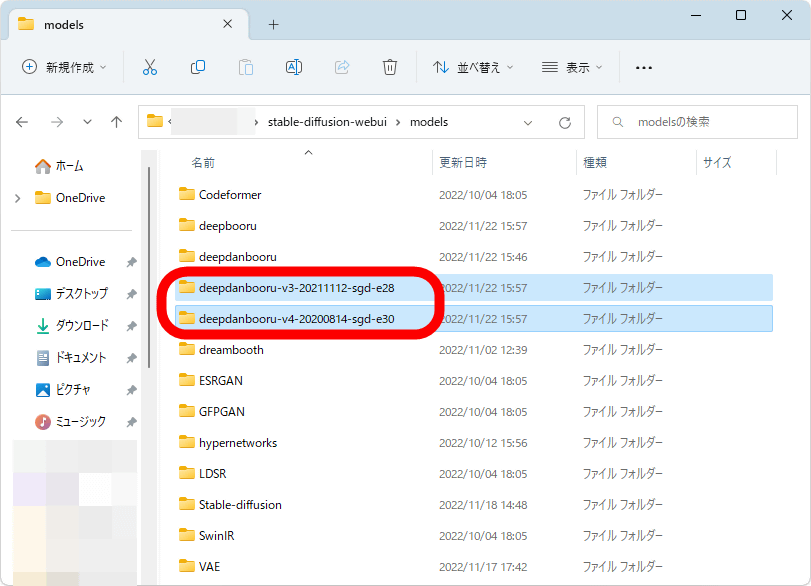
It is OK if two folders are displayed in the 'models' folder like this.
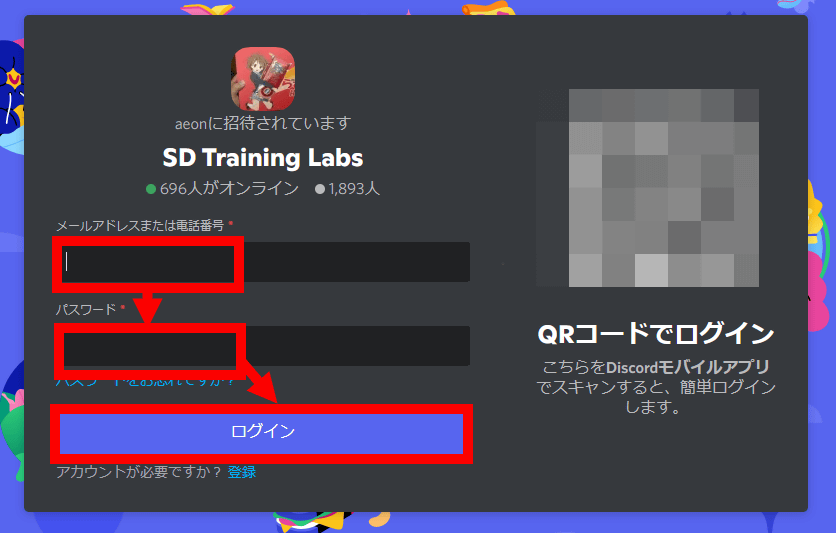
Next, join the Discord server from the

Next, enter your email address and password and click 'Login'.
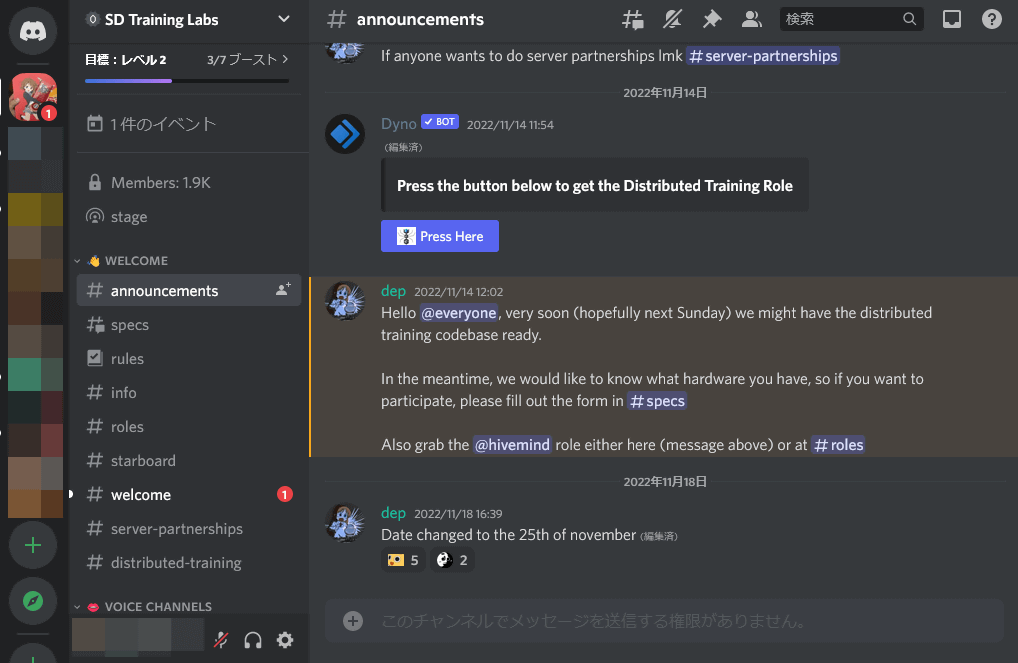
OK if you can join the 'SD Training Labs' server as follows.
Then go
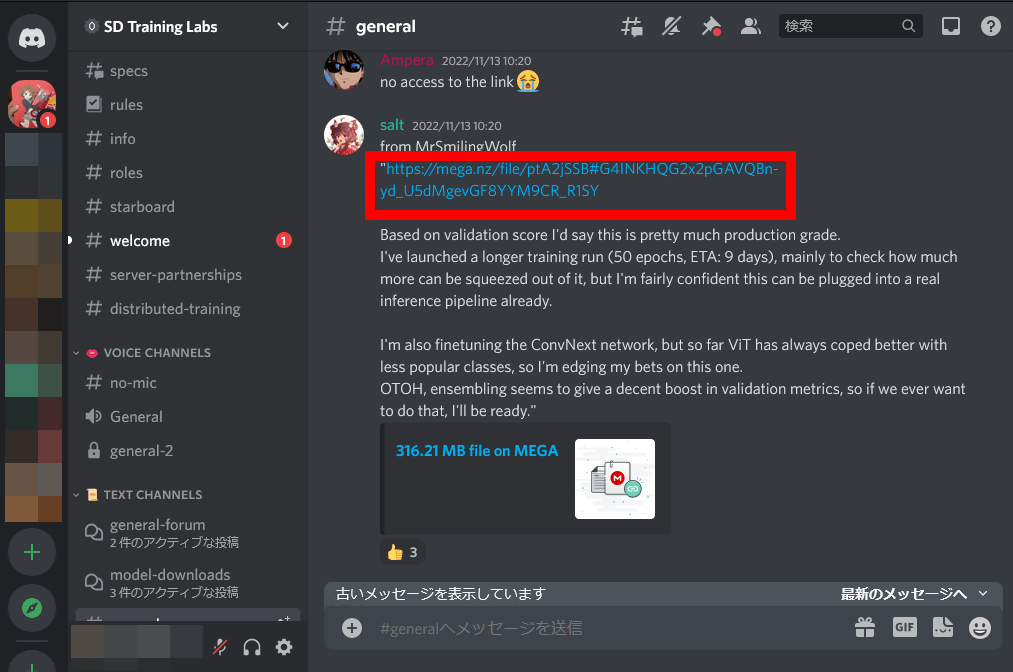
Then you can access the distribution page of the desired model (316.2 MB), so click 'Download'.
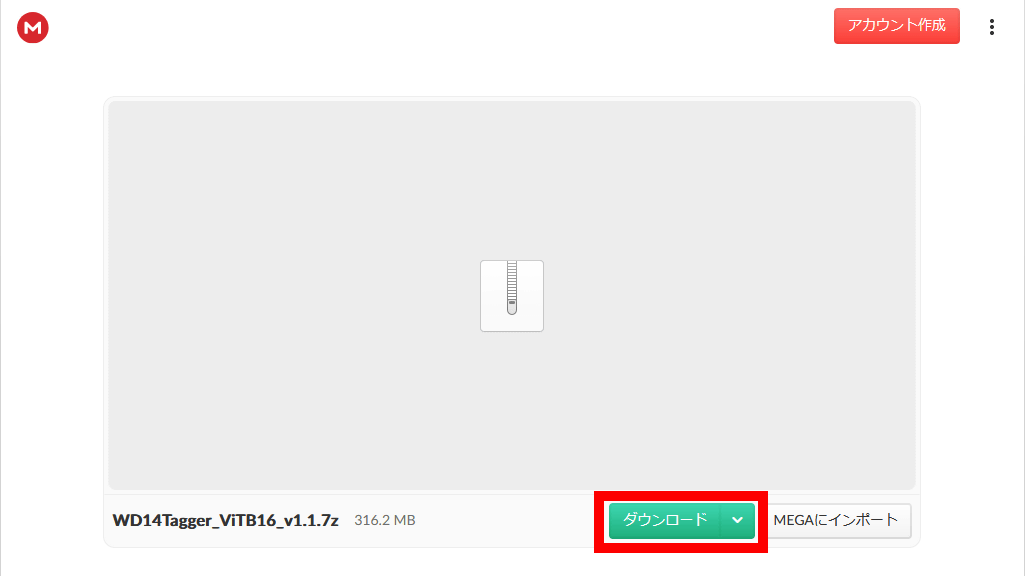
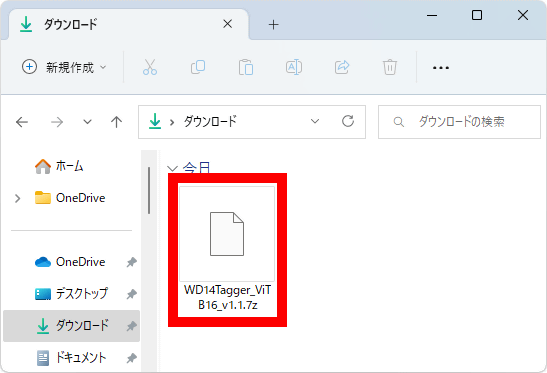
Since the model is compressed in 7z format, decompress it with compatible software such as '
Move the contents of the unzipped folder into the 'stable-diffusion-webui-wd14-tagger' folder in 'extensions' in the installation folder of Stable Diffusion web UI (AUTOMATIC1111 version).
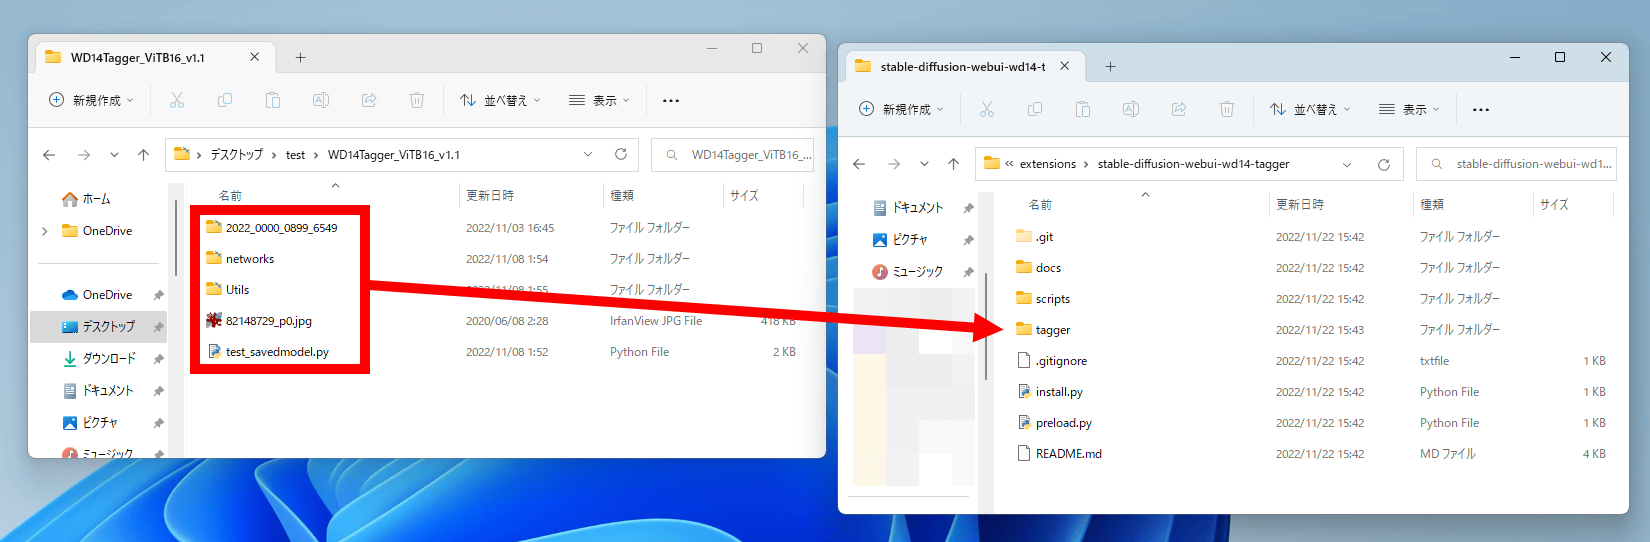
It is OK if the following files exist in 'stable-diffusion-webui-wd14-tagger'. Now you are ready to use Tagger for Automatic1111's Web UI.

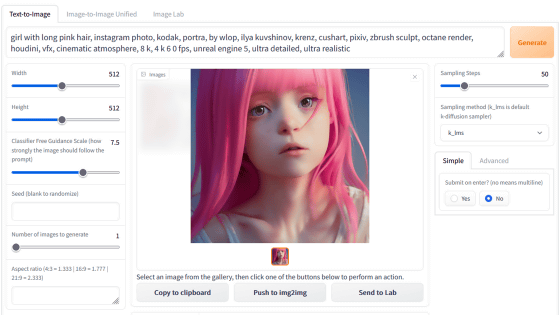
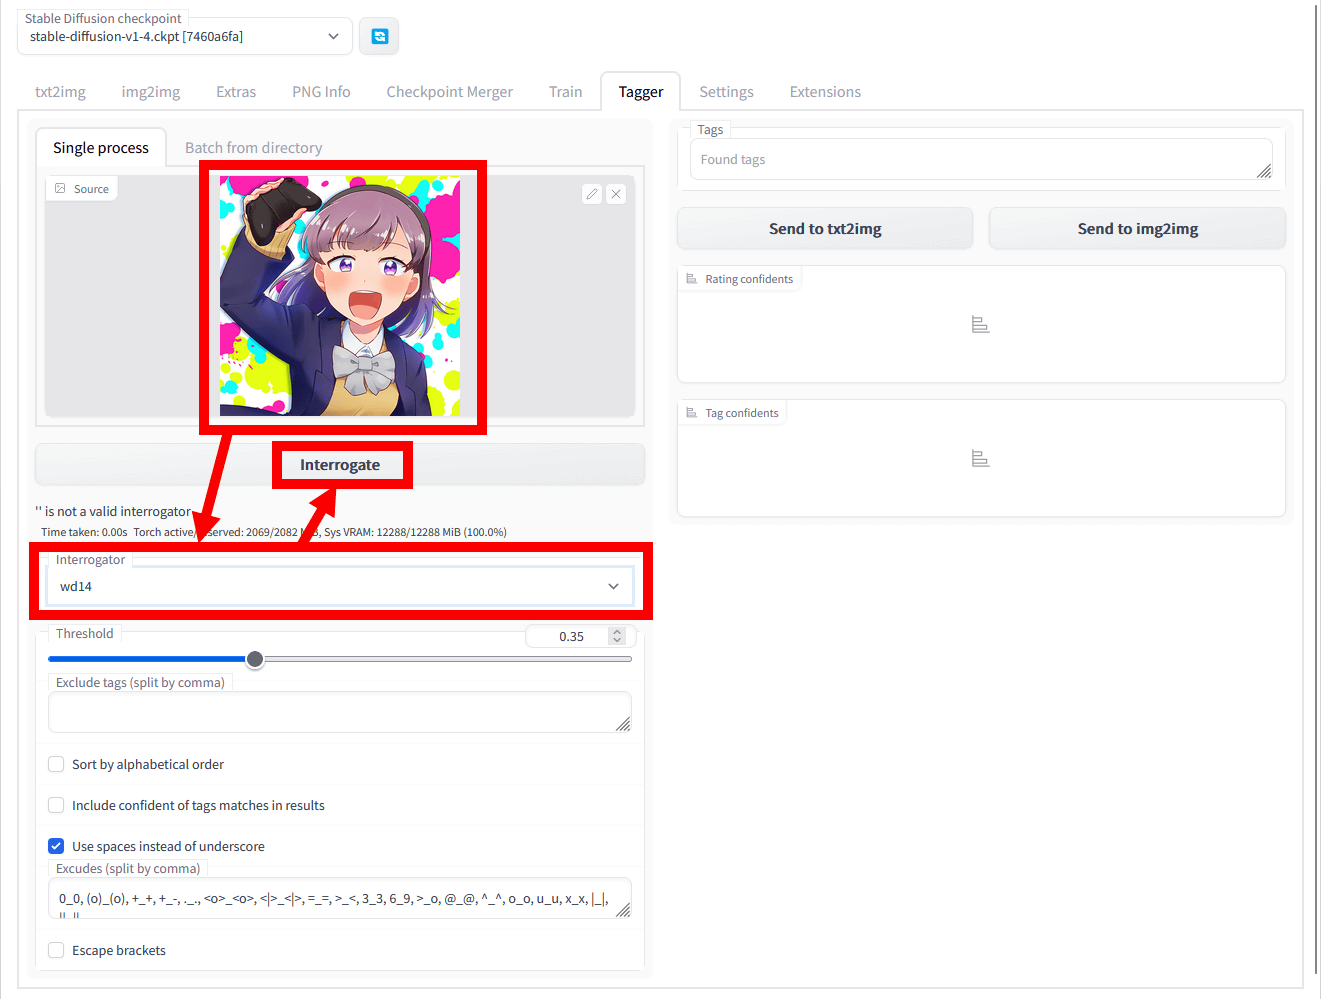
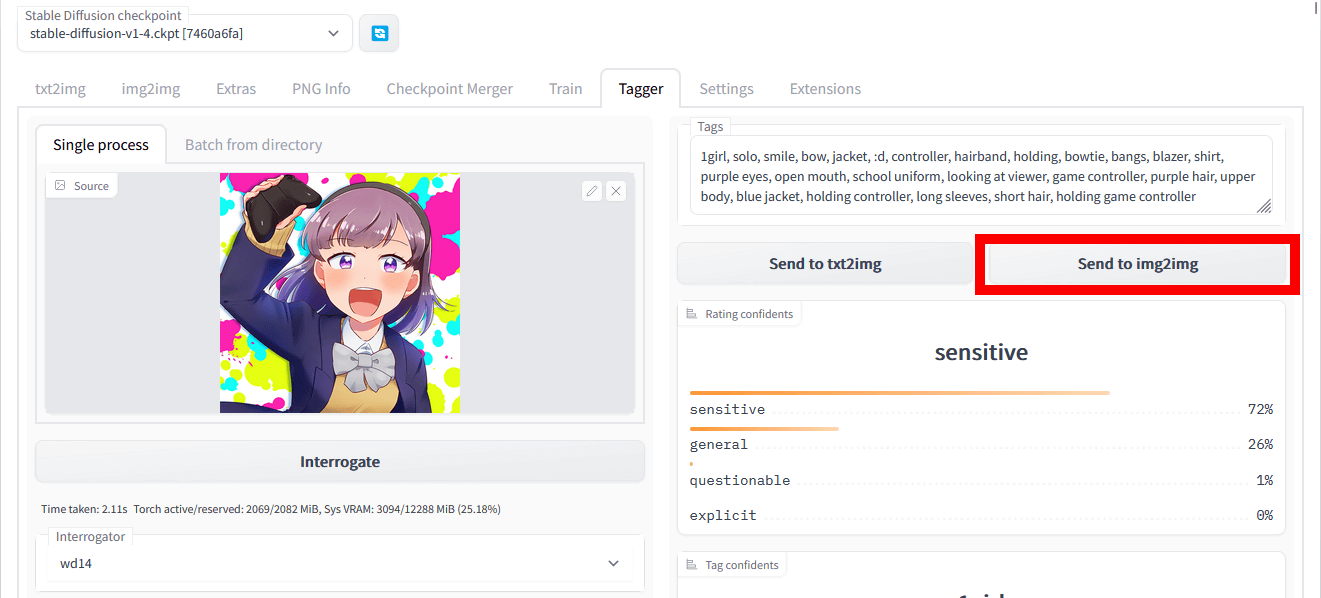
Tagger for Automatic1111's Web UI is easy to use. First, enter a reference image in the upper left image input field, select 'wd14' in 'Interrogator' at the bottom, and then click 'Interrogate'. This time, I specified the image of the full-color manga '
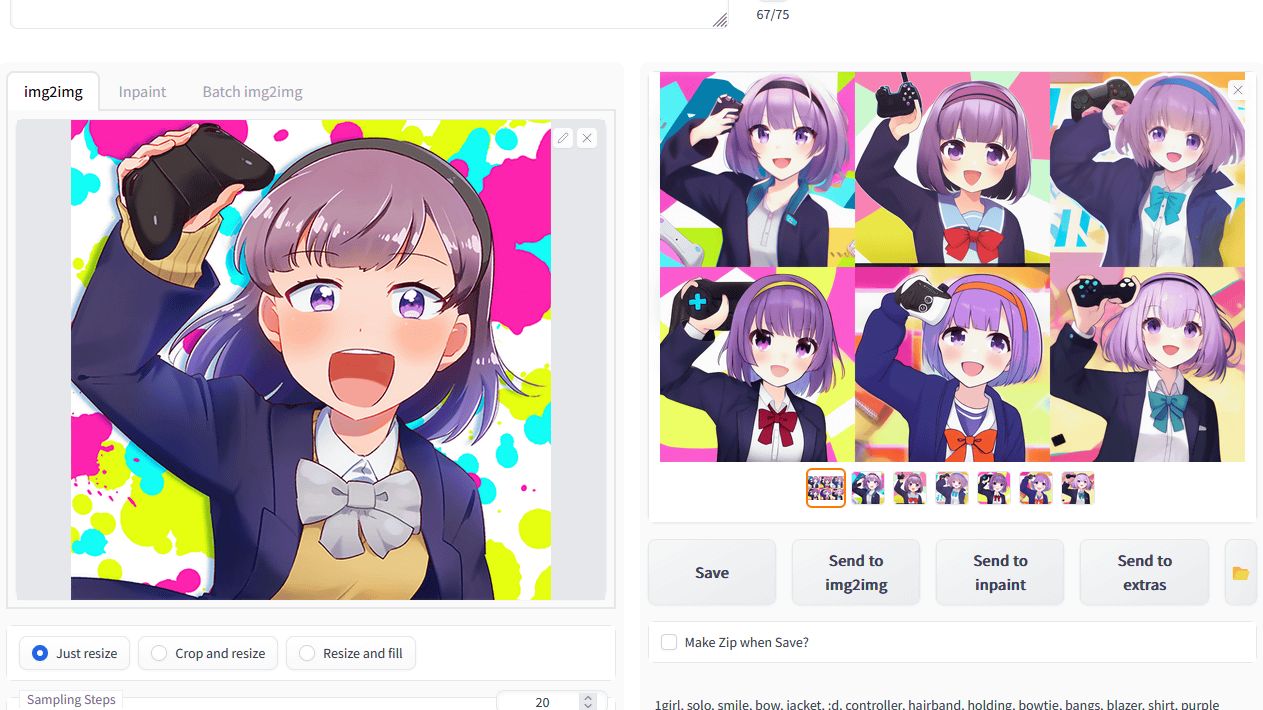
Wait a few seconds and you will see the generated prompt on the right side of the screen. This time, '1girl, solo, smile, bow, jacket, :d, controller, hairband, holding, bowtie, bangs, blazer, shirt, purple eyes, open mouth, school uniform, looking at viewer, game controller, purple hair, upper body, blue jacket, holding controller, long sleeves, short hair, holding game controller' was generated.
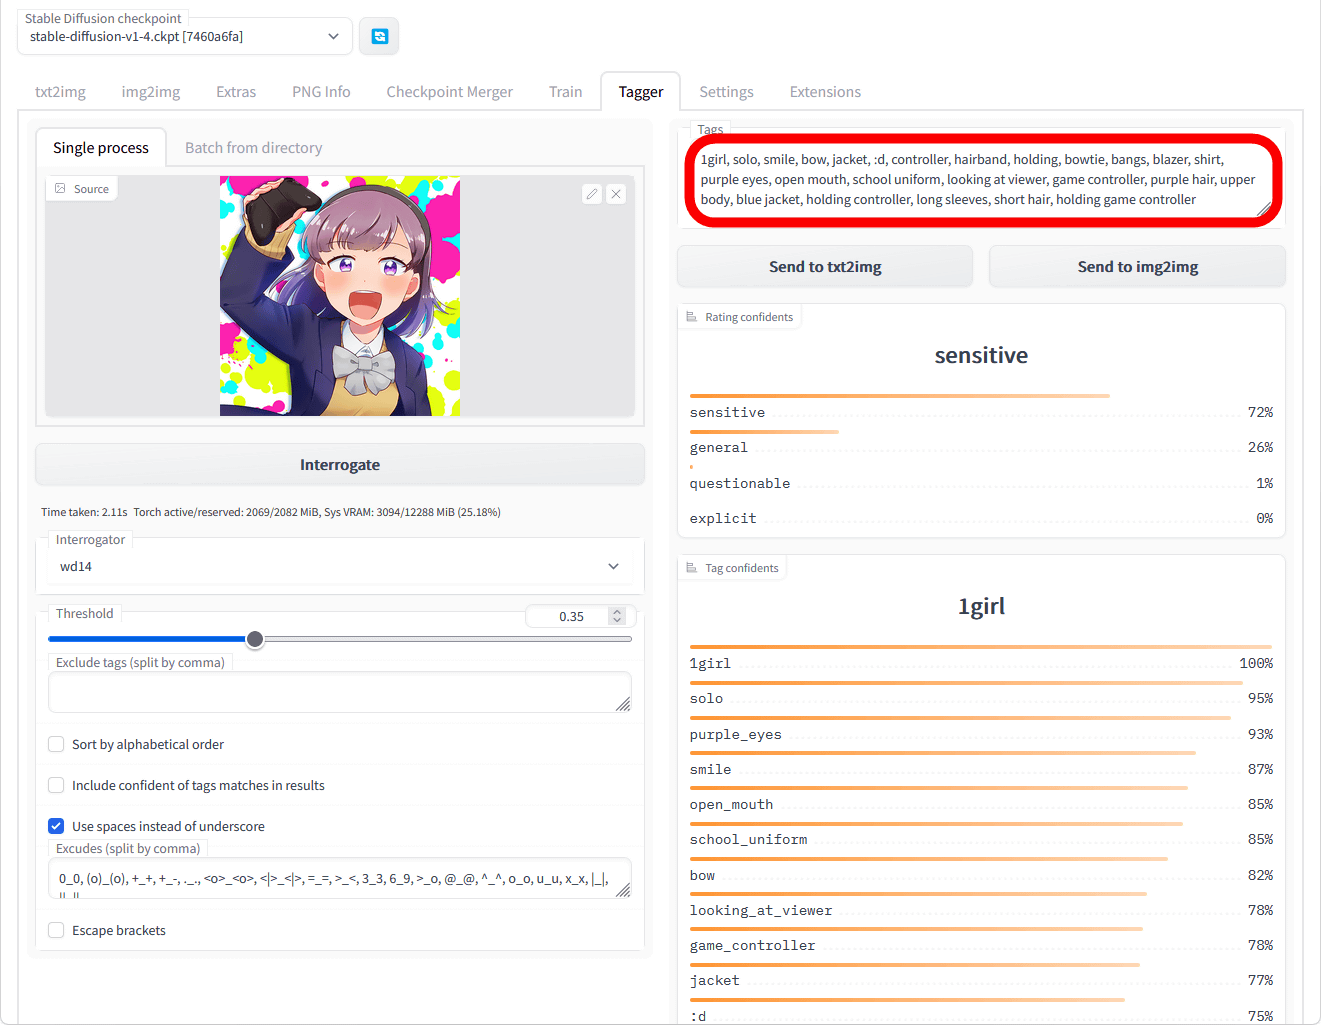
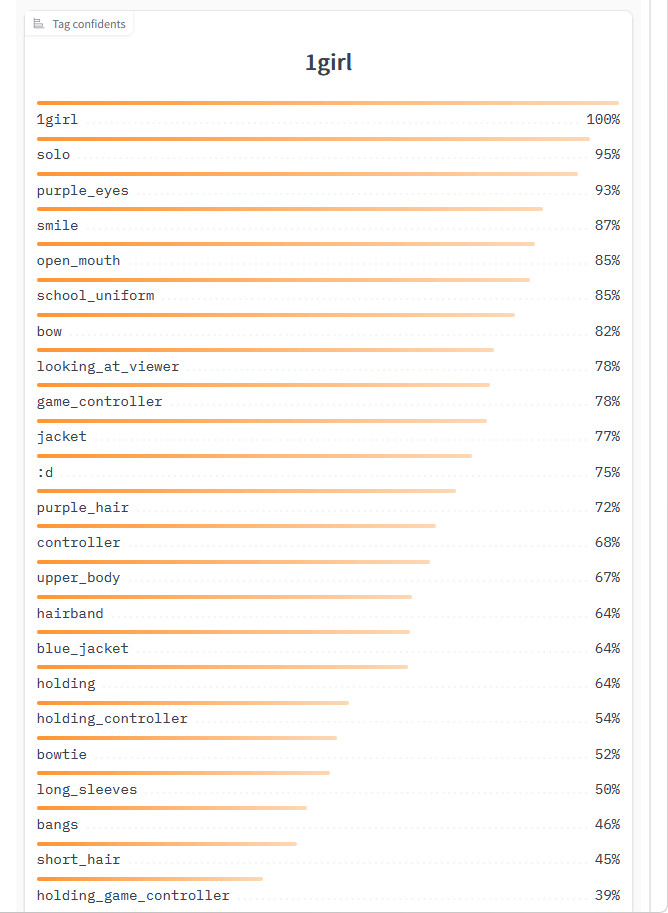
Scroll down to see the image and Danbooru tag relevance rates.
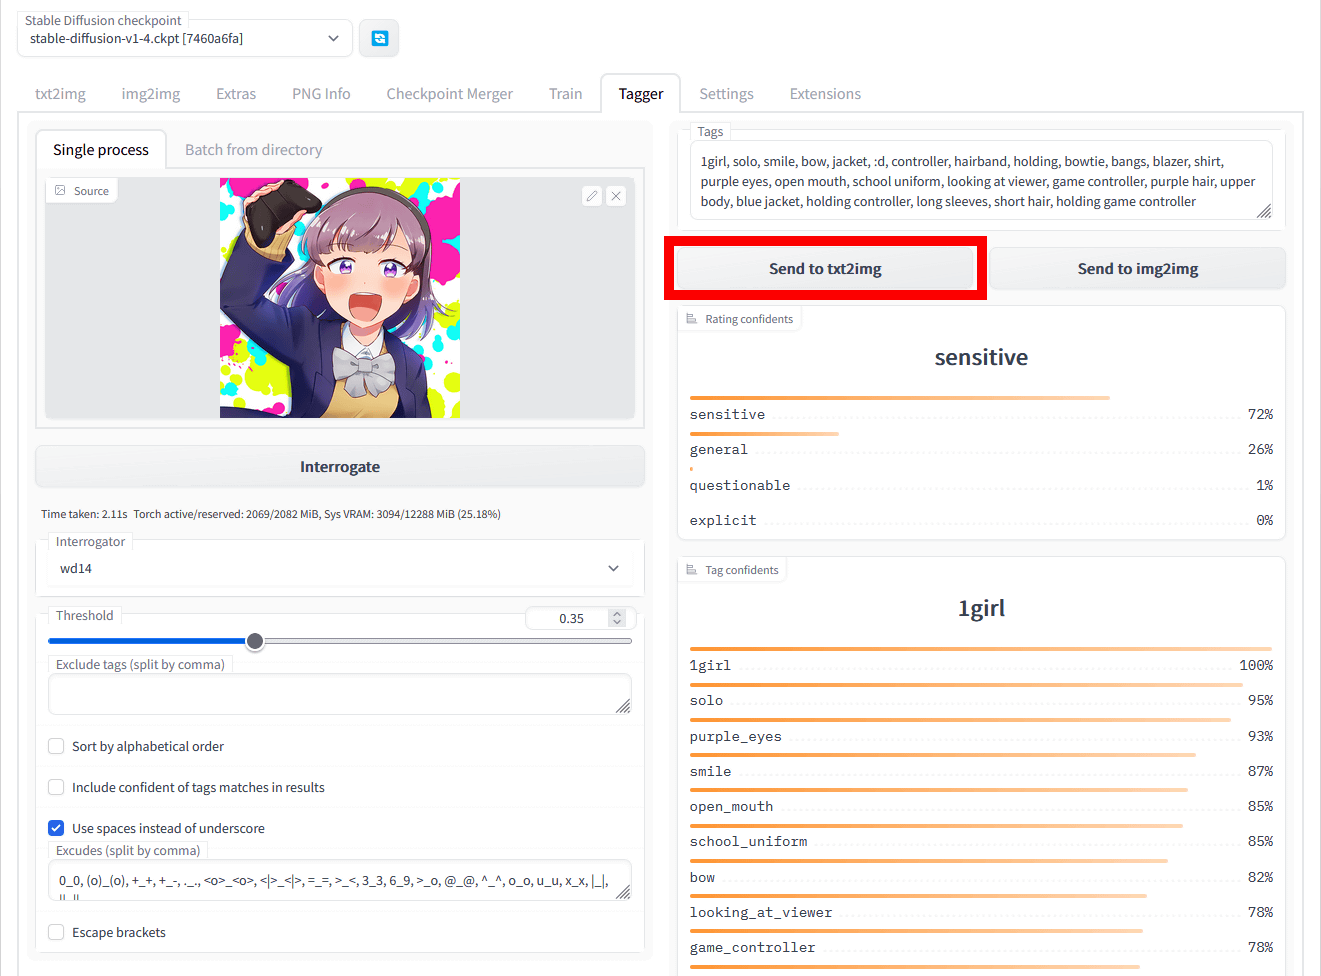
Click 'send to txt2img' to generate an image using the generated prompt.
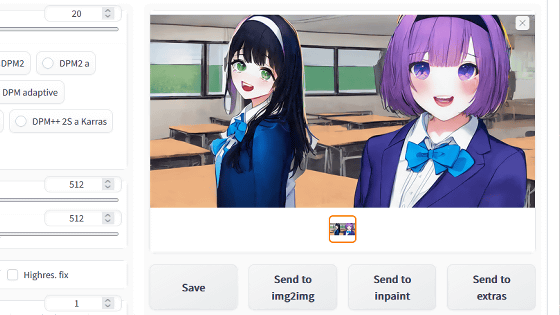
Then, the image generation screen opens, so click 'Generate' to generate the image. This time, I tried to generate an image using the model '

The generated result looks like this. Elements such as 'wearing a blazer', 'opening the mouth', 'purple eyes', and 'having a game controller' included in the reference image are beautifully reproduced.

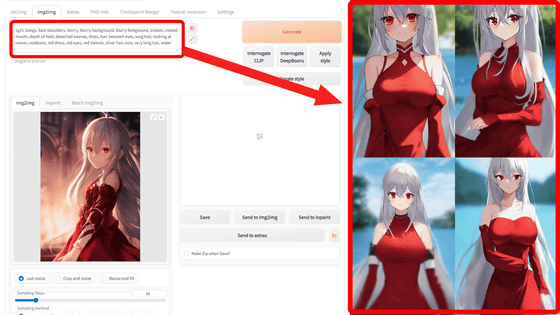
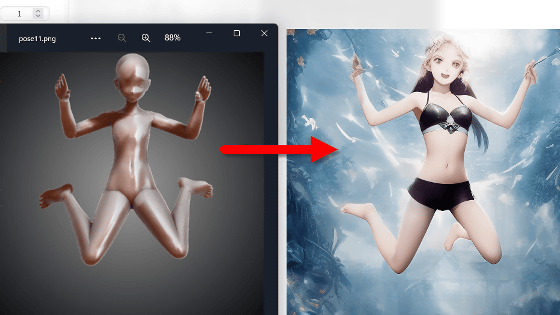
Next, click 'Send to img2img' to try image generation with
The result of inputting an image different from the original image together with the tag generated by Tagger for Automatic 1111's Web UI is like this. While maintaining the composition and background atmosphere of the specified image, we were able to generate an image with characteristics such as ``wearing a blazer'', ``open mouth'', ``purple eyes'', and ``having a game controller''.

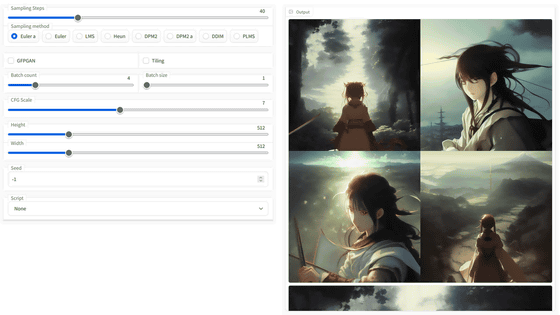
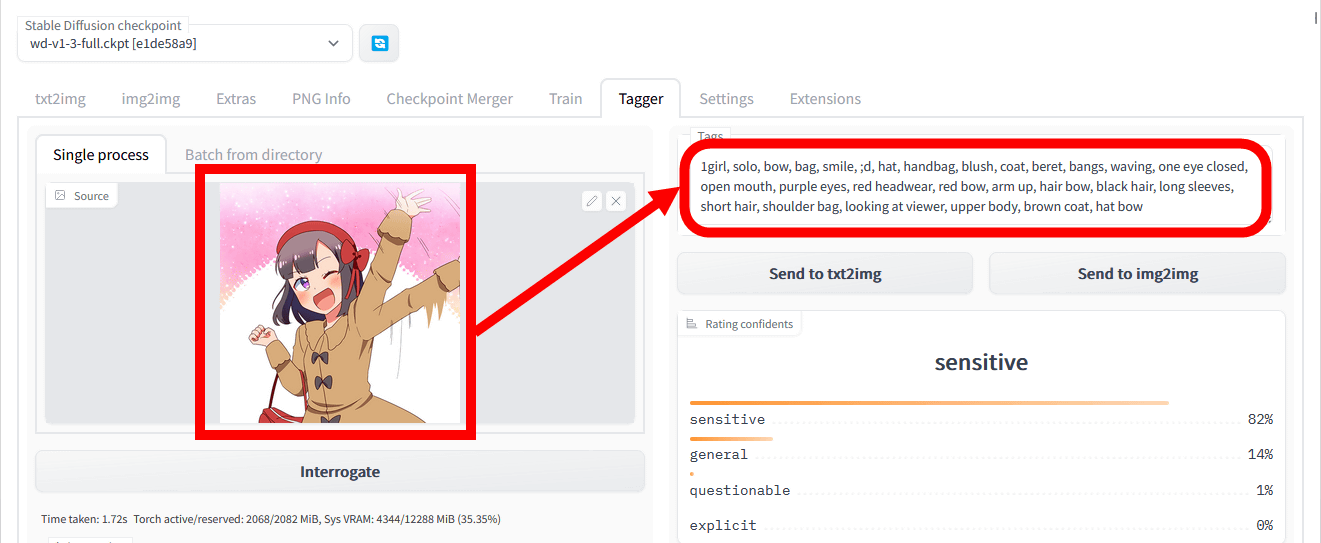
Next, let's specify an image of another scene depicting the same character as a reference image. The generated prompt is '1girl, solo, bow, bag, smile, ;d, hat, handbag, blush, coat, beret, bangs, waving, one eye closed, open mouth, purple eyes, red headwear, red bow, arm up, hair bow, black hair, long sleeves, short hair, shoulder bag, looking at viewer, upper body, brown coat, hat bow”.
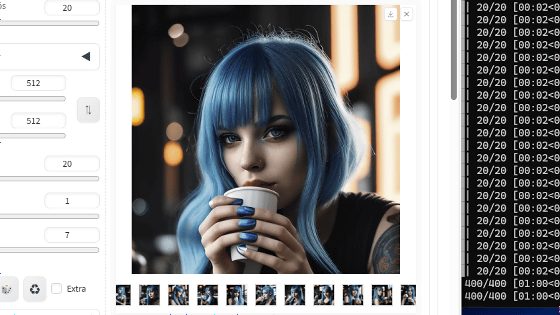
As a result of generating an image with txt2img using the above prompt, the following image was output.

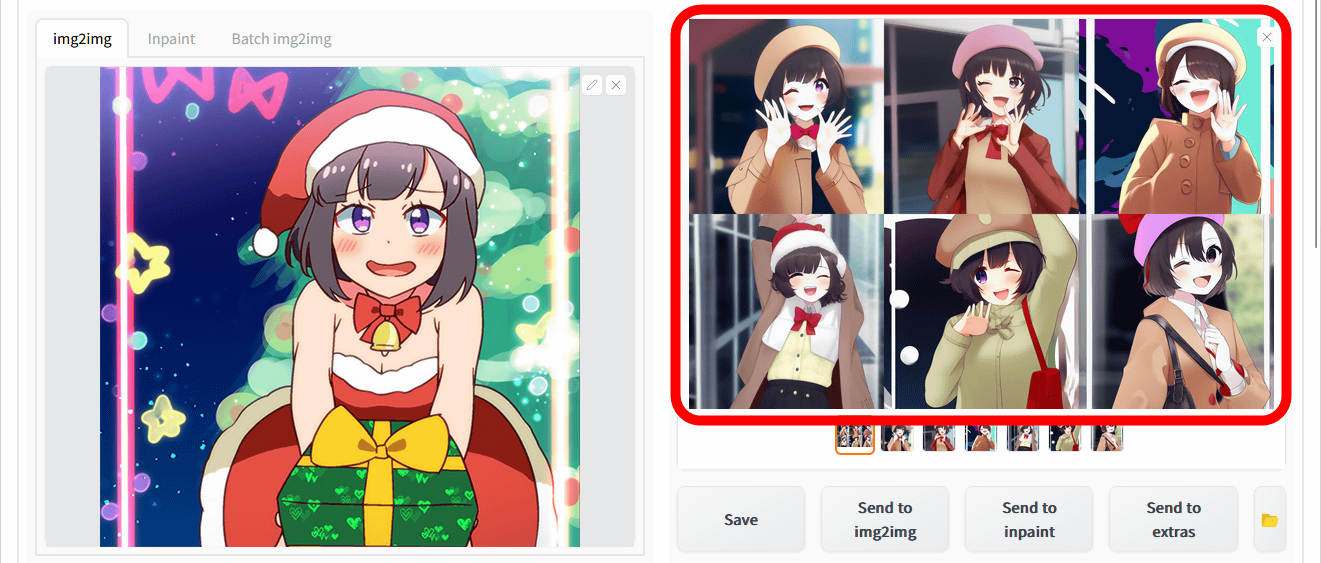
I also tried image generation with img2img as well as the first image. While maintaining the features such as 'wearing a brown coat' and 'closing one eye' included in the reference image, the orientation of the body and some of the accessories are closer to the input image.
Related Posts: