Summary of how to use `` Hua '' that can draw `` continuation of images '' one after another with image generation AI `` Stable Diffusion '' to quickly generate high-resolution images

The AI ``Stable Diffusion'', which can generate your favorite image just by entering text, has functions such as ``out painting'' that draws the continuation of the image and ``in painting'' that replaces part of the image with the generated image. is also installed. Since the UI ' Hua ' that makes it possible to intuitively use such out-painting and in-painting has been released, I tried to summarize the procedure to actually generate an image using Hua.
GitHub - BlinkDL/Hua: Hua is an AI image editor with Stable Diffusion (and more).
Hua is a UI that can be used in conjunction with Stable Diffusion's highly functional UI 'Stable Diffusion web UI (AUTOMATIC1111 version)'. The installation procedure for Stable Diffusion web UI (AUTOMATIC1111 version) is explained in detail in the following article.
Image generation AI ``Stable Diffusion'' works even with 4 GB GPU & various functions such as learning your own pattern can be easily operated on Google Colabo or Windows Definitive edition ``Stable Diffusion web UI (AUTOMATIC 1111 version)'' installation method summary - GIGAZINE
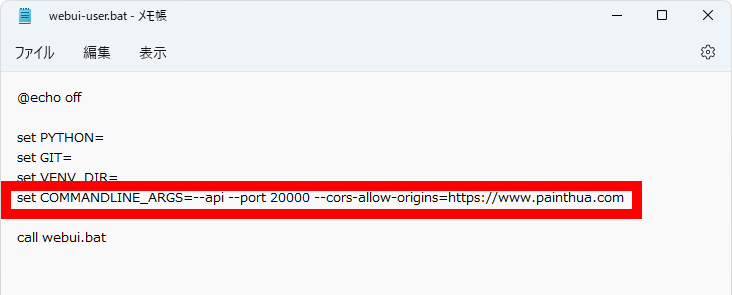
After installing Stable Diffusion web UI (AUTOMATIC1111 version), open 'webui-user.bat' saved in the installation folder with a text editor such as Notepad.
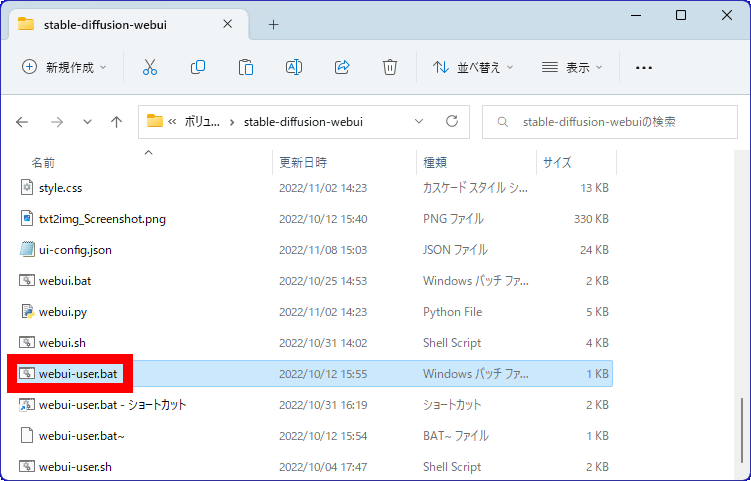
In 'webui-user.bat' there is a part marked 'set COMMANDLINE_ARGS=', so 'set COMMANDLINE_ARGS=' followed by ' --port xxxxx --cors-allow-origins=https:// www.painthua.com ” and save. Enter a random value from 10000 to 60000 in the 'xxxxx' part. This time I entered ' --port 20000 --cors-allow-origins=https://www.painthua.com '. Note that the '--cors-allow-origins' option is not supported by older versions of Stable Diffusion web UI (AUTOMATIC1111 version), so if you are using an older version, please upgrade before operating.
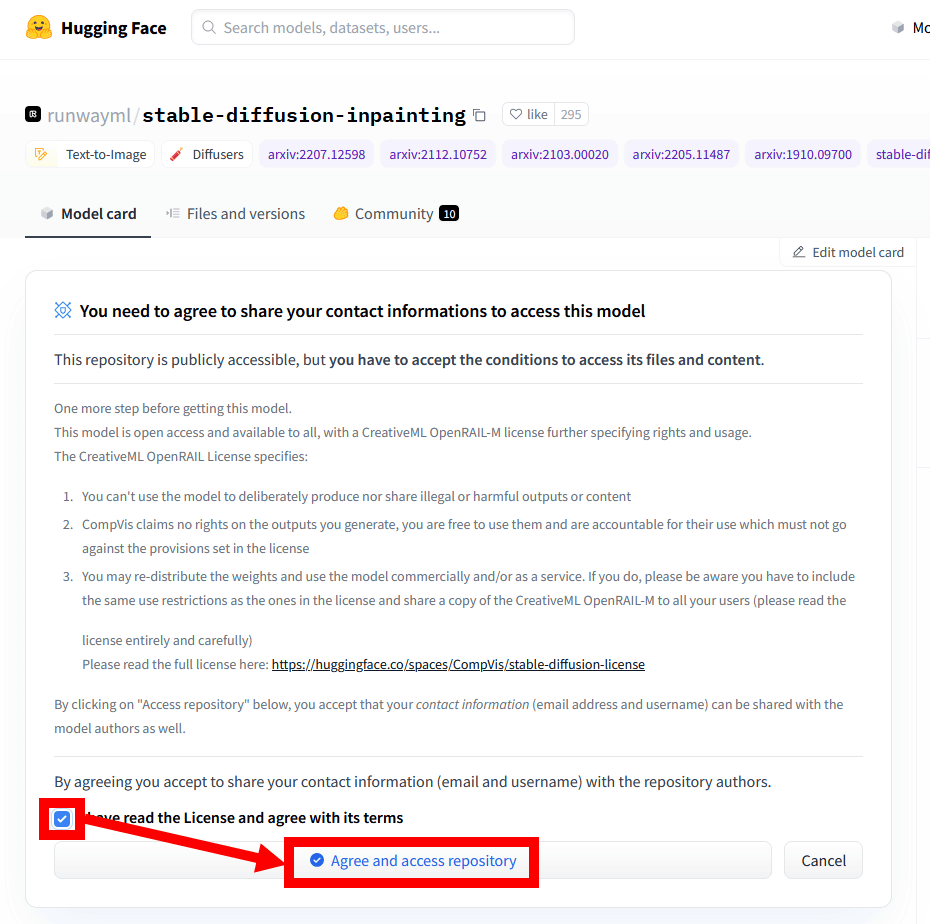
Next, download the model data 'sd-v1-5-inpainting.ckpt' that specializes Stable Diffusion to the inpainting function. First, access the
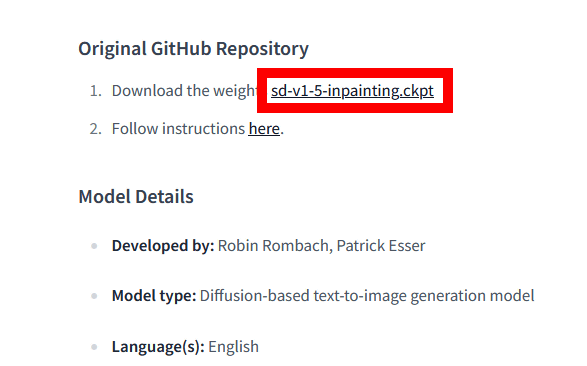
Download the model data by clicking the part written 'sd-v1-5-inpainting.ckpt' on the destination page. The file size is 3.97GB.
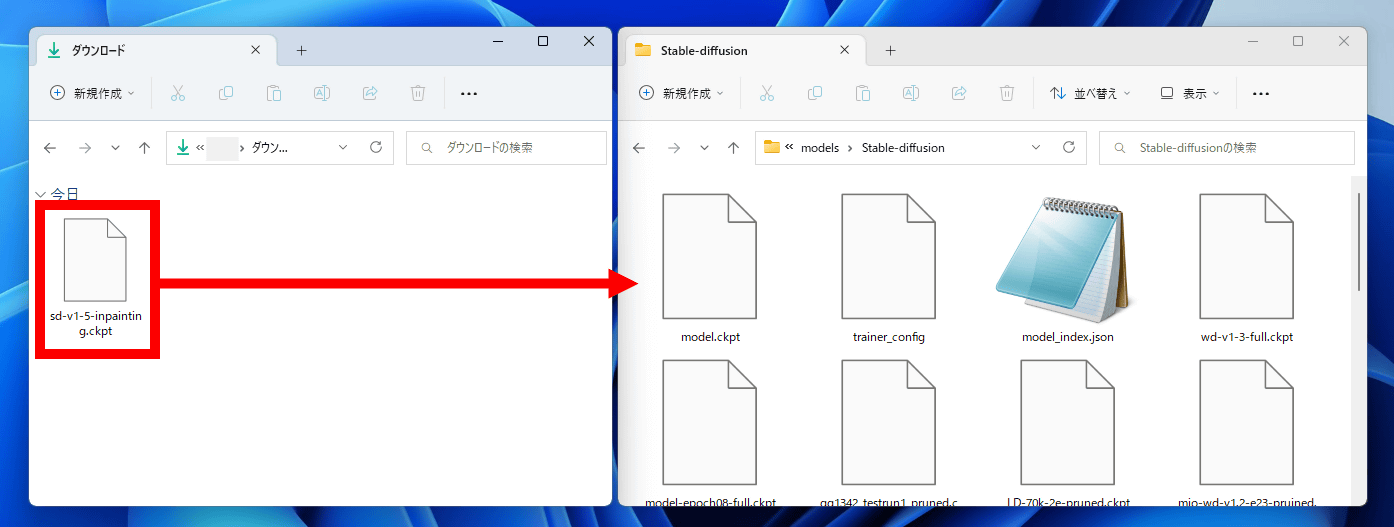
When the download is complete, move 'sd-v1-5-inpainting.ckpt' to the 'Stable-diffusion' folder in the 'models' folder in the installation folder of Stable Diffusion web UI (AUTOMATIC1111 version).
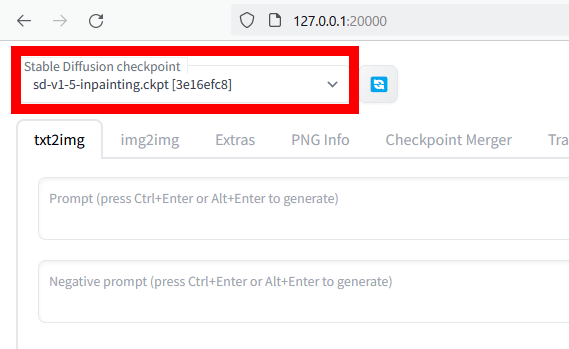
Next, start the Stable Diffusion web UI (AUTOMATIC1111 version) and select 'sd-v1-5-inpainting.ckpt' from the model selection field on the upper left of the screen.
Once everything is set up, click the link below to access Hua.
Hua - AI painting with Stable Diffusion
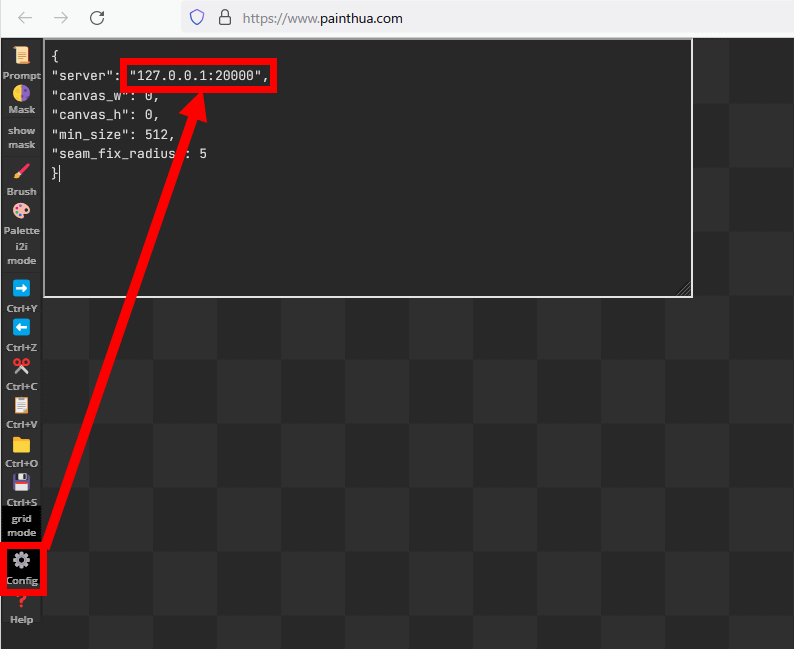
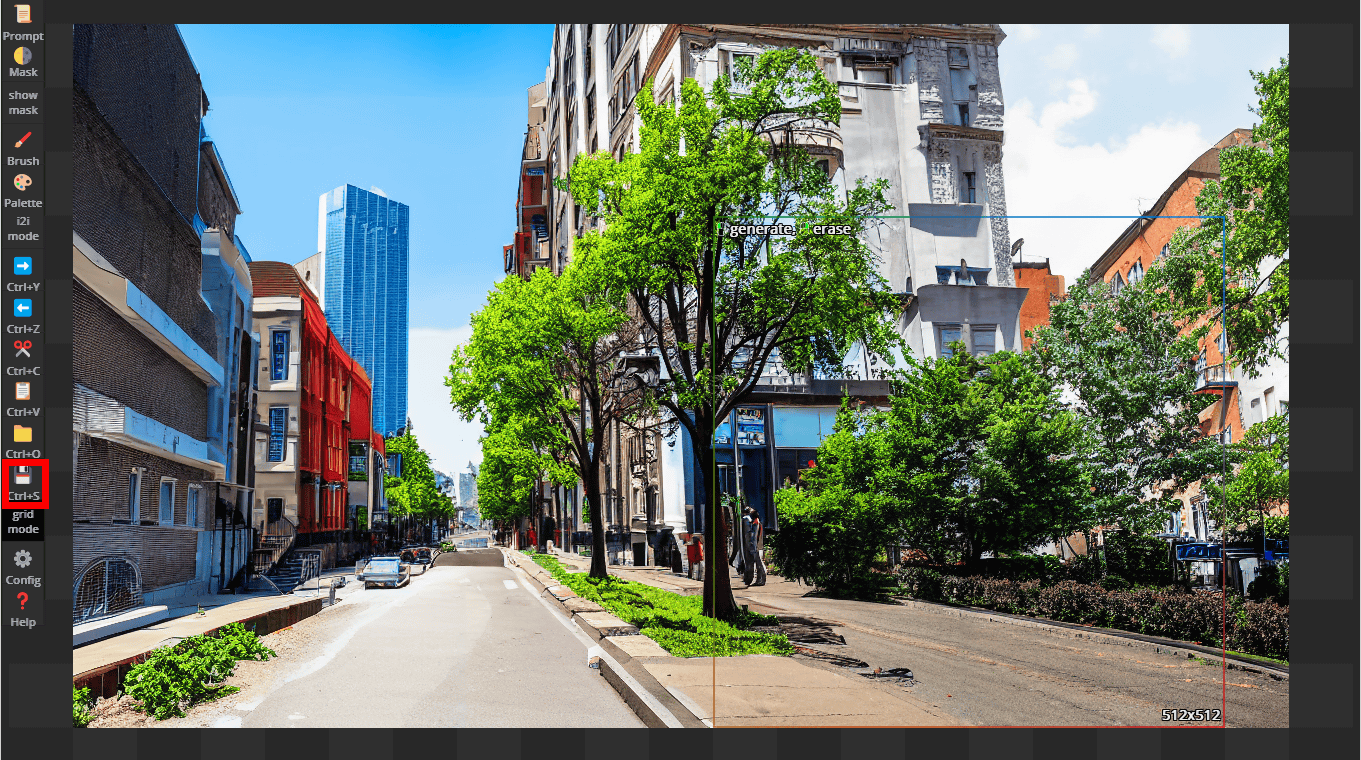
When you can access Hua, click 'Config' at the bottom left of the screen to display the settings, and set '7860' in the place marked '127.0.0.1:7860' according to the above procedure and replace it with the value. This time it was rewritten to '127.0.0.1:20000'. All settings are now complete.
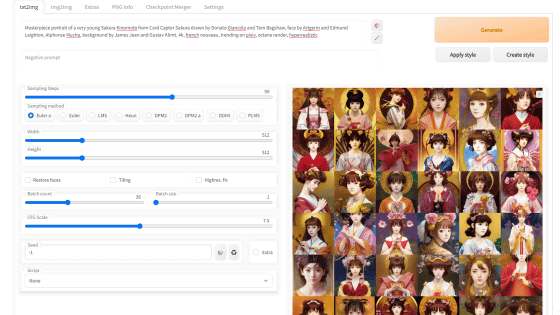
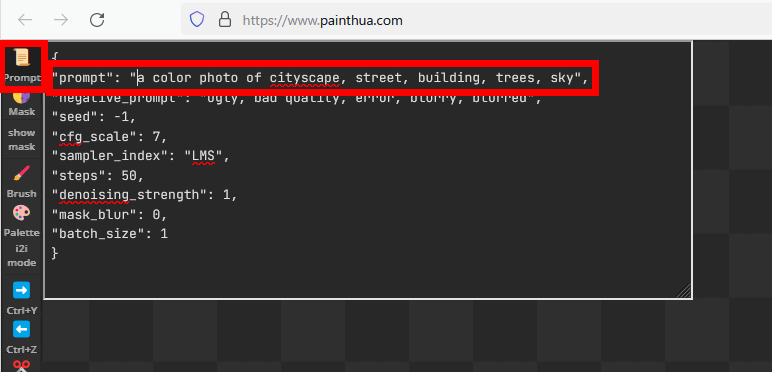
You can specify the prompt for the image generated by Hua by clicking 'Prompt' in the upper left of the screen. This time, I decided to use 'a color photo of cityscape, street, building, trees, sky' that was input from the initial state as a prompt.
Click anywhere on the screen to generate the image.
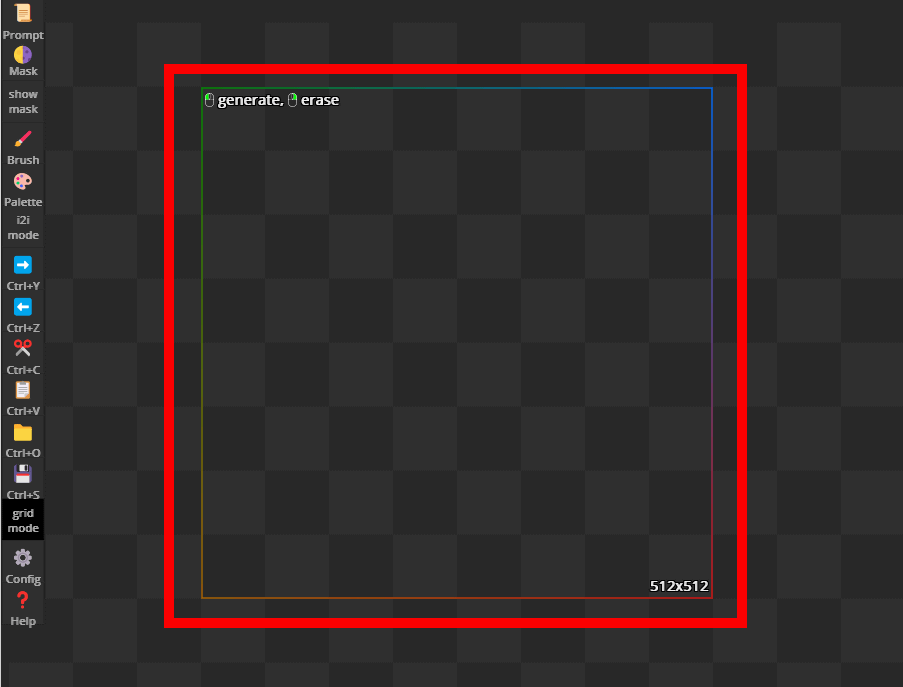
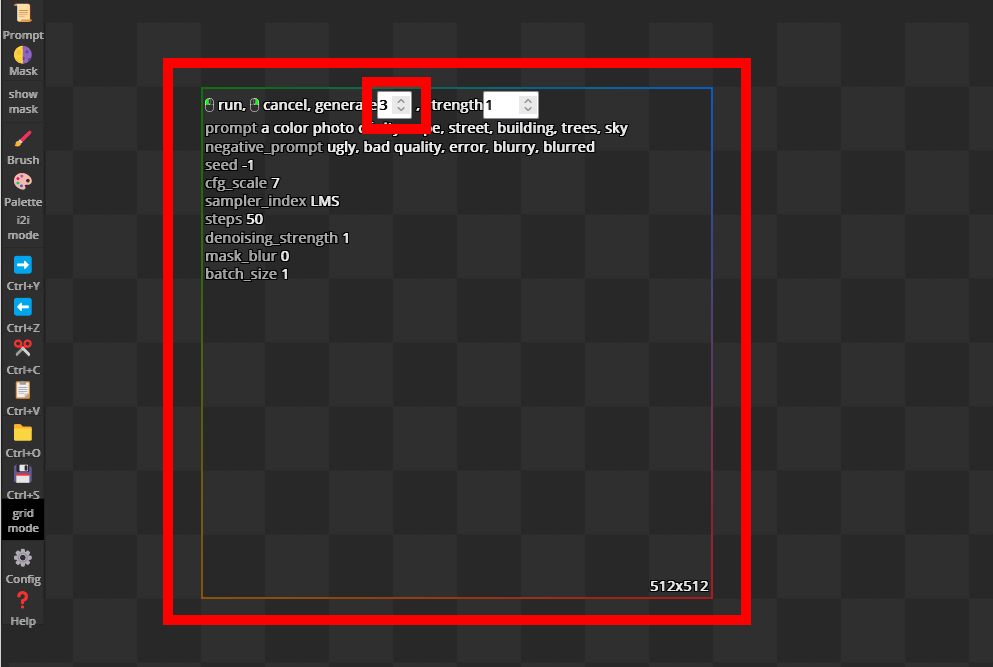
Then, the setting area for the number of copies and strength will be displayed in a square frame. Clicking on the screen again in this state will start generating the image. This time, I set the number of generated images to 3 and generated the images.
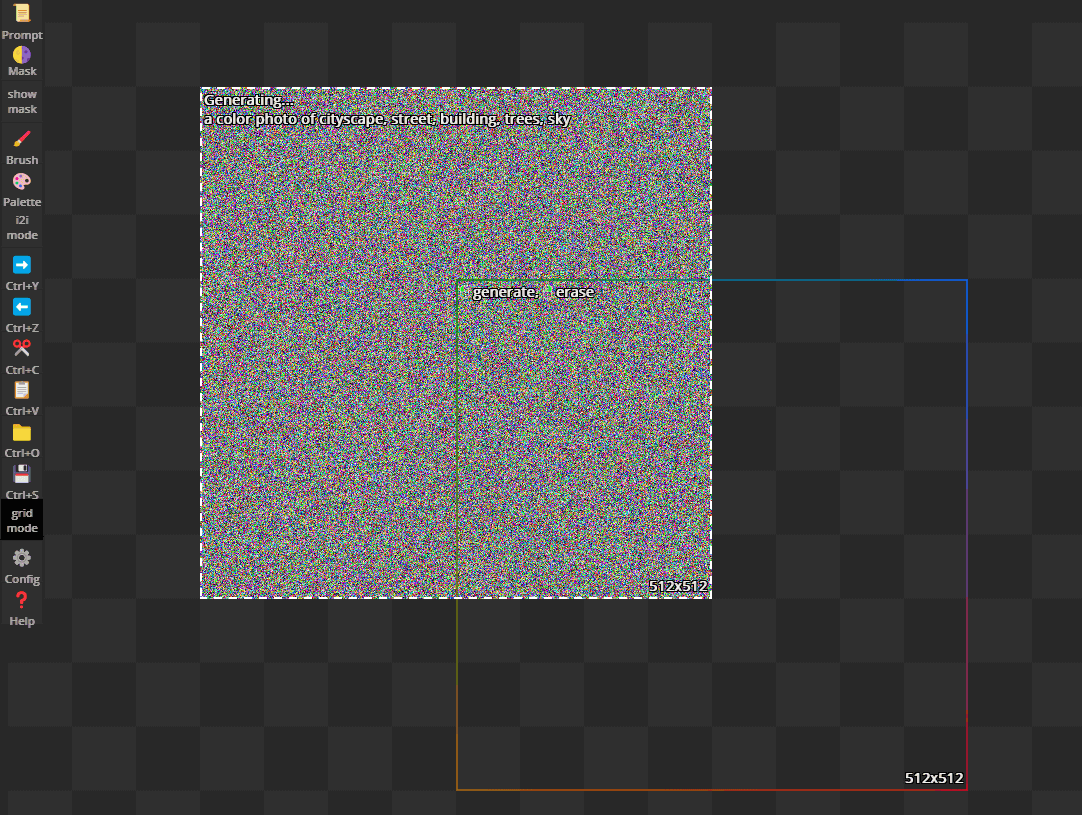
When image generation starts, the following noise is displayed, so wait for a while.
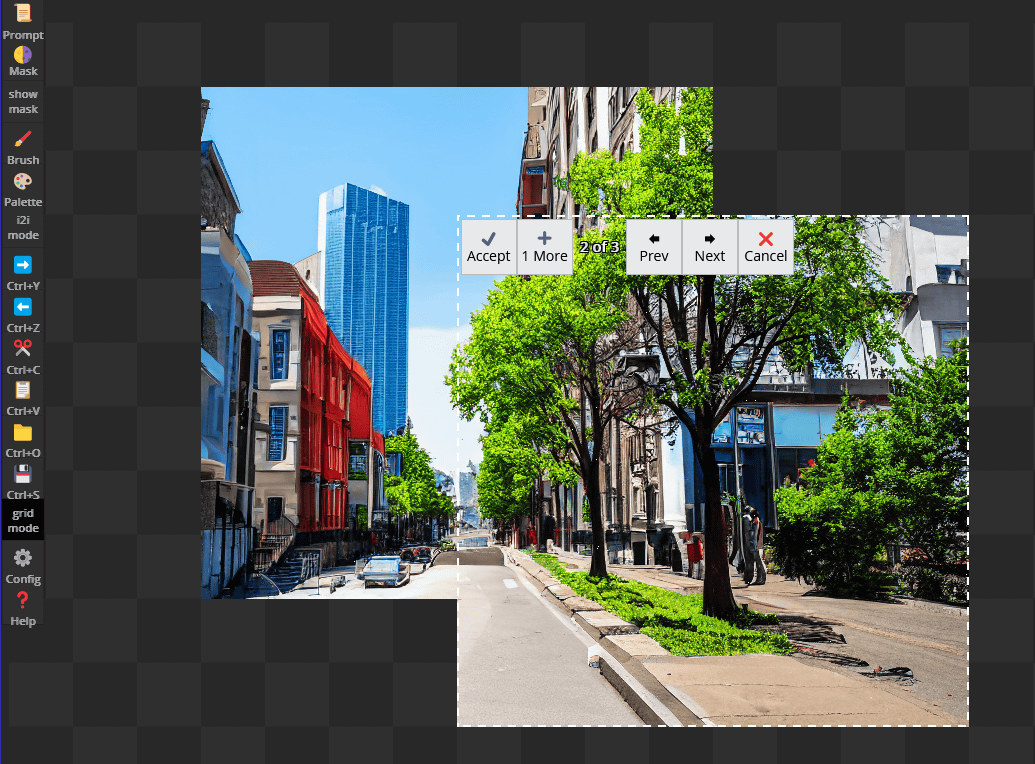
When the image generation is completed, the image selection button is displayed at the top of the image. Click 'Prev' or 'Next' to select an image, then click 'Accept' to confirm the image to use.

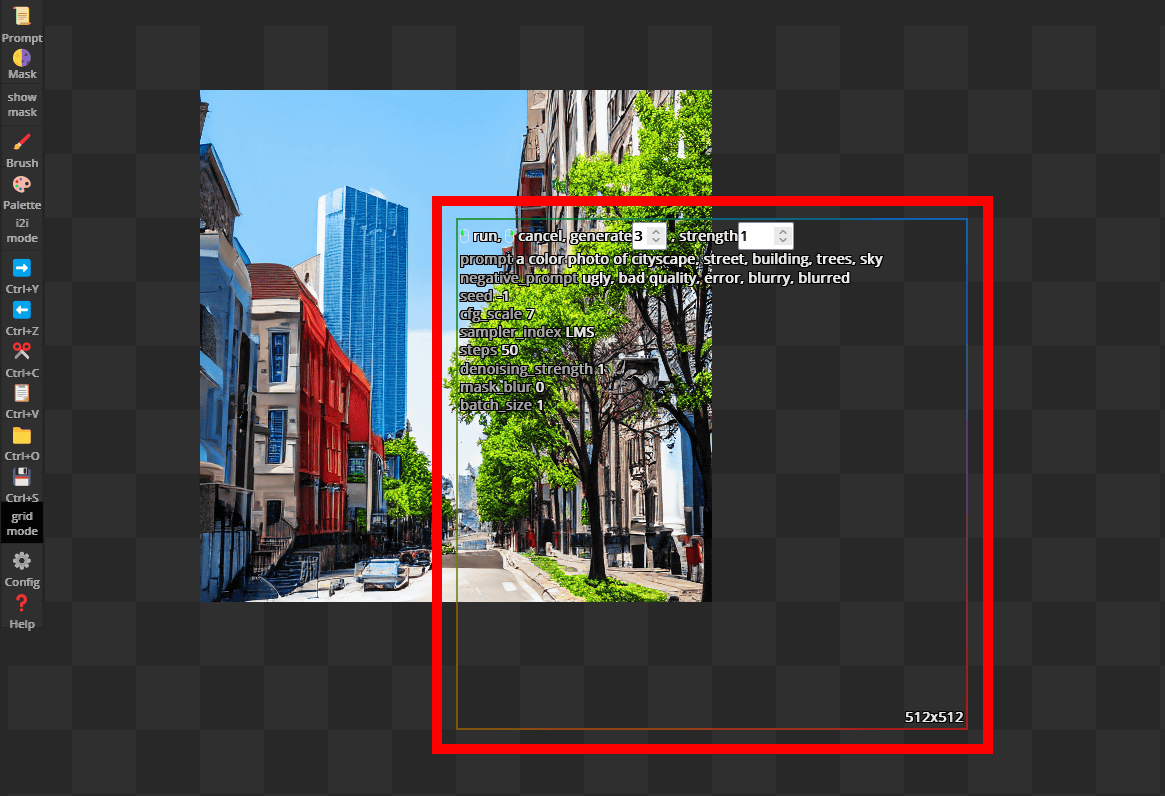
After completing the first image generation, specify the second image generation position.
The second image generated is below. Roads and trees are generated as a continuation of the first image.
The result of generating a total of 8 images is as follows. I was able to generate an image that felt so natural that I couldn't tell where the seams were. If you want to save the image, click the save button on the left side of the screen or press 'Ctrl + S' on the keyboard.
Hua also allows 'inpainting', which specifies a part of an image and replaces it with a generated image. To perform inpainting, click 'Mask' on the left side of the screen, then fill in the part of the image you want to replace.
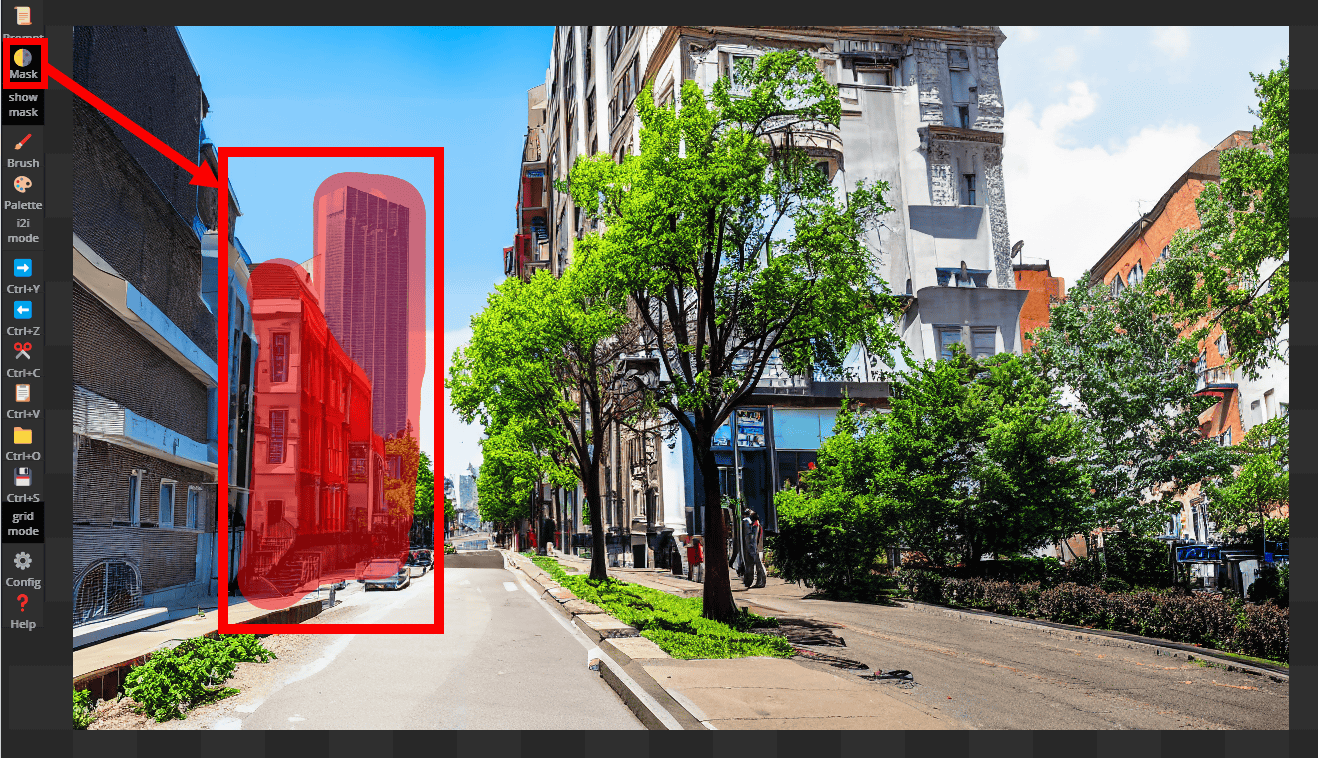
When the image is regenerated on top of the filled area, only the red filled area is replaced with the new image.

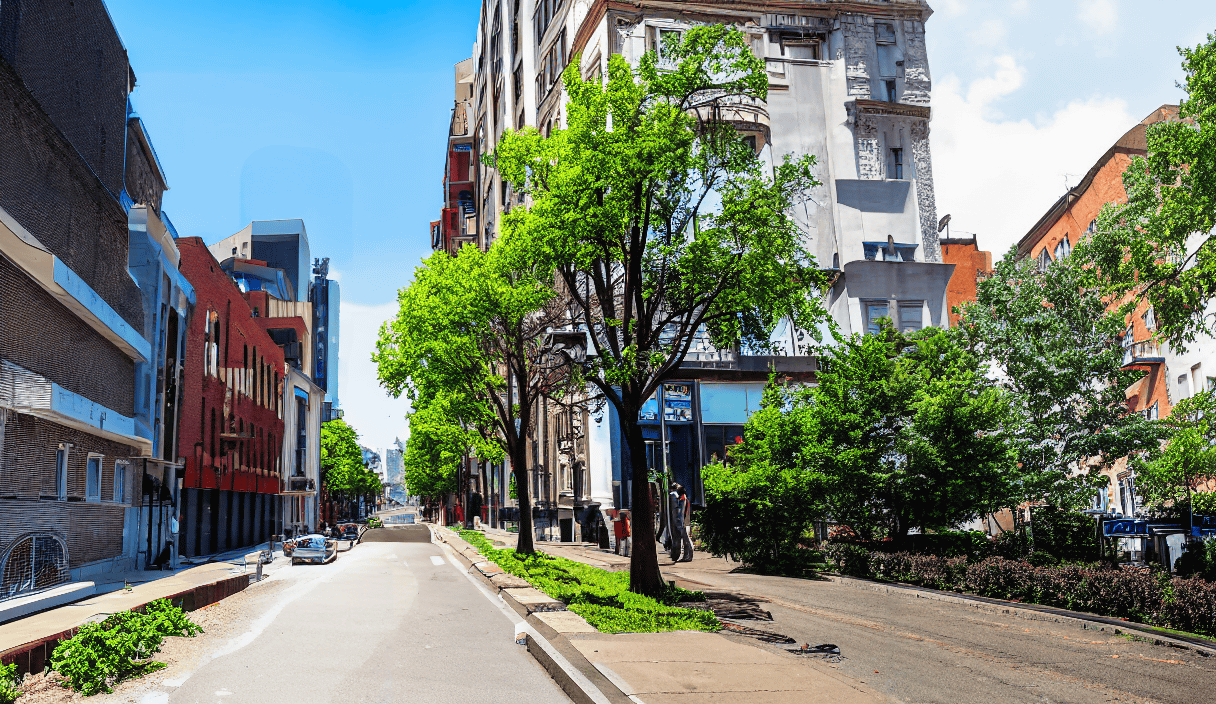
The final completed image is below. With image generation AI, it is difficult to generate an image with a ratio other than square or to generate an image containing multiple objects in one shot. I was able to generate a landscape image in minutes.
Related Posts: