Image generation AI 'Stable Diffusion' Summary of how to use each Script of img2img such as 'Out painting' which adds background and continuation while keeping the pattern and composition as it is
The `` AUTOMATIC 1111 version Stable Diffusion web UI '', which allows you to operate the image generation AI `` Stable Diffusion '', which was released to the public in August 2022, is extremely versatile and has been updated at a tremendous pace. As a UI tool for Stable Diffusion, it can be said to be the definitive version at the time of article creation. In such AUTOMATIC 1111 version Stable Diffusion web UI, a convenient Script is prepared for 'img2img' that can generate images from images, so I actually tried using it.
GitHub - AUTOMATIC1111/stable-diffusion-webui: Stable diffusion web UI
https://github.com/AUTOMATIC1111/stable-diffusion-webui
The following article summarizes how to introduce the AUTOMATIC 1111 version of Stable Diffusion web UI to the local environment or Google Colaboratory.
Image generation AI ``Stable Diffusion'' works even with 4 GB GPU & various functions such as learning your own pattern can be easily operated on Google Colabo or Windows Definitive edition ``Stable Diffusion web UI (AUTOMATIC 1111 version)'' installation method summary - GIGAZINE
Also, you can understand the basic usage of the AUTOMATIC 1111 version Stable Diffusion web UI by reading the following article.
Basic usage of ``Stable Diffusion web UI (AUTOMATIC 1111 version)'' that can easily use ``GFPGAN'' that can clean the face that tends to collapse with image generation AI ``Stable Diffusion''-GIGAZINE
And the basic usage of img2img has been summarized in the following article.
Simple usage summary of `` img2img '' that can automatically generate images with composition and color similar to the original image with image generation AI `` Stable Diffusion web UI (AUTOMATIC 1111 version) '' and change only the specified part - GIGAZINE
◆Out painting
Outpainting is the process of adding visual elements of the same style or developing a story in a new direction by adding natural language descriptions to add content that goes beyond the original frame of the image. Outpainting is also installed in ' DALL E 2 ' developed by the artificial intelligence research group OpenAI .
A new function `` Outpainting '' that adds backgrounds and continuations while keeping the pattern as it is with the image generation AI `` DALL E 2 ''-GIGAZINE
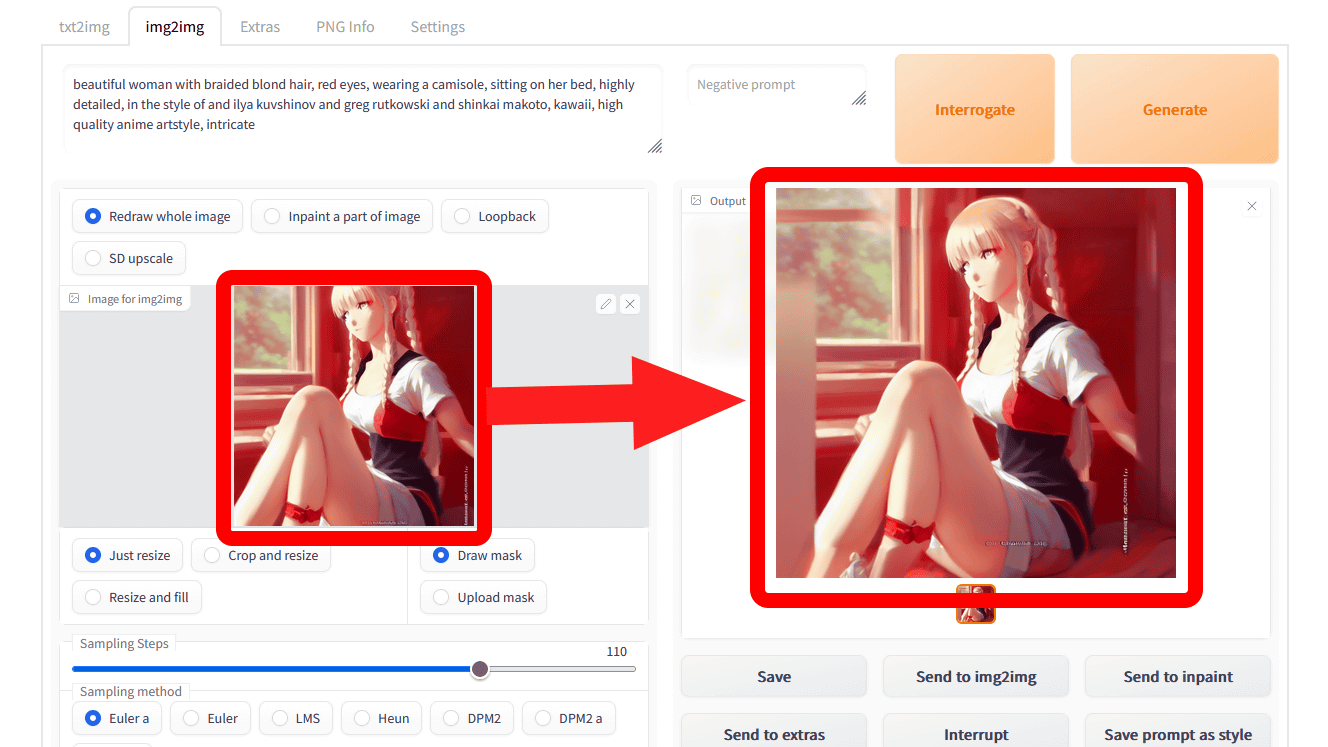
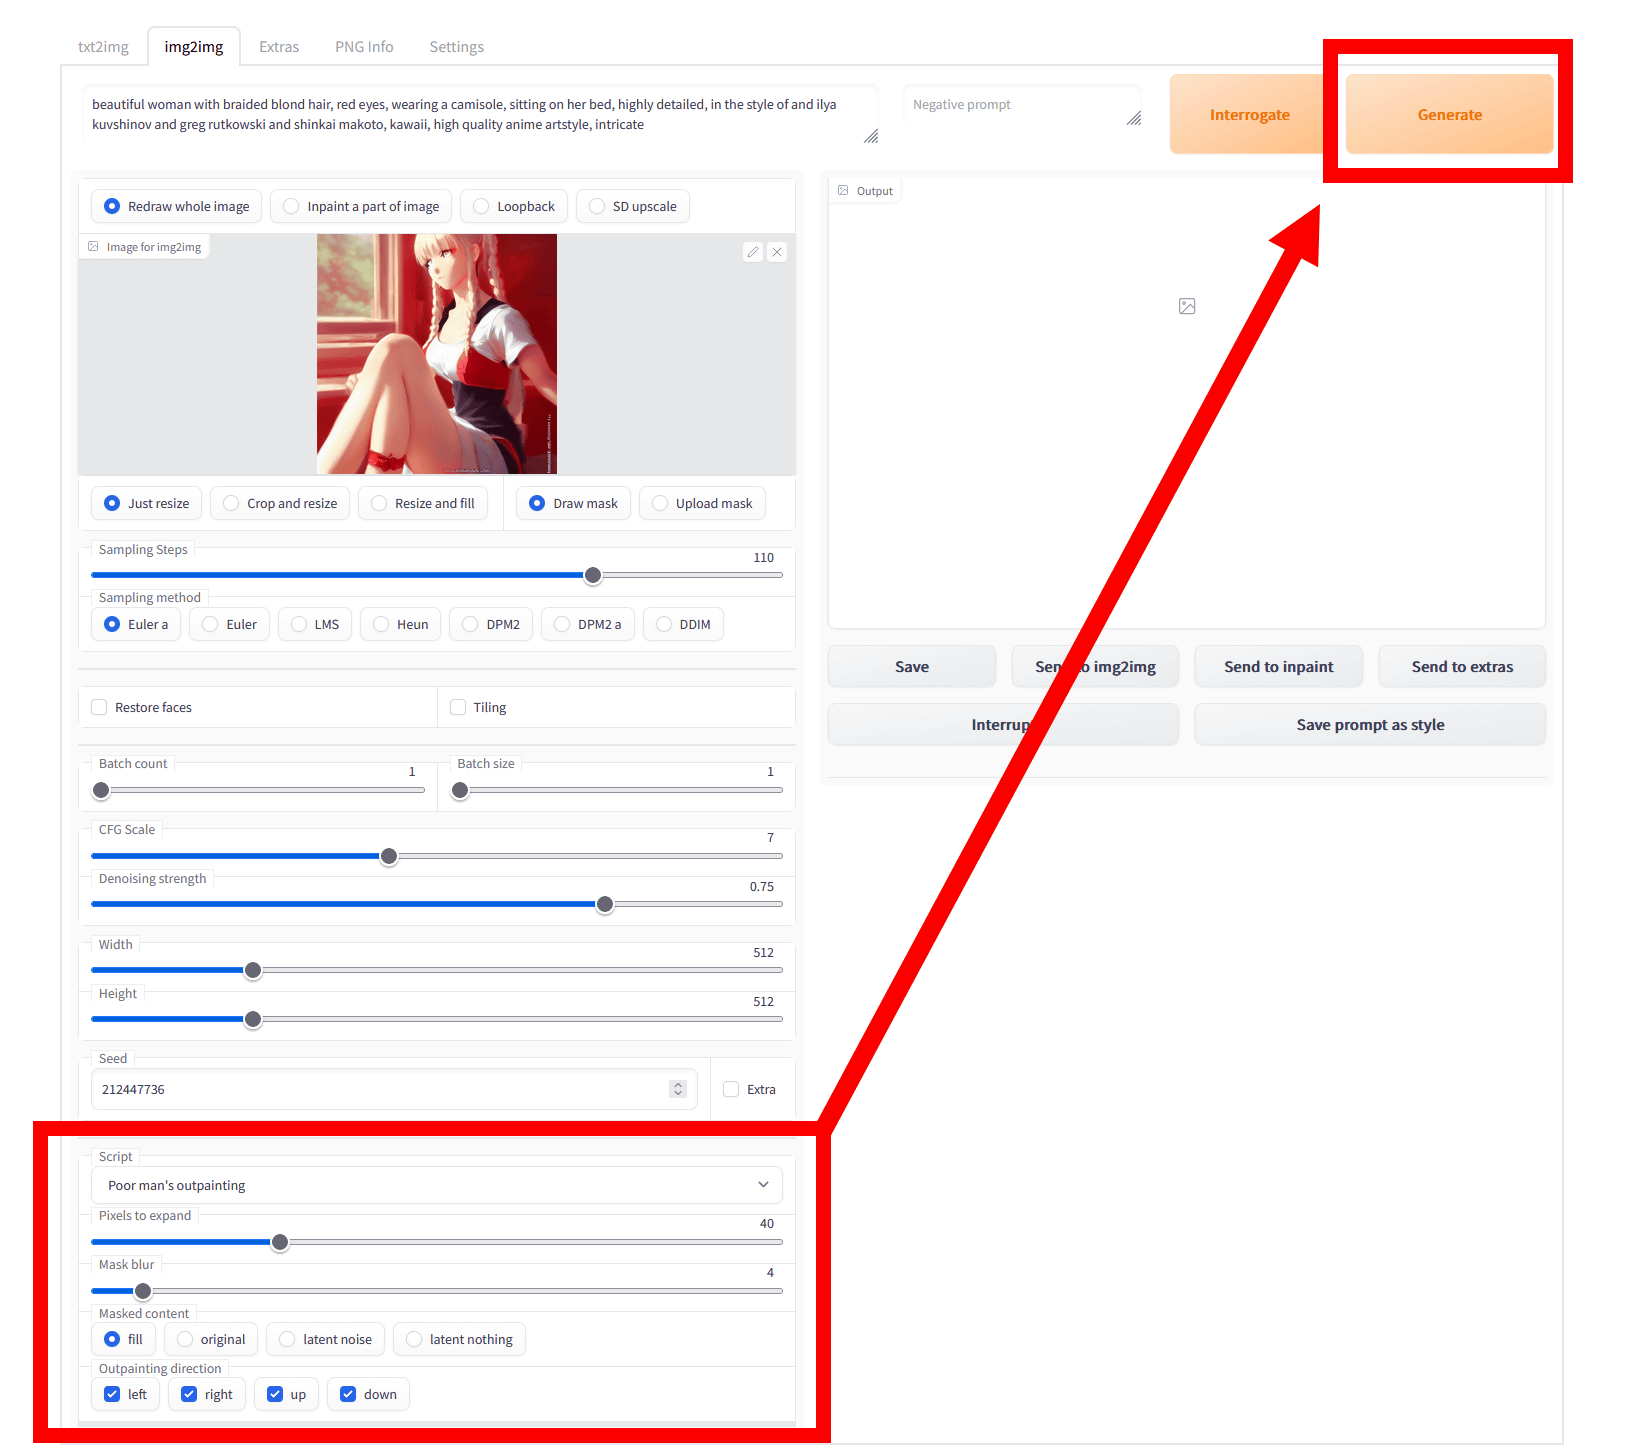
After launching the AUTOMATIC 1111 version Stable Diffusion web UI and accessing the UI, click the 'img2img' tab.
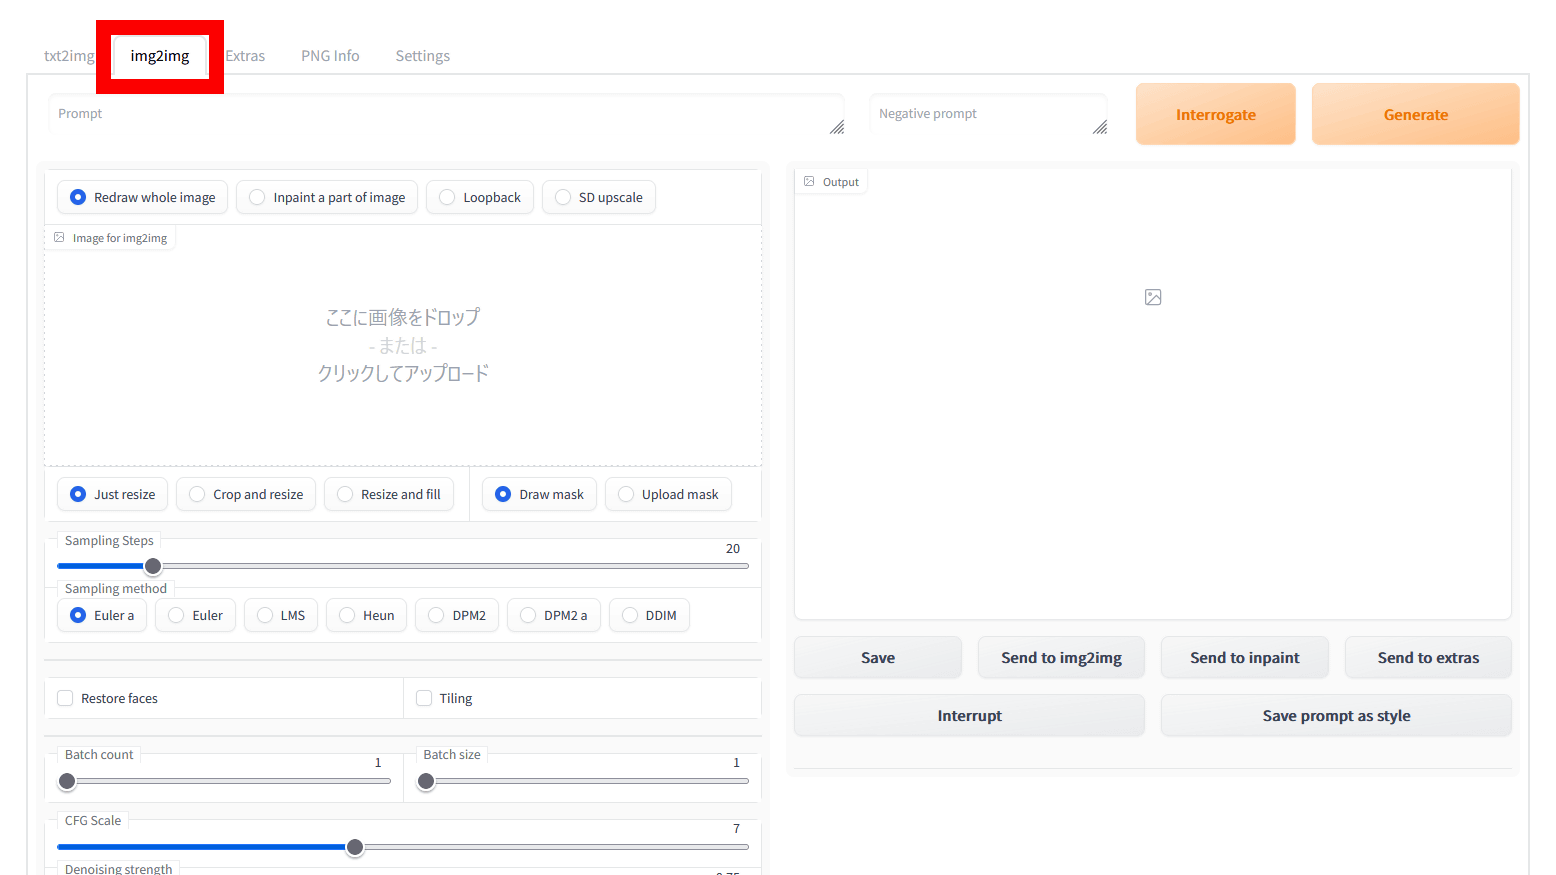
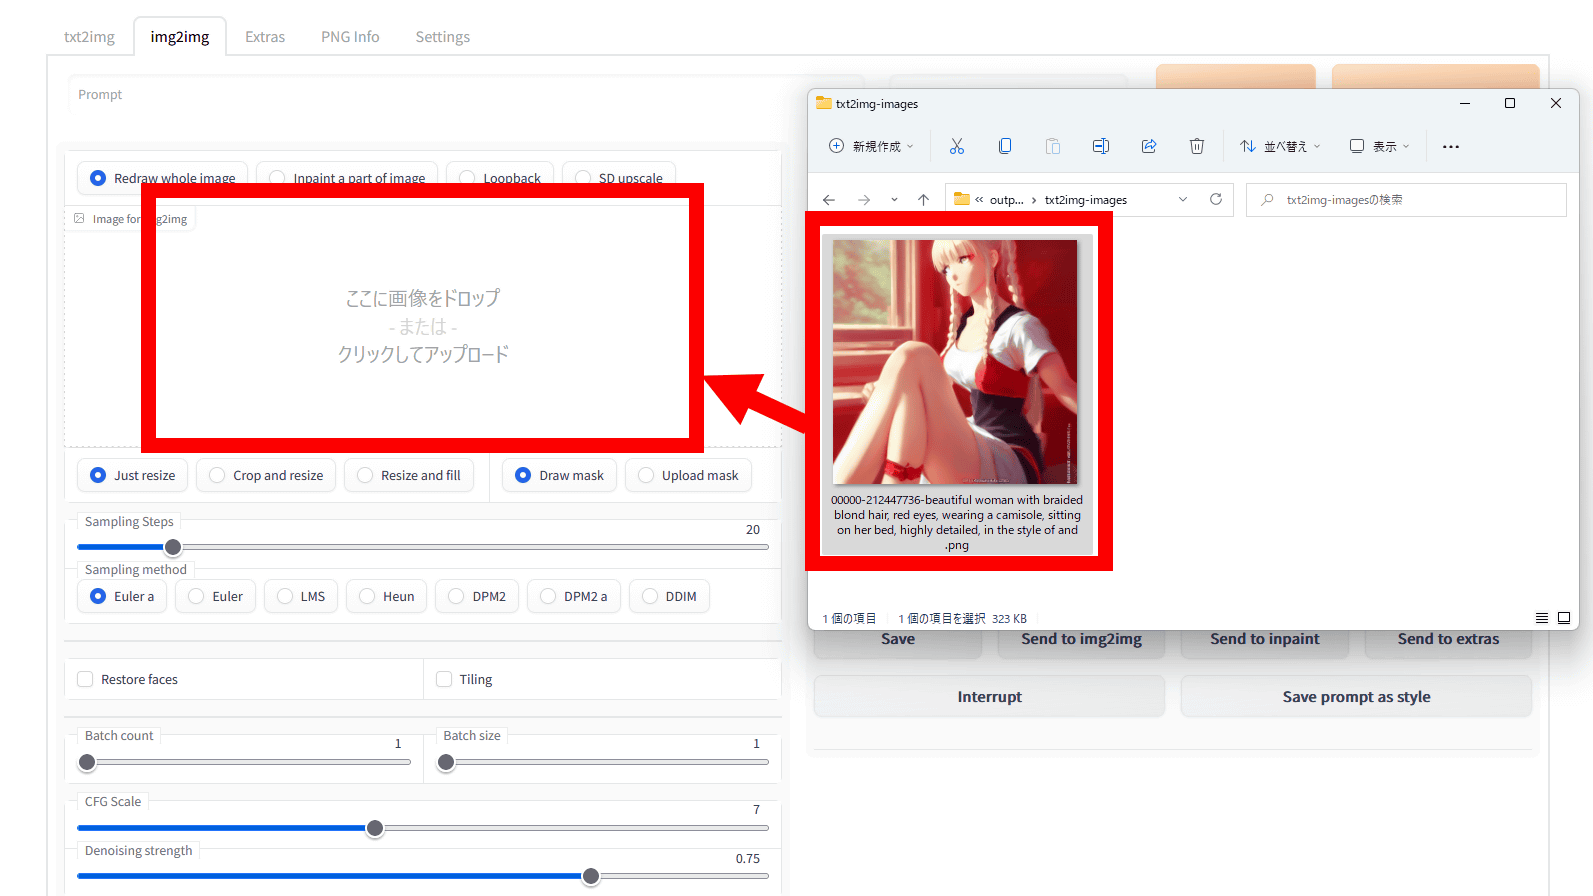
Drag and drop the image you want to outpaint directly to the 'Image to img2img' field, or click the 'Image to img2img' field to select it.
When using an image created with this Stable Diffusion, setting the prompt, sampling steps, sampling method, CFG Scale, and seed to the same conditions as when generating will increase the success rate, so set them to be the same as when generating. increase.
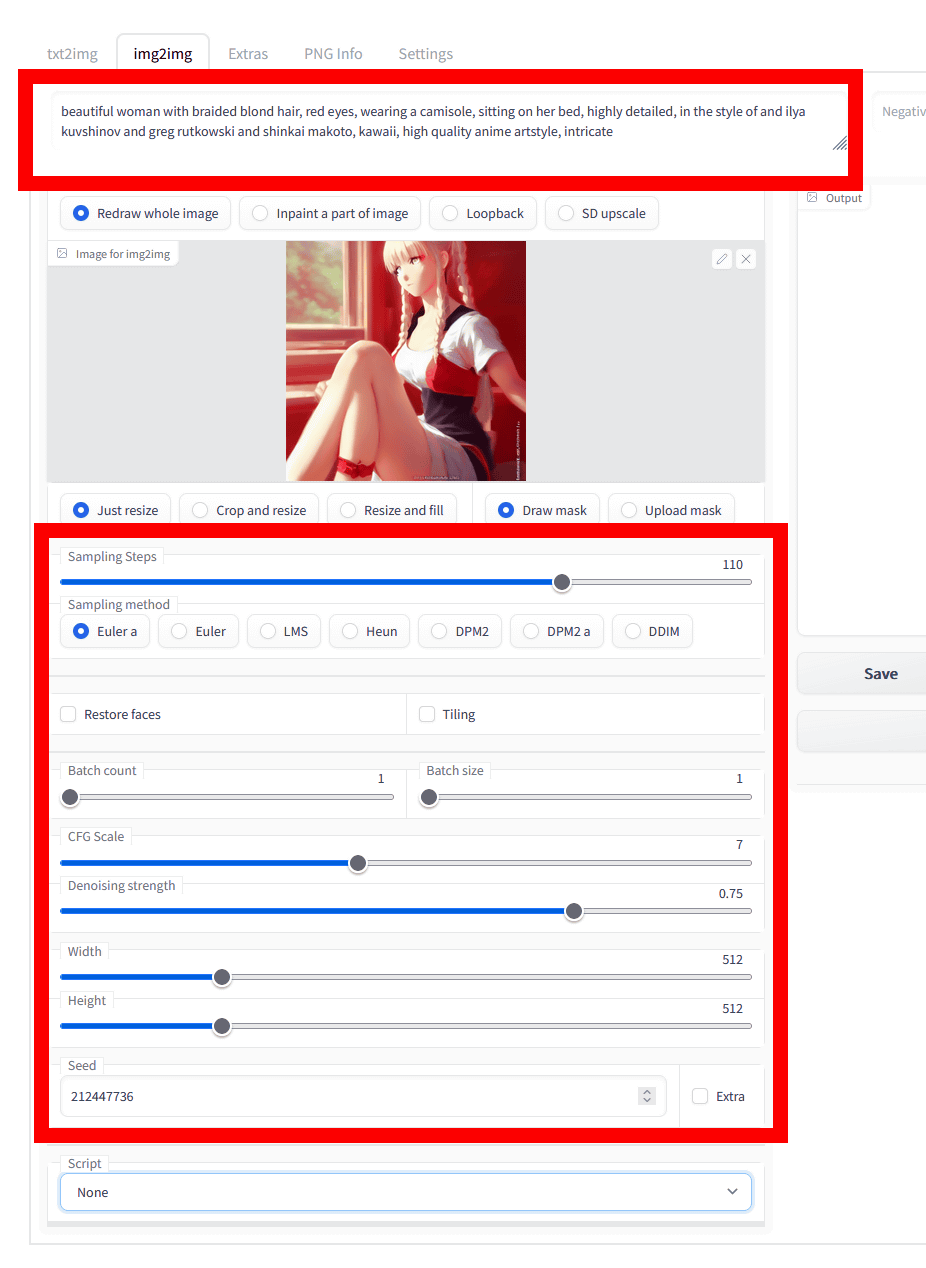
If you don't know the settings, check PNG info.

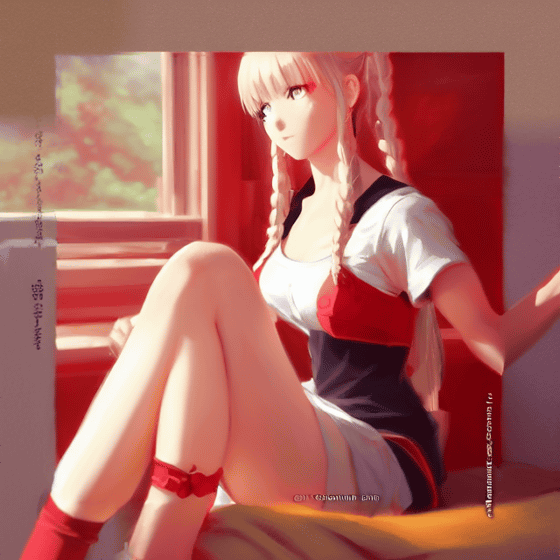
Then, select 'Poor man's outpainting' from the 'Script' pull-down at the bottom of the setting field, and click 'Generate' after setting. The meaning of the setting fields below it is as follows.
・Pixels to expand : The amount of image expansion (in pixels). Set to 40 pixels this time.
・Mask Blur : Determine how much to blur the boundary between the original image and the extended part. The higher the number, the more fuzzy the border. Set to 4 this time.
・Masked content : How to fill the expanded part. There are four types: fill, original, latent noise, and latent nothing.
・Outpainting Direction : Select the direction to extend the image.
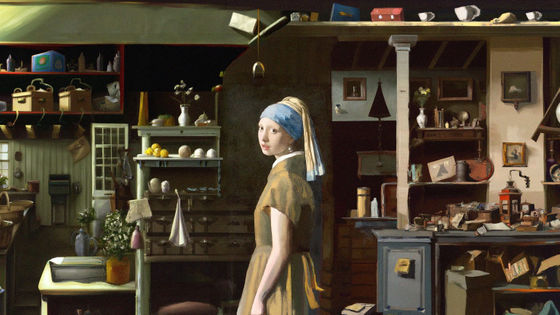
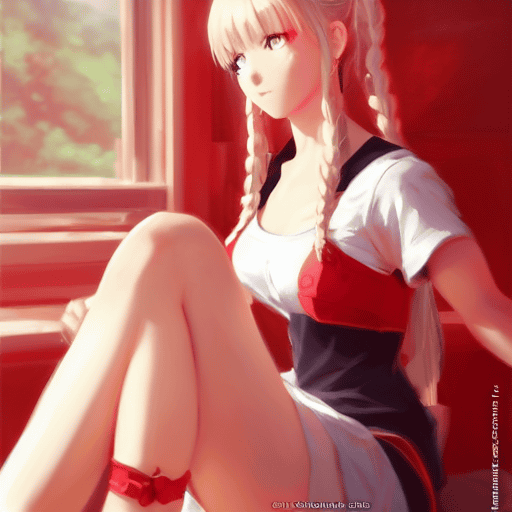
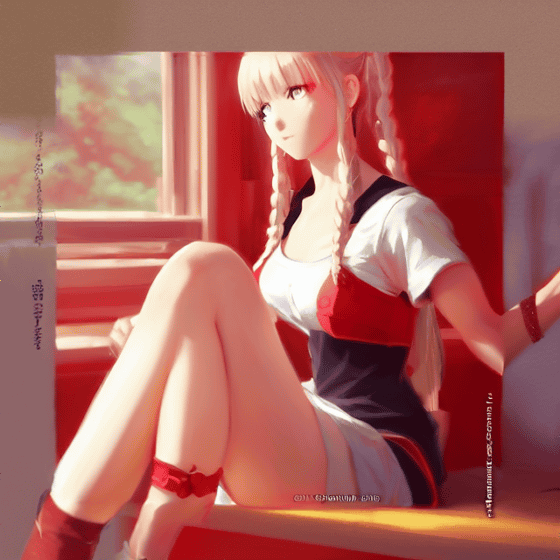
This is the original image.
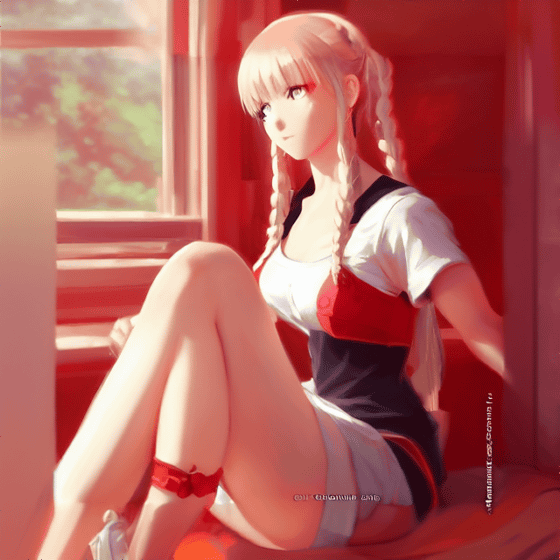
Then, when outpainting with 'fill', an image like this was output. The tip of the left arm looks a little strange, but the head and buttocks that were cut off in the original image have been added naturally.
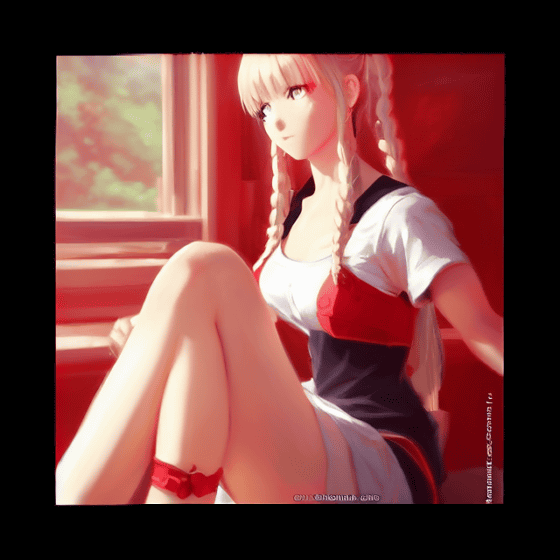
When outpainting with 'Original', the expanded part was painted black.
With 'latent noise', the left foot and left hand were generated. In addition, although the color is slightly different, the window frame in the back is also drawn.
'Latent nothing' has almost the same content as 'latent noise'. However, the details were different, such as the place where the girl was sitting was a soft curve, and the bracelet on the left hand was missing.
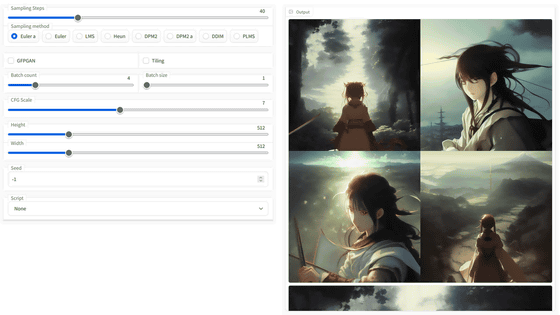
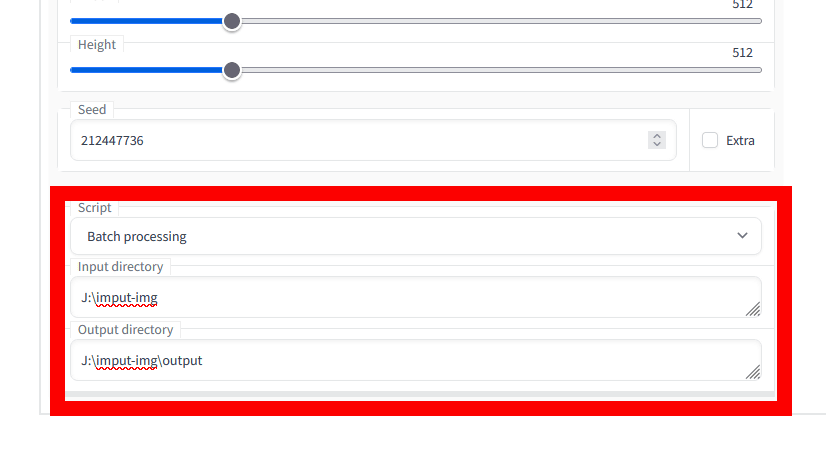
◆Batch processing
Batch processing can load multiple input images. Specify the path of the folder containing the image you want to input in 'Input directory' and the path of the output destination folder of the image in 'Output directory'.
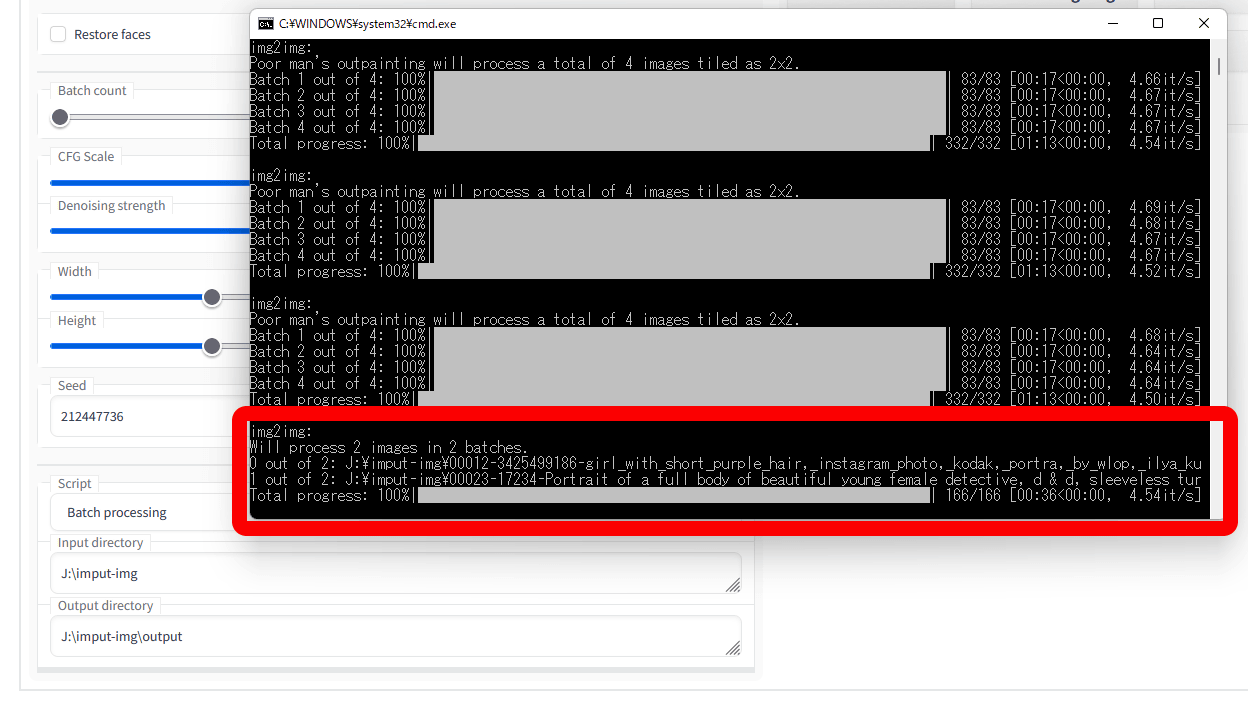
Looking at the command prompt, img2img was performed from the two images in the input directory. If there are multiple images you want to input to img2img, using Batch processing eliminates the need to reselect images with 'Image to img2img' each time. However, batch processing makes the generation settings common to all images.
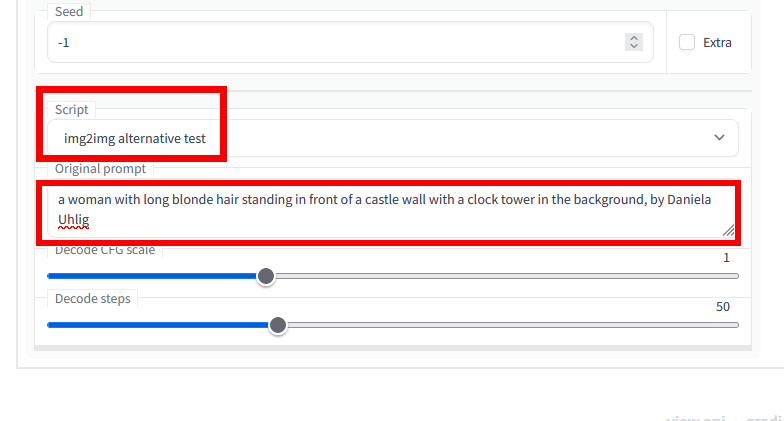
◆img2img alternative test
By inputting additional images, img2img can direct the denoising process that occurs during image generation with Stable Diffusion and reduce the blurring of the resulting images. Still, depending on the noise intensity, it can produce images that are far from the original. Therefore, a method for outputting results closer to the original image was proposed on the online bulletin board site Reddit, and 'img2img alternative test' was introduced with reference to this.
A better (?) way of doing img2img by finding the noise which reconstructs the original image : StableDiffusion

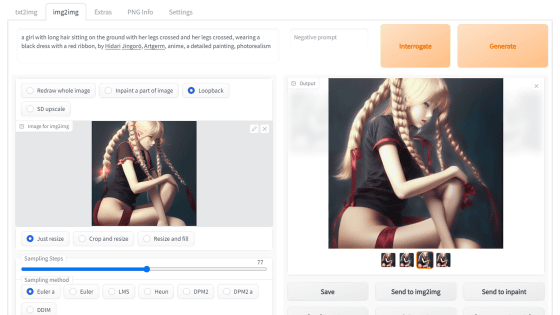
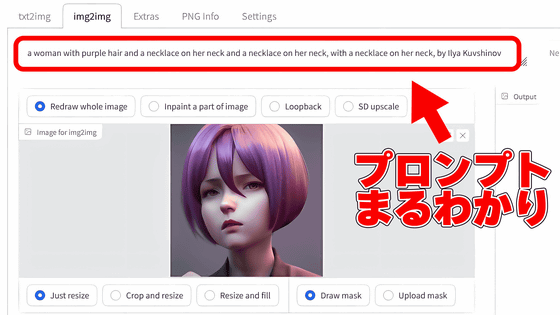
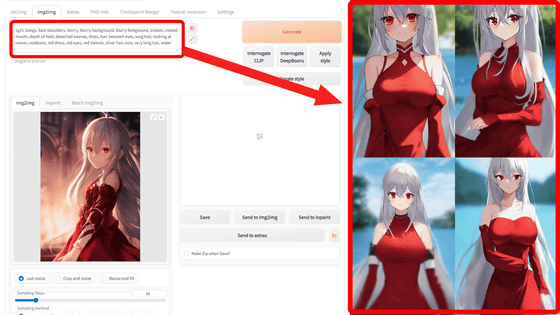
With the image loaded with img2img, select 'img2img alternative test' from 'Script'. Under 'Original Prompt', enter the prompt when the input image was generated.
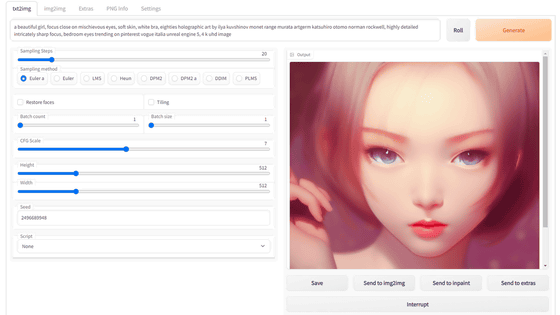
If you do not understand the prompt, or if it is not an image generated by AI, you can analyze the prompt using the 'CLIP Interrogator' function installed in the AUTOMATIC 1111 version Stable Diffusion web UI.
Enter the keyword in the prompt input field above the 'Image to img2img' field and click 'Generate'. This time, when I entered 'red hair', an image of a woman with bright red hair appeared.
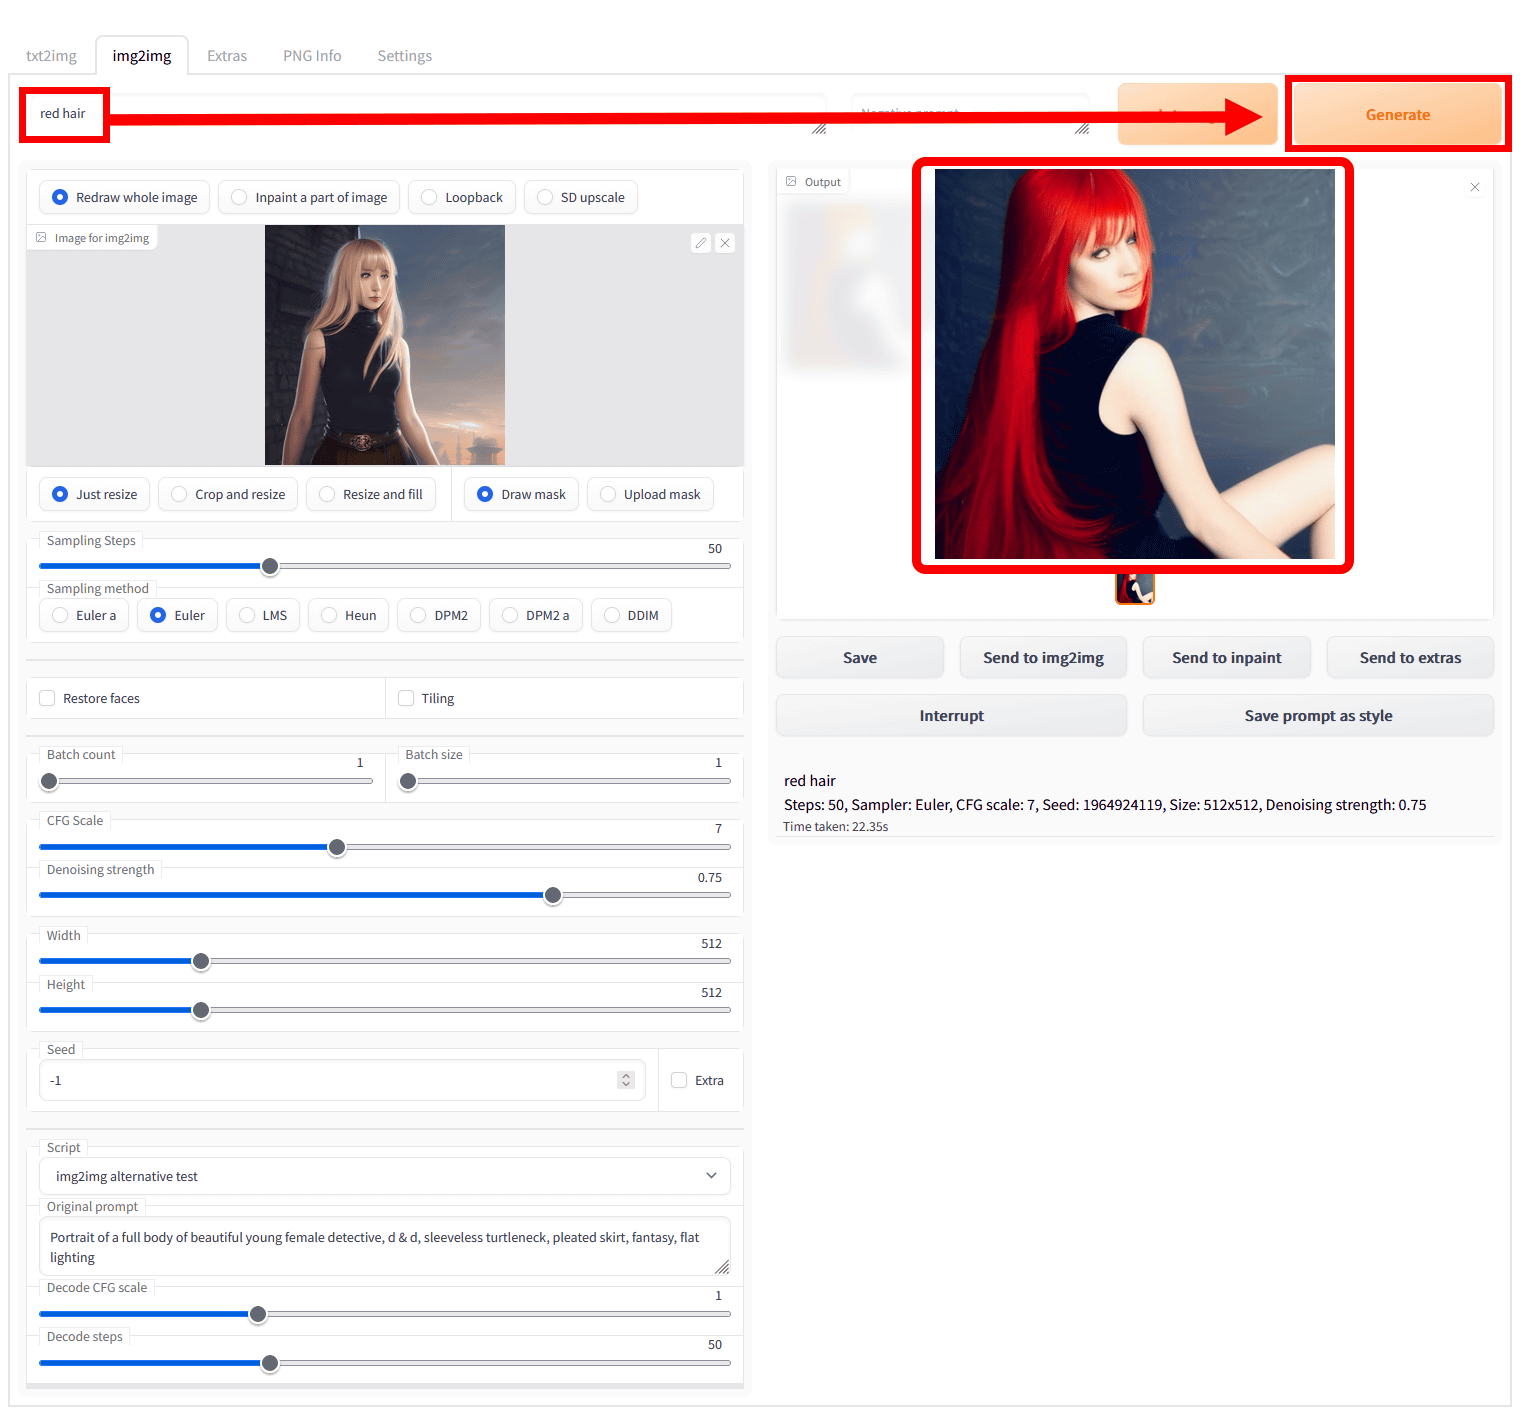
The pose has changed to make the woman more realistic, but the hairstyle, facial makeup, clothing, and atmosphere of the background all follow the original image.

◆ Prompts matrix and X/Y plot
In the AUTOMATIC1111 version Stable Diffusion web UI, you can also use 'Prompt from file', 'Prompt matrix' and 'X/Y plot'.
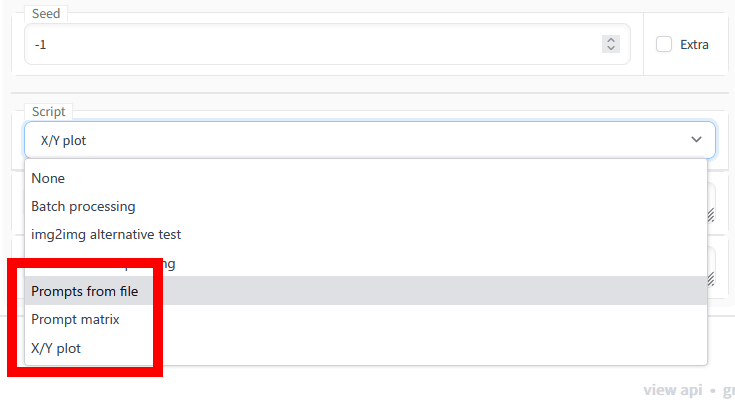
These functions can also be used with 'txt2img' which generates images from character strings. 'Prompt matrix' and 'X/Y plot' are explained in detail in the following articles. In addition, 'Prompt from file' is a mode that prompts by reading a CSV file instead of entering a character string.
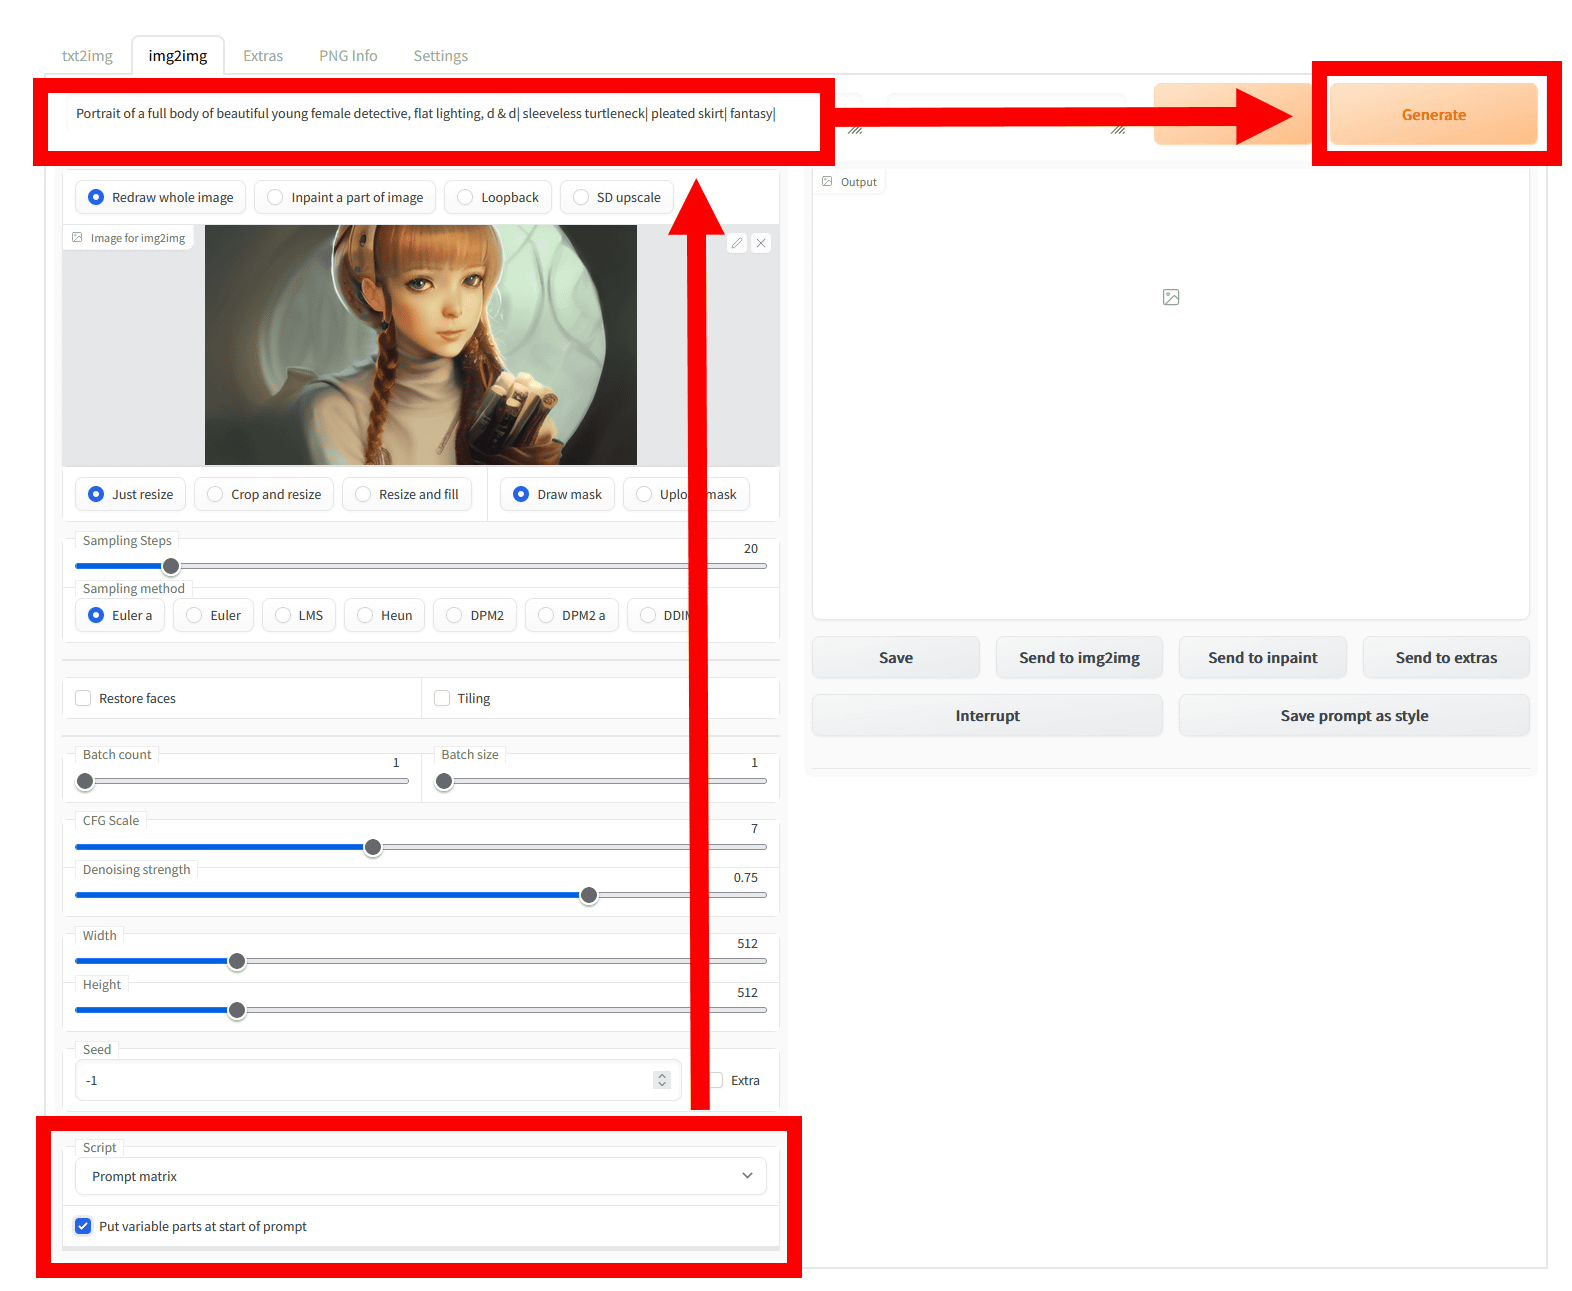
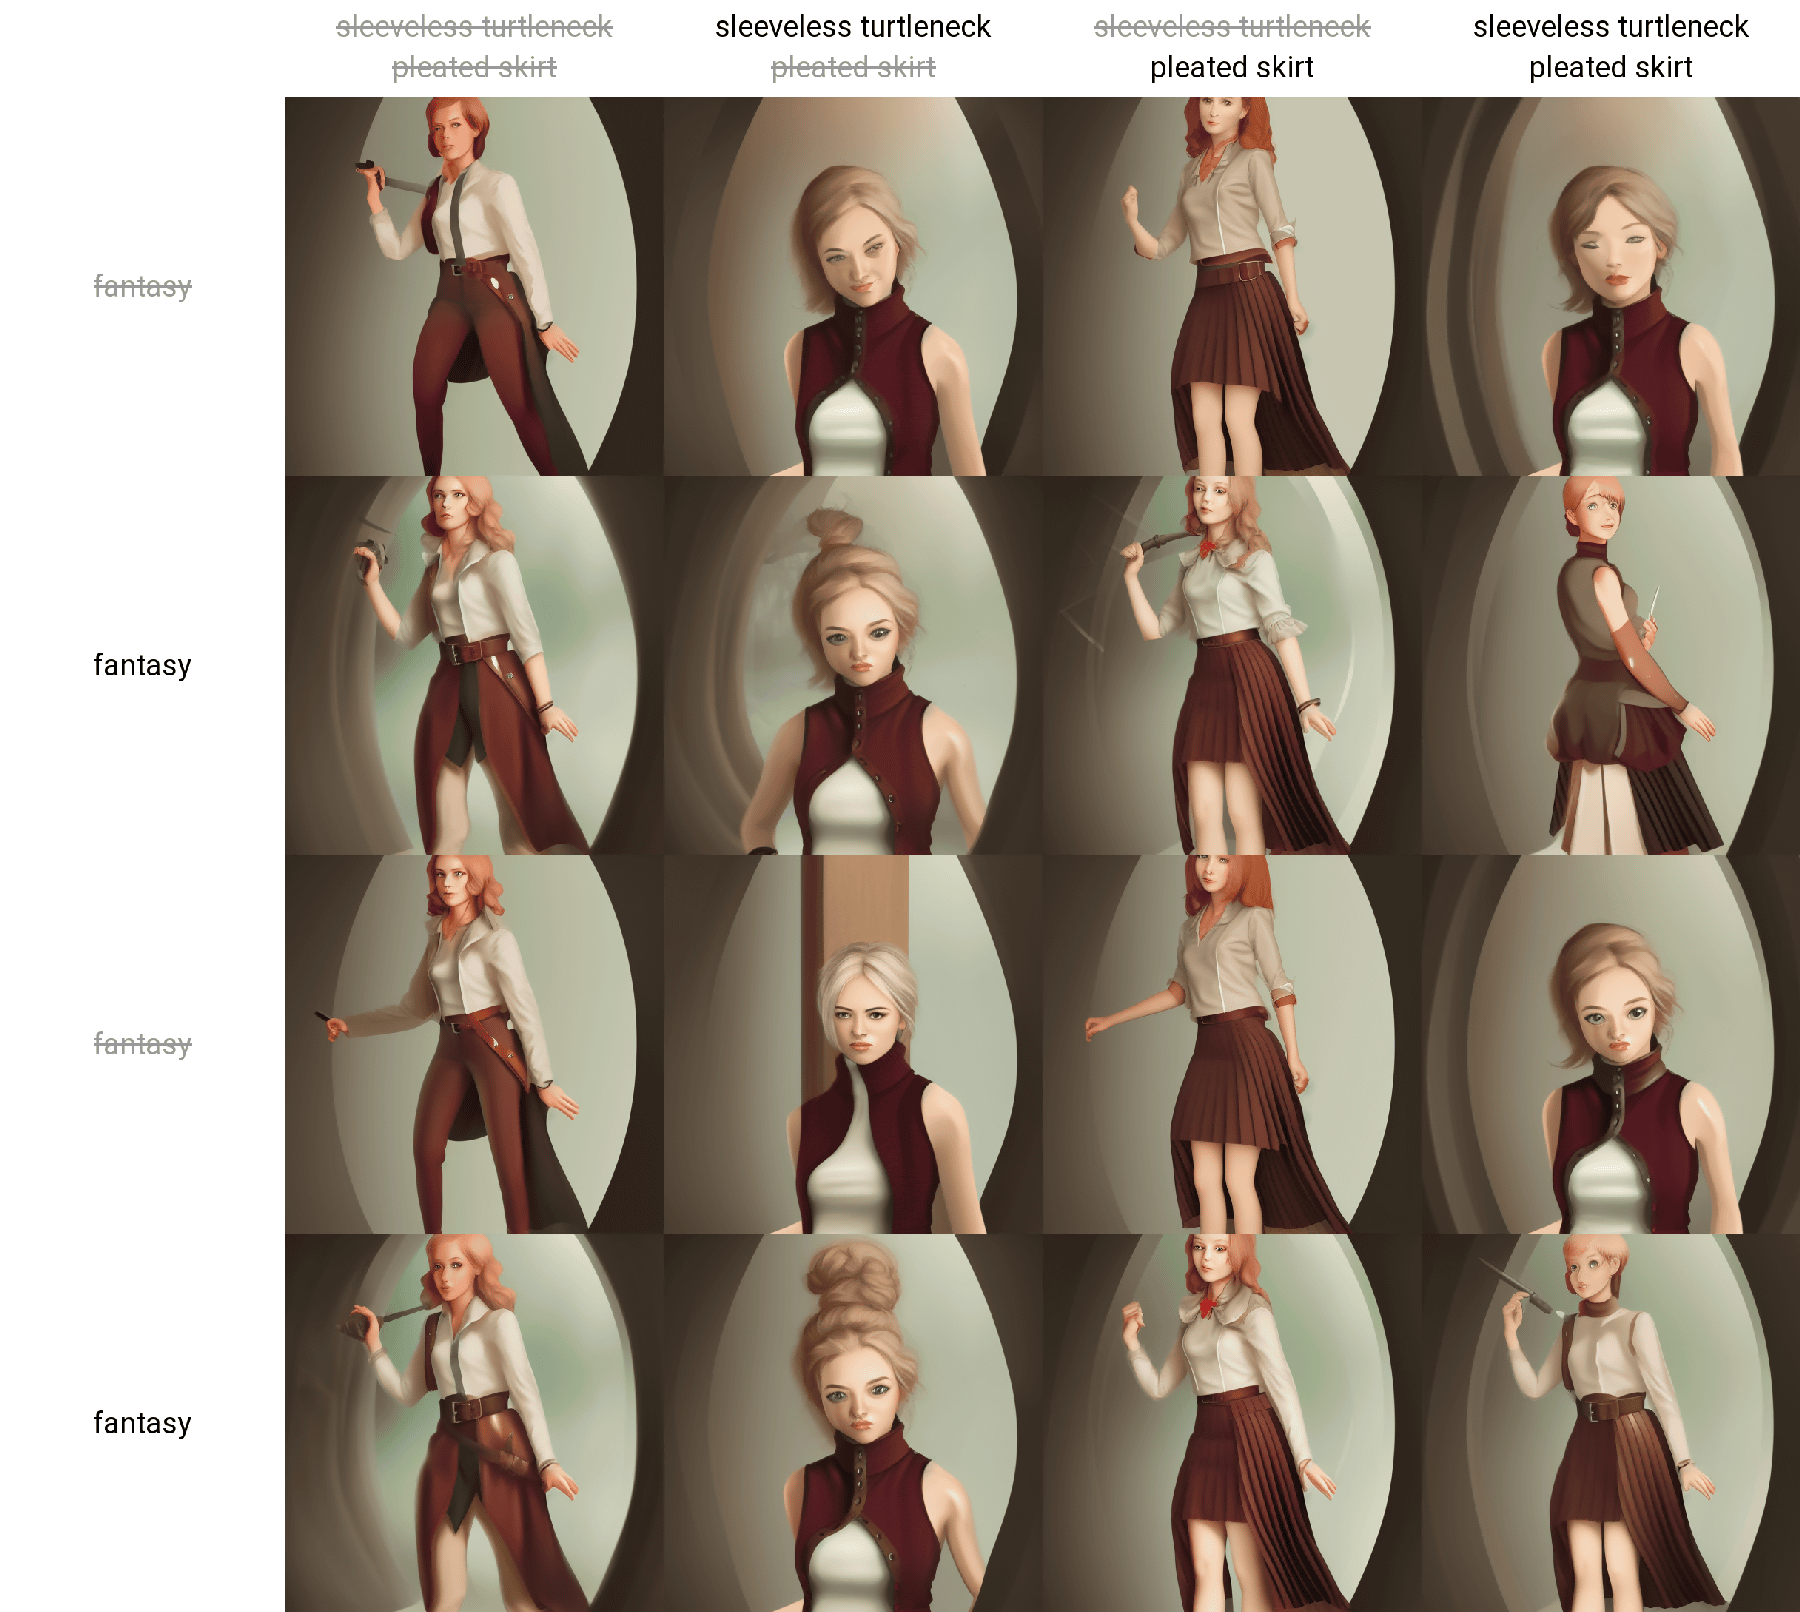
'Prompt matrix' combines multiple elements by separating them with ',' at the prompt, but by separating them with '|', it combines the presence or absence of each element and outputs all the patterns at once. Select 'Prompt matrix' from 'Script', check 'Put variable parts at start of prompt', enter the prompt and click 'Generate'.
The output result looks like this. Although it is quite far from the original image, you can see that the hairstyle, clothing design, and pose are different depending on each condition.
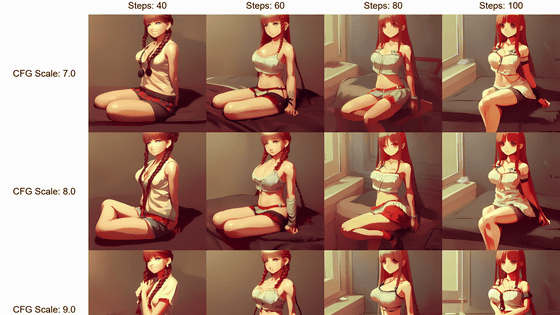
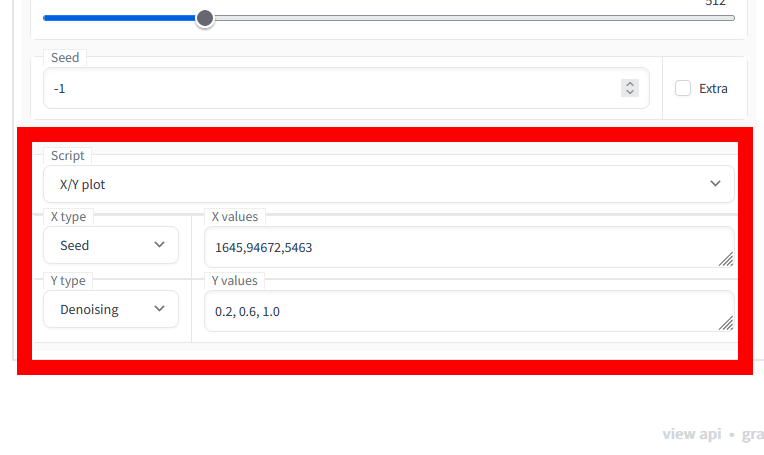
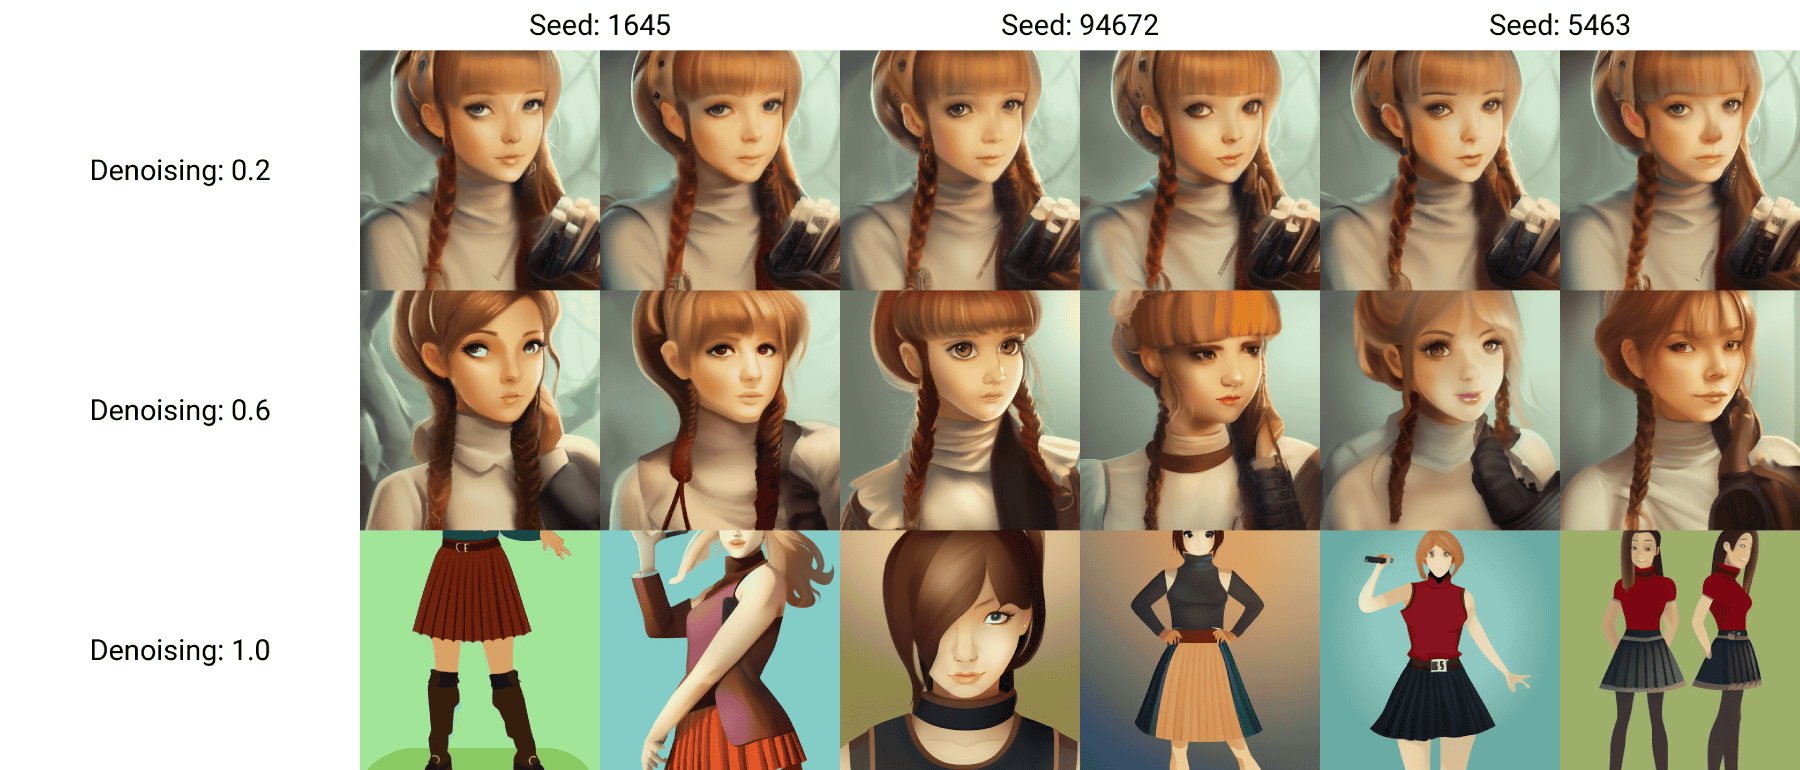
And 'X/Y plot' is a mode that prepares multiple patterns with the set two elements and generates all images that are combined. This time, I tried assigning 1645, 94672, 5463 to 'Seeds (seed value)' in X type and 0.2, 0.6, 1.0 to 'Denoising (noise removal strength)' in Y type.
The matrix of the generated image looks like this. The batch size is 2, so 2 sheets are generated for each combination. With a noise removal strength of 0.2, almost the same image as the original image was generated even if the seed value was different. However, if you increase the noise removal strength to 0.6, you can see that the composition and pose are the same, but the touch is quite different. Then, when the noise removal strength becomes 1.0, it completely separates from the original image and changes to a flat illustration. By actually comparing using X/Yplot, I understood the importance of the noise removal strength.
So, next time, we are planning to explain the contents of 'Extras' and how to explode the images that are generated only 16 images per batch by default.
[to be continued]
Related Posts:
in Software, Web Service, Review, Creation, Web Application, Posted by log1i_yk