A browser ``Arc'' review created for the grand purpose of ``aiming for the OS of the web world'', easy-to-use functions can be browsed comfortably and crisply

The Chromium-based browser ' Arc ' is officially released and available to everyone. Various convenient functions are installed, and it is said that it is a browser that allows you to use the Internet in the 2023 style, so I actually tried using it.
Arc from The Browser Company
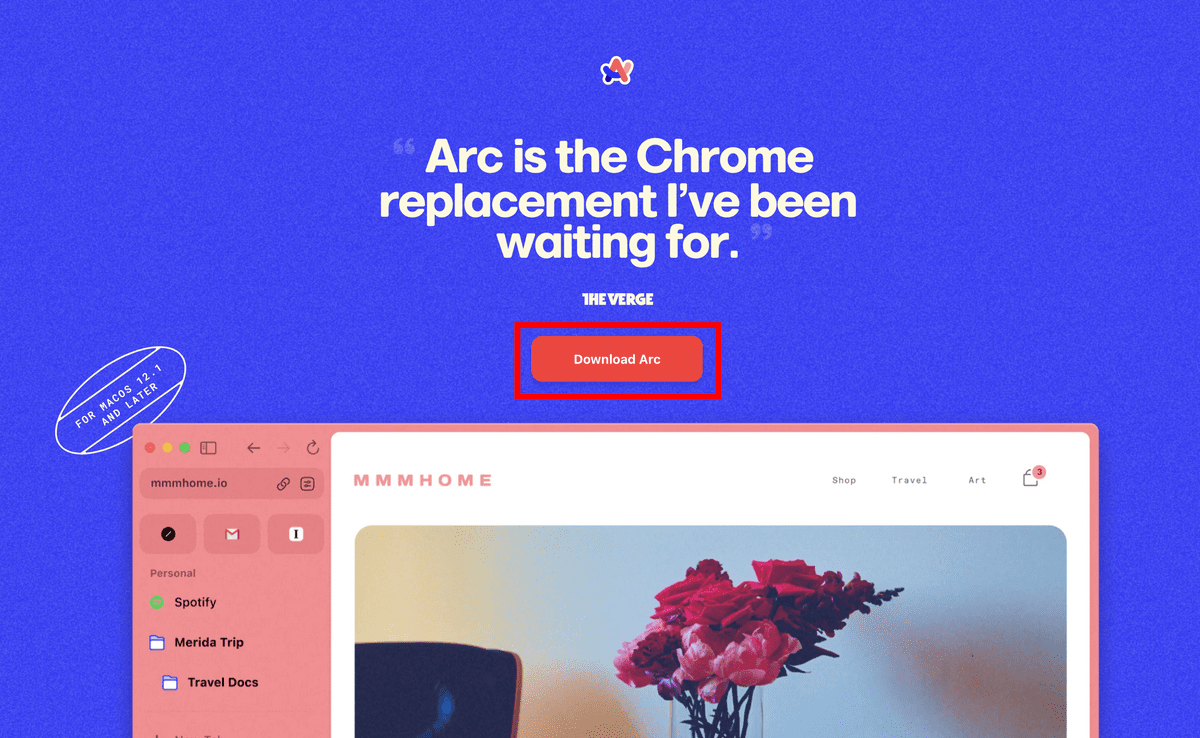
Arc only supports macOS. The Windows version is scheduled to appear in the winter of 2023. This time I will review using macOS. First, go to the official website and click 'Download Arc'.
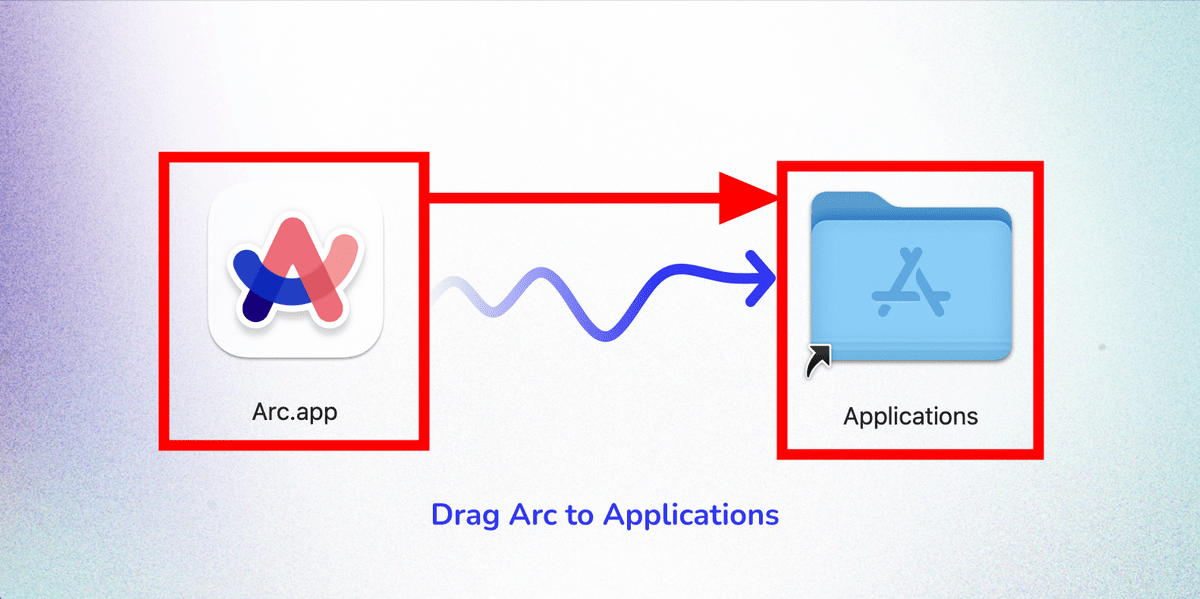
Double-click the downloaded image to mount it.

Simply drag and drop the app into the Applications folder to complete the installation.
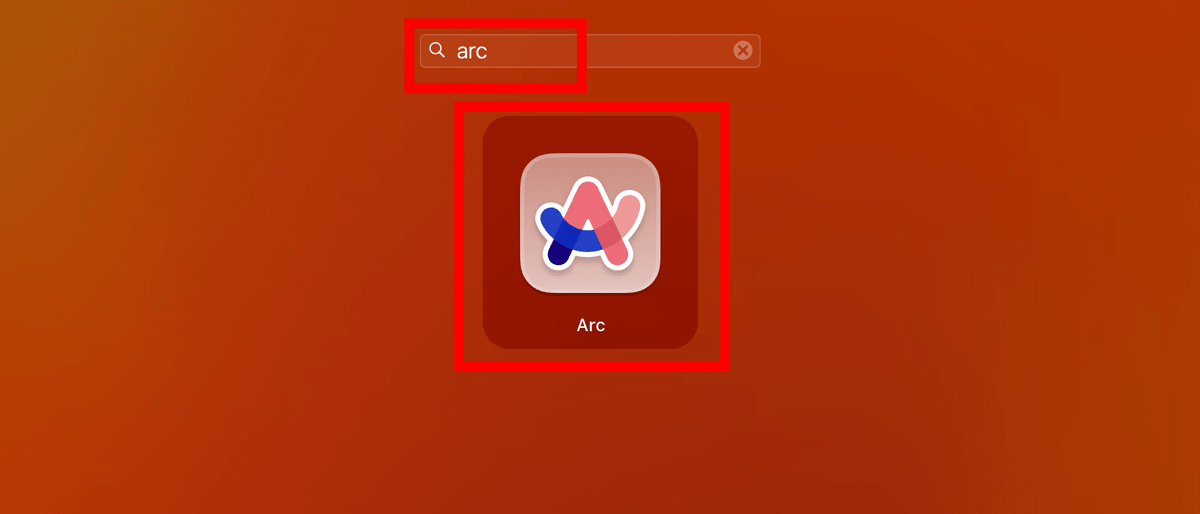
Start Arc by searching for 'arc' in Launchpad.
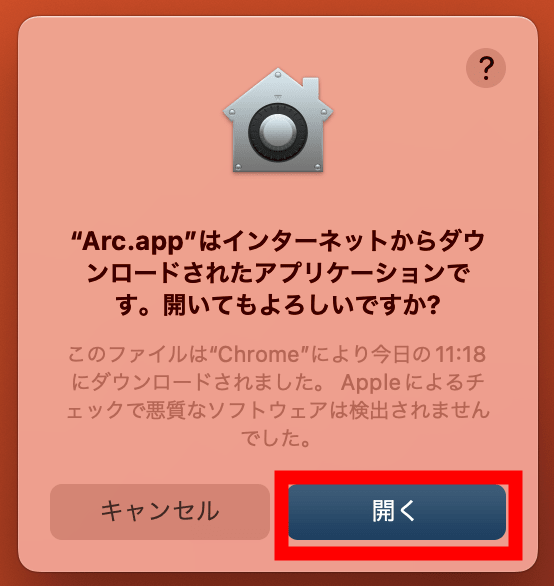
When you start it for the first time, you will be prompted for confirmation, so click 'Open'.
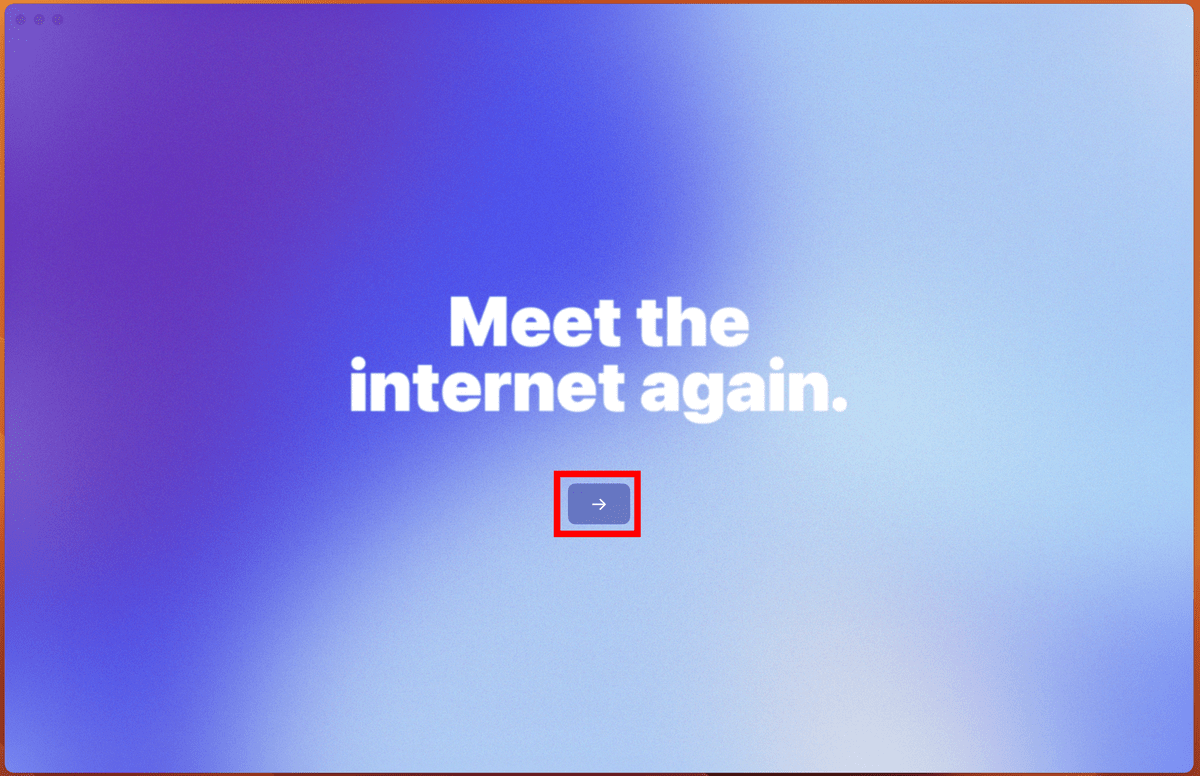
The startup sound played and the message 'Meet the internet again.' Was displayed. Click the arrow mark to proceed.
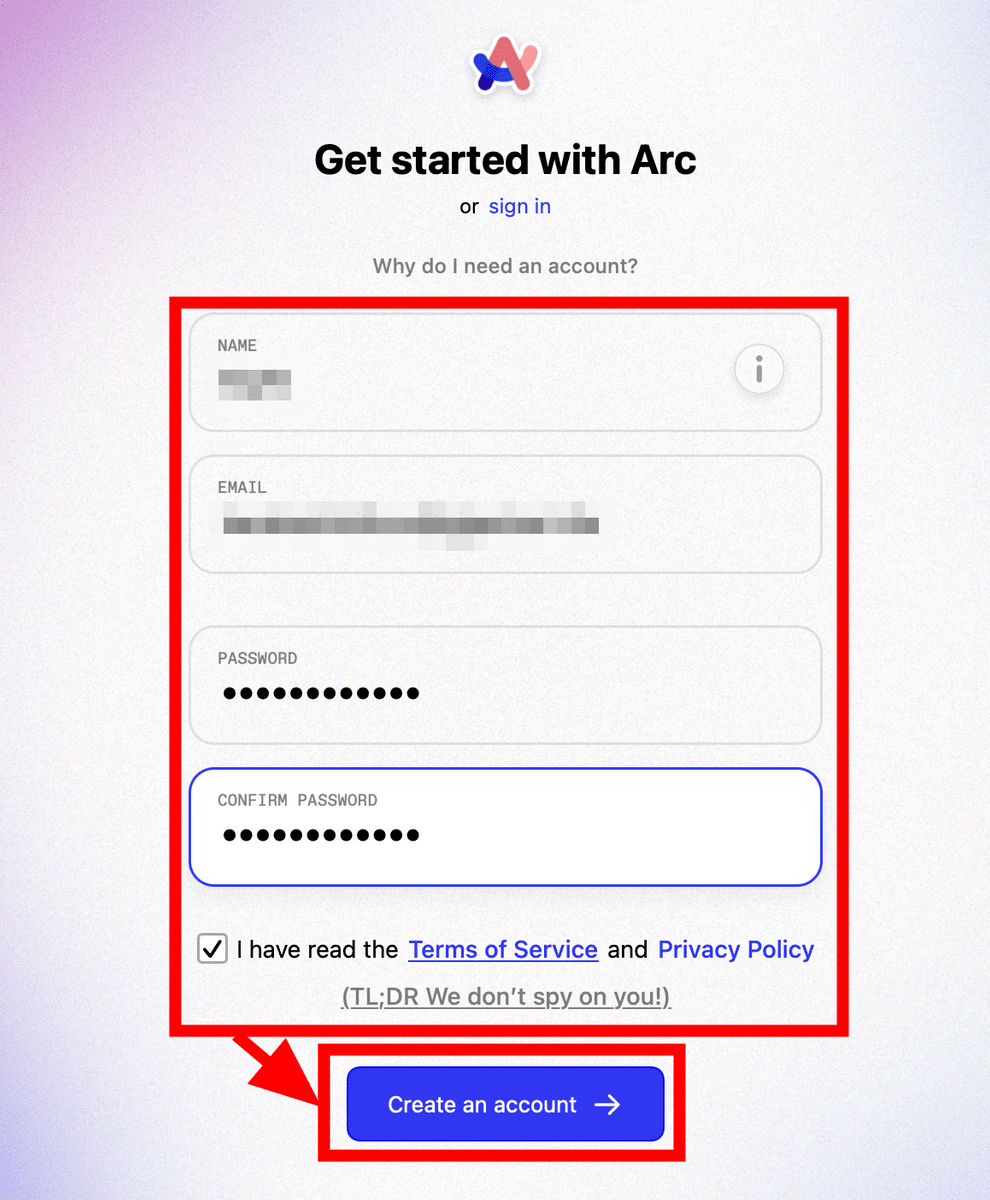
Arc requires login. Enter your nickname, email address, password, agree to the terms of use and privacy policy and click 'Create an account'.
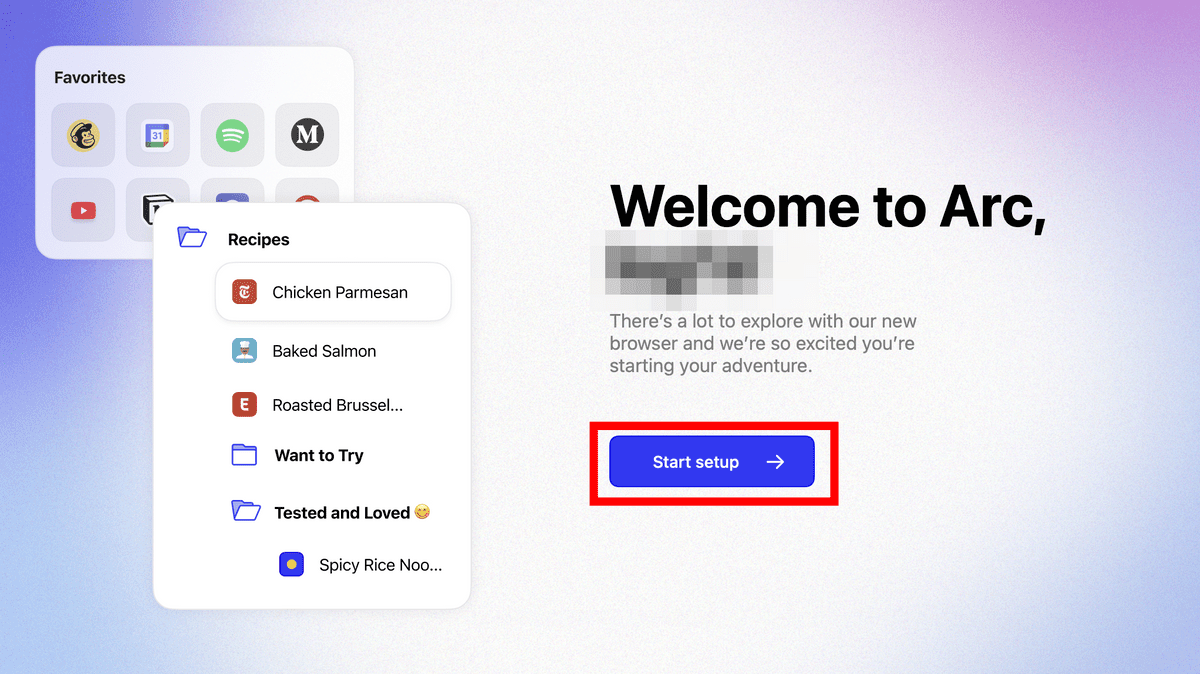
Click Start setup.
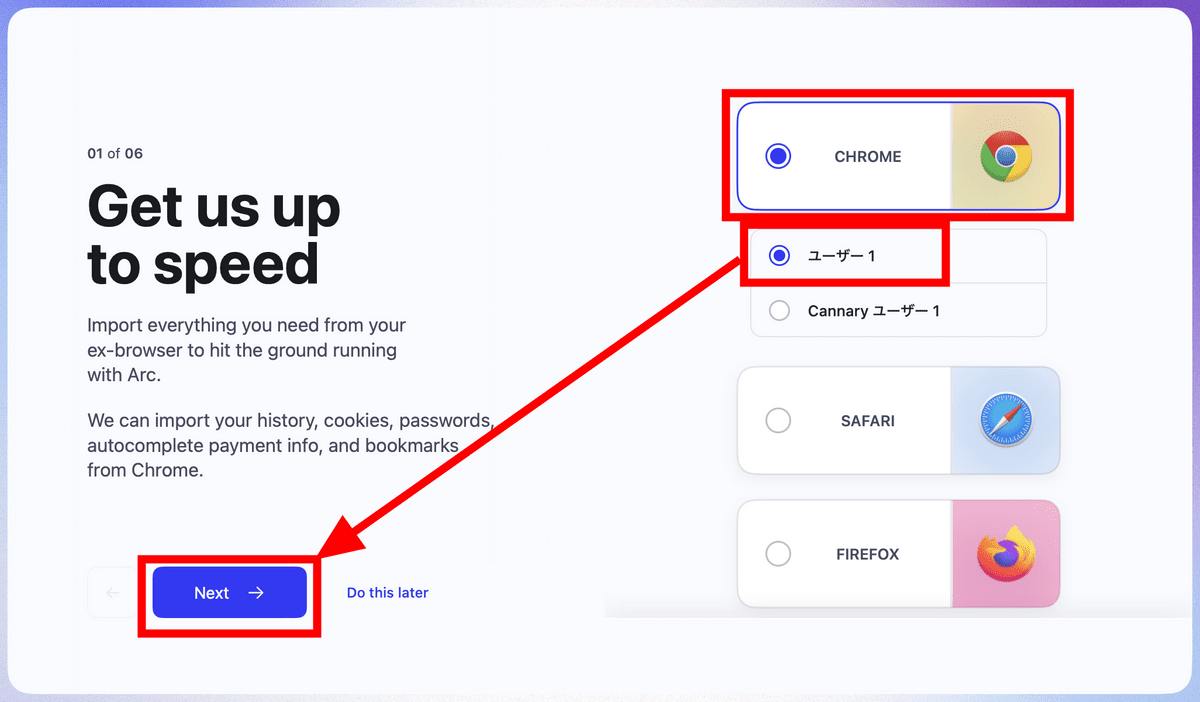
Data can be imported from existing browsers. This time, I selected 'User 1' of 'CHROME' and clicked 'Next'.
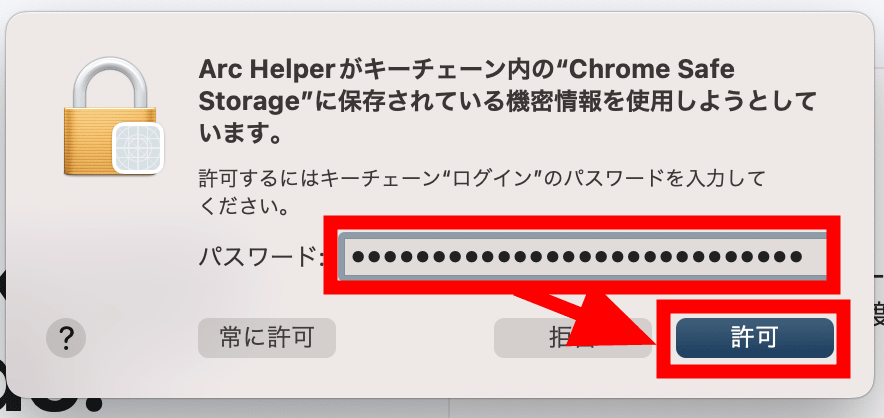
Password information is also imported at the same time. Enter the keychain password and click 'Allow'.
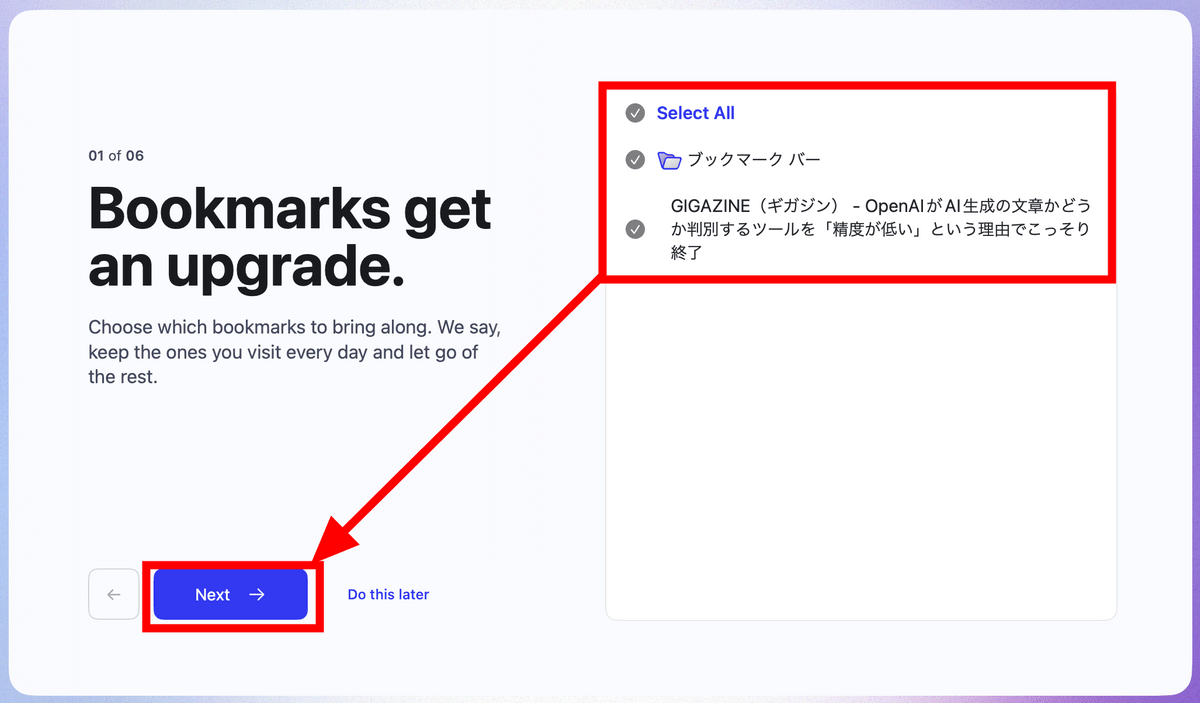
Check the bookmarks to import and click 'Next'.
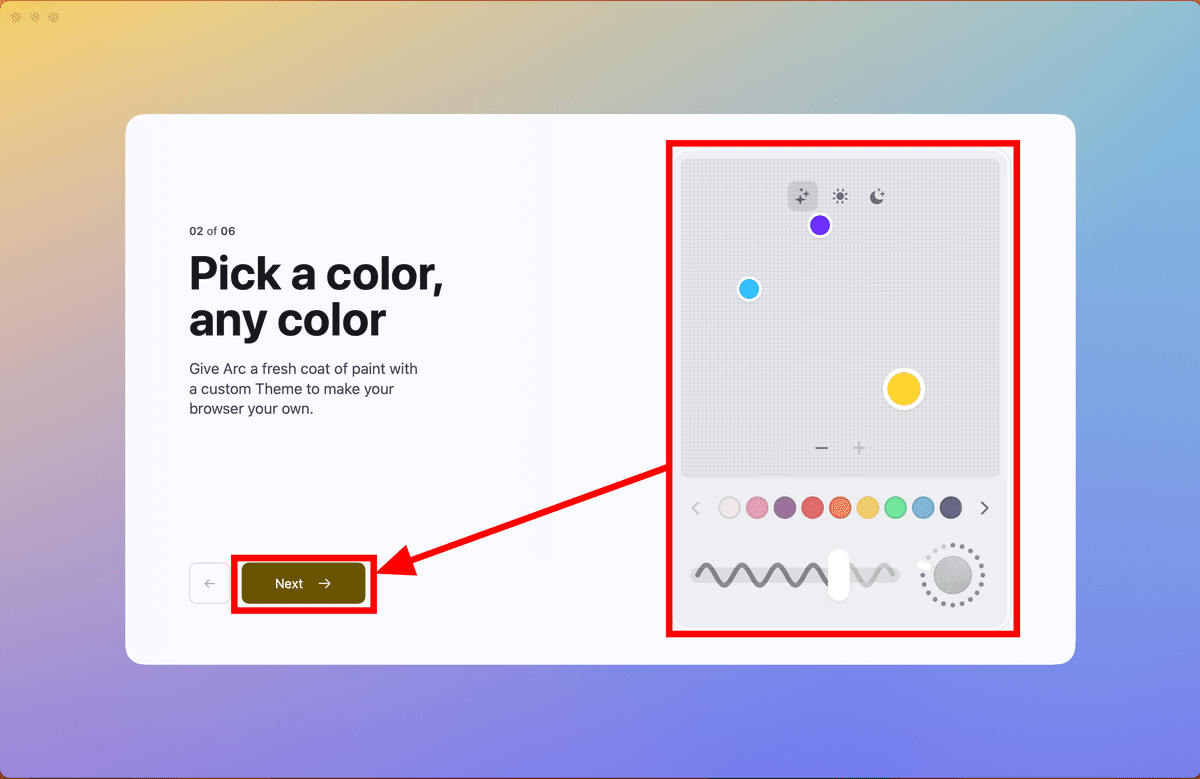
Choose a theme color for Arc. You can always change it later, so don't worry too much. When you can specify your favorite color, click 'Next'.
Select the service to be registered in 'Favorites'. This time, I selected 'Twitter', 'Gmail', 'Google Calendar', 'Spotify' and 'YouTube' and clicked 'Next'.

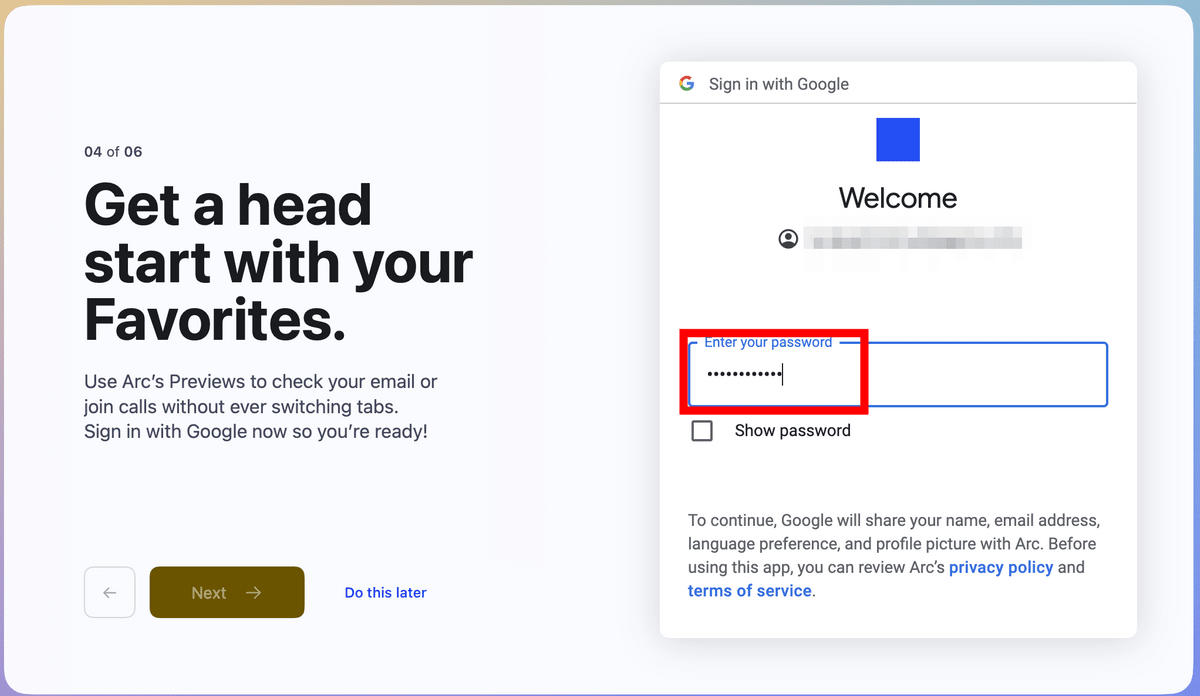
By signing in to Google, you can use a function called 'preview' that allows you to quickly check new mail and calendar schedules. Enter your email address and click 'Next'.

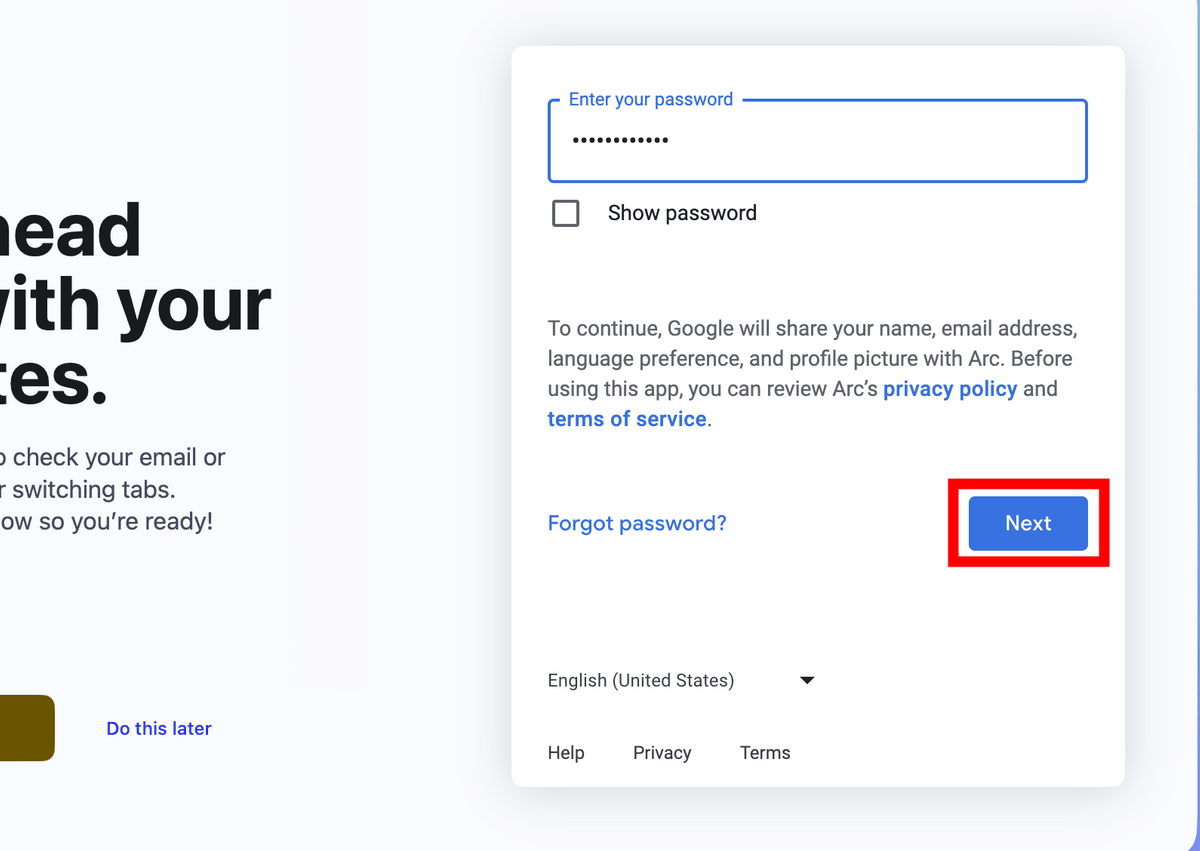
Enter your password.
Scroll and click 'Next'.
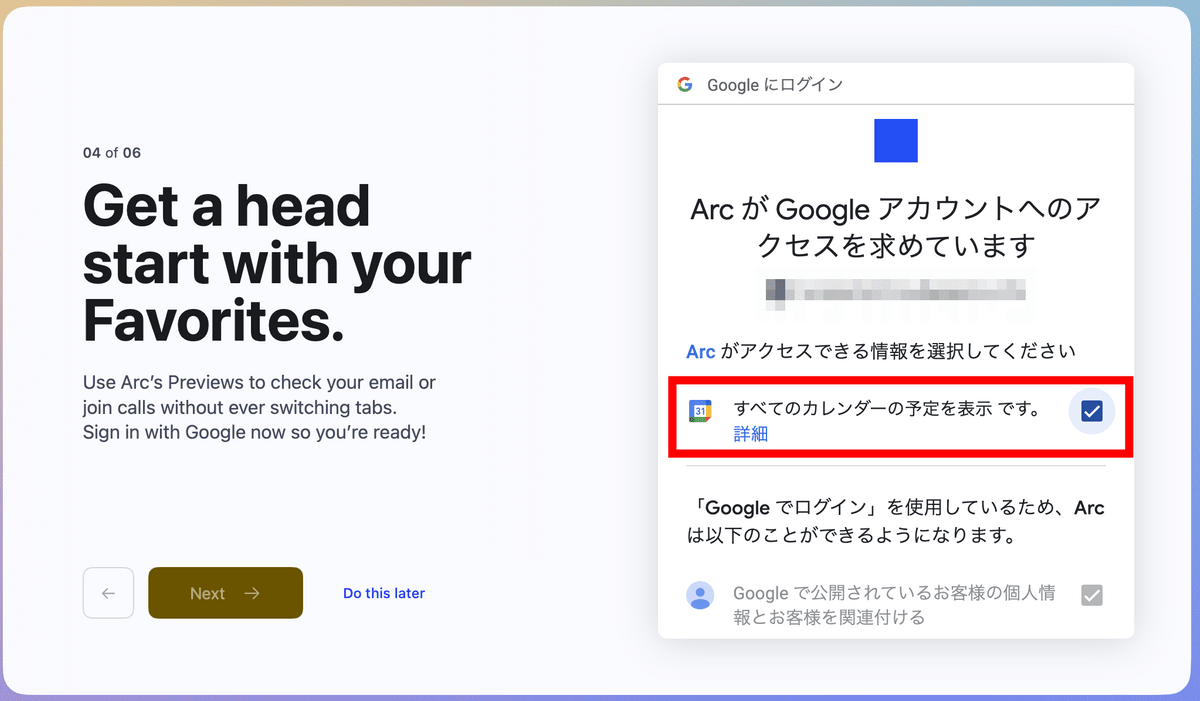
Check the permission to view calendar events.
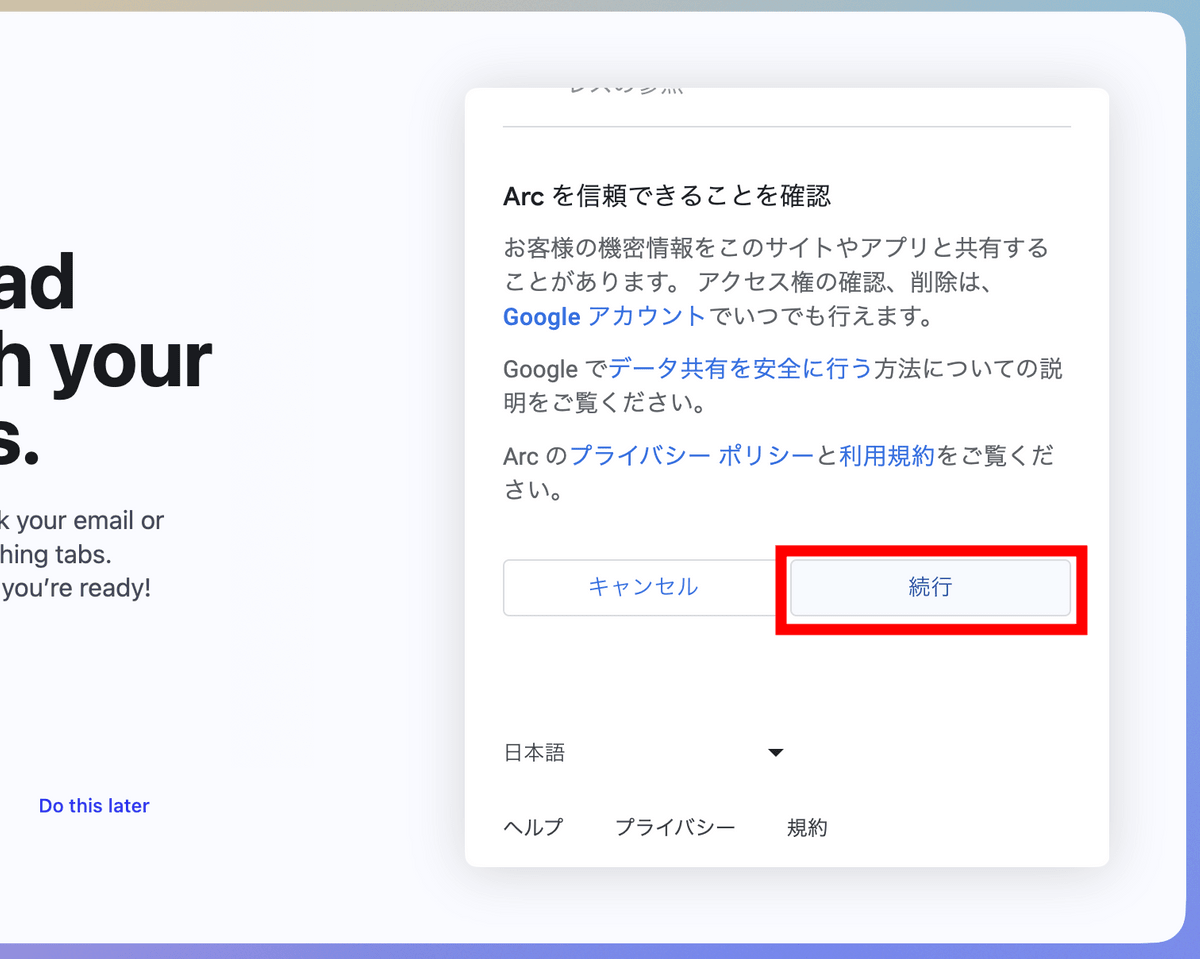
Scroll down and click Continue.
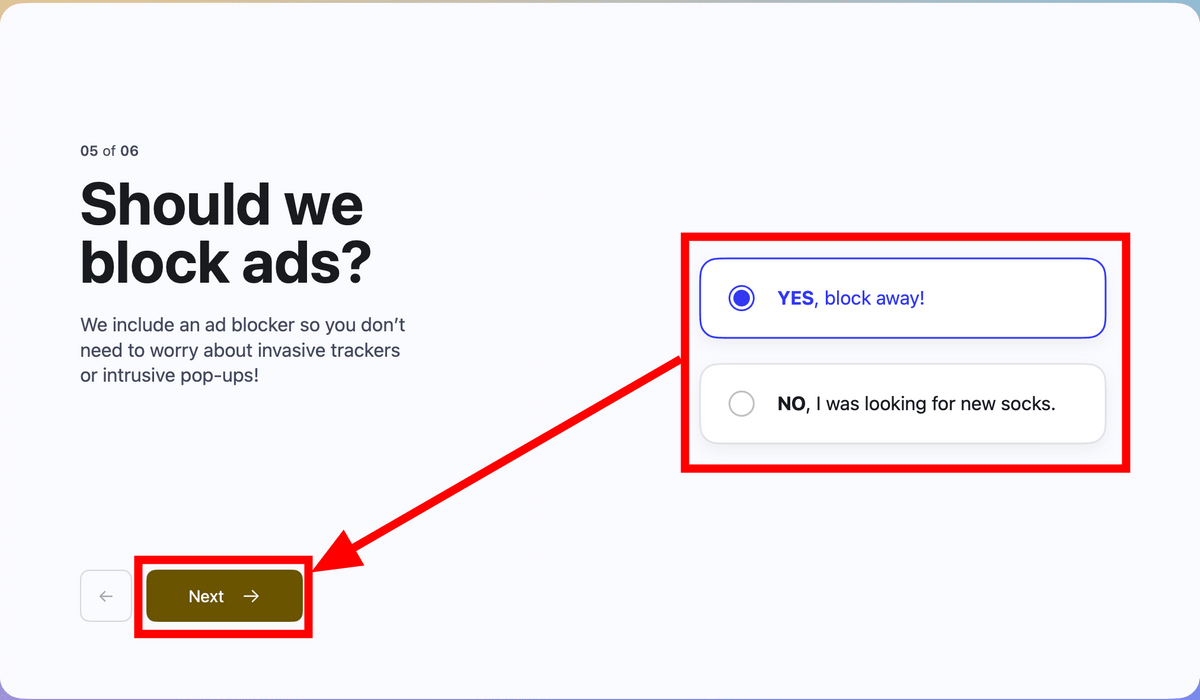
You will be asked if you want to block ads. Since 'YES' is checked in the initial state, if you do not need to change it, click 'Next' as it is.
Choose whether to set Arc as your default browser. This time, I checked 'YES' and clicked 'Next'.
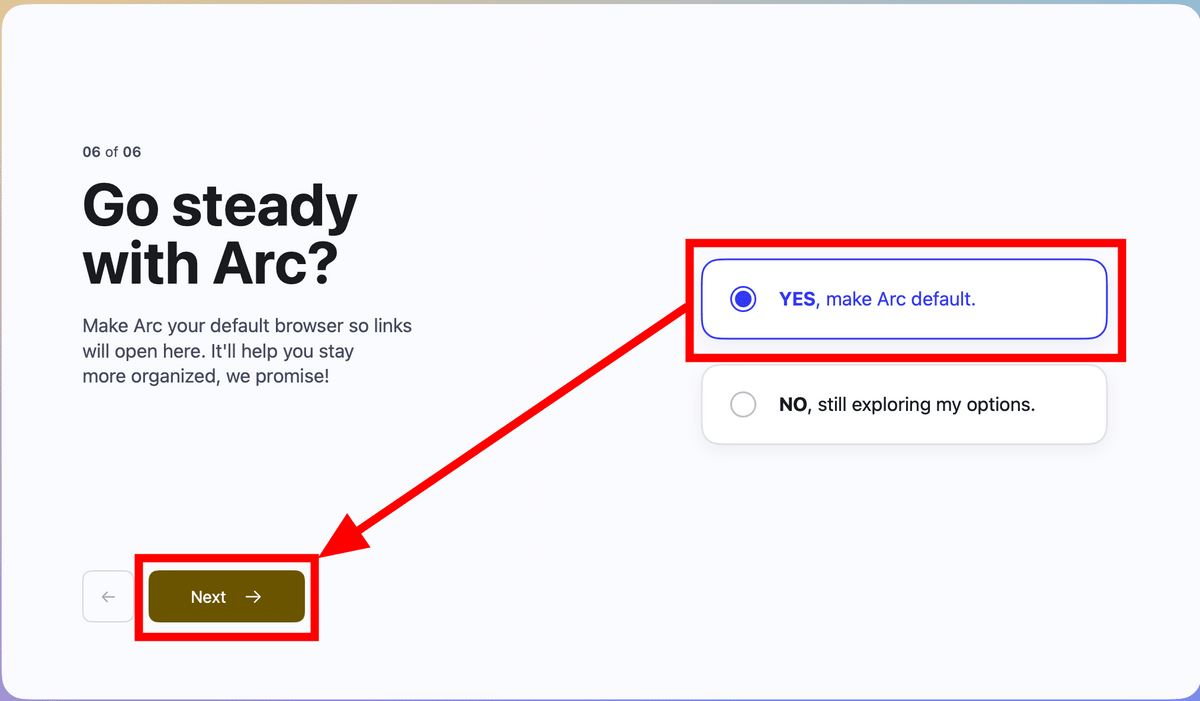
A confirmation screen will appear, so click 'Change to 'Arc''.

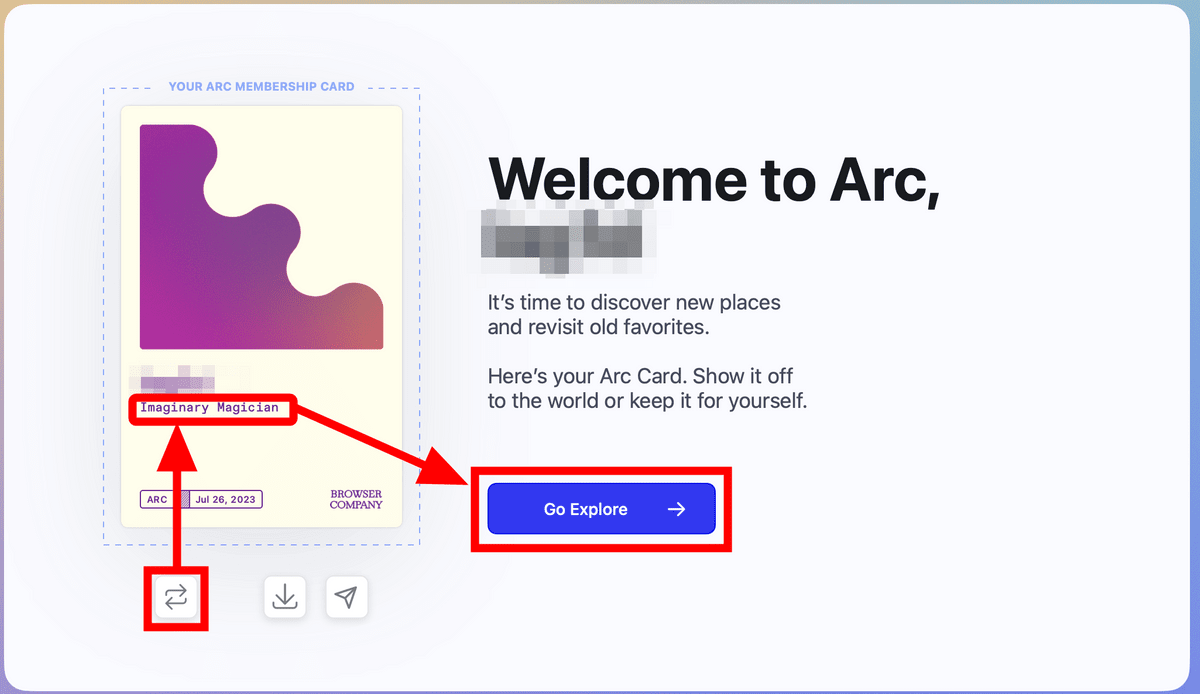
The initial settings are now complete. A membership card has been issued, and a 'second name' is prepared under the nickname, so click 'Go Explore' after sticking until you get a nice nickname with the update mark.
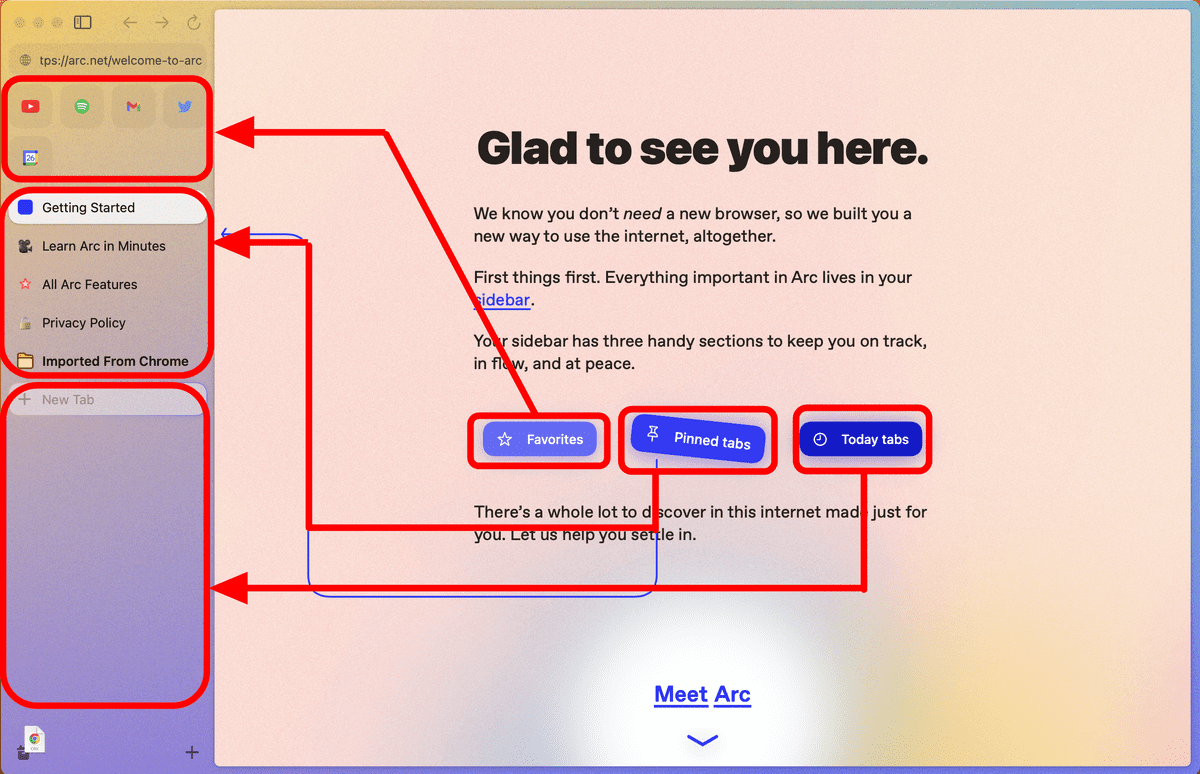
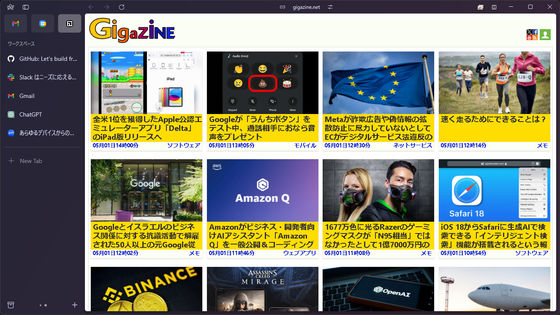
Most browsers have the list of tabs across the top, but in Arc it's in the sidebar. The sidebar is divided into three parts. The top is 'favorite', the middle is 'pinned tab', and the last part is 'today's tab'.
Try clicking a link to another site from your Favorites or Pinned Tabs page.
Then, a pop-up screen will appear to confirm the contents. Click the magnifying mark on the upper right or press 'CMD key + O' to open this page as 'Today's tab'.
'Today's tab' is, as the name suggests, 'today's tab' and is set to be automatically archived in 12 hours. If you want to always display it in the sidebar on a frequently visited site, drag and drop it above the horizontal line and make it a 'pinned tab' OK.
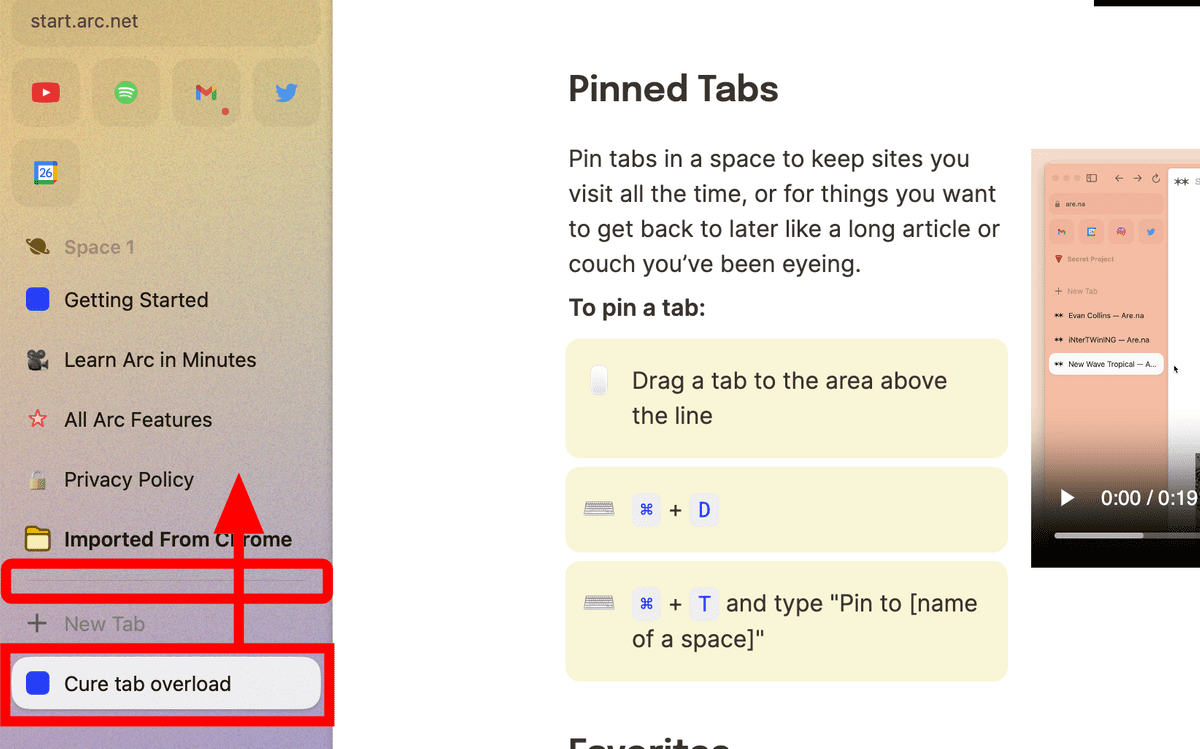
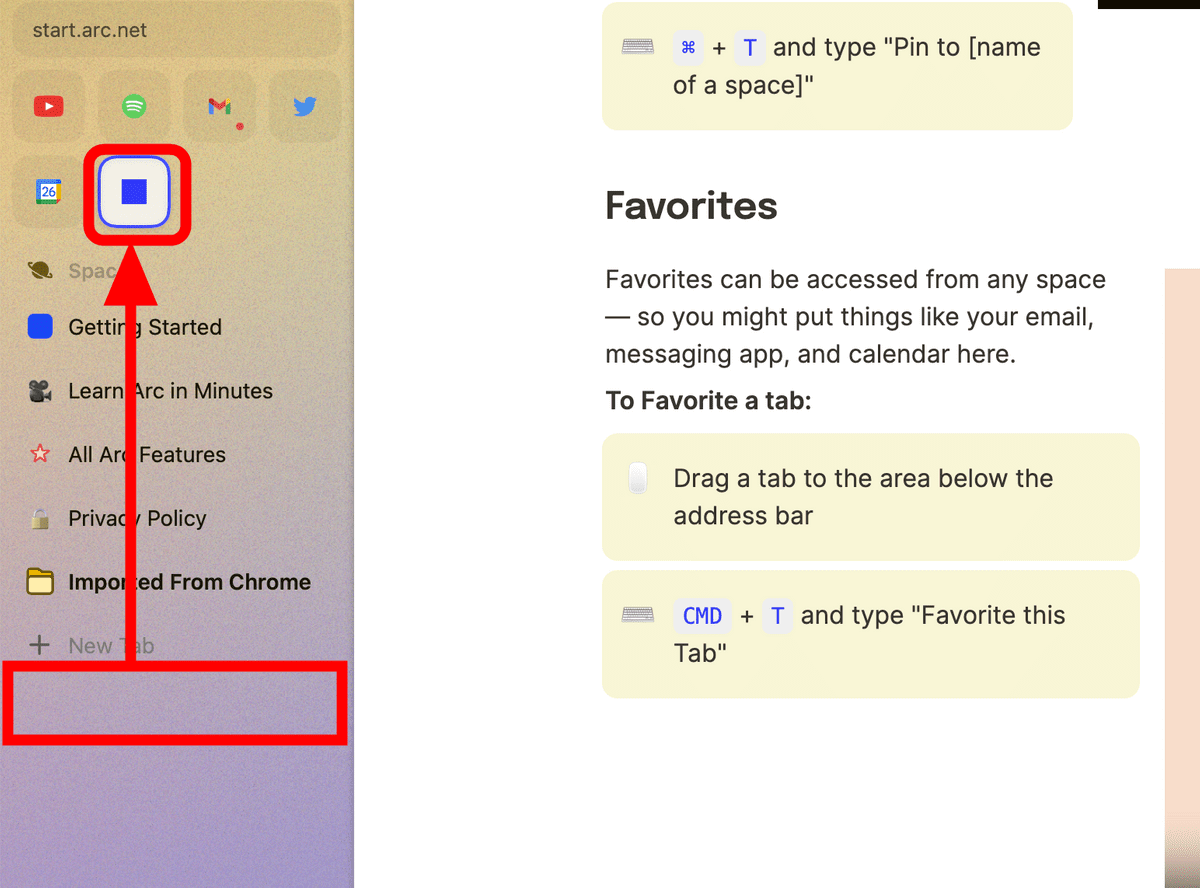
Similarly, it is possible to add to 'Favorites' by dragging and dropping.
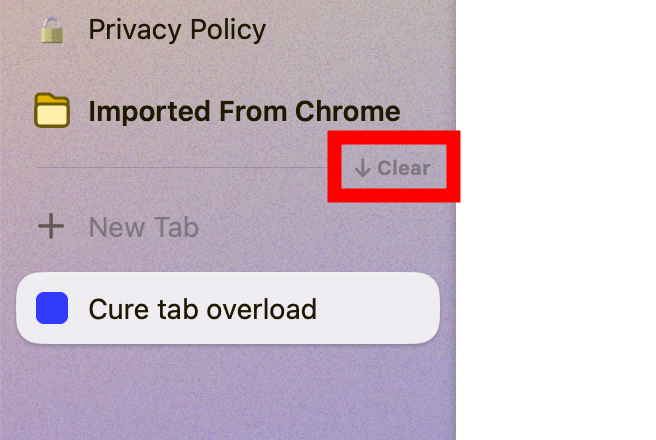
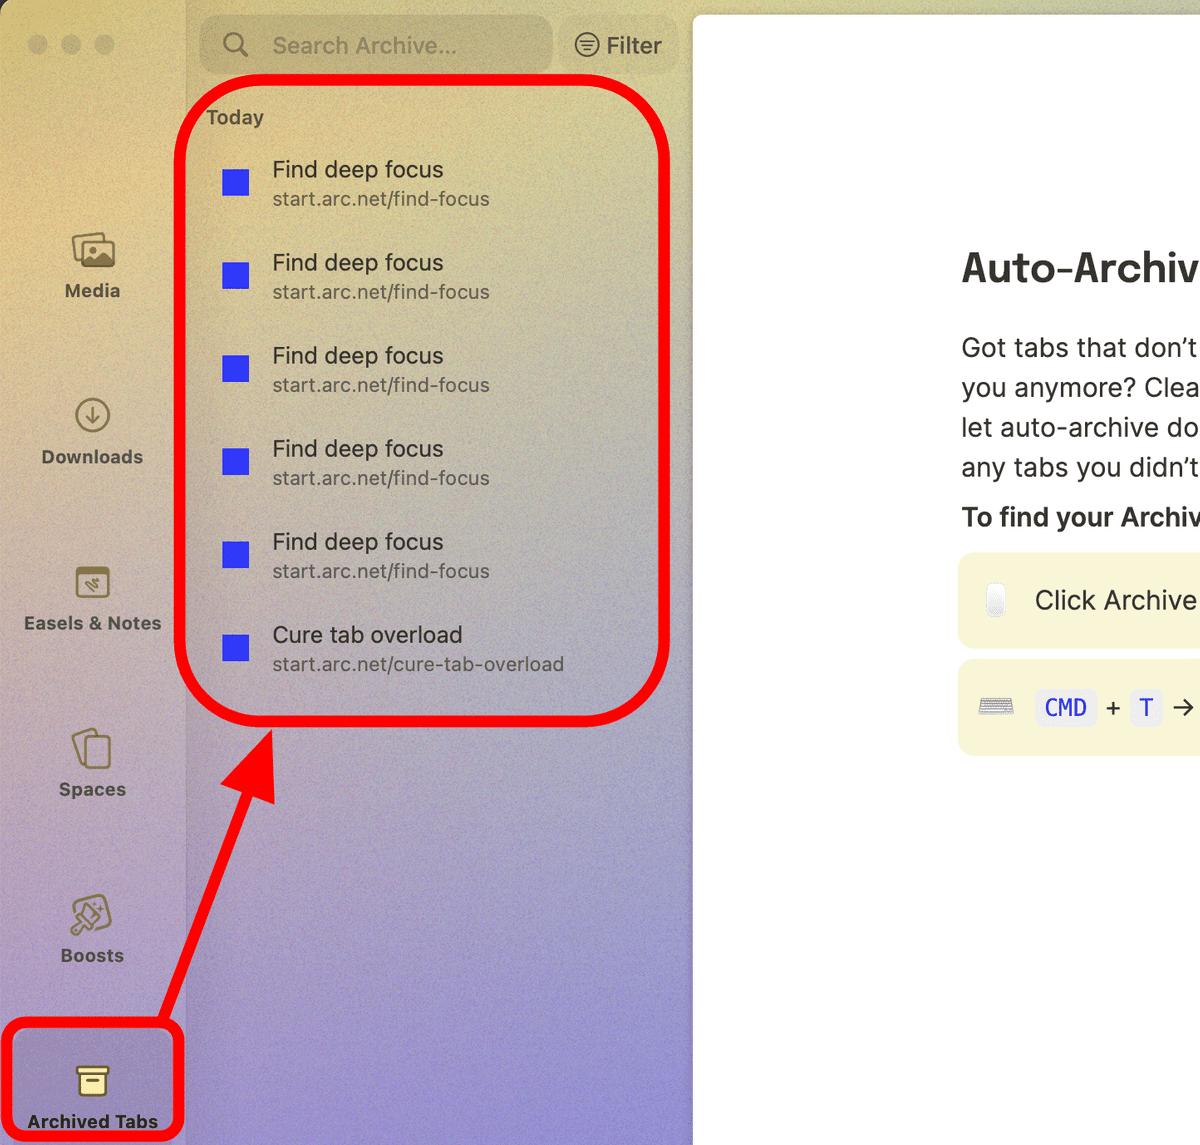
If you want to archive 'Today's tab' at once, click 'Clear' in the horizontal line.
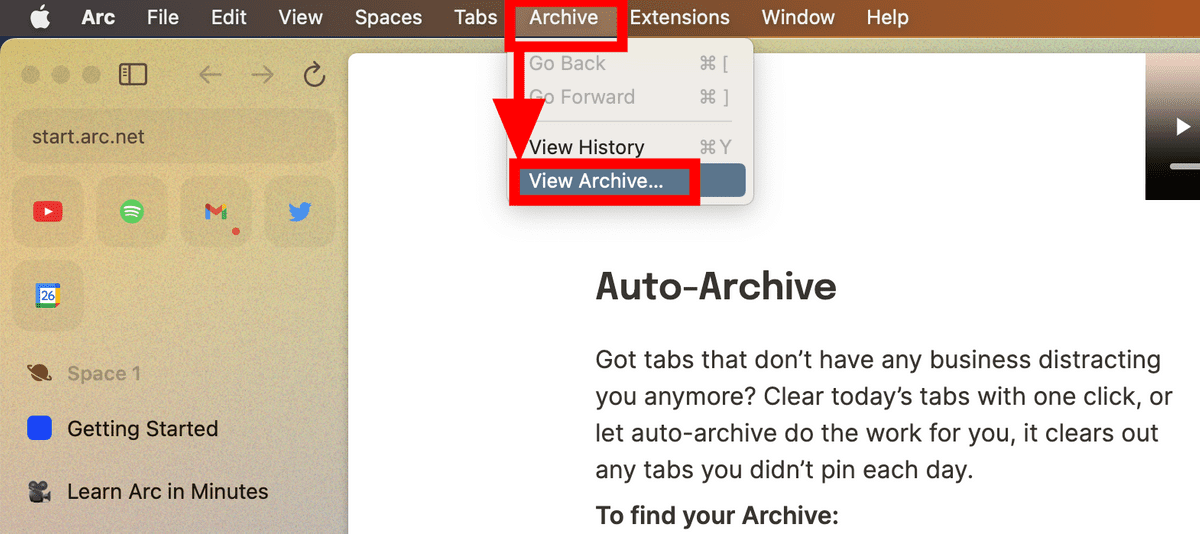
Archived tabs can be checked by selecting 'View Archive...' from 'Archive' in the menu.
Clicking on an archived tab will reopen it as a Today's Tab.
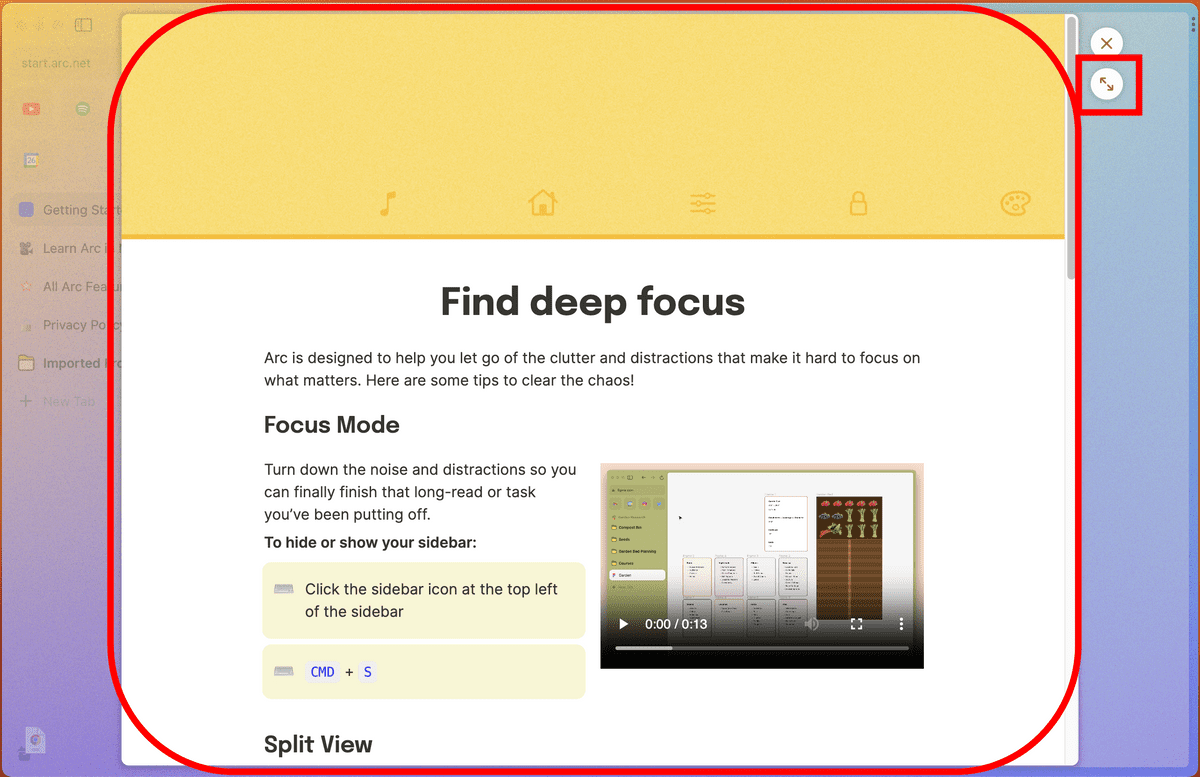
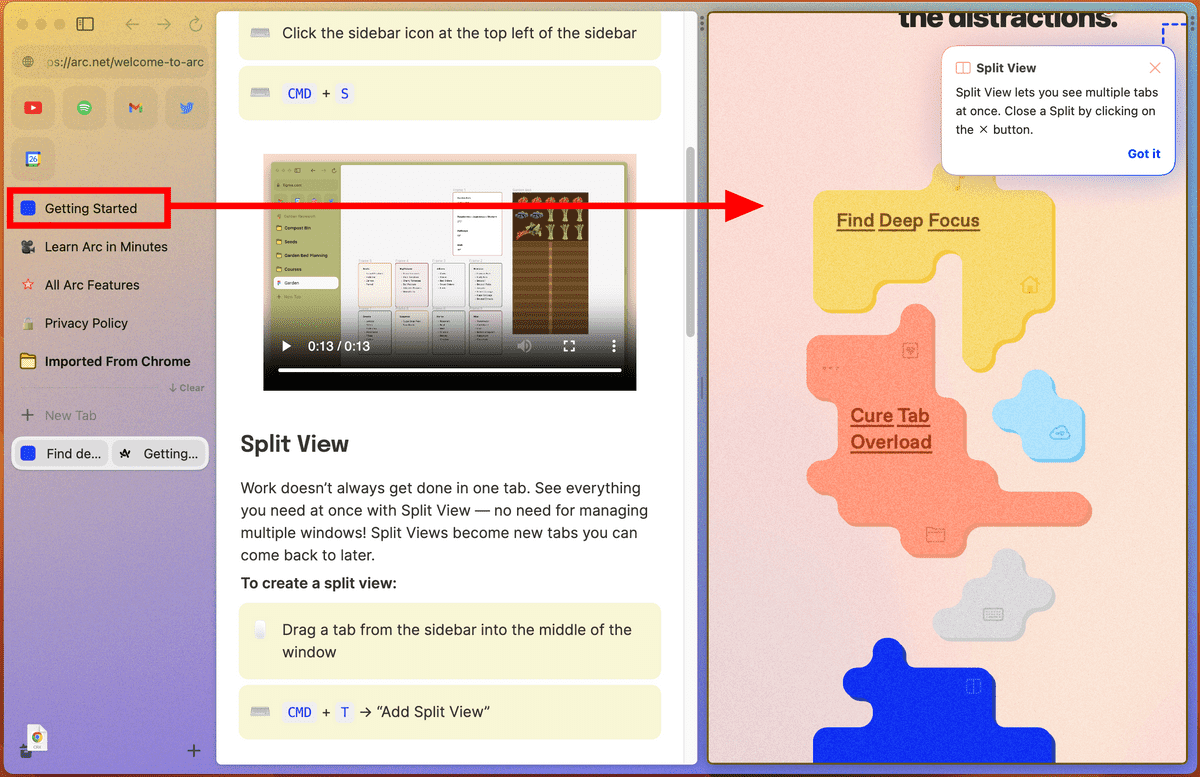
If the sidebar area gets in the way of browsing, you can always open and close it with 'CMD key + S'.
Also, you can easily split the screen into two by dragging and dropping tabs.
In addition, by registering some apps in 'Favorites', you can use a function called 'Preview' that allows you to check new mails and future schedules simply by hovering over the app.
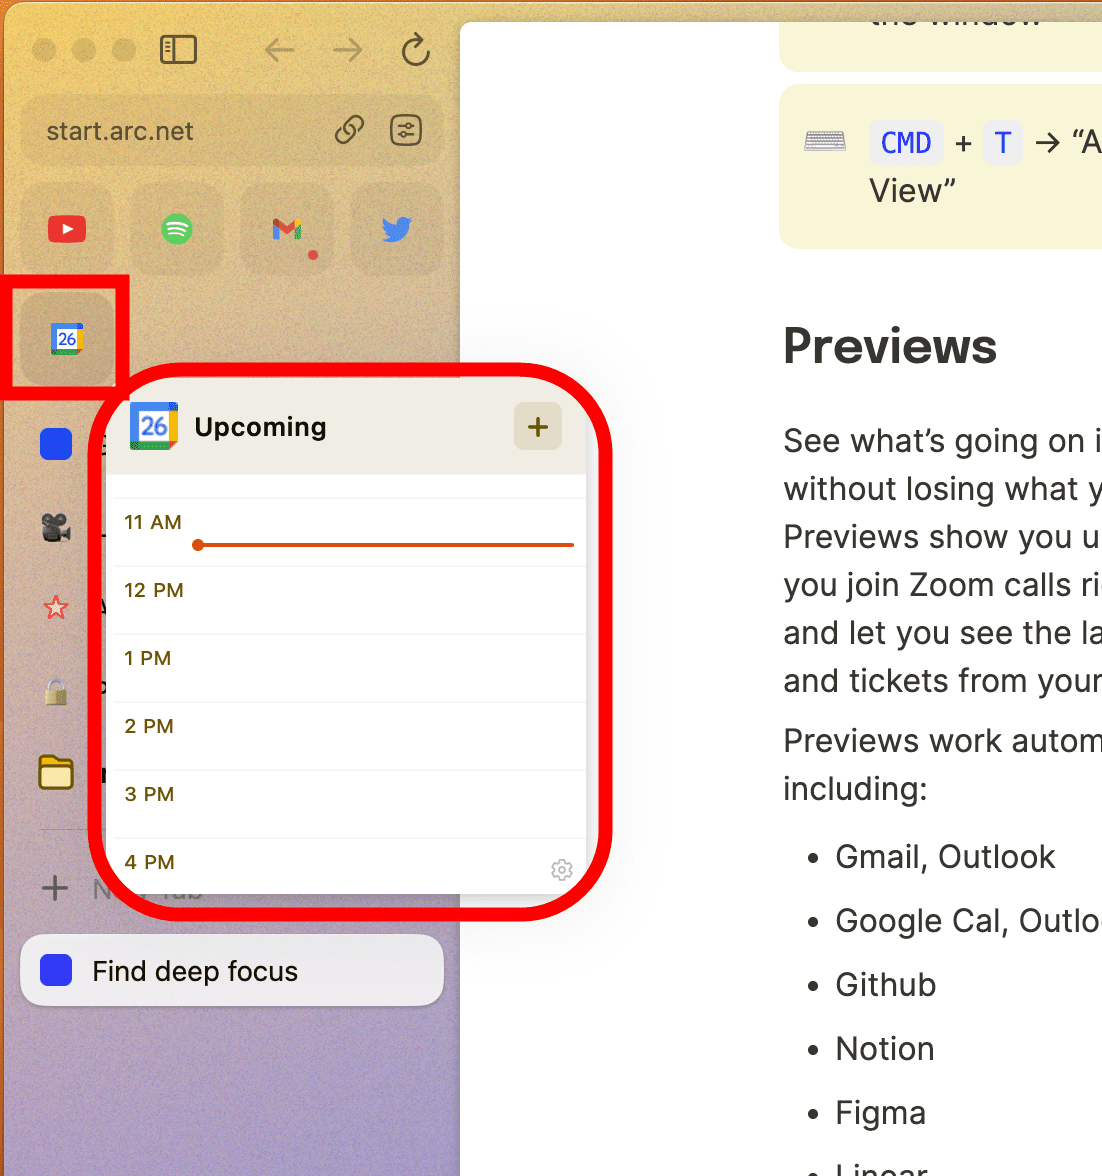
At the time of release, the apps that support preview are as follows.
・Gmail and Outlook
・Google Calendar, Outlook Calendar
・GitHub
・Notion
・Figma
・Linear
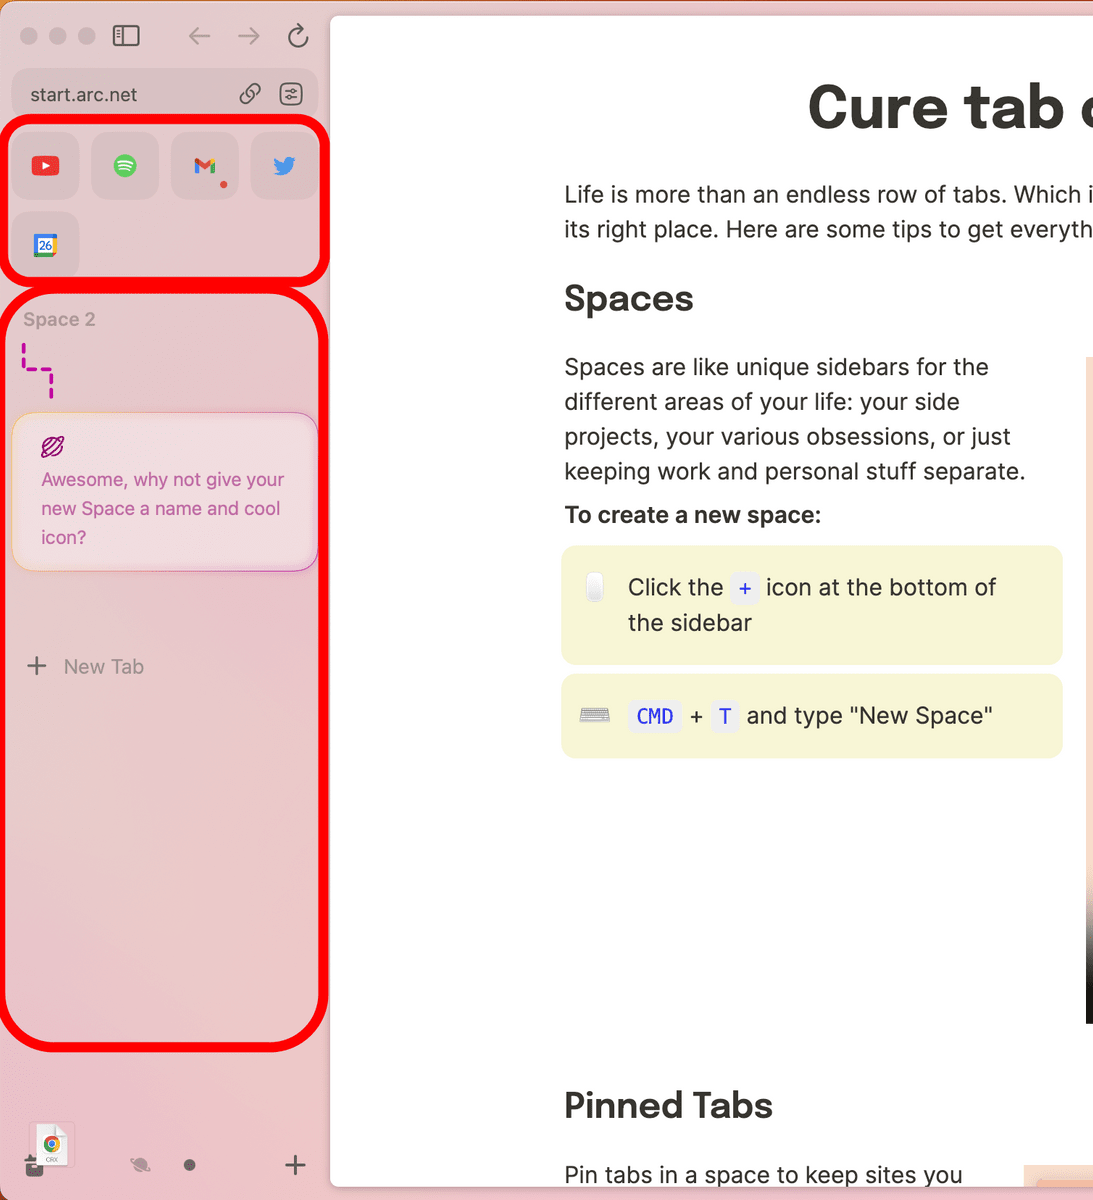
In addition, 'space' exists as a special function of Arc. Click 'New Space' from the mark at the bottom right of the sidebar.
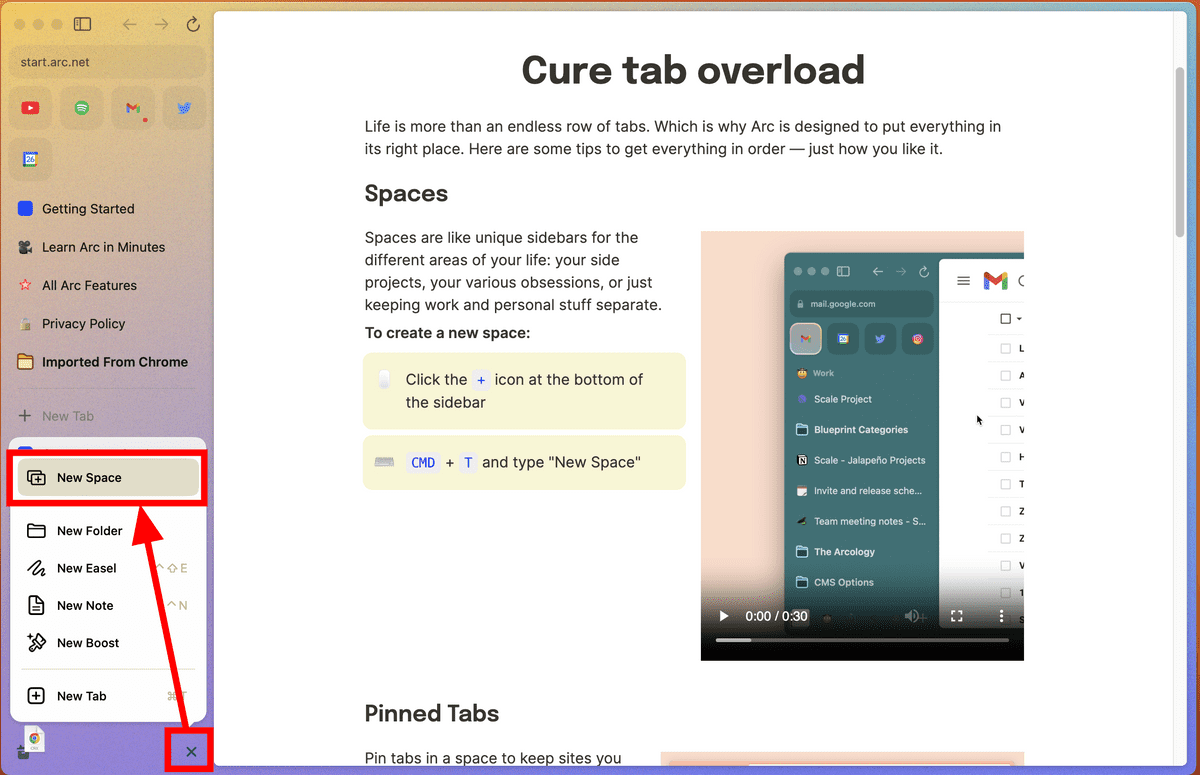
Then, 'favorites' remained common, and 'pinned tabs' and 'today's tabs' were switched entirely. It seems convenient to use the space according to the purpose, such as work and hobbies.
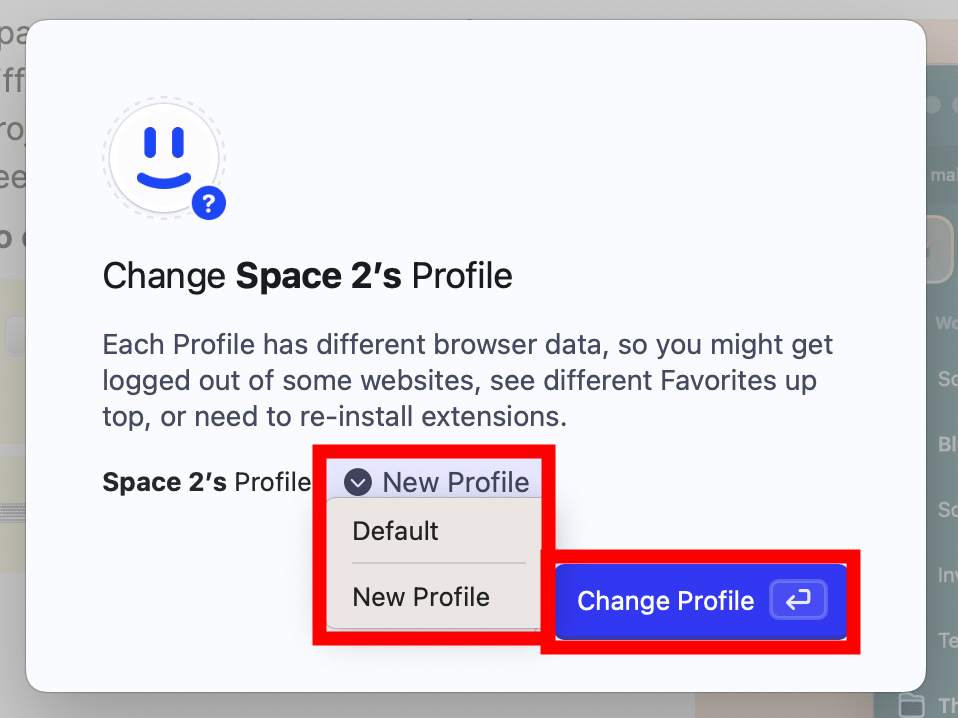
By selecting 'Change Profile' from 'Spaces' in the menu, it is also possible to separate profiles for each space.
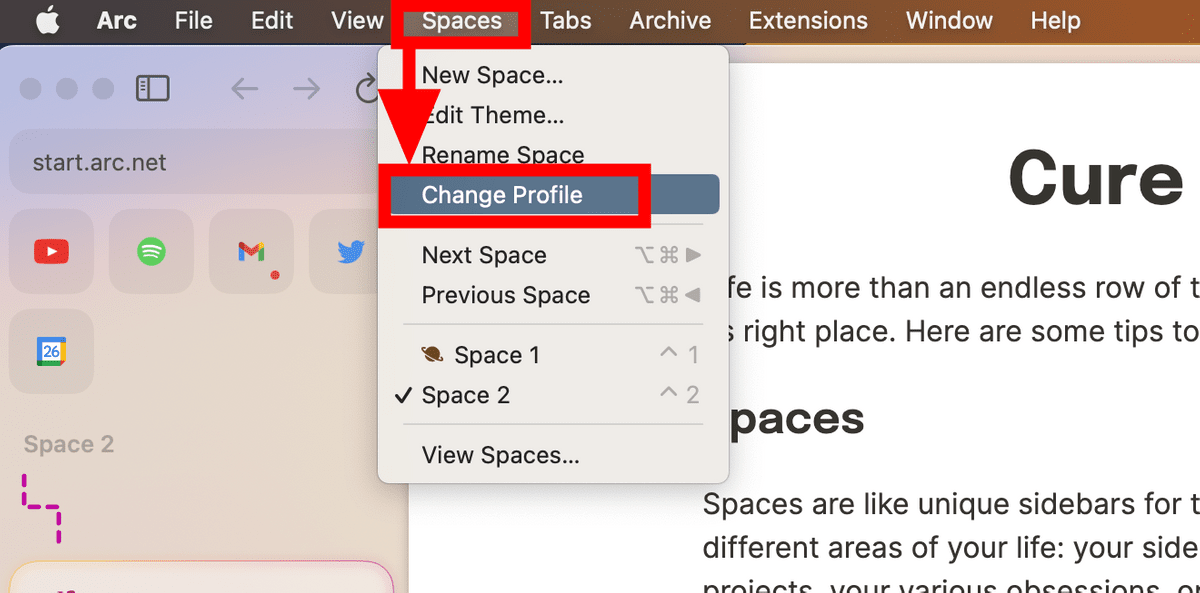
Select the profile you want to apply and click 'Change Profile' OK. When you switch spaces, the login information of the site, the 'Favorites' tab, extension functions, etc. will all be switched.
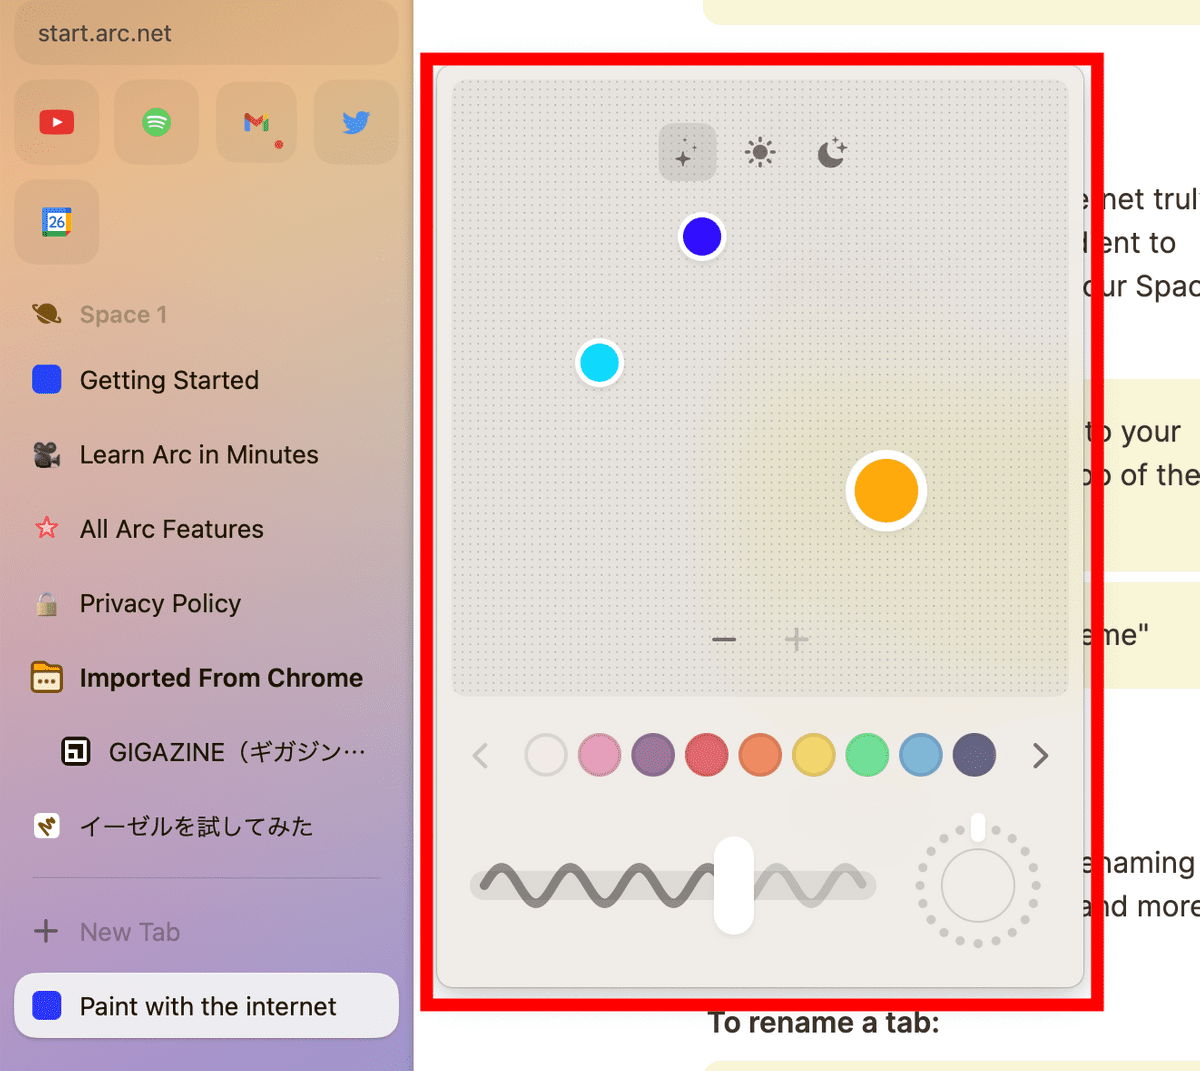
You can change the theme by clicking the mark on the right side of the space name and clicking 'Theme...'.
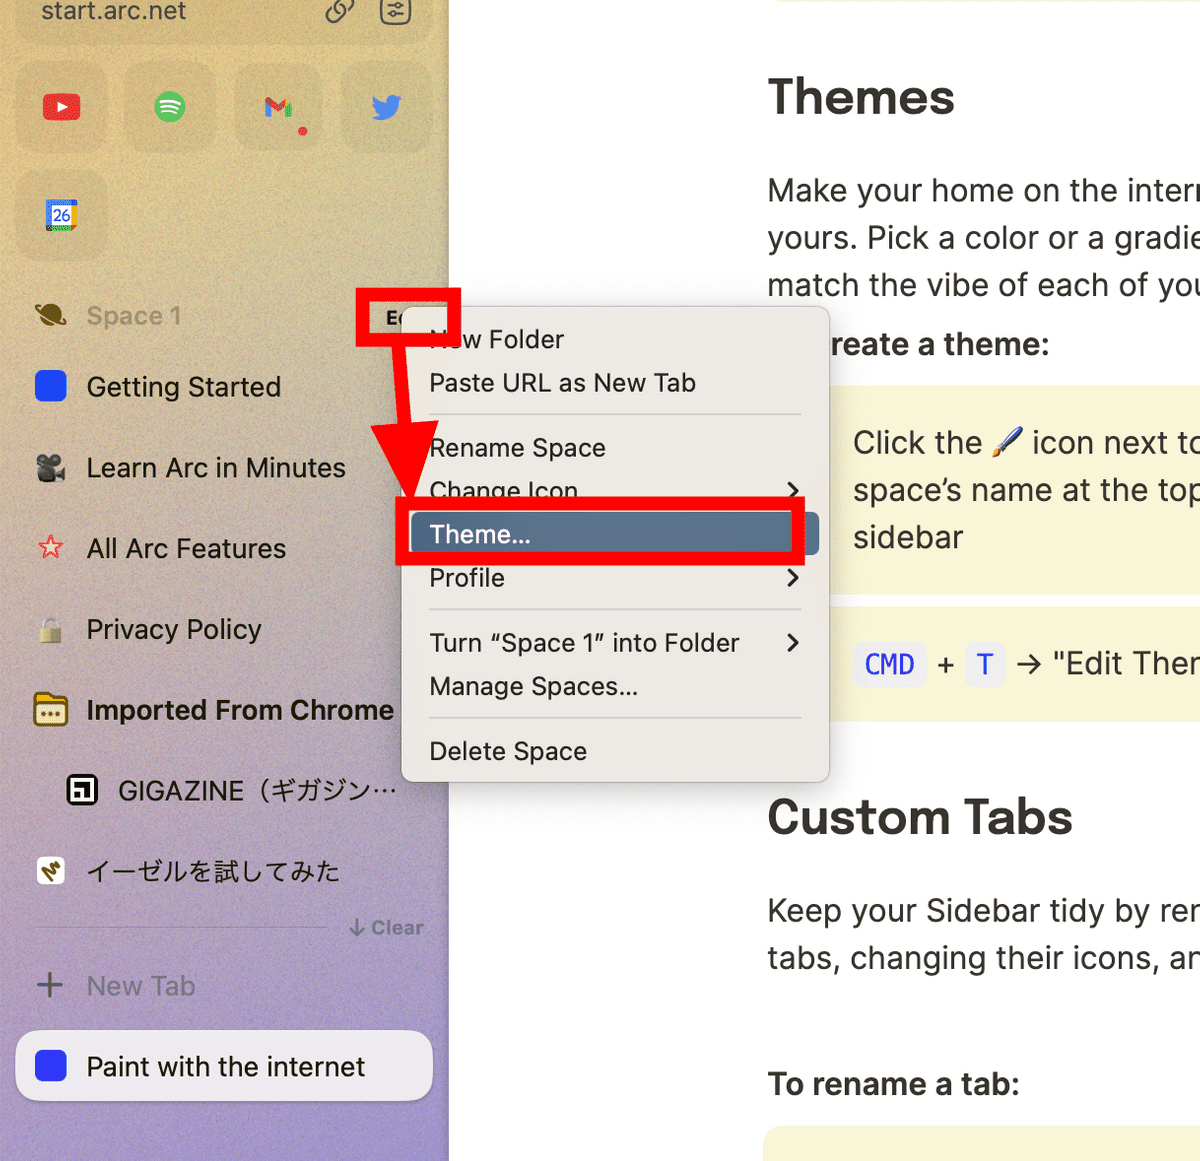
The setting method is the same as when the theme was decided in the initial setting. If you want to change the theme according to your mood, don't worry.
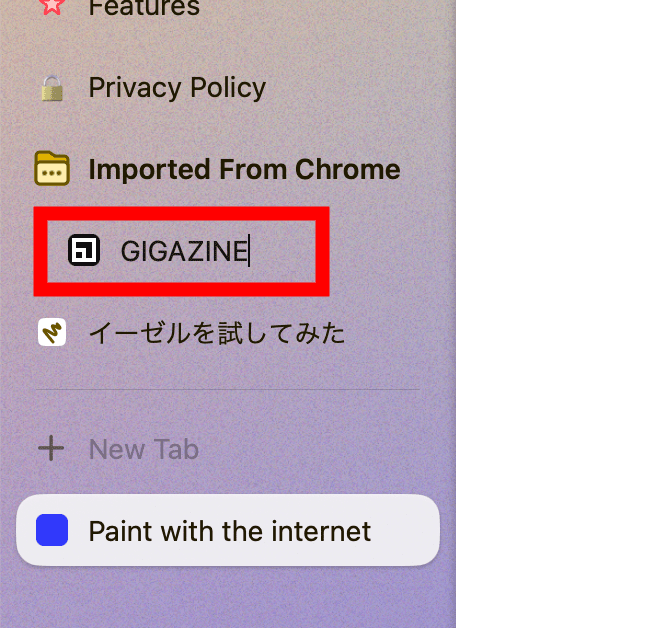
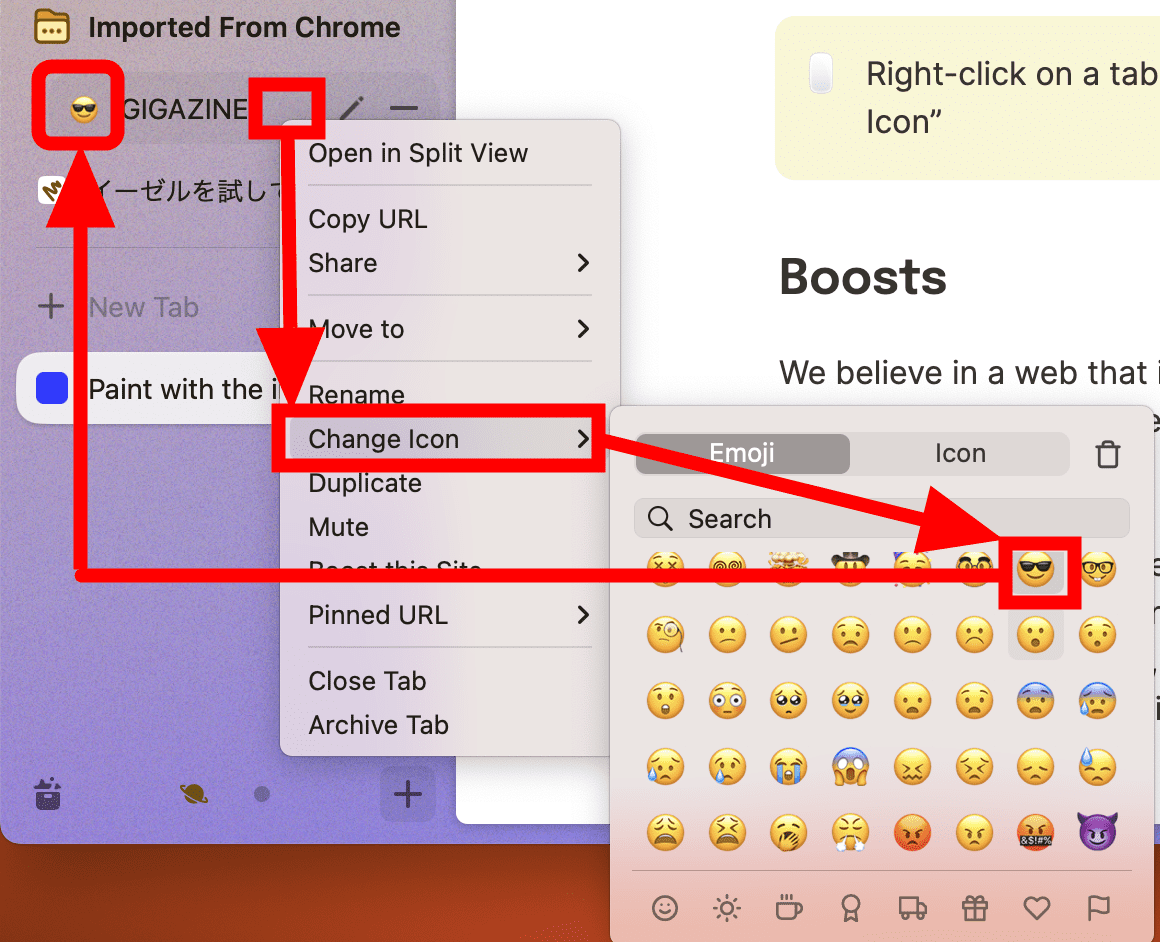
You can change the tab name by double-clicking it.
You can also change the icon to whatever you like by right-clicking the tab and clicking 'Change Icon'. You can also use pictograms, so if you want to make it easier to distinguish between sites with the same icon, you don't have to prepare your own icon.
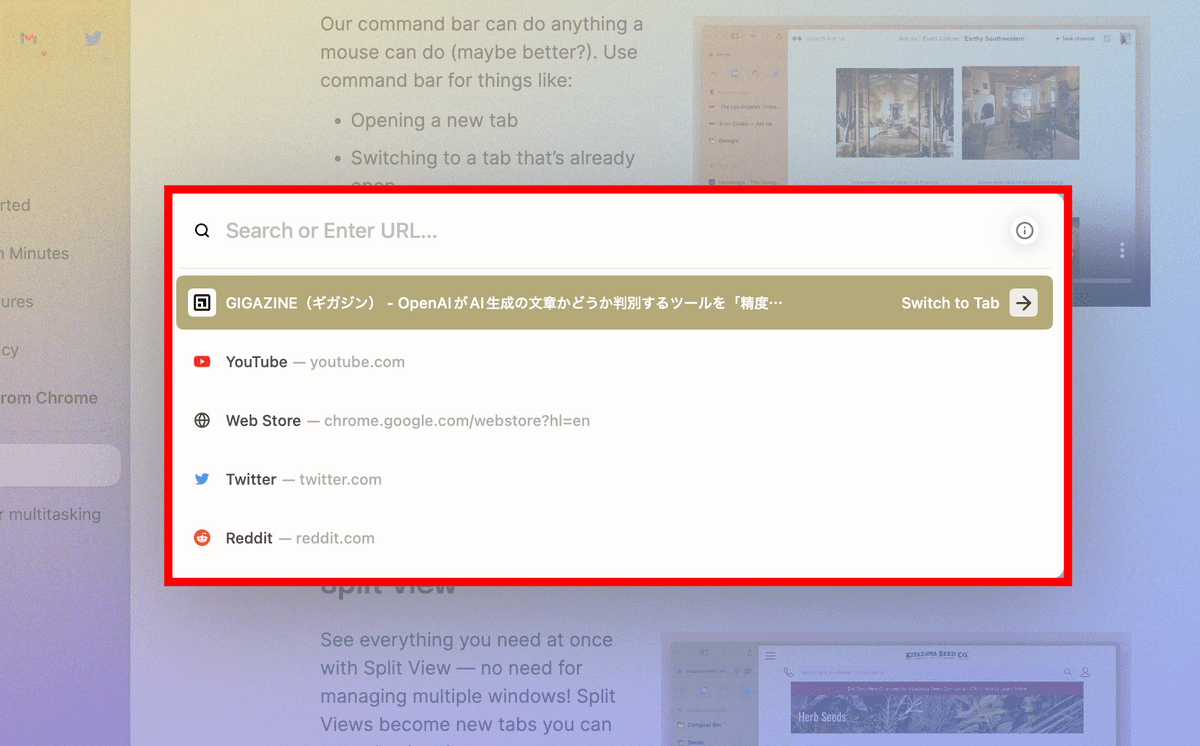
Pressing 'CMD key + T' will bring up the command input screen. In addition to being able to enter a URL and move, enter characters and search Google, commands such as 'Favorite this Tab' and 'New Space' are implemented.
It is possible to switch tabs with 'CMD key + Tab key'.
Sites that play audio will have controls in the sidebar to easily pause or adjust the volume.
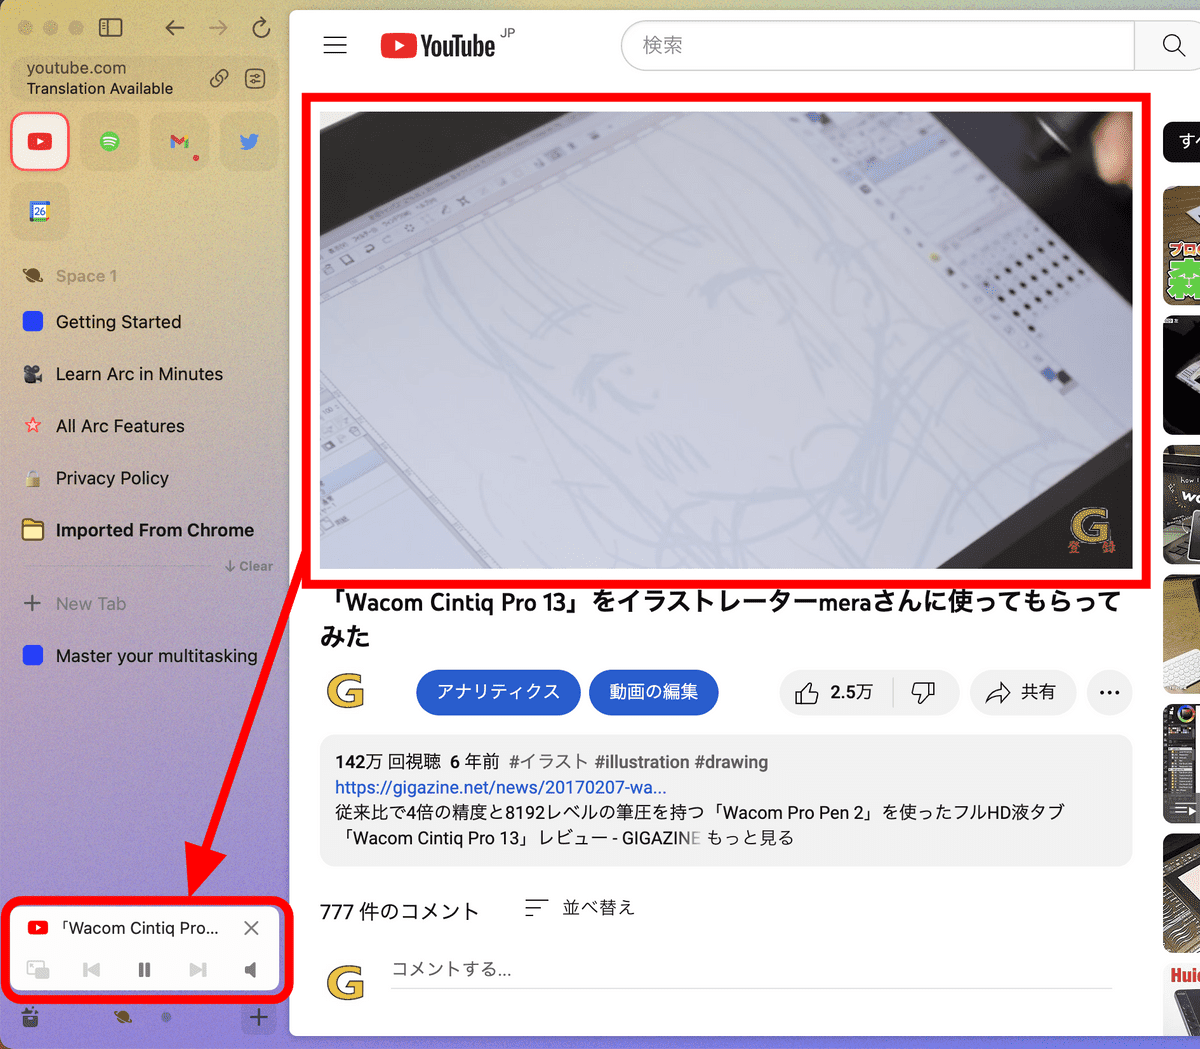
If you are playing a movie on YouTube etc., picture-in-picture will start automatically when you switch to another tab. It is convenient because it can be placed outside the Arc browser.
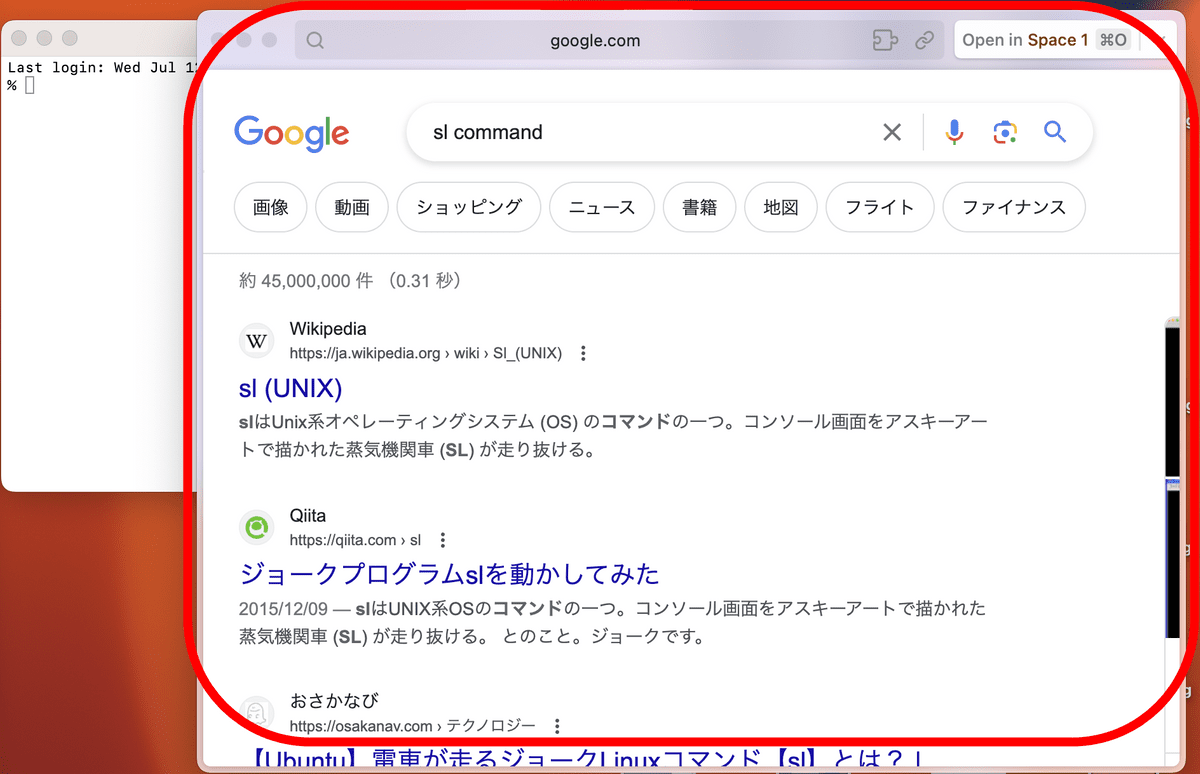
Even if you are not using Arc, pressing 'CMD key + Option key + N' will bring up the Arc search screen. Enter the characters you want to search for and press the enter key.
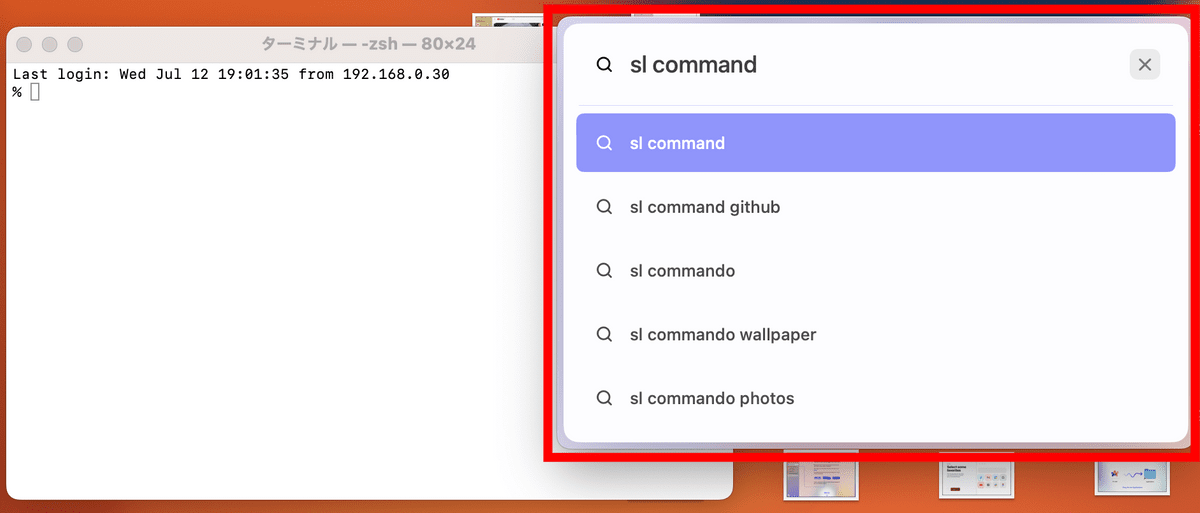
Search results are displayed in a small window. This function is useful for quick research. If you want to open this window on the Arc main body, press 'CMD key + O' OK.
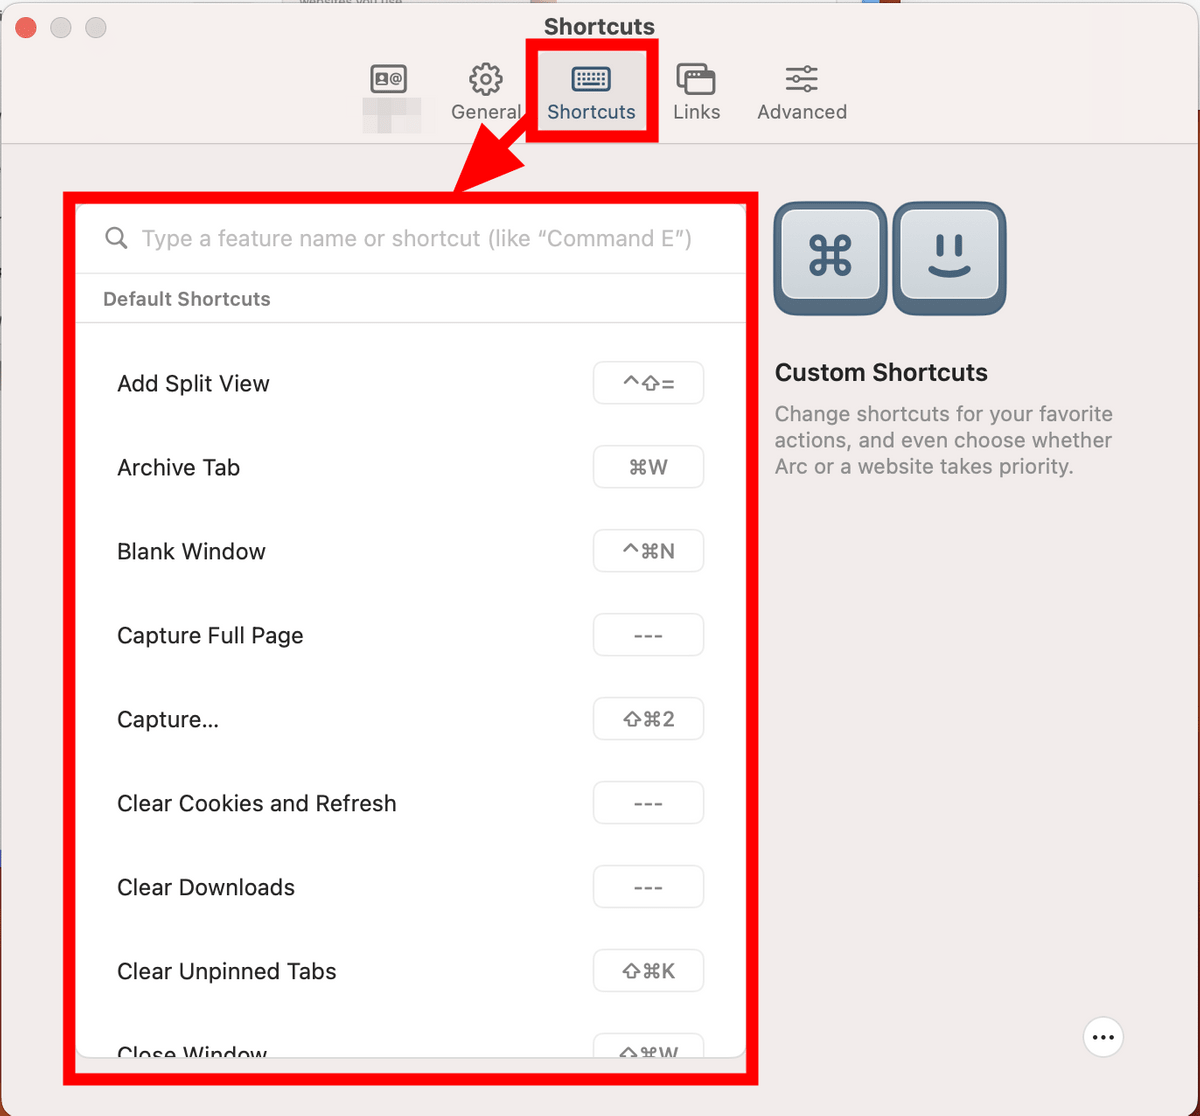
As you can see in this article, Arc has many shortcuts. To change these shortcuts, click 'Settings ...' from 'Arc' in the menu.
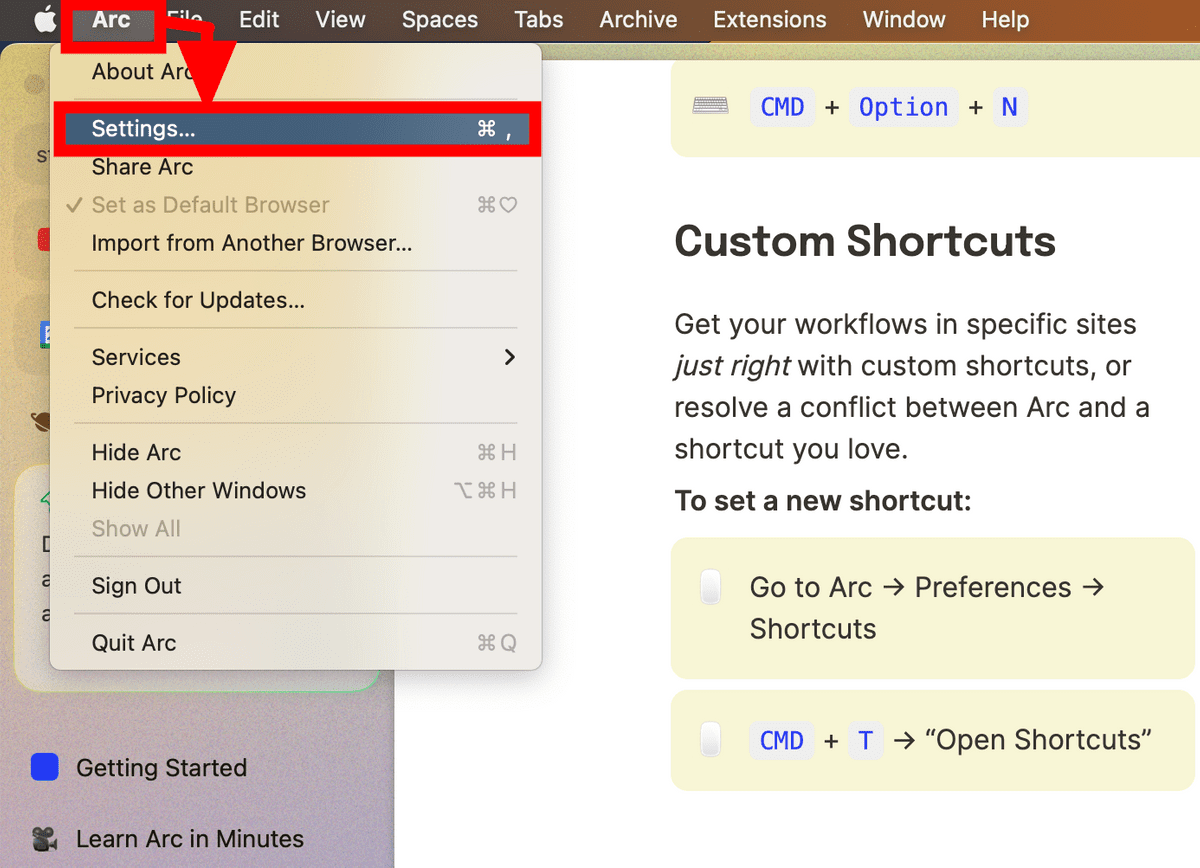
Go to the 'Shortcuts' tab and search for the desired function.
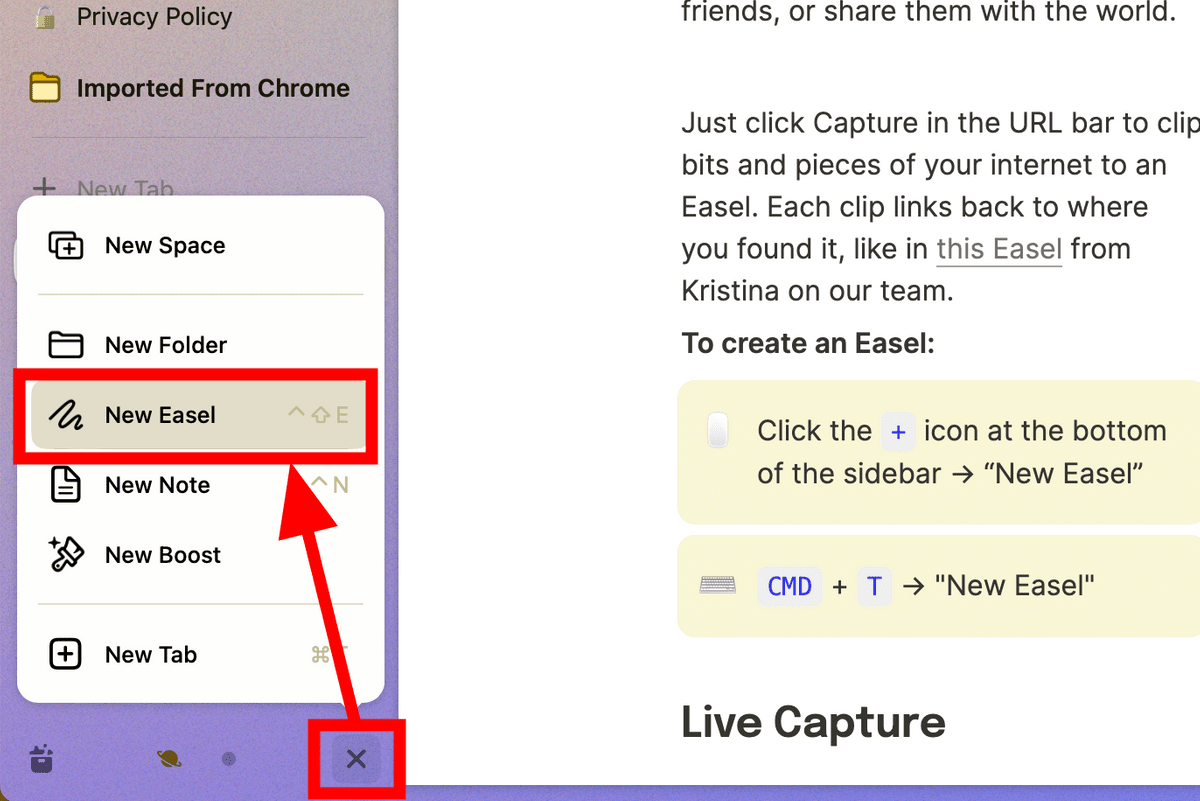
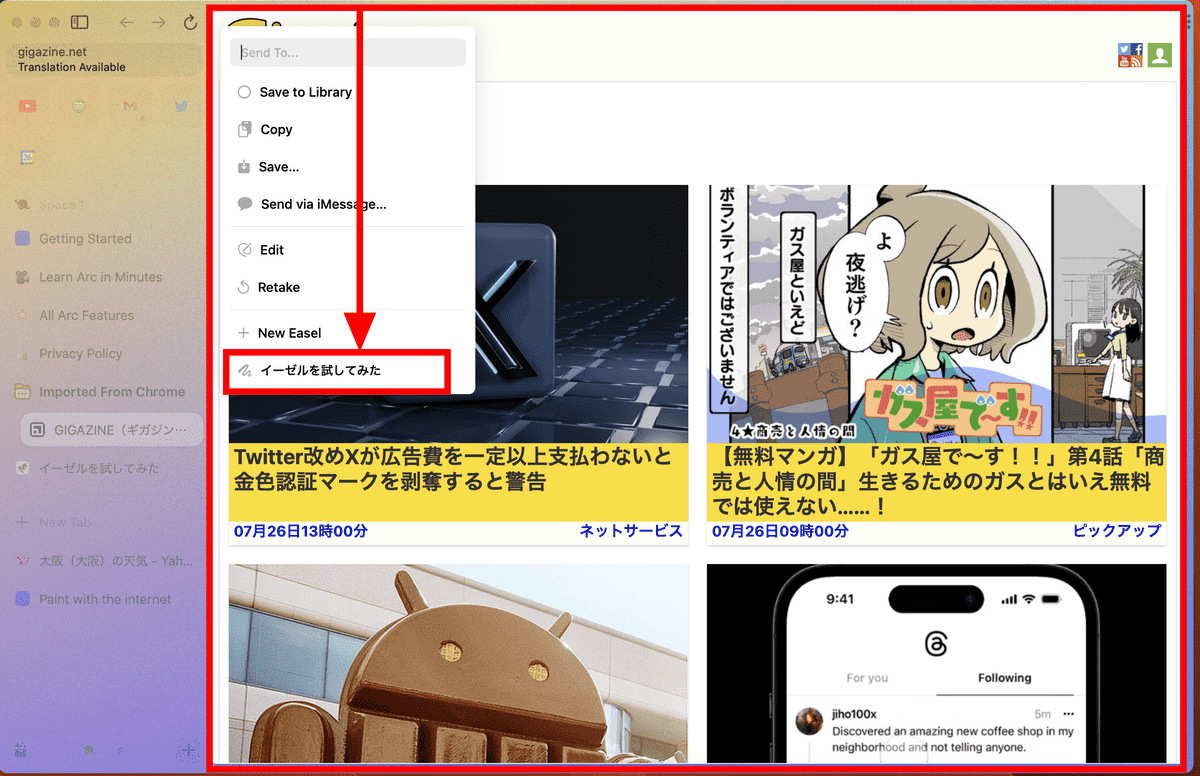
Arc has a feature called 'Easel'. Click the mark at the bottom right of the sidebar and click 'New Easel'.
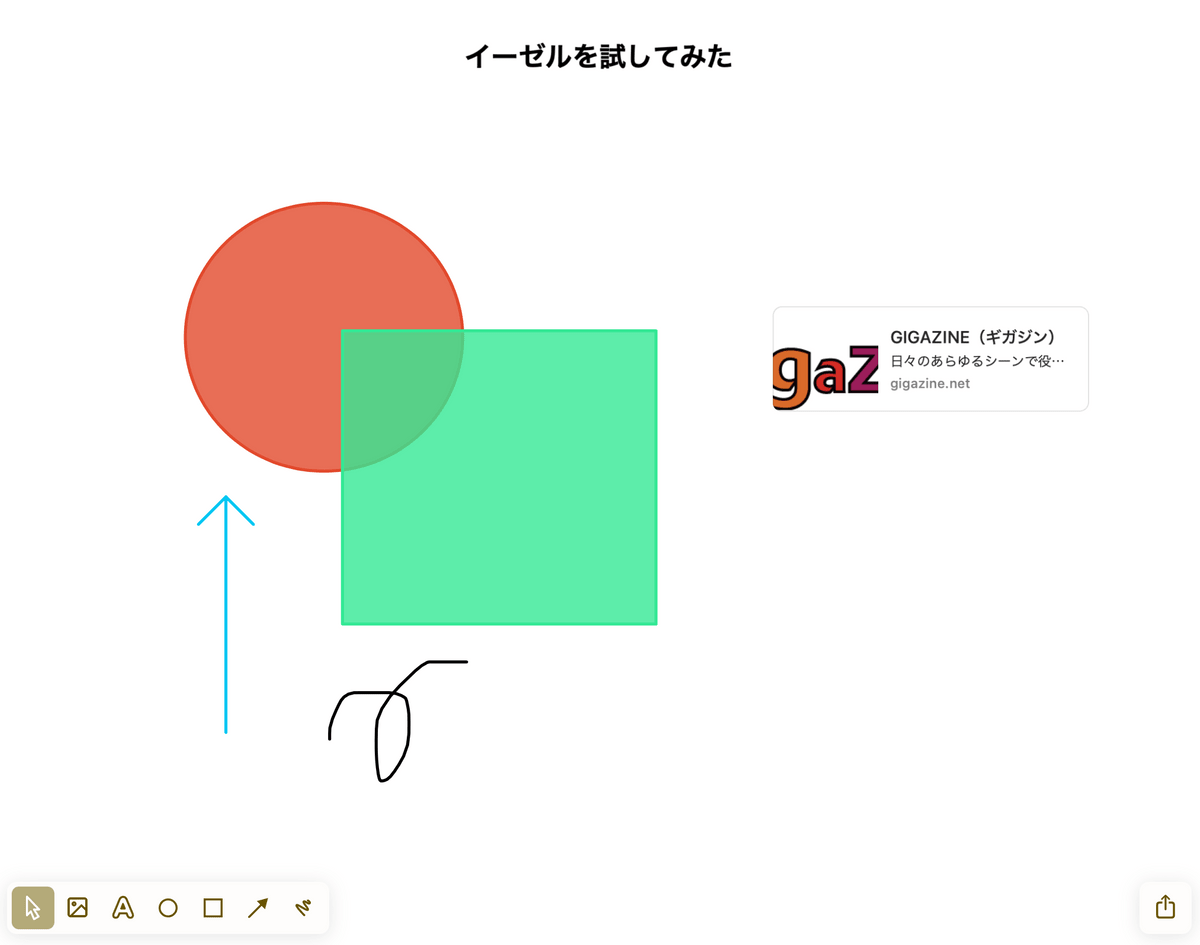
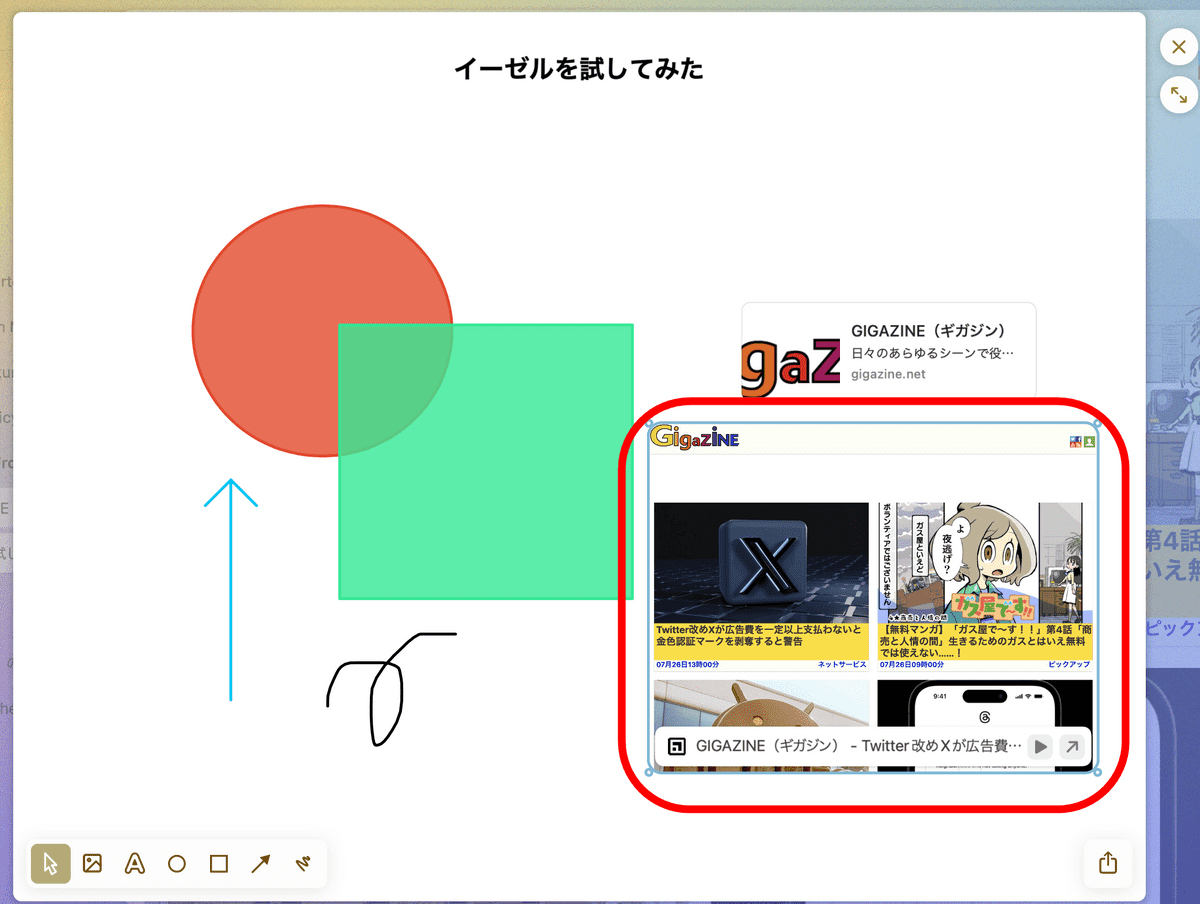
The Easel is a free-to-use, editable page where you can enter shapes, images, text, draw lines, paste links, and more.
The URL is displayed at the top of the sidebar, and there is a function to capture the screen in the menu of the mark on the right.

With this function, you can specify the area of the page and capture only part of it.
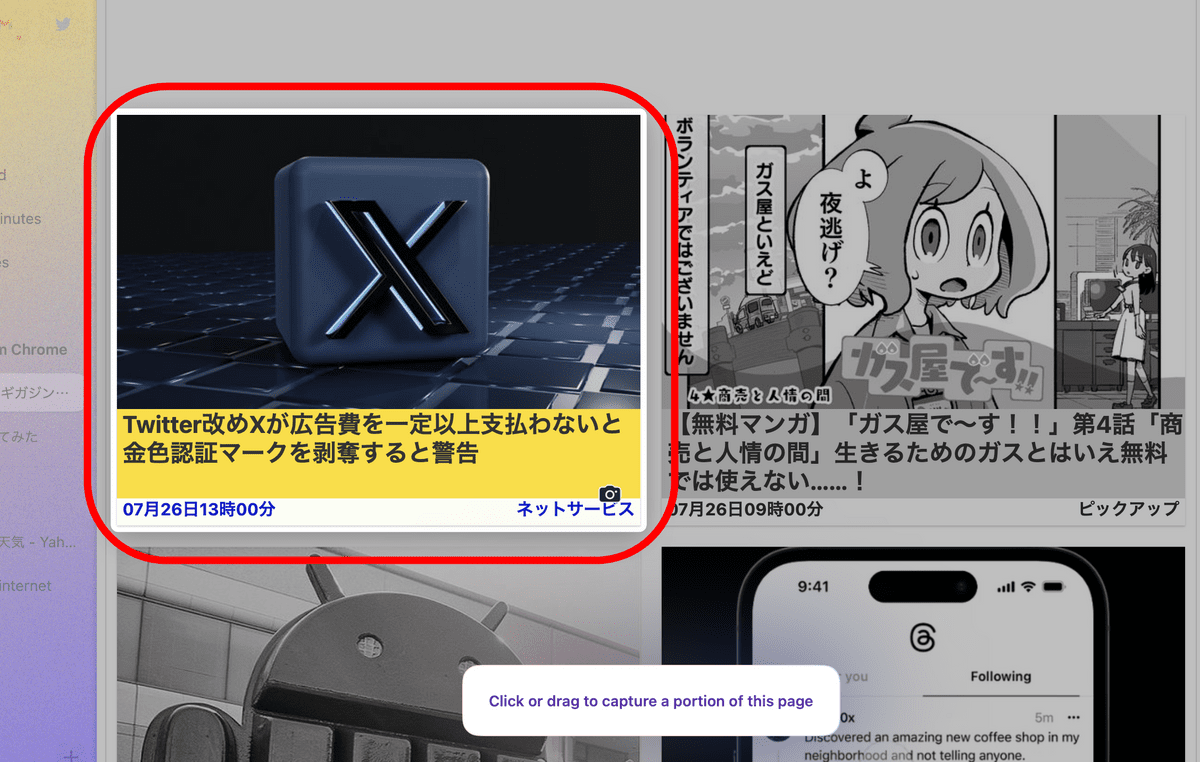
This time I selected the entire visible range. A menu will appear asking what to do with the capture, so click on the easel you created earlier.
Then you can add the captured content to the easel.
Furthermore, by clicking the play mark and clicking 'Make it Live', you can embed the website instead of just the image.
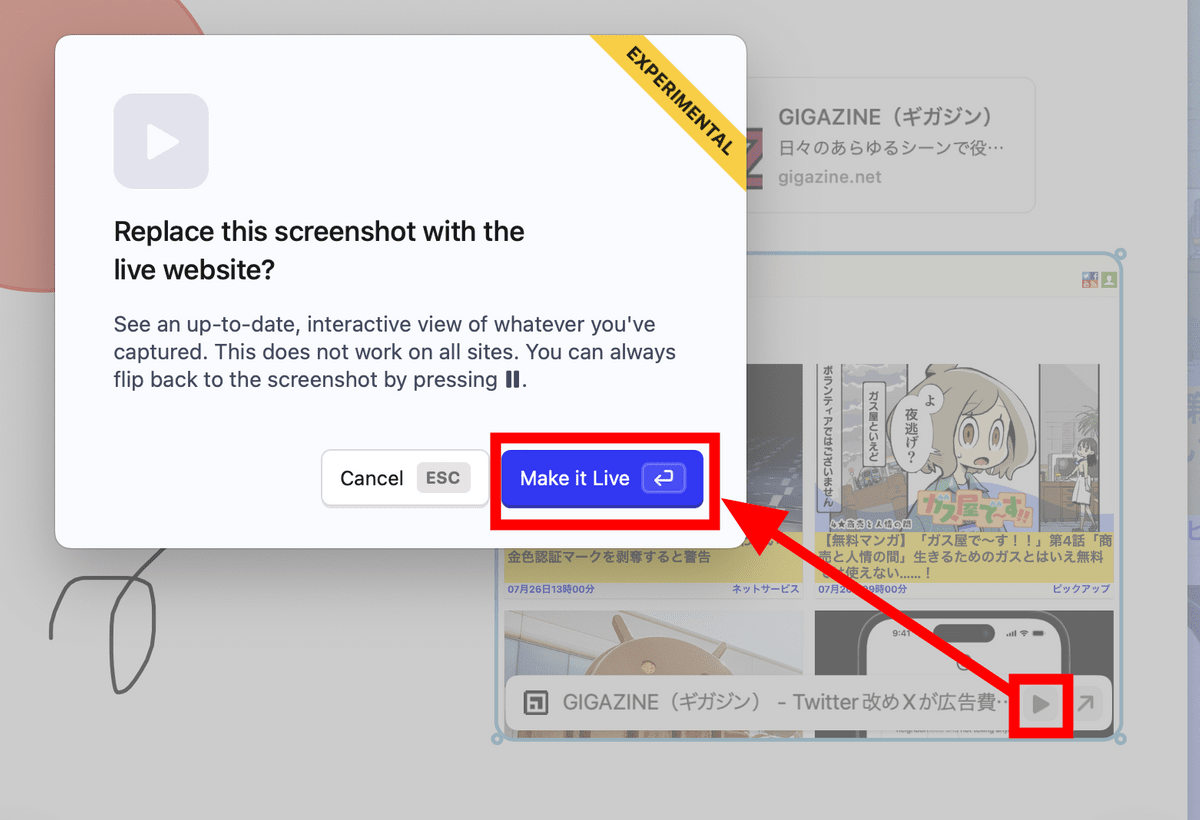
Since the site itself is embedded, you can click the part that is a link.
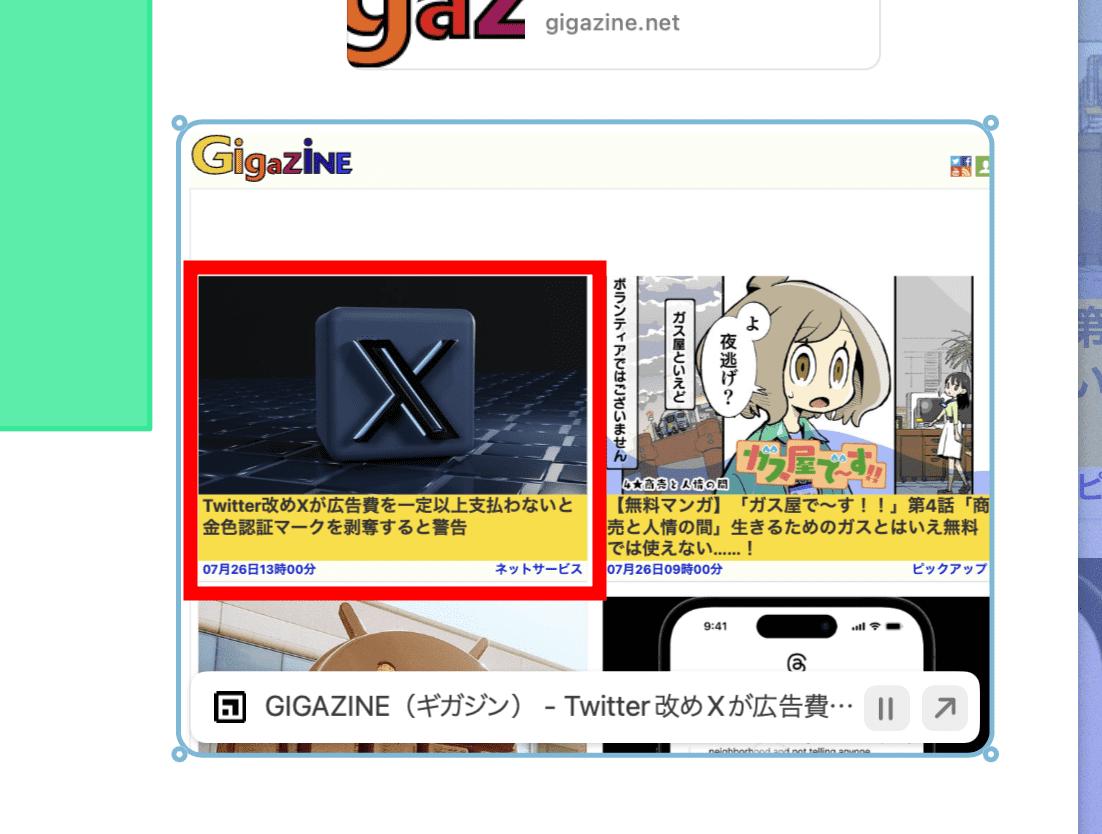
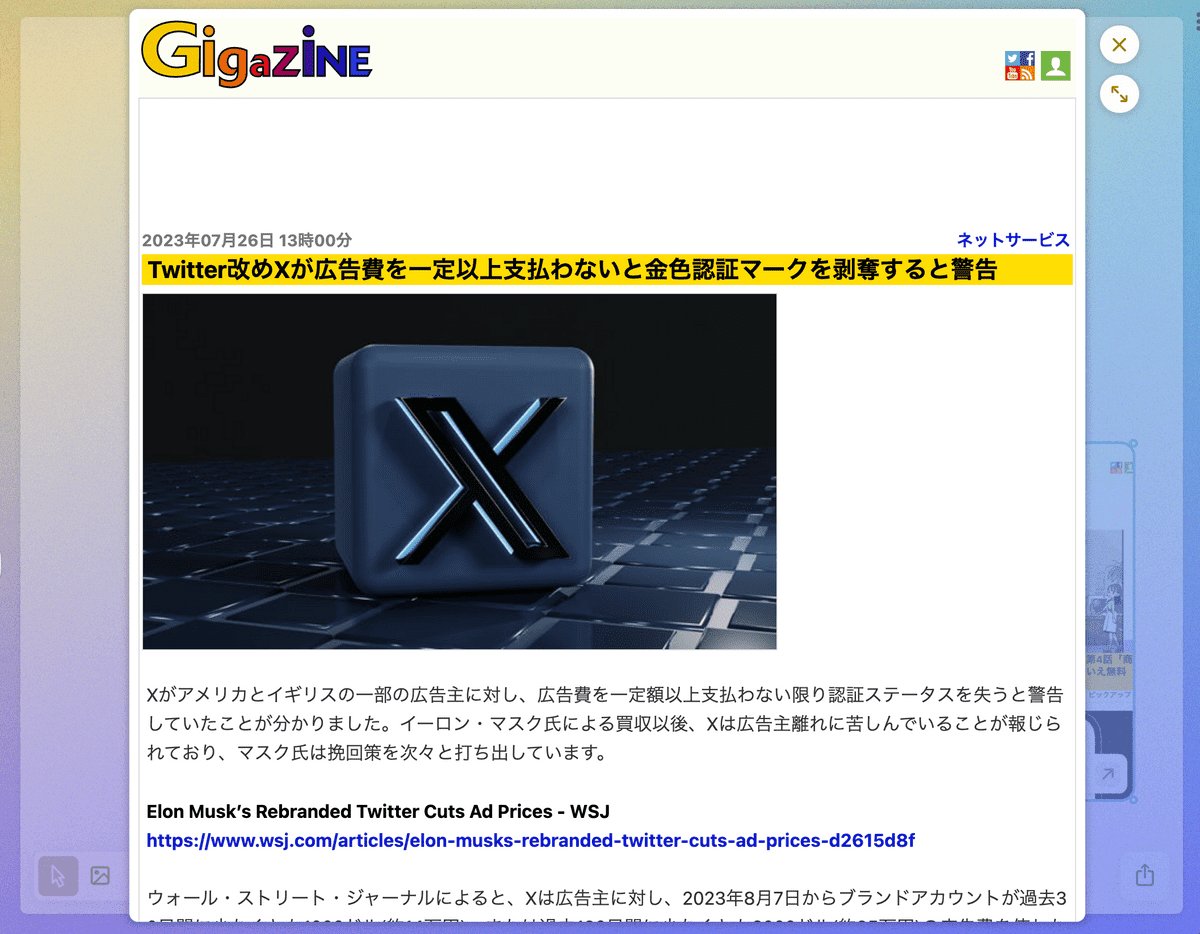
Clicking on the article looks like this. The embedded website will be updated at the same time when you reload the easel, so you can get the latest information.
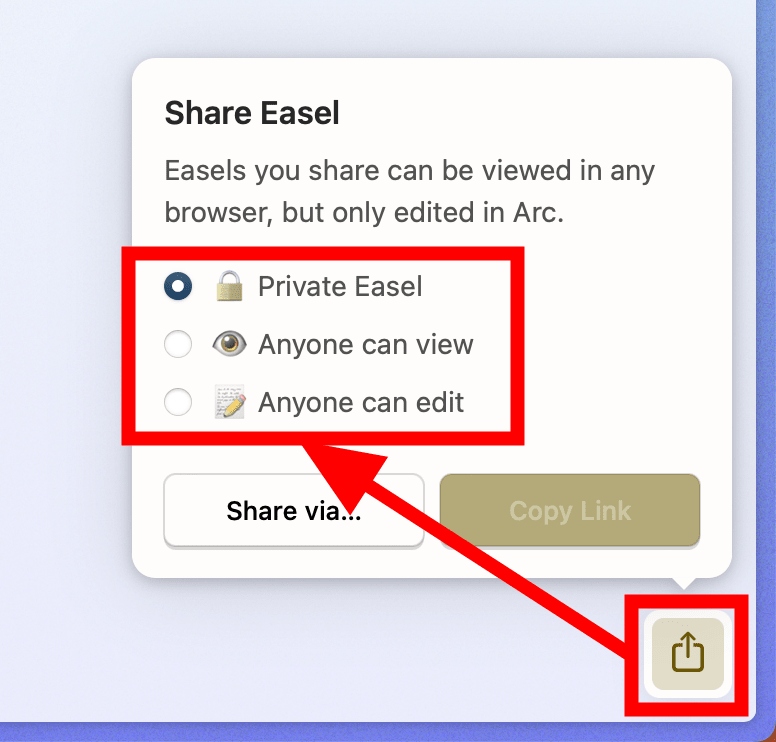
Once you create an easel, you can share it with others. You can access it from any browser for viewing only, but you need to use Arc for editing.
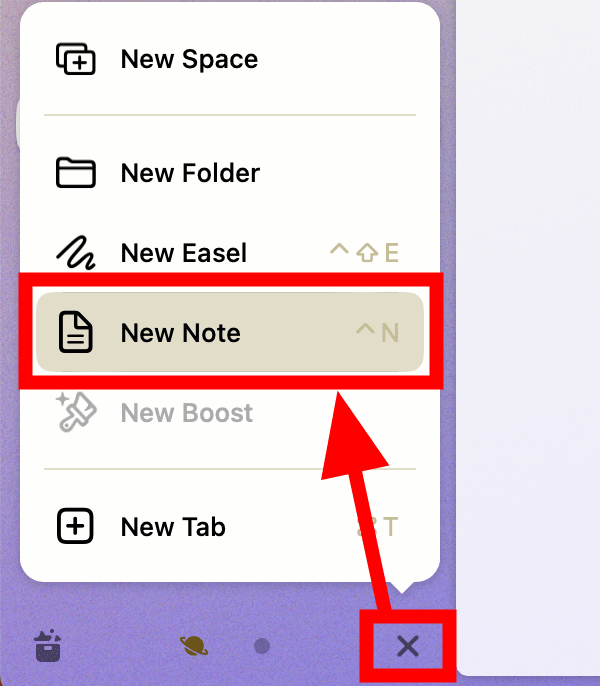
In addition to the easel, Arc also has a function called 'notebook'. Click 'New Note' from the menu at the bottom right of the sidebar.
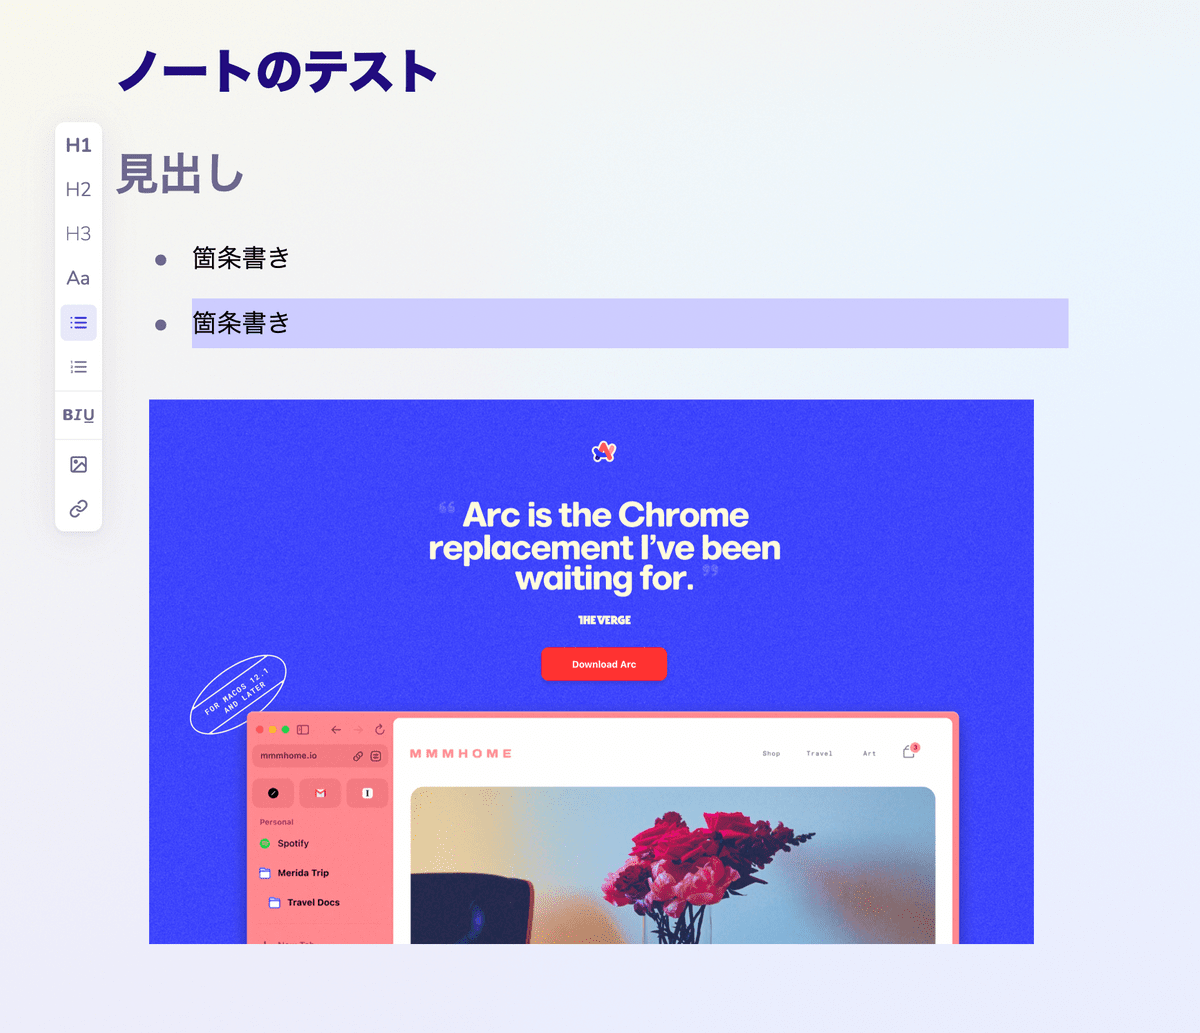
Unlike an easel where you can place shapes freely, a notebook is mainly text. In addition to headings and bullet points, you can also decorate text and insert images and links.
Arc also has a feature called Boost. Click 'New Boost' from the menu at the bottom right of the sidebar.
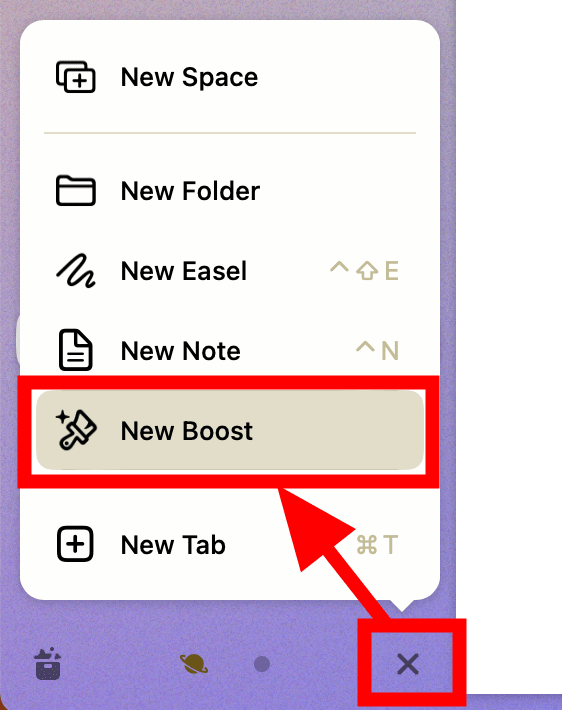
A window dedicated to boost will open. Click 'Make a Boost'.
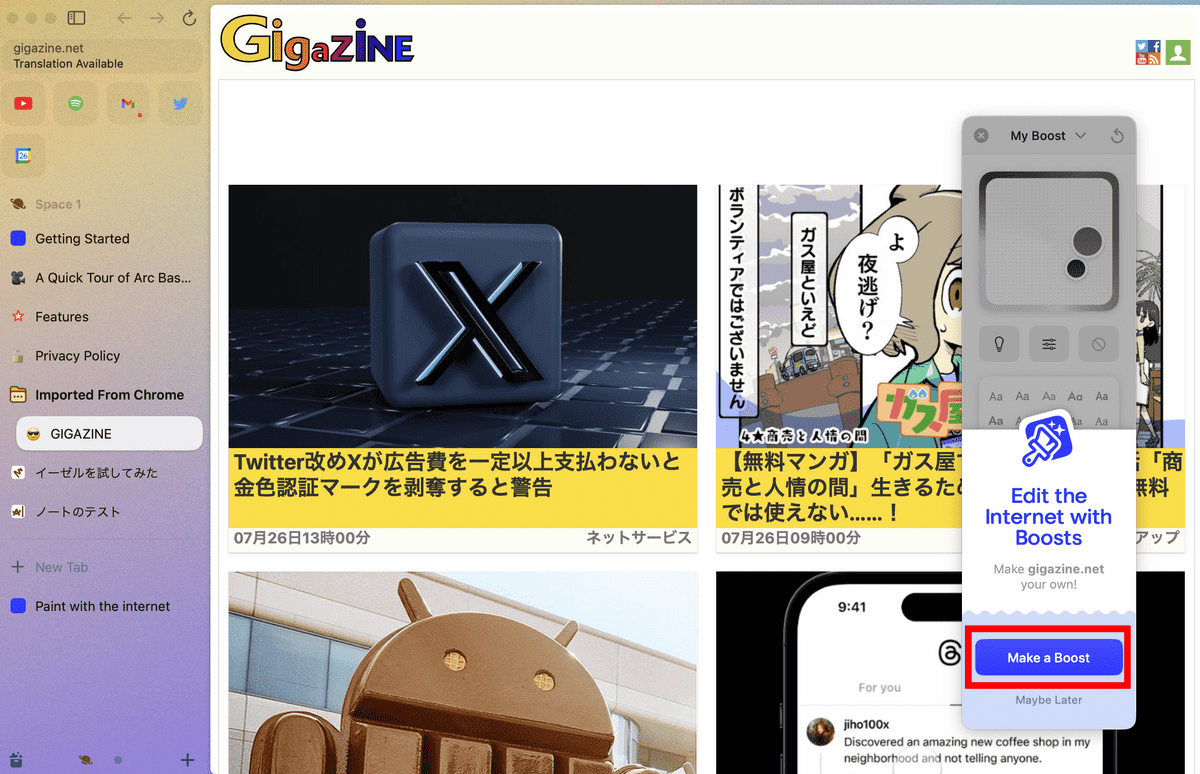
Roughly speaking, Boost is a function that modifies a website. It is possible to change the theme color, change the font and character size, delete specific elements, and insert any CSS or JavaScript code. Click 'Code'.
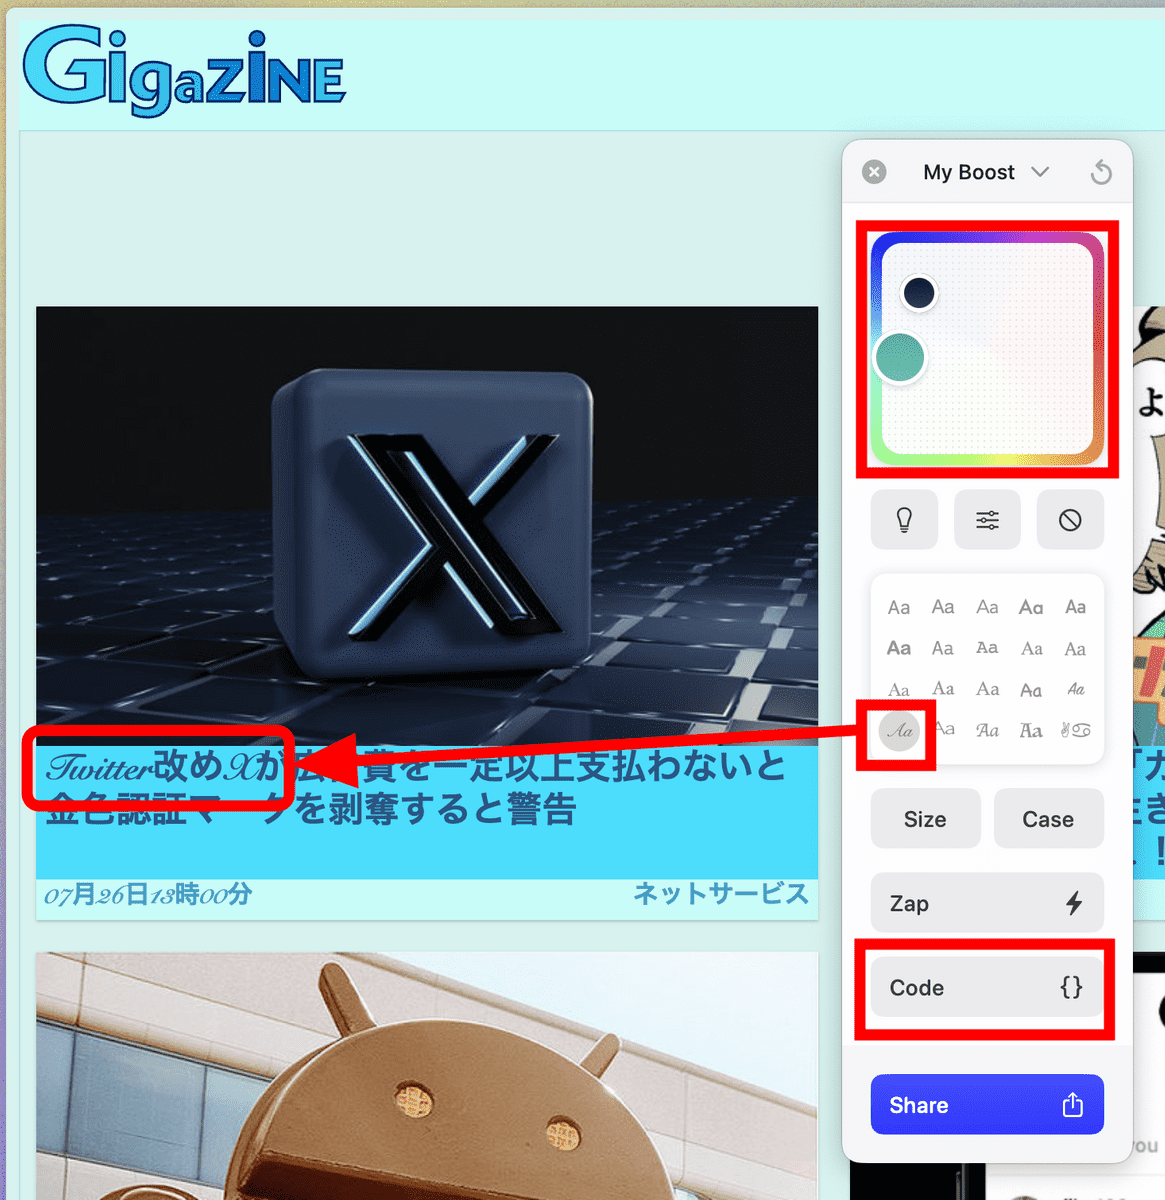
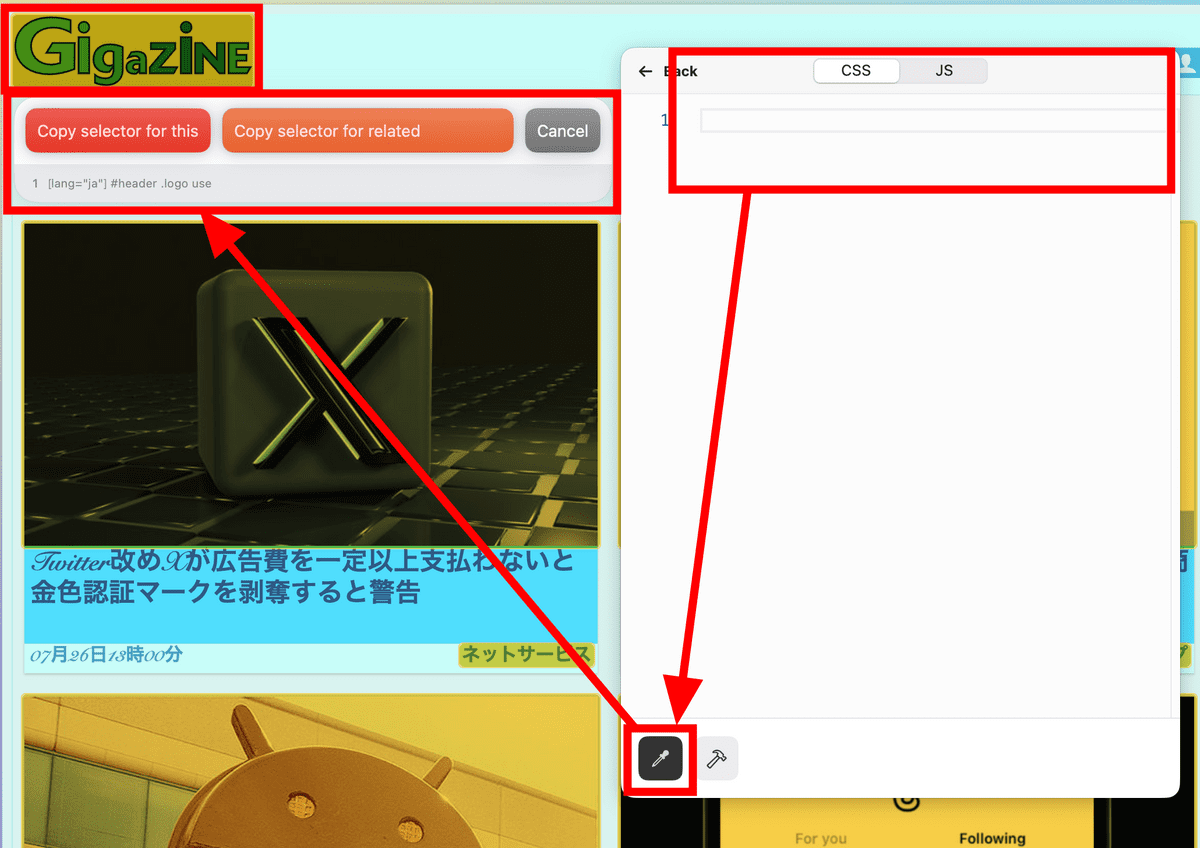
The CSS and JavaScript entered here will be inserted when the page is opened. Clicking on the eyedropper allows you to copy the selector for identifying elements on the page, making it easier to work with. Boosts can be shared with others, and many boosts are introduced on
The URL is displayed at the top of the sidebar. The function that can copy the URL with one button is sober and convenient. Of course, a shortcut is assigned to this function, and the default setting is 'Shift + CMD + C'.
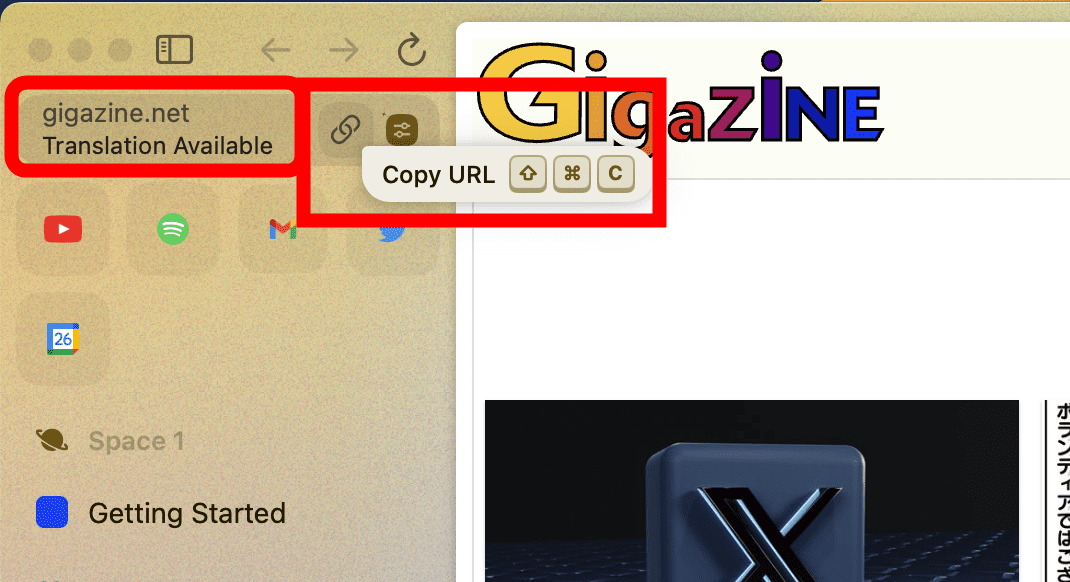
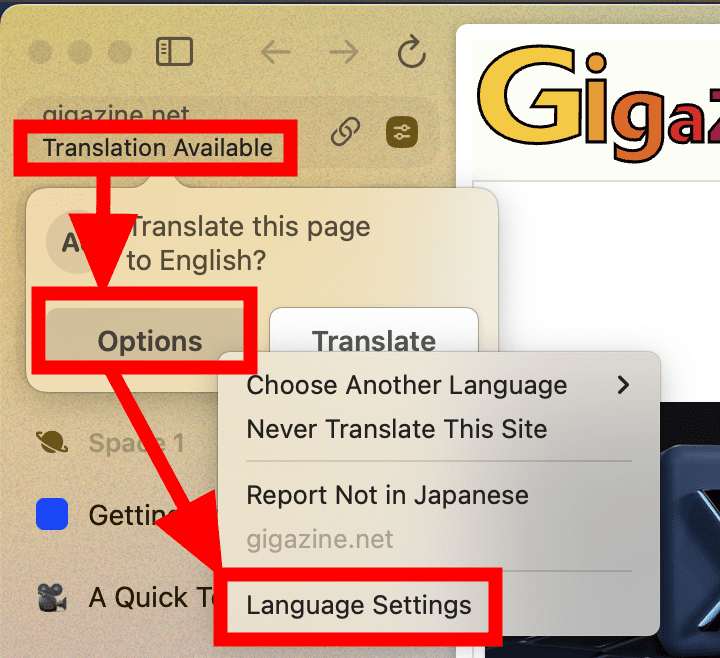
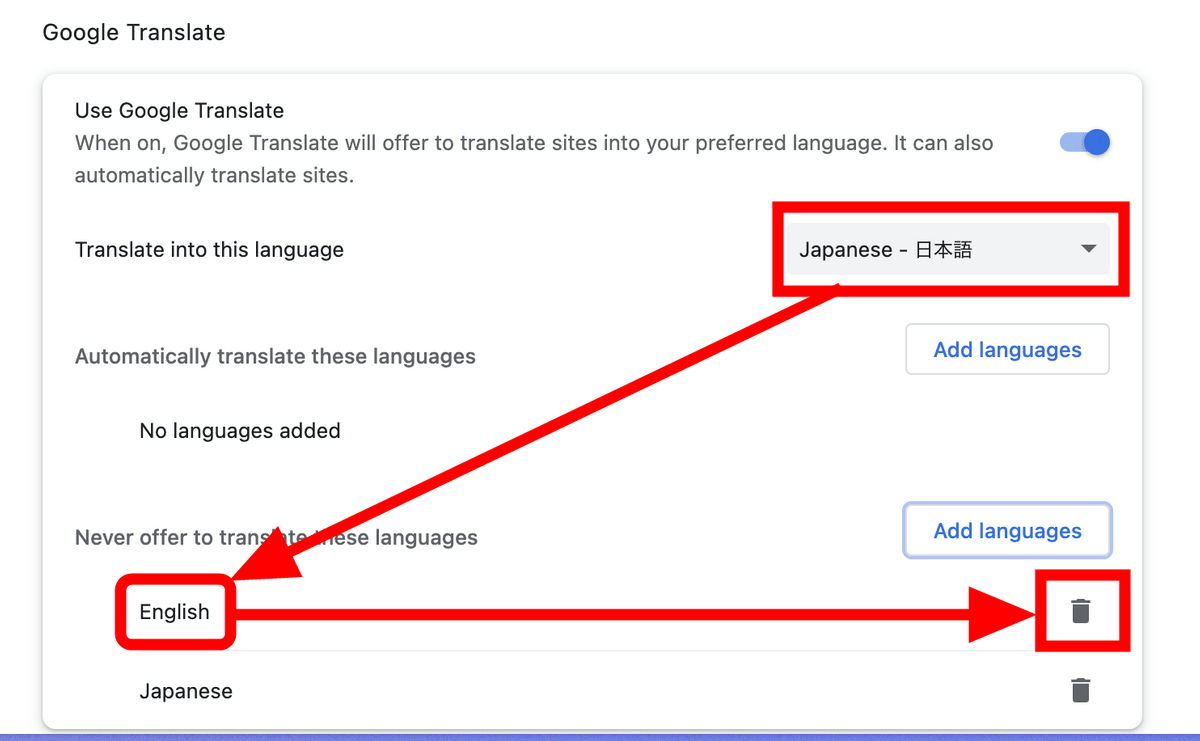
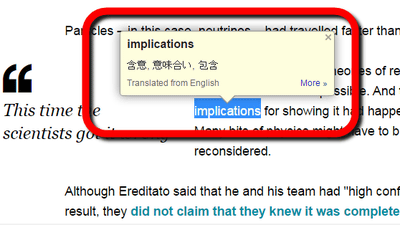
Also, in the initial state, when you access a Japanese site, you will be asked 'Translate to English?' I want to change the language setting to solve this problem, so click 'Translation Available' in the URL column and click 'Language Settings' in the 'Options' menu.
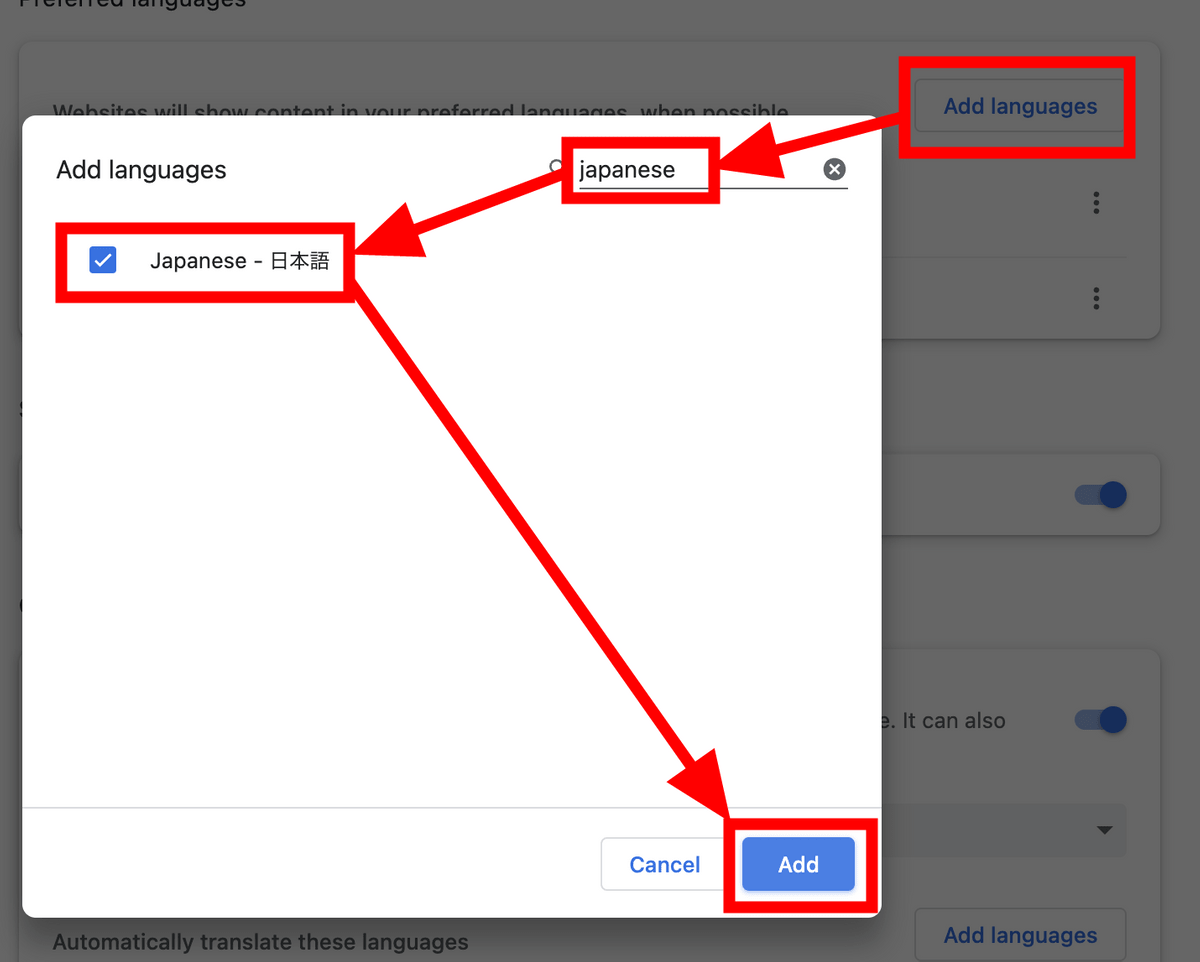
Click 'Add languages' in the 'Preference Language' item, search for 'japanese', check 'Japanese - Japanese' and click 'Add'.
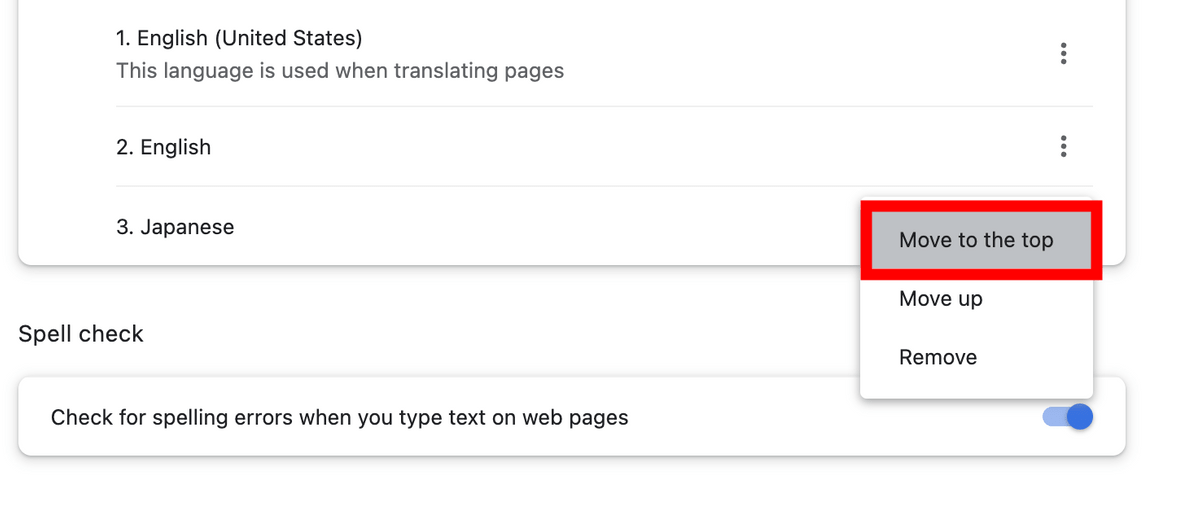
Click 'Move to the top' from the three-point menu to raise the priority of Japanese.
Scroll down and select 'Japanese - Japanese' for the language in the 'Translate into this language' item from the 'Google Translate' item. Click the trash can mark at the right end of the English column in the 'Never offer to translate these languages' item to complete the setting. Restart your browser for the settings to take effect.
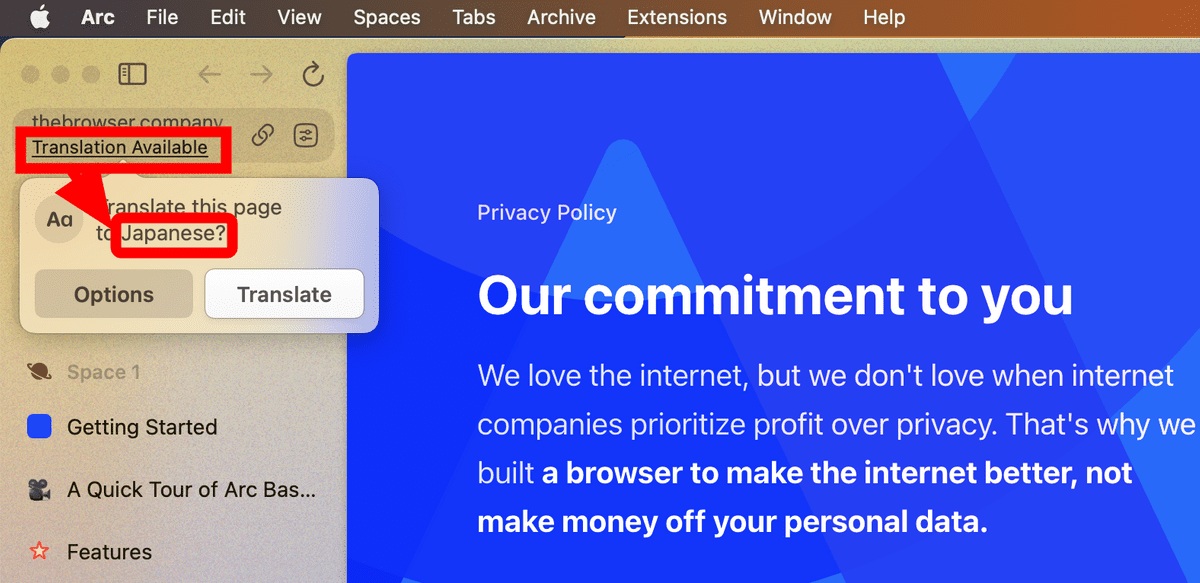
When you access the English site, you now have the option to 'translate to Japanese'.
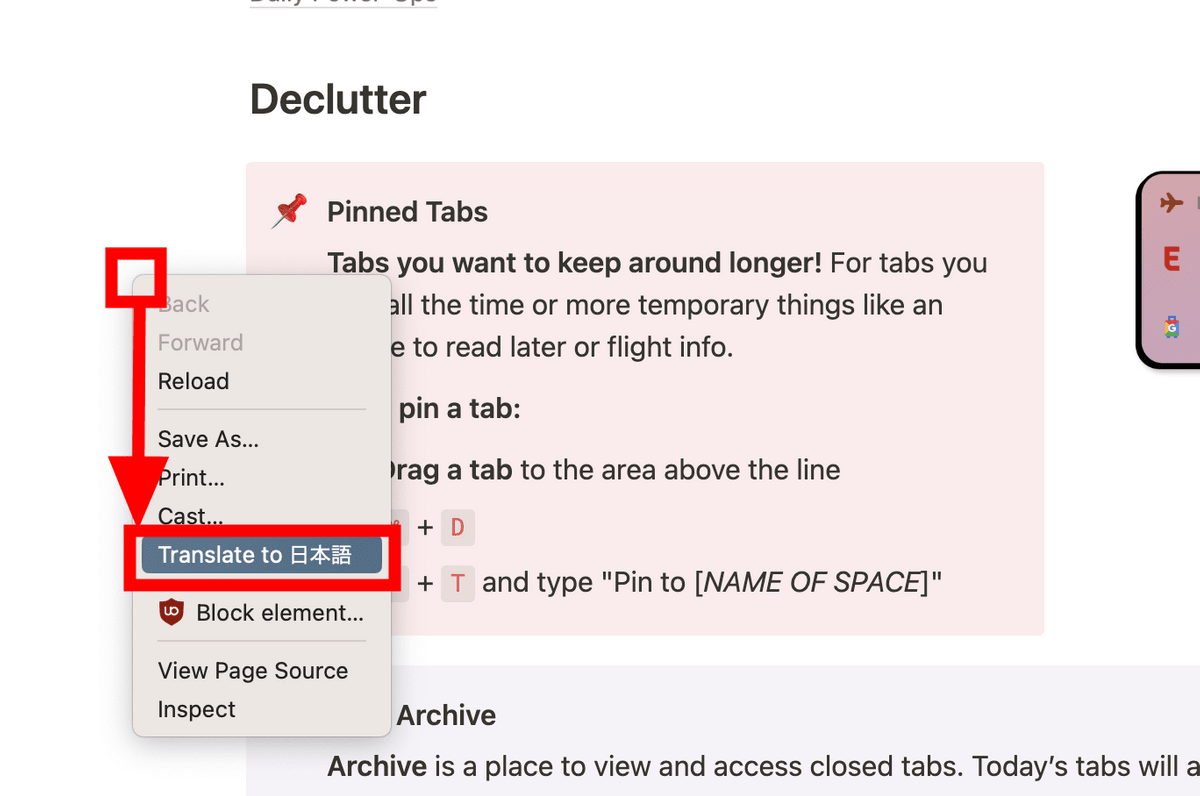
'Translate to Japanese' is also added to the right-click menu.
Related Posts:


in Software, Review, Web Application, Posted by log1d_ts