Summary of steps to import and migrate Google Analytics past data to Matomo and save analysis results

Google Analytics, an access analysis service provided by Google, will be fully migrated to 'Google Analytics 4 (GA4)' on July 1, 2023, and the previous generation Google Analytics 'Universal Analytics (UA)' has finished processing data. Before Google erased or made inaccessible the UA data that had completely stopped updating, I tried importing it into another access analysis tool, Matomo.
Import Google Analytics User Guide - Analytics Platform - Matomo
Matomo is an open source access analysis tool that can be self-hosted and processed without sending any external data, in addition to being provided as a cloud service. This time, we will import data to self-hosted Matomo.
Open your Matomo dashboard and click the gear icon in the upper right corner.

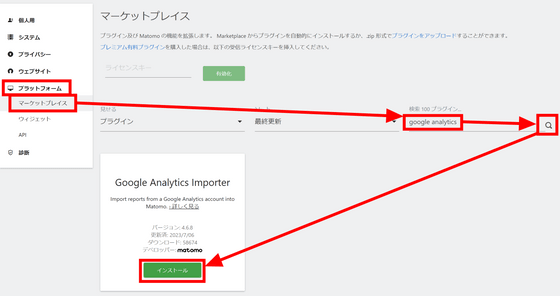
Click 'Marketplace' under 'Platform' in the left menu. Enter 'google analytics' in the search field, click the magnifying glass mark to search, and click 'Install' of the displayed 'Google Analytics Importer'.
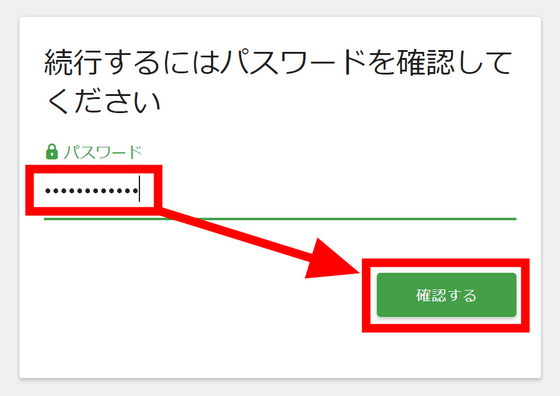
You will be asked to enter a password, so enter the password of the matomo account and click 'Confirm'.
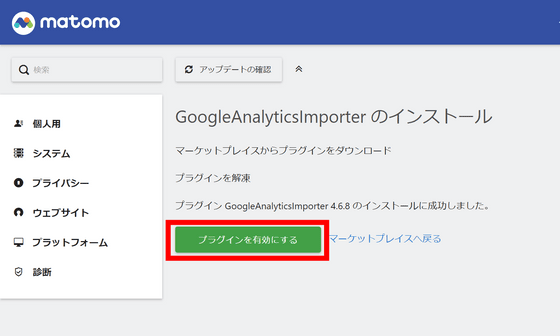
After waiting for a while, the screen will switch and you will see a message that the installation was successful. Click 'Activate Plugin'.
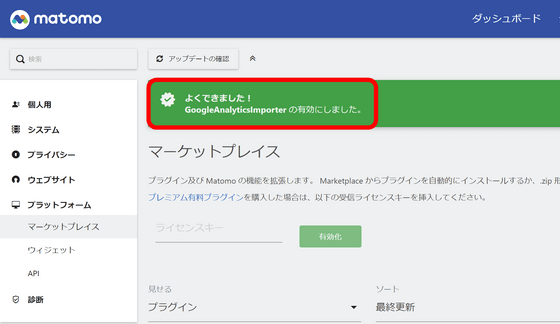
You have now activated the plugin.
Next, we will set up an API to extract data from Google Analytics. Go to

Give it a meaningful name and click 'Create'.
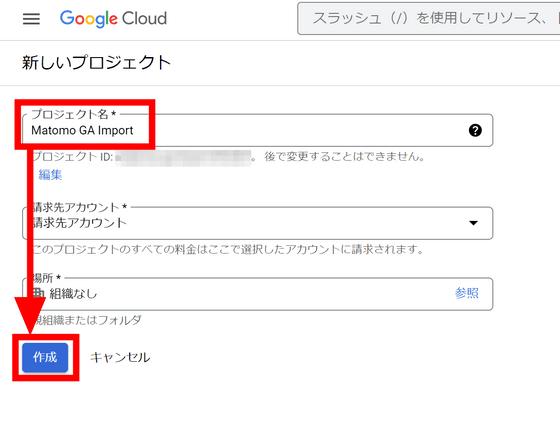
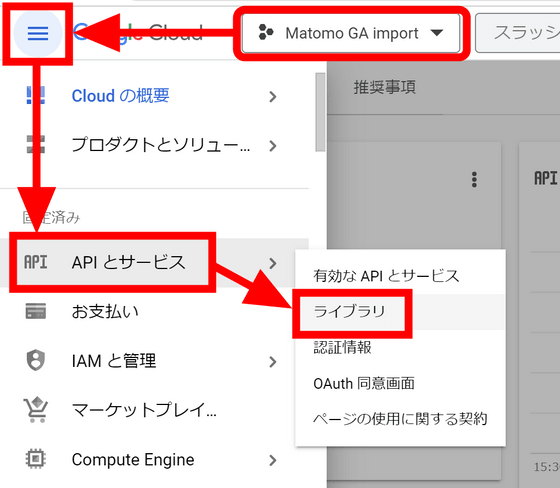
Make sure that the created project is selected, and click 'Libraries' in 'APIs and Services' from the hamburger menu on the upper left.
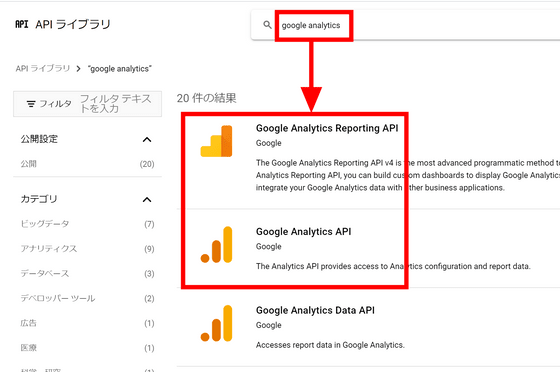
You need to activate both 'Google Analytics Reporting API' and 'Google Analytics API' displayed when you enter 'google analytics' in the search field. Ctrl-click each one to open it in a new tab.
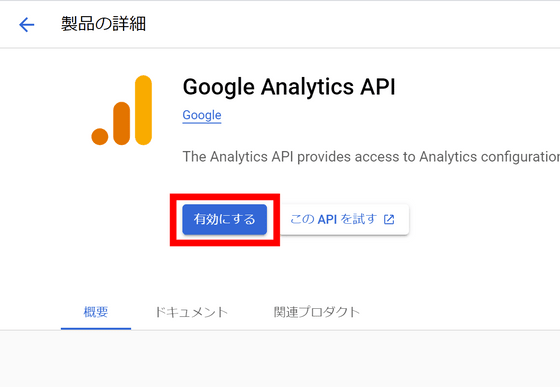
When the API page opens, click 'Enable'.
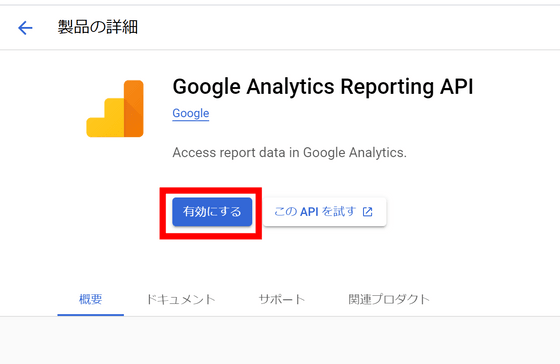
Click 'Enable' for the Google Analytics API as well.
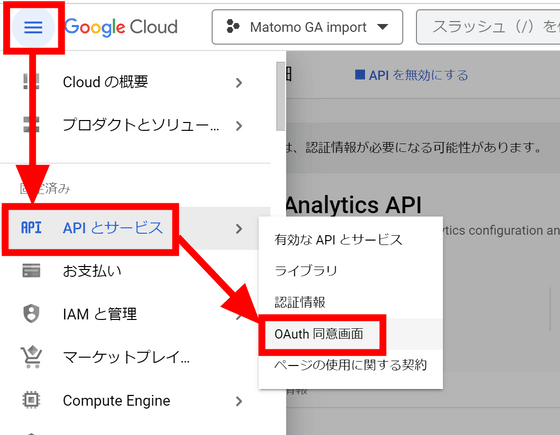
Next, prepare your credentials. Open the hamburger menu in the upper left and click 'OAuth consent screen' in 'APIs and services'.
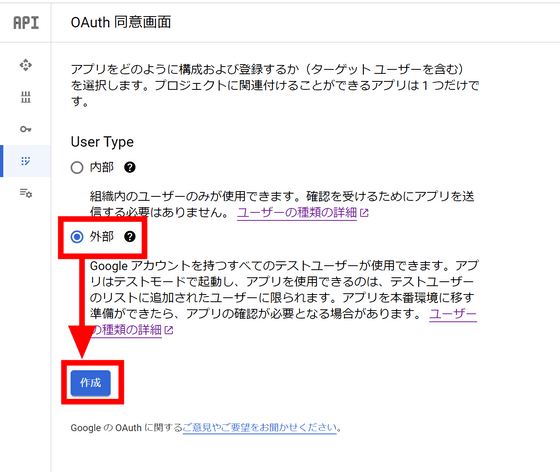
Select 'External' for User Type and click 'Create'.
Enter an easy-to-understand app name and email address.
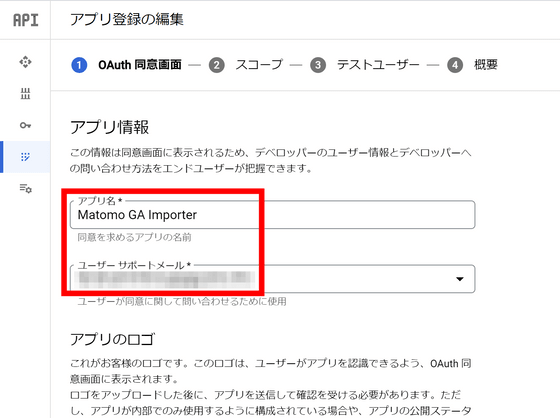
If you upload an 'app logo', it will need to be verified by Google. Please do not fill in this field.
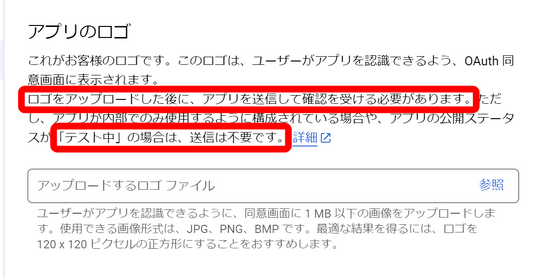
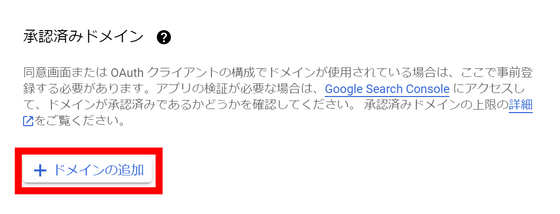
Scroll down to the 'Accepted Domains' section and click 'Add Domain'.
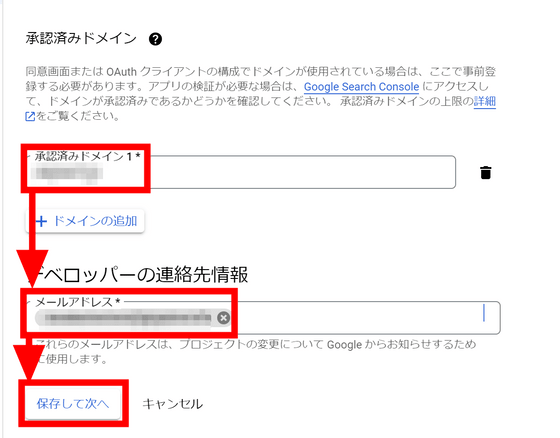
Enter the domain where Matomo is installed. After entering the email address again, click 'Save and next'.
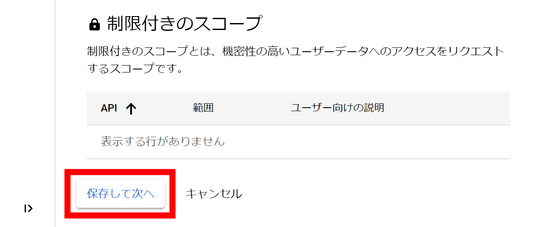
Leave the scope settings as standard. Scroll down.
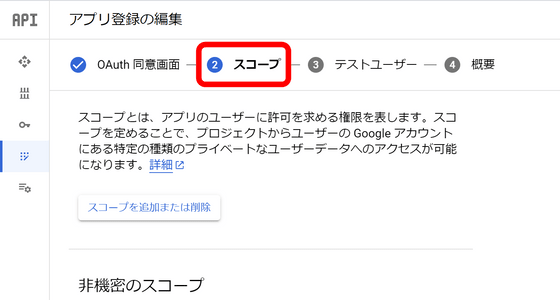
Click Save and Next.
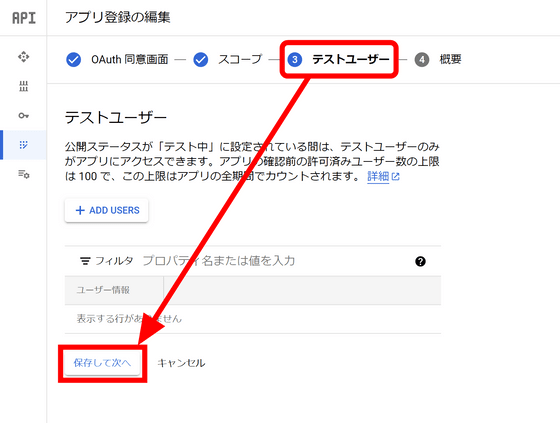
Leave the test user field blank and click Save and Next.
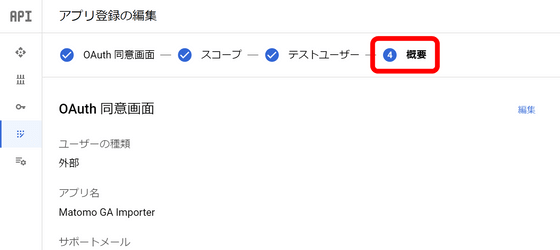
Finally you can check your settings.
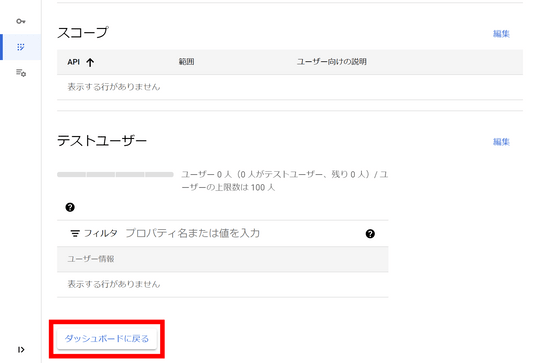
Scroll to the bottom and click Return to Dashboard.
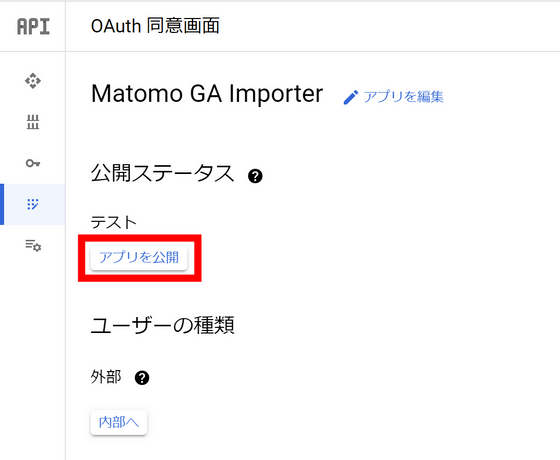
Click Publish App.
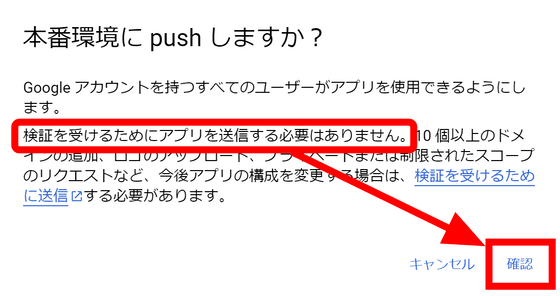
After confirming that 'You do not need to submit the application', click 'Confirm'.
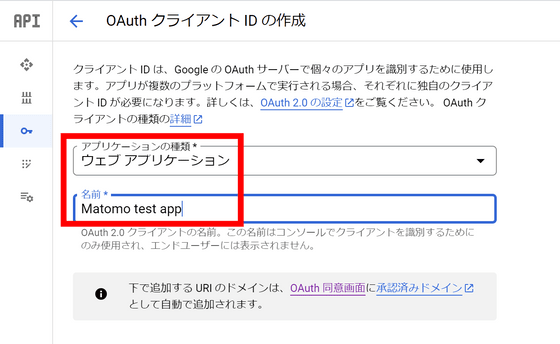
Click the lock icon on the left, then click OAuth Client ID in the Create Credentials menu.

Set the application type to 'Web Application' and give it a descriptive name.
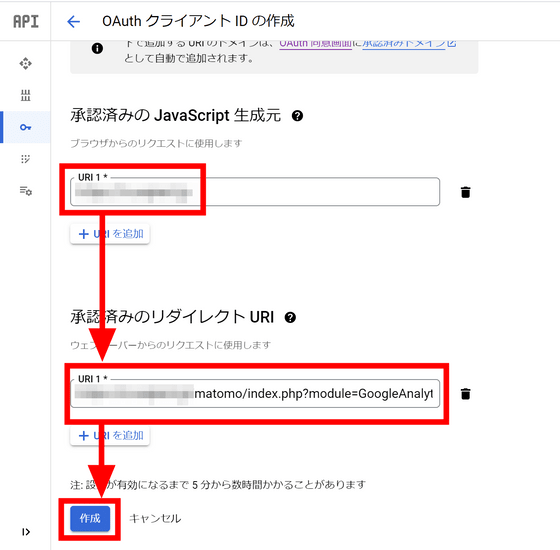
Enter the domain hosting Matomo in 'Approved JavaScript Origins'. For 'Authorized Redirect URI', enter the path where Matomo is installed followed by '/index.php?module=GoogleAnalyticsImporter&action=processAuthCode' and click 'Create'.
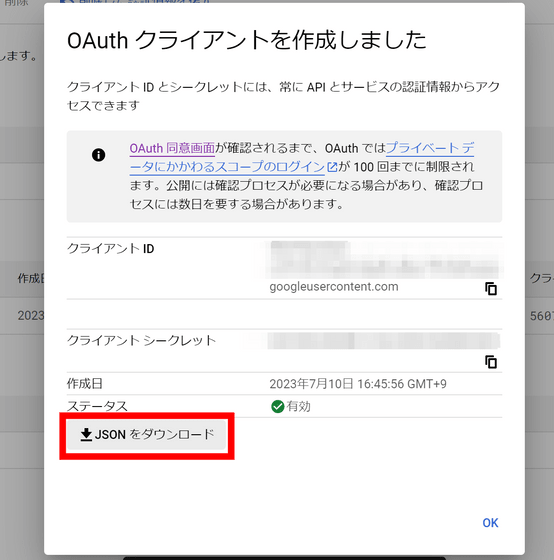
Click 'Download JSON'.
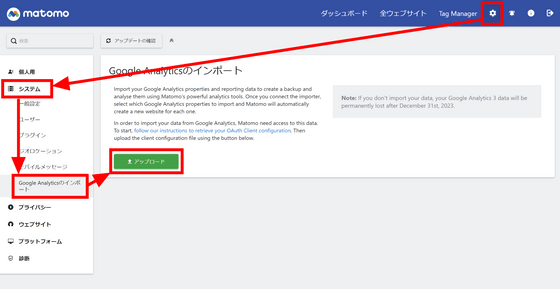
Open the setting screen from Matomo's gear icon, click 'Import Google Analytics' in 'System', and click 'Upload'.
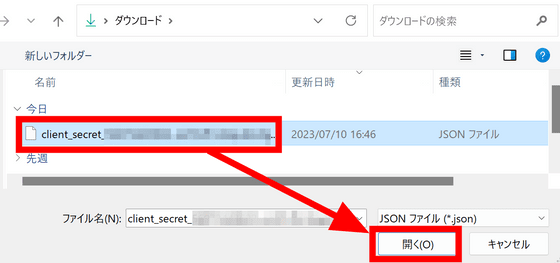
Select the JSON file you downloaded earlier and click 'Open'.
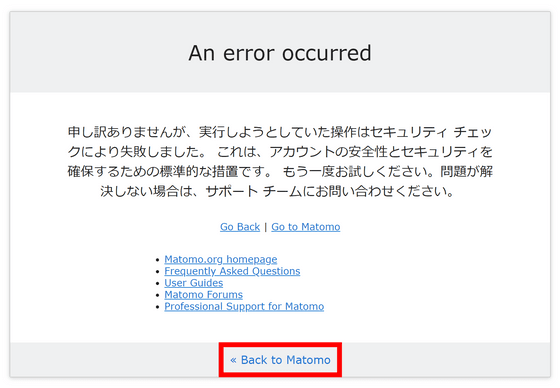
The error 'The operation you were trying to perform failed due to security checks' is displayed, but click 'Back to Matomo' once.
When you click 'Import Google Analytics' from 'System' again, you have successfully imported the JSON file, so click 'Approve'.
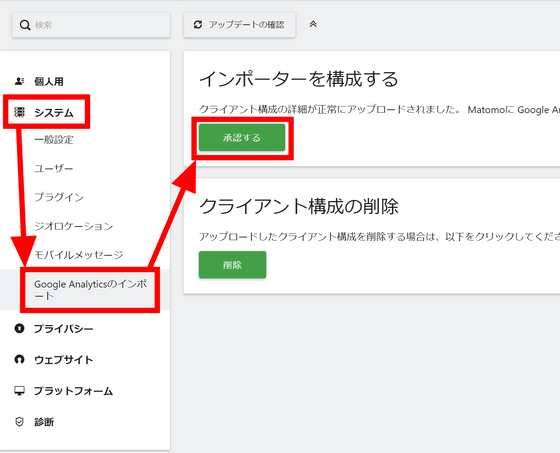
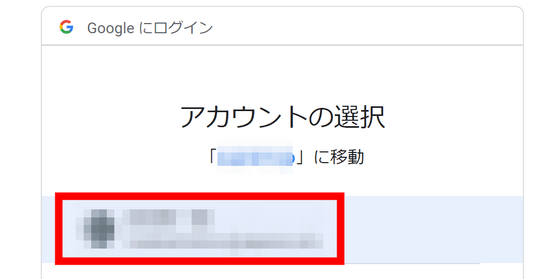
Select a Google account that has access to the Google Analytics property you want to import.
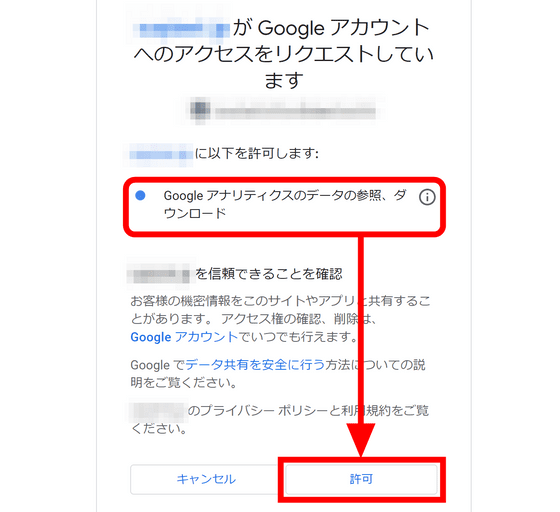
Check the permissions and click 'Allow'.
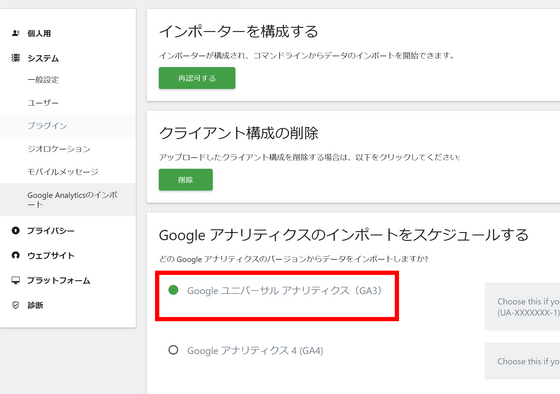
Since we will import GA3 data this time, click 'Google Universal Analytics (GA3)'.
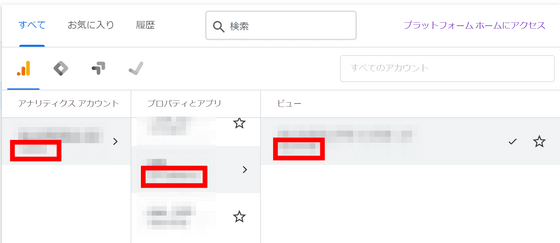
Check and copy the account ID, property ID, and view ID on the Google Analytics view selection screen.
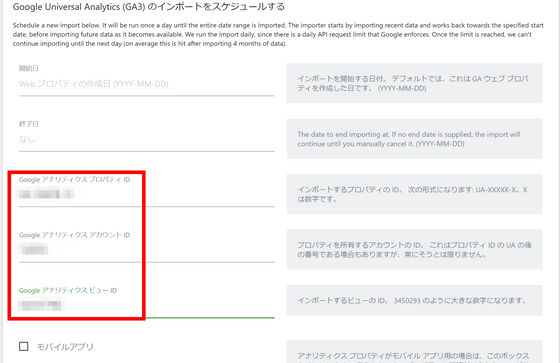
Enter 3 IDs on the Matomo import screen.
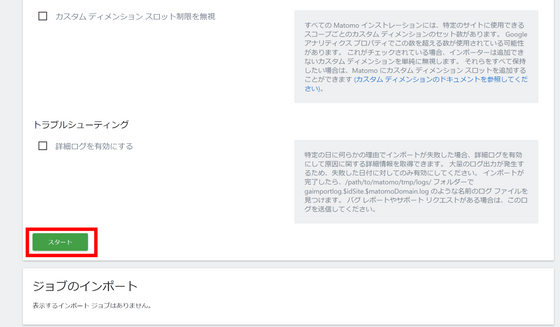
Scroll down and click Start.
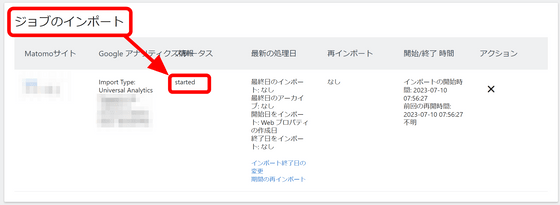
A column called 'Import Jobs' will appear and you will be able to check the import status.
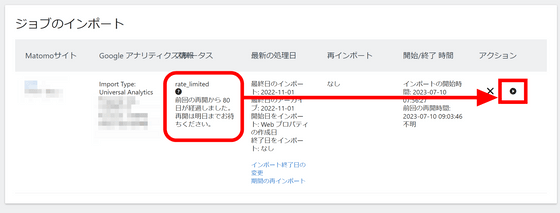
Importing 2-3 months of data will hit the rate limit and pause the import. Wait until the next day and click the play mark on the far right to resume the import.
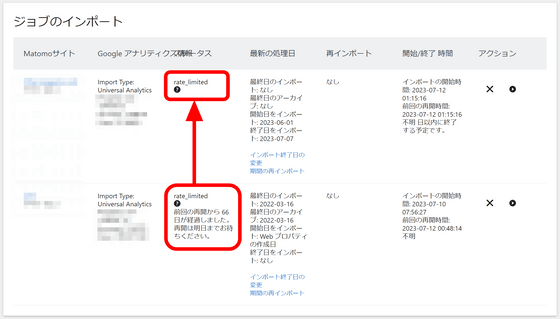
In addition, since the rate limit is common within the account, if you set a new import with the rate limit applied, 'rate_limited' will be displayed at the start.
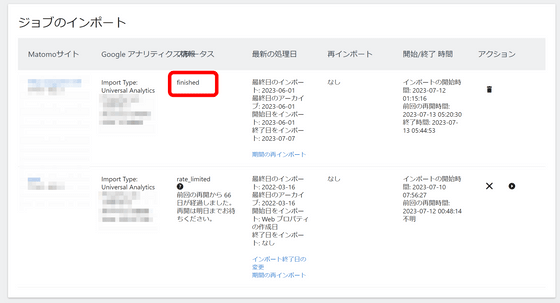
When all imports are complete, the task status display will change to 'finished'.
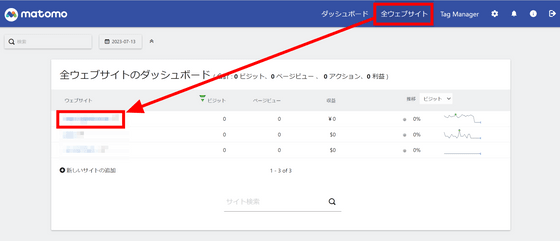
Click 'All Websites' from the top menu and click the imported website.
When I look at 'Overview' in the 'Visitors' tab, all the numbers are '0'. This is because you have selected a date with no data.
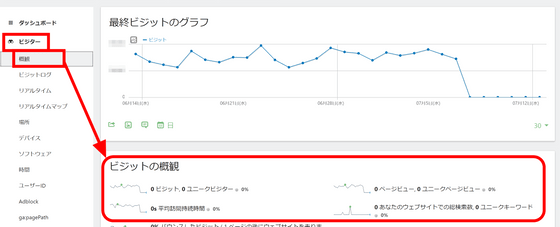
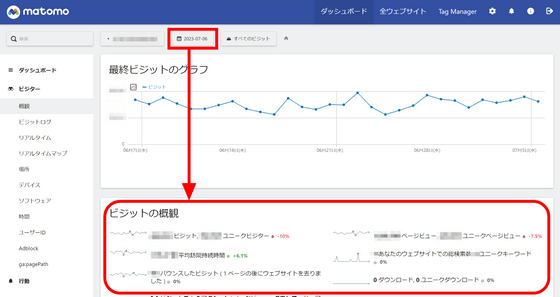
When I changed the date, the data for that day was displayed.
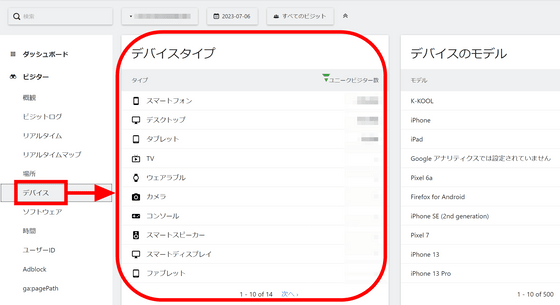
Click 'Device' and you can see that Google Analytics analysis data has been imported.
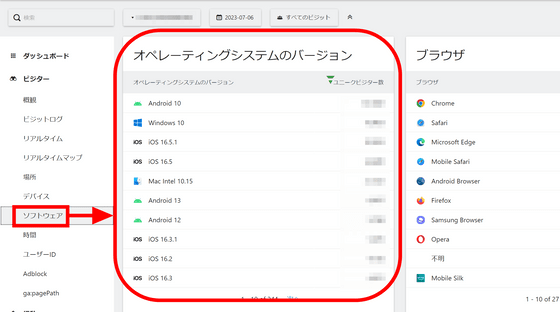
OS information is also imported.
The number of accesses per hour was also saved perfectly.
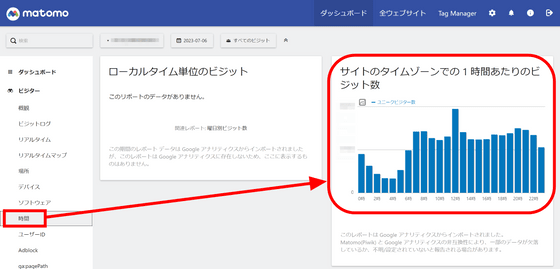
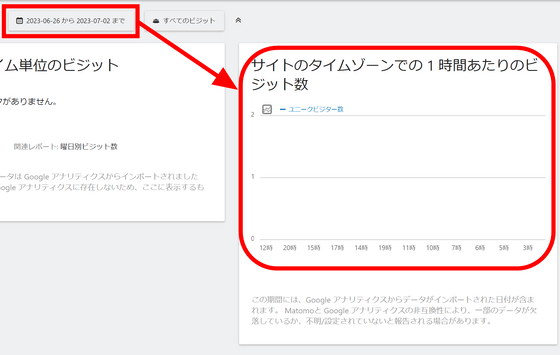
However, it seems that it only supports display in units of one day, and the graph disappears if you specify a period by selecting the display date and time.
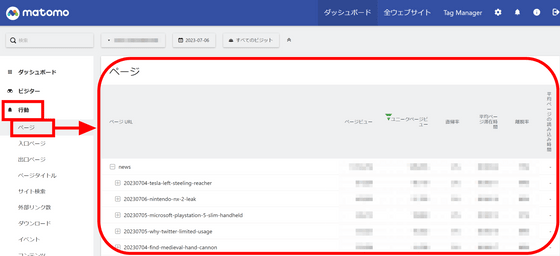
In the 'page' of the 'behavior' tab, the information corresponding to 'all pages' of Google Analytics is displayed, and it seems that all the data has been successfully imported.
Related Posts:
in Software, Web Service, Review, Web Application, Posted by log1d_ts


