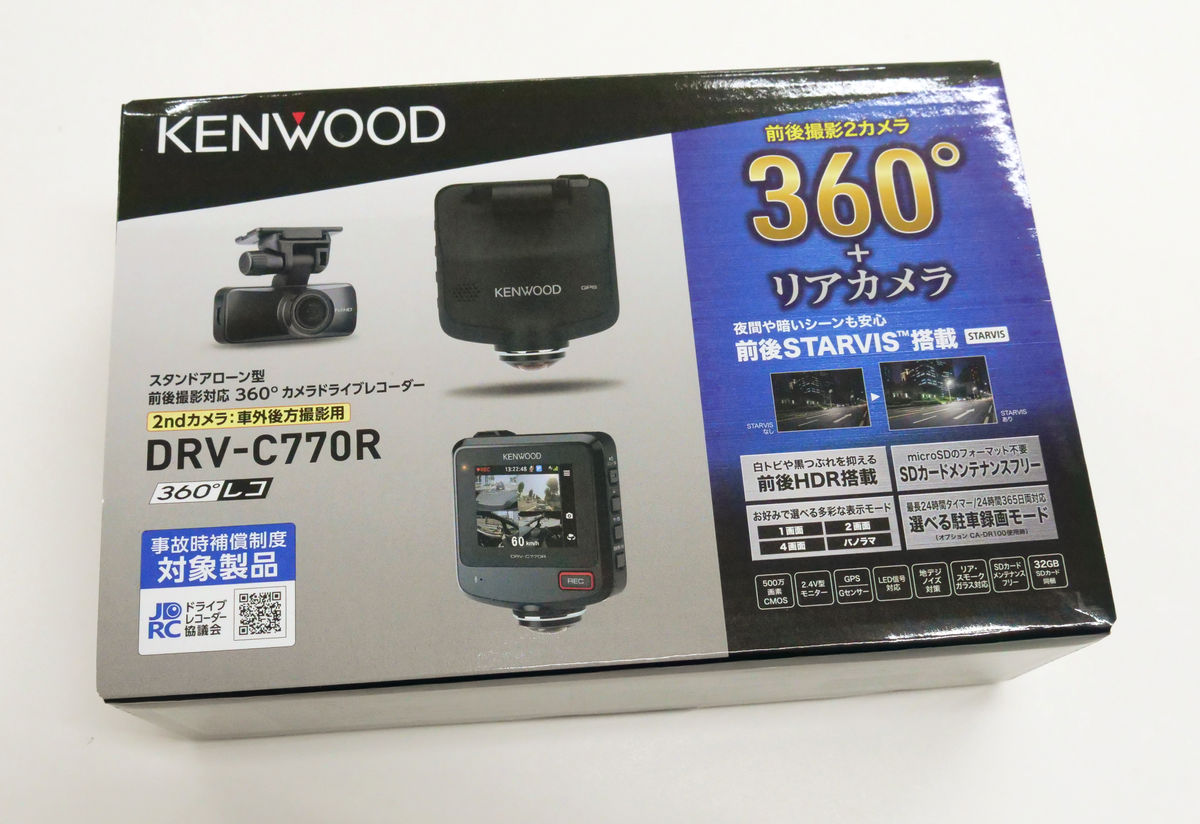
Drive recorder ``DRV-C770R'' review that thoroughly covers 360-degree front camera and 163-degree wide-angle camera, and can record the strength and direction of vibration when colliding
When you encounter a car accident, having a video recording the moment of the accident will be very convenient for later response. Nowadays, it is becoming commonplace to install a drive recorder in a car, so it is easy to get lost as to which drive recorder to choose. The drive recorder ' DRV-C770R ' sold by JVC Kenwood is said to record clear images while projecting both forward and backward with two cameras with 360 degree and 163 degree viewing angles, so what is it actually like? I used it for
DRV-C770R | Drive Recorder | KENWOOD
This is the 'DRV-C770R' package.
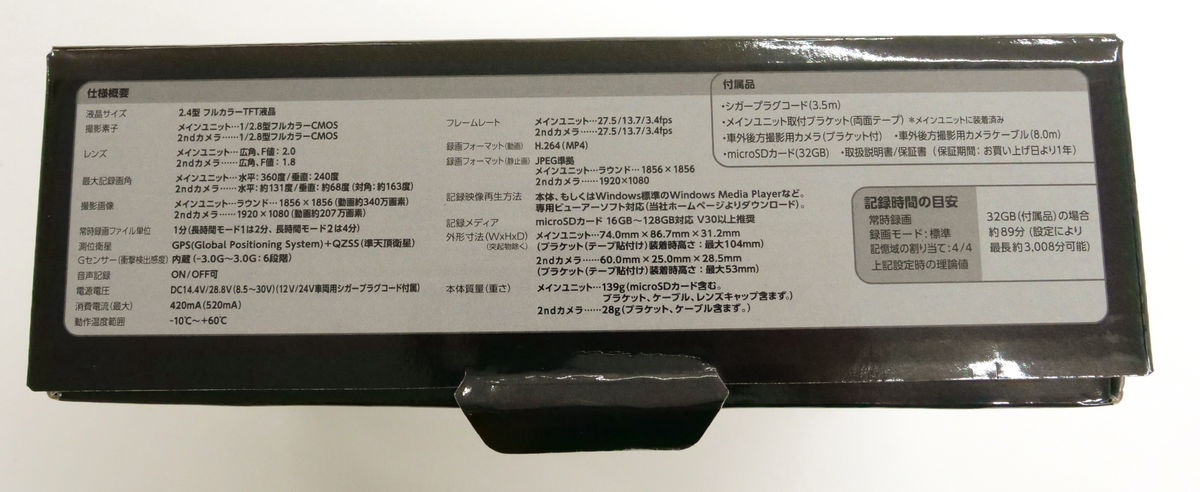
A summary of DRV-C770R specifications is provided on the bottom of the package.
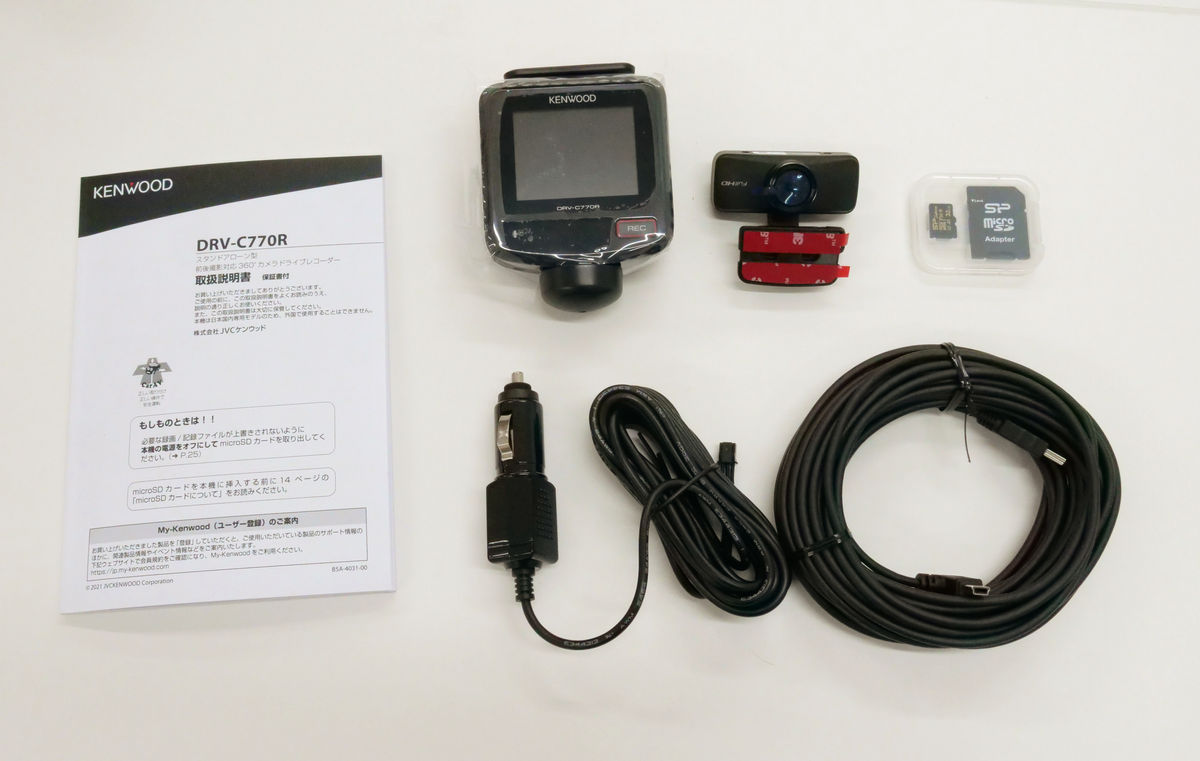
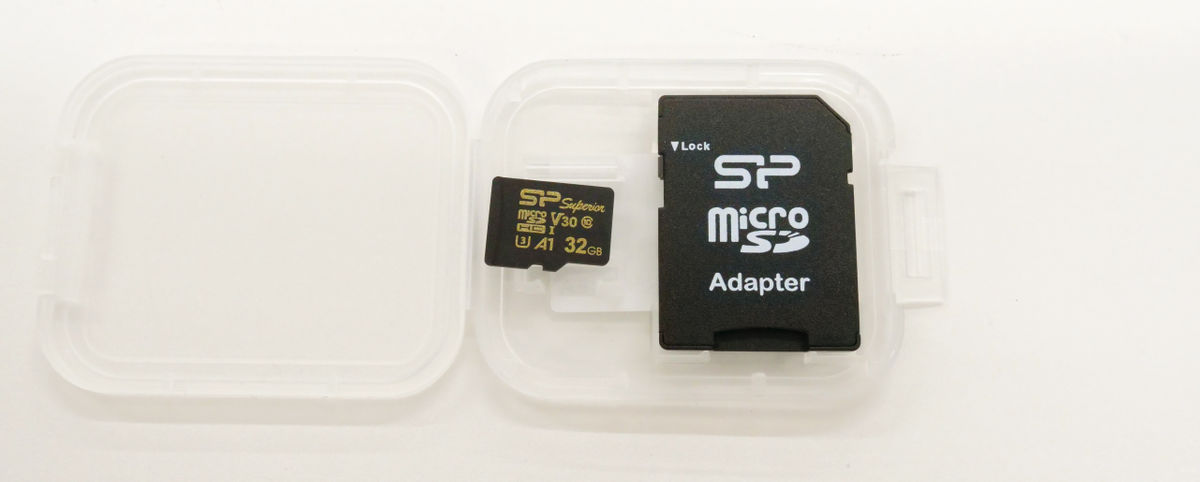
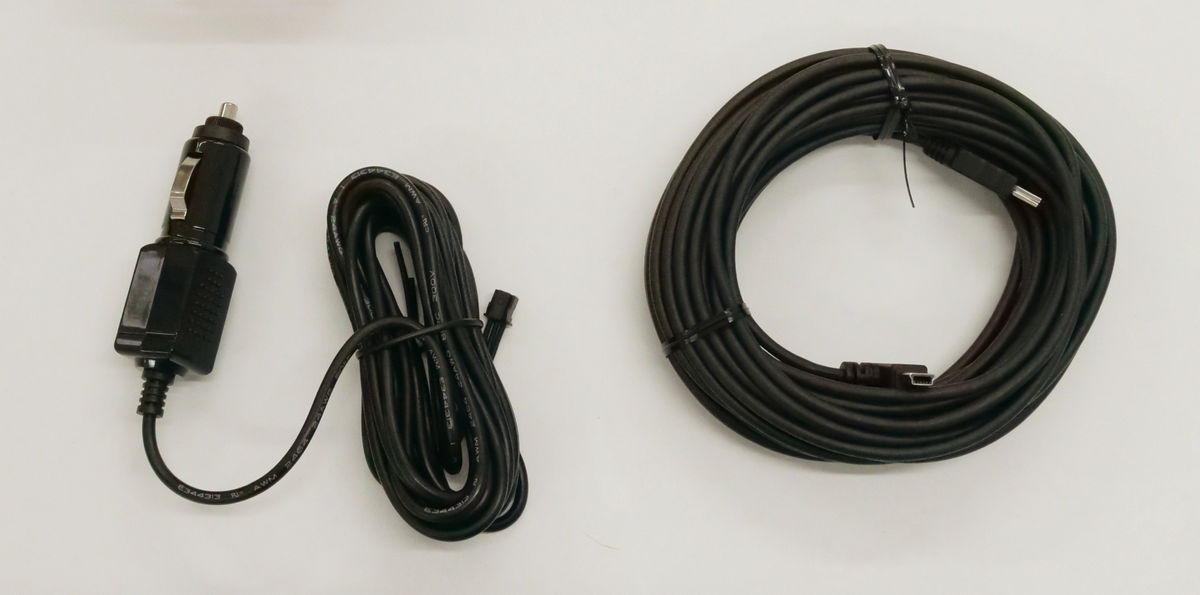
The contents are an instruction manual, a front camera, a camera for shooting outside the vehicle, a microSDHC card (32 GB) with an adapter, a cigar plug cord (3.5 m), and a camera cable for shooting outside the vehicle (8.0 m).
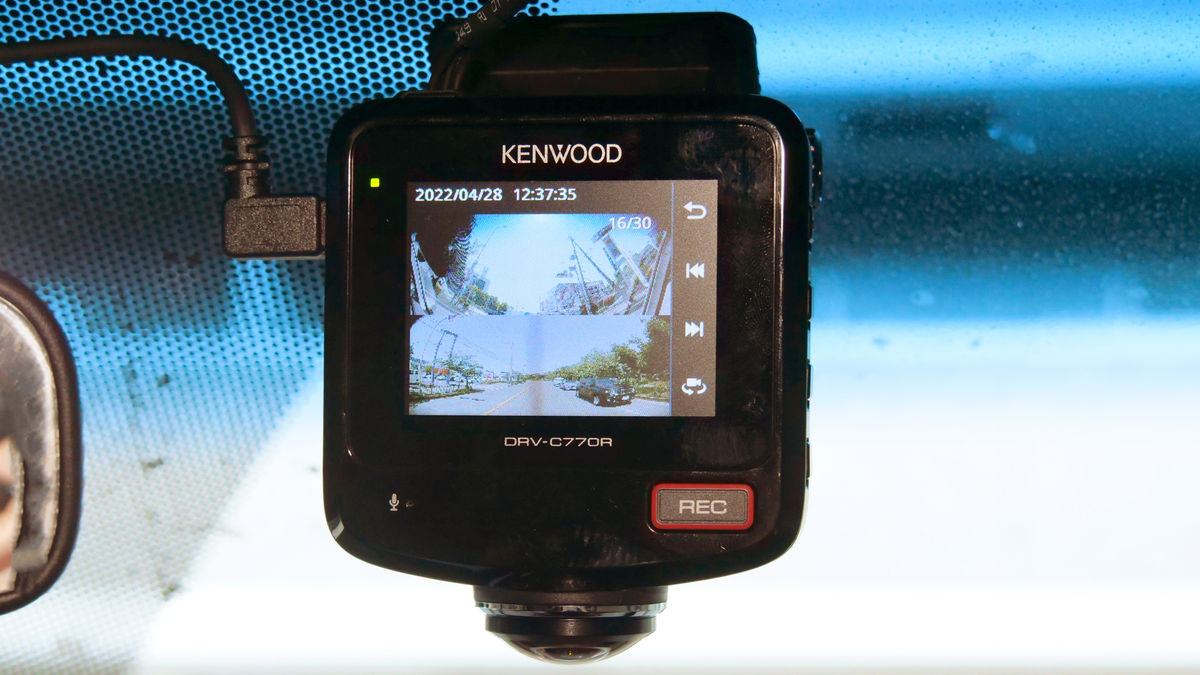
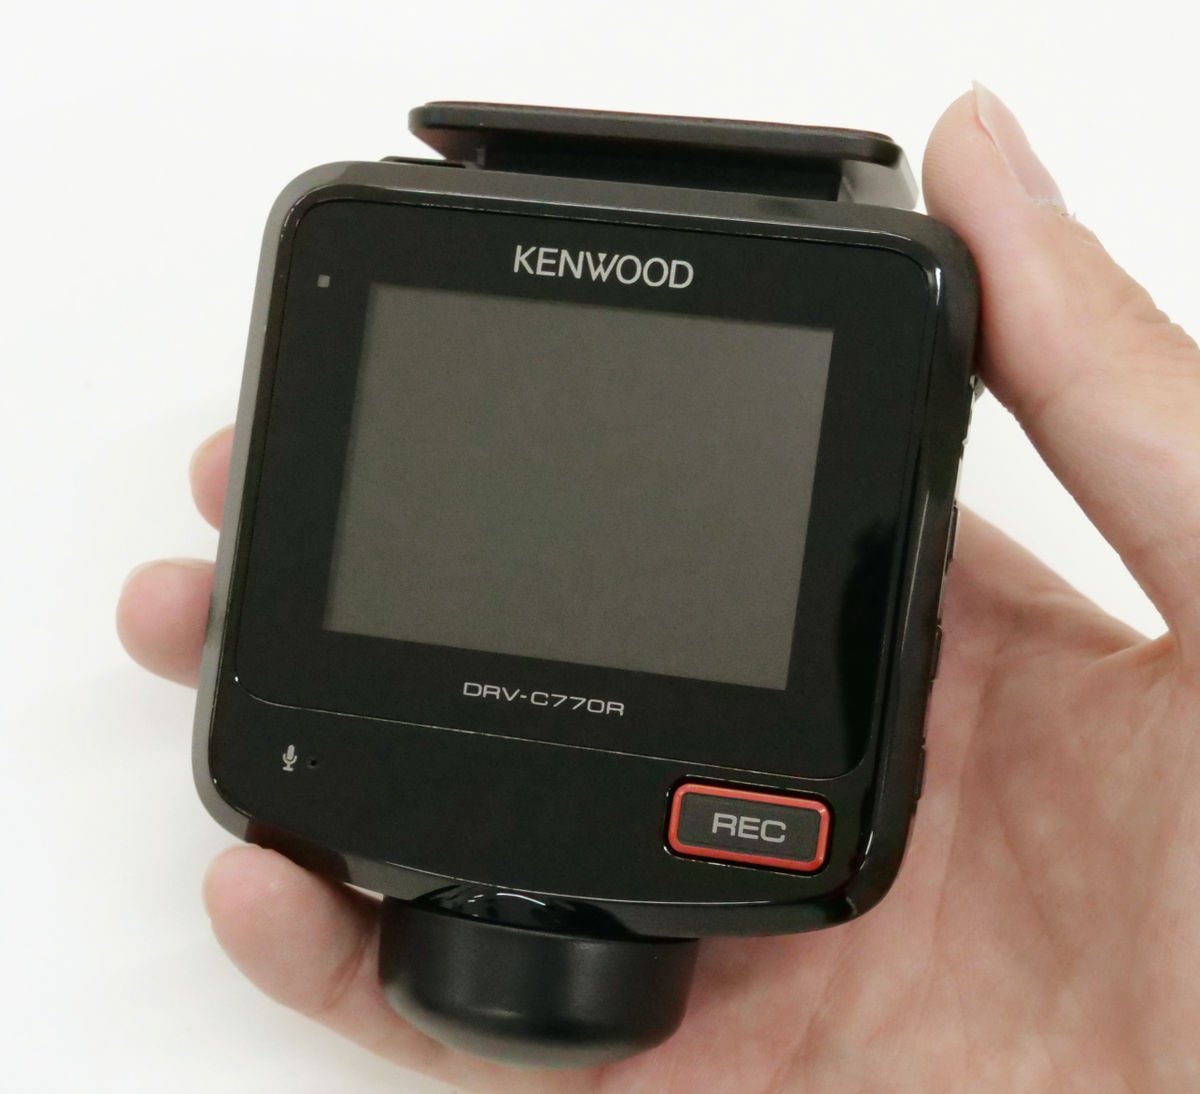
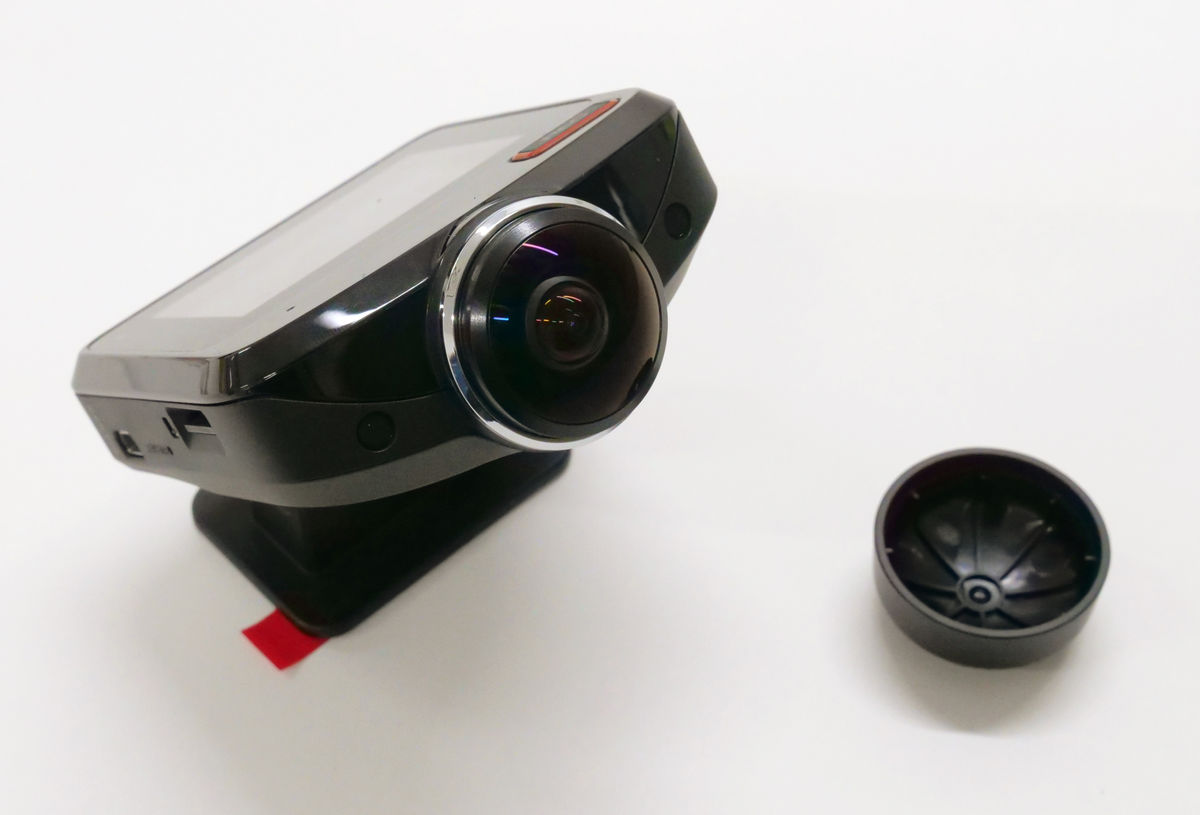
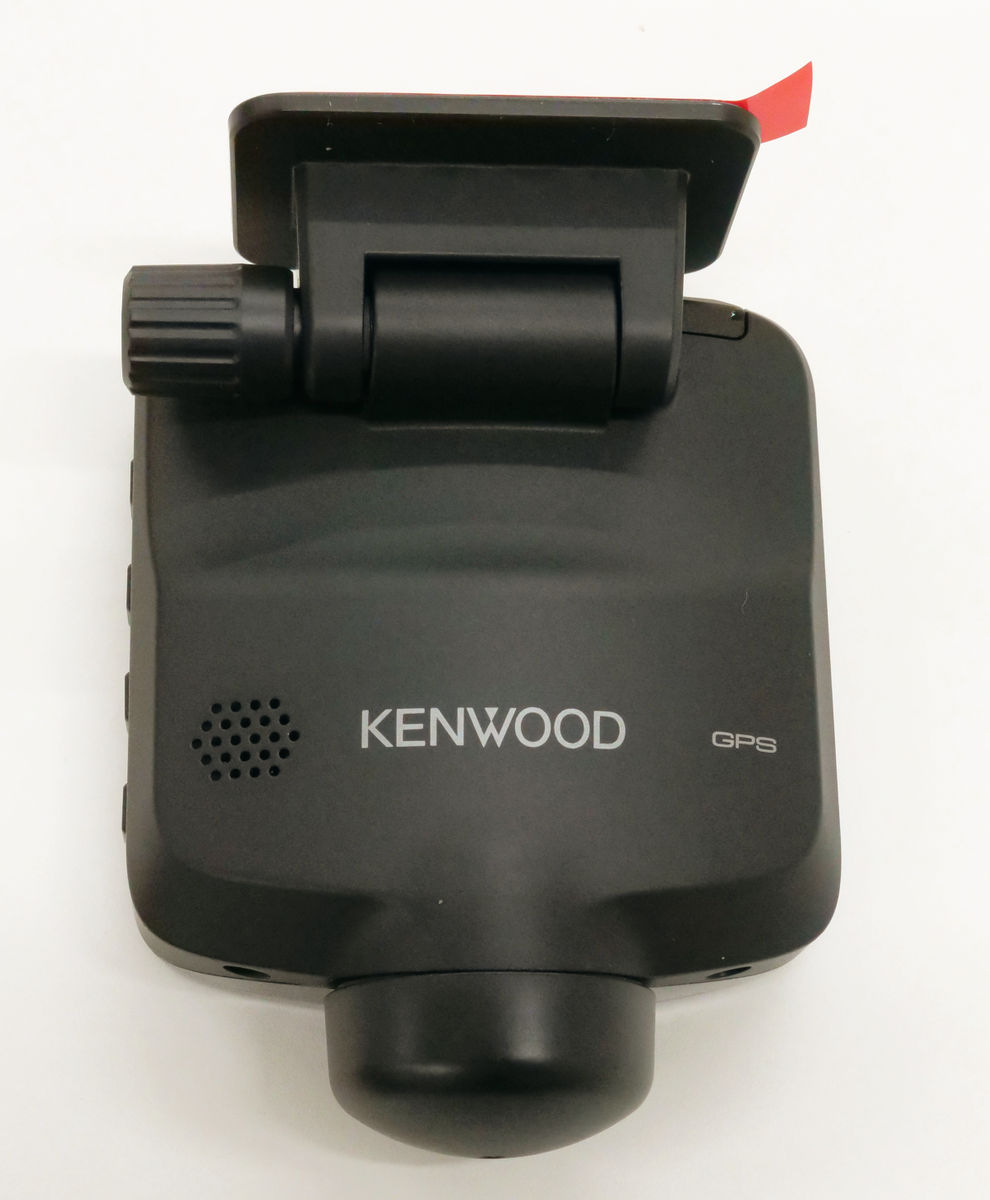
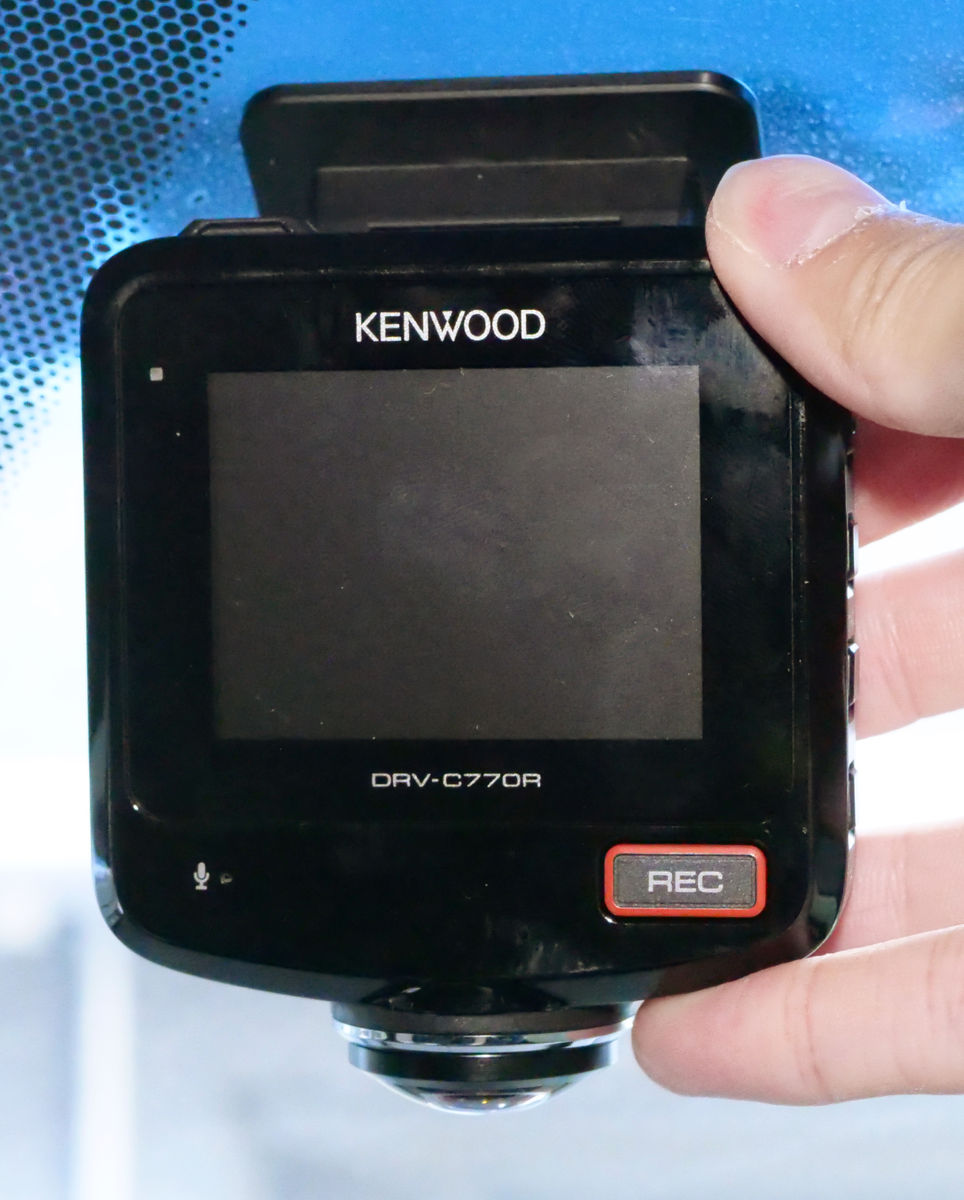
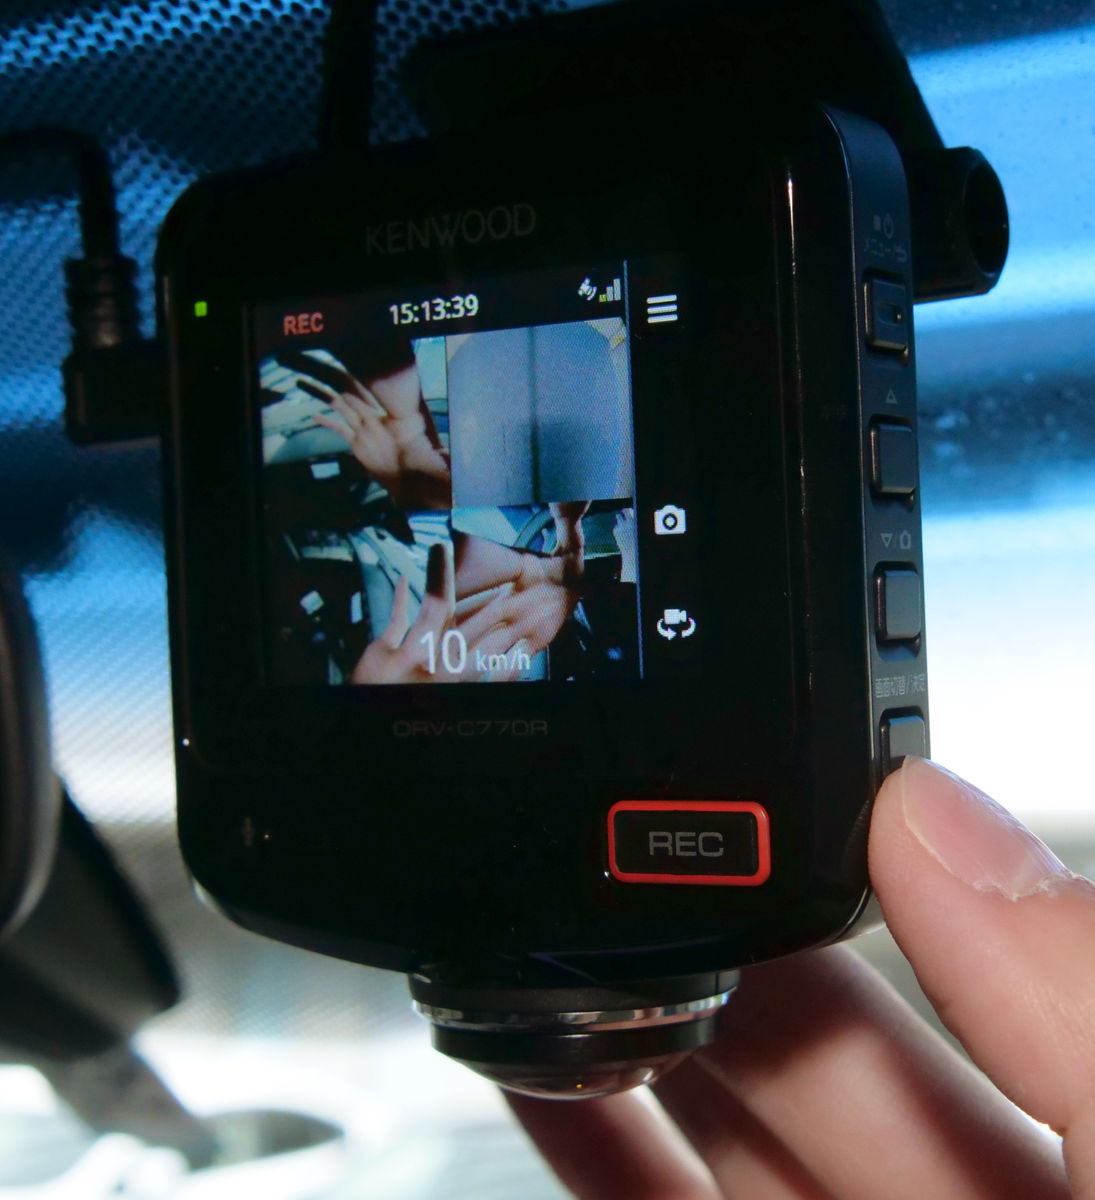
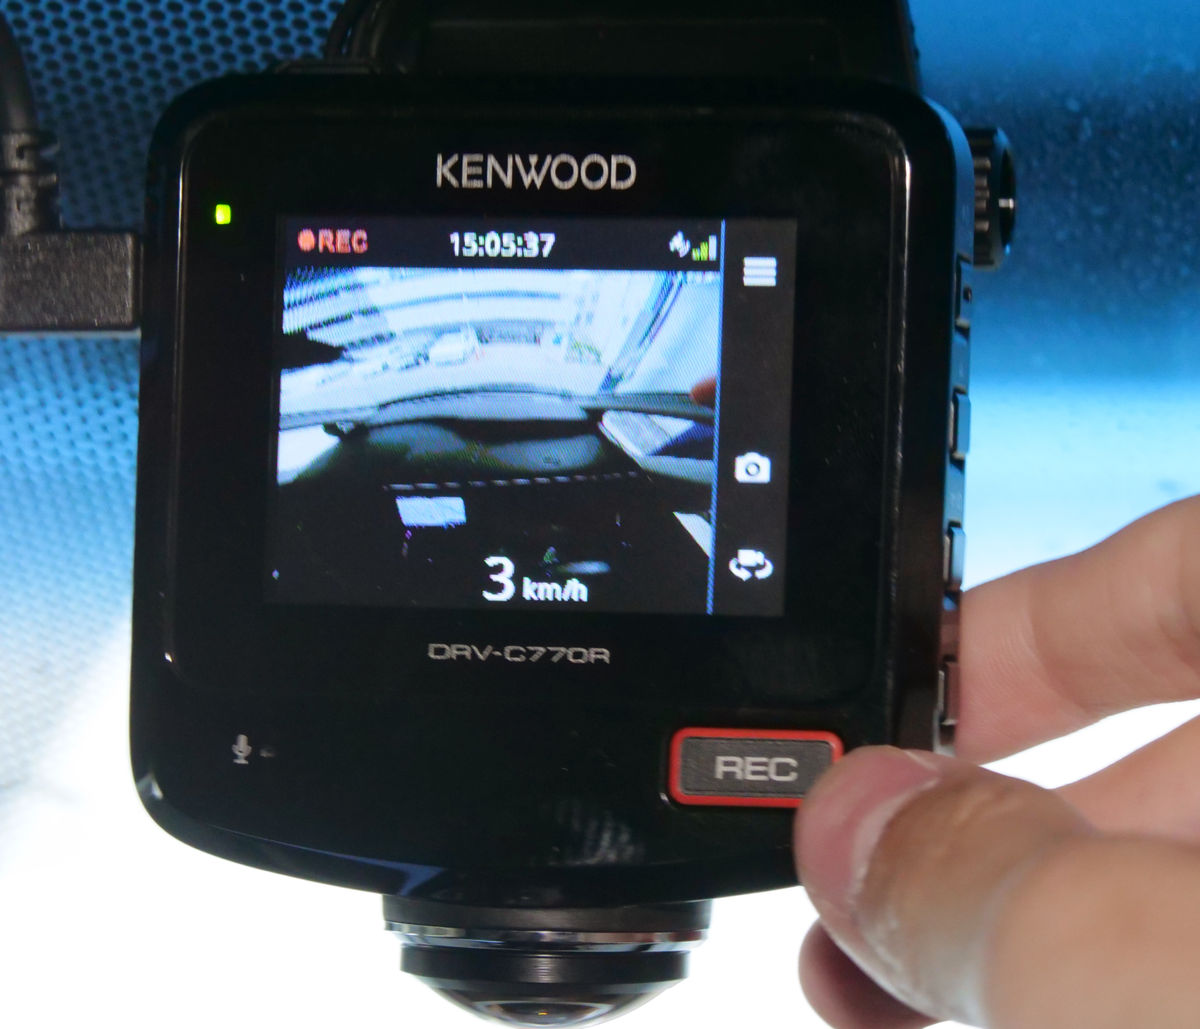
The front camera, which is the main unit, is palm-sized. The liquid crystal part is a 2.4-inch full-color TFT liquid crystal. The DRV-C770R basically records all the time, but there is a 'REC' button at the bottom right that is used to manually record the recording as an 'event'.
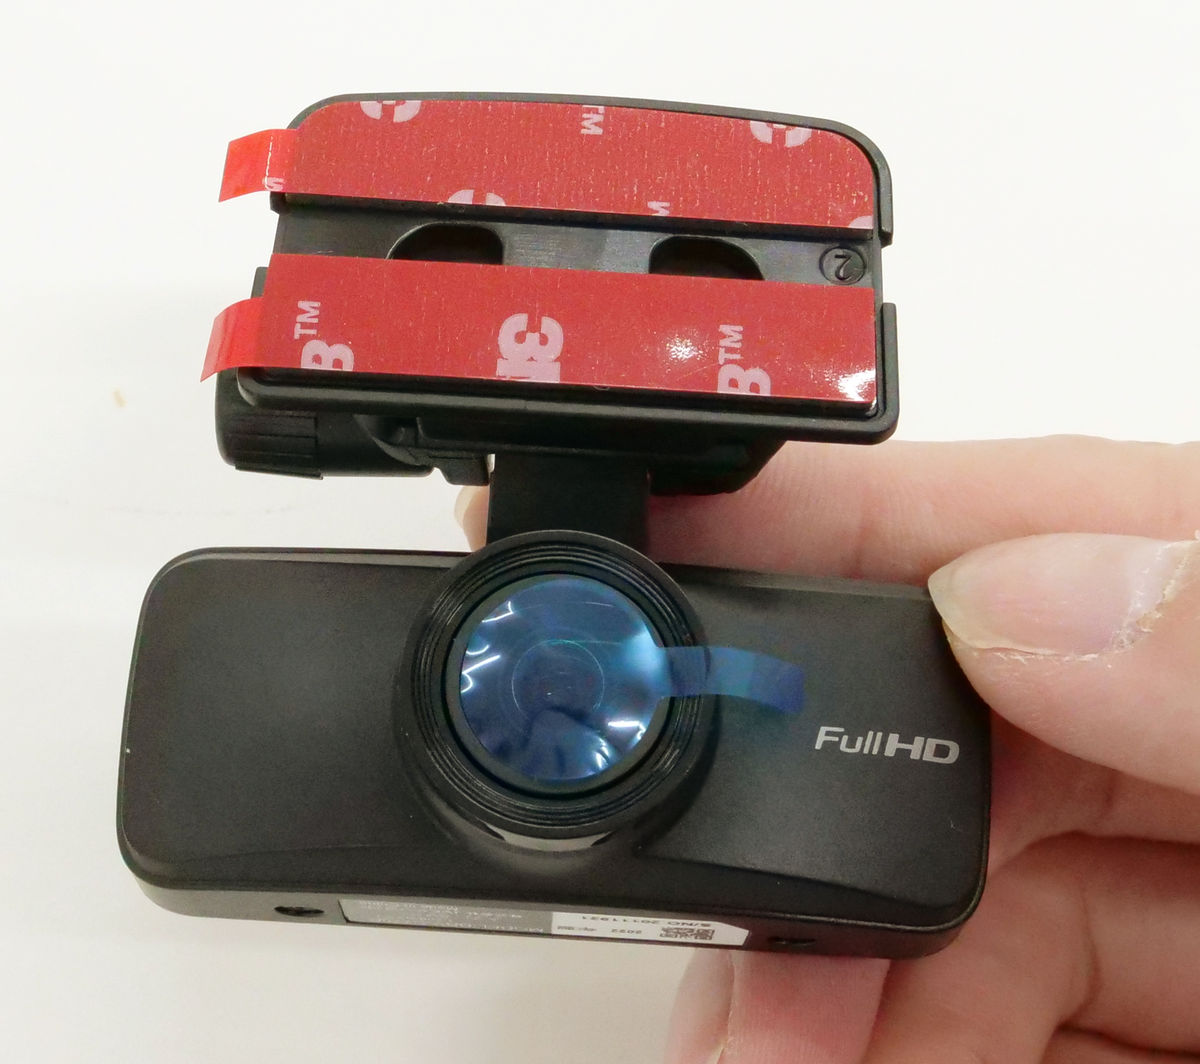
A camera lens covered with a cap is attached to the bottom of the main unit. Since the cap is only covered, it can be easily removed.
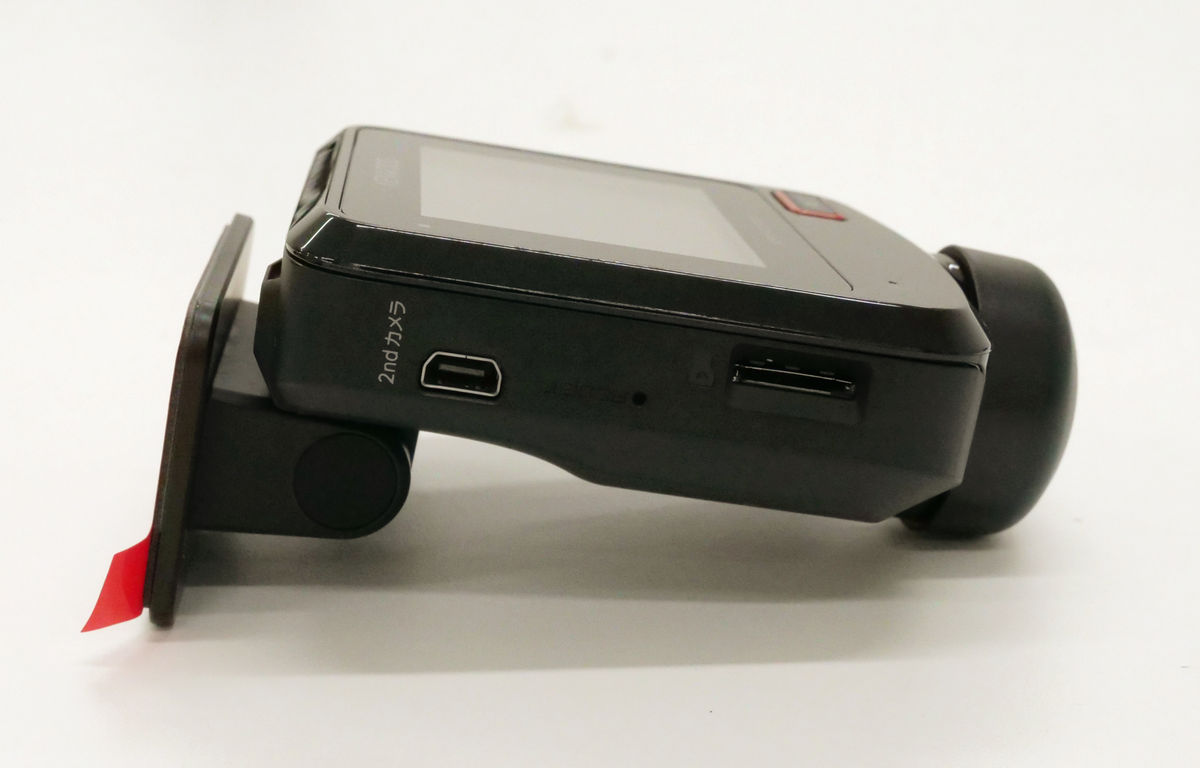
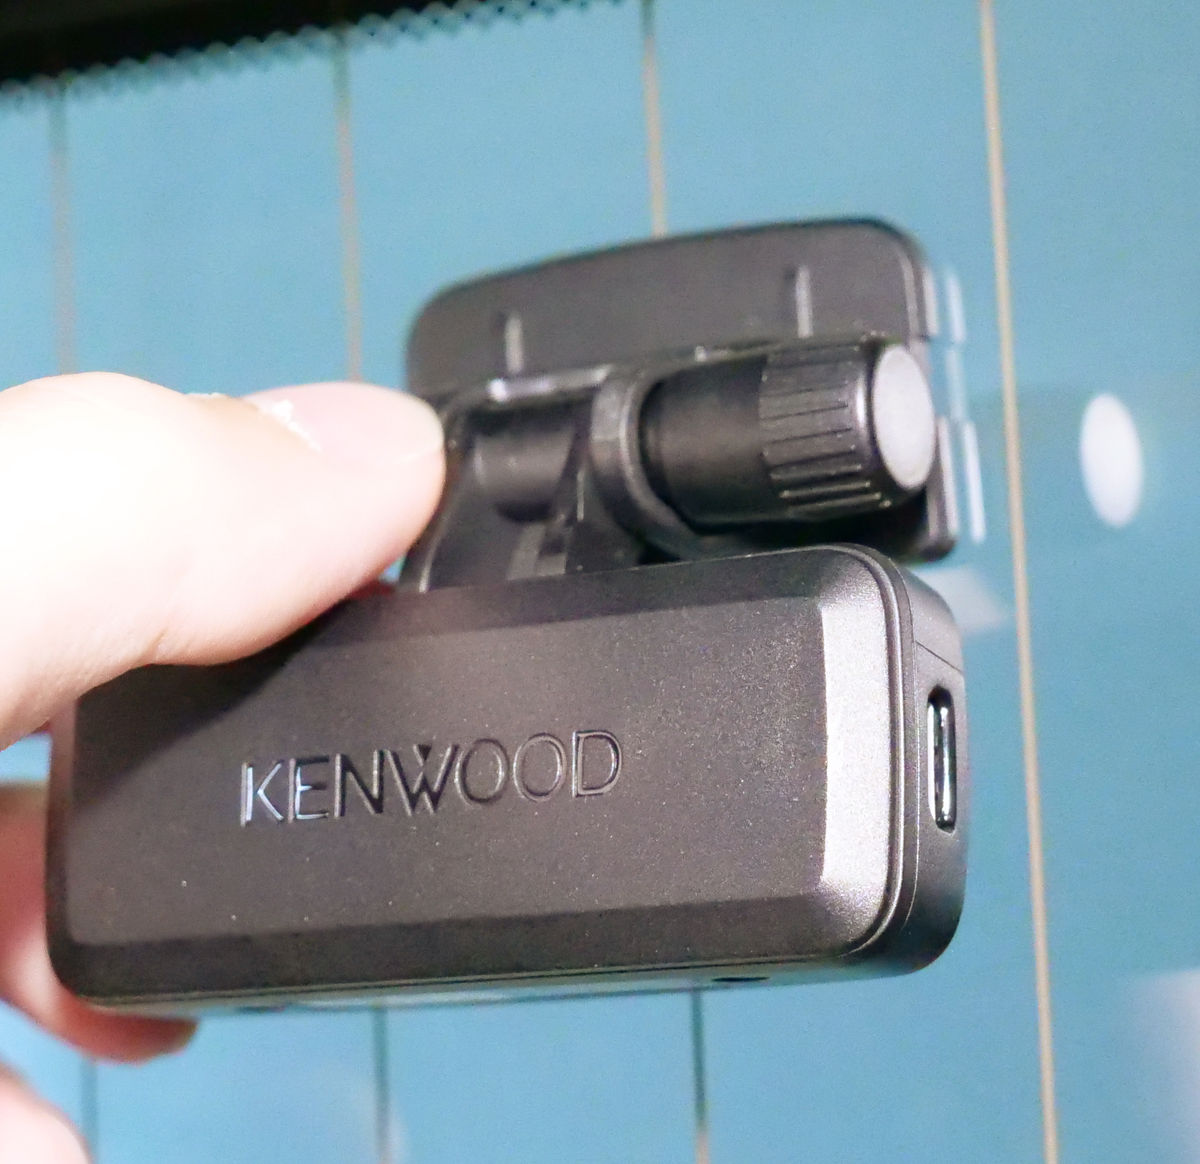
On the left side, there is a cable insertion port for connecting with the 2nd camera (outside rear camera), a RESET button, and a microSD card slot.
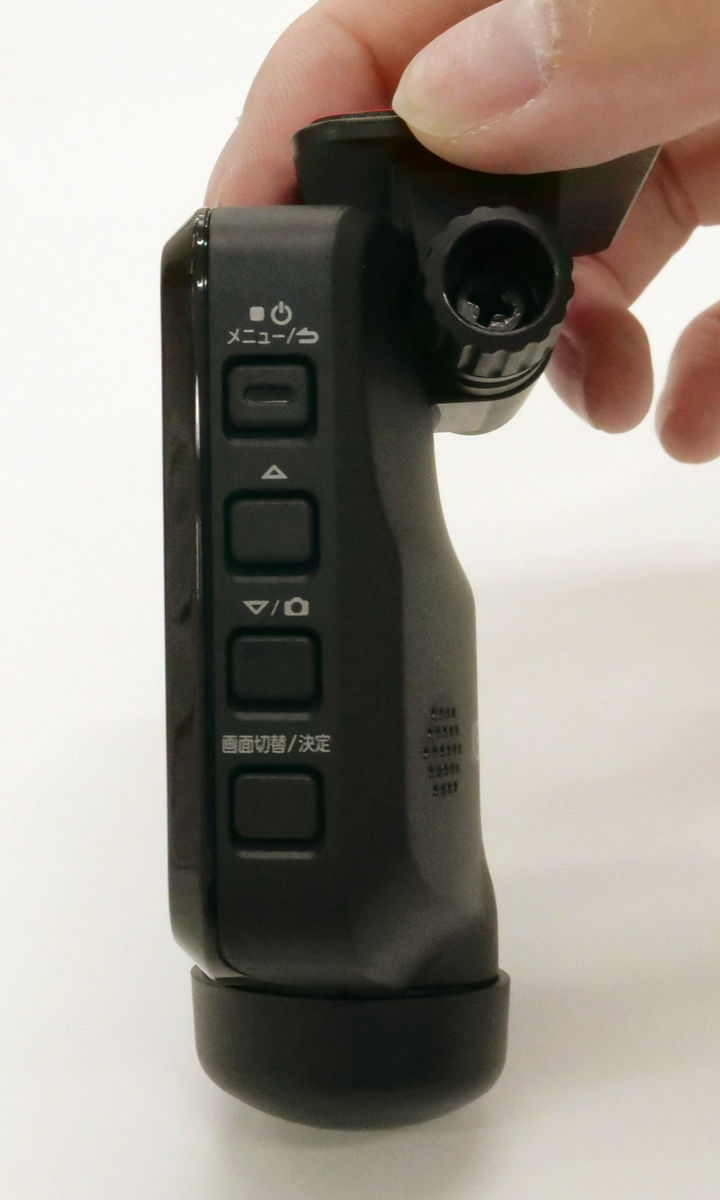
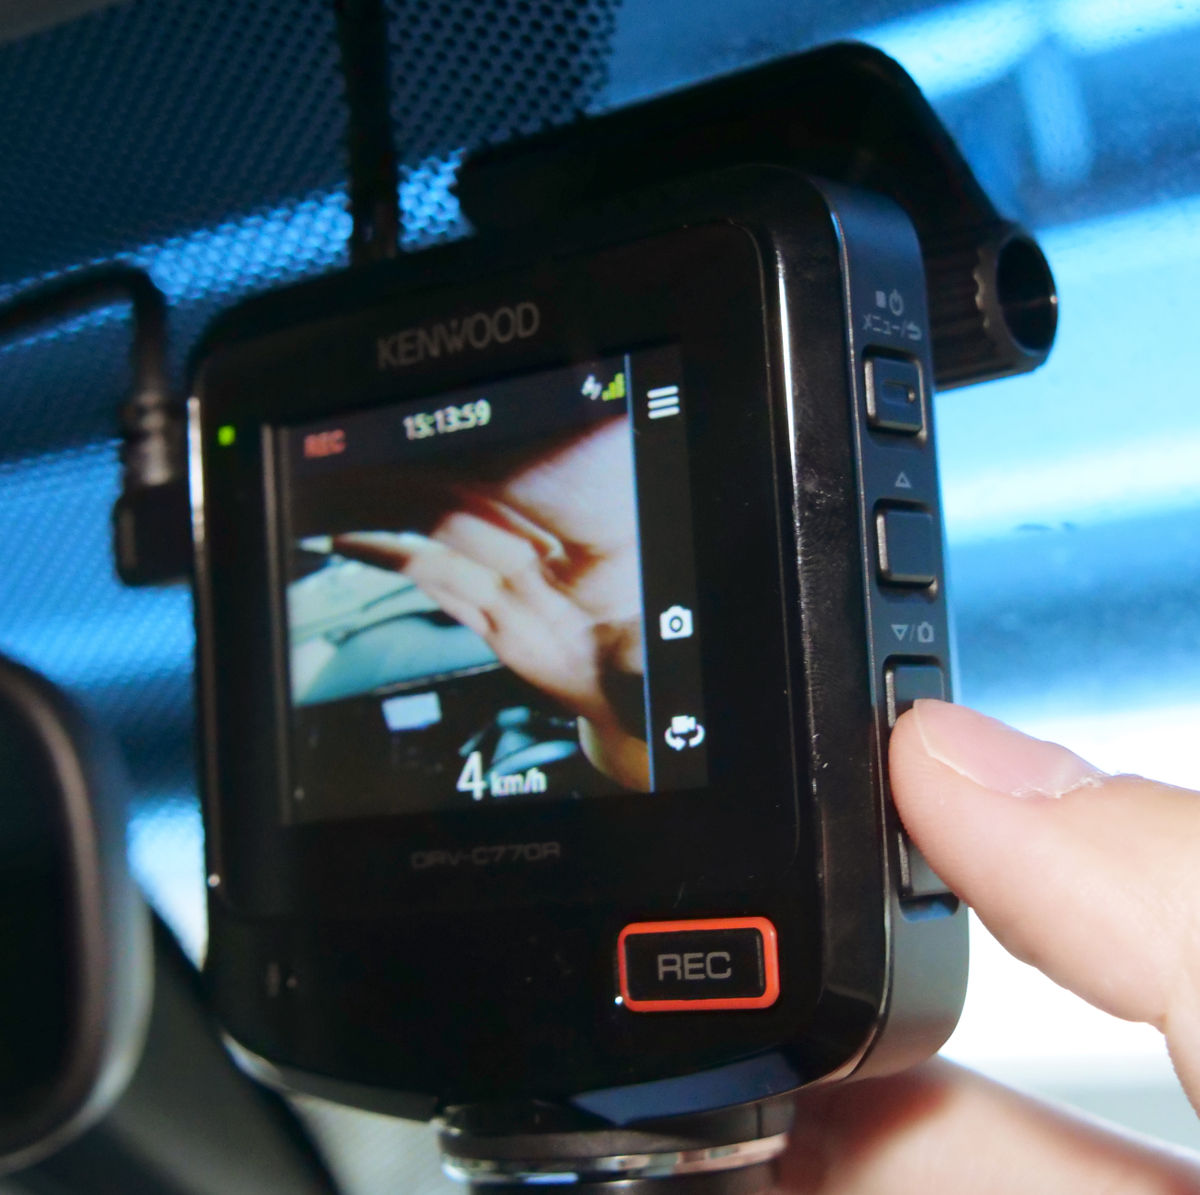
Various operation buttons are arranged on the right side. The four buttons are the 'power / menu / cancel' button, 'up' button, 'down / shooting' button, 'screen switching / decision' button from the top. When you operate the button, you will hear a 'click' sound that seems to be a physical button.
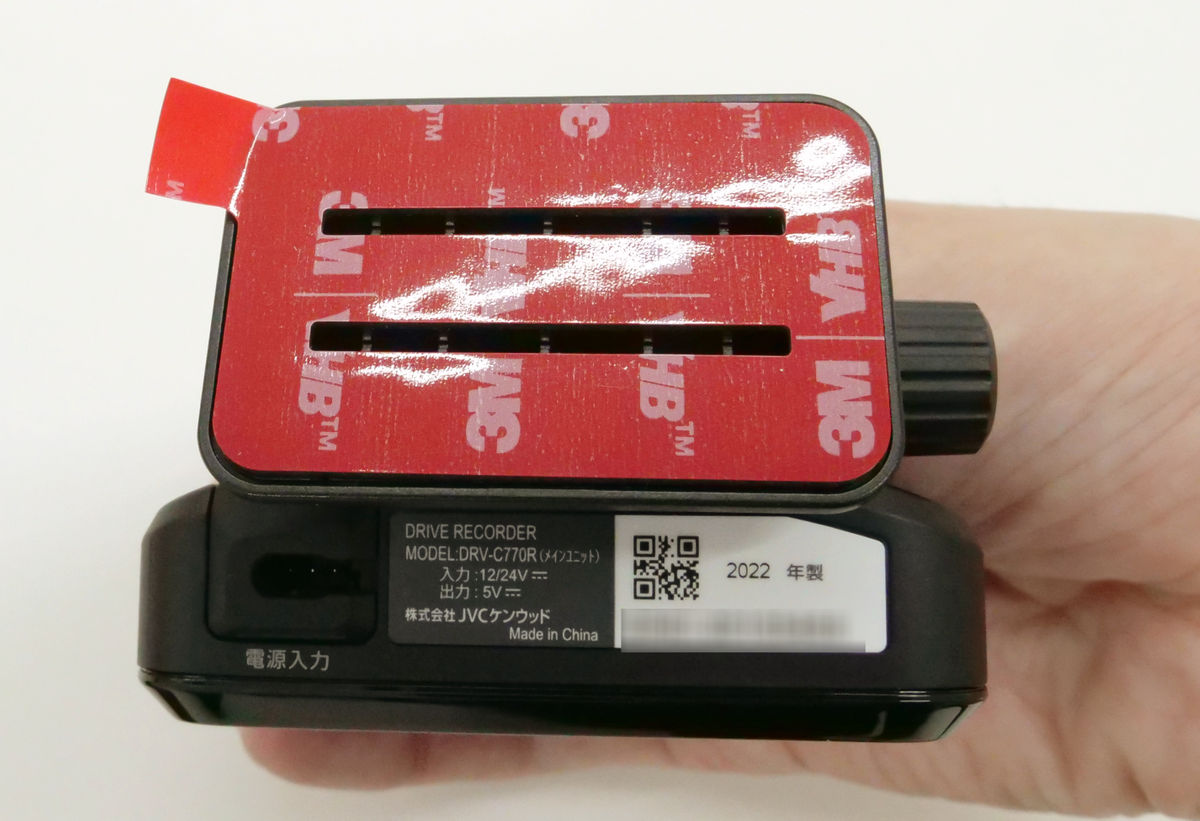
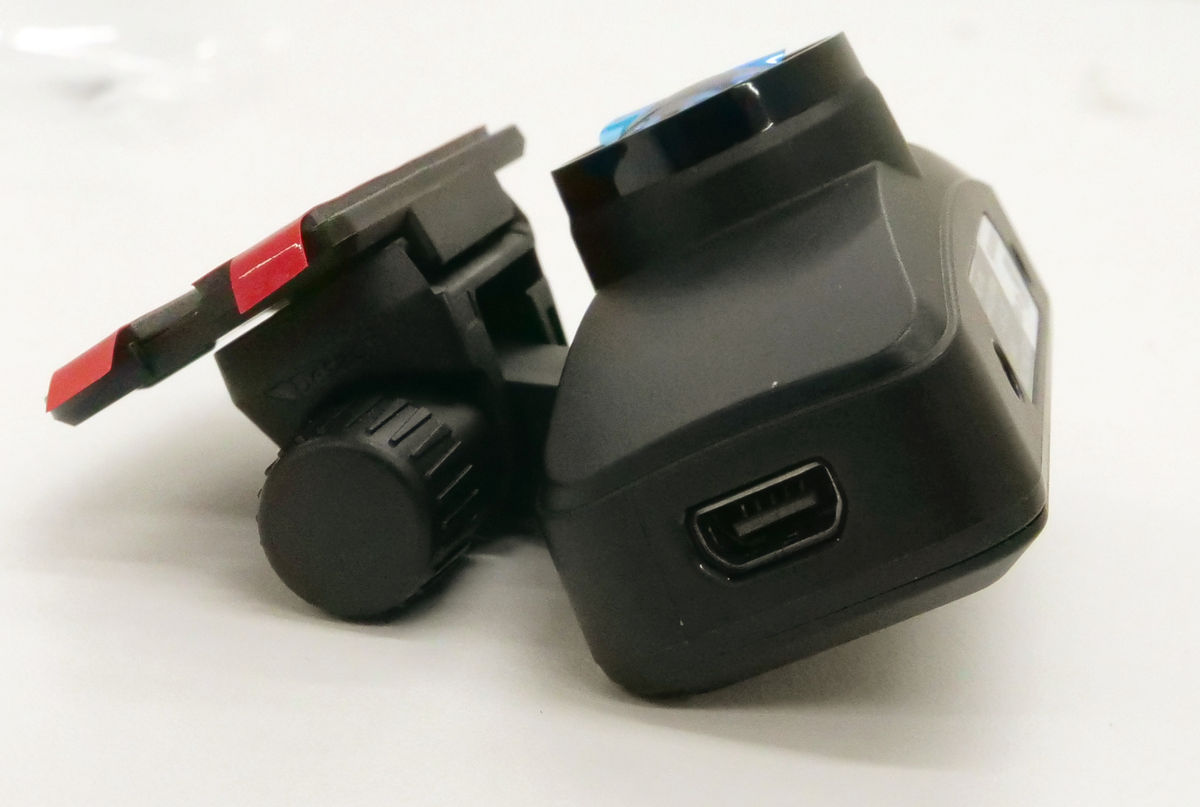
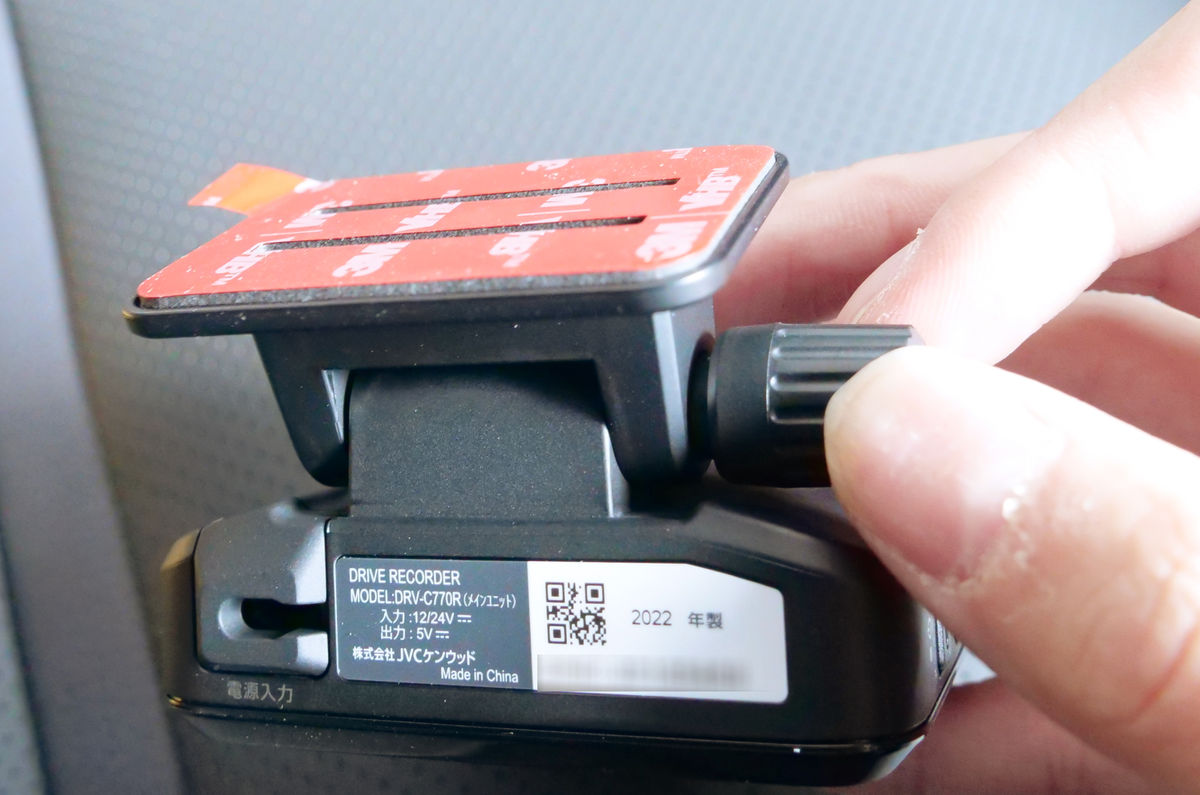
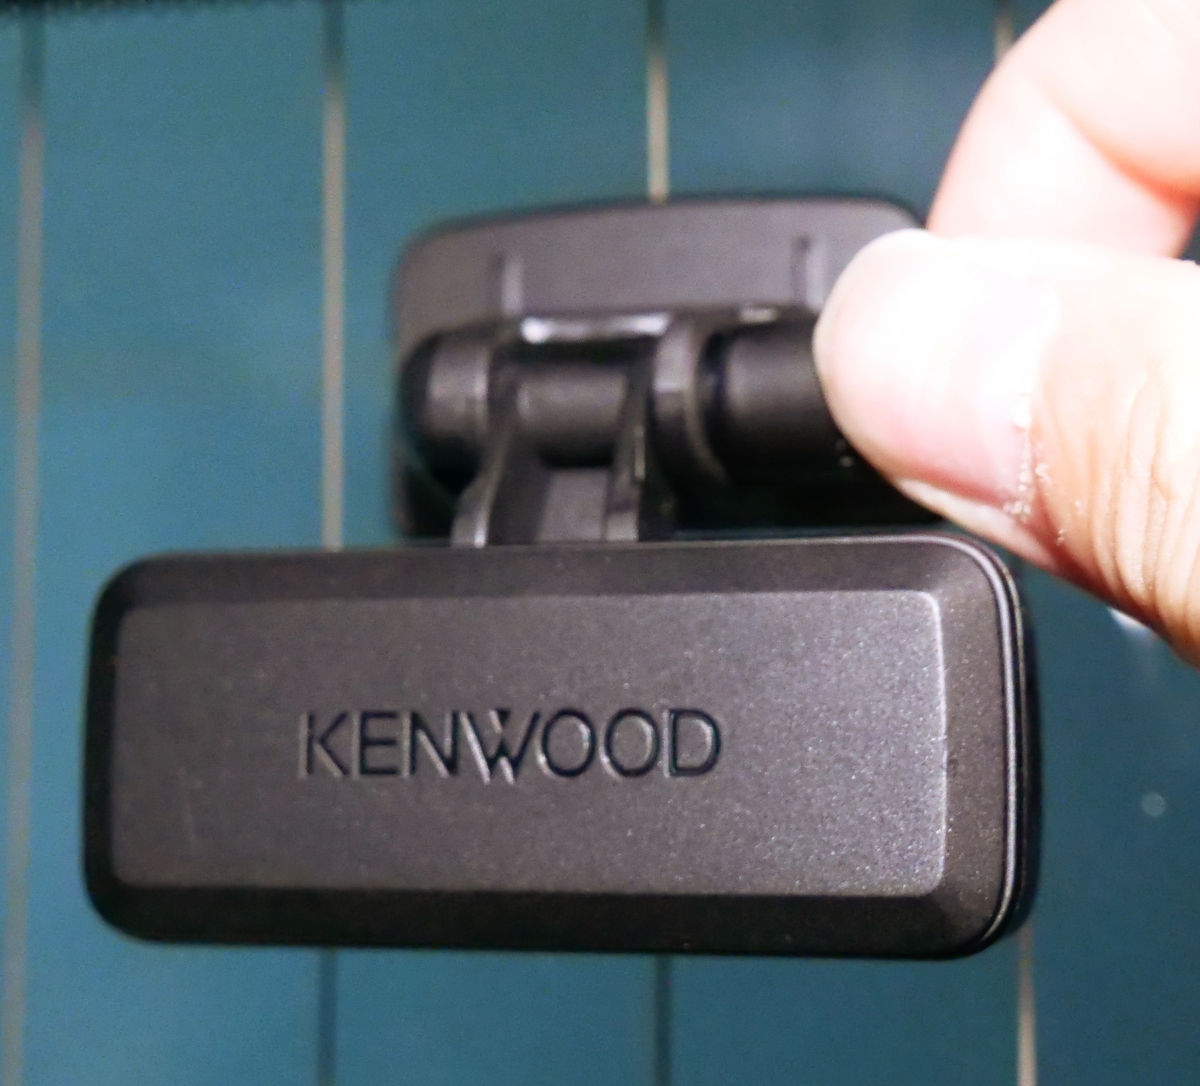
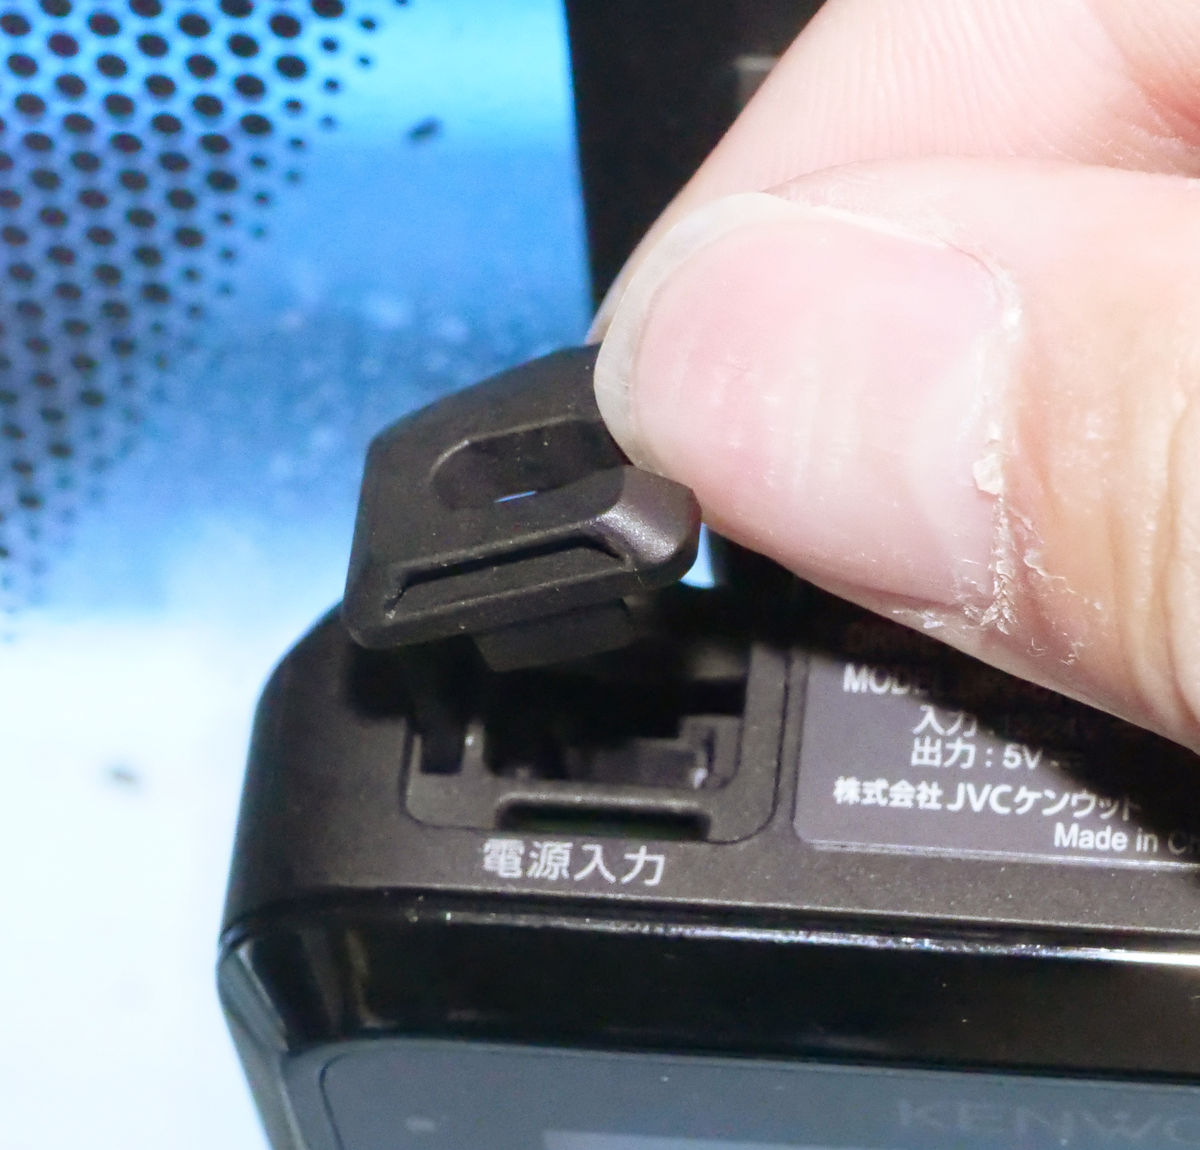
From the top, you can see the mounting bracket with double-sided tape attached. In addition, the power input terminal covered with the cover is arranged on the left side of the main unit.
The back looks like this.
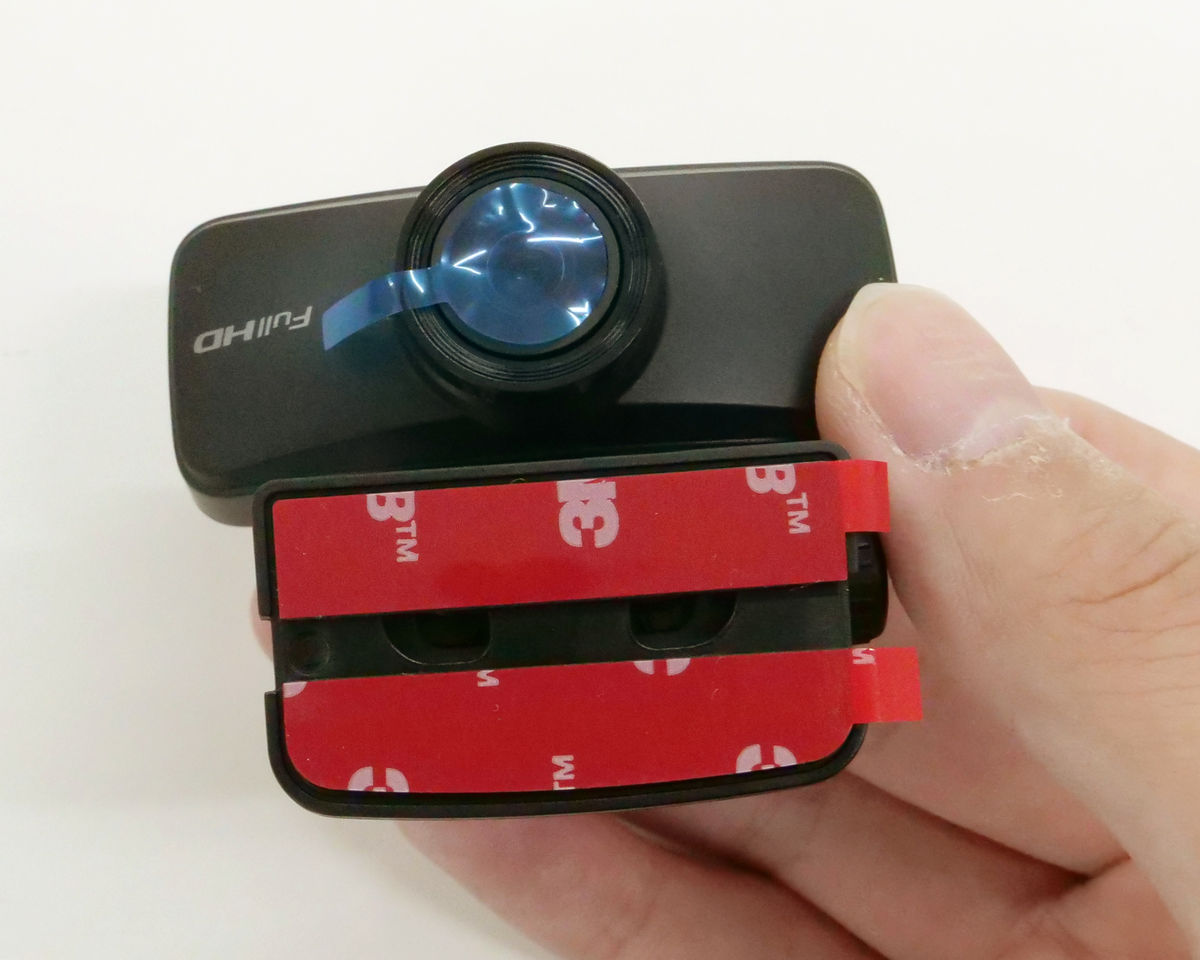
Another camera 'outside rear camera' looks like this. It has a wide-angle camera with a 163-degree viewing angle and a mounting bracket for attaching to the rear glass.
On the left side is a cable outlet for connecting to the main unit.
There is nothing in particular on the right side.

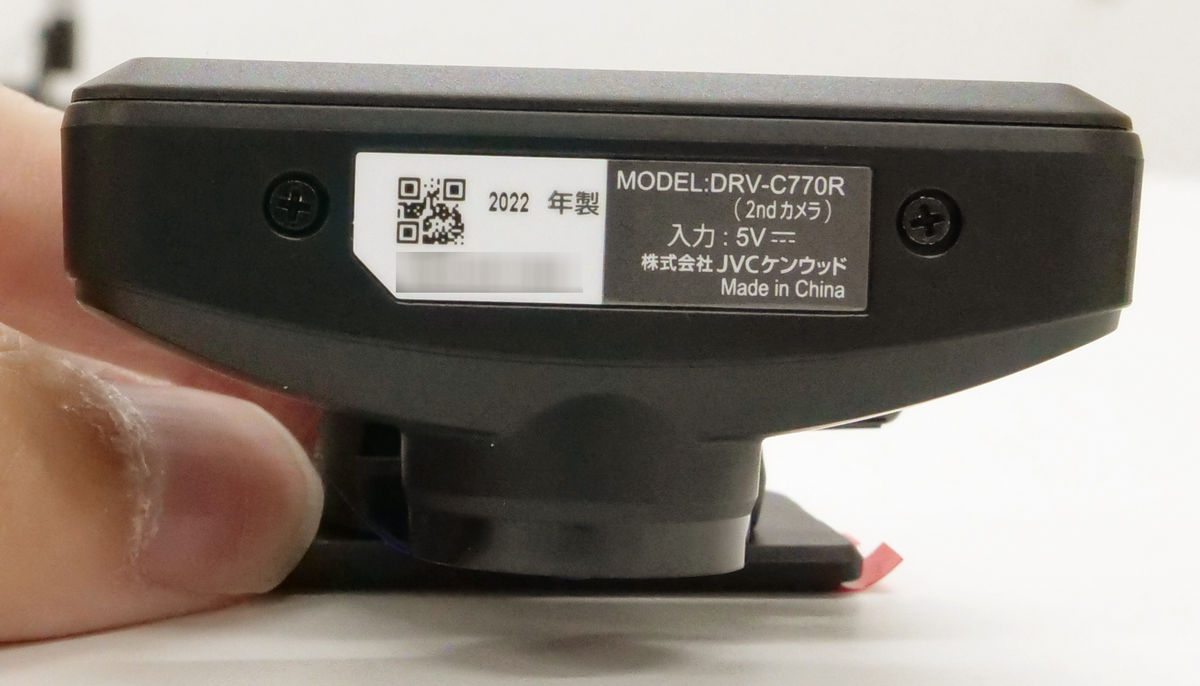
The bottom has the serial number etc.
The microSDHC card standards are video speed class V30, speed class 10, UHS-I, UHS speed class 3, application performance class A1. The capacity is 32GB.
The length of the cigar plug cord is 3.5m, and the length of the camera cable for rear view shooting outside the vehicle is 8.0m. Even the relatively large minivan Toyota '
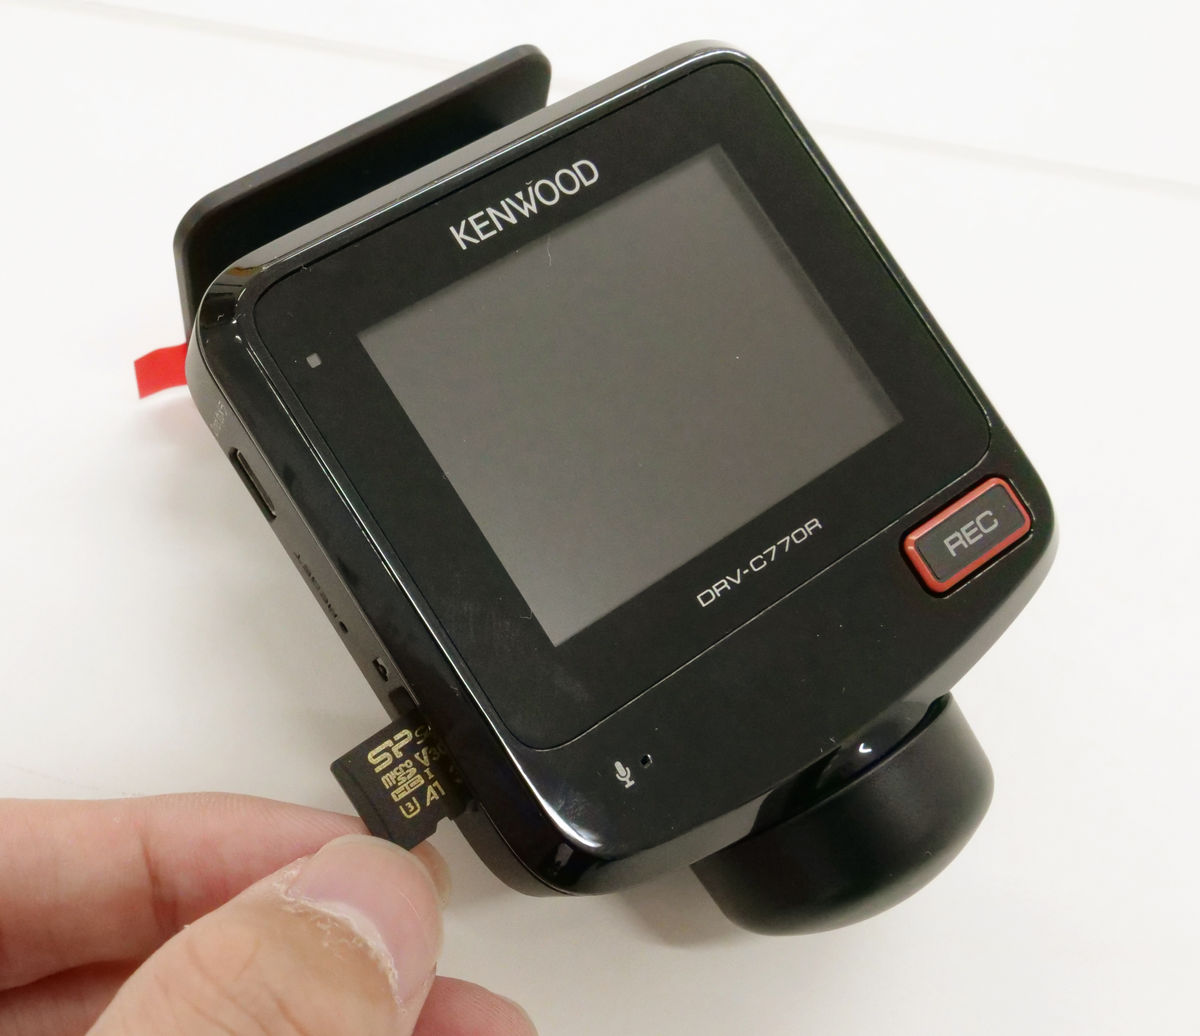
Next, we will install the camera in the car, but before that, insert the microSDHC card into the main unit.
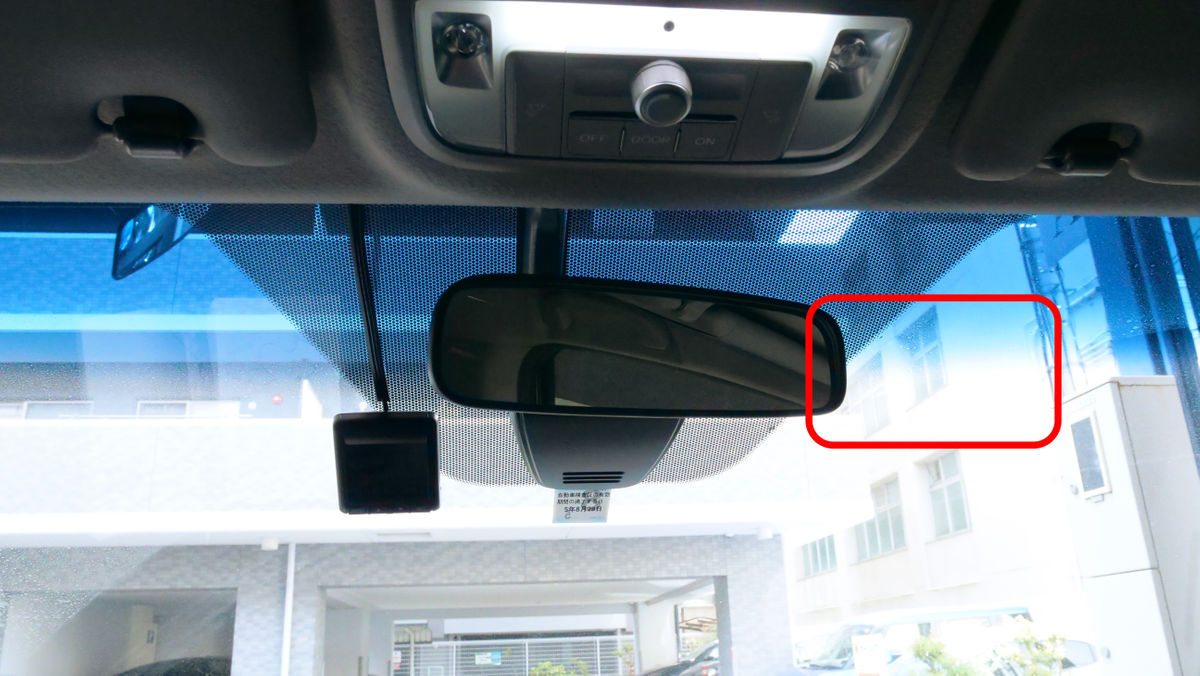
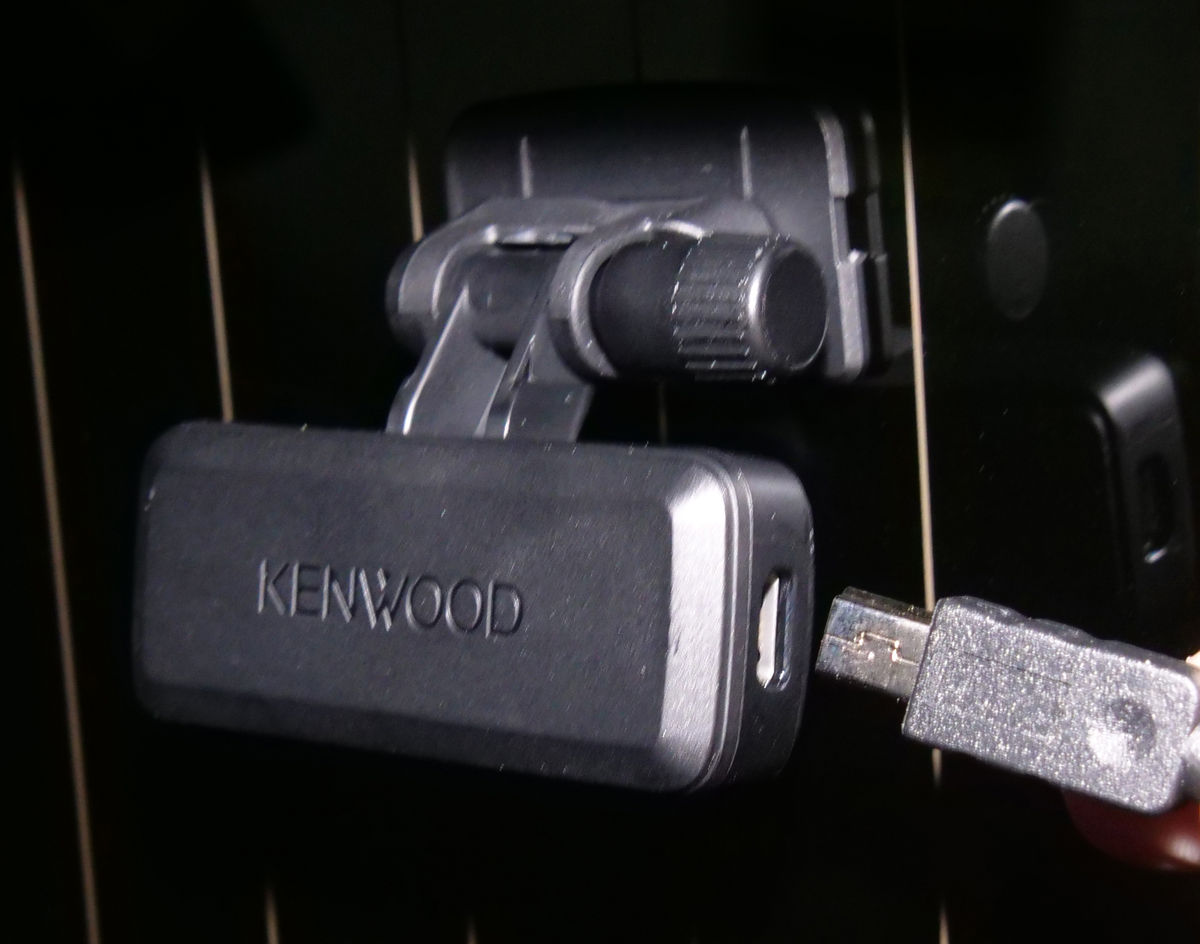
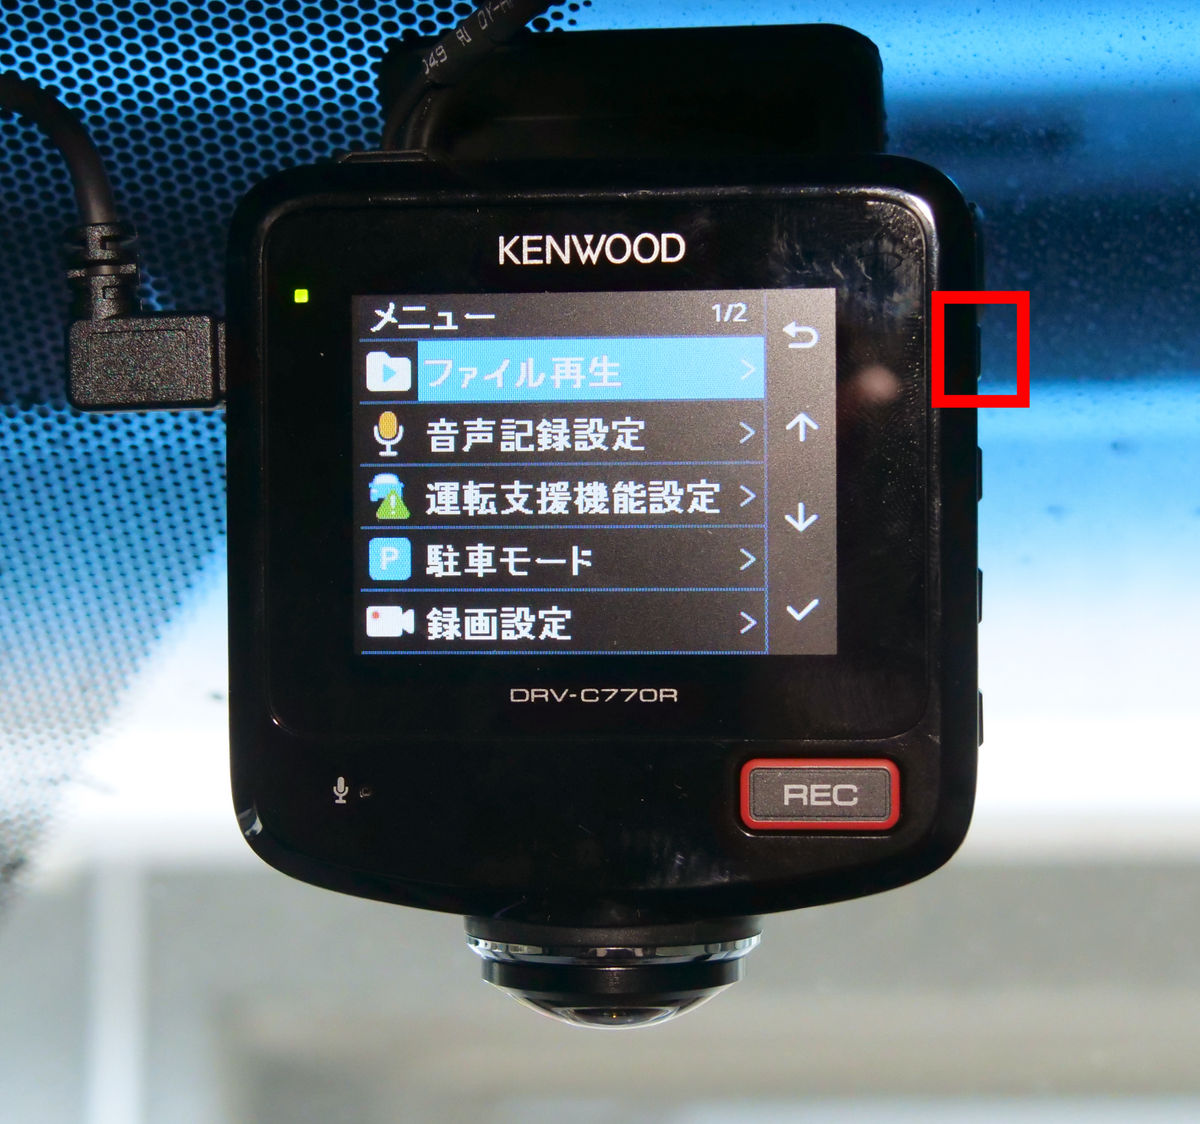
First, determine the mounting position. It is said that it is necessary to install it within the upper 20% of the windshield that does not block the driver's field of vision, or in a position that does not block the driver's forward field of vision and allows 360-degree shooting. Install it in the area surrounded by the red frame on the side of the rearview mirror, on the driver's side.
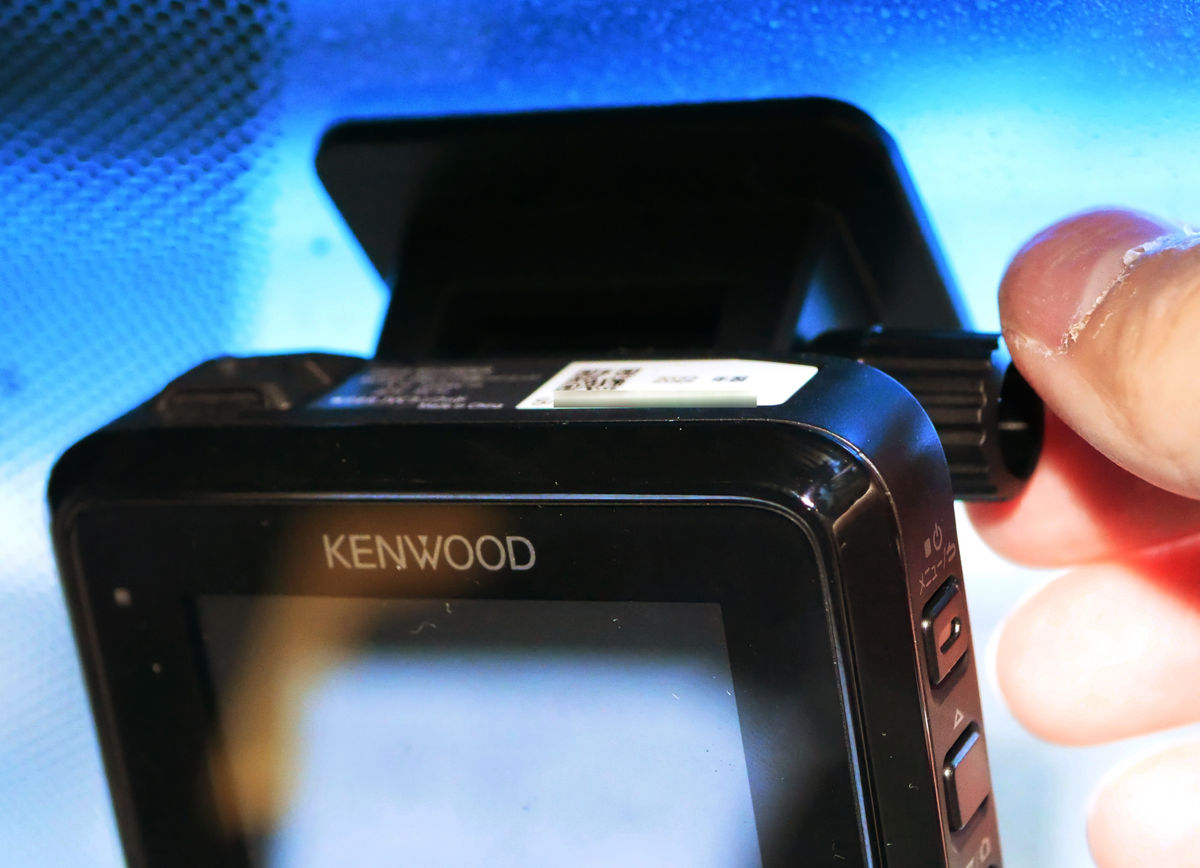
Turn the angle adjustment knob of the main unit ......
Temporarily place the main unit so that it is perpendicular to the ground.
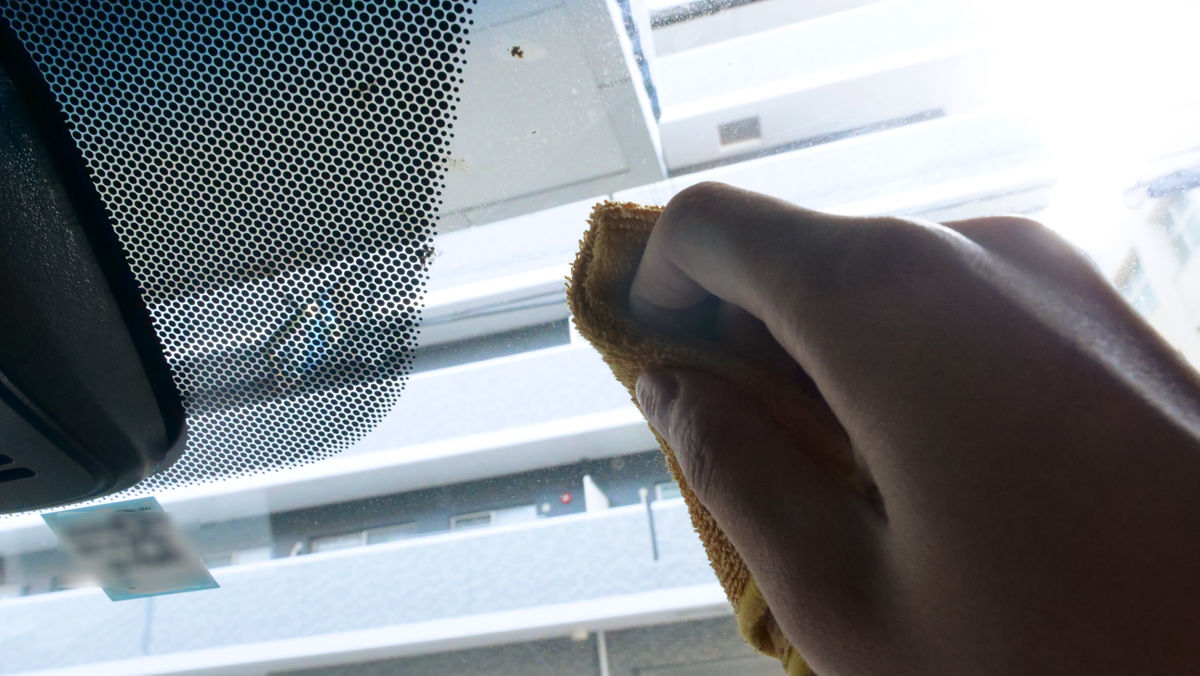
After that, wipe off the dirt and sebum on the mounting location.
And peel off the release paper of the double-sided tape of the mounting bracket ......
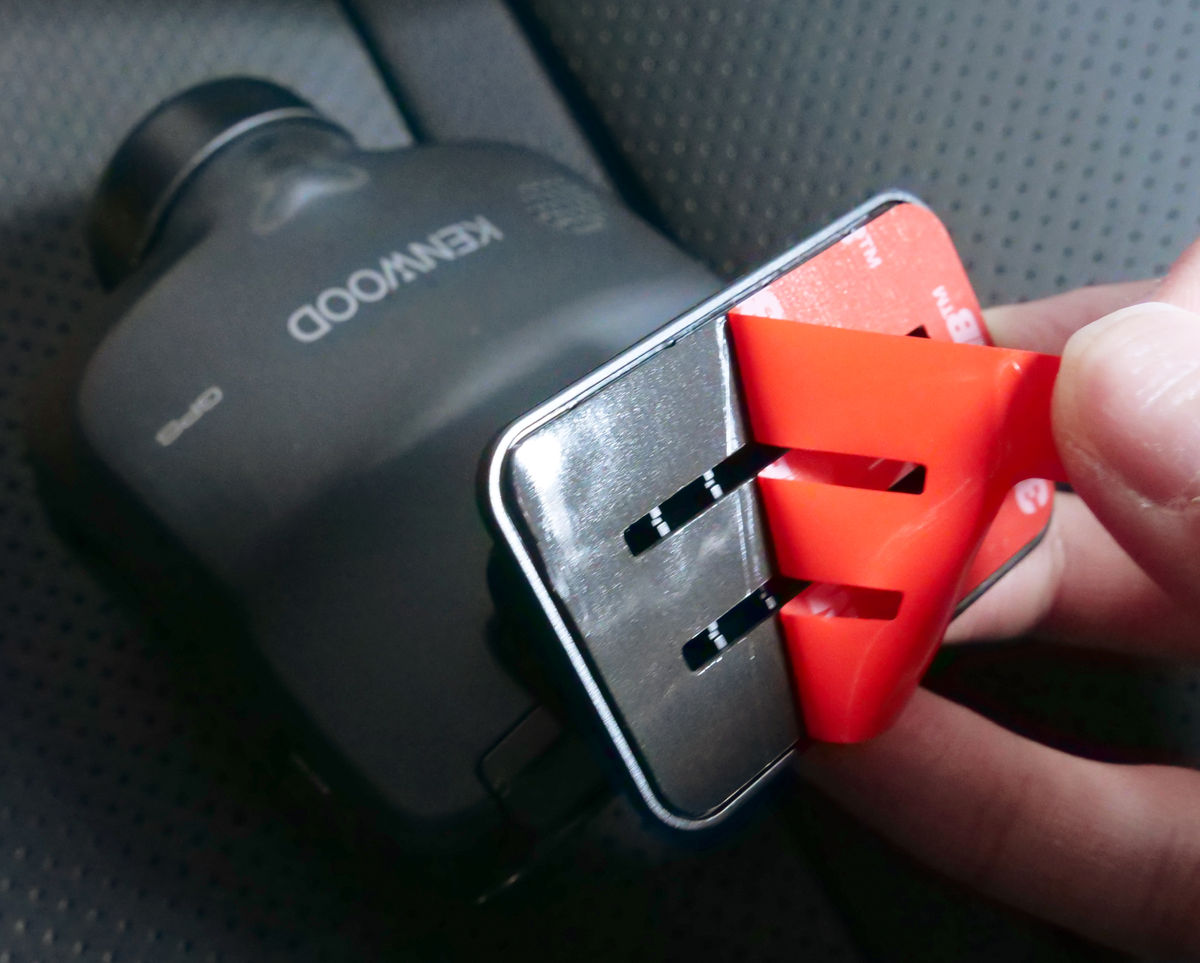
Stick it on the windshield. In addition, in order to strengthen the mounting strength, it is necessary to leave it for 24 hours or more after installation before using it.
Next, we will install the 2nd camera. This is also temporarily applied first, and the angle adjustment knob is used to roughly adjust the angle.
In addition, the heat wire may pass through the rear glass to prevent condensation, but if double-sided tape is pasted over the heat wire, the heat wire may be damaged when peeled off. The 2nd camera has a gap in the center of the double-sided tape so that it can be pasted while avoiding the sideways heat rays, so you can stick the heat rays through this gap.
However, since the car used this time had a vertically oriented heat wire attached, it was handled by sandwiching a piece of paper vertically on the back of the double-sided tape. After pasting is completed in this way, leave it for 24 hours like the main unit.
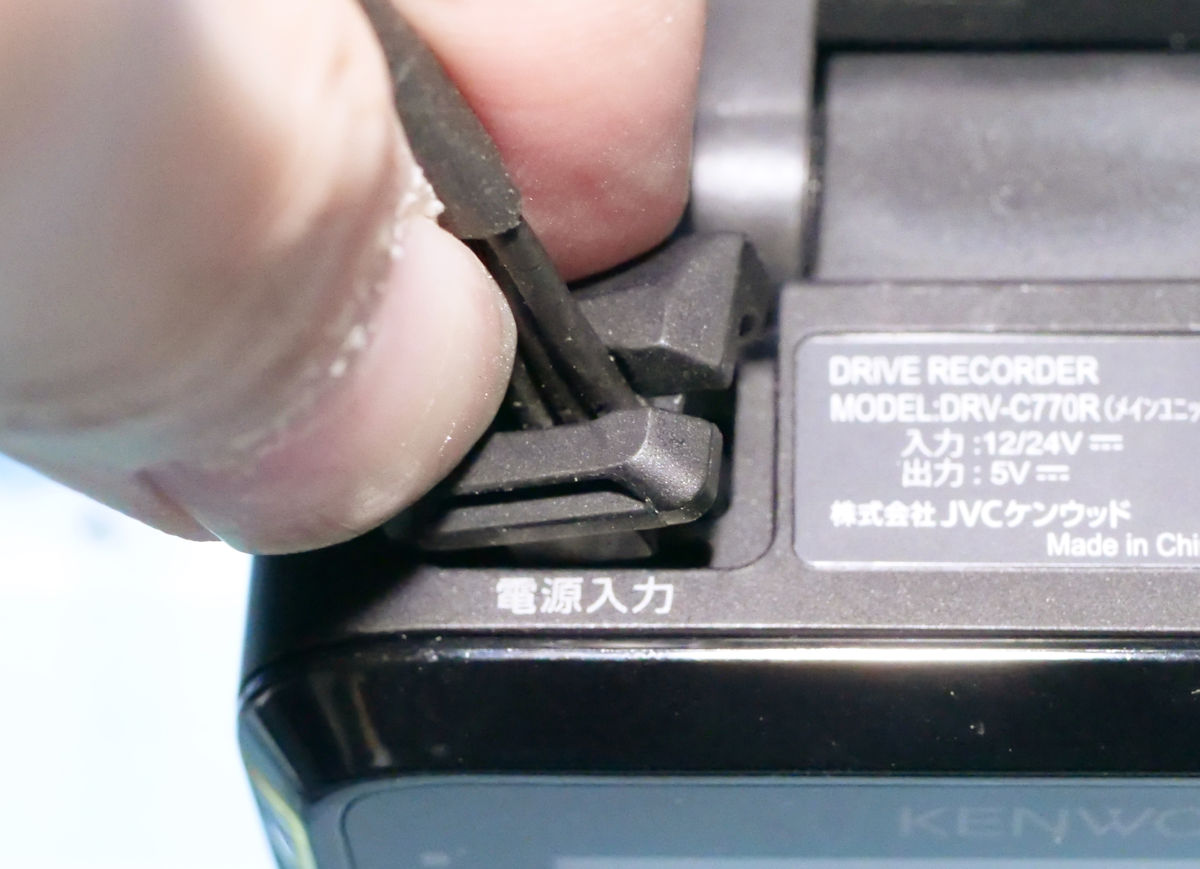
Next, connect the main unit to the accessory socket. First, lift the top of the main unit and the cover of the power input terminal upward.
Then pass the tip of the cigar plug cord through the groove of the cover ......
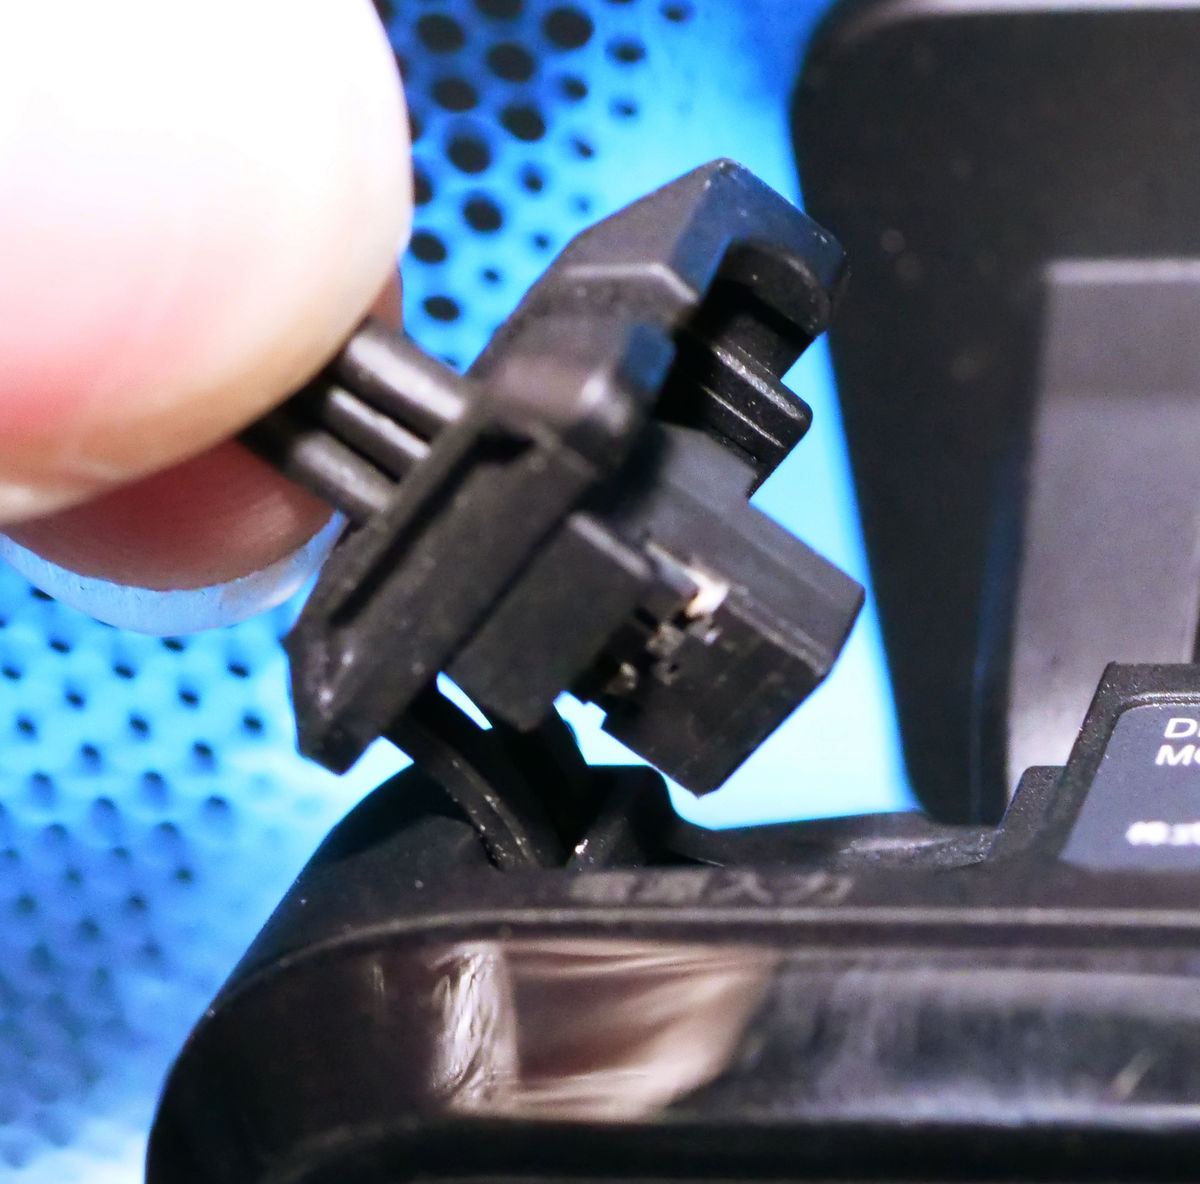
Close the cover with the cord.
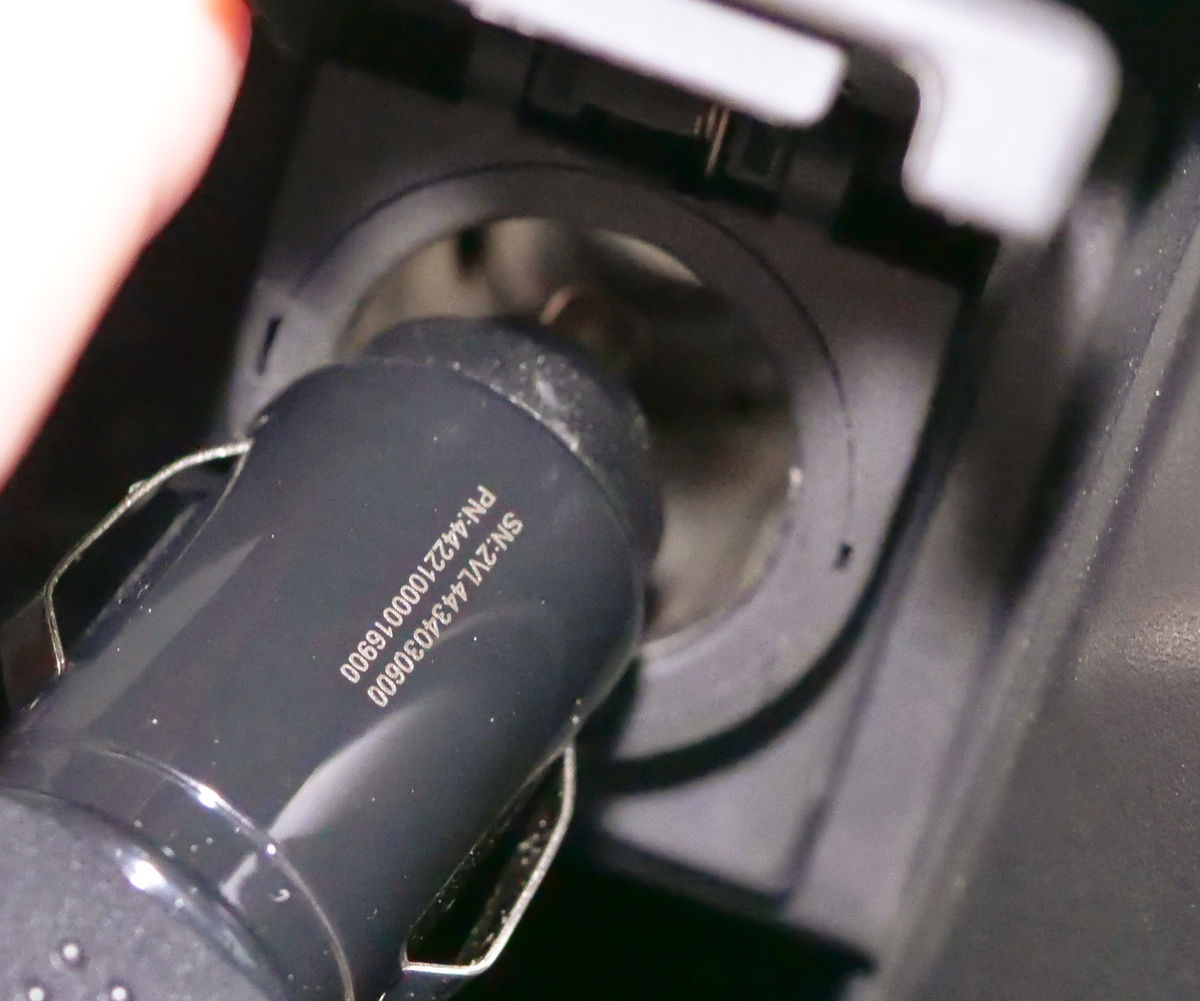
Finally, insert the plug side into the accessory socket and you're done.
Next, connect the main unit and the 2nd camera. First, connect the tip of the camera cable for shooting outside the vehicle to the main unit.
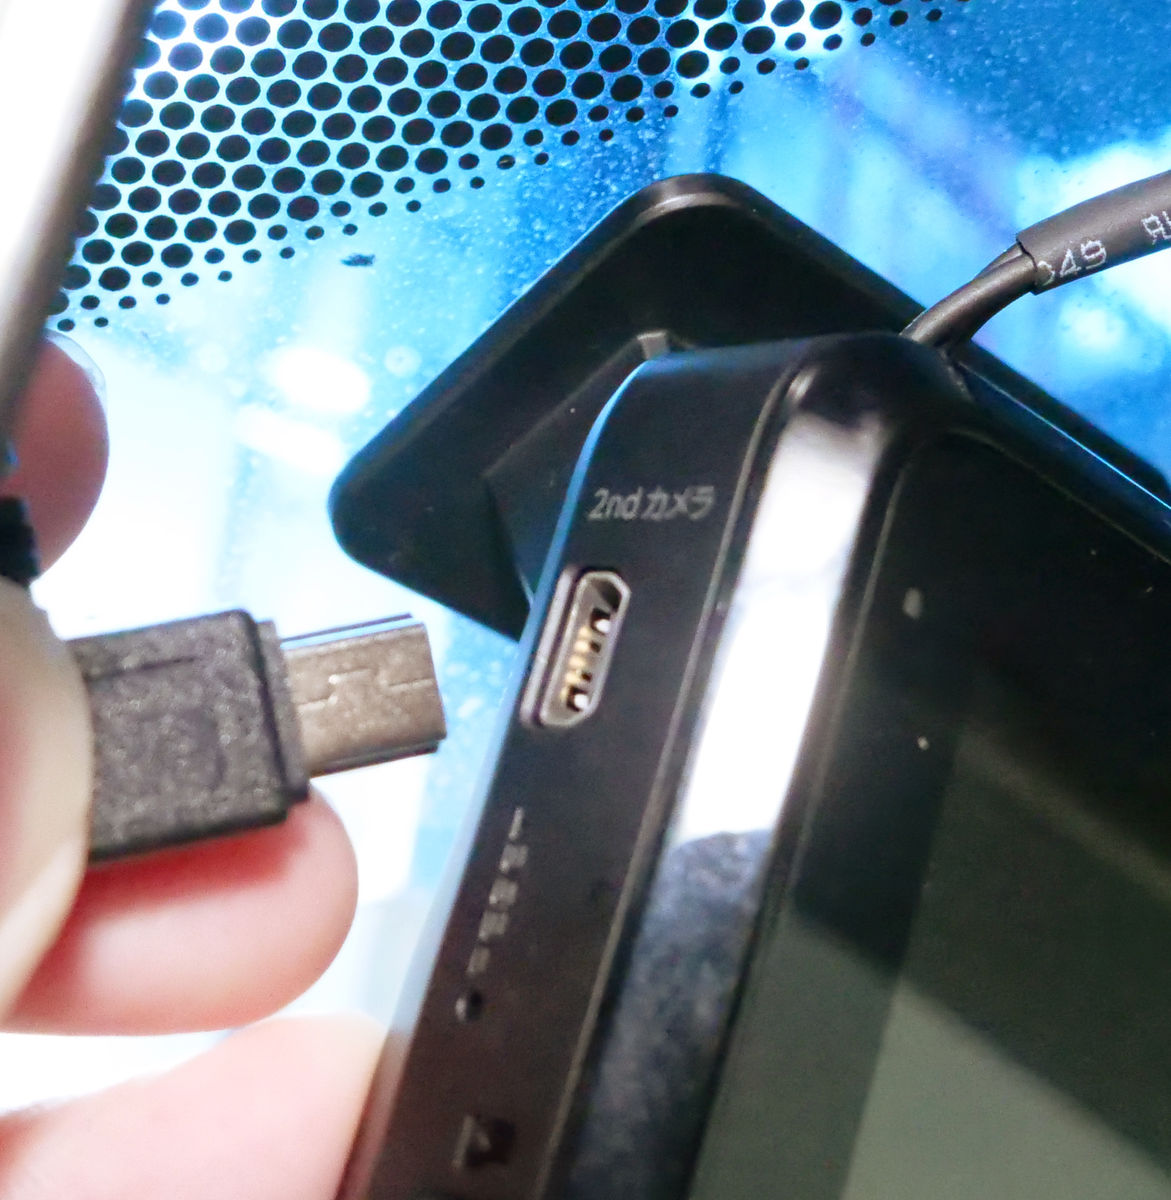
Route the cable from inside the car and connect the other end to the 2nd camera. All connections are now closed.
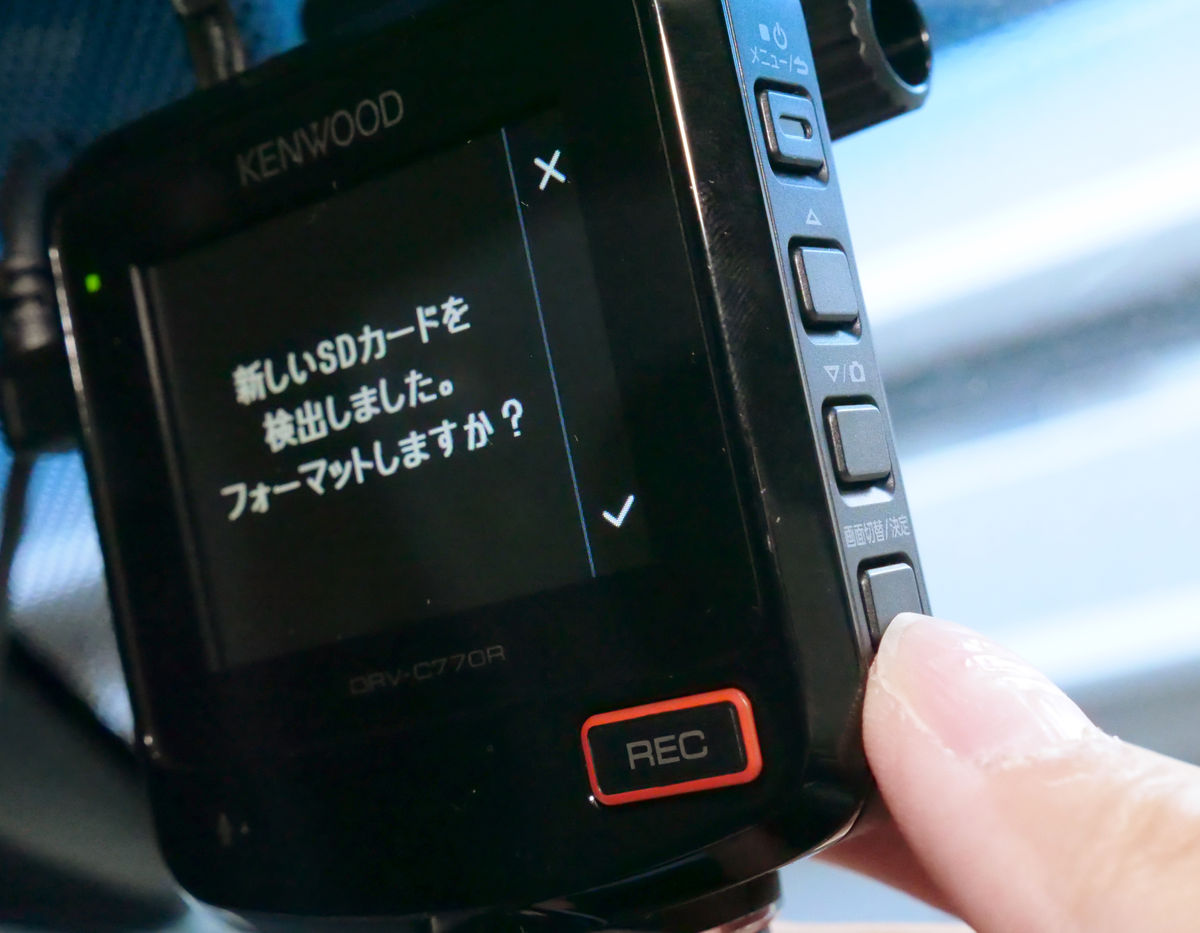
Turning the vehicle's engine switch to 'ON' or 'ACC' turns on the power of the main unit and the 2nd camera. When using for the first time or when using a new microSD card, it is necessary to format the microSD card. Follow the instructions on the screen and press the 'Change Screen/Enter' button to format.
When the format ends, the front view is displayed like this.
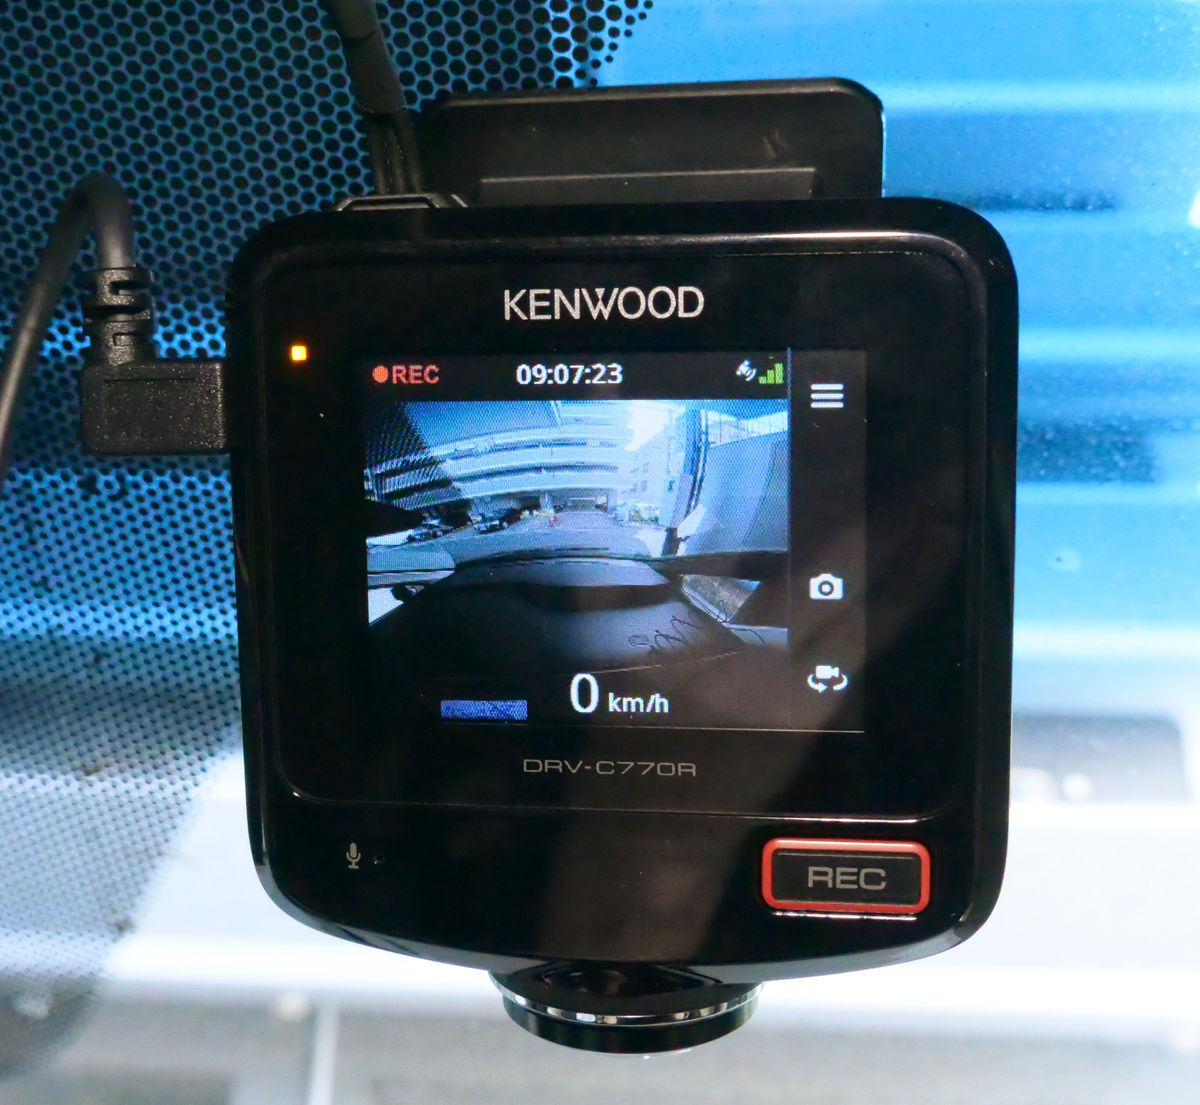
You can switch the image displayed on the screen by pressing the 'Screen Switch/Enter' button. Each time you press the button, you can see the images in front, inside the car, 2nd camera, left front camera image, right front camera image, front and 2nd camera image, front, 2nd camera image. , front camera left side, front camera right side image, panorama and 2nd camera image.
When the power of the main unit is turned on, ``constant recording'' that always records the surroundings starts, and it continues to record audio and video by dividing it into ``each file''. The recording time of this 'per file' varies depending on the setting, 1 minute in 'standard mode', 2 minutes in 'long time mode 1', and 4 minutes in 'long time mode 2'.
The longer you set it, the more time you can shoot with the same capacity, but the motion of the image will be jerky. Estimated recording time in standard mode is about 89 minutes (89 files) with 32GB capacity. After this time, the oldest files will be overwritten. Depending on the settings, up to about 50 hours of shooting is possible.
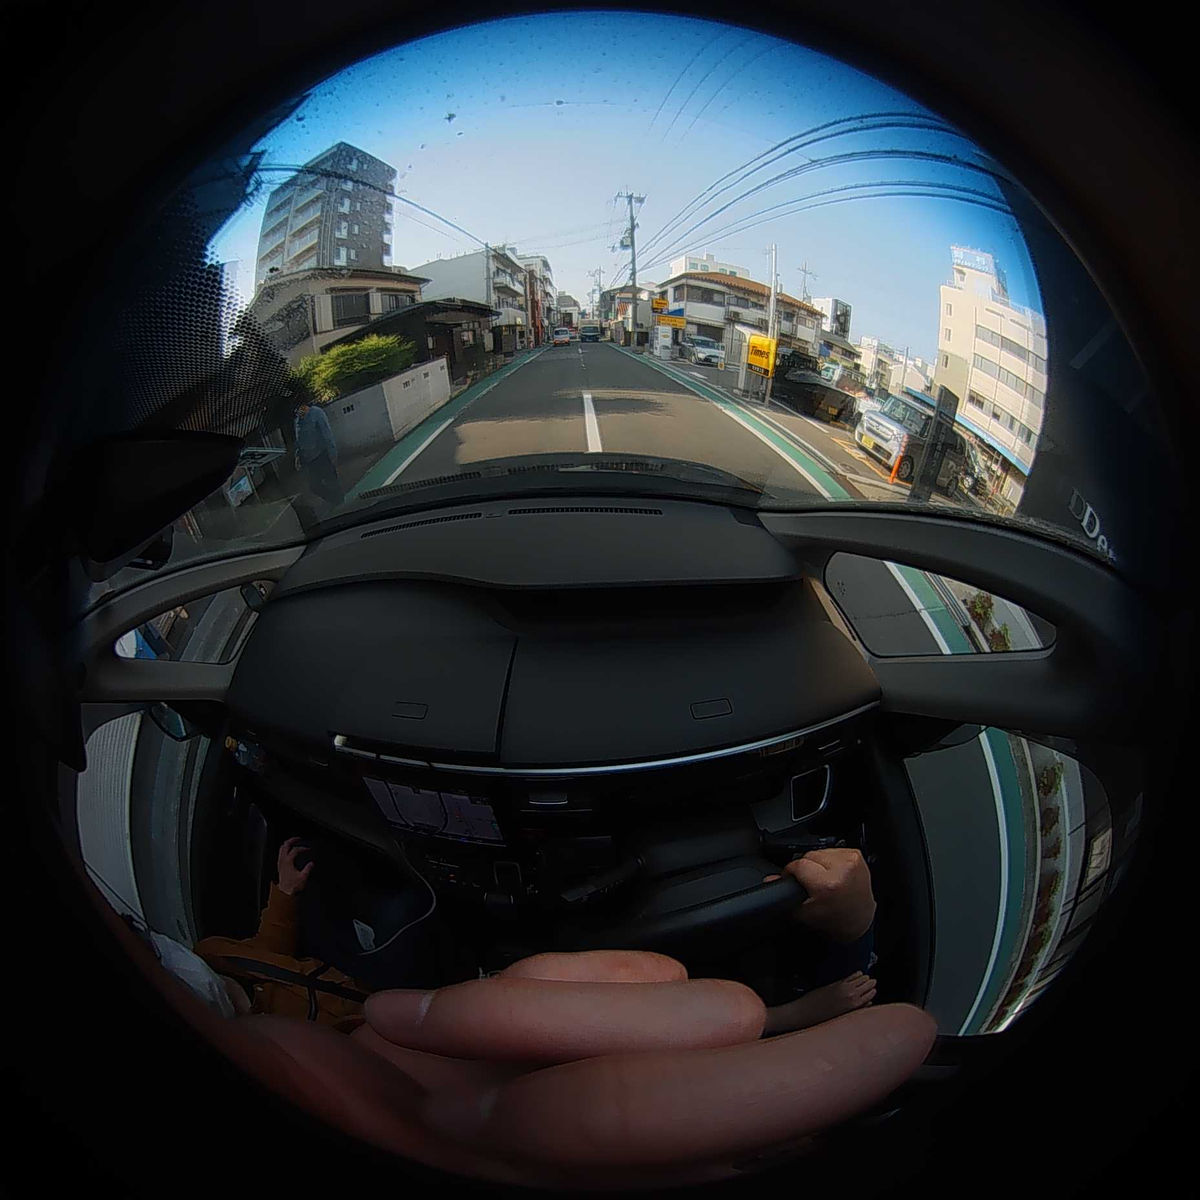
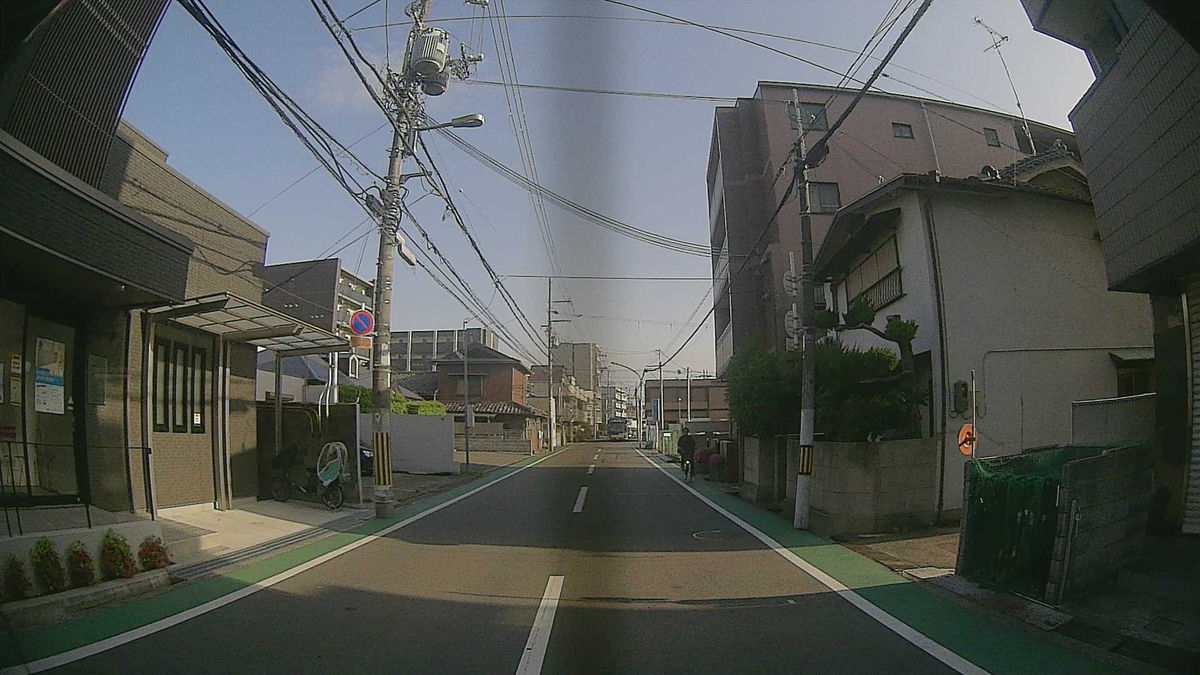
During continuous recording, images are recorded with two cameras, the front camera and the 2nd camera. As mentioned above, even if the displayed image is switched with the 'screen switch / enter' button, the recorded image is always two types of images, the panoramic image from the front camera and the rear image. You can check the video recorded by constant recording this time from the following. First of all, this is the image recorded with the front camera. The files copied from the microSDHC card are used as they are without editing.
The following is the video recorded with the 2nd camera.
The image taken with the 163 degree wide-angle rear camera of the drive recorder 'DRV-C770R' with two front and rear cameras looks something like this-YouTube
The final image is a composite image of the image recorded by the front camera (top) and the image recorded by the 2nd camera (bottom).
The image taken with the 360 degree front camera (top) and the 163 degree wide-angle rear camera (bottom) of the drive recorder 'DRV-C770R' with two front and rear cameras looks something like this-YouTube
The file picked up this time has a resolution of 1856 × 1856, about 14 Mbps, and about 27.5 fps from the front camera. The video from the 2nd camera has a resolution of 1920 x 1080, about 12 Mbps, about 27.5 fps. Both audio bitrates were 124kbps (stereo).
In addition to constant recording, the DRV-C770R has three functions: 'event recording' that detects vibration and saves it separately from constant recording, 'manual recording' that manually starts event recording, and 'photo shooting' that shoots still images. It has a recording method. The recording time for event recording is 20 seconds in total, from 5 seconds before impact detection to 15 seconds after impact detection.
If you want to record events manually, press the 'REC' button on the bottom right of the main unit. In this case as well, 20 seconds from 5 seconds before the button is pressed to 15 seconds after the button is pressed will be saved as an 'event record'. Event recording is always recorded for 20 seconds regardless of the setting, and in the case of 32GB capacity, it will be recorded for about 5 minutes (15 files) in total.
You can check the video that you actually tried manual recording from the following. First of all, this is the image recorded with the front camera. I am uploading it unprocessed.
Next is the video recorded with the 2nd camera ......
I tried to start recording manually with the front and rear 2 camera drive recorder 'DRV-C770R' (163 degree wide-angle rear camera)-YouTube
The final image is a composite of the front camera (upper) and the 2nd camera (lower).
I tried manually recording the drive recorder 'DRV-C770R' with two front and rear cameras (360 degree front camera (top) & 163 degree wide-angle rear camera (bottom))-YouTube
To take a picture, press the 'down / shoot' button on the right side of the main unit. The moment you press it, the images captured by both the front camera and the second camera are recorded one by one. About 30 photos (2 cameras) can be saved in 32GB.
The image actually taken is below. This is an image from the front camera. No processing is done, including trimming.
This is an image from the 2nd camera recorded at the same timing as above. It is also raw. It is a convenient point that you can record both front and back at the same time by pressing the button once.
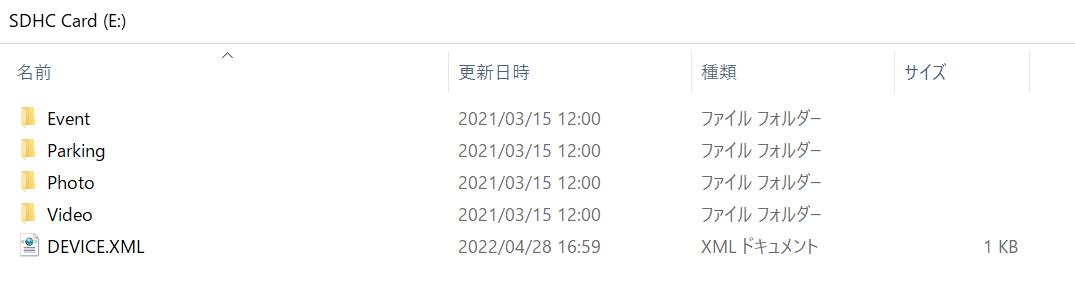
The recorded files are recorded as MP4 and JPG in the microSD card, so you can check the contents on a PC. The directory is divided into folders such as 'Event (event recording)' and 'Video (constant recording)' as follows.
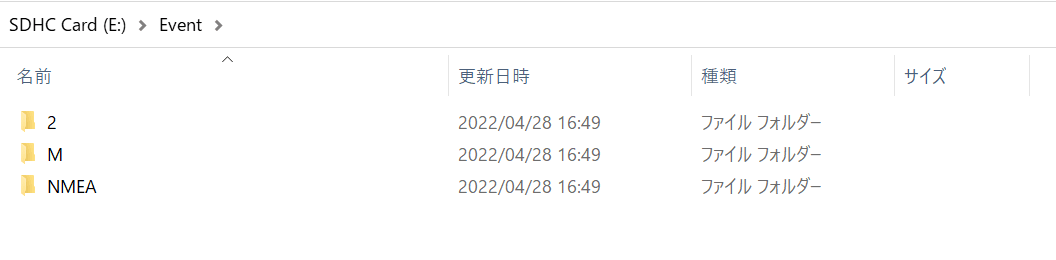
Each folder has folders '2 (2nd camera)', 'M (front camera)' and 'NMEA (GPS data)' ...
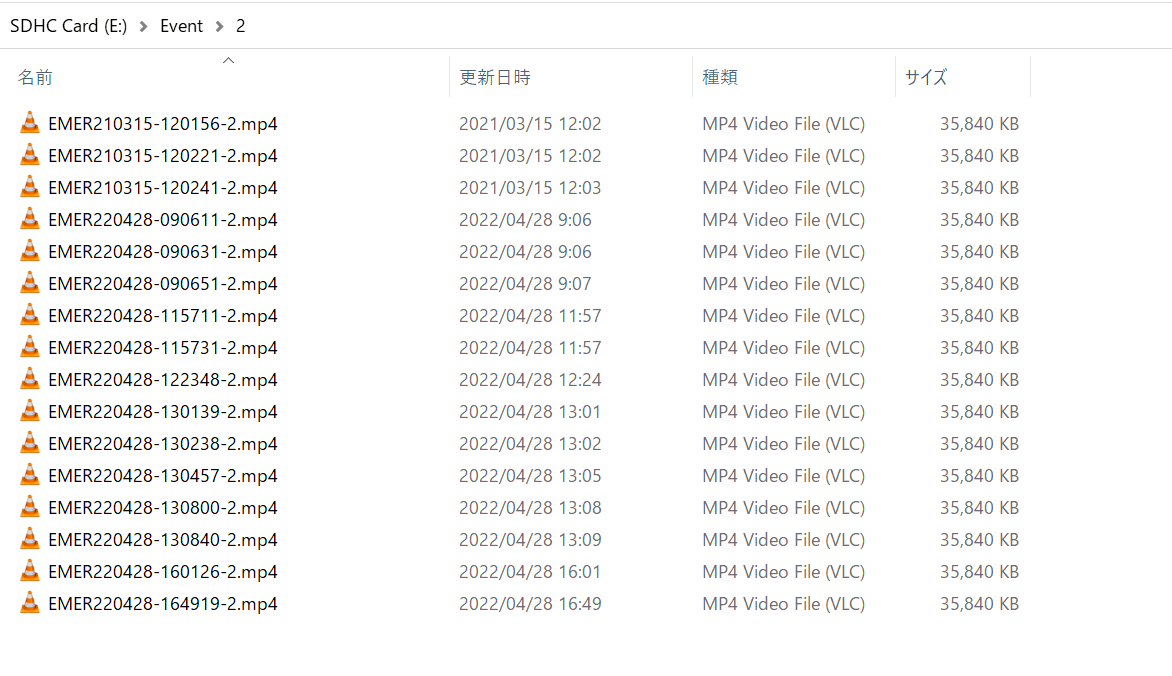
Various files are stored in it. You can copy files without any problems, but if you 'delete files', 'add files', or 'change file names', you will need to format the microSD card when you insert it again into the main unit. is required.
These files can also be checked by operating the main unit. To check, press the 'Power/Menu/Cancel' button on the right side of the main unit to open the menu screen, and press the 'Screen change/Enter' button with the cursor on 'File playback'.
Then select the appropriate folder ......
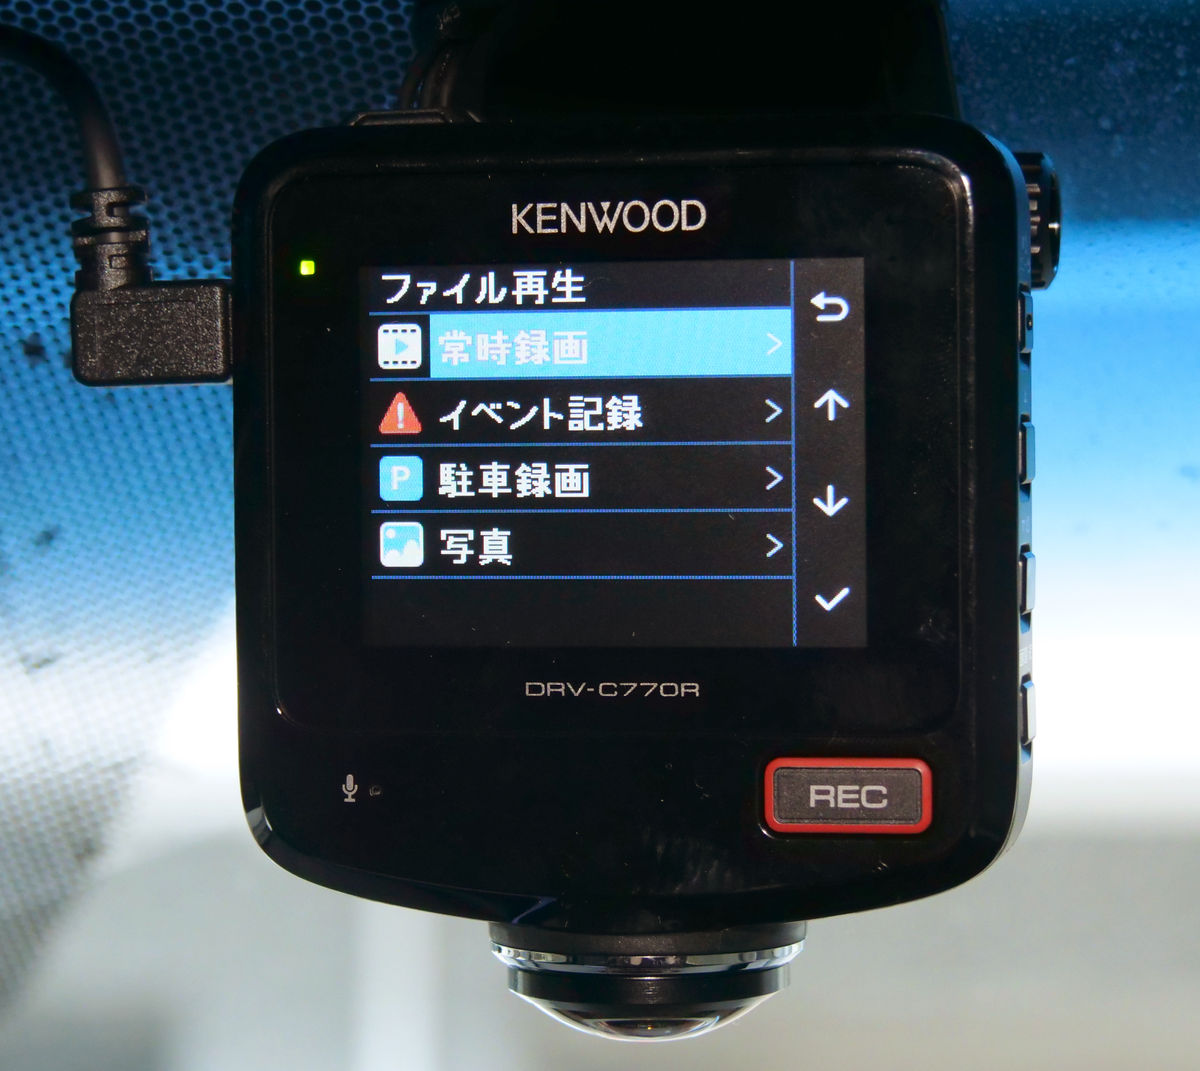
Check various files.
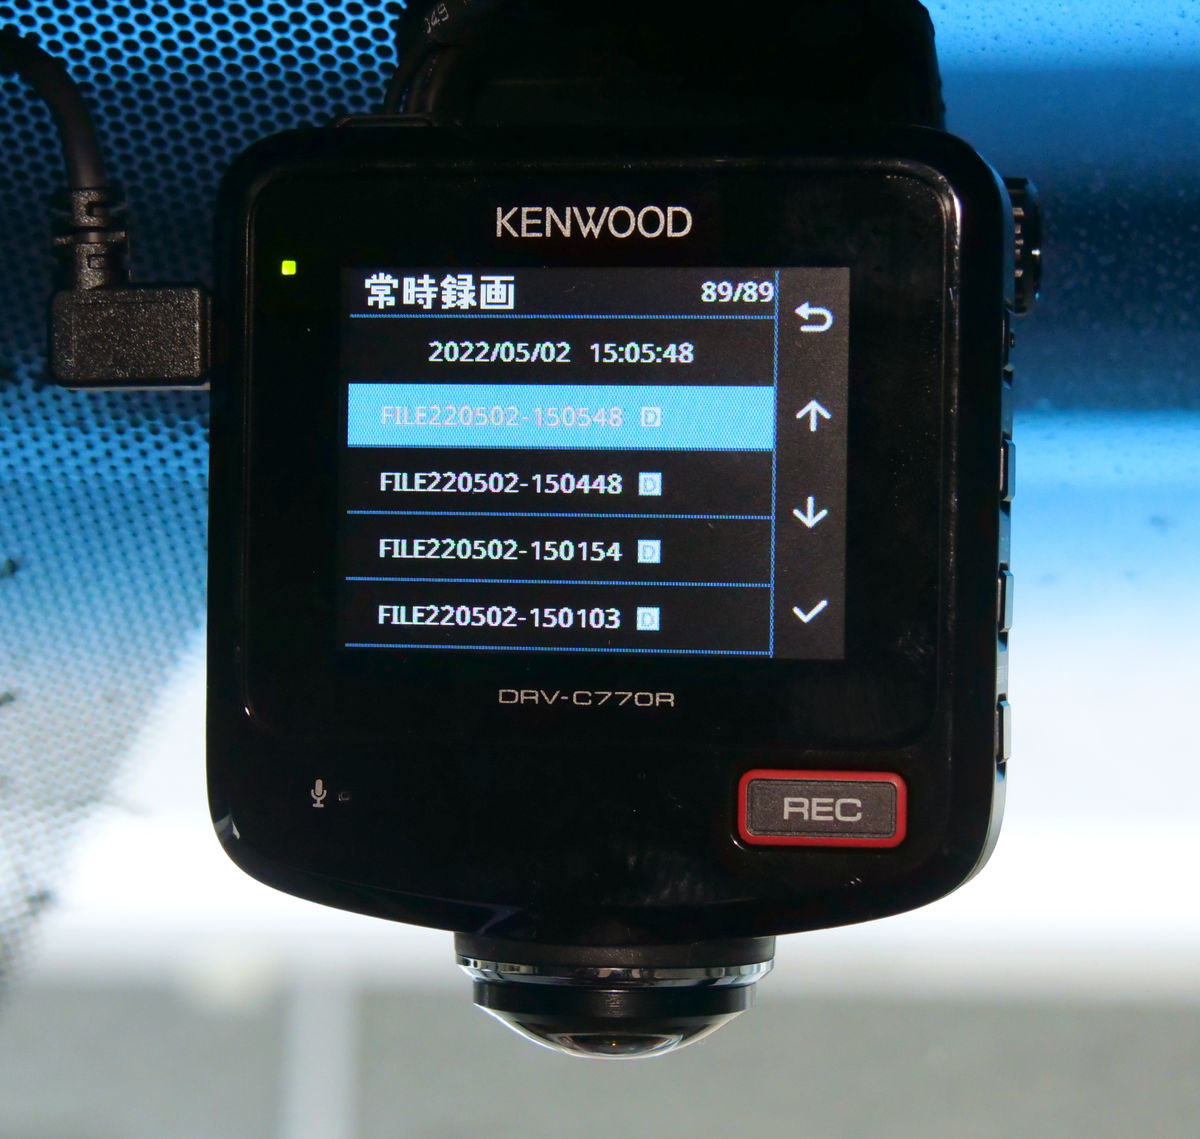
In addition to being able to delete individual files by operating from the main unit, you can switch the display method of images and still images displayed on the screen by pressing the 'Switch Screen/Enter' button.

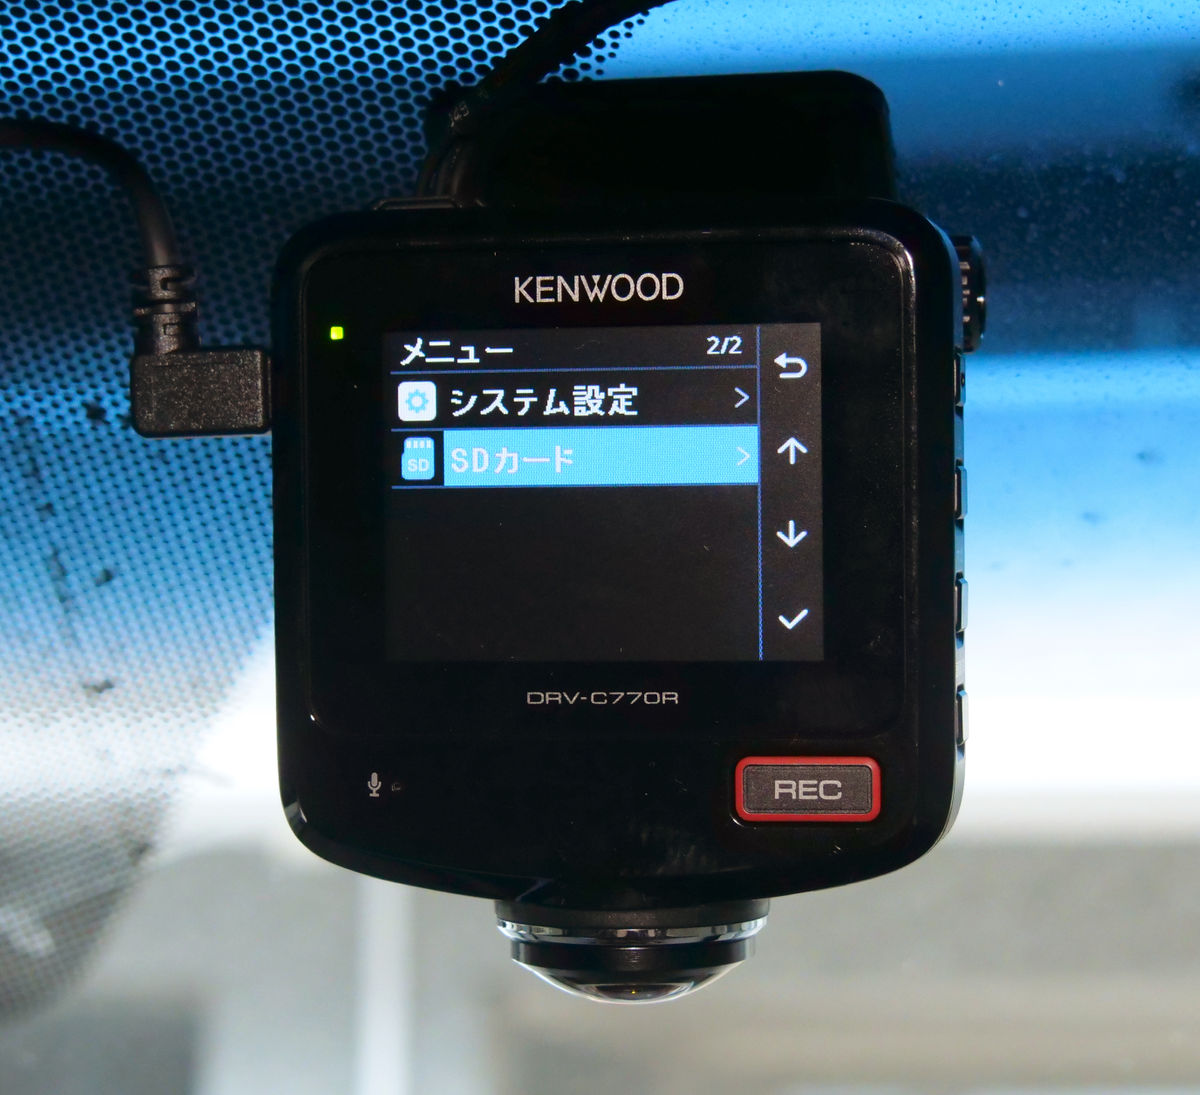
In addition to this, the menu includes 'Voice recording setting' that allows you to set whether to record sound, 'Refresh notification' that sends notifications at regular intervals, and 'Eco-drive display' that detects G value and diagnoses eco-driving. 'Driving support function settings' that can be set ...
There are 'System Settings' for setting the time, volume, language, etc., and 'SD Card' for displaying microSD card information.
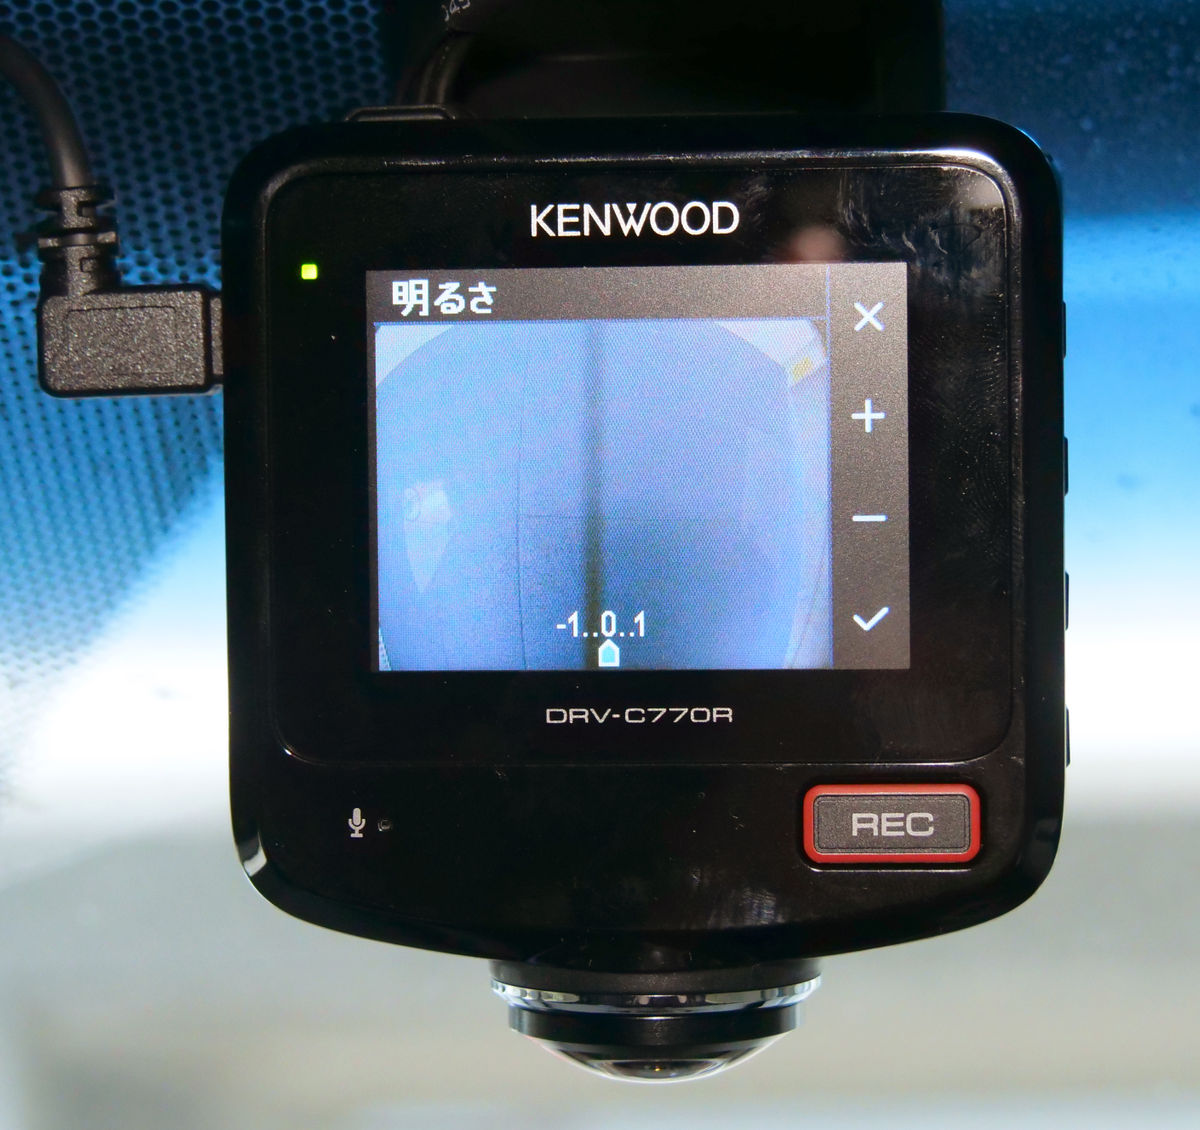
Depending on the settings, you can change the exposure (brightness) level and change the sensitivity of the impact detection that detects event recording. In particular, regarding the sensitivity of impact detection, since we have detected vibrations due to 'opening and closing the door' only once during use in the review, it is nice to be able to eliminate such false detections by lowering the sensitivity depending on the setting.
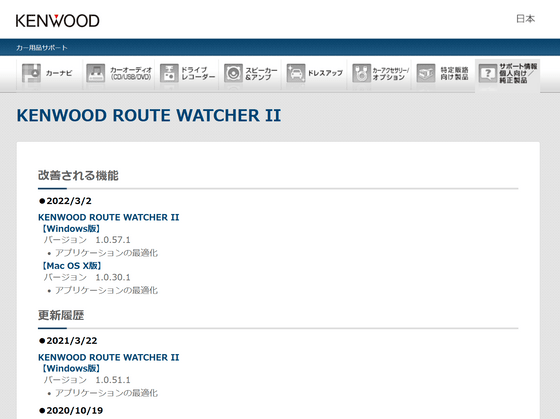
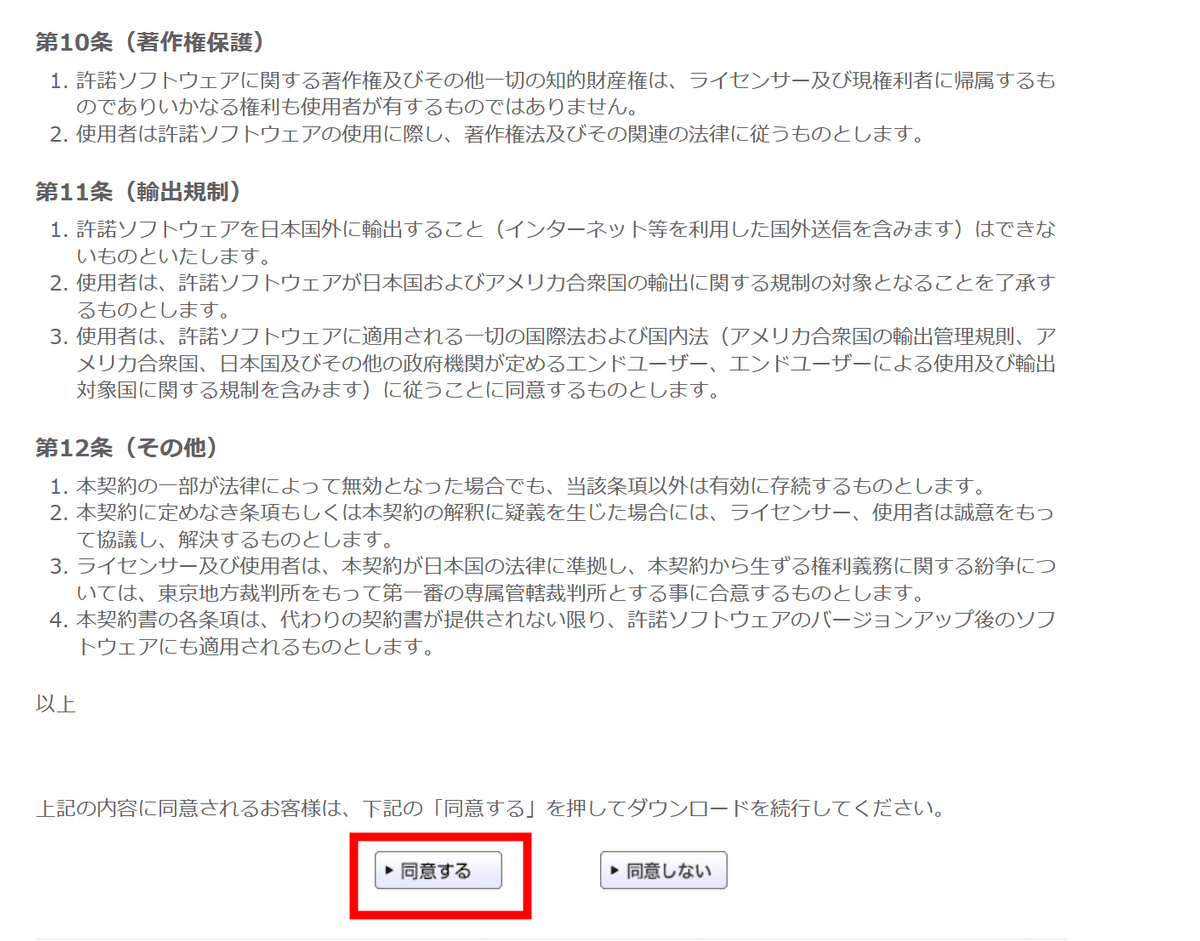
Also, if you use the dedicated software 'KENWOOD ROUTE WATCHER II', you can display the driving record referring to the saved GPS data. To download this software, first access the
Select and click the appropriate version from the 'Download' item at the bottom of the page.
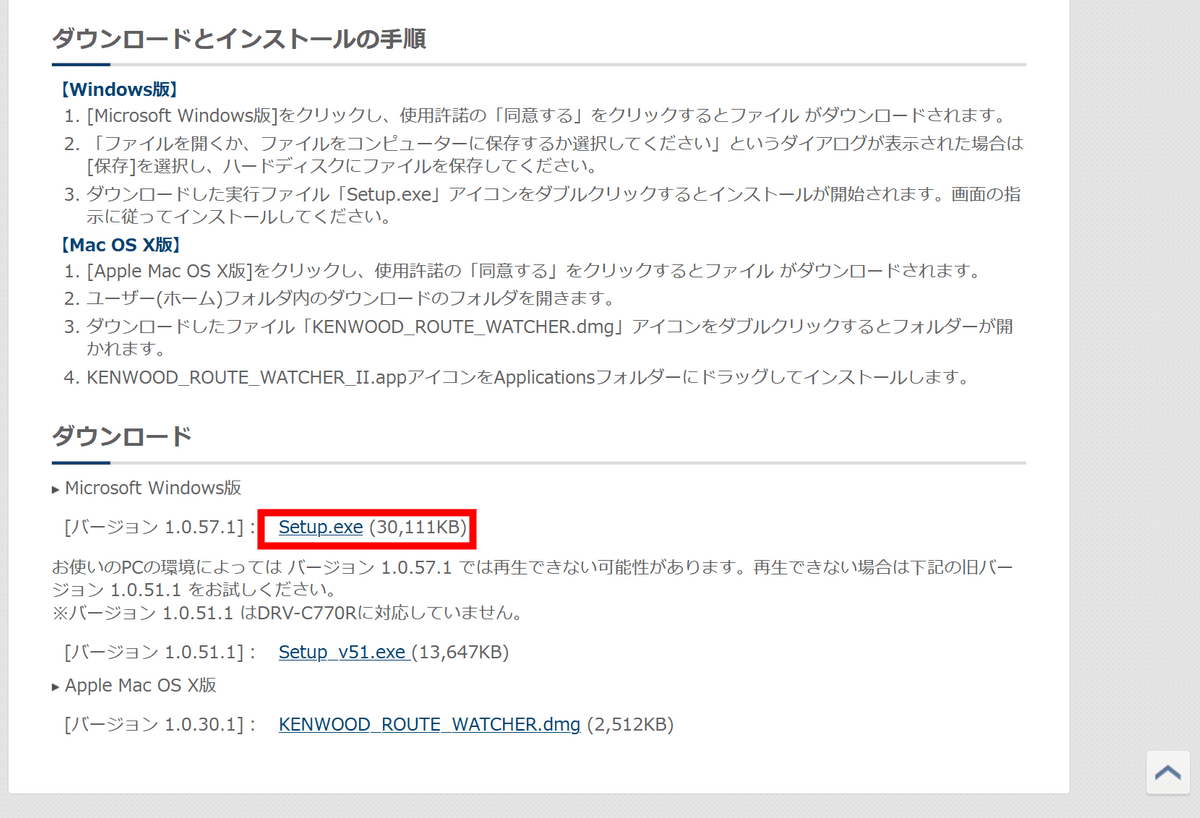
Read the software license agreement and click 'I agree' to start downloading the software.
Next, start the downloaded 'Setup.exe'.
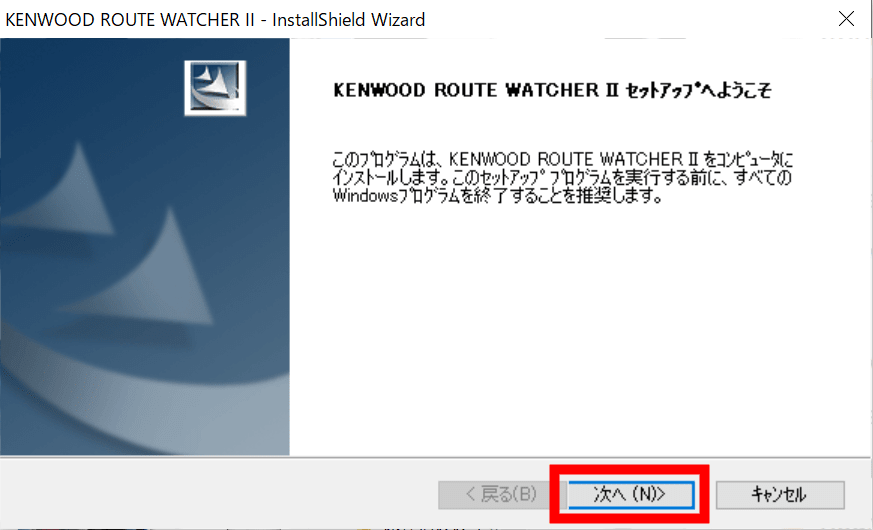
The setup wizard will pop up, so click 'Next'.
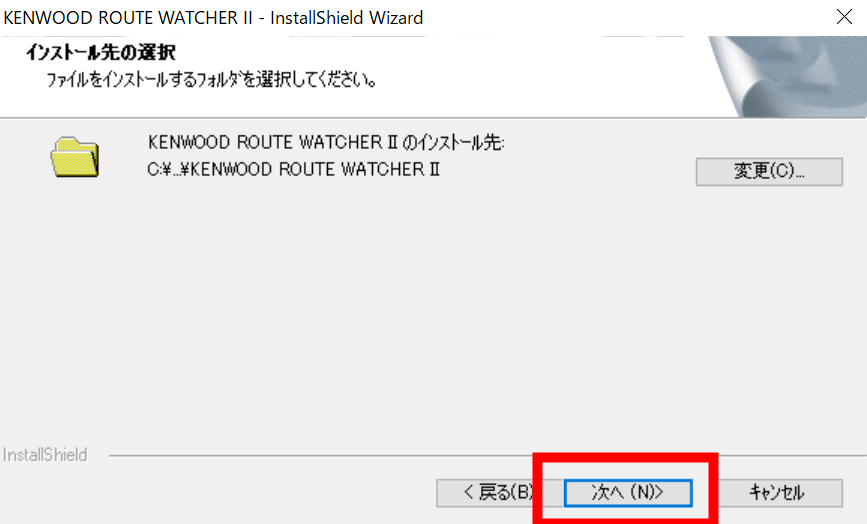
Check the installation destination and click 'Next'.
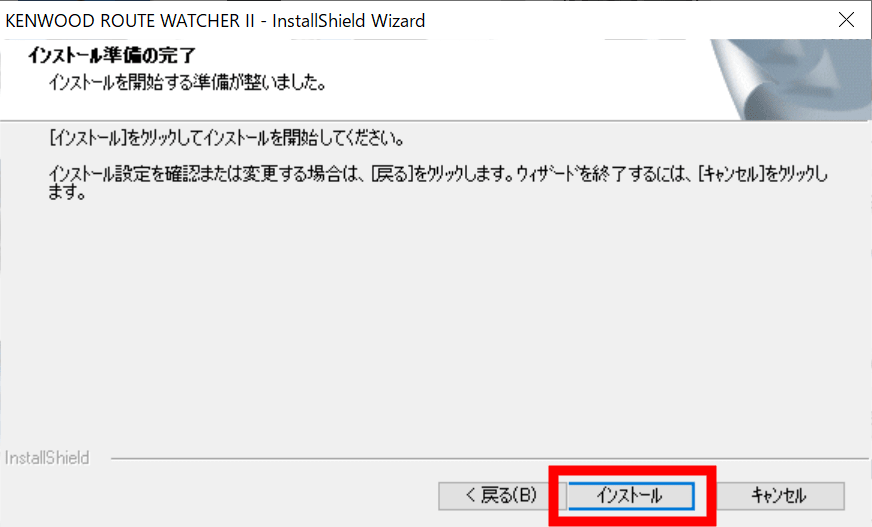
Click Install to start the installation.
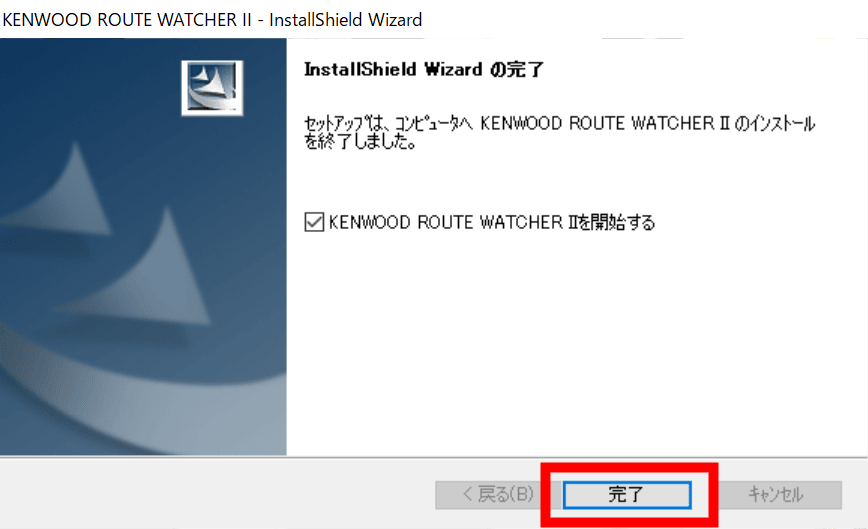
When the installation is completed, click 'Finish' to start the software.
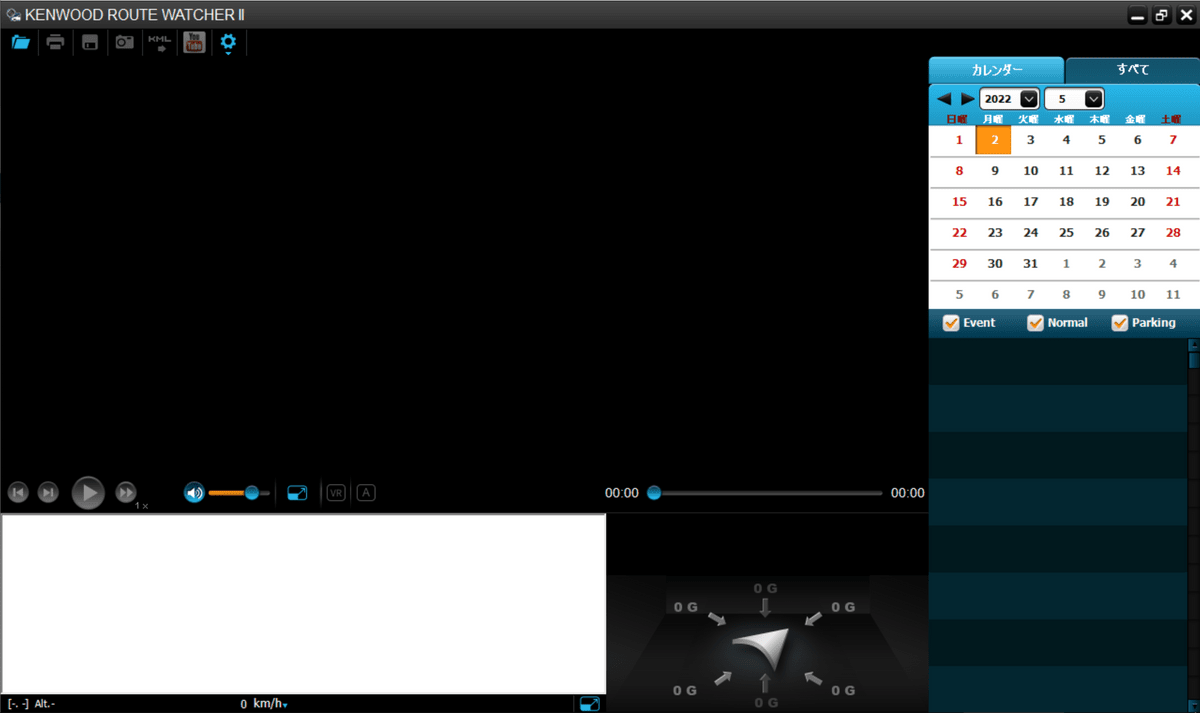
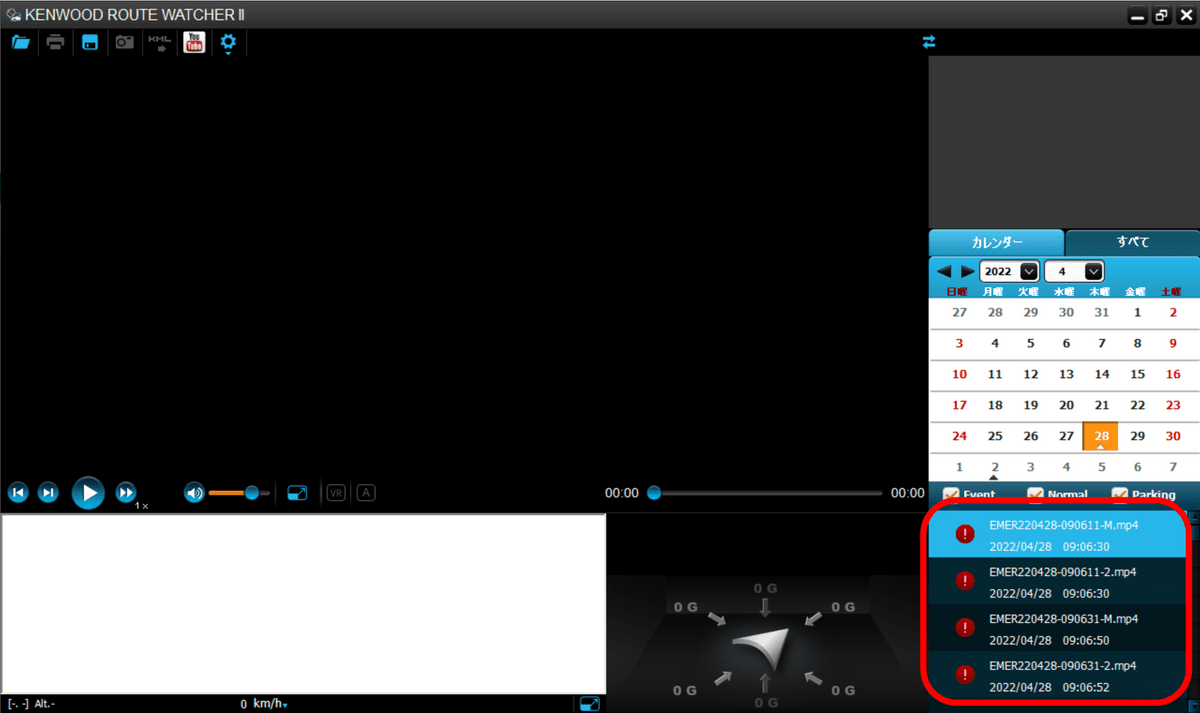
The startup screen of KENWOOD ROUTE WATCHER II looks like this. First of all, it is necessary to read the file recorded by DRV-C770R.
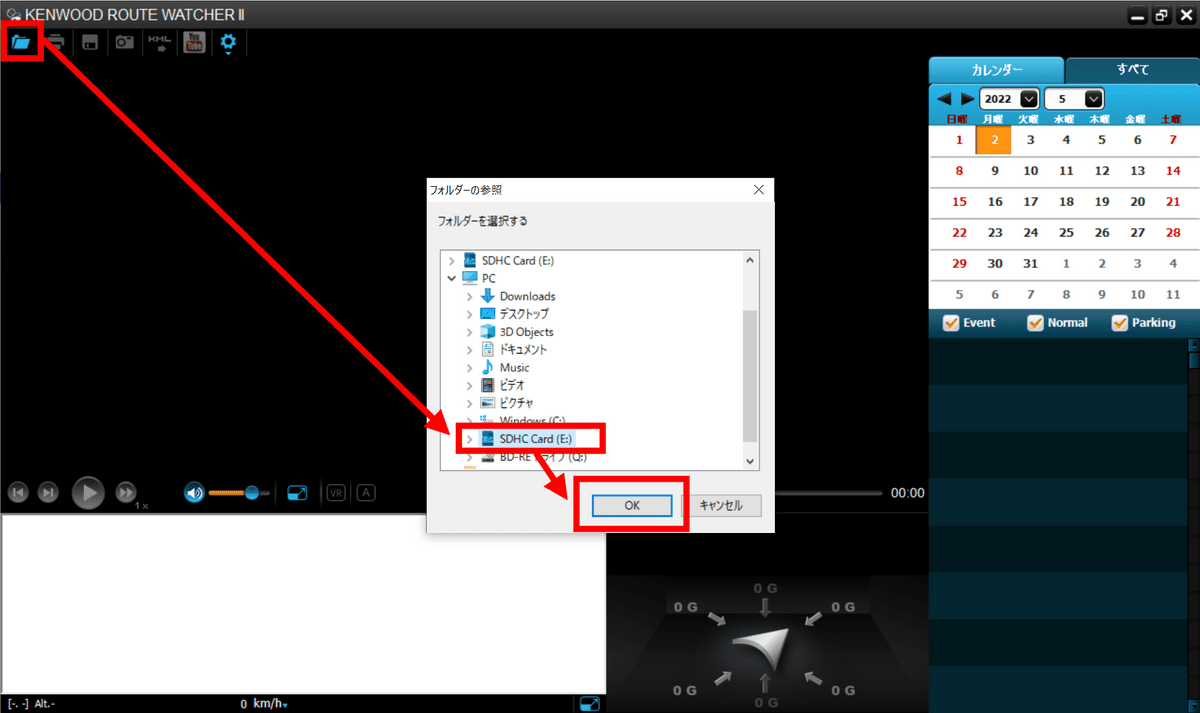
Click the file icon on the upper left, click the target media and click 'OK' to load.
When you load a file, the file name is displayed at the bottom right of the screen. Double-click on one of these...
It will play as follows. The screen displays the date and time of recording, coordinates, driving record, G value applied to the car body, etc.
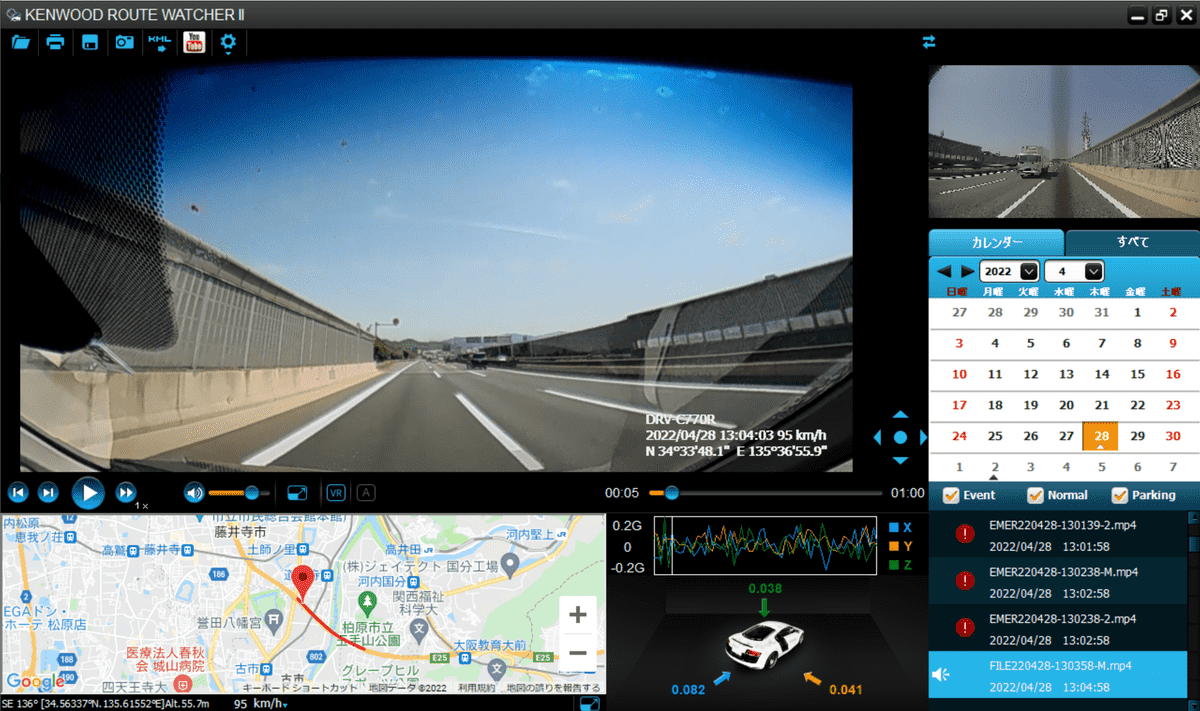
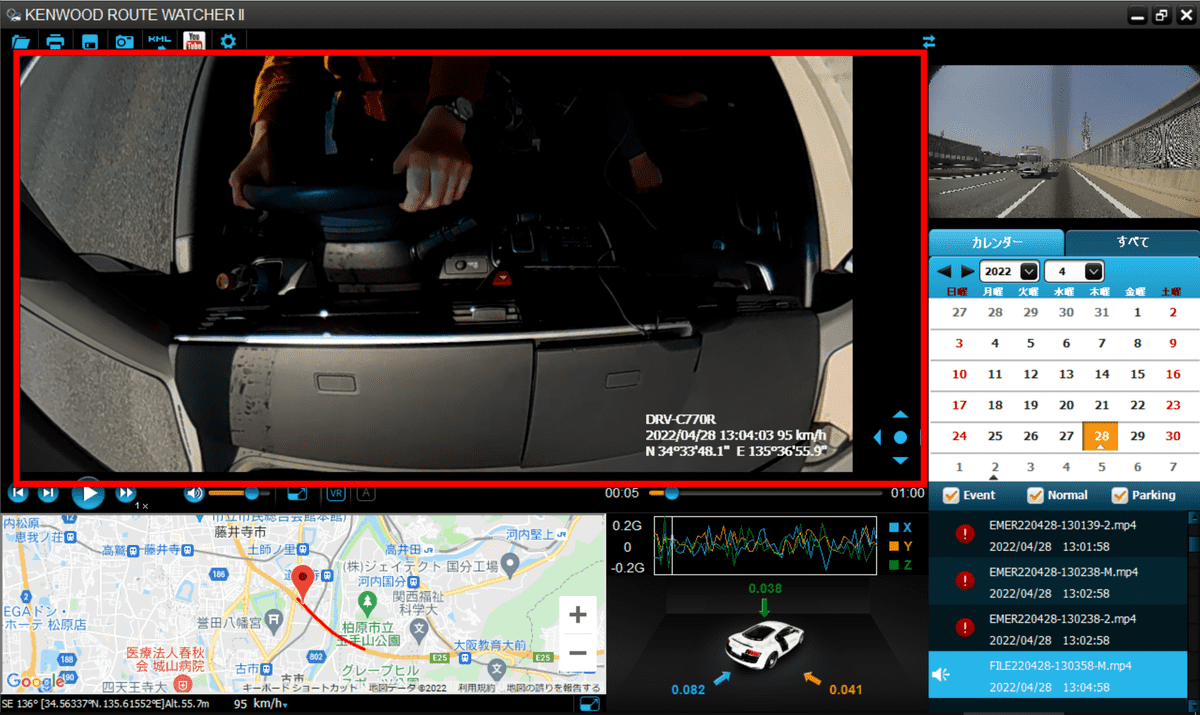
The image of the front camera displayed large in the center can be moved by clicking and dragging the image. You can see all the images captured by the 360-degree camera.
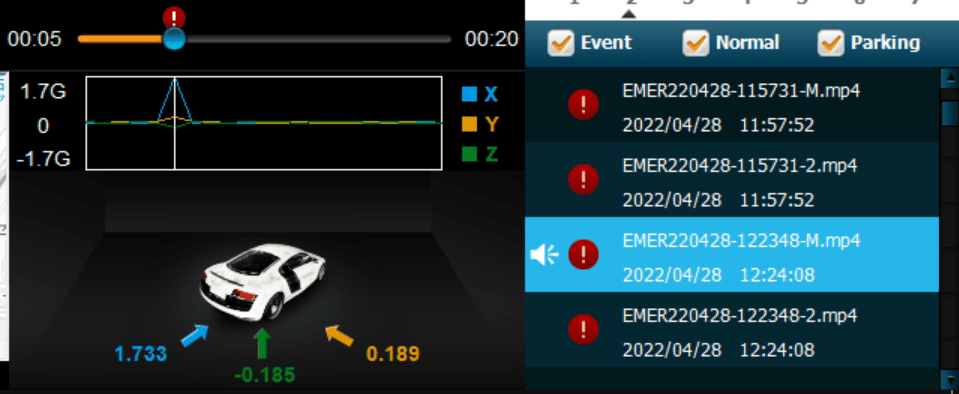
Files with a red exclamation mark are 'event records'. Especially when recording events that detect vibration, you can check 'at what time', 'from which direction', and 'how much force was applied' by looking at the transition of the G value displayed on the screen. .
In preparation for an accident that can occur at any time with constant recording, event recording provides peace of mind in the event of an emergency. The 360-degree and 163-degree cameras can cover almost the entire surroundings of the car, so it seems safe even in the unlikely event of a rear-end collision from another direction. In particular, the rear wide-angle camera has a wider shooting range than I imagined, and should be able to properly record even an accident approaching diagonally from behind.
There are two problems in the case of a traffic accident: ``the situation is not recorded properly'' and ``the image is unclear even though it is recorded''. The DRV-C770R does both without any blind spots, and in the event of an accident, it was a drive recorder equipped with the necessary and sufficient functions that allow you to check the records at the time of the accident with the dedicated software.
'DRV-C770R' is sold on
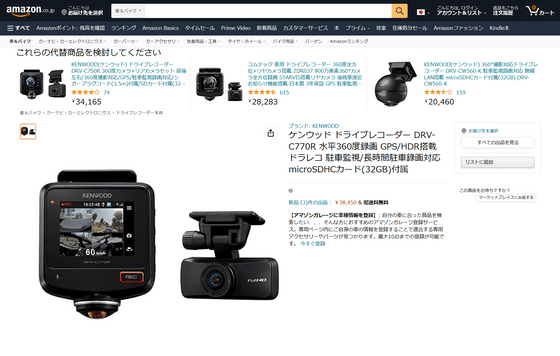
Amazon | Kenwood Drive Recorder DRV-C770R Horizontal 360-degree recording GPS/HDR-equipped drive recorder Supports parking monitoring/long-term parking recording microSDHC card (32GB) included | Drive recorder body |
Related Posts: