I tried using the post office official web application 'Handmade style stamp making tool' that you can make your own original 'hanko' that can also be used for LINE stamps for free

Japan Post Co., Ltd. has released a web application 'Handmade style stamp creation tool' for smartphones that allows you to create your own stamp design. Not only can you make a stamp design from letters and photos, but you can also make a LINE stamp of the created stamp design, so I actually tried using it.
Handmade style stamp making tool | Postal New Year's card.jp
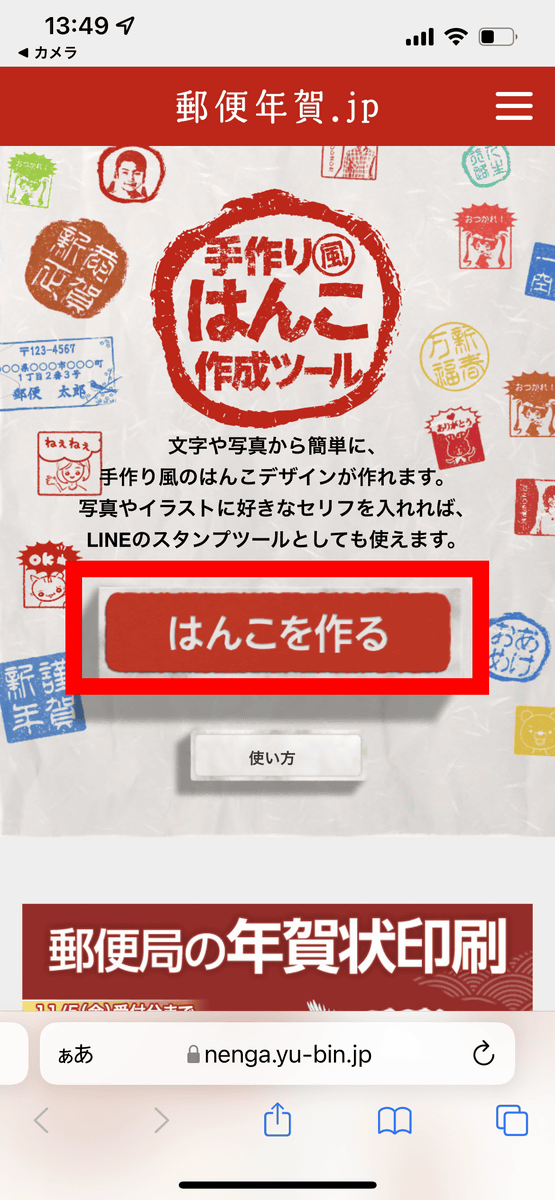
The handmade style stamp creation tool is a web application that can only be used on smartphones. When you access the official page on your smartphone, the screen below will appear, so tap 'Make a stamp'.
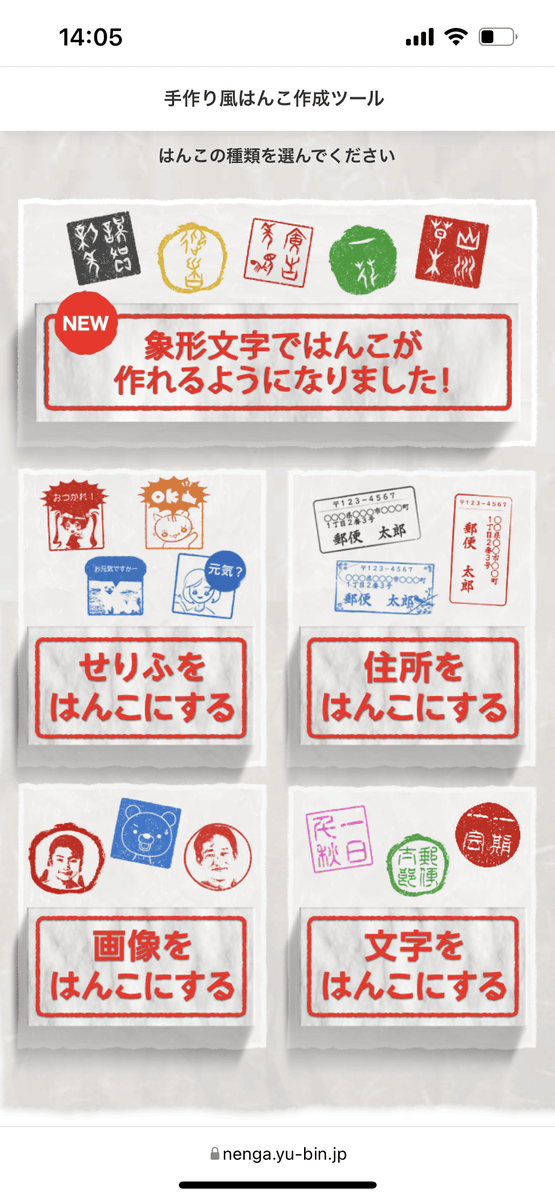
There are five types of stamps that can be made: 'hieroglyphs', 'lines', 'addresses', 'images', and 'characters'. So let's try each one.
◆ Dialogue
◆ Address
◆ Image
◆ Character
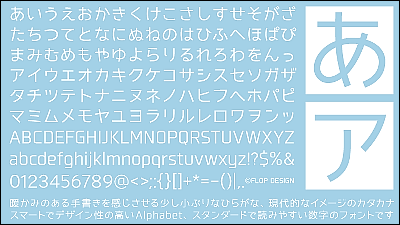
◆ Hieroglyphs
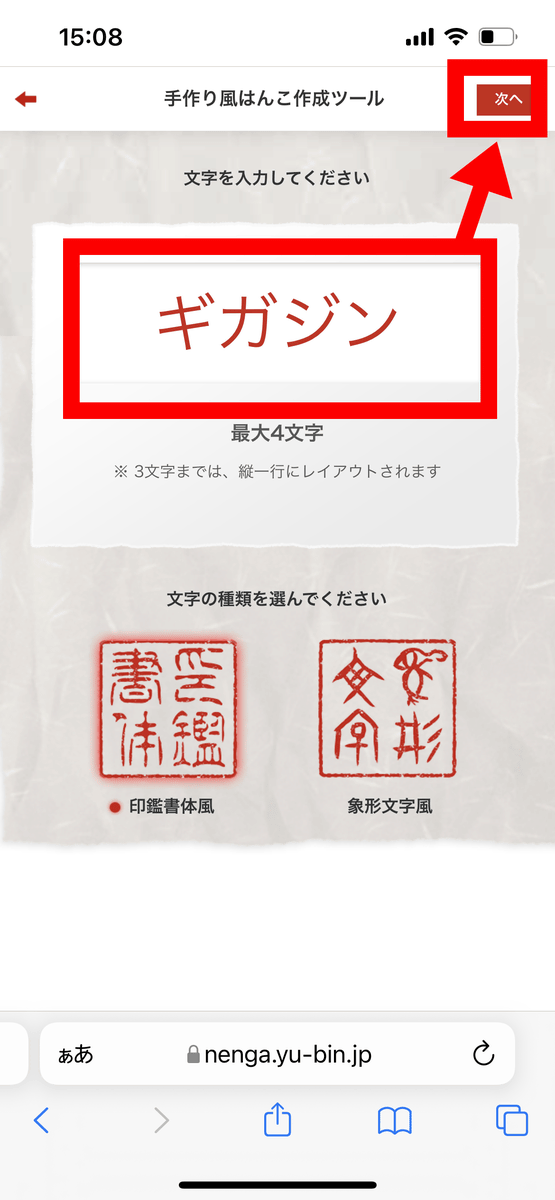
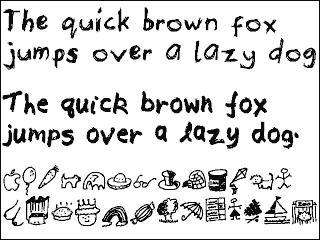
'You can now make hieroglyphs!', So let's start with the new 'hieroglyphs'.
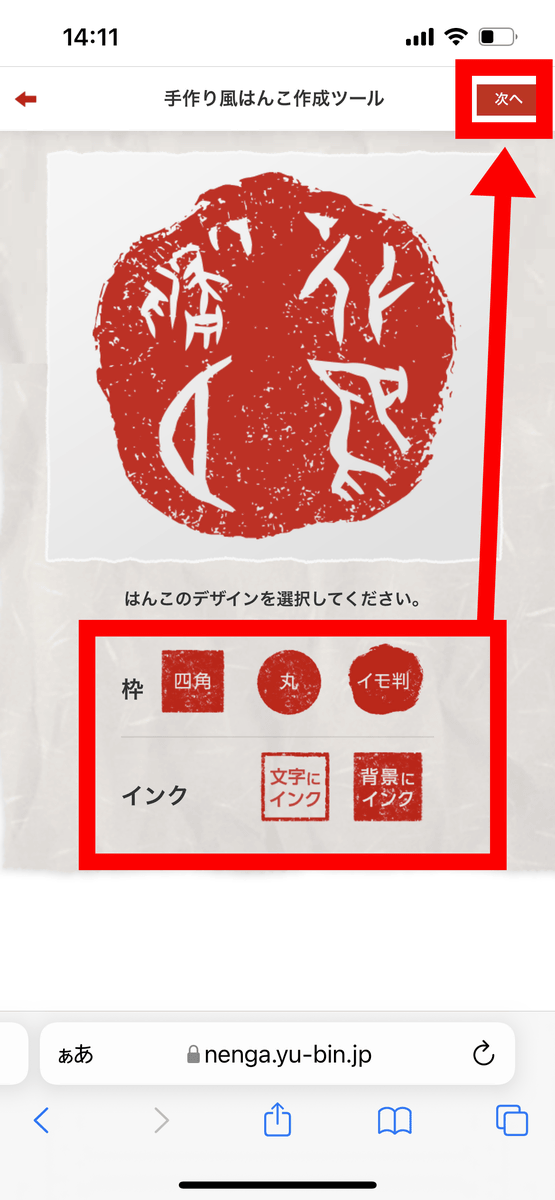
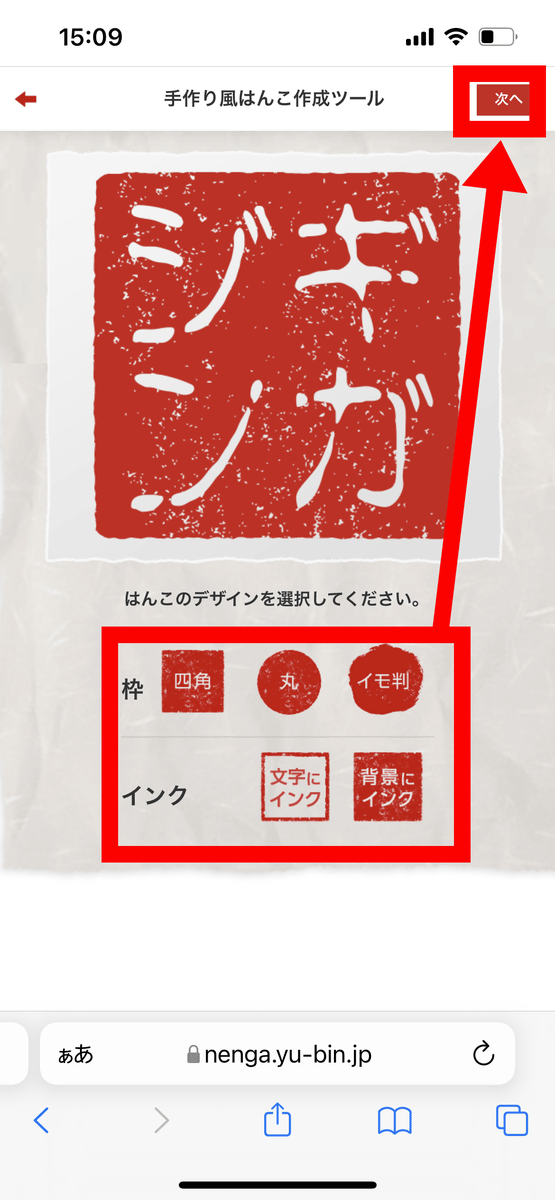
Select the frame from 'Square', 'Circle', 'Imo size', and the ink from 'Ink for text' and 'Ink for background' and click 'Next'.
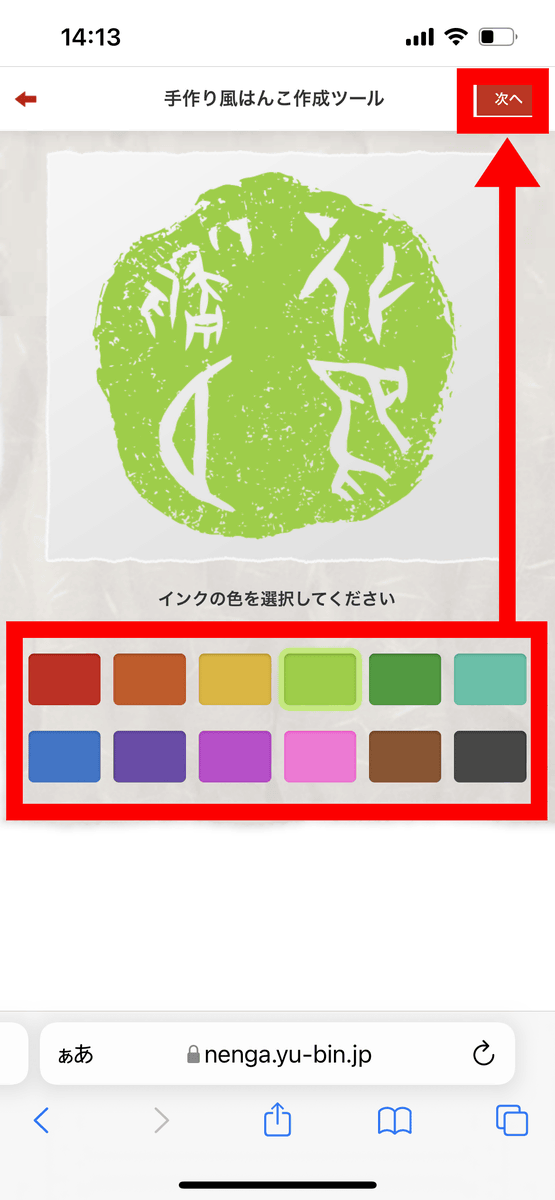
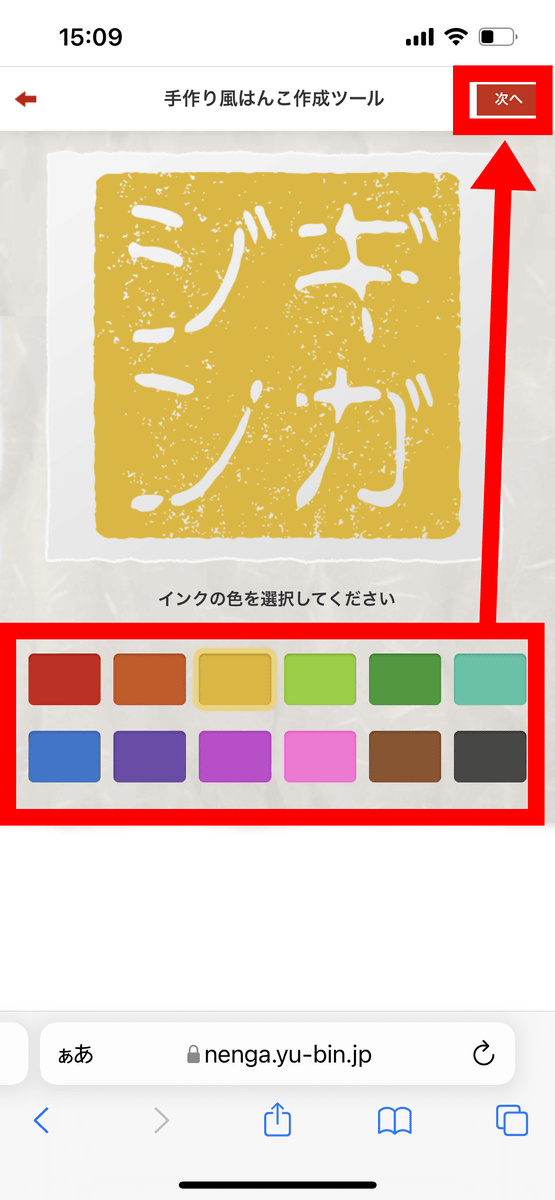
Decide the color of the ink and 'Next'
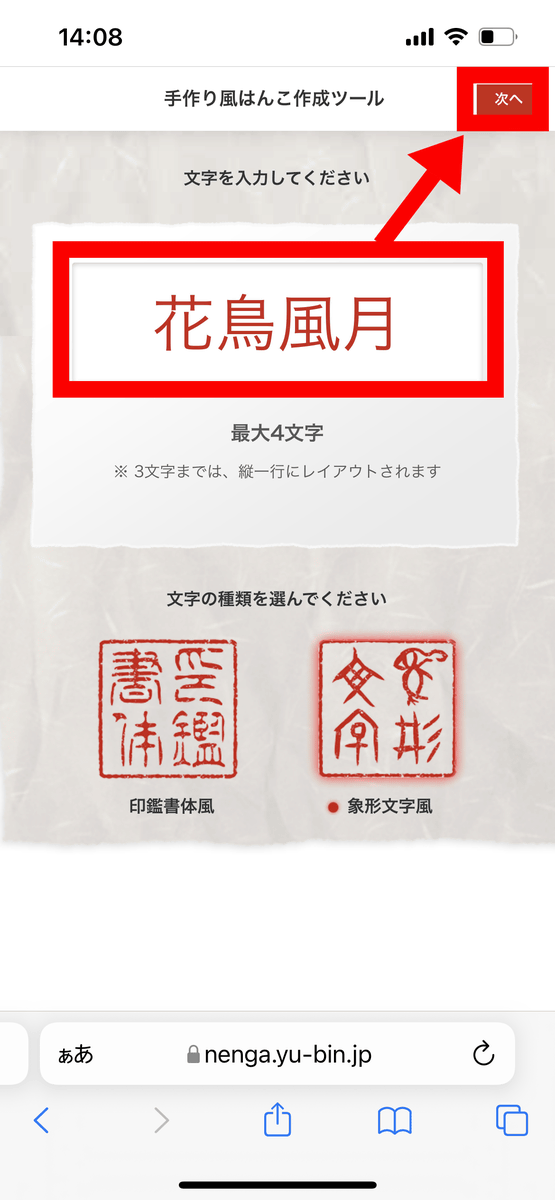
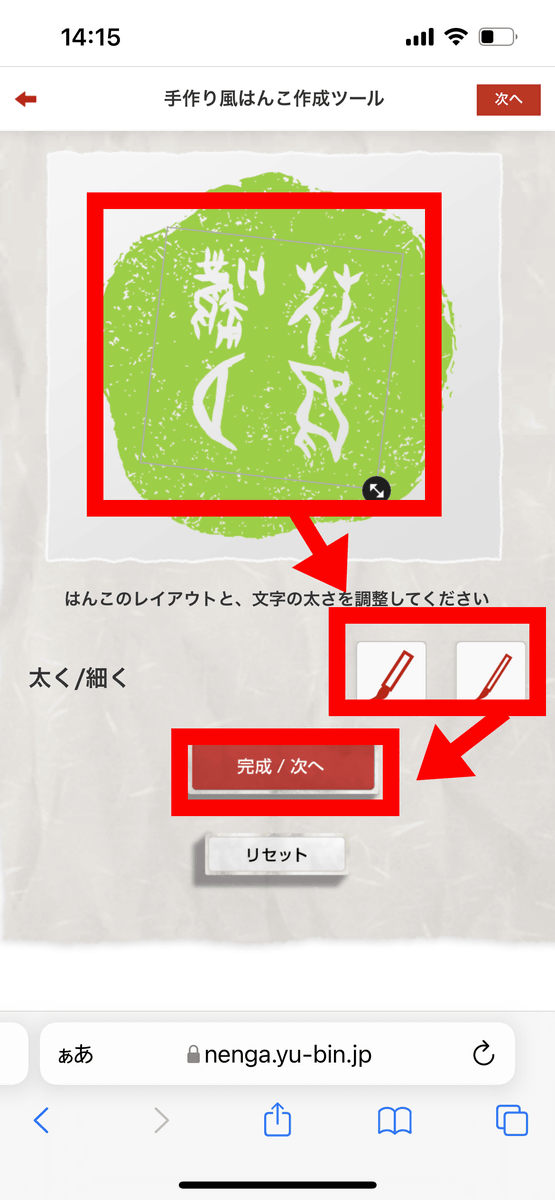
Enlarge / reduce / rotate the text, select the thickness of the text, and tap 'Complete / Next'.
This completes the stamp. Below the completed stamp, you will see the options 'Post your work on Twitter', 'Download an image without a background as a postcard material', and 'Download for LINE'.

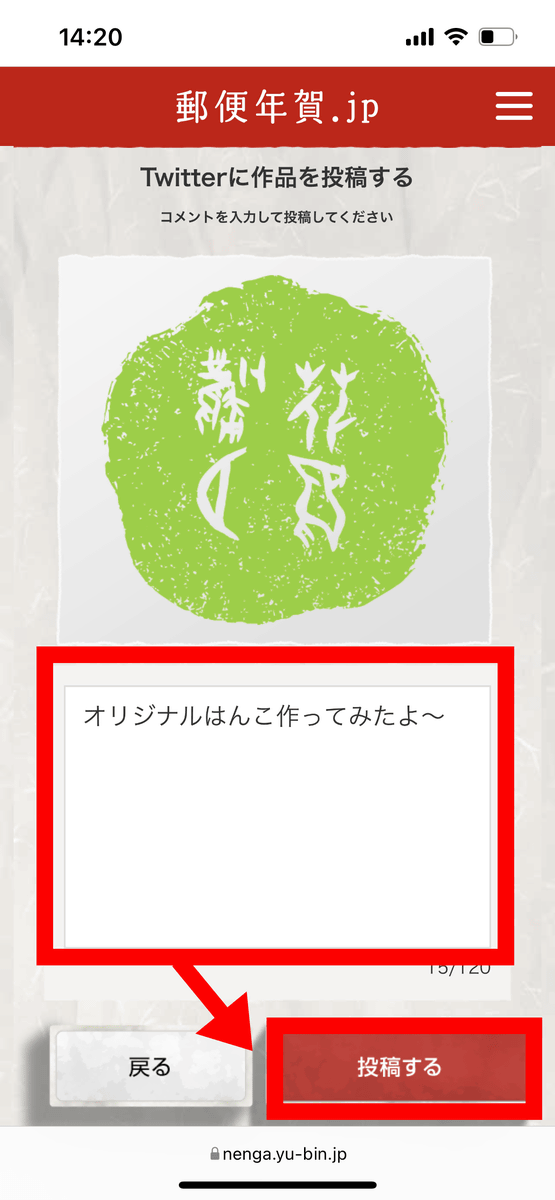
'Posting a work on Twitter' is like this, and if you enter a comment in the blank and tap 'Post', the comment and the created stamp design will be tweeted.
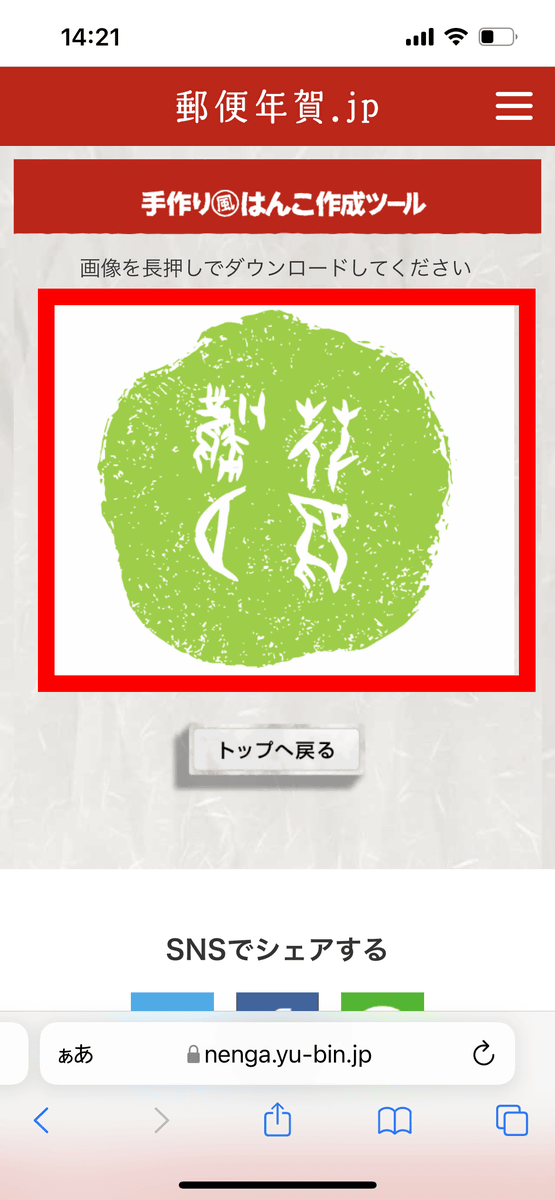
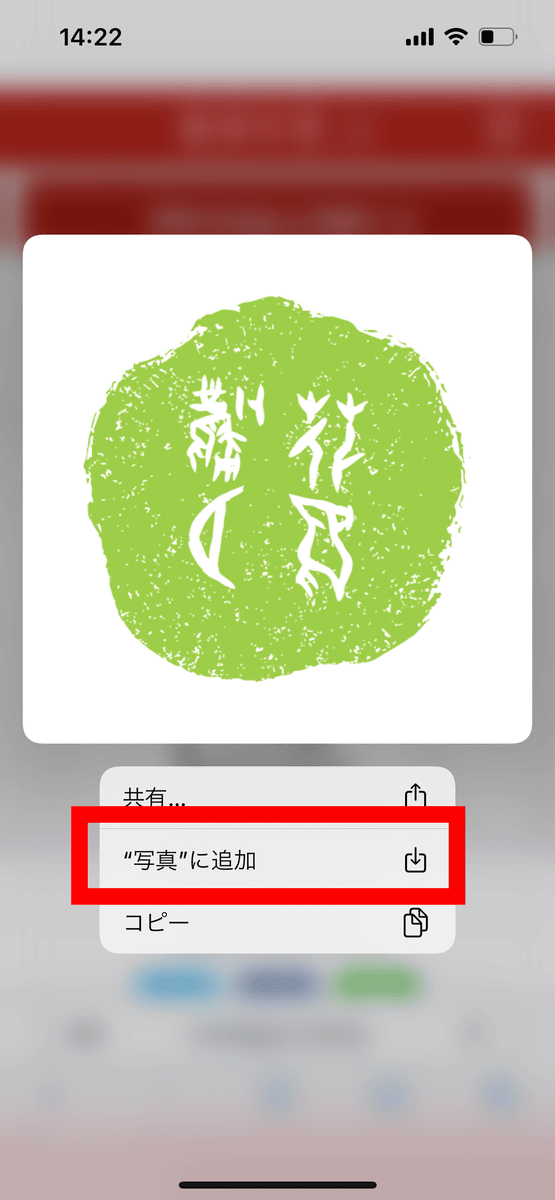
In 'Download image without background as postcard material', if you press and hold the image part ...
Since the options for downloading are displayed, execute the download with 'Add to photo'.
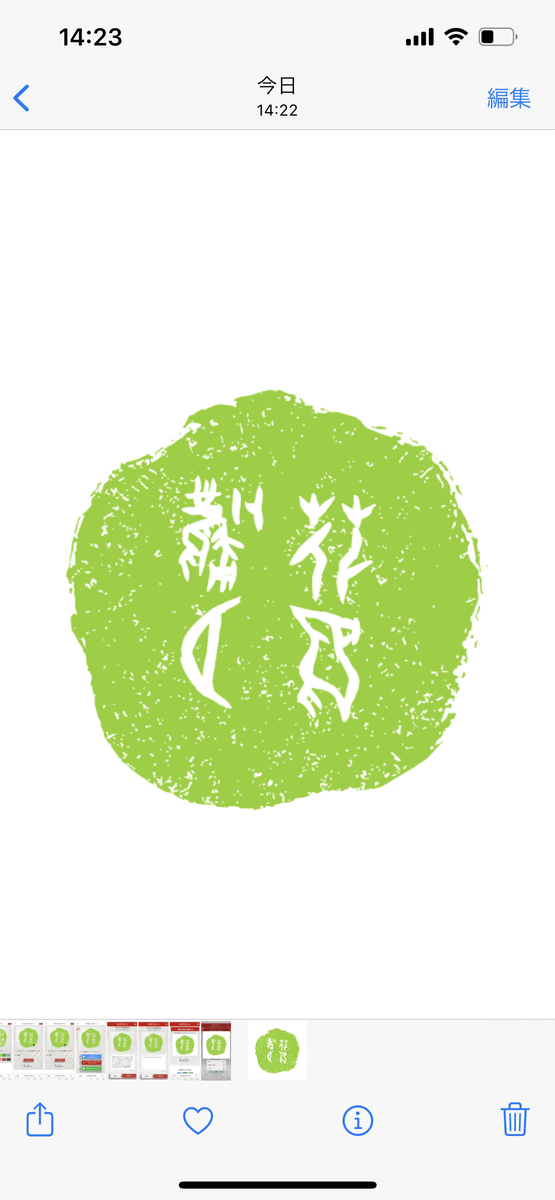
The downloaded image is saved with a transparent background.
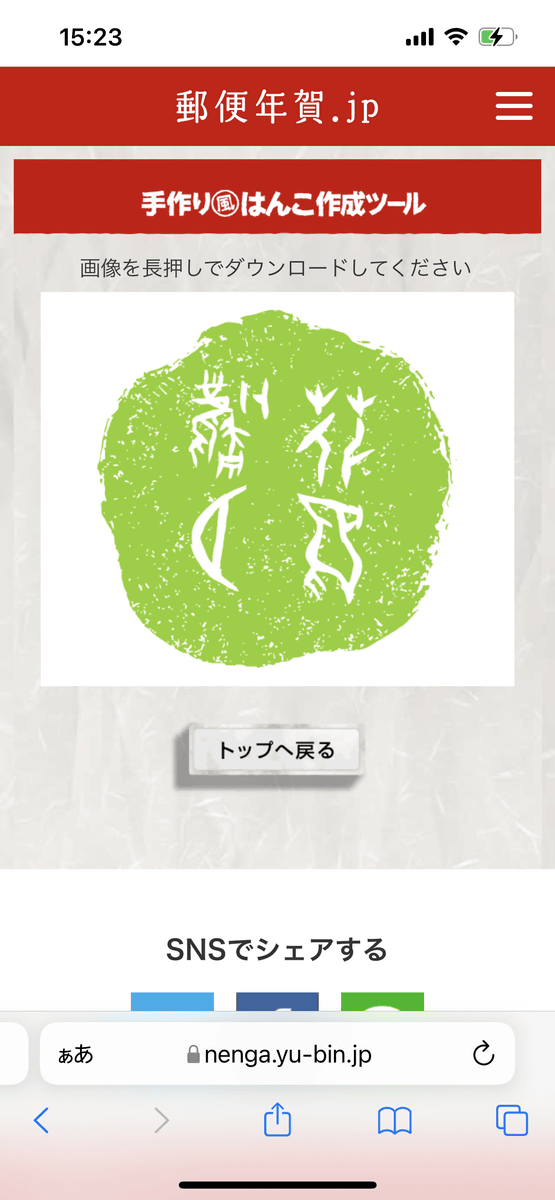
In 'Download for LINE', the UI etc. are completely common as 'Please download the image by long-pressing', but in the case of LINE, the background of the created stamp is saved in white instead of transparent. increase.
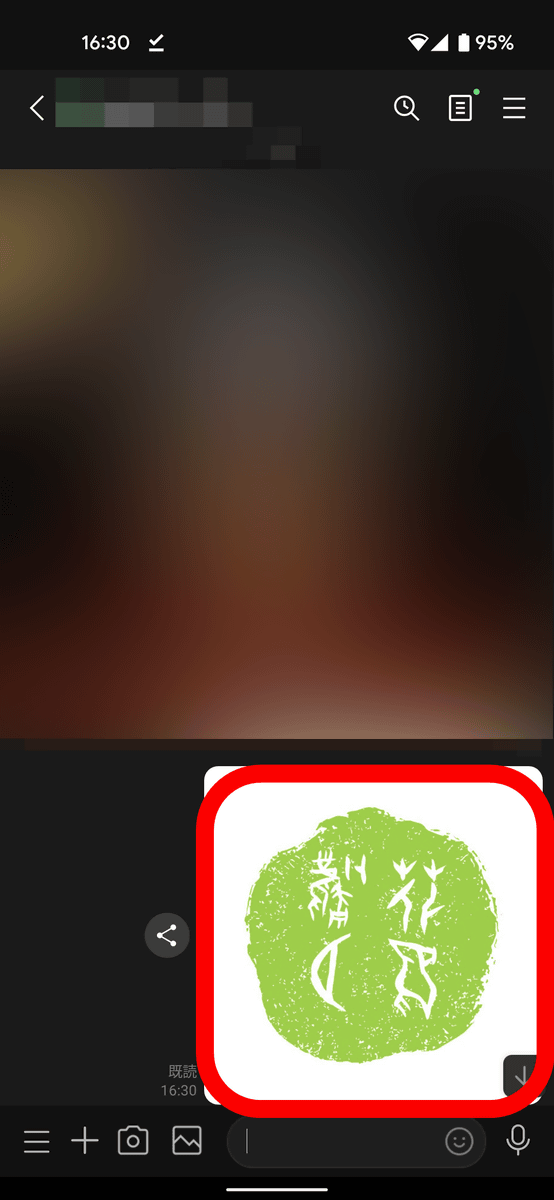
When I actually use it on LINE, it looks like this.
'Post a work on Twitter', 'Download an image without a background as a postcard material', and 'Download for LINE' can be used in common in the subsequent creation modes.
◆ Dialogue
In 'Make lines into stamps', you can put lines on the photos you have taken and then make them into stamps. Tap the 'Tap to select an image' part.
Then, in the case of iOS, the following options will be displayed. If you want to use the photos you have already taken, select 'Photo Library'.
Select one image ...
Tap 'Select'.
Then, the image will be uploaded and stamped automatically, so click 'Next'.
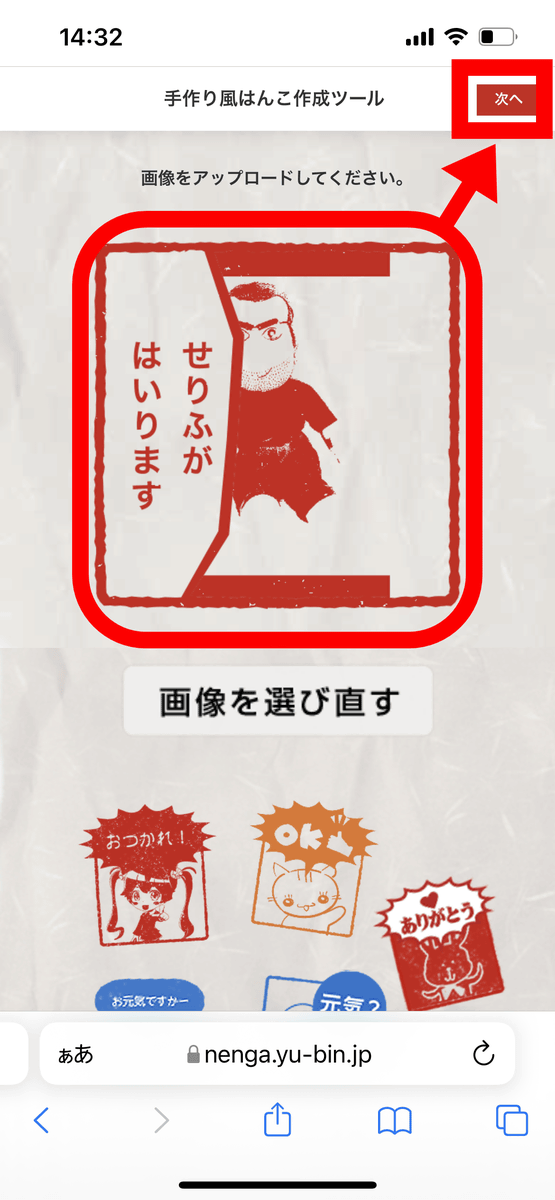
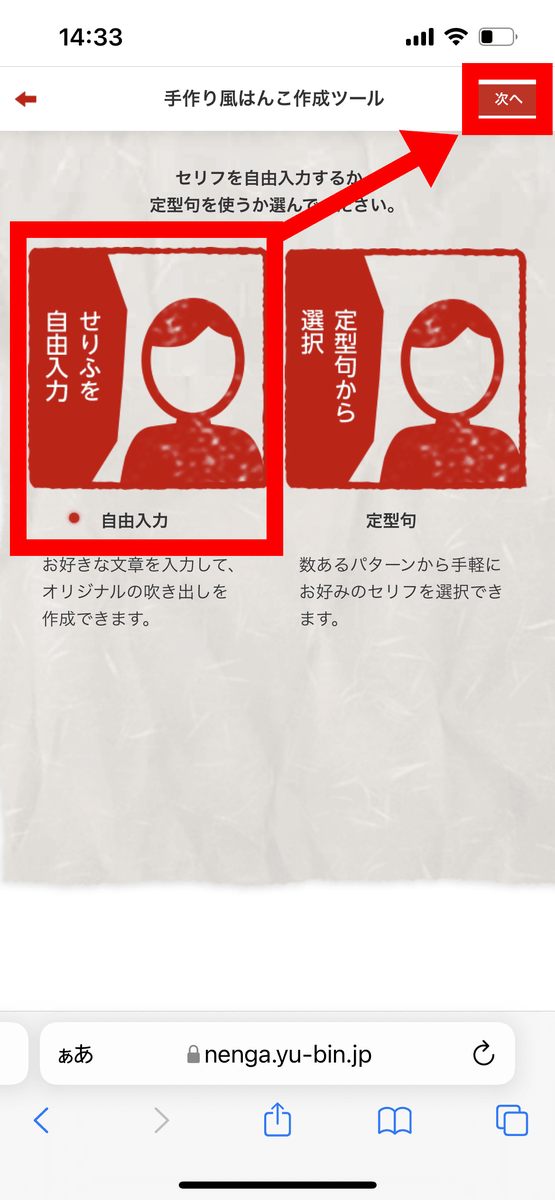
You can select the input method of the dialogue from 'free input' and 'select from fixed phrases'. This time, select 'Free input' and click 'Next'.
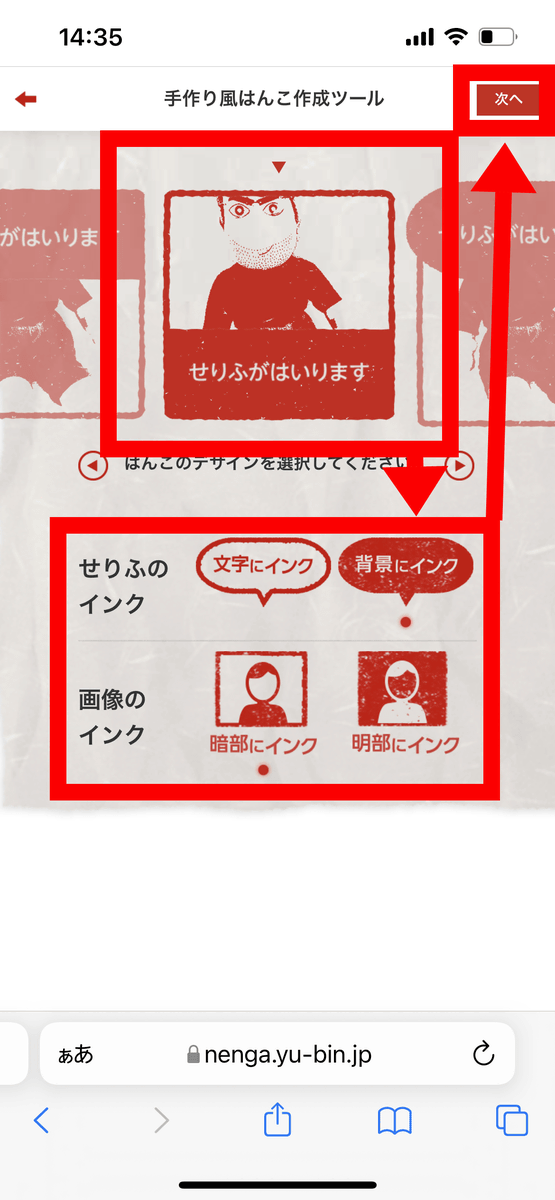
Select the position to insert the lines and the shape of the balloon, select the ink styles for the lines and the image, and click 'Next'.
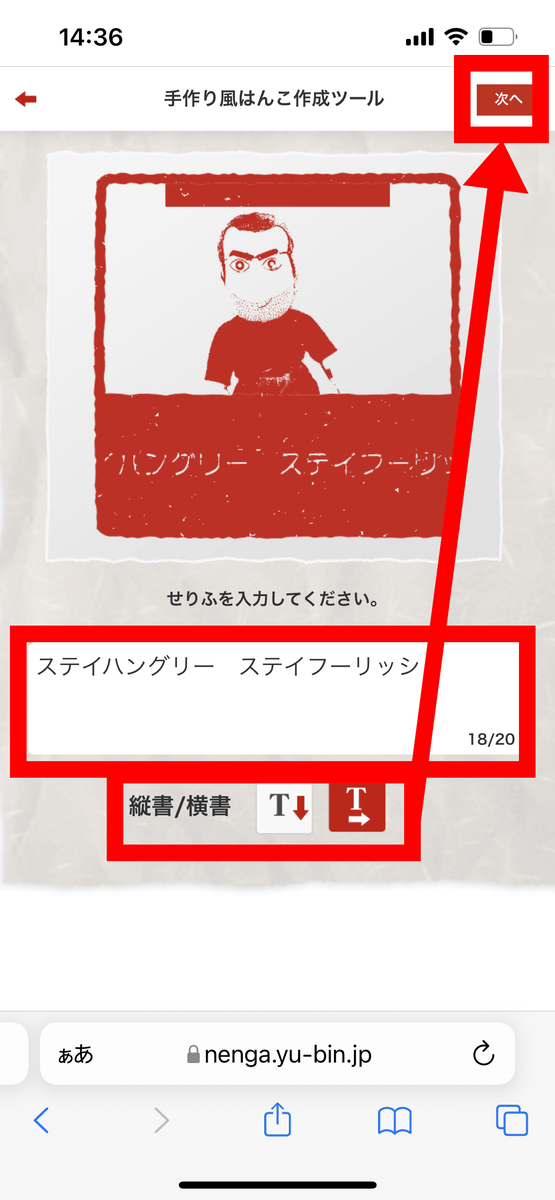
Enter a maximum of 2 lines and 20 characters in the blank, select vertical writing / horizontal writing, and then click 'Next'.
Select the color of the stamp and click 'Next'
Adjust the position, size, angle, and amount of fill of the image to 'Next'
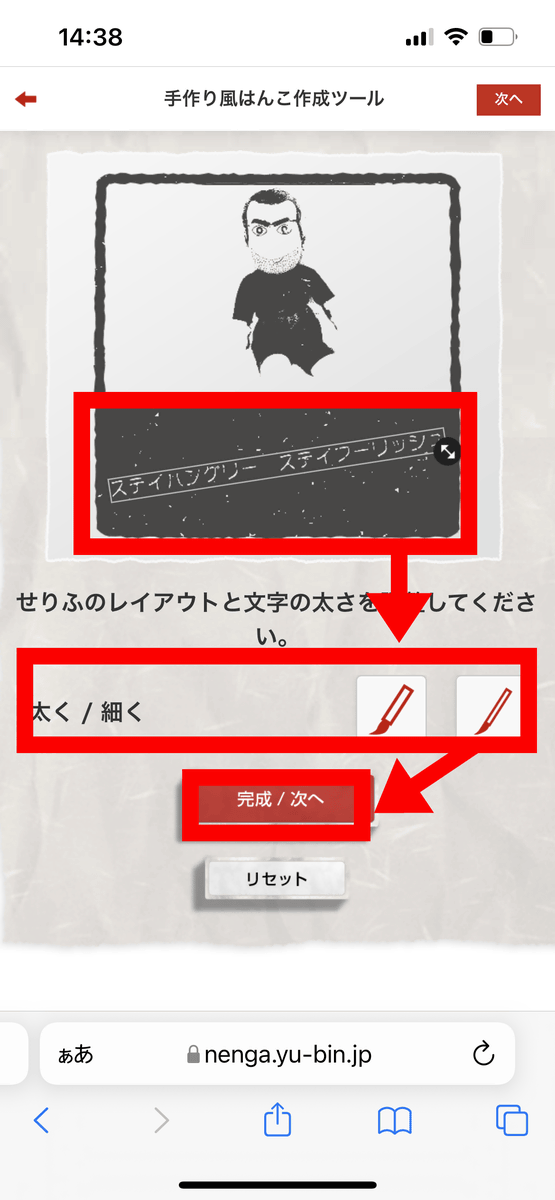
At the end, select the layout and thickness of the lines and you're done.
◆ Address
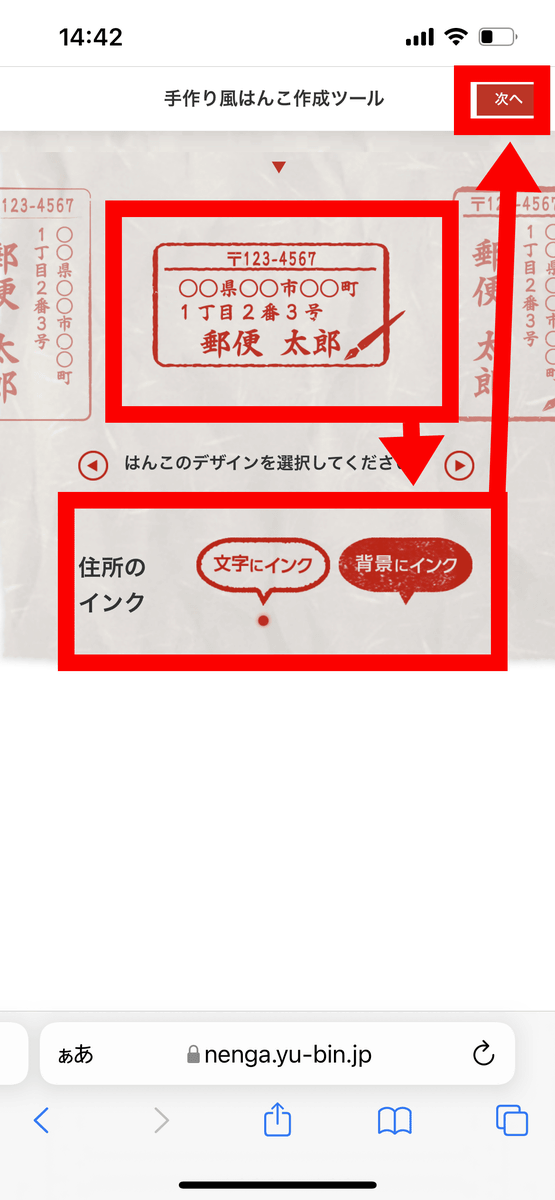
With 'Make an address a stamp', you can create a stamp with your own address. First, select the design of the stamp itself and the ink style, and then click 'Next'.
Select the ink color and click 'Next'
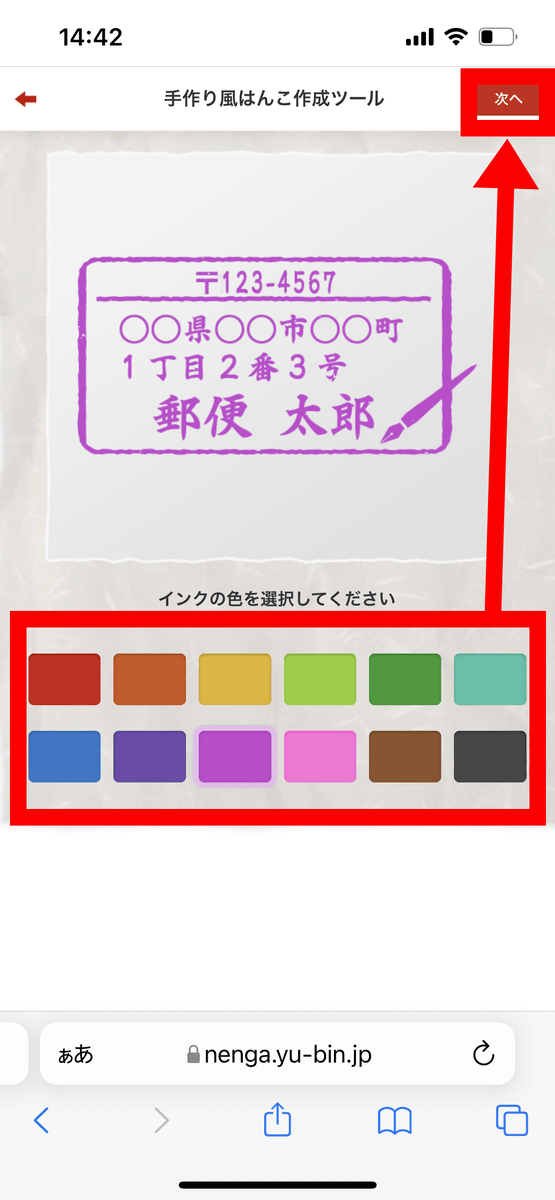
Enter your zip code, address, and name and click 'Next'

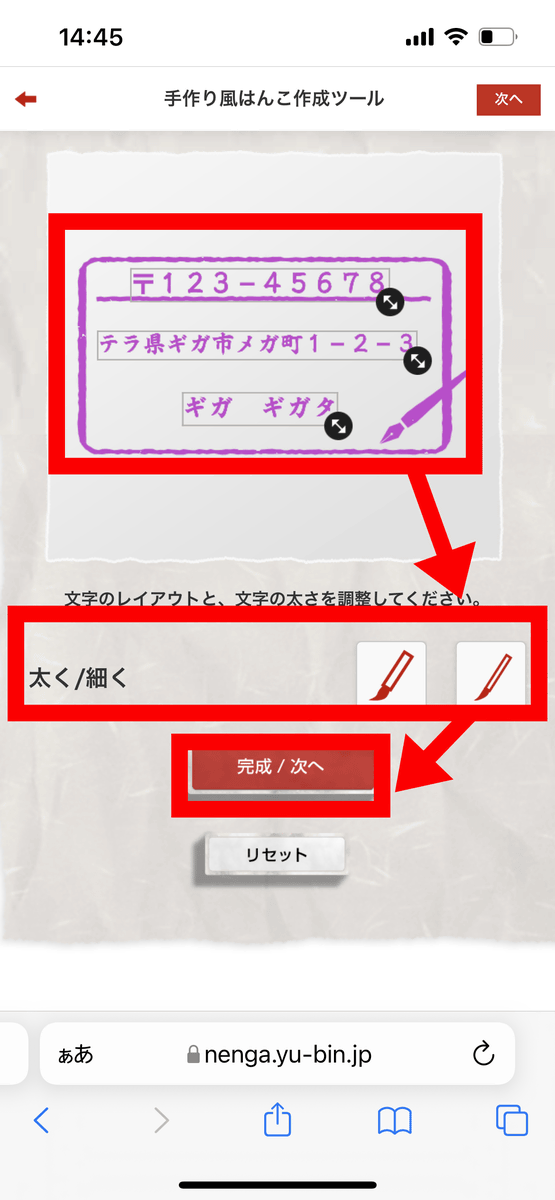
Adjust the layout of the entered characters and the thickness of the characters to complete.
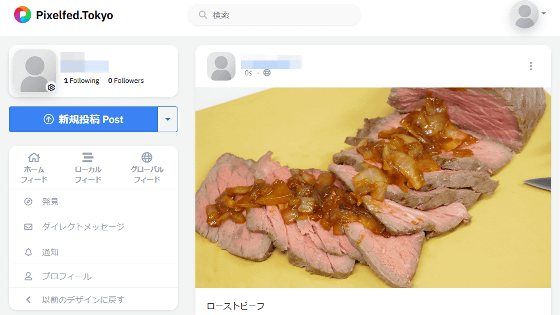
◆ Image
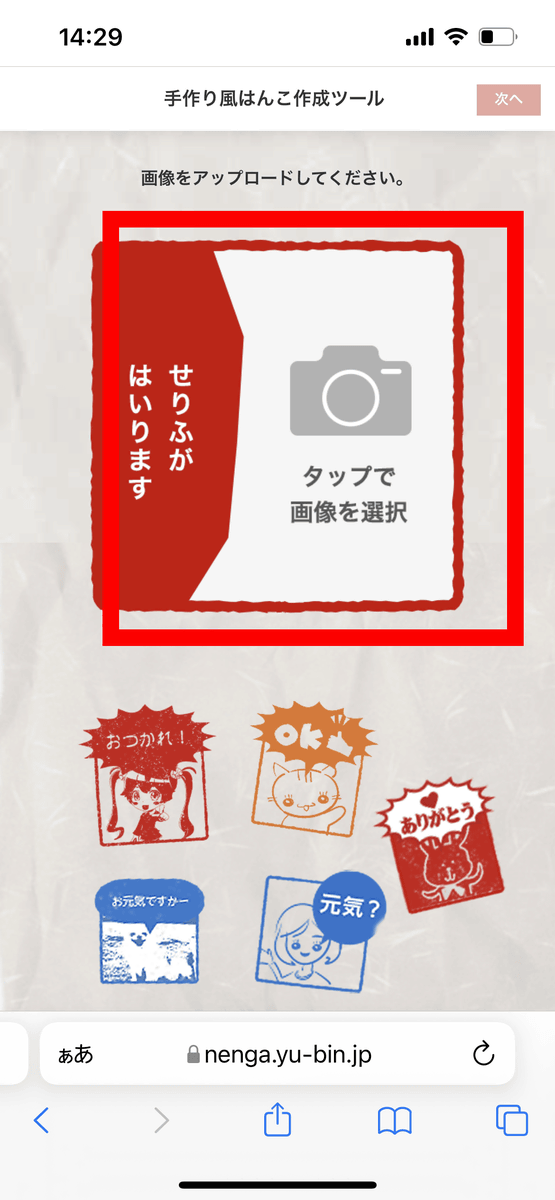
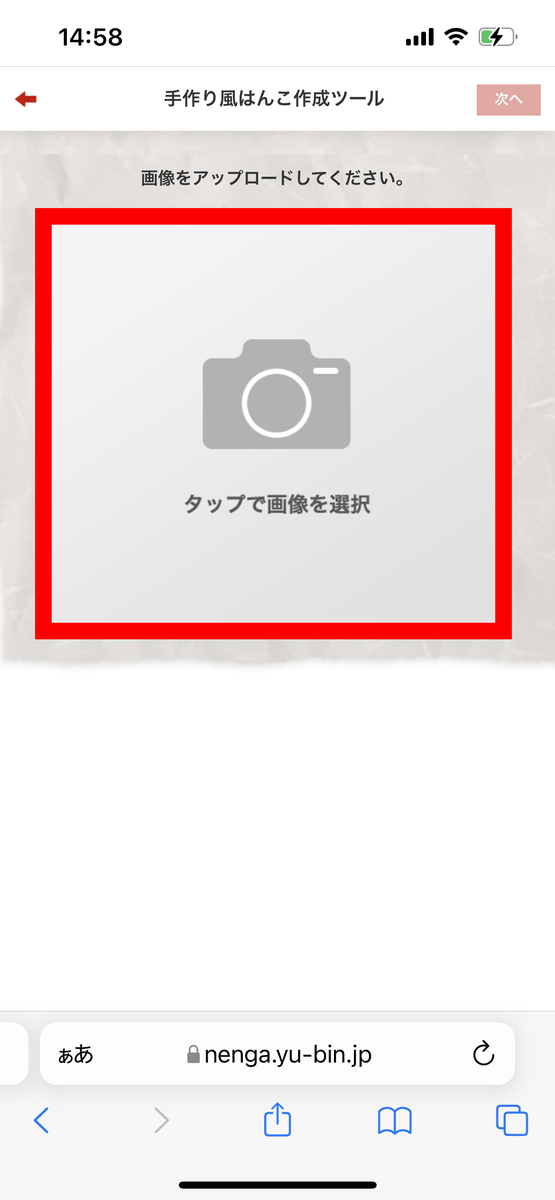
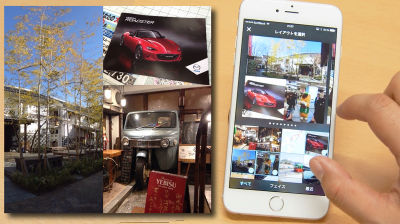
'Make an image stamp' allows you to stamp an uploaded image. First, tap the part marked 'Tap to select an image' on the screen below.
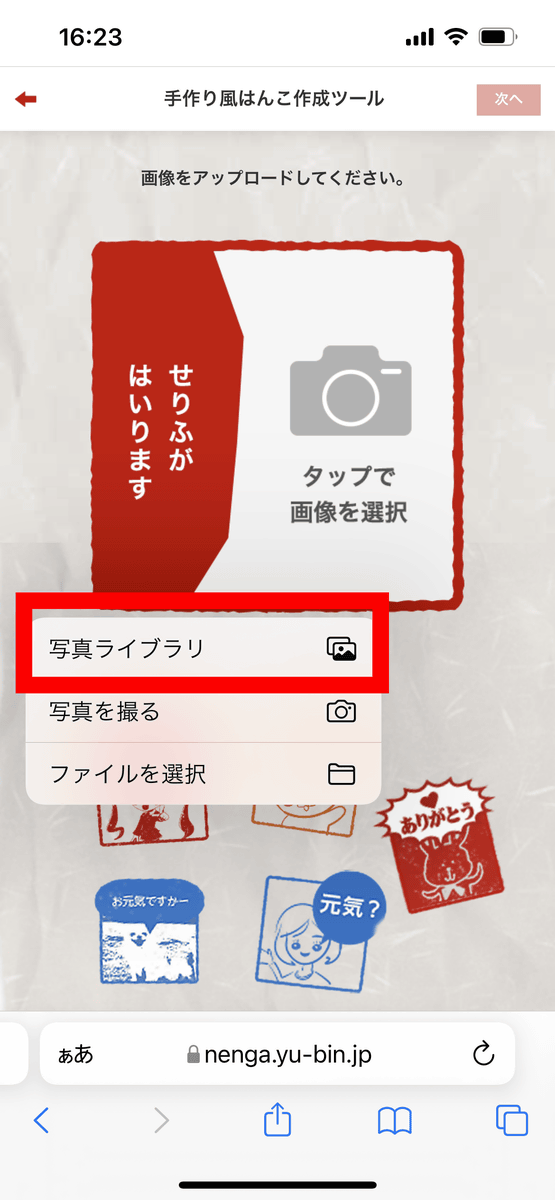
For iOS, the following options are displayed. This time, we will use the photos that have already been taken, so select 'Photo Library'.

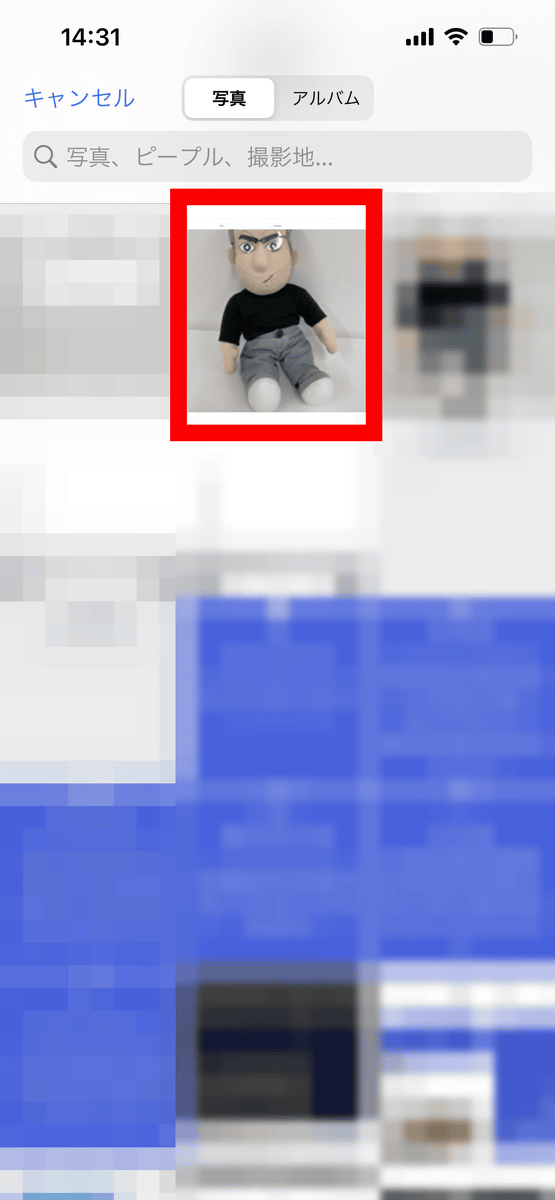
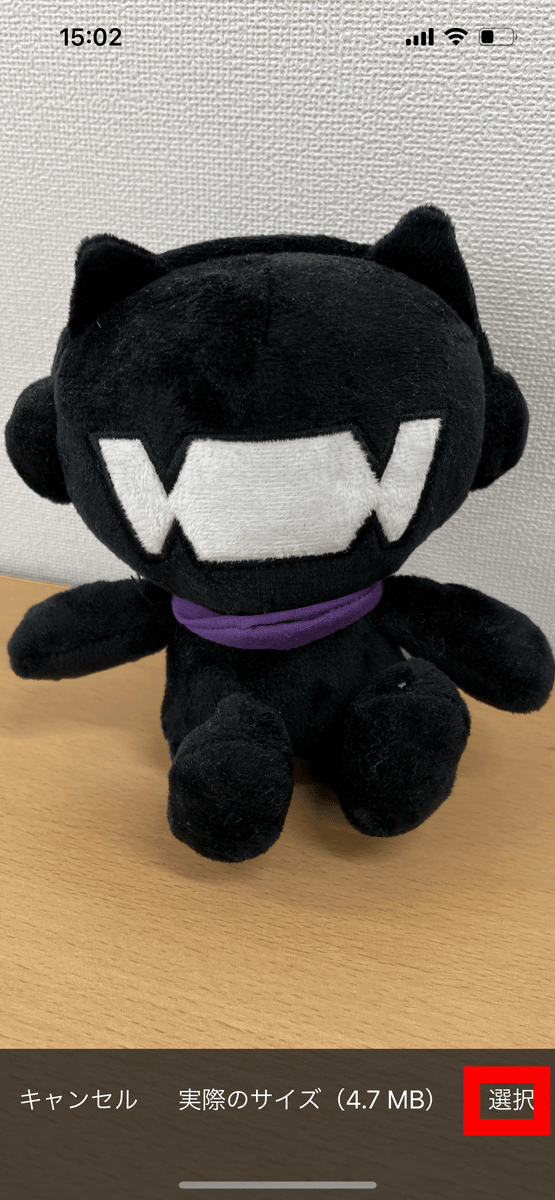
Select the photo you want to use ...
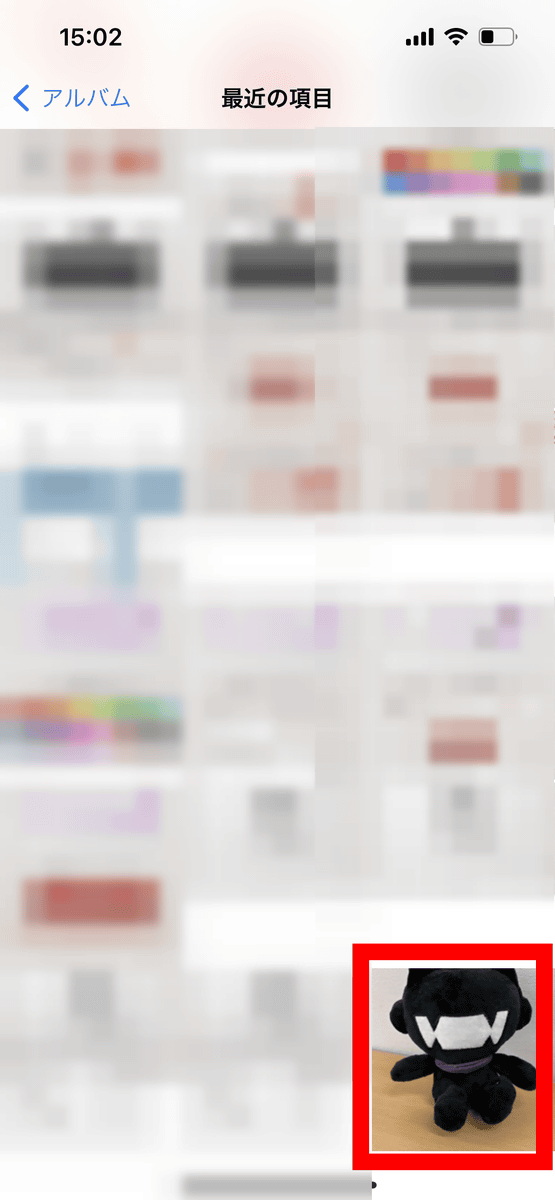
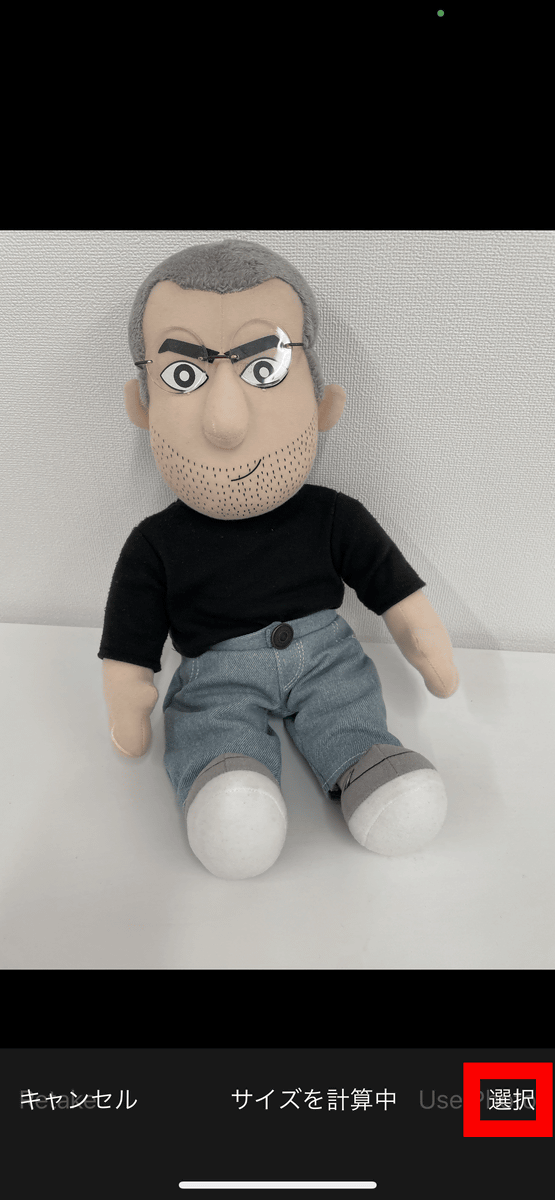
Tap 'Select'.
Uploading and stamping will be completed automatically, so select 'Next'.
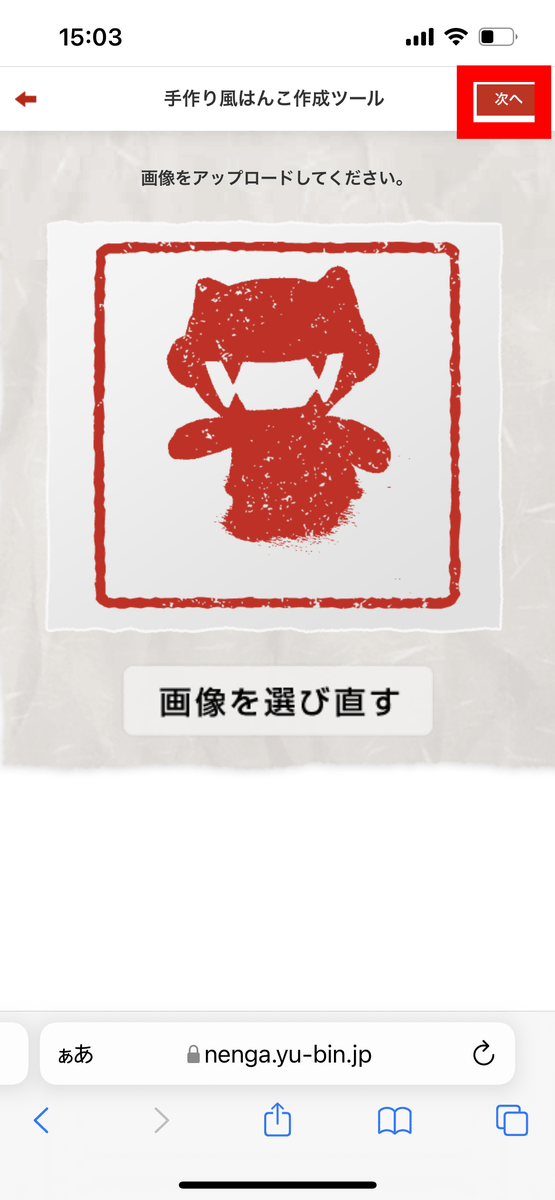
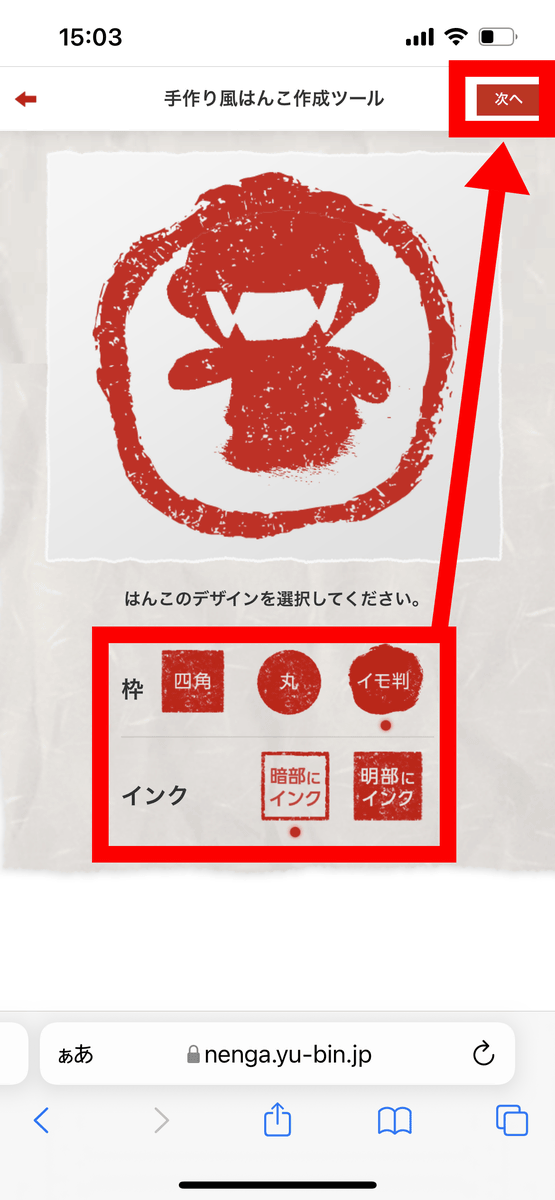
Select the frame and ink design and click 'Next'
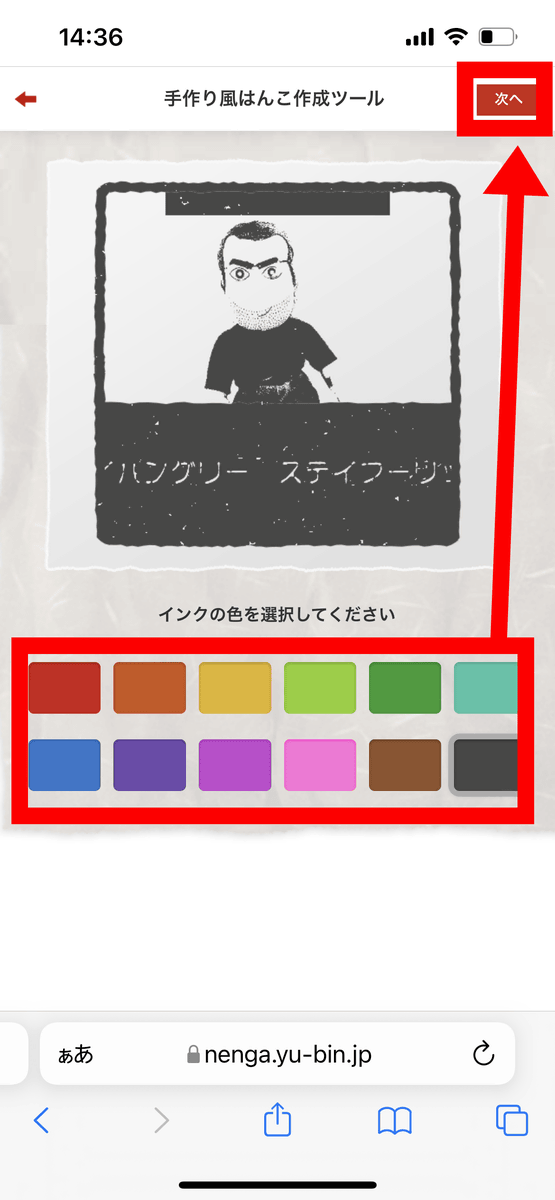
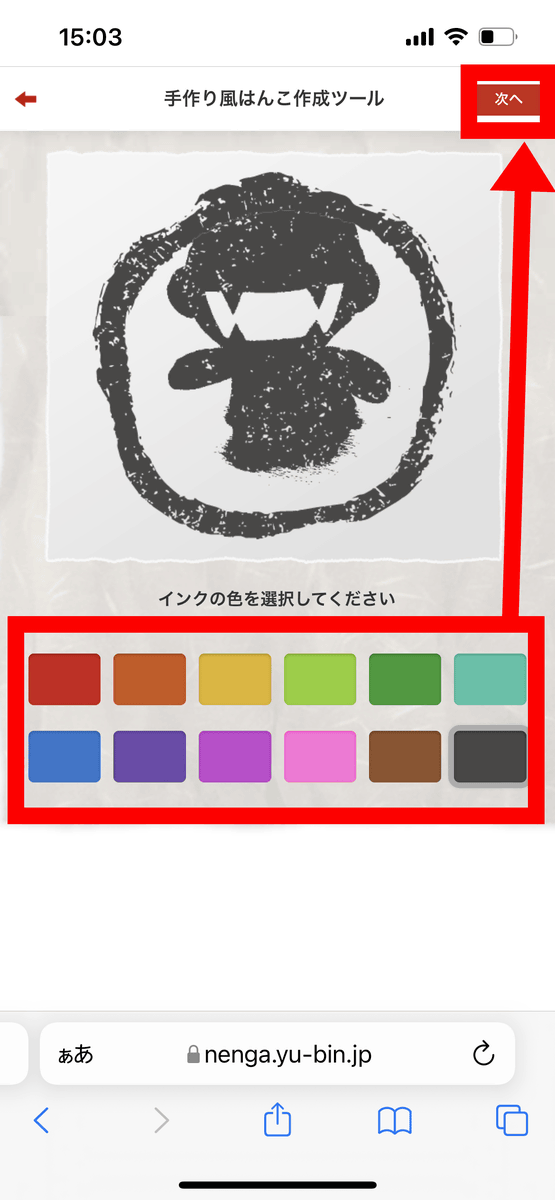
Select the ink color and click 'Next'
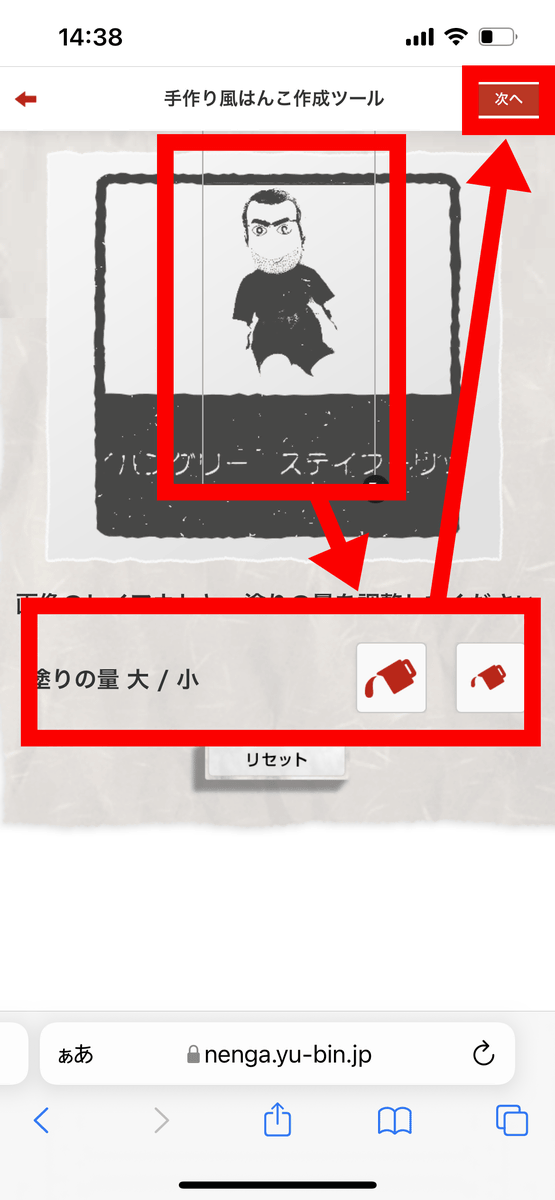
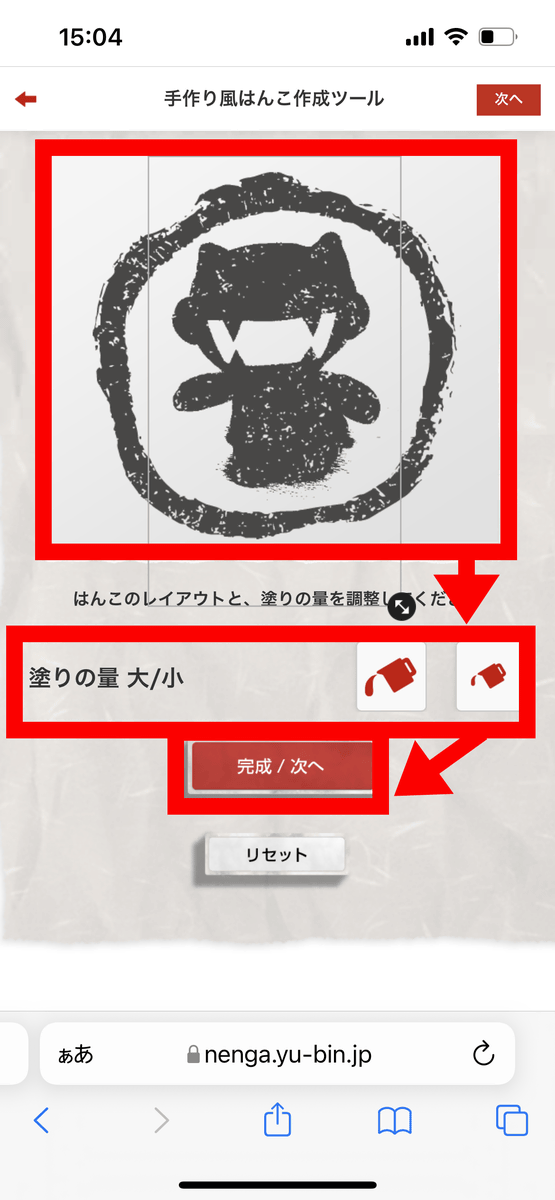
Adjust the layout of the stamp and the amount of paint, and click 'Complete / Next' to complete the creation.
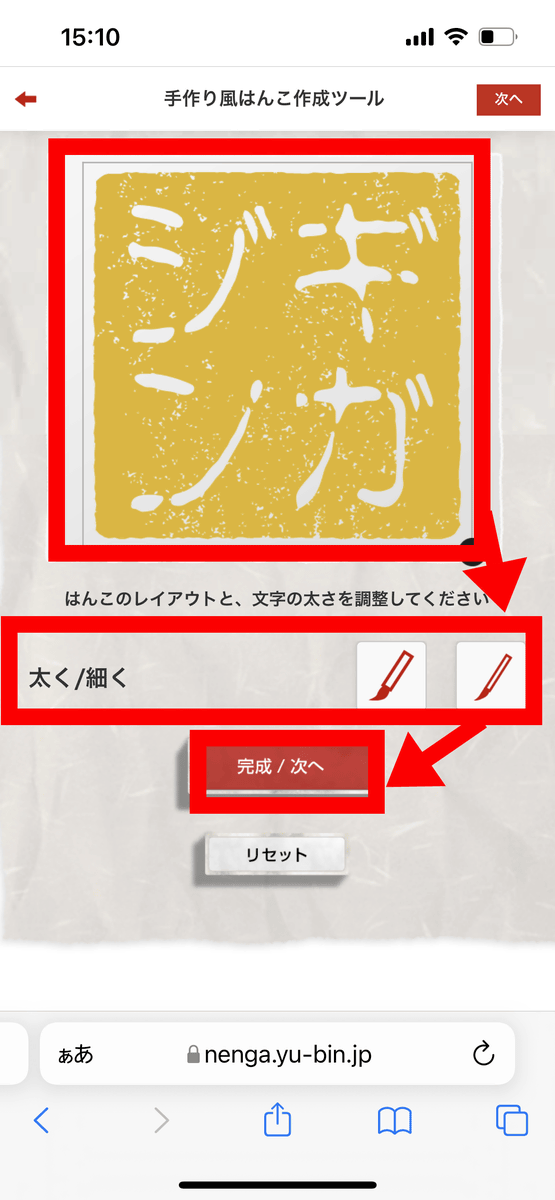
◆ Character
'Make characters into stamps' has almost the same function as the above-mentioned
Select the frame and ink design and click 'Next'
Select the ink color and click 'Next'
Adjust the layout and click 'Complete / Next' to complete the creation.
When you actually use it, you can make a stamp design with simple operation even though it is free. For hieroglyphs, you can create a mysteriously cool stamp just by entering a word like that, and if the photo is a simple subject, you can create a stamp like that, so it was a web application with a lot of fun.
Related Posts:


in Review, Mobile, Web Service, Web Application, Design, Posted by darkhorse_log