I tried using 'My brand new logo' which automatically generates a pop logo from a large number of illustrations based on keywords

" My brand new logo " is a web service that can create a logo with a pop illustration just by including a name and keywords. It is a service that not only makes it easy to automatically generate a full-fledged logo just by entering a name, but also makes it possible to adjust the details to create a sticking logo.
My Brand New Logo - logo maker | create your own logo
https://mybrandnewlogo.com/
◆ Automatically generate logo - This is where I visited the site above.
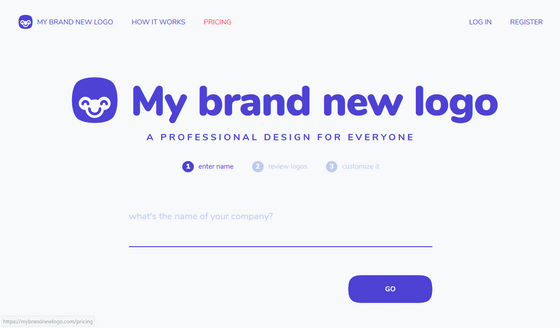
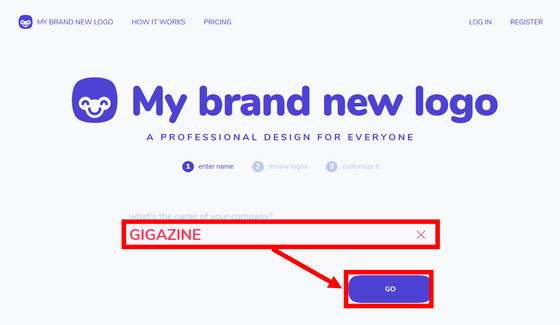
Enter the name in the input field at the center of the site and click "GO". Not only letters but also hiragana and katakana can be used, but because some fonts do not correspond and the display may collapse, it is better not to use it. Kanji can not be used.
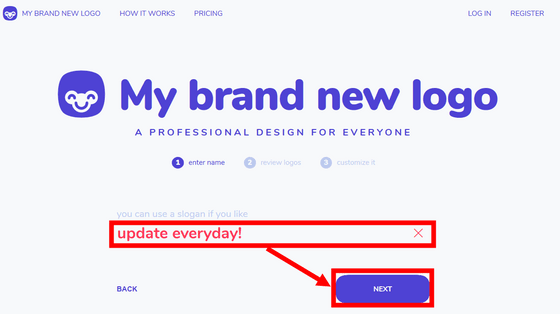
Enter the slogan and click "NEXT". Since the following items are optional, blanks are ok.
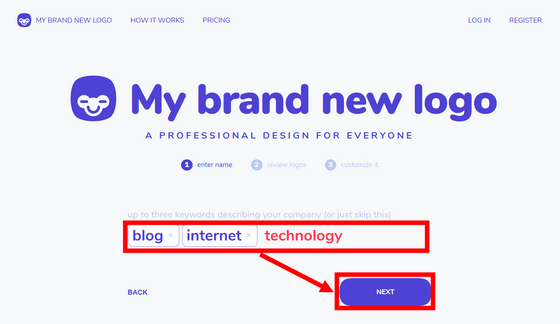
Enter the keyword and click "NEXT". You can use only English words for keywords, and you can enter multiple keywords by delimiting them with ", (comma)".
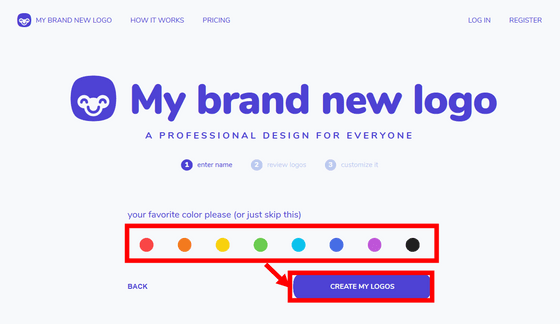
Select the color you like and click "CREATE MY LOGOS". Logos can be generated automatically without selecting colors.
The logo was displayed. Illustrations used for the logo are randomly chosen from the illustration with the motif of English words entered earlier.
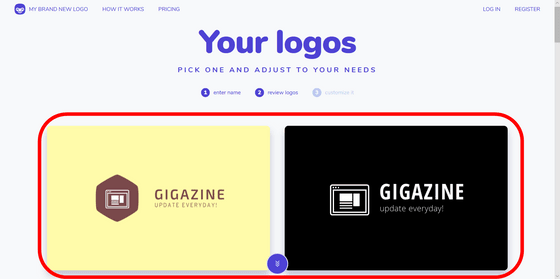
Twenty logos were generated at a time. You can also generate a logo continuously by clicking "MAKE MORE" at the bottom of the page.
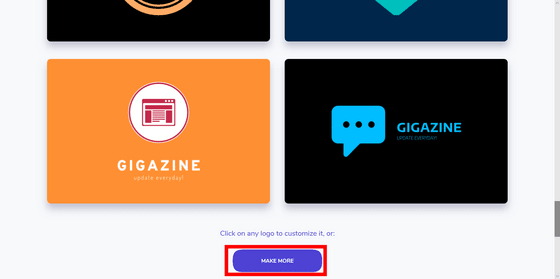
Click on the logo if you like it. The logo was completed in just a few steps.
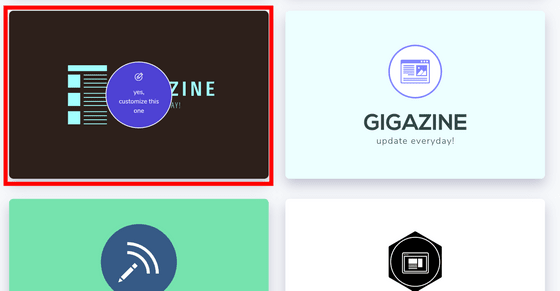
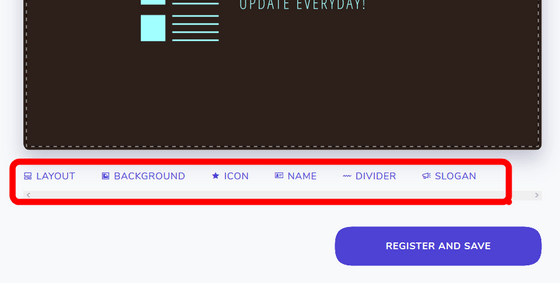
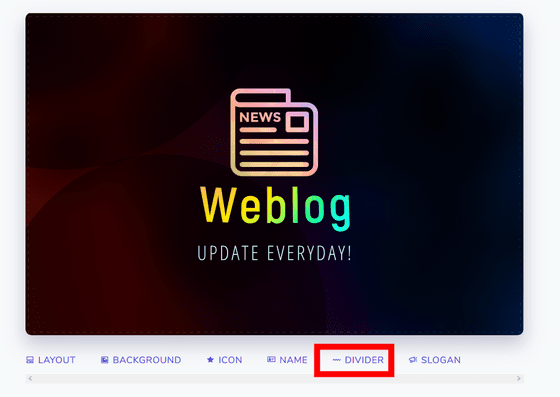
◆ Edit logo - I have made a transition to the editing screen of the selected logo. You can also edit the created logo freely. The edit menu is arranged under the preview of the logo, and "LAYOUT" which can change the layout of the logo from the left, "BACKGROUND" which can change the background color, "SYMBOL" which can transform the figure of the logo, change the figure outline "CUT-OUT" to change the icon in the logo, "ICON" to change the icon in the logo, "NAME" to change the name of the logo, "DIVIDER" to insert the line between the logo and slogan, "SLOGAN" to change the slogan .
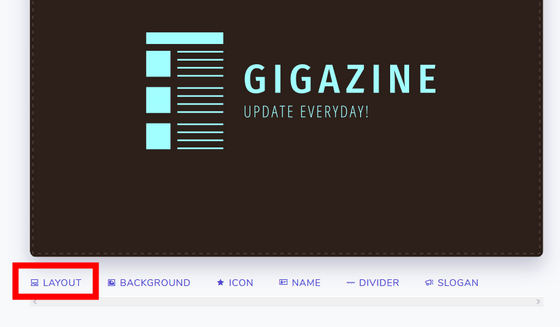
Let's change the layout first. Click "LAYOUT" ......
When you click the icon of an arbitrary layout, the position of the icon and name has changed.
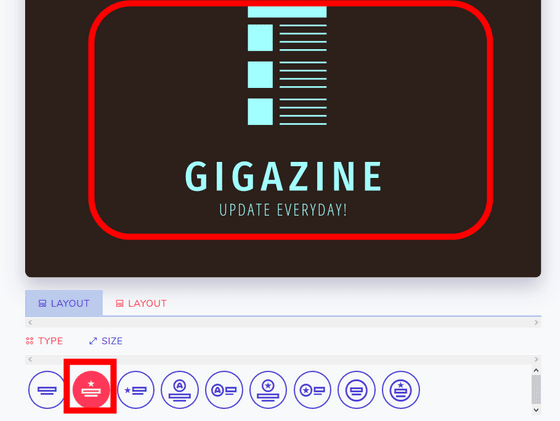
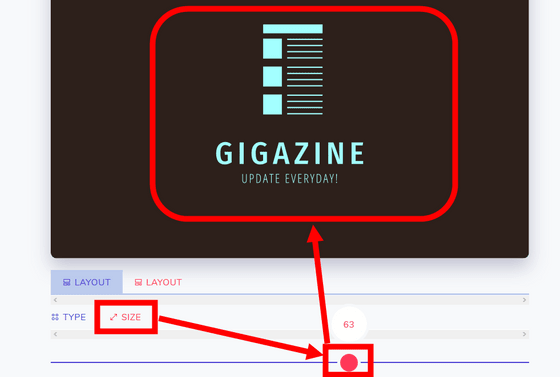
Click on "SIZE" and then operate the slide bar, the size of the logo will change. If you move it to the right it gets bigger and moving it to the left makes it smaller.
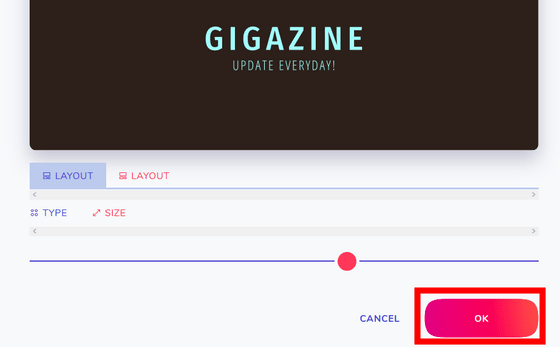
If it seems good, click "OK".
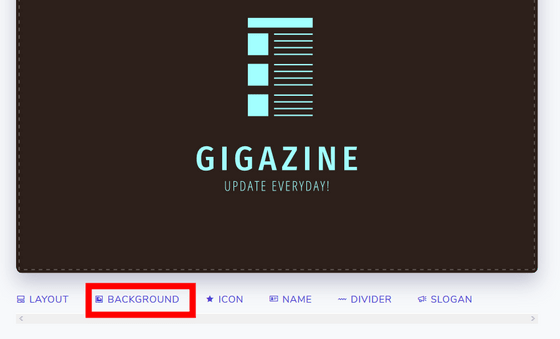
I will return to the editing screen, so click "BACKGROUND" next to change the background.
Click on the circle ......
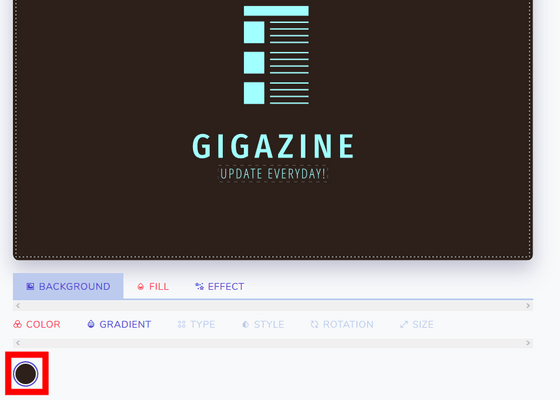
The color palette was displayed.
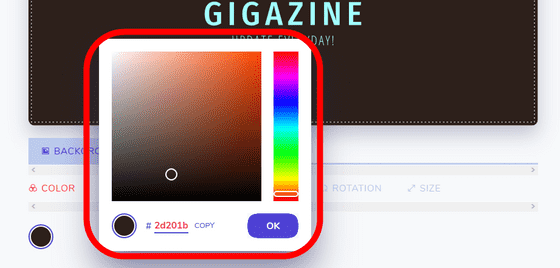
You can change the color in the right bar and the color in the left square. Click "OK" when the color is decided.
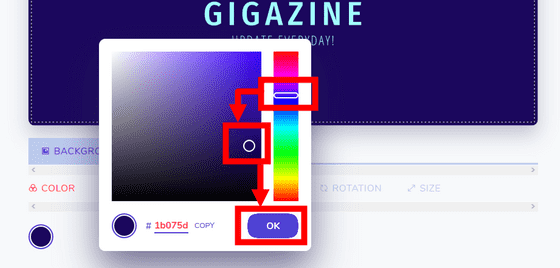
Then click "GRADIENT".
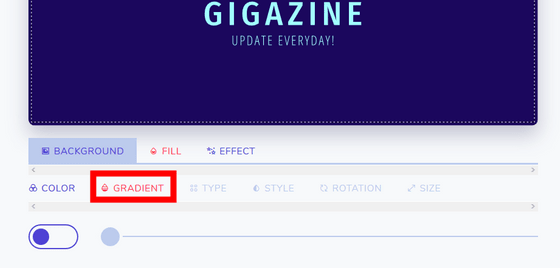
Click the toggle button to add a gradation. When you move the slide bar to the right, the gradation becomes stronger, and moving it to the left makes it weaker.
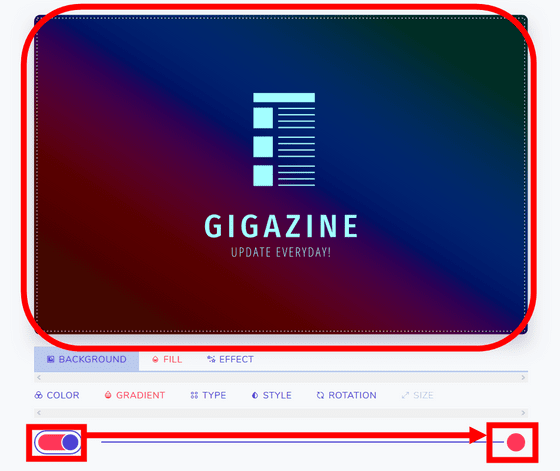
By clicking "TYPE" you can switch between two types of gradation types. This is the default gradation ......
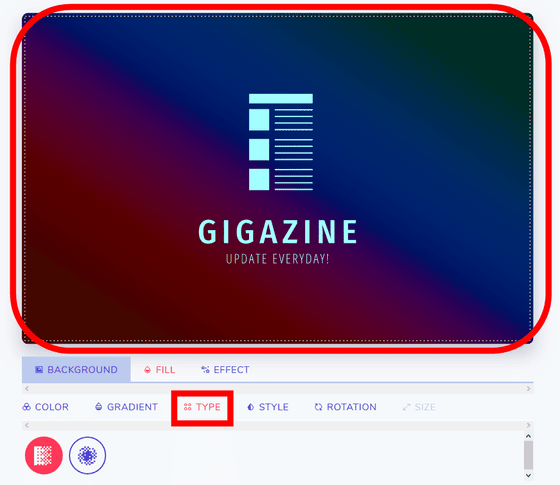
This is the other type.
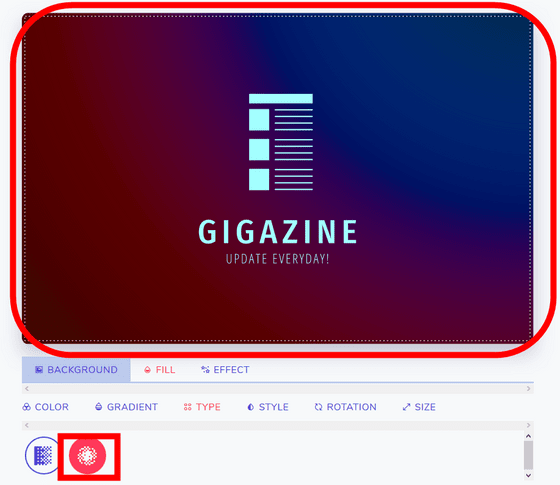
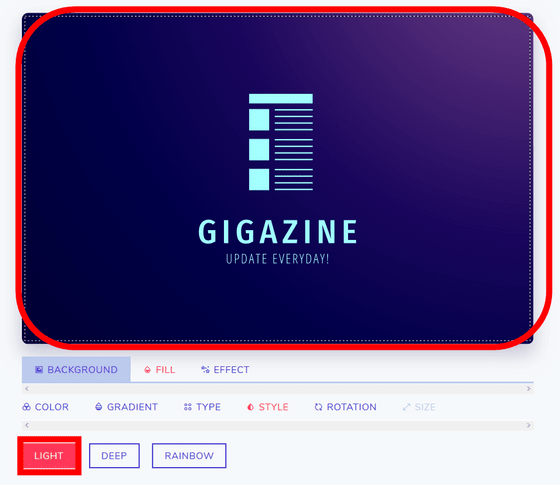
By clicking "STYLE" you can choose from three gradation styles. "RAINBOW" or ...
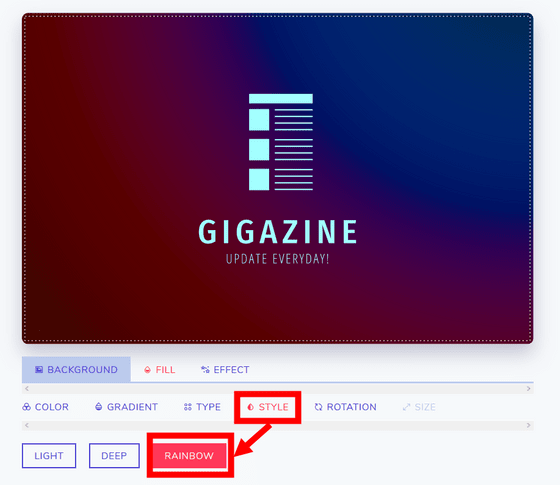
"DEEP"
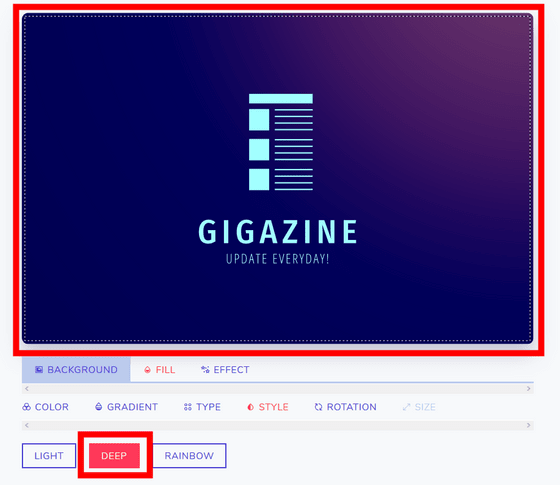
Although it is a little confusing, there is "LIGHT" which is gradually lighter in the upper right as you compare.
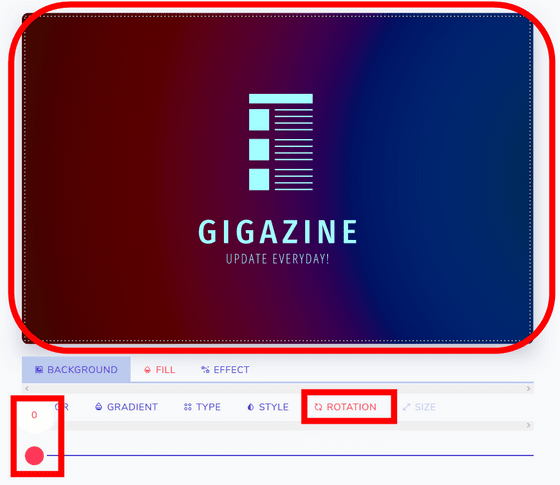
In "ROTATION" you can rotate the gradation. Move the slide bar to the left and make it 0, like this.
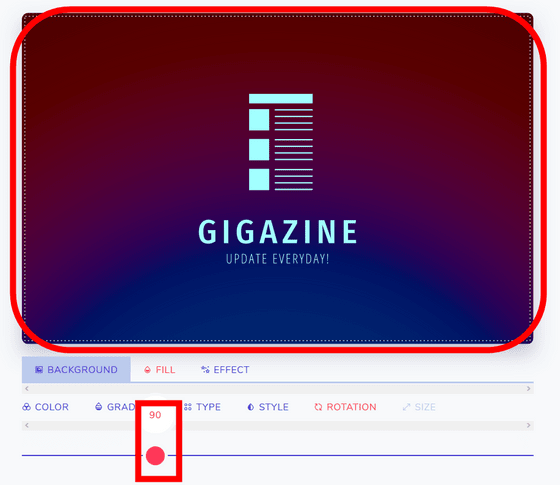
When 90 is set, the direction of the gradation also changes by 90 degrees.
Flip at 180 ... ...
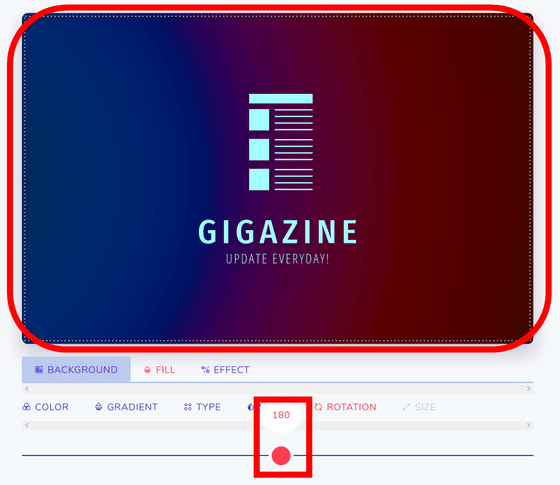
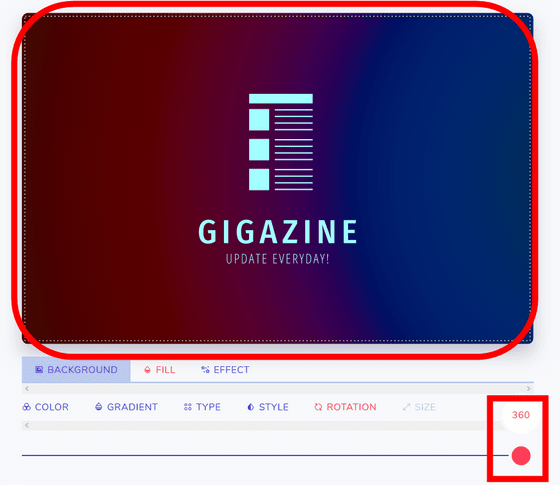
I turned 360 one revolution.
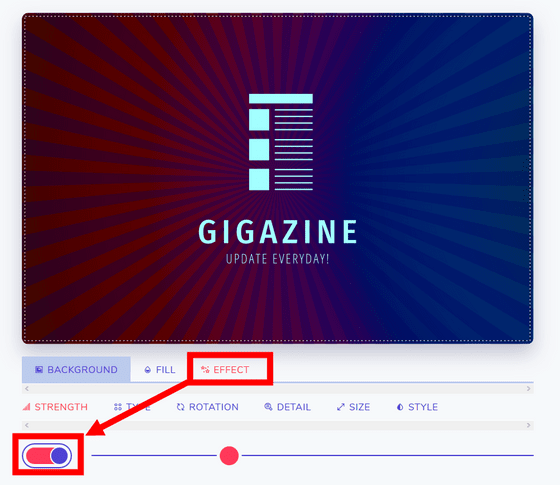
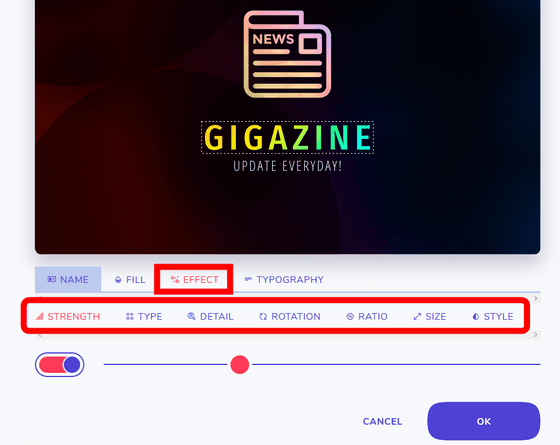
Click on "EFECT" and then click the toggle button to add effects.
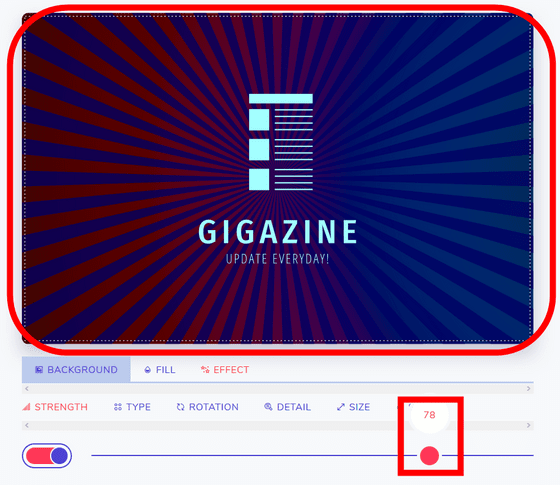
The more you operate the slide bar to the right, the stronger the effect will be.
In "TYPE" you can select the type of effect. Radial effects and ...
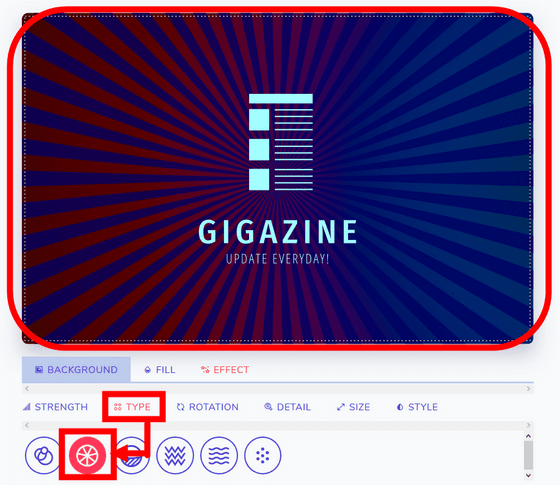
There are foamy effects and others.
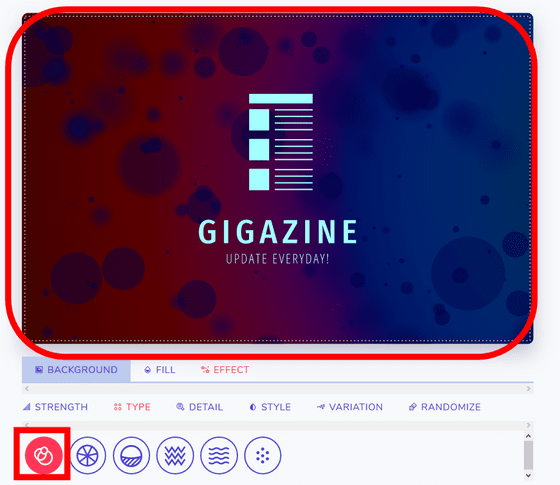
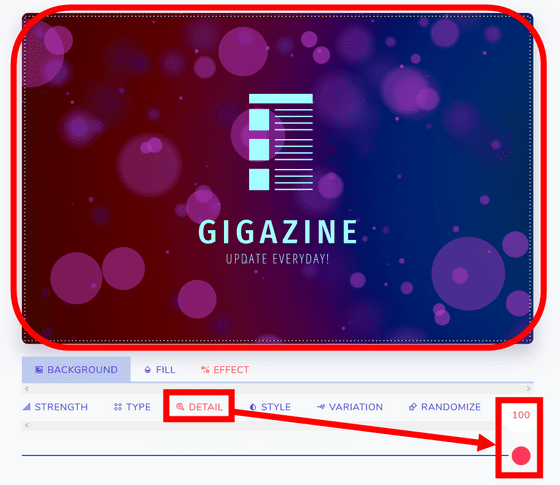
"DETAIL" can change the size of the bubble. Move the slide bar to the right and the bubbles become fine ...
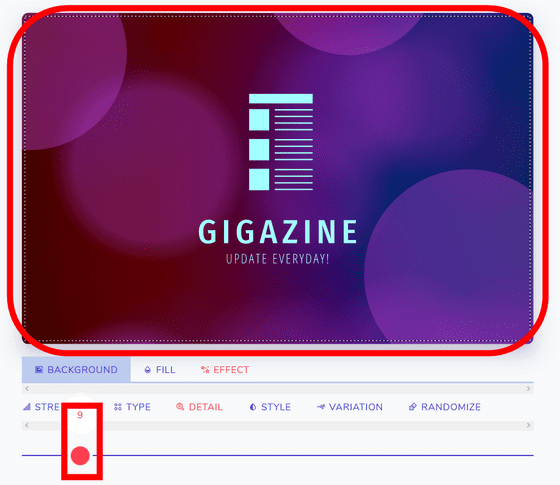
The more you go to the left the rougher the bubbles.
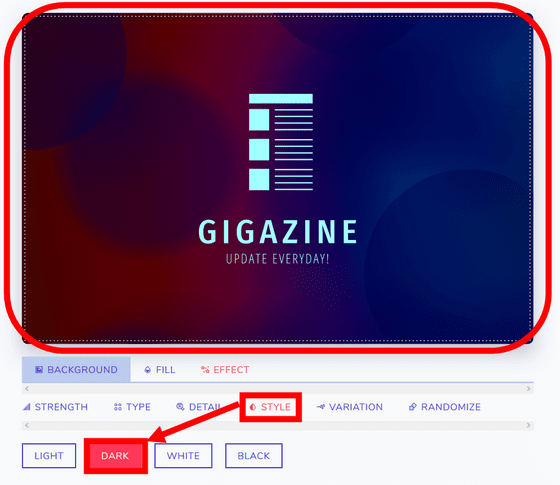
Click on "STYLE" and then select "DARK", the effect got darker.
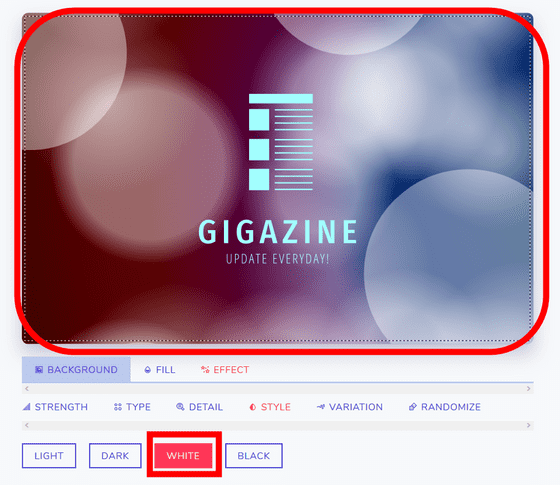
On the contrary, "WHITE" which becomes a bright color and ...
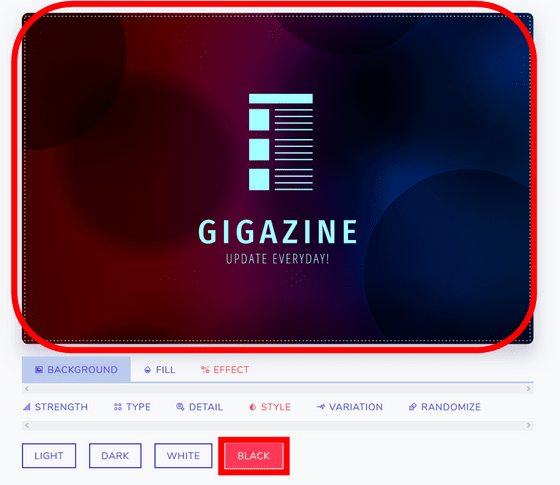
There is "BLACK" which turns black.
Click "VARIATION" and move the slide bar to the left, the foam shrinks ... ...
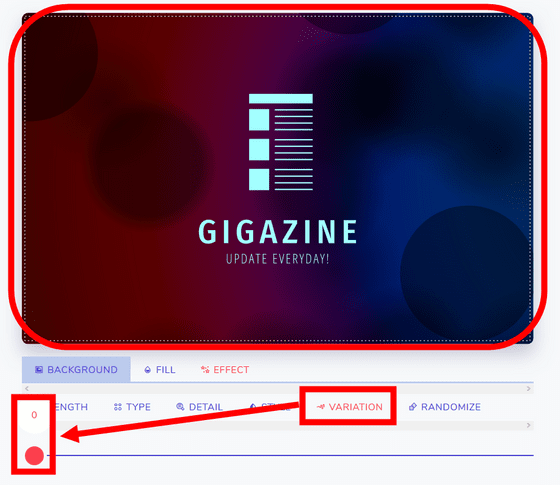
Move it to the right to expand it.
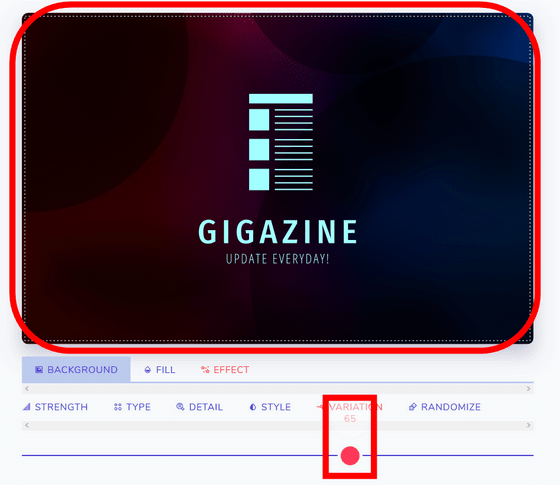
Click "RANDAMIZE" and click on the "RANDAMIZE" button below, the position of the bubble changes randomly.
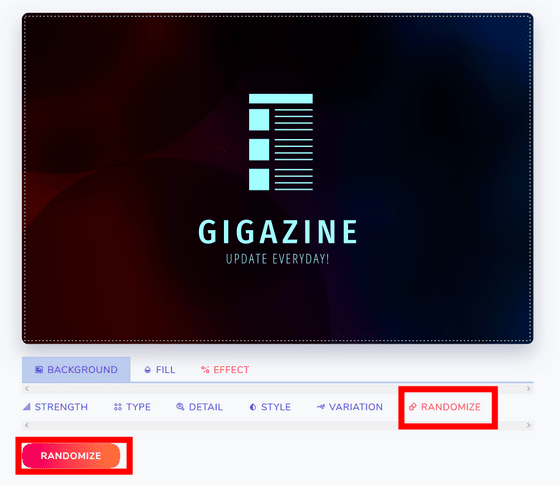
Click "ICON" to change the illustration of the icon.
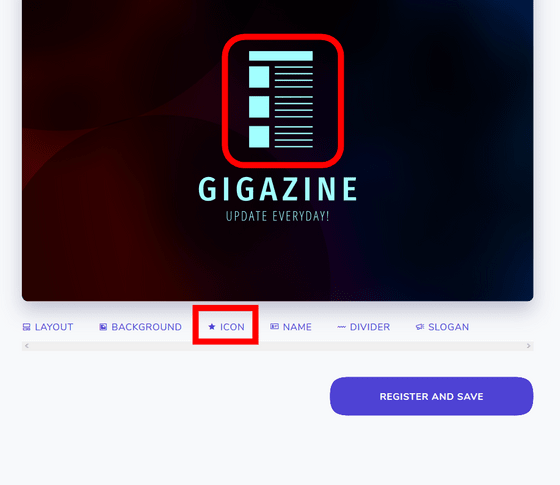
Click the circle to display the color palette, so you can change the color of the icon in the same way as before.
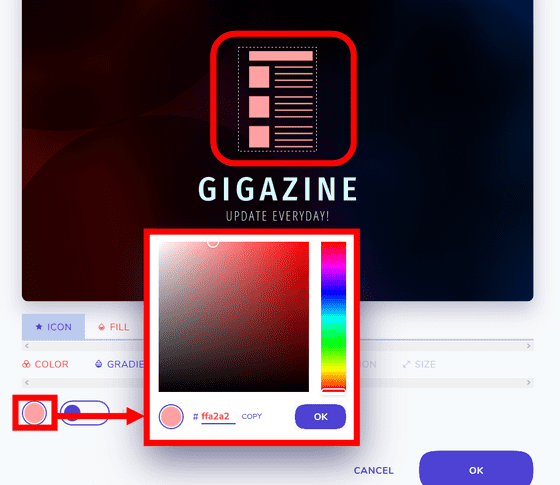
When you click the toggle button, color change is linked with other elements. When you click "name" on the left of the three elements, the color of the name of the icon also changed.
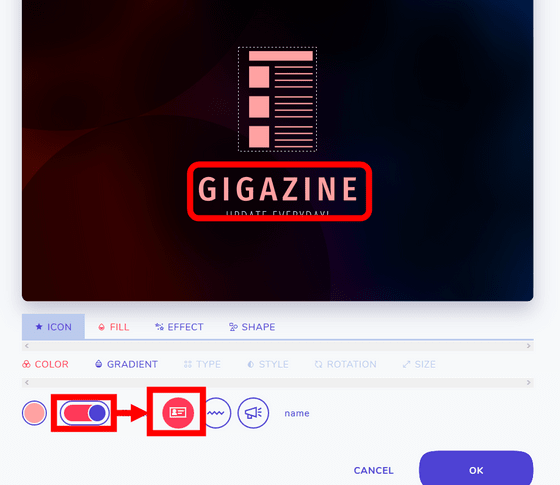
"Diver" described later ... ...
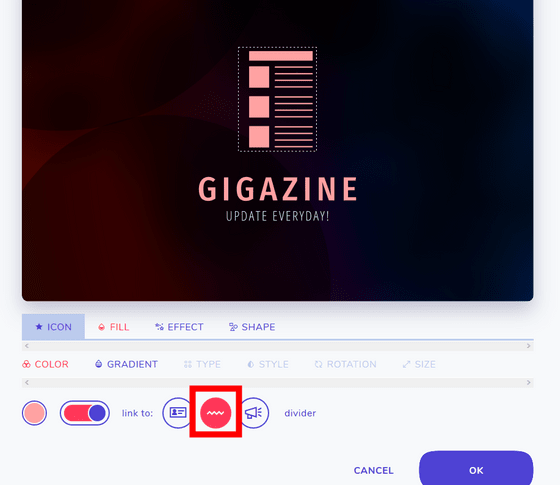
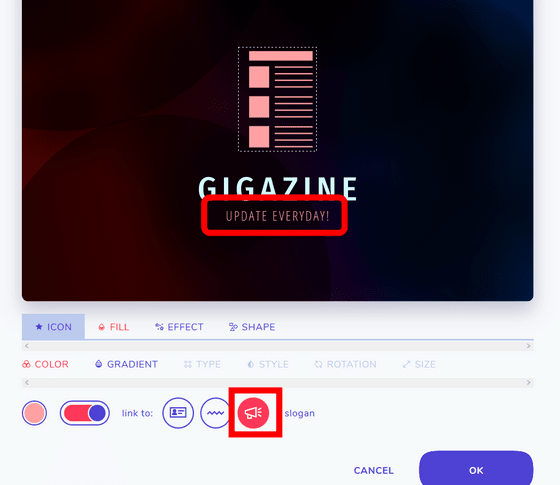
"Slogan" can be selected.
As with the background, you can add a gradation by clicking "GRADIENT" on the icon and clicking the toggle button.
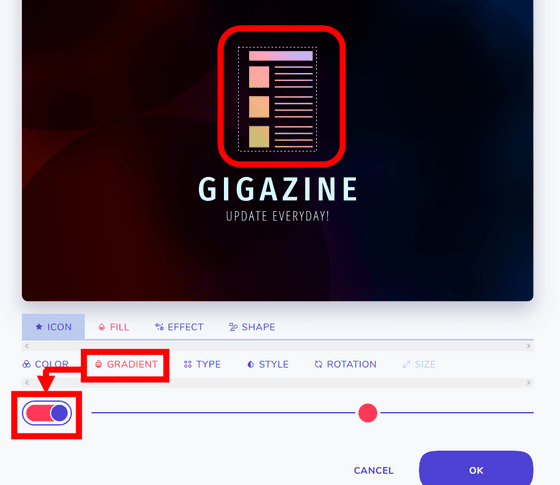
"TYPE" "STYLE" "ROTATION" is the same as when you applied a gradation on the background.
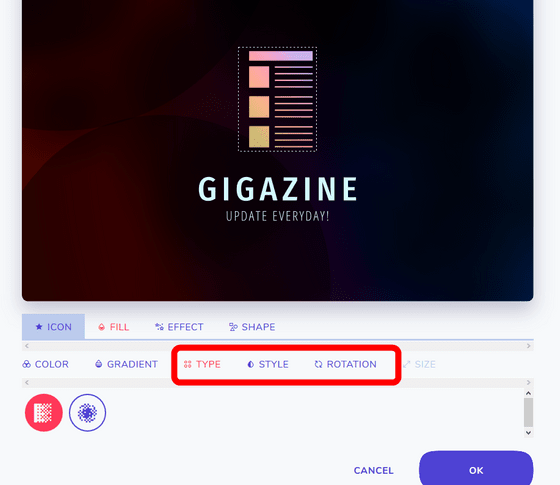
The same is true for "EFFECT".
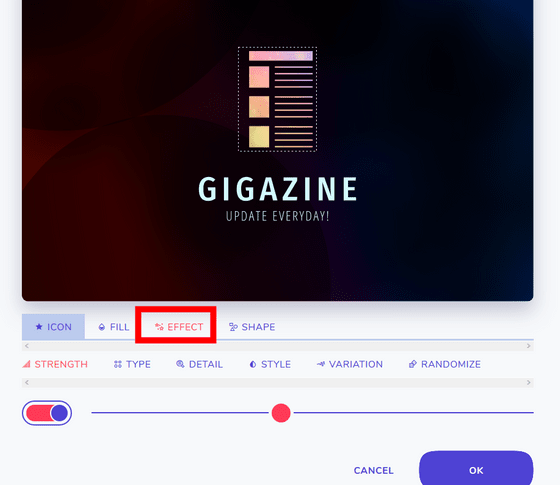
Click "SHAPE" and then click "SELECT" ......
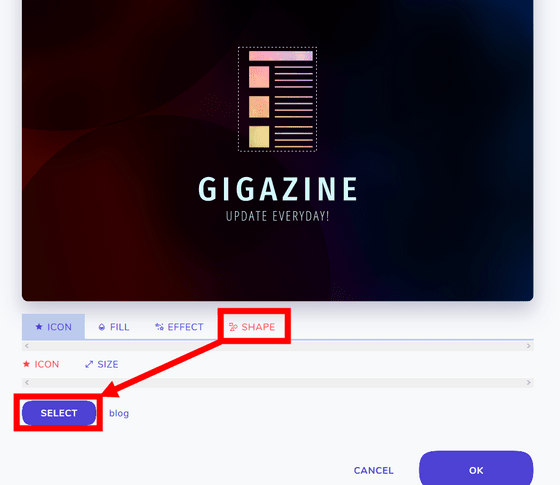
The page will change to the page with the search field.
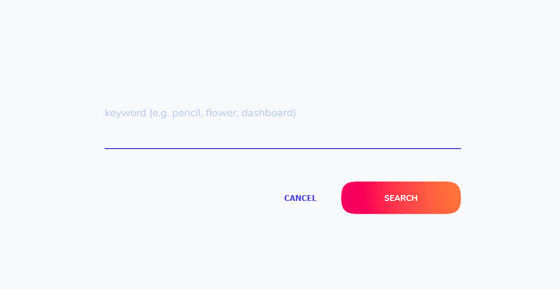
After entering the keyword and clicking "SEARCH", the illustration related to the keyword is displayed.
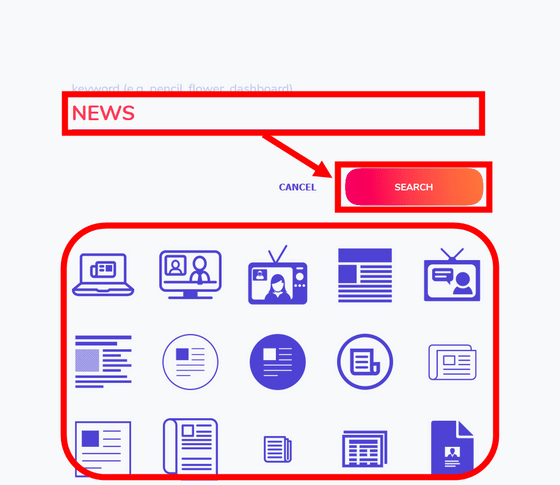
When I find a favorite illustration and click it ......
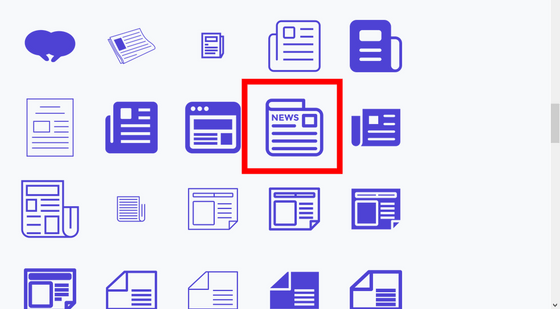
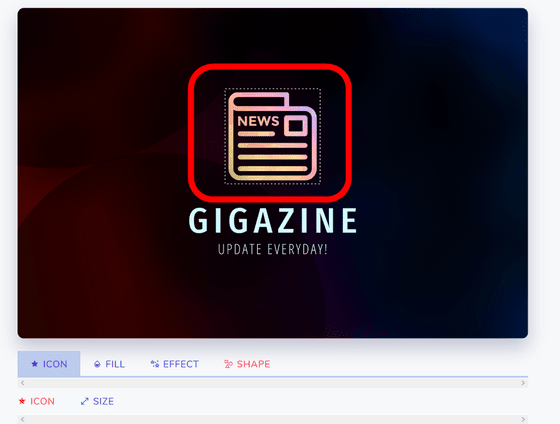
I was able to change the illustration of the icon.
Click "NAME" if you want to change the characters and fonts with the first name entered.
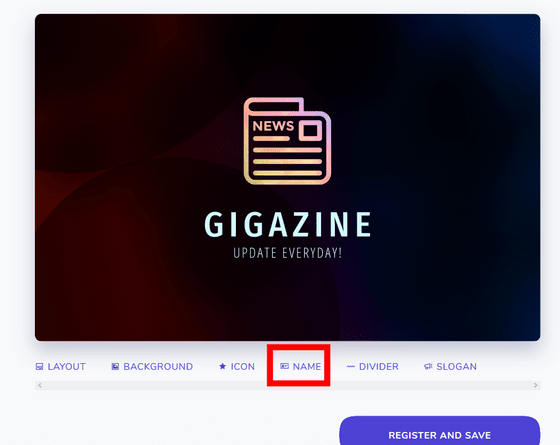
You can also change the color of the name character in the same way as when changing the color of the icon.
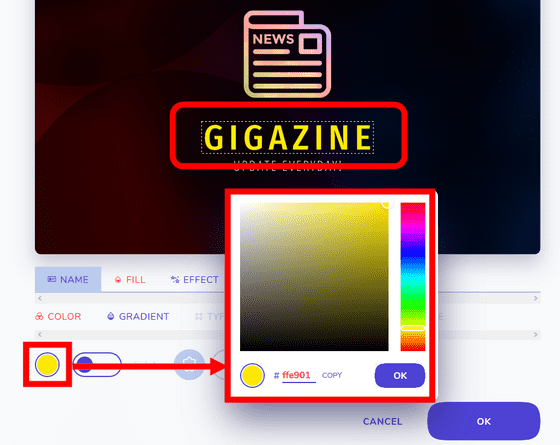
Gradients and ...
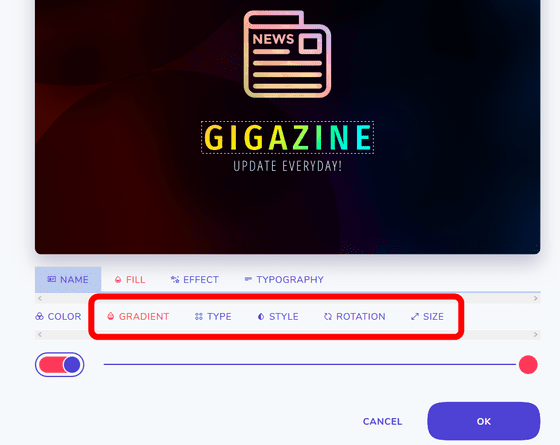
You can also set the effect.
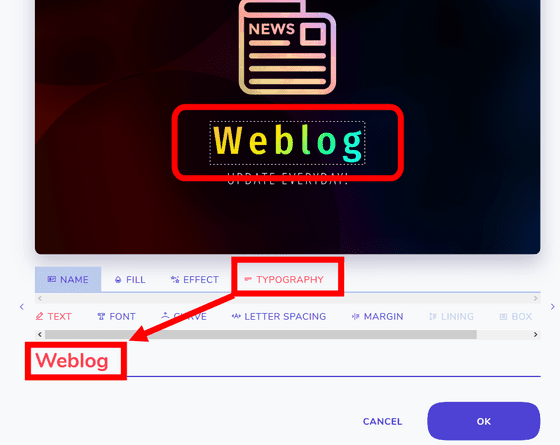
When you click "TYPOGRAFY" and enter a character in the input field, the name has changed.
Click "FONT" and then click "SELECT" ......
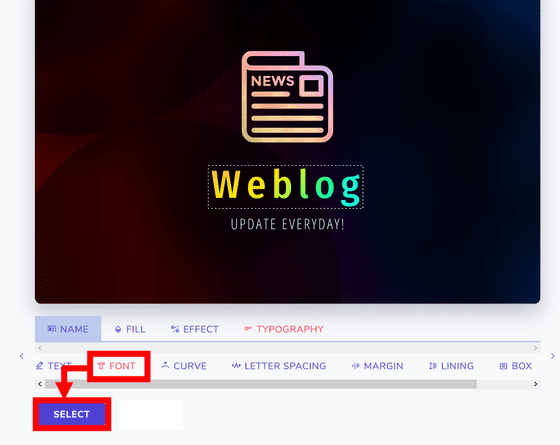
The screen changes to the font selection screen. When you click the name of the font such as "brush" "dispay", the type of font changes.
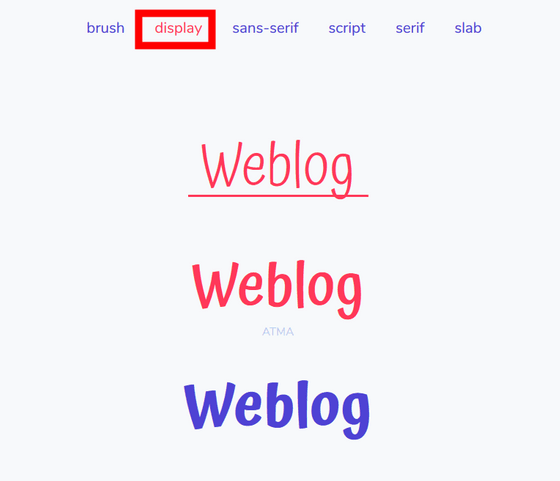
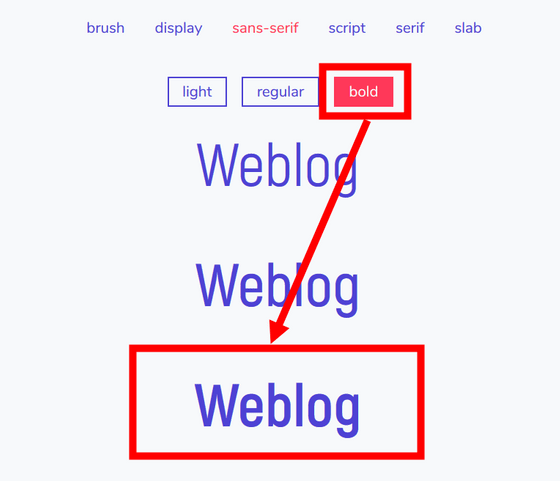
The thickness can also be changed depending on the font. When you find your preferred font click on that font.
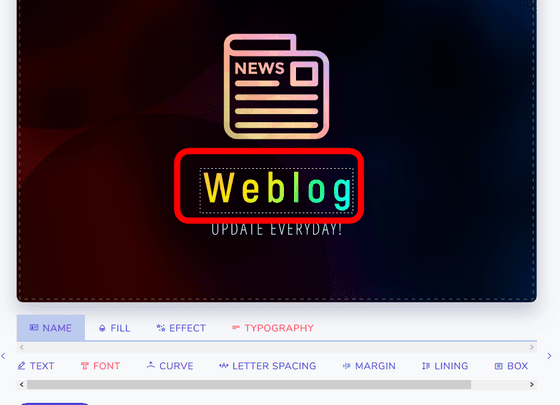
The font has changed with this feeling.
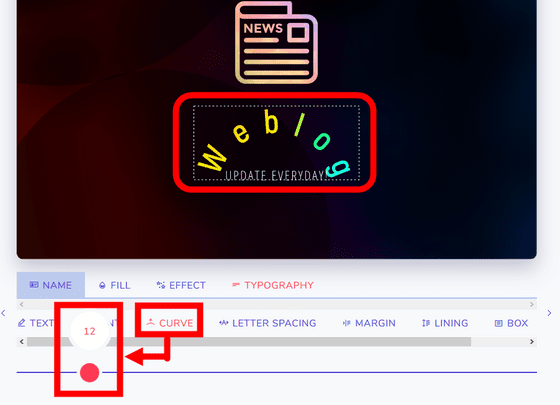
In "CURVE" you can attach a curve to letters. Operate the slide bar to the left, the center gets excited ...
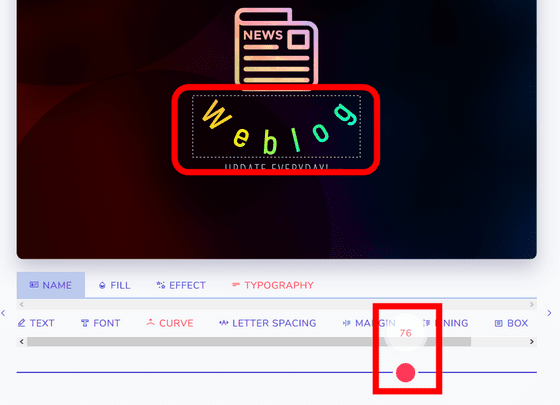
Operating to the right will reverse the center.
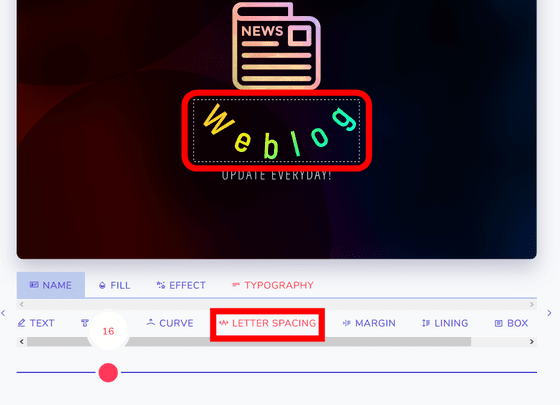
Other than that, "LETTER SPACING" to change the interval between letters and letters ... ...
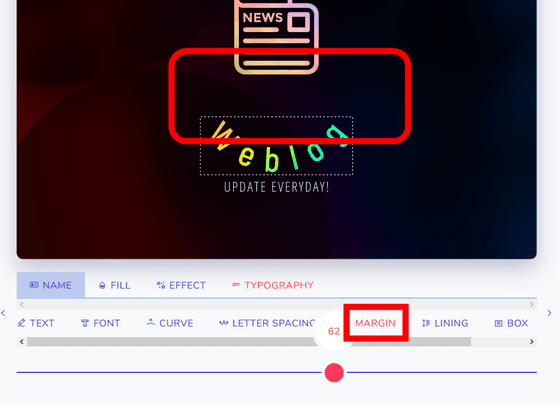
There is "MARGIN" which changes the name and the interval between icons.
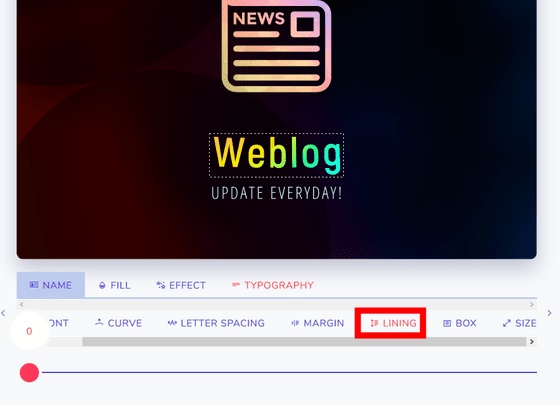
"LINNING" ... ...
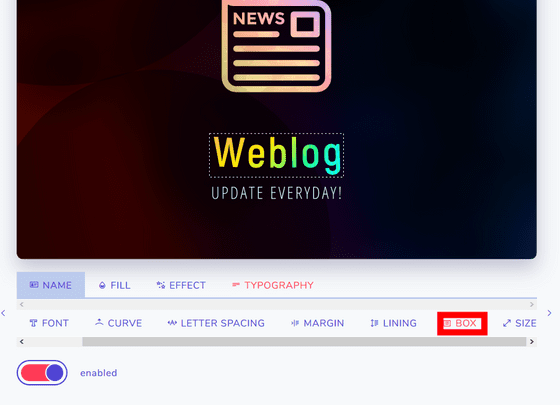
Since "BOX" does not change even if it operates, it is unknown what effect it has.
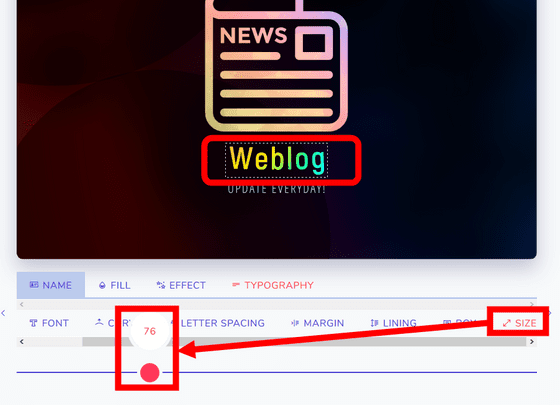
In "SIZE" you can operate the slide bar to the left to make the name letters smaller ...
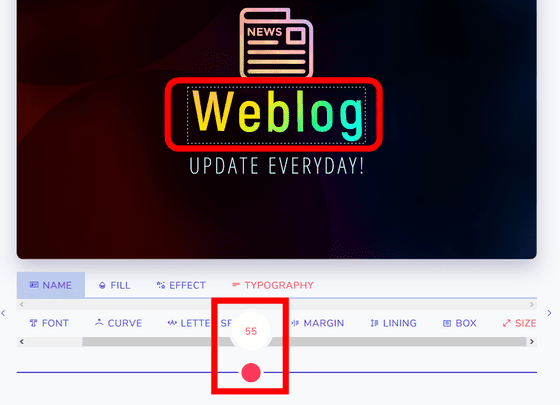
You can enlarge it.
Next, click "DIVIDER".
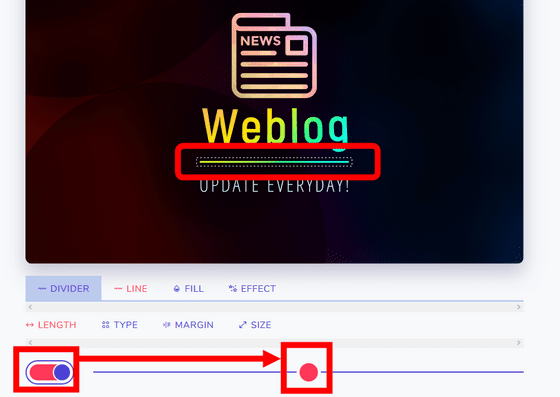
When you click the toggle button, a line separating the name and slogan is entered. Move the slide bar to the right to make the line longer.
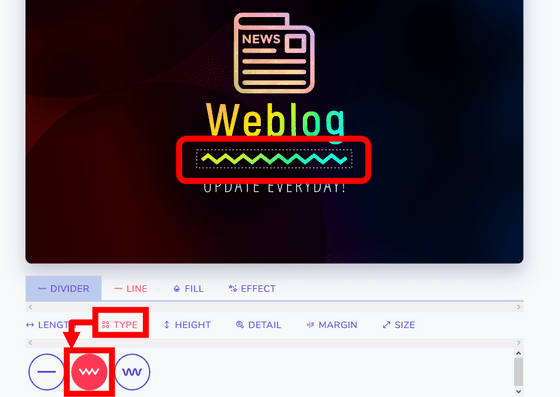
In "TYPE" we made the line zigzag ...
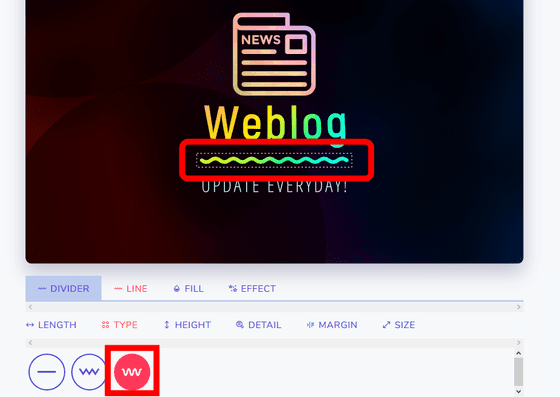
It can be a wavy line.
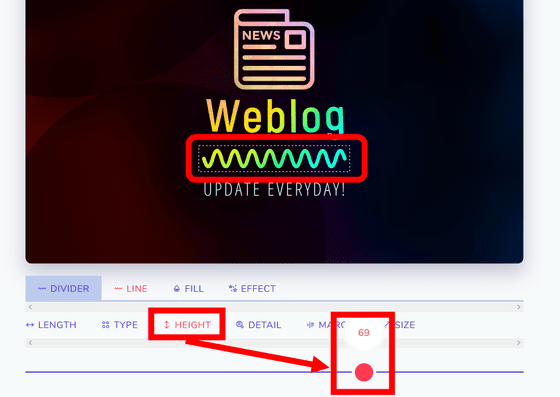
"HEIGHT" can change the height of the wave. When you operate the slide bar to the left, the wave becomes lower, and when it is operated to the right it becomes higher.
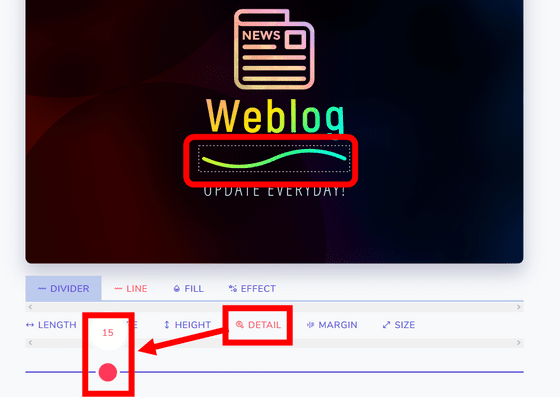
"DETAIL" can change the fineness of waves. If you operate the slide bar to the left the waves become coarse ... ...
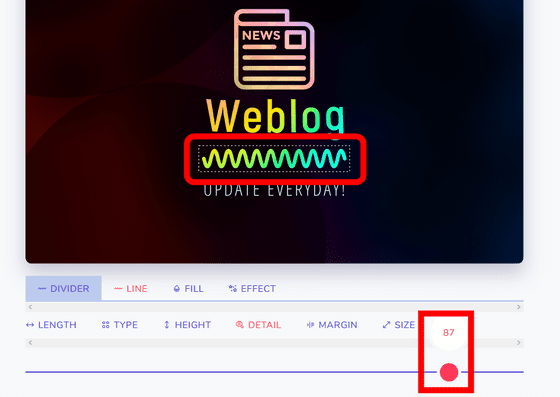
Move it to the right and it becomes finer.
In "MARGIN" you can change the interval between lines and names and slogans. Operating the slide bar to the left narrows it.
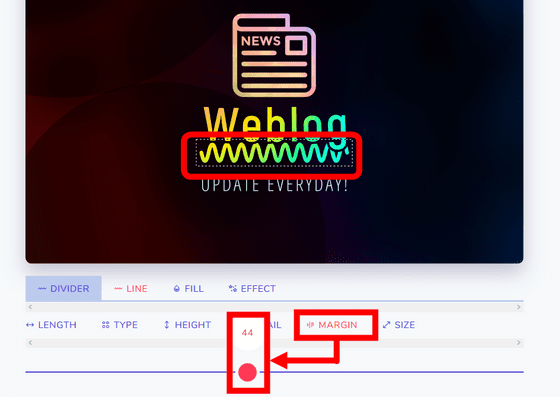
Conversely, moving it to the right increases the interval.
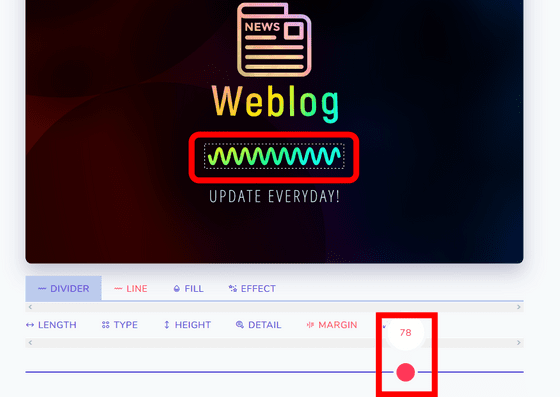
In "SIZE" you can change the thickness of the line. Move the slide bar to the left to get thinner ...
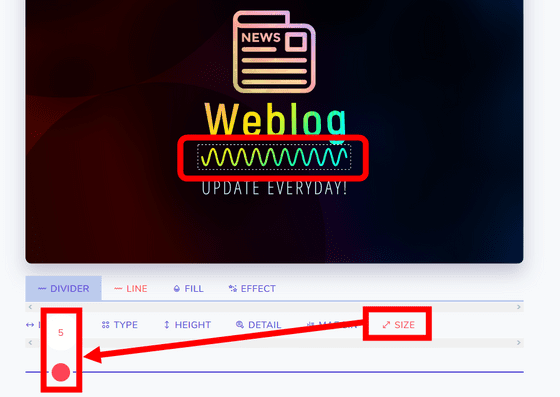
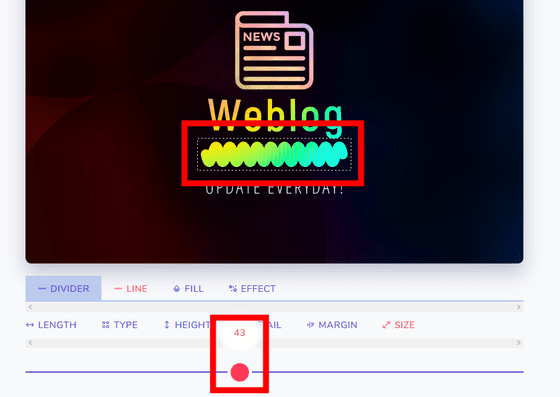
Move it to the right and it gets thicker.
Like lines and icons and names color and gradation ......
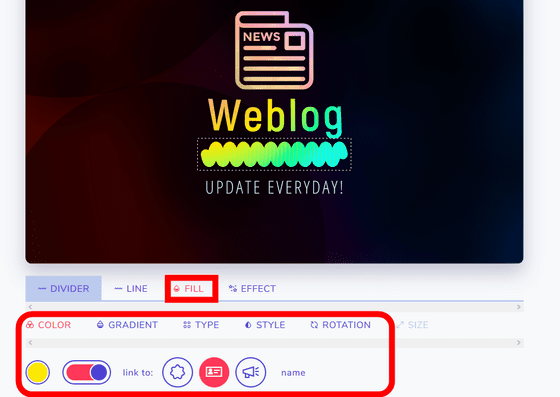
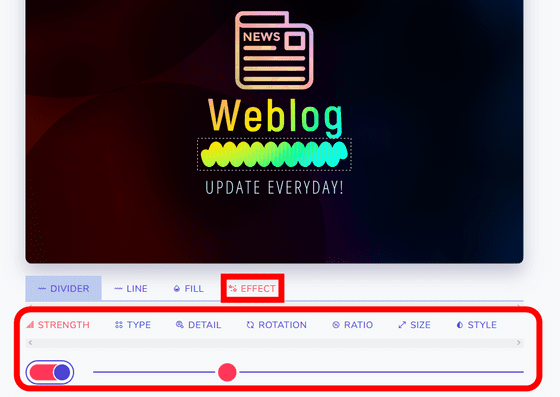
You can set the effect.
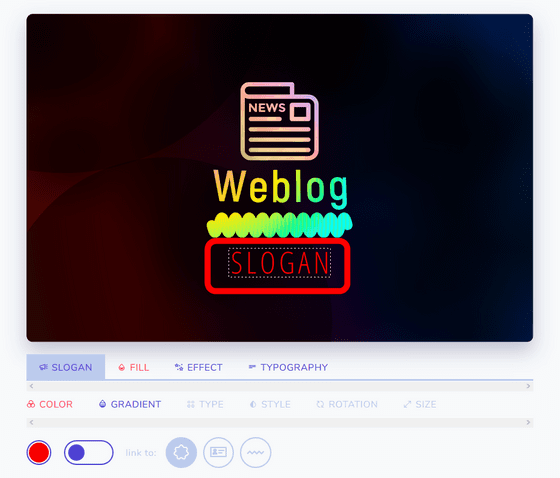
"SLOGAN" can also change letters and fonts in exactly the same way as the name.
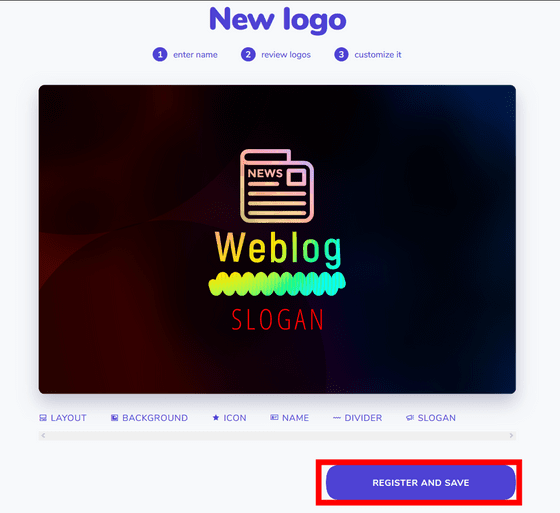
When finished click "REGISTER AND SAVE".
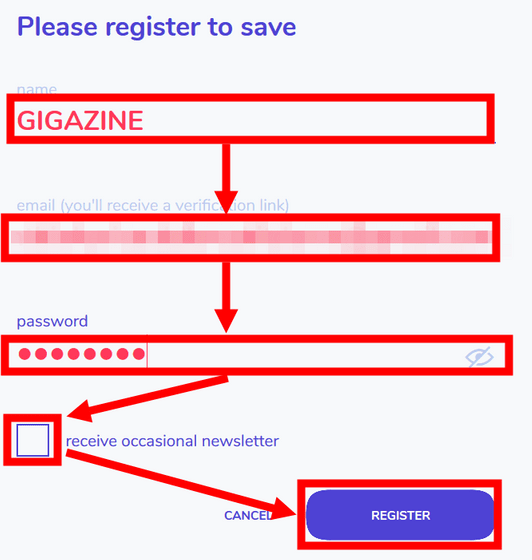
As the screen changes, enter the name, e-mail address, password in order, and if you want to receive notification by e-mail, check the box "receive occasional newsletter" and click "REGISTER".
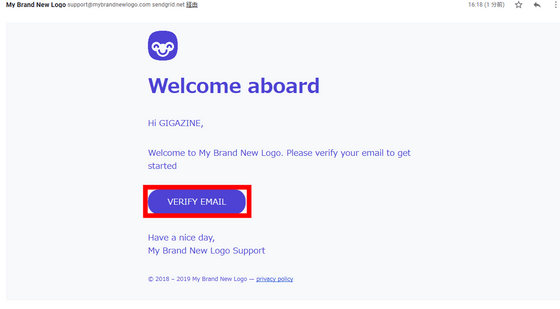
Since the authentication mail has arrived at the registered mail address, click "VERIFY EMAIL".
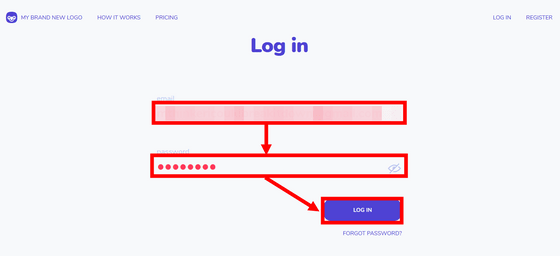
As the login screen is displayed, enter the e-mail address and password you used earlier and click "LOG IN".
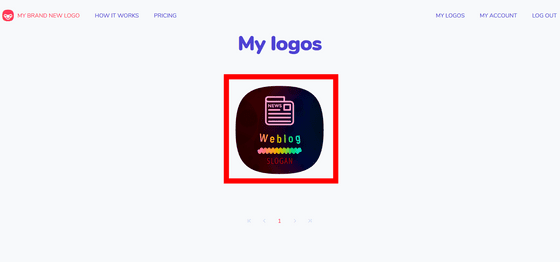
The logo created earlier was displayed. Clicking on the logo ......
Transit to the logo purchase screen.
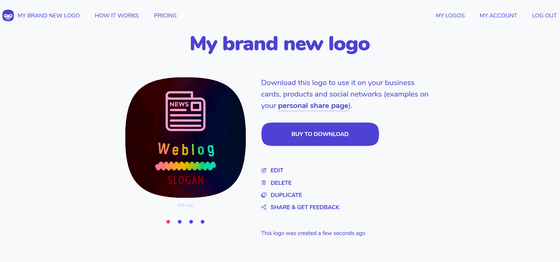
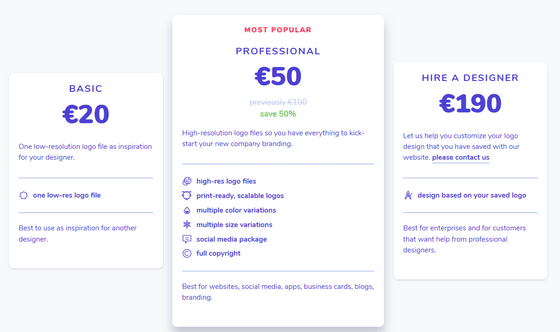
There are three kinds of price plans for downloading the created logo. The "BASIC" plan which can download the low resolution logo is 20 euro (about 2500 yen), the "PROFESSIONAL" plan which makes the logo color variation and the image optimized for SNS can be made 60 euro (about 7600 yen) Based on the logo "HIRE A DESIGNER" plan which can request design to a professional designer is 190 euros (about 24,000 yen).
Related Posts:
in Web Service, Review, Design, Posted by log1l_ks


