Created original data with online photo editor "Crello" which can easily create animation data and images that can be used for SNS free of charge
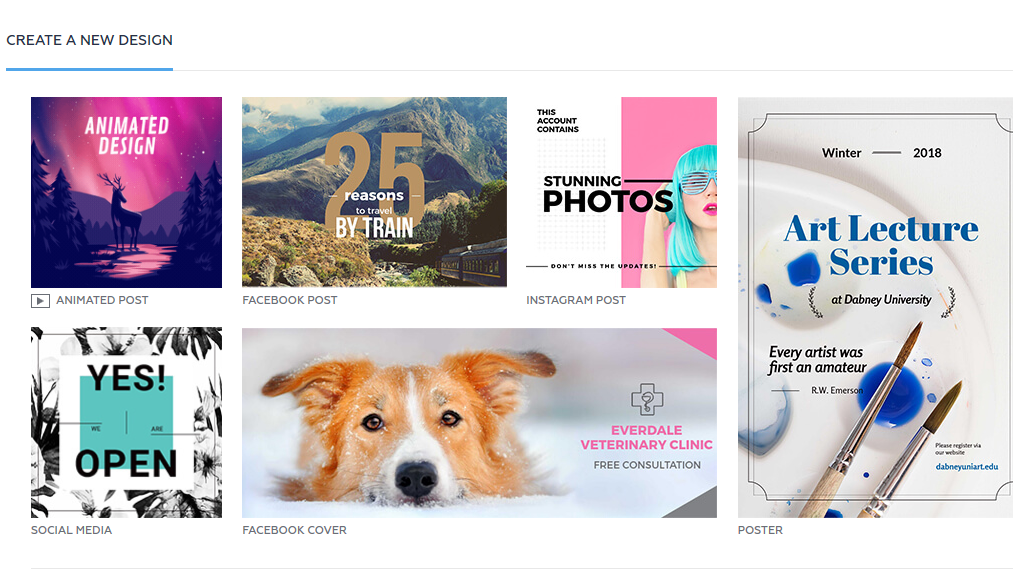
When you want to create simple animations, profile images, advertisements, etc. for posting on social media, sites that can easily create high-quality content are "Crello"is. It edits online, so you do not need to install it, Crello actually made simple animation with Crello that you can easily create with just using materials such as photo icons and templates prepared in advance.
Crello - Free Graphic Design Software. Simple Online Photo Editor
https://crello.com/
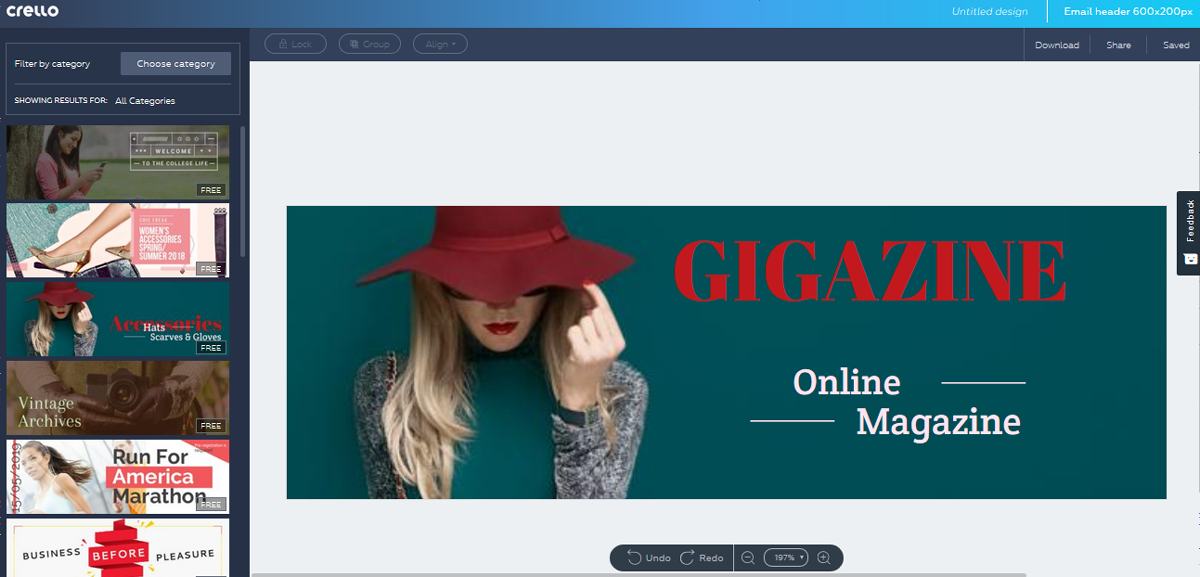
It is like this that I actually made it crisply. There are 30 kinds of formats, more than 10,000 kinds of materials are prepared, and it is possible to make works with high design by partial editing such as adding texts and images.
Trying to feel like a technology would look like this ... ...
It is like game related. Various templates are prepared and many can be used for free.licenseCan be used for online advertisements, presentations, prints, websites, social media, e-books, personal creative activities, and for printing, up to 500,000 copies are permitted for personal use, commercial use, and advertisement I will. Please note that it can not be used for official logo, company name logo, product registration.
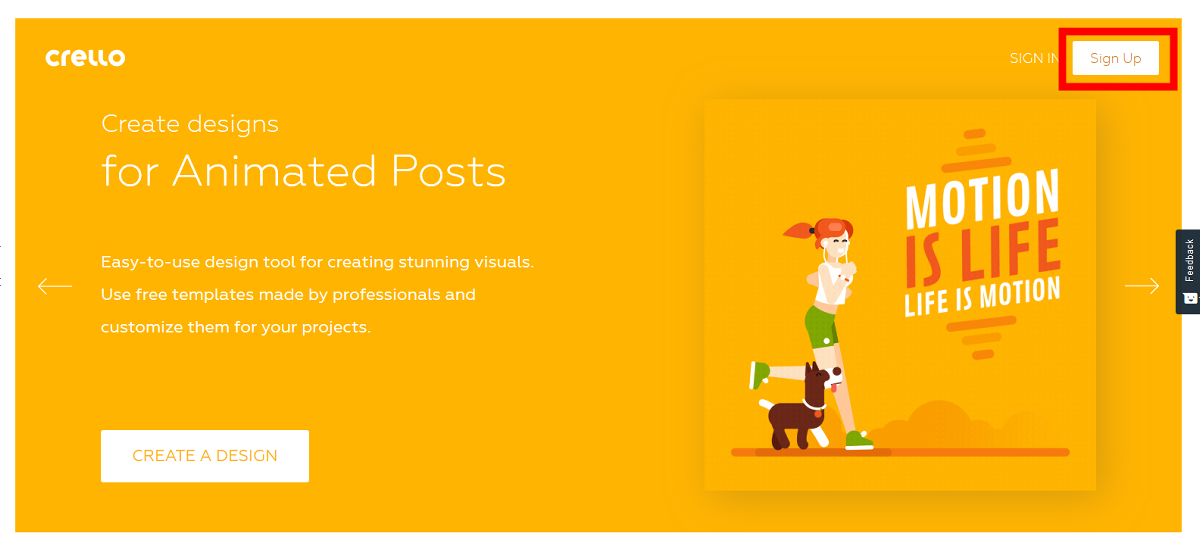
Although Crello can create animation movies and images without registering it, it will be possible to save the data created by creating an account. To create an account,top pageOpen "Sign Up".
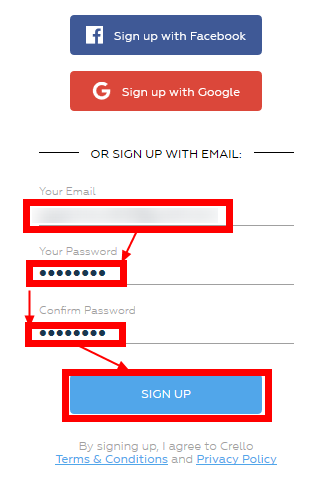
The registration window opens.
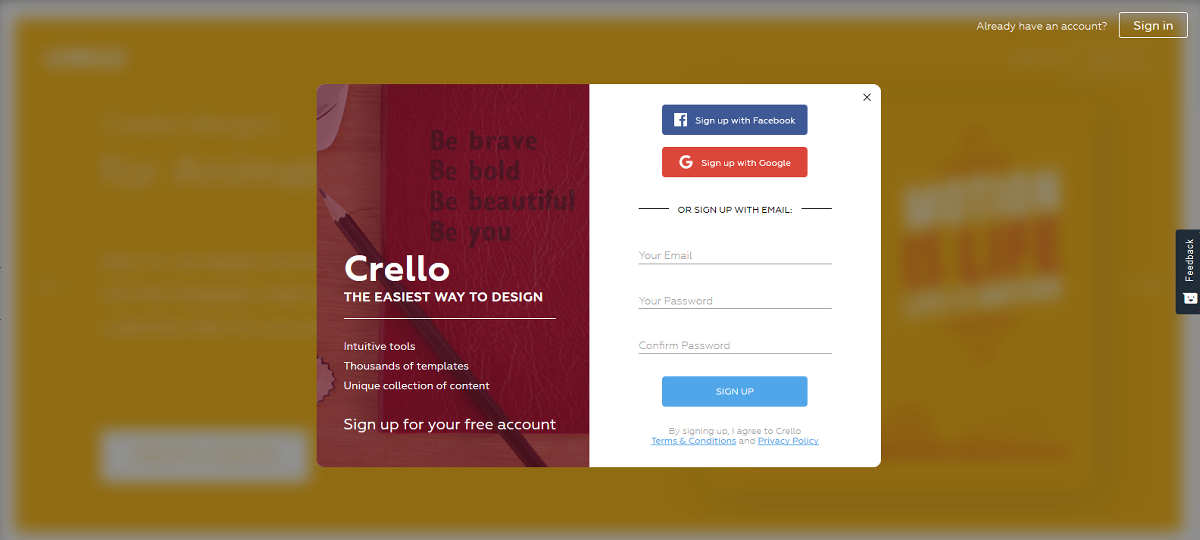
If you enter your registered e-mail address, optional password, same password for confirmation and click "SIGN UP", creation of the account is complete.
When the account creation is completed, the home screen for yourself was displayed. Here, clicking "VIEW ALL 31 FORMATS" ......
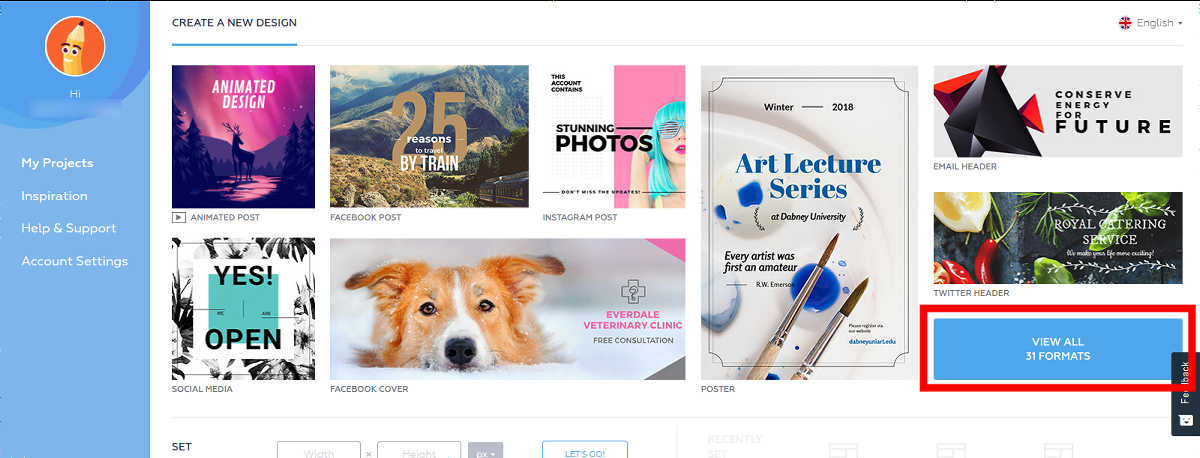
A list of available templates is displayed. Templates are pre-optimized for Facebook and Instagram sizes, and those that can make animation data simply by putting characters etc. are prepared. There are five types of social media supported: Instagram, Facebook, Twitter, Tumblr, Pinterest.
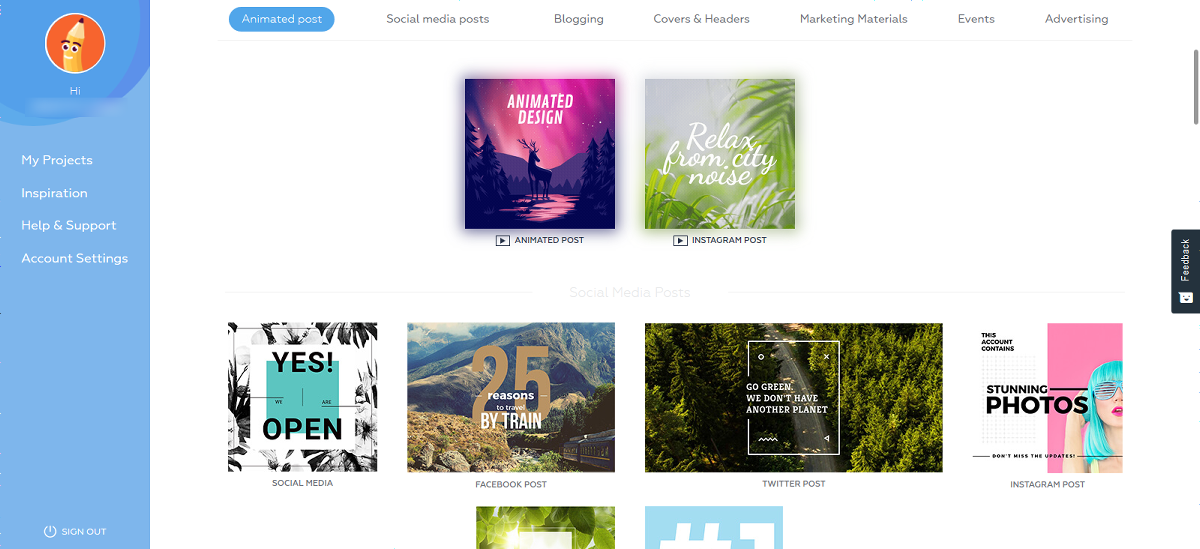
◆ Create an animation for Instagram
In this time I will create animation data for Instagram. You can see how the completed animation works by seeing the following movie in one shot.
An animation for social media posting created with free online photo editor "Crello" - YouTube
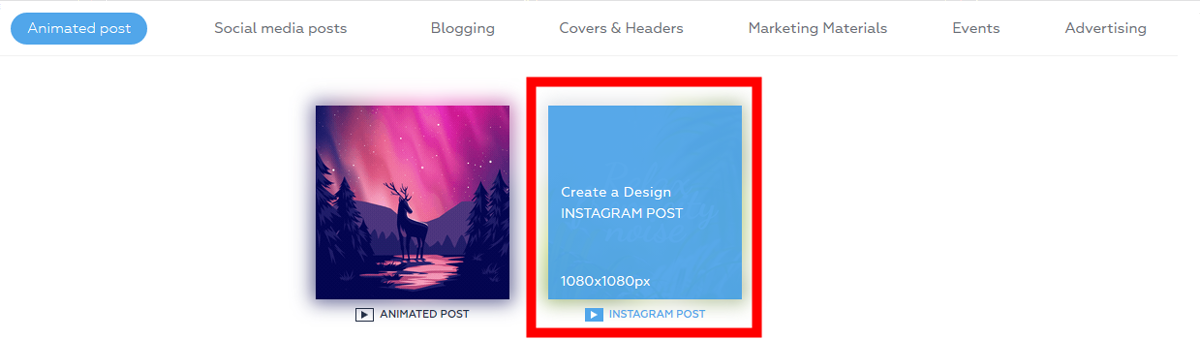
Click "Create a Design INSTAGRAM POST".
The editing screen is displayed, and thumbnails of the template are arranged on the left side. When you hover the mouse cursor, the animation starts to move and you can grasp the atmosphere. Double-click a thumbnail or drag it to the edit screen to set the template.
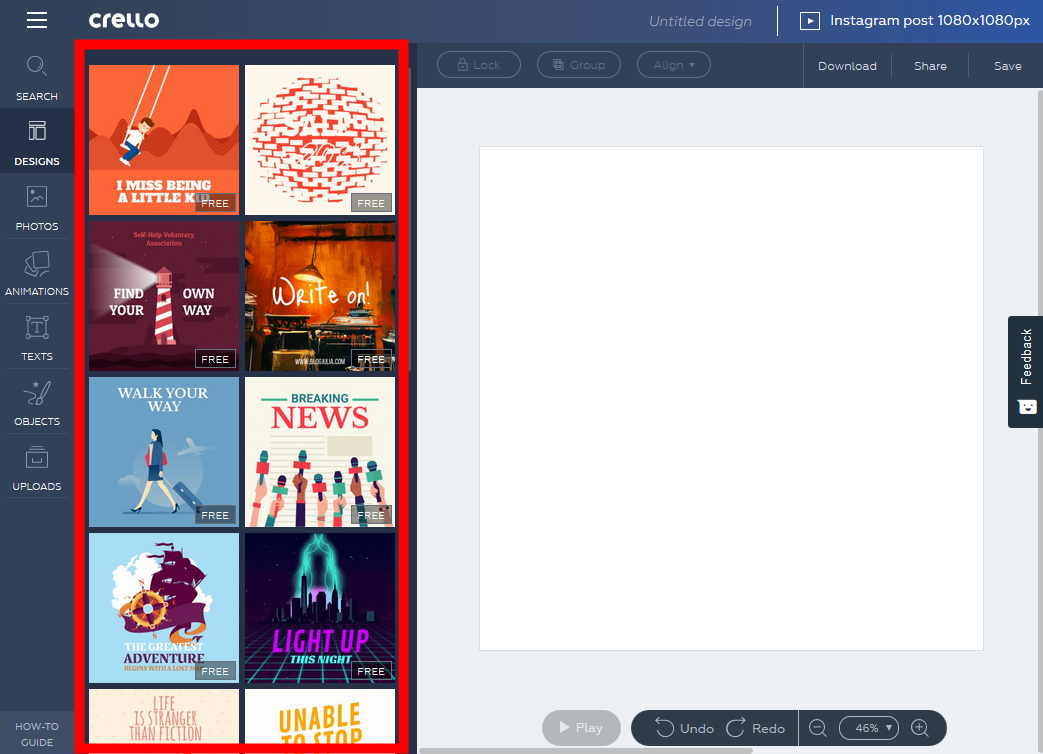
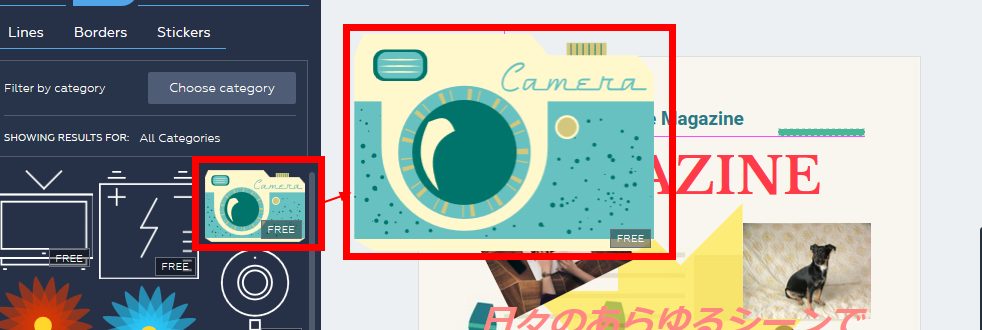
In Crello, you can use three types of "free material", "charged material", "photo uploaded by yourself". Free material is displayed as "Free" at the bottom right of the thumbnail.

Paid materials are displayed in the dollar notation on the lower right of the thumbnail.
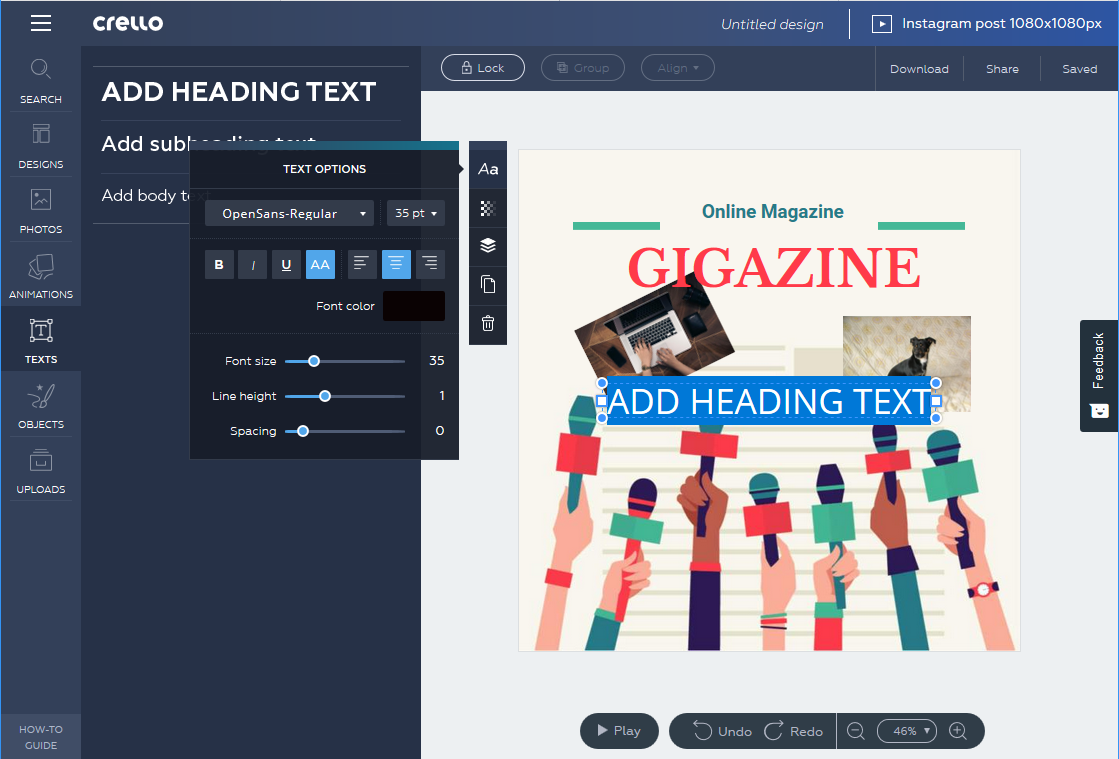
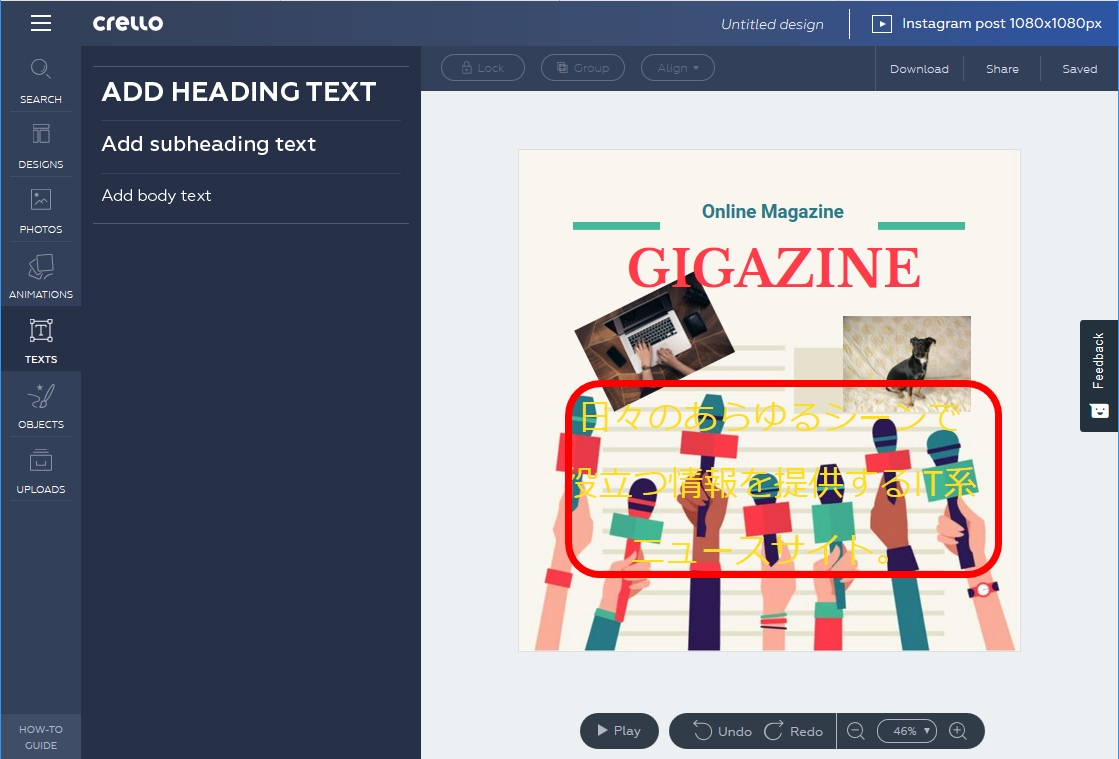
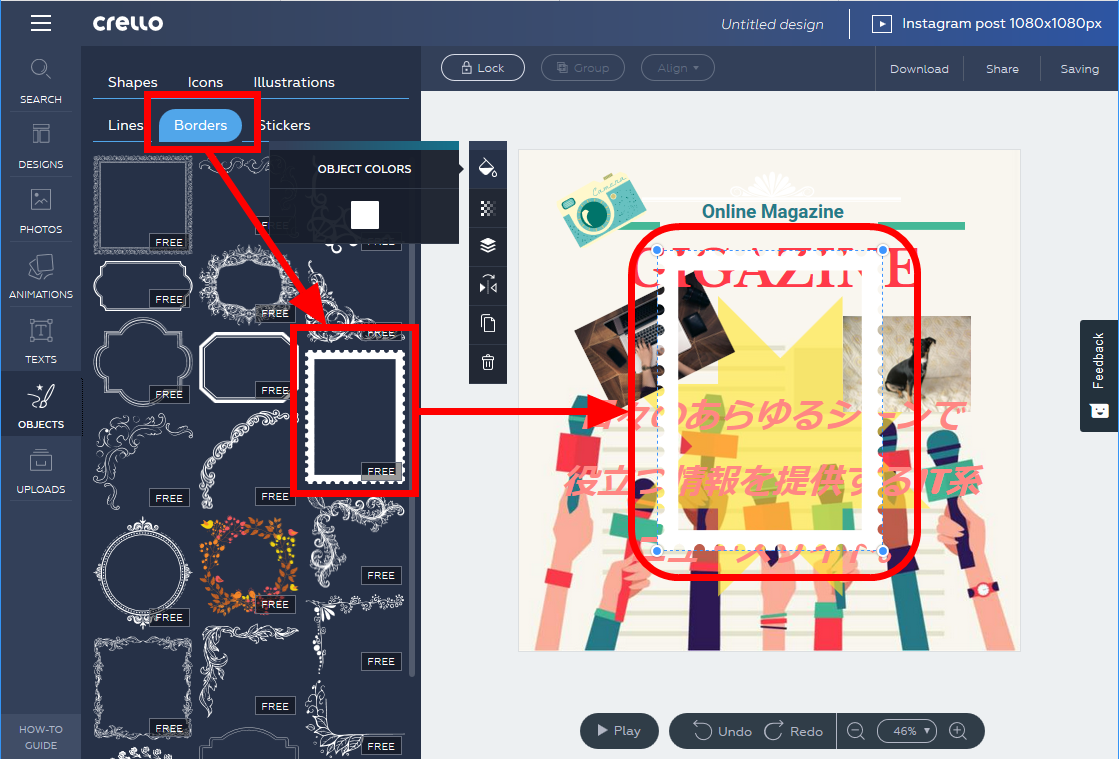
First, click on the template that is the main frame. For this time, we chose a template where a lot of people are pointing the microphone to heaven.
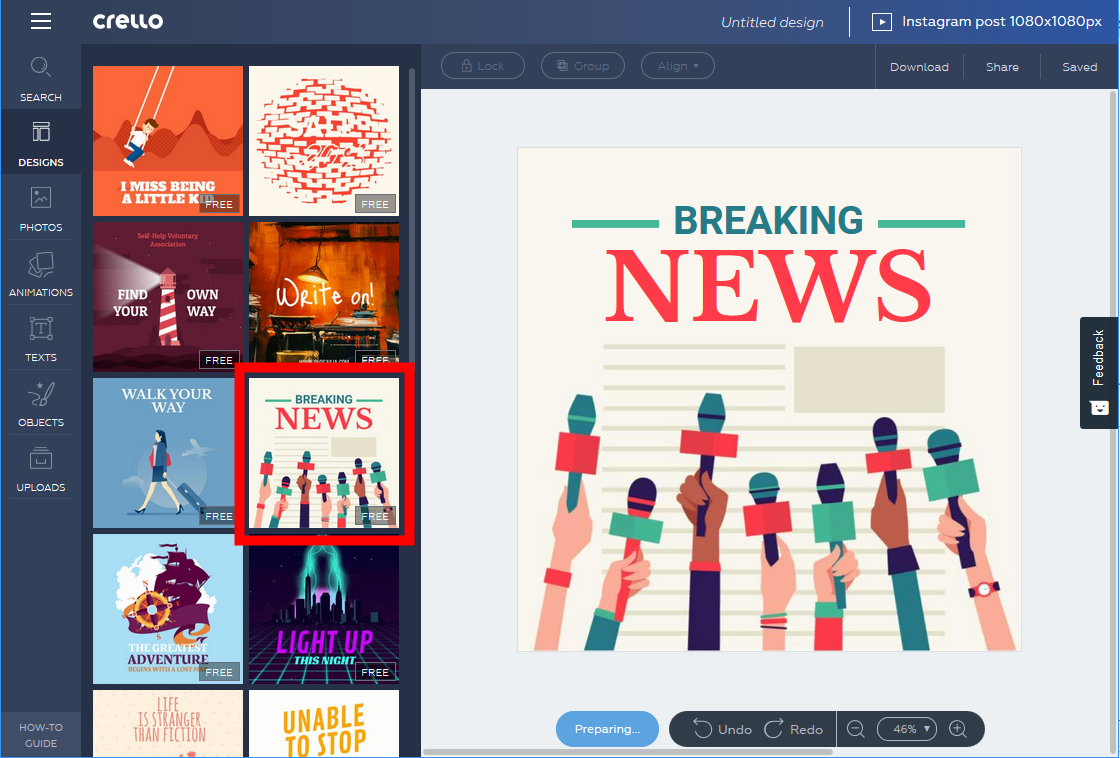
Click on the text part of the template and you can edit it.
You can also edit the part that was written as "NEWS" with red letters. You can make everywhere in the template original.
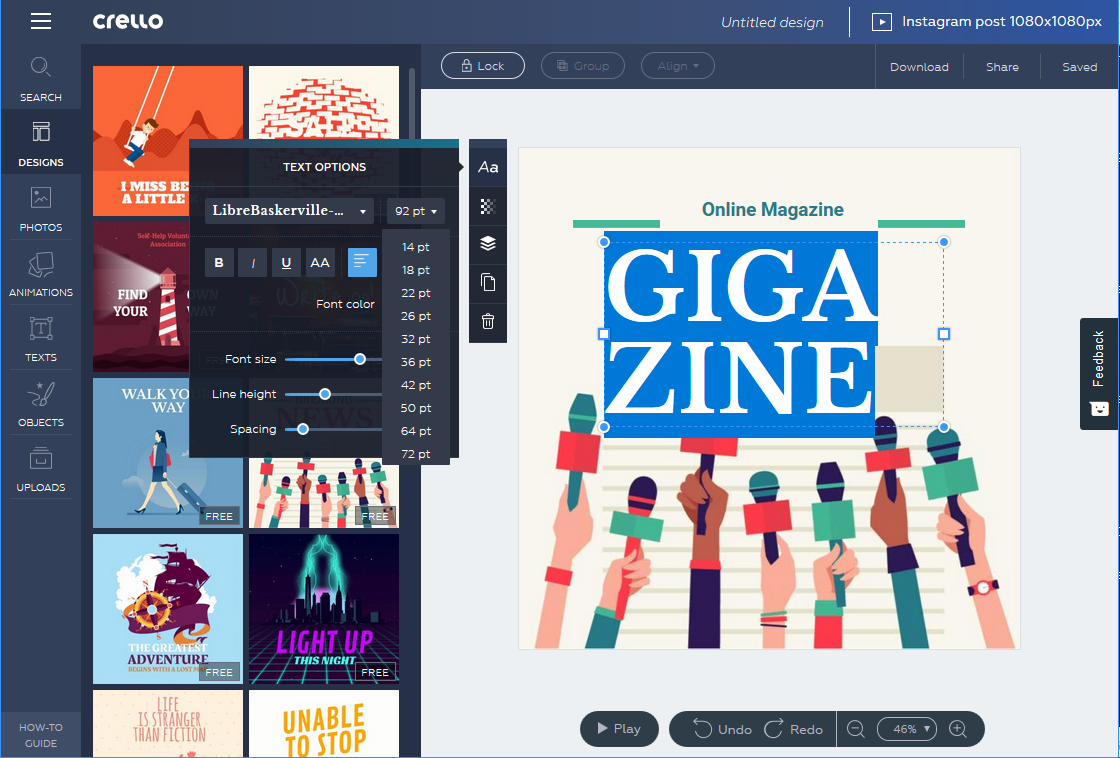
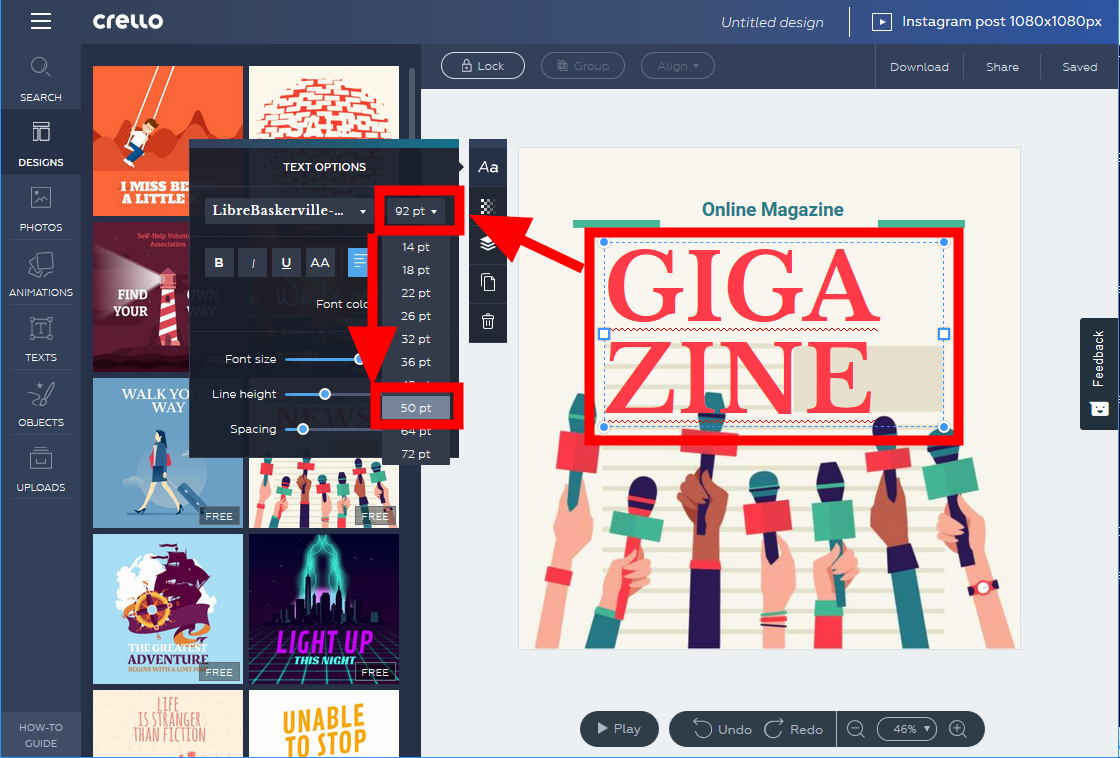
You can change the font size from the drop down menu.
You can insert photos by clicking the "PHOTOS" icon in the menu section on the left side of the screen.
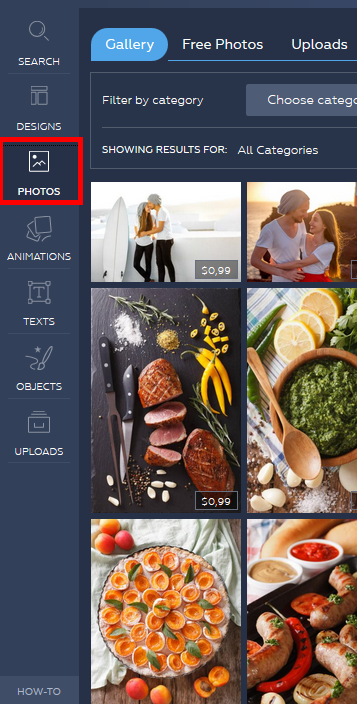
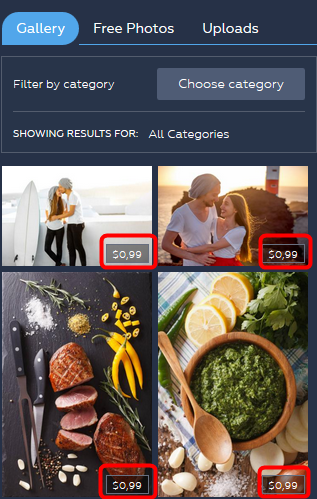
In the "FreeProducts" tab, free photo materials are displayed.
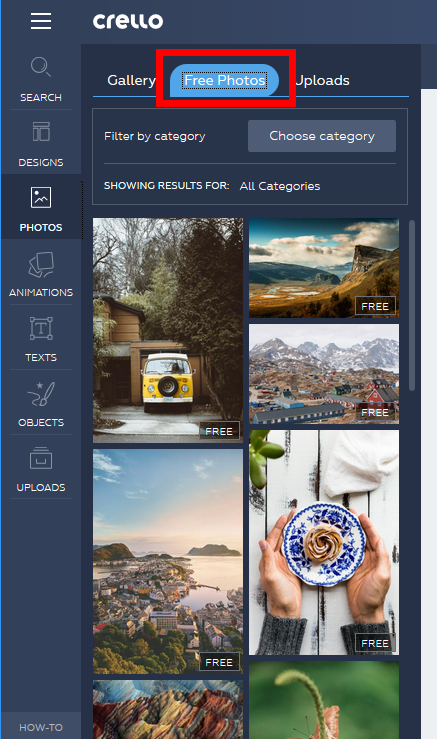
On the "Gallery" tab, paid photo materials are displayed.
You can click on the thumbnail of the photo you want to use and add it by drag & amp; drop.
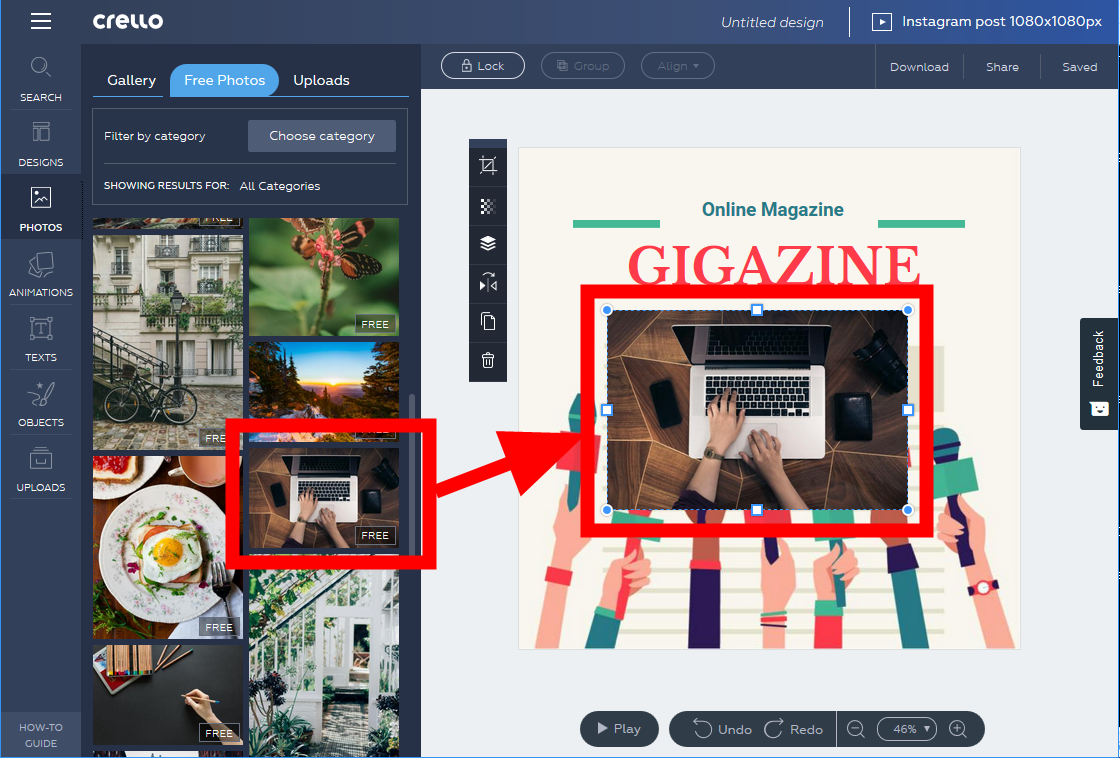
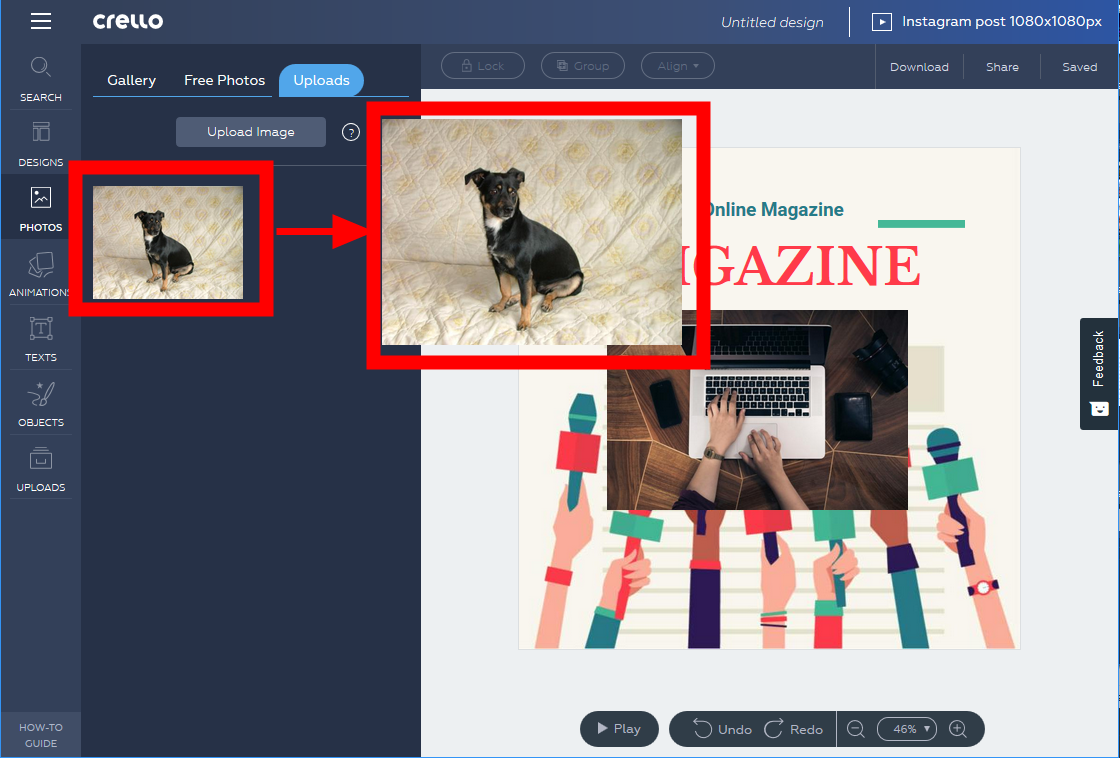
Crello can use images from your PC as a material. This time, I will try using the following images.
On the "Uploads" tab, click "Upload Image".
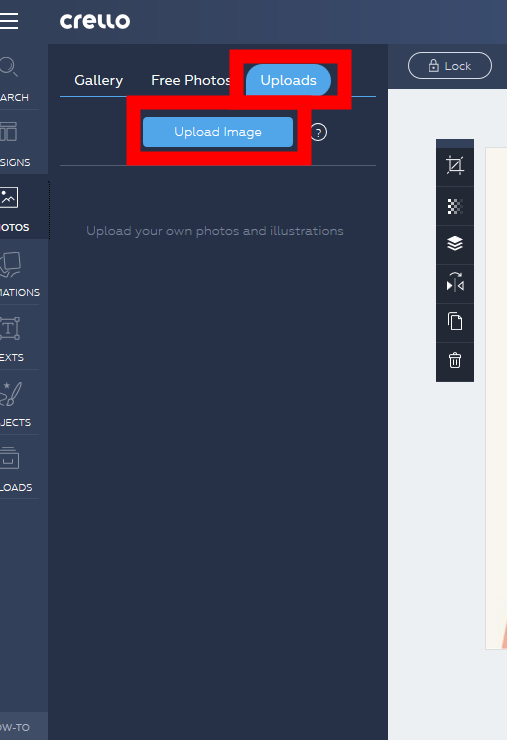
"Upload file" opens, so select the photo you want to use and click "Open".

The photos will be uploaded.
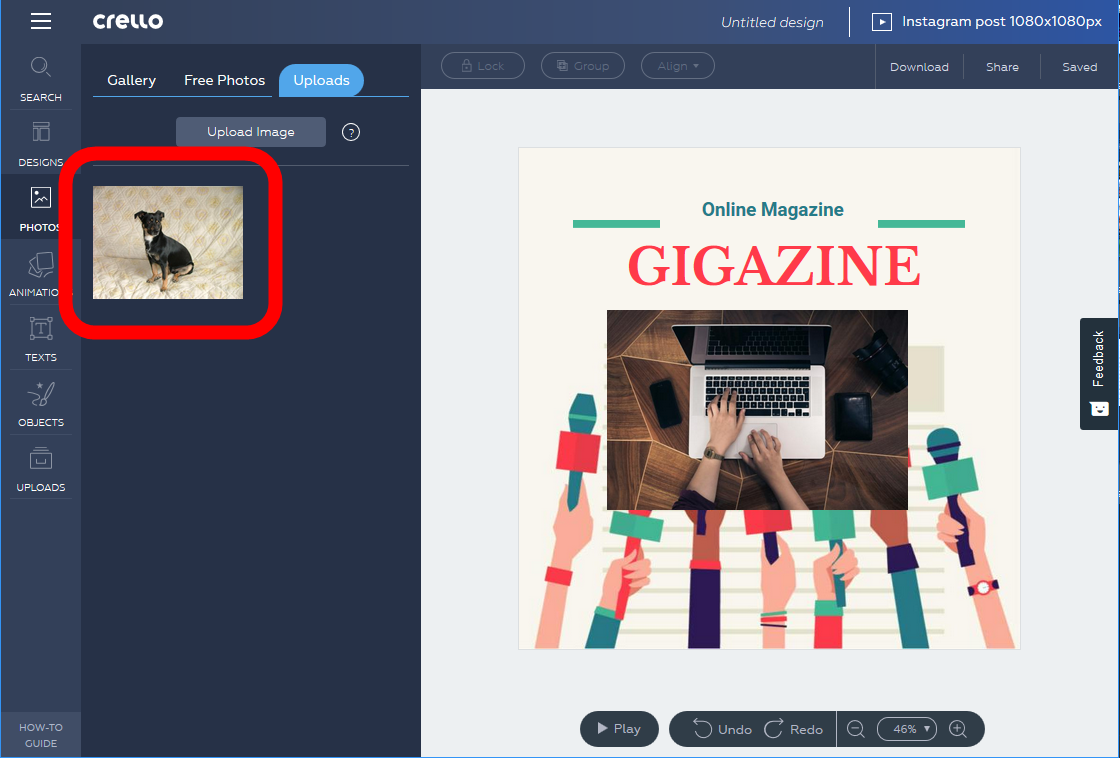
As uploaded photos, you can insert them by drag & amp; drop as well as template material.
· Edit photos
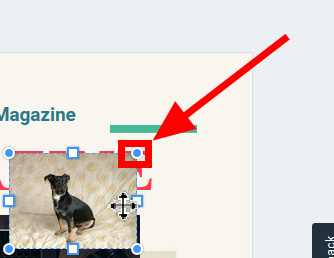
You can edit the size and inclination of the inserted photo. When placing the mouse cursor on the circle of the corner of the picture, you can change the size by displaying the following arrows.
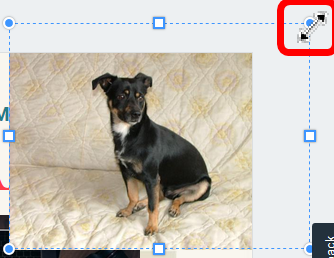
You can change the size by dragging diagonally.
· Change of tilt
When you hover the cursor to the outside of the corner of the photo, the following arrow will be displayed.
You can change the tilt by dragging outside the corner of the picture.
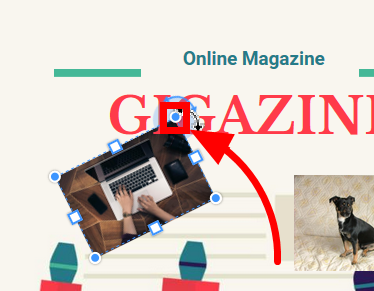
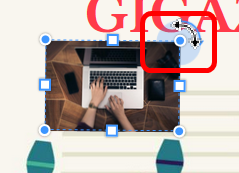
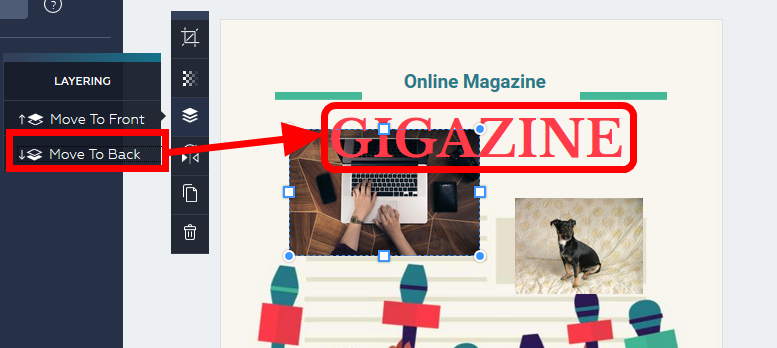
· Change the order of photos
If the picture overlaps with other material such as letters, you can switch the order of the front and the back. Select the photo you want to replace and click the icon with diamonds overlapping.
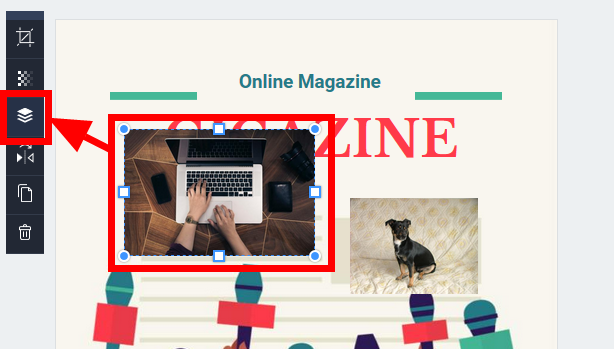
You can move the image to the back with "Move To Back" and move it to the front with "Mobe To Front".
· Flip photo
Select a picture and click on the icon below. Click "Flip vertically" to flip up and down or "Flip Horizontally" to flip left and right.

· Cancel editing
Click "Undo" at the bottom of the screen.
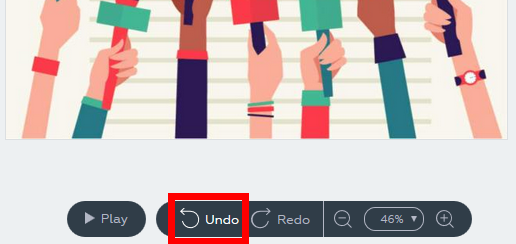
You can return the edits by the number you clicked, and click "Redo" to cancel the cancellation.
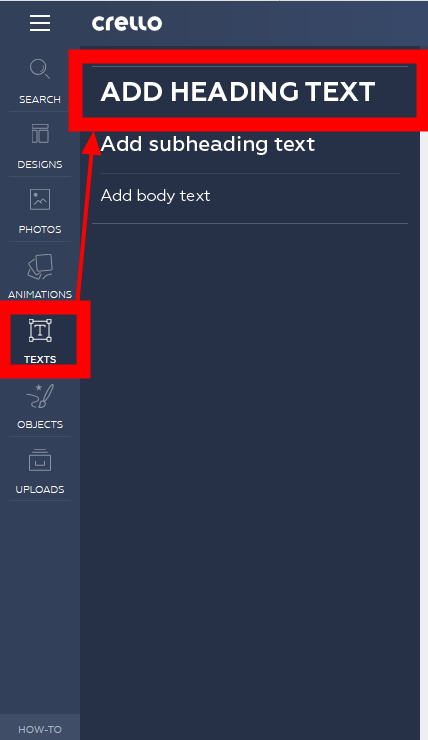
· Insert a character
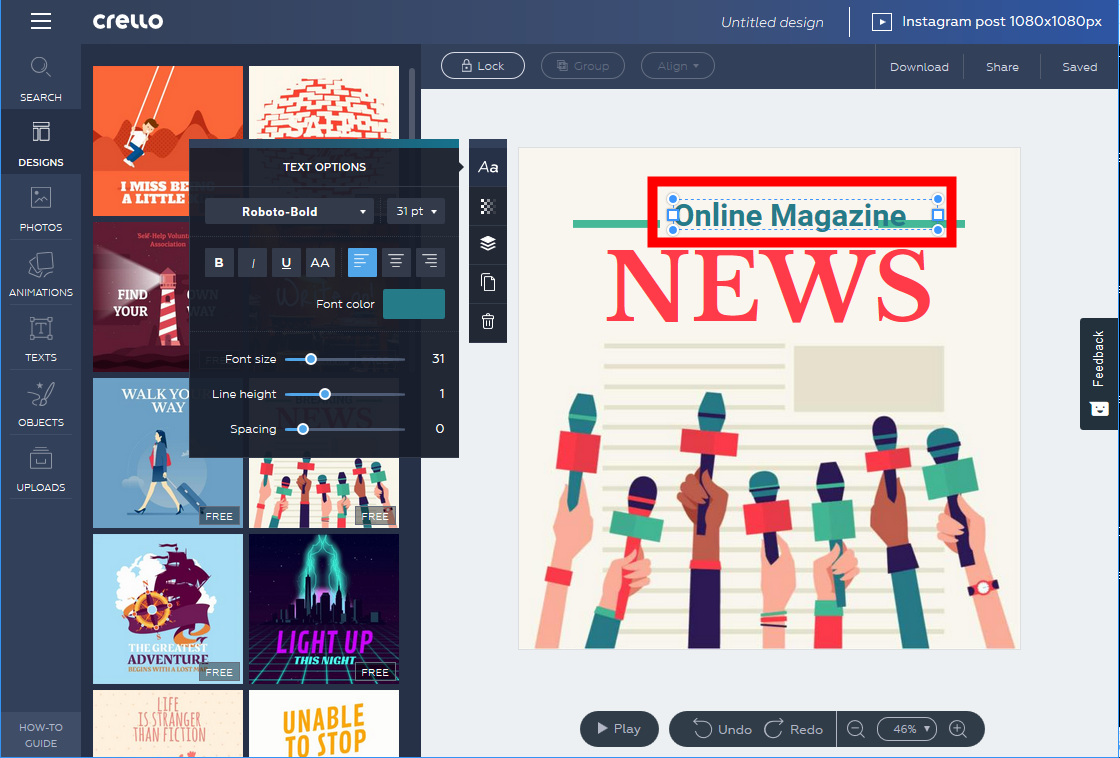
If you want to insert text in the design, click "TEXTS" on the left side of the screen. There are three types of text, "HEADING TEXT" (header part), "subheding text" (subheading part), "body text" (body), each character can be edited for the corresponding part. For the first time, click "ADD HEADING TEXT" and edit the header part.
A text box will be displayed. A text box is displayed on the design, and a "TEXT OPTIONS" window for editing the text is displayed at the same time.
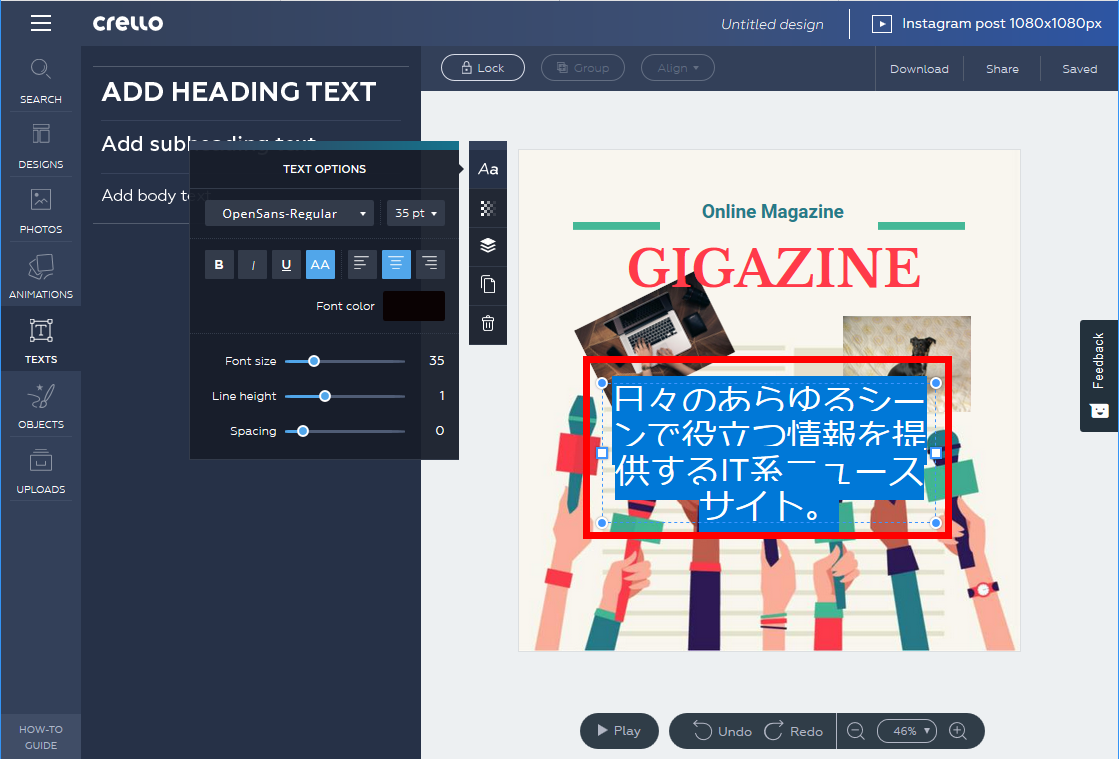
Clicking the text box allows you to enter and edit text.
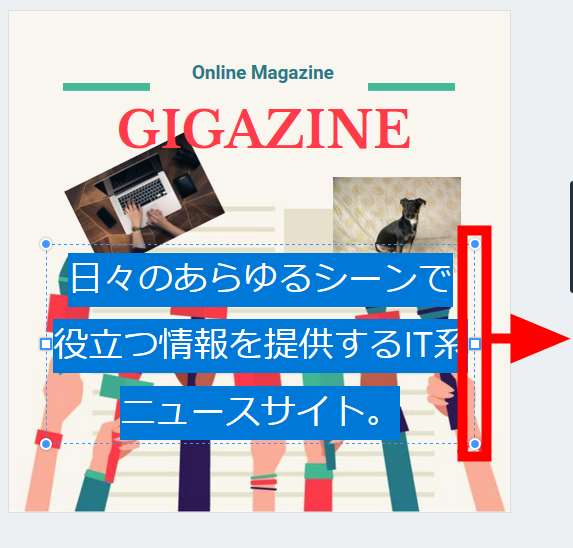
You can adjust the size by dragging each side of the text box.
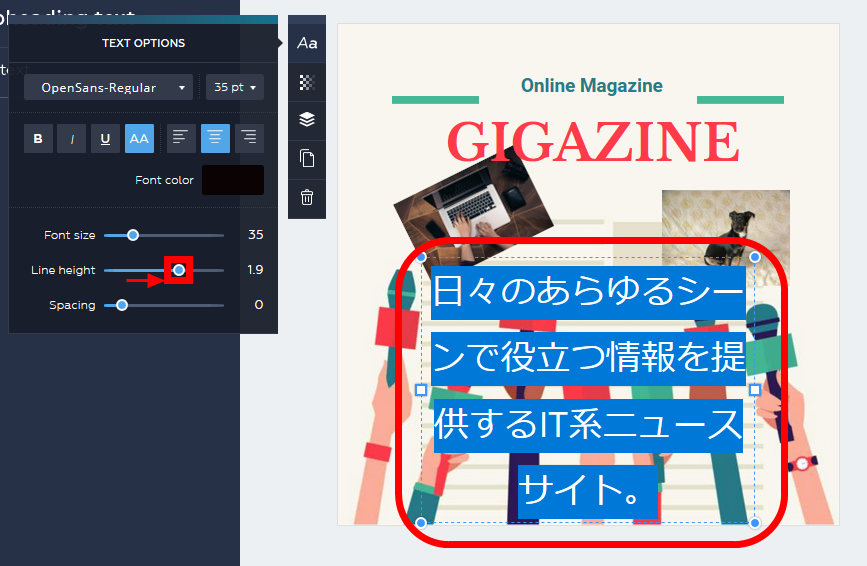
· Editing between lines
You can adjust the line spacing by dragging the "Line height" slider.
Change of text color
When you click "Font color" ......
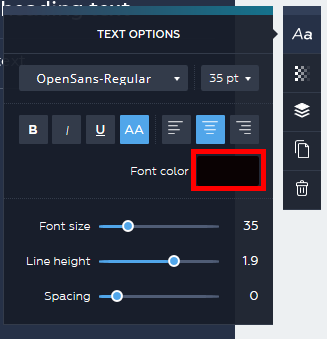
You can select font color.
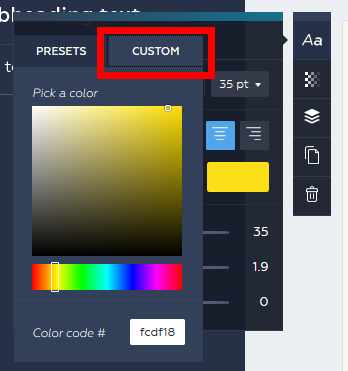
On the "CUSTOM" tab, you can fine-tune the text color. It is also possible to specify with color code.
By clicking on the font name of the character, you can change the font in the drop down menu.

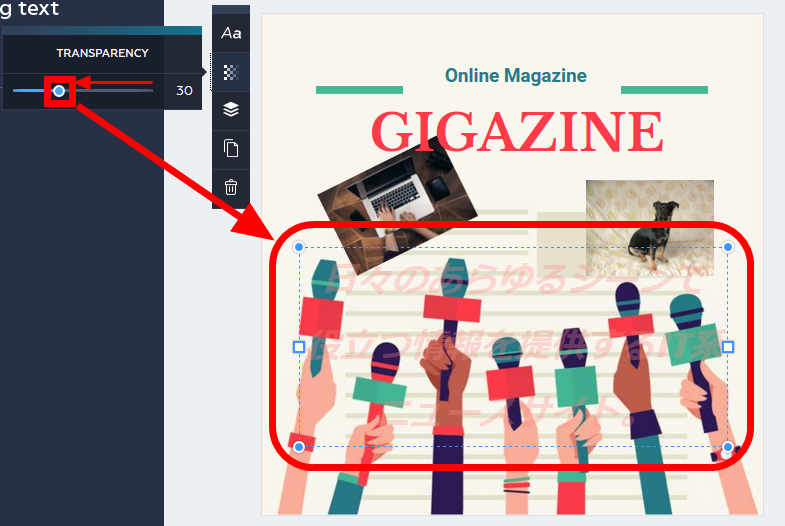
· Transparent letters
Click the checkered icon and drag the slider ......
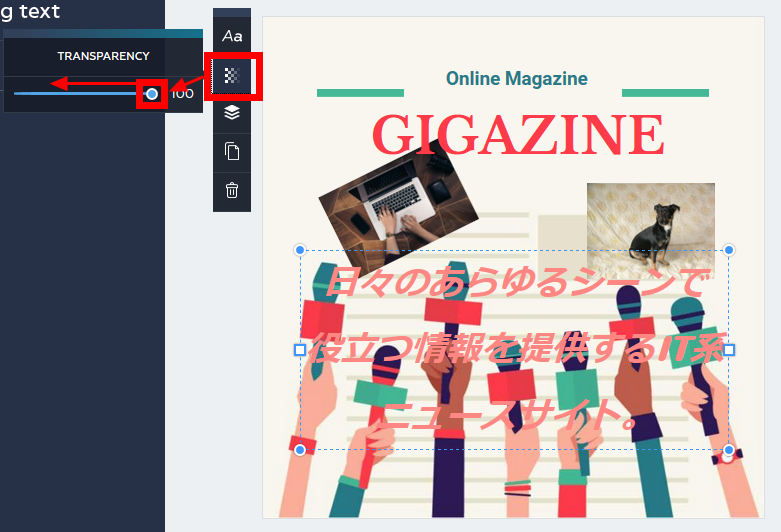
It is possible to display characters transparently by specifying transparency.
· Insert an object
You can decorate by inserting lines, icons and stickers. Click "OBJECTS" on the left side of the screen to open the "Shapes" tab.
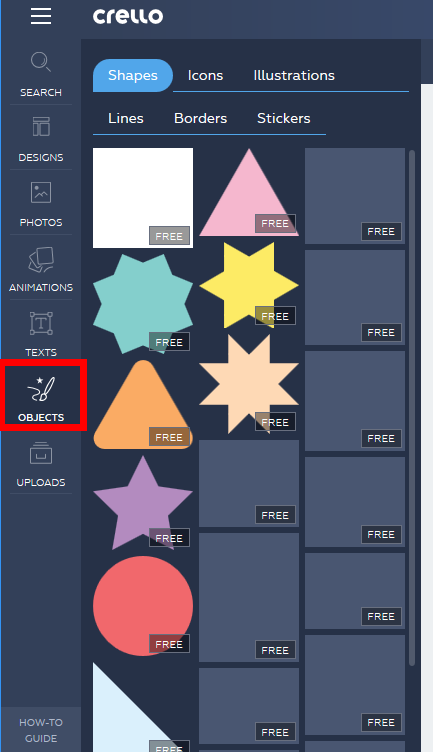
You can insert shapes with & drag & amp; drop.
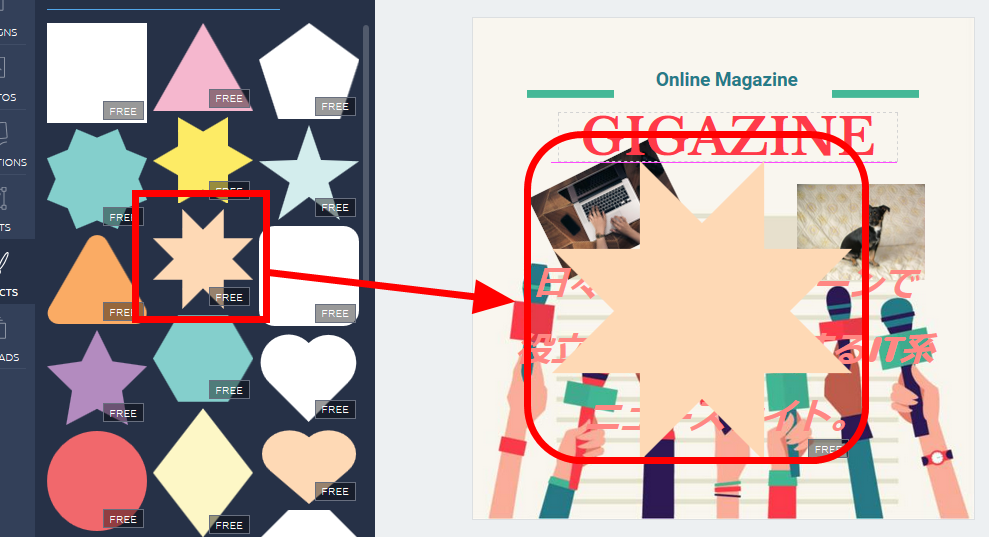
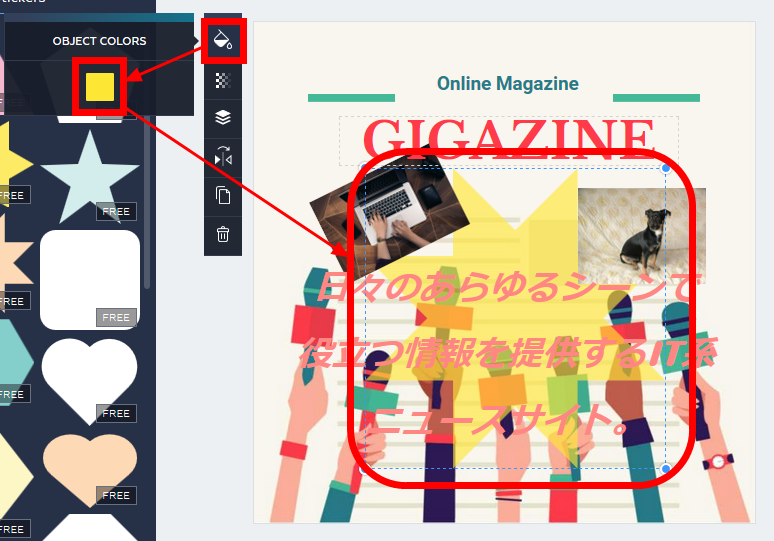
You can edit shapes in the same way as photographs, such as changing the order of front and back, adjusting the angle, etc. To change the color of a shape, click the icon with the shape of a tilted beaker and select a color.
On the "Icons" tab, you can choose the material of the props that can be inserted.
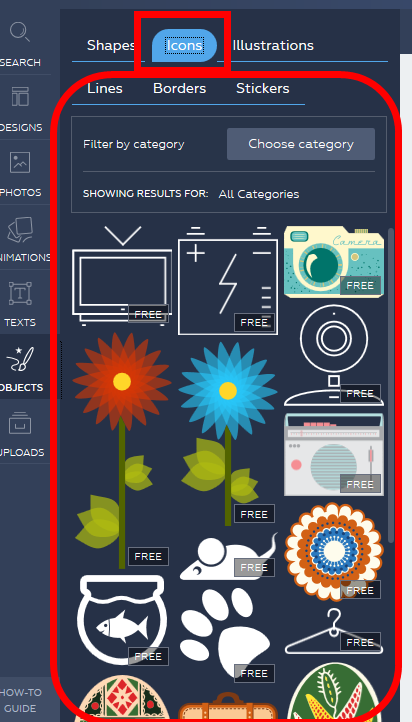
Just like pictures and the like, you can insert by drag & amp; drop, you can adjust the size and inclination etc.

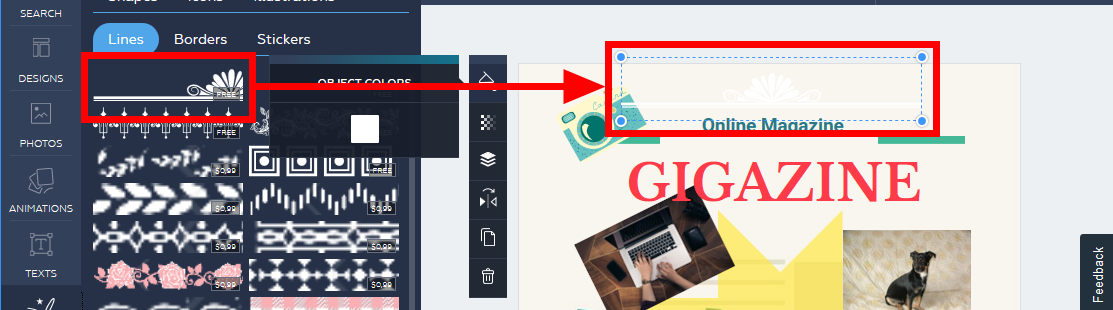
In the "Lines" tab, the decorated lines are displayed.

Paying materials and free materials are lining up together.
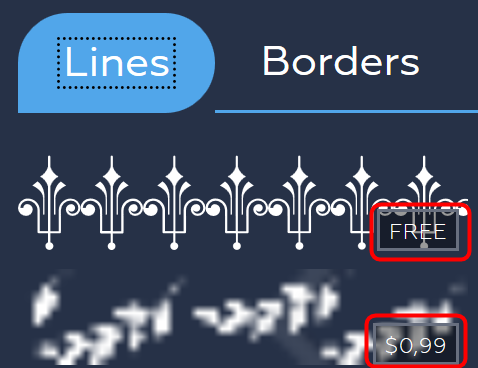
Drag & amp; Insert with drop, you can also edit size, tilt and so on.
On the "Borders" tab, you can choose a frame with decorations. You can also insert and edit with drag & amp; drop here.
In the "Stickers" tab, you can insert and edit stickers consisting of two or three colors.

·test
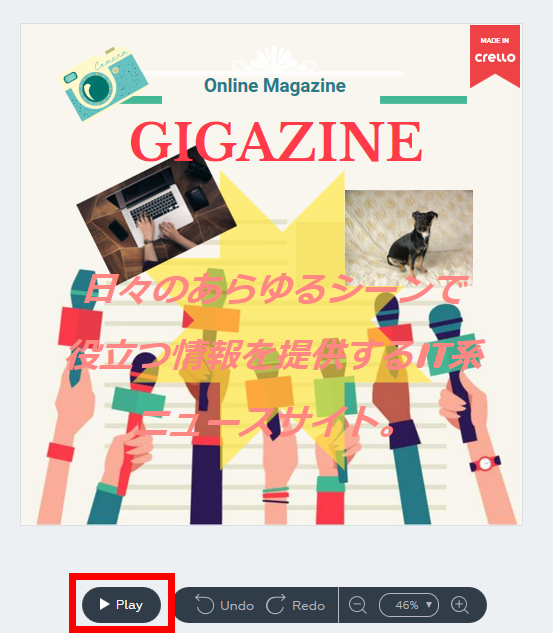
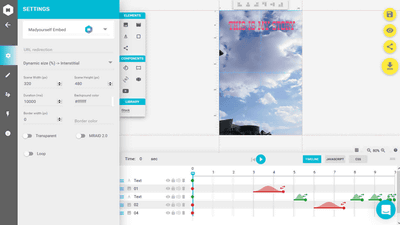
Click "Play" to test animation movement.
· Change name · Save
It is possible to save the created data on the server with the name you give it. You can save by entering a name at the top of the screen and clicking "Saved".

·download
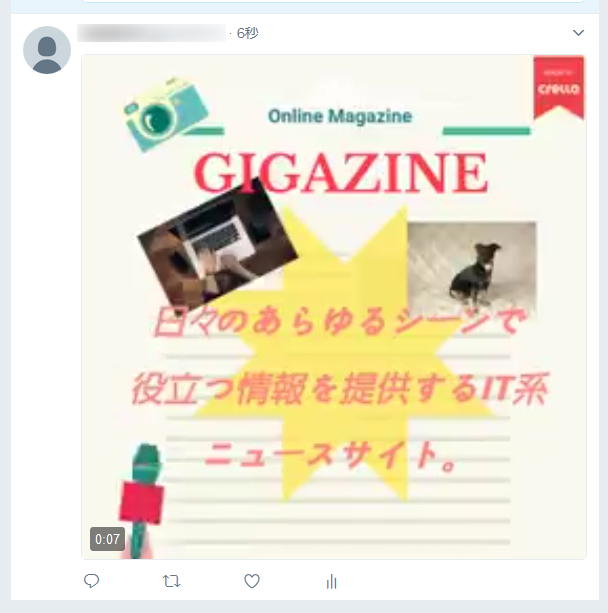
Click "Download", you can download the created data in the MP4 format movie.

You can post downloaded movies, of course, to Instagram.
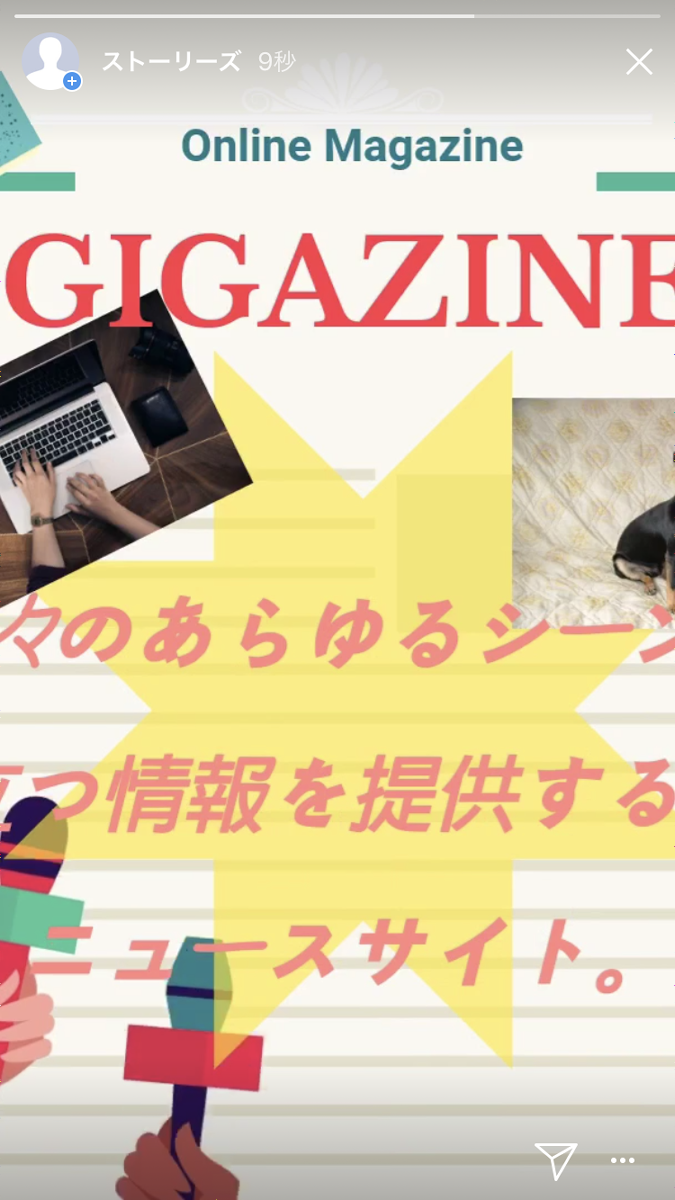
Movie is a ratio of squares with the same ratio of aspect ratio and aspect ratio, it is a movie of MP4 format, so if you are a social media that supports posting you can post Twitter as well.
◆ Create posters, slide doors, ads using templates
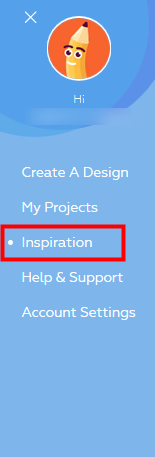
Click "Inspiration" displayed on the left side of the home screen.
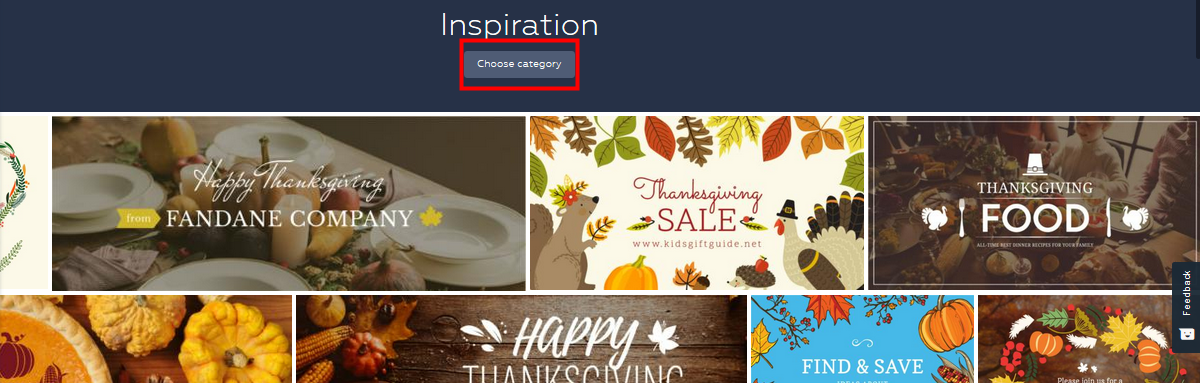
A thumbnail of the template is displayed. Click "Choose category".
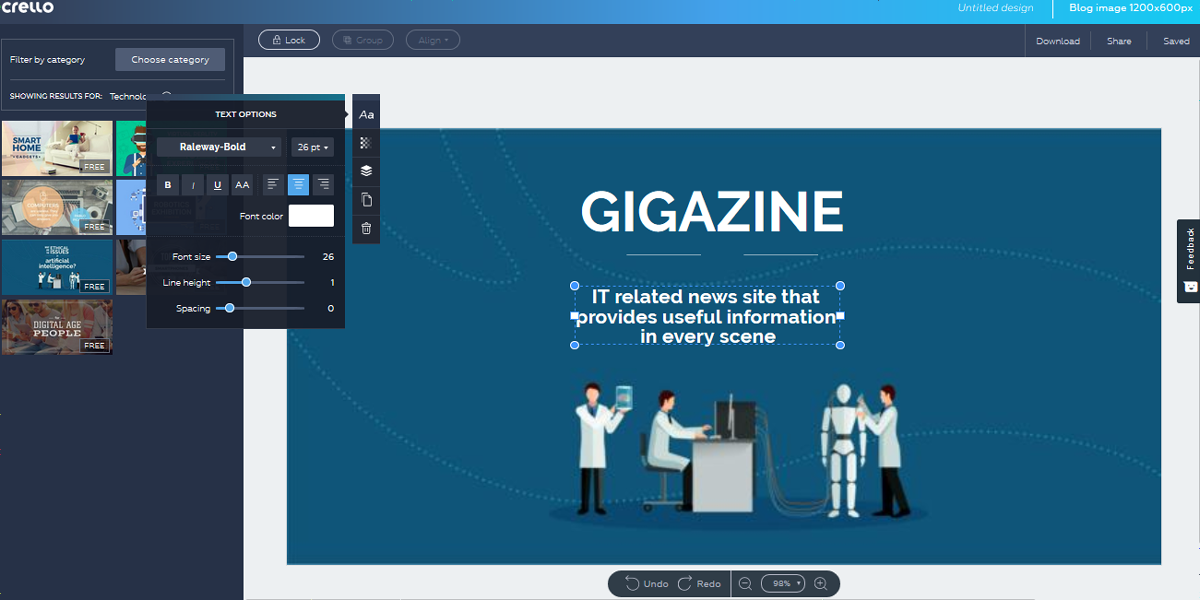
This time, I chose "TECHNOLOGY" (technology).
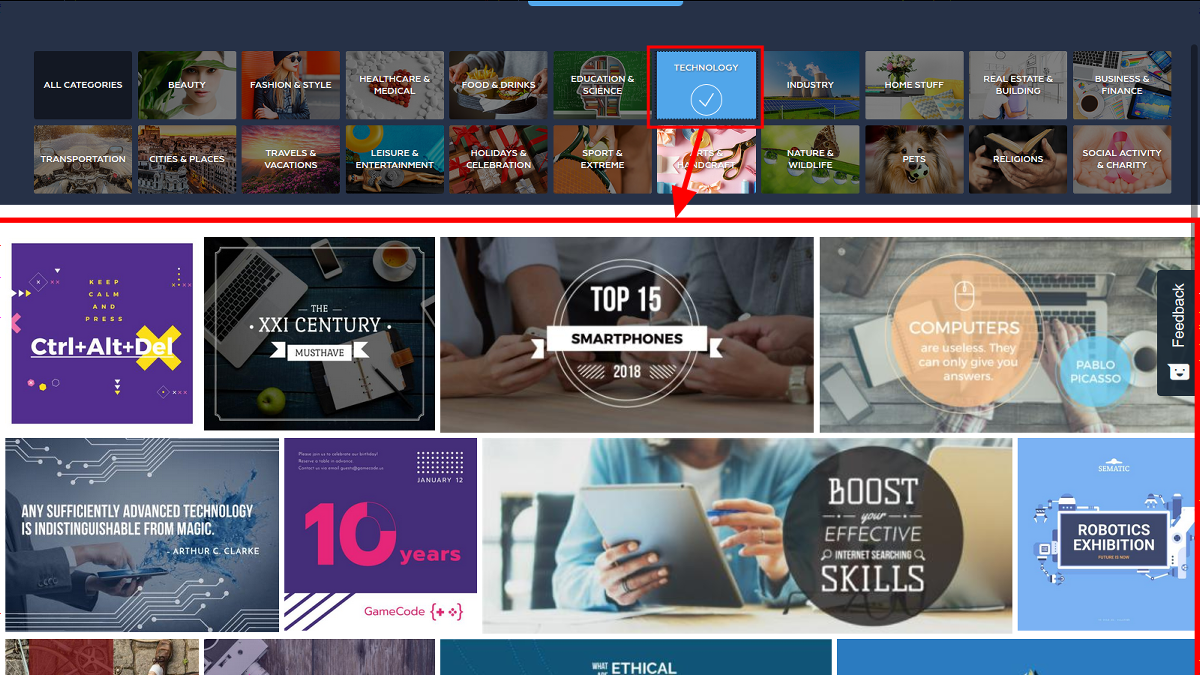
Templates can be selected from the following 21 categories.
· "BEAUTY" (Beauty)
· "FASHON & amp; STYLE" (Fashion and style)
· "HEALTHCARE & MEDICAL" (Healthcare and Medical)
· "FOOD & amp; DRINKS" (Food and drink)
· "EDUCATION & amp; SCIENCE" (Education and Science)
· "TECHNOLOGY" (technology)
· "INDUSTRY" (industrial)
· "HOME STUFF" (Furniture)
· "REAL ESTATE & BUILDING" (Real Estate and Building)
· "BUSINESS & FINANCE" (Business and Finance)
· "TRANSPORTATION" (traffic)
· "CITIES & amp; PLACES" (city and location)
· "TRAVES & amp; VACATIONS" (travel and vacation)
· "LEISURE & amp; ENTERTAINENT" (leisure and entertainment)
· "HOLIDAYS & amp; CELEBRATION" (holiday and wedding ceremony)
· "SPORT & EXTREME" (Sports & Extreme)
· "ARTS & amp; HANDCRAFT" (art and handicraft)
· "NATURE & amp; WILDLIFE" (nature and wild)
· "PETS" (pet)
· "RELIGIONS" (Religion)
· "SOCIAL ACTIVITY & CHARITY" (Social Activities and Charity)
You can edit the selected template in the same way as for animation templates.
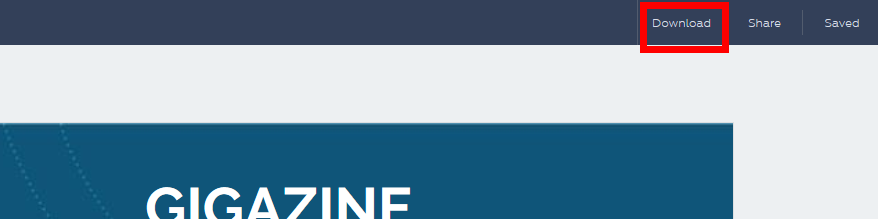
Click "Download", you can download the created data as an image file.
All file formats are JPG (JPG format), PNG (PNG format), PNG Transparent (Transparent PNG format), PDF Standard (PDF format for WEB material), PDF Print (High quality PDF for printing) Type, this time I will download it in PNG format.

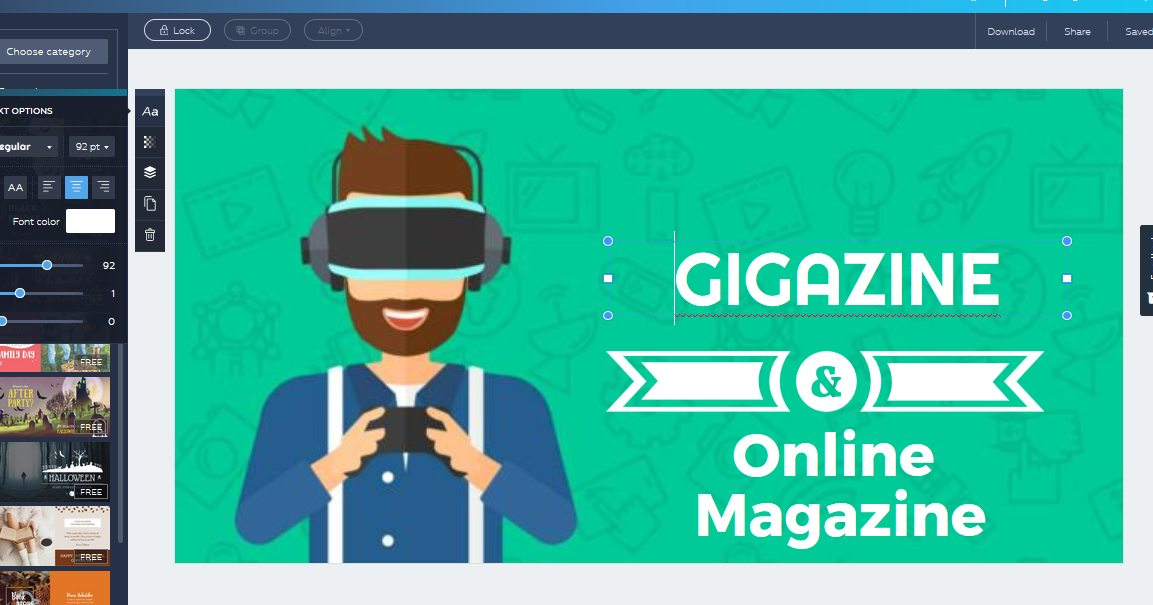
The image actually made is like this. We could create such images and animation data simply by accessing from the browser without software.
Related Posts:
in Video, Web Service, Review, Design, Web Application, Posted by darkhorse_log