The trial procedure of the cloud version of Windows 'Windows 365 Cloud PC' looks like this
Configure Windows 365 Business | Microsoft
https://www.microsoft.com/en-us/windows-365/business/configure
There are two types of 'Windows 365 Cloud PC', 'Windows 365 Business' and 'Windows 365 Enterprise'. Of these, 'Windows 365 Enterprise' is a service for large enterprises that need to deploy 'Windows 365 Cloud PC' throughout the organization with no limit on the number of users. Windows 10 Pro subscription for each user, Microsoft Endpoint Manager - Azure Active Directory Premium P1 license is required. These licenses are included in Microsoft 365 large enterprise plans E3, E5, F3 , education plans A3, A5 and Microsoft 365 Education student use benefits, and Microsoft 365 Business Premium subscriptions.
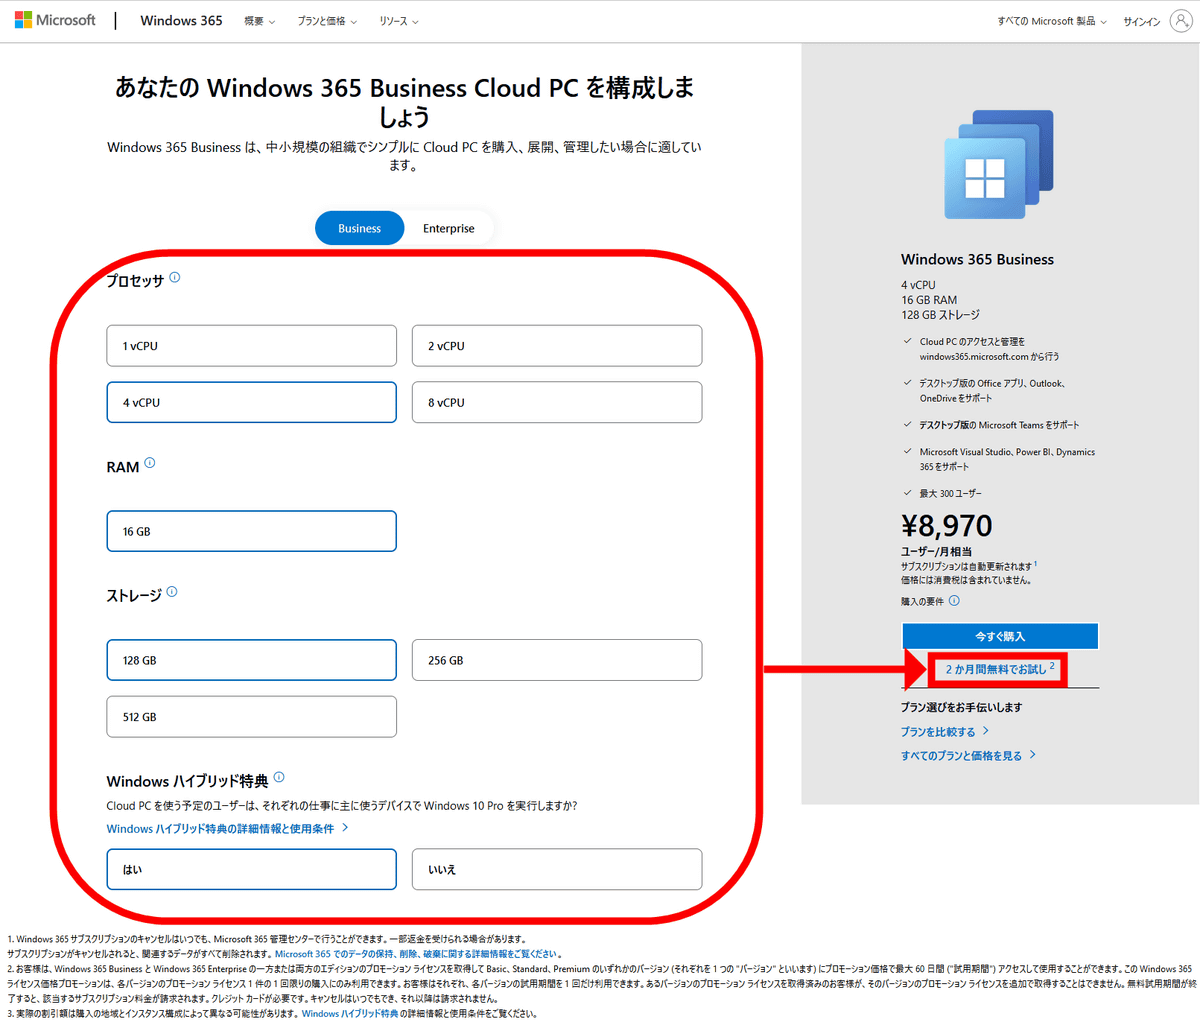
Users who do not fall under these categories will apply for 'Windows 365 Business'. If you select the processor / RAM / storage configuration and the presence / absence of Windows hybrid benefits, the monthly equivalent amount per user will be displayed.

There are 12 combinations of configurations, of which 3 are 2 vCPU / 4GB RAM / 128GB storage 'Basic', 2 vCPU / 8GB RAM / 128GB storage 'Standard', and 4 vCPU / 16GB RAM / 128GB storage 'Premium'. In the case of the type configuration, the link 'Try for free for 2 months' is displayed under the 'Buy now' button, so click this.
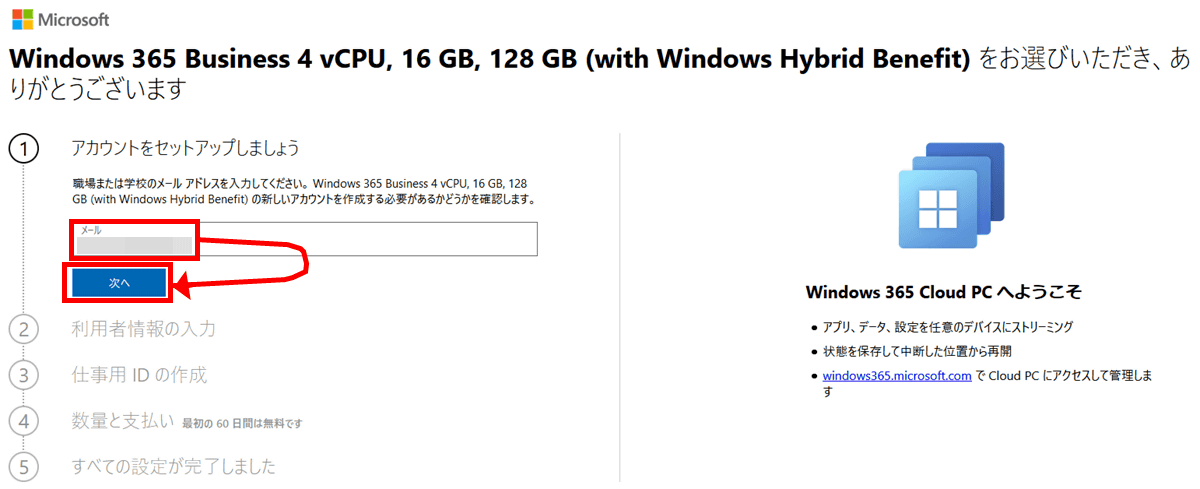
Enter your email address and click 'Next'.
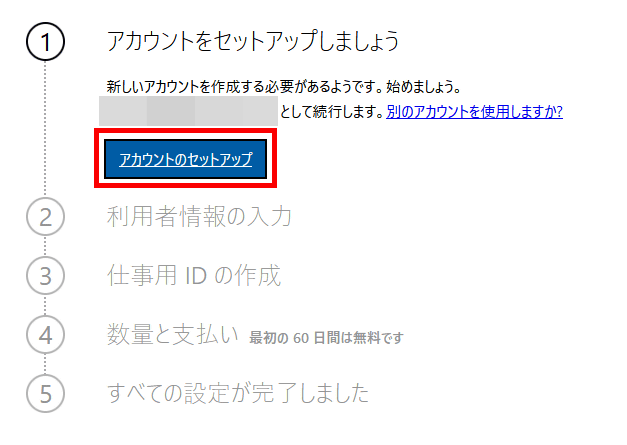
If you are not an 'Azure Active Directory (AAD)' account, the first step is to create an account. Click 'Account Setup'. In addition, it does not matter whether you have a personal Microsoft account or not, as it is a judgment of whether it is AAD or not.
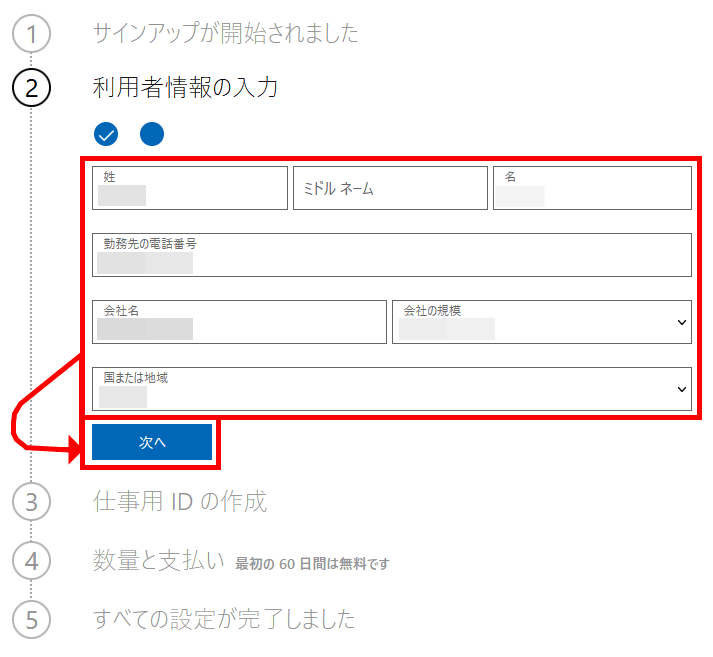
Enter the user information and click 'Next'.
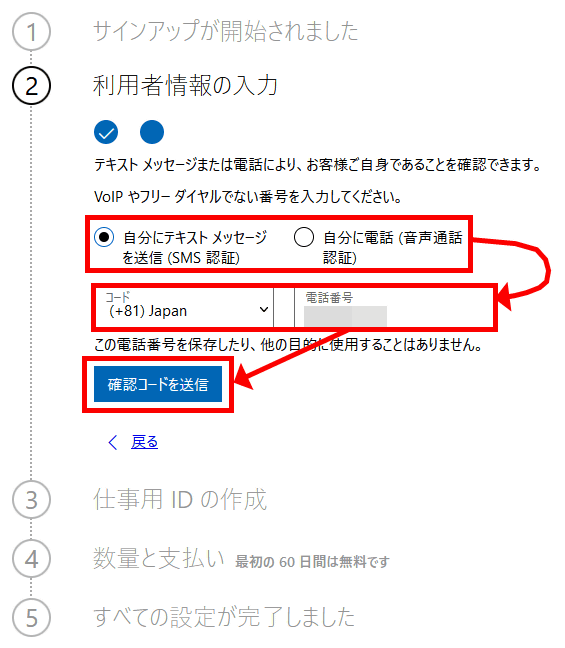
Then user confirmation is performed. Select 'SMS verification', enter the phone number of your smartphone and click 'Send verification code'.
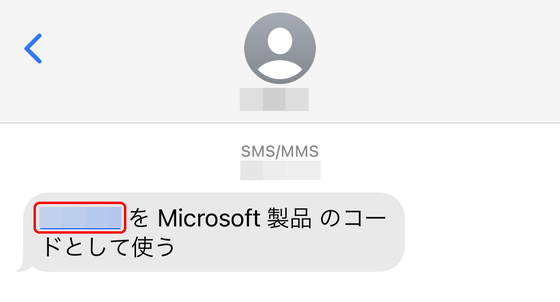
The SMS you receive immediately will contain a 6-digit verification code.
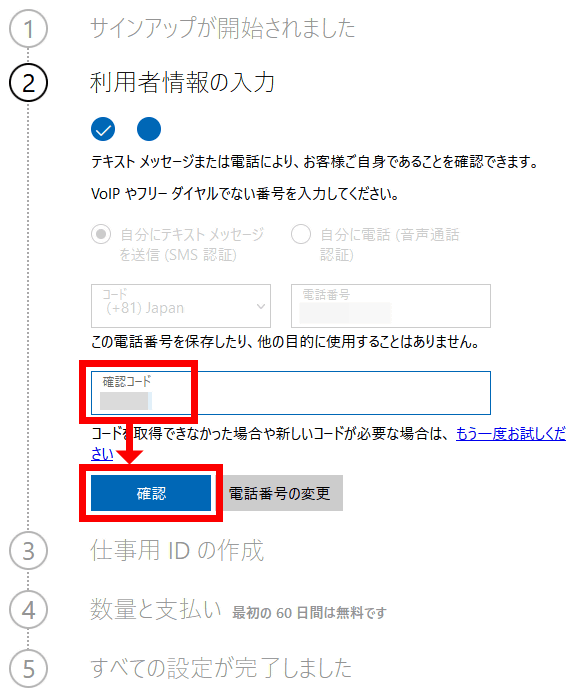
Enter the confirmation code sent to you and click 'Confirm'.
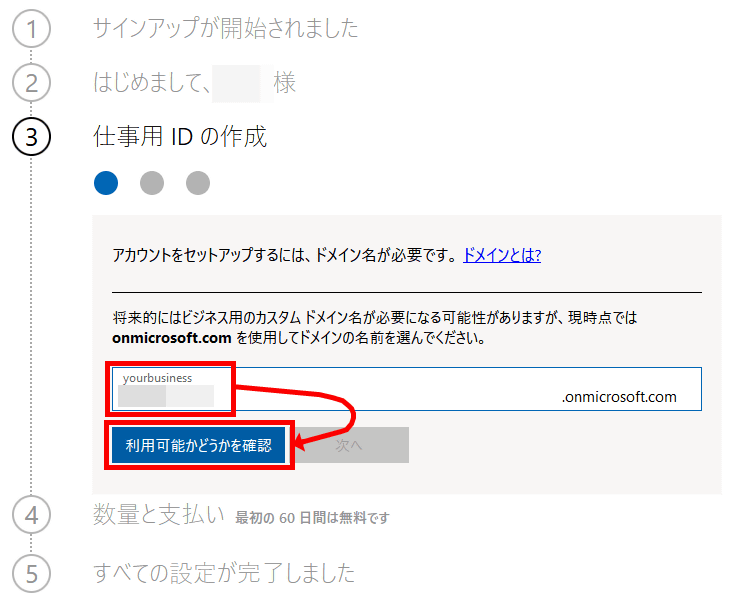
Next, a domain is required for account setup, so enter an arbitrary character string and click 'Check if it is available'. You cannot change the domain name later.
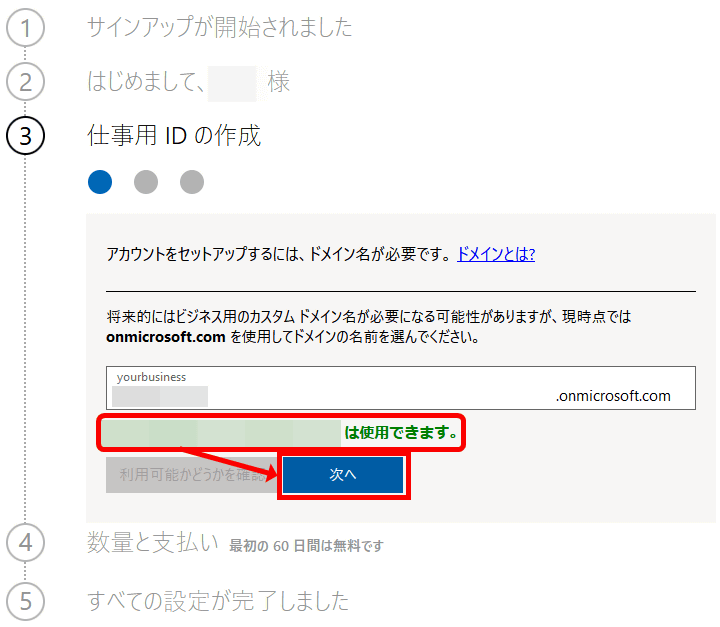
When '○○ can be used' is displayed, click 'Next'.
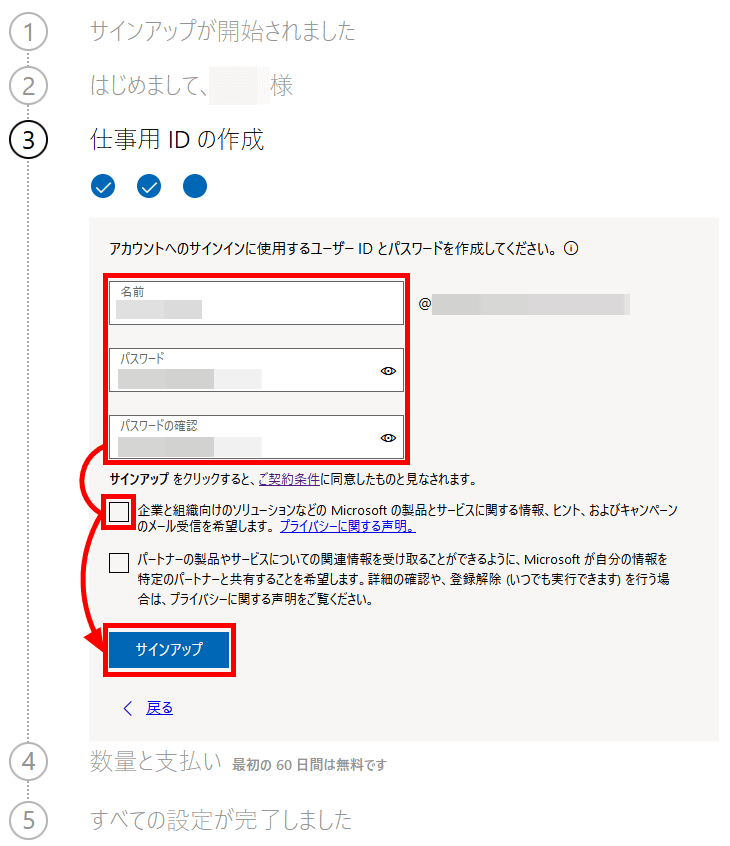
Enter the user ID and password used to sign in to your account, uncheck the checkbox, and click 'Sign up'.
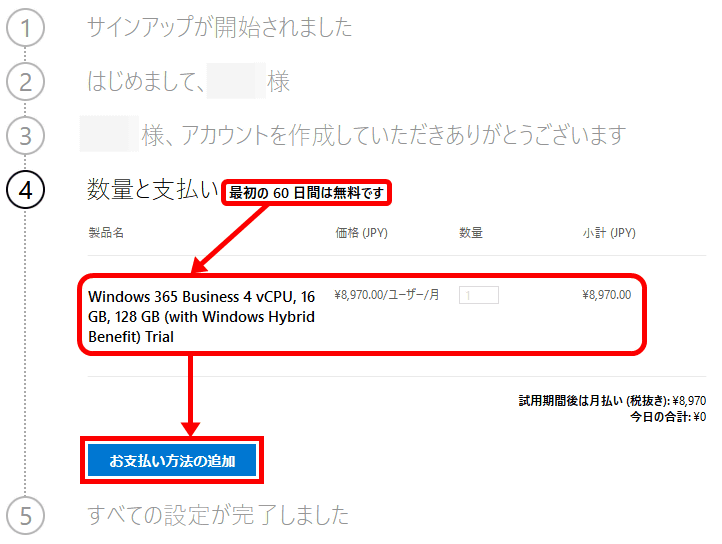
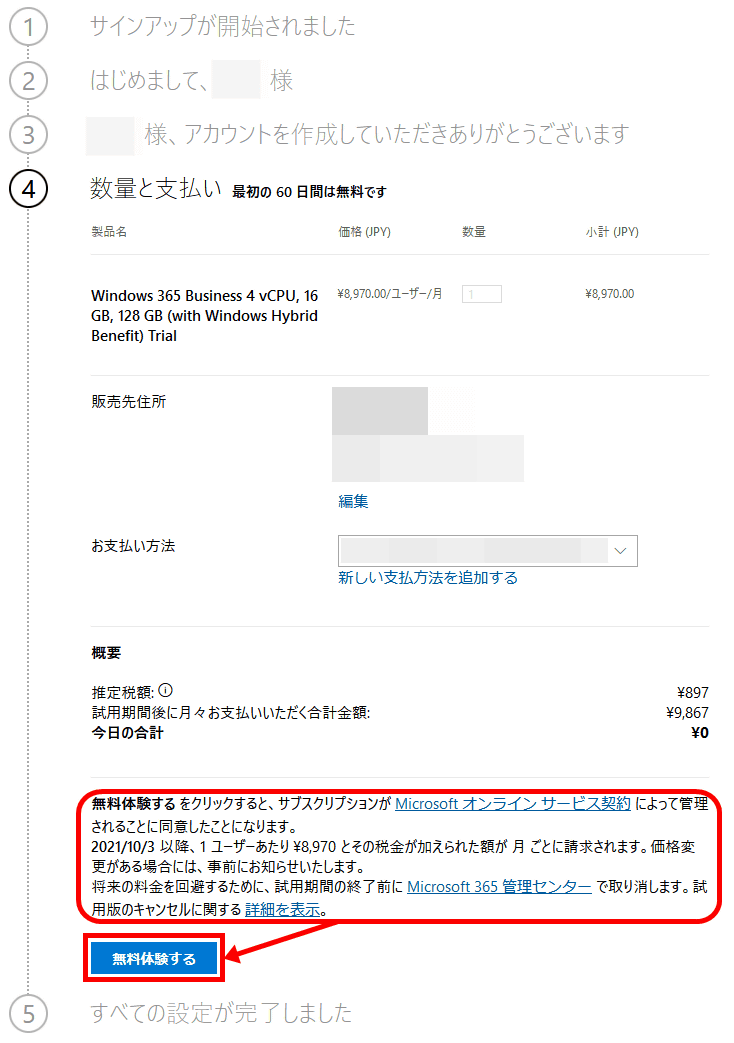
Double-check that there is a statement 'Free for the first 60 days' and that the configuration you applied for is correct, and click 'Add payment method'.
Enter the credit card information that can be used for payment and click 'Save'.

An explanation about the free trial will be displayed, so click 'Free trial'.
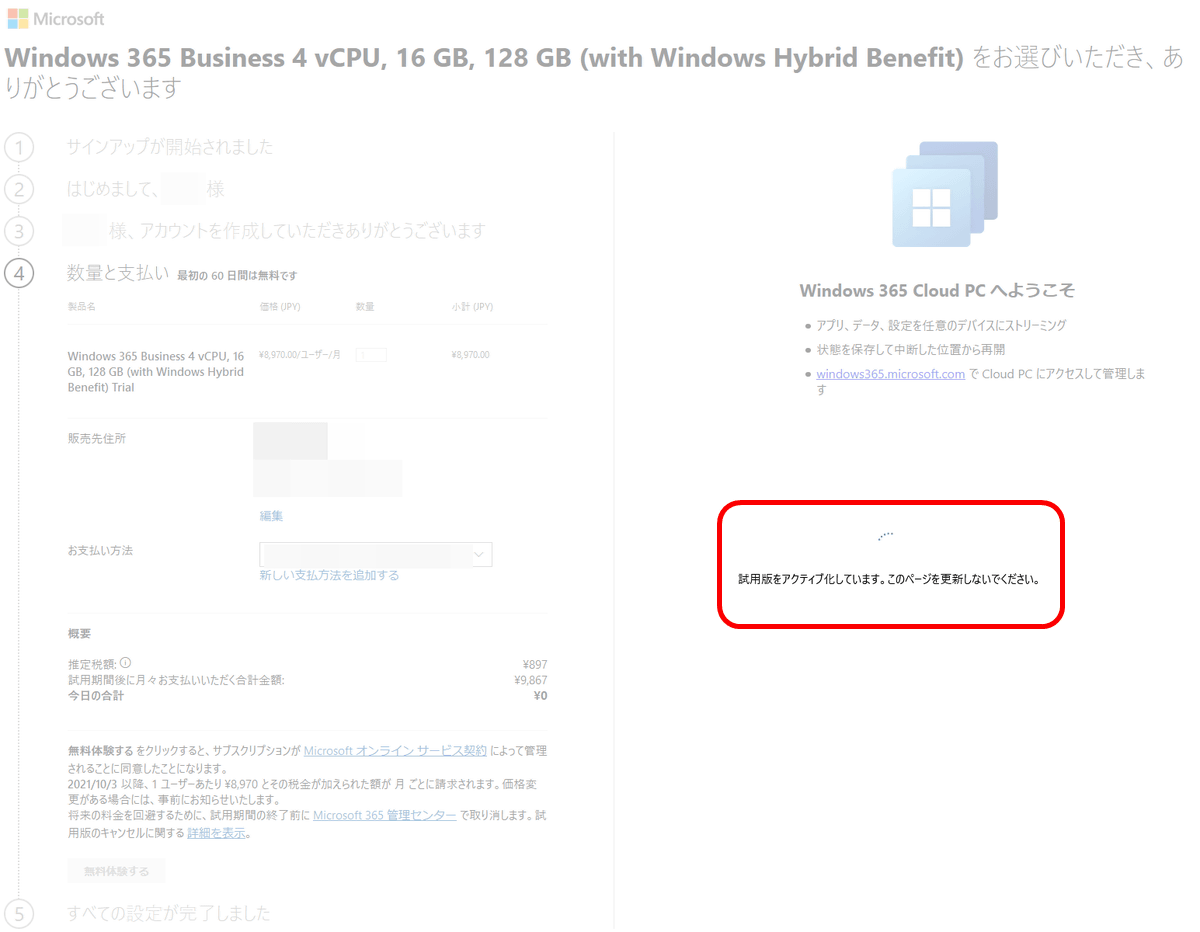
The message 'The trial version is activated. Please do not refresh this page.' Is displayed, so wait for a while.
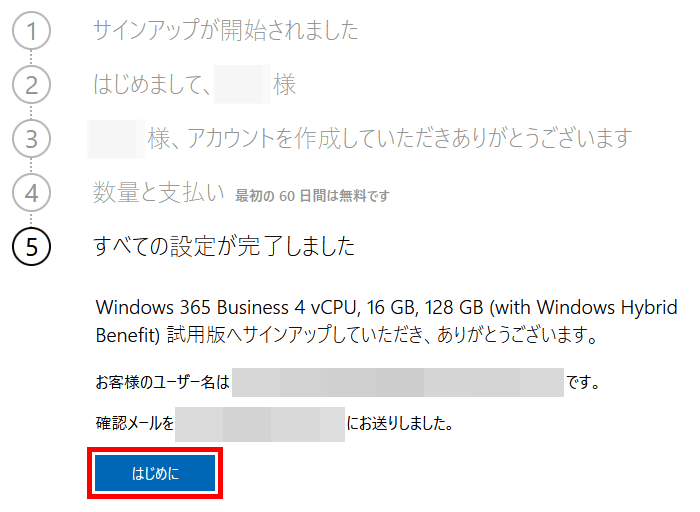
Now that all the settings are complete, click 'Introduction'.
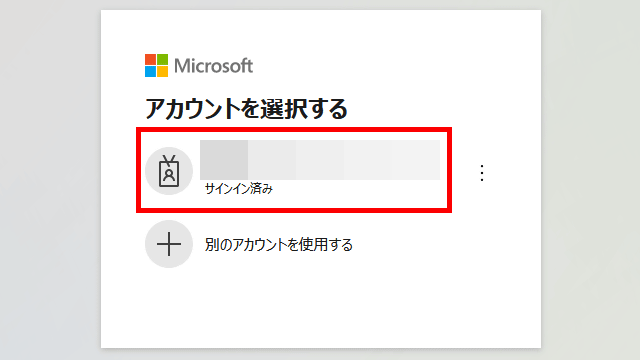
You should be signed in with the ADD account you created earlier, so click on that account.
The message 'Cloud PC is being set up' appears on the right side of the screen, but it takes a long time, so click 'Next' without waiting.

'What is a cloud PC?' Is displayed, so click 'Next'.

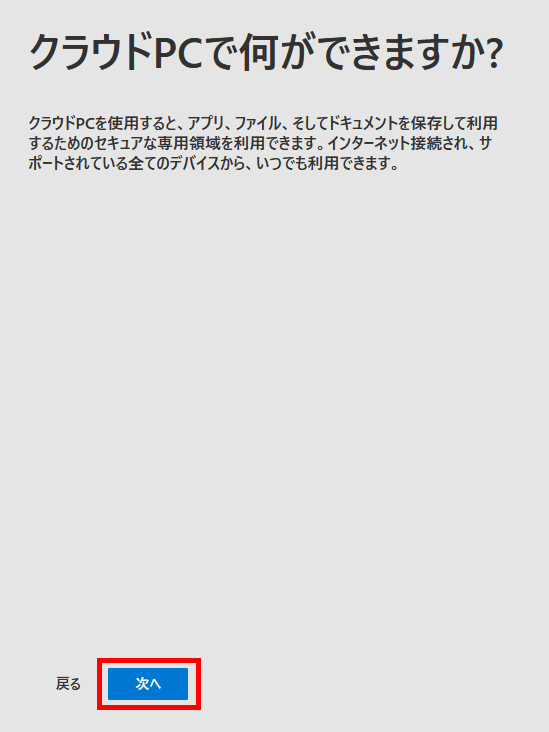
Click 'Next' in the same way for 'What can I do with a cloud PC?'
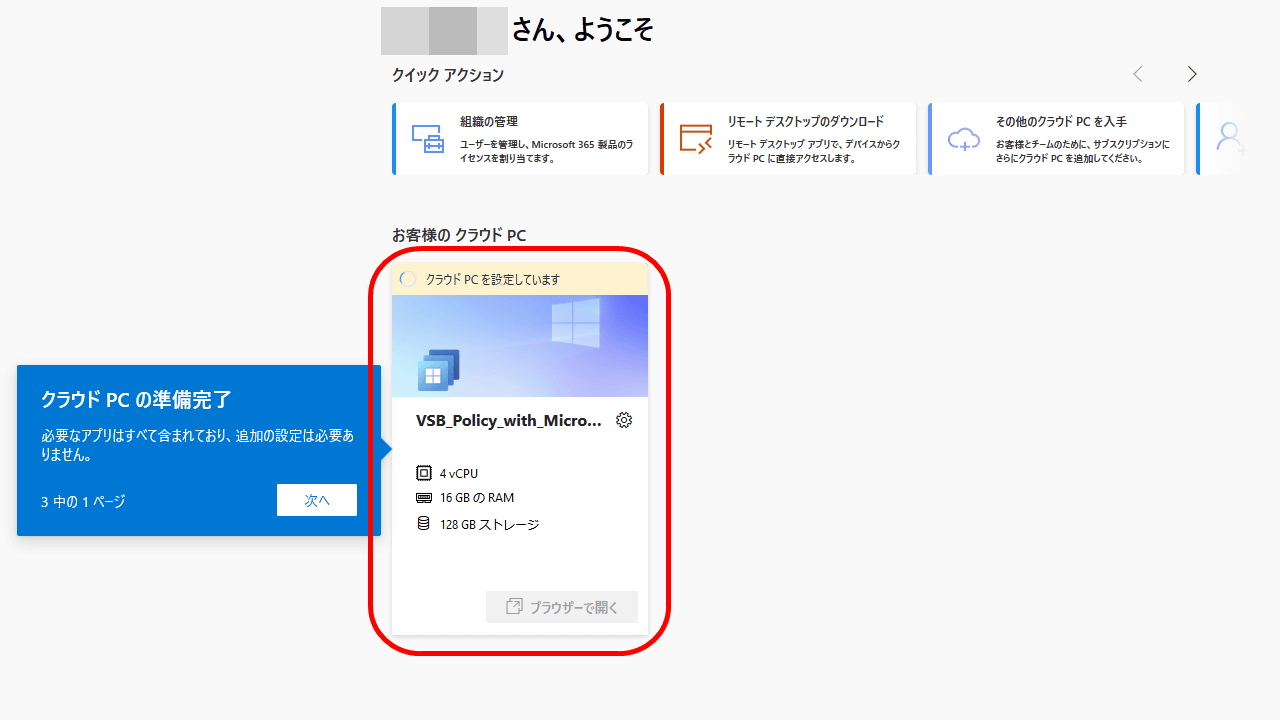
Then you will be taken to a screen like this. Cloud PC is still being set up.
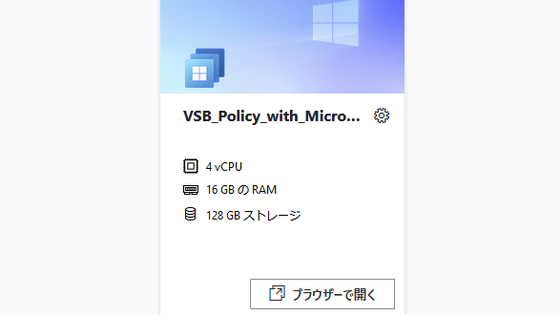
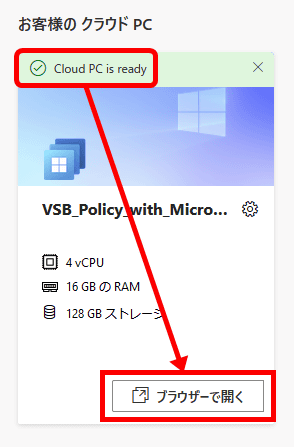
In the case of 'Premium' that I applied for this time, it became 'Cloud PC is ready' in about 30 minutes. When this happens, click 'Open in Browser'.
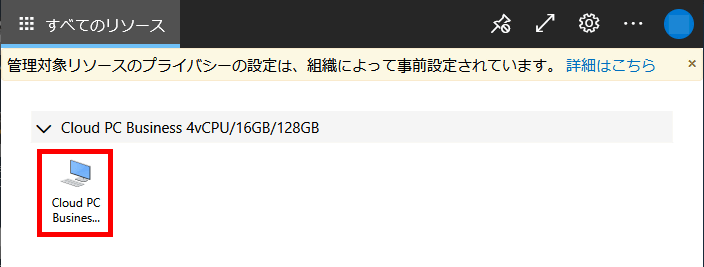
Click the PC icon.
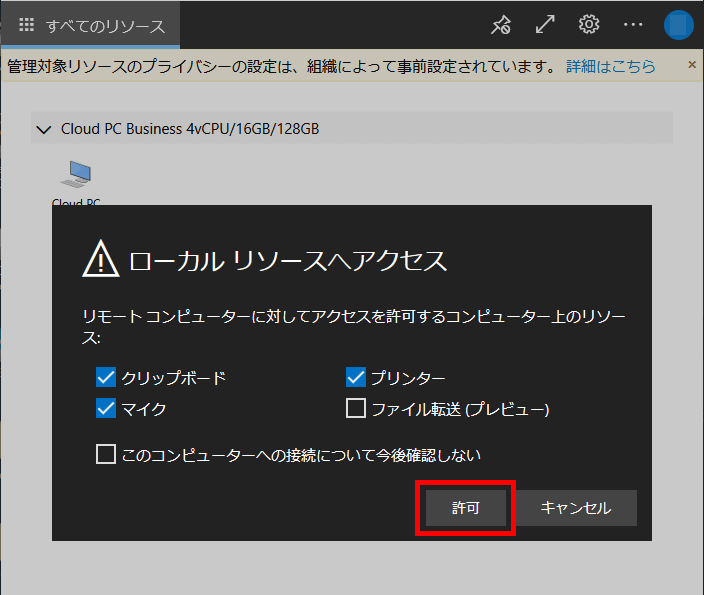
The 'Access to Local Resources' dialog opens, so click 'Allow'.
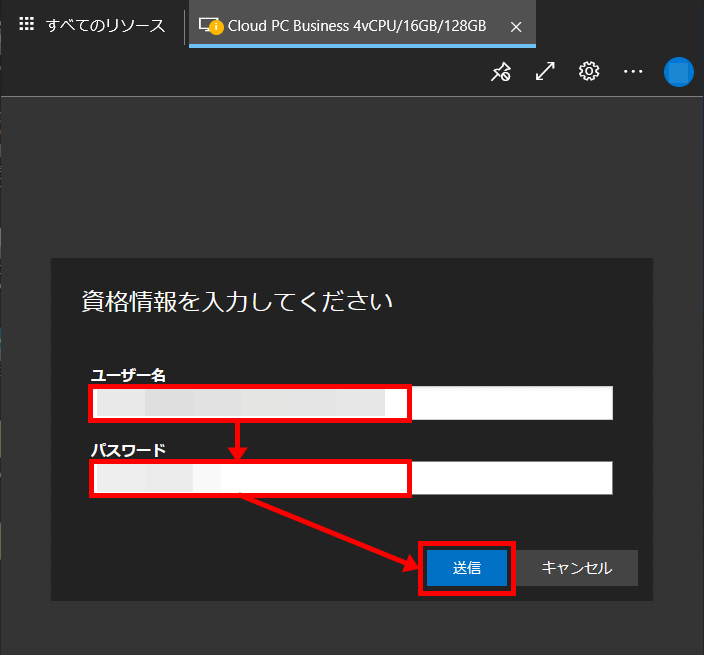
Enter your user ID and password and click 'Send'.
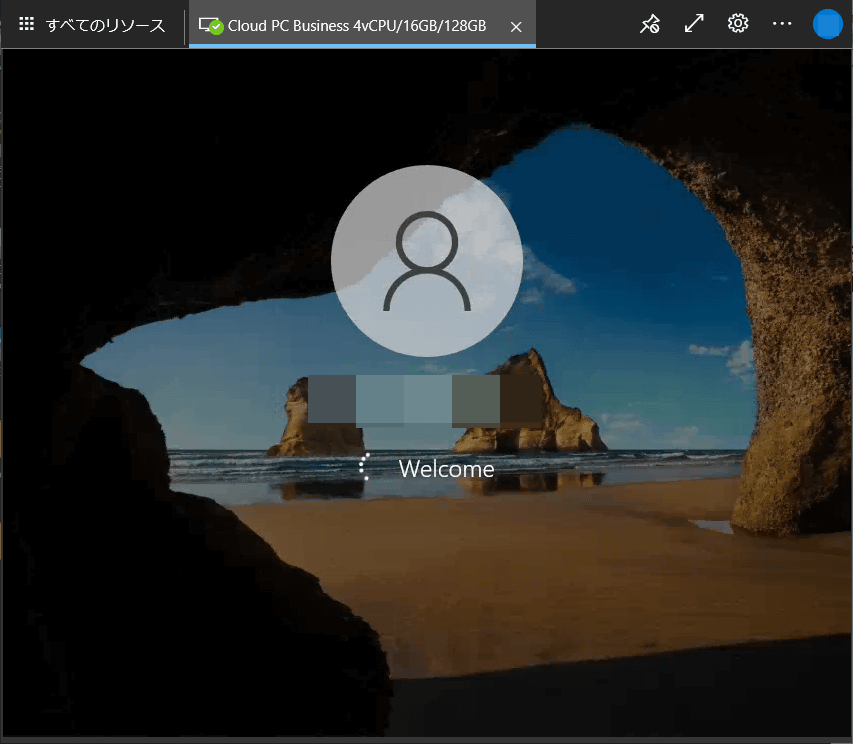
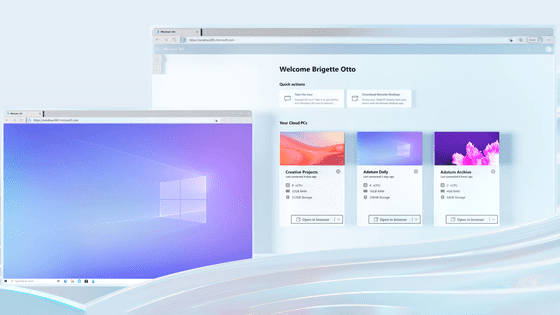
There is a little loading on the 'Welcome' screen ...
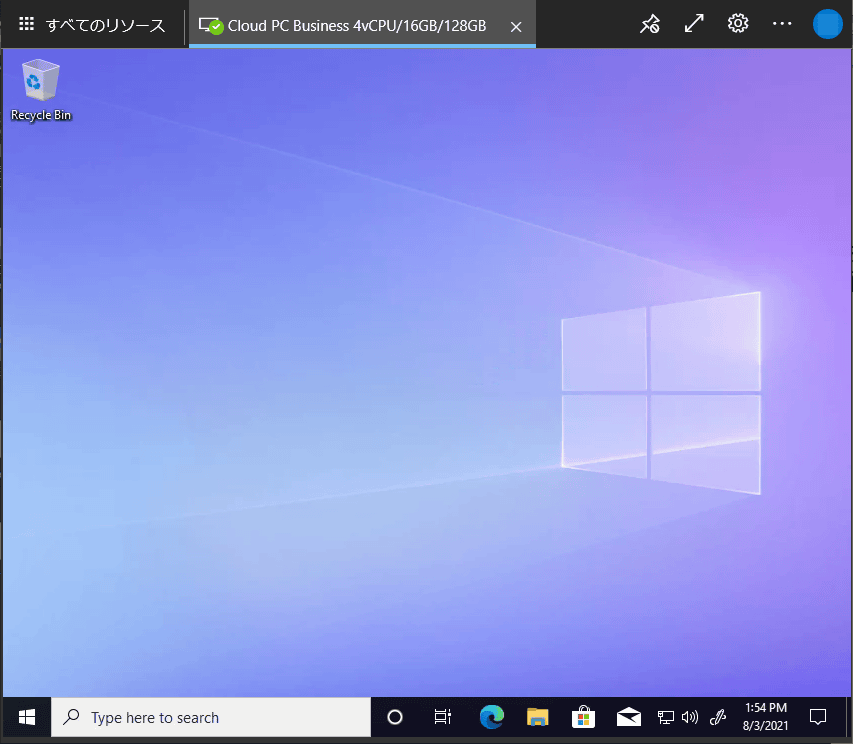
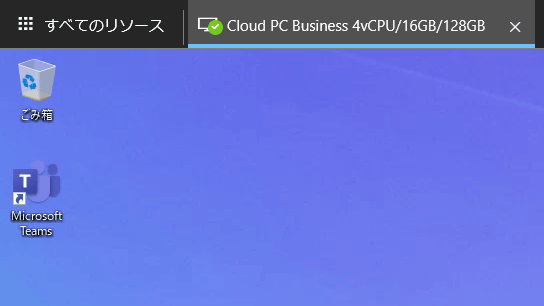
The remote desktop is displayed. You can now use a cloud PC with the specified configuration. However, it is displayed in English as if the 'Recycle Bin' is 'Recycle Bin'.
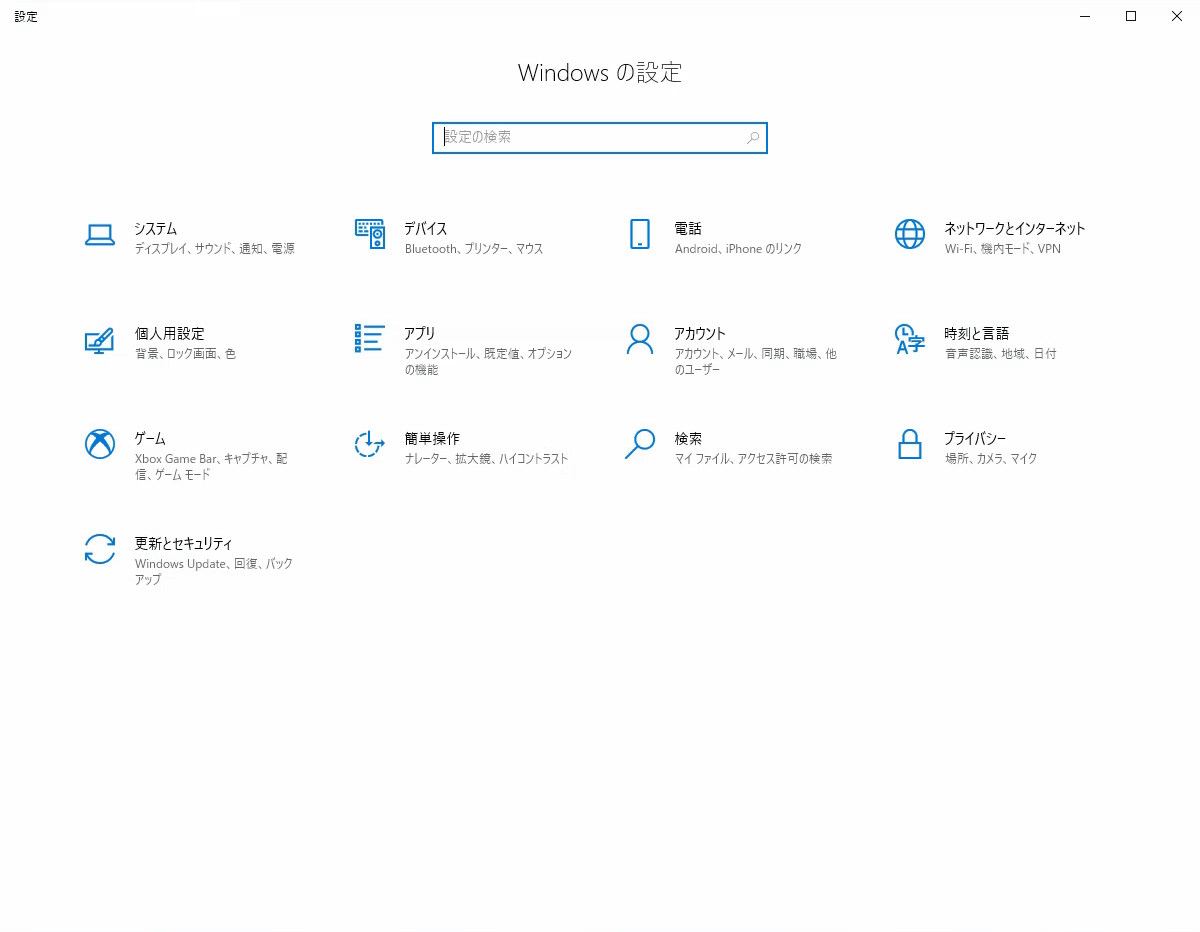
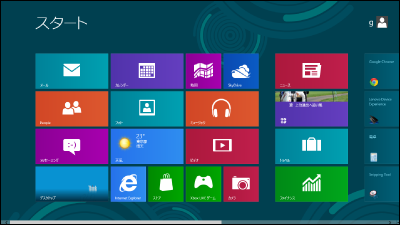
To change it, open the start menu and click 'Settings'.

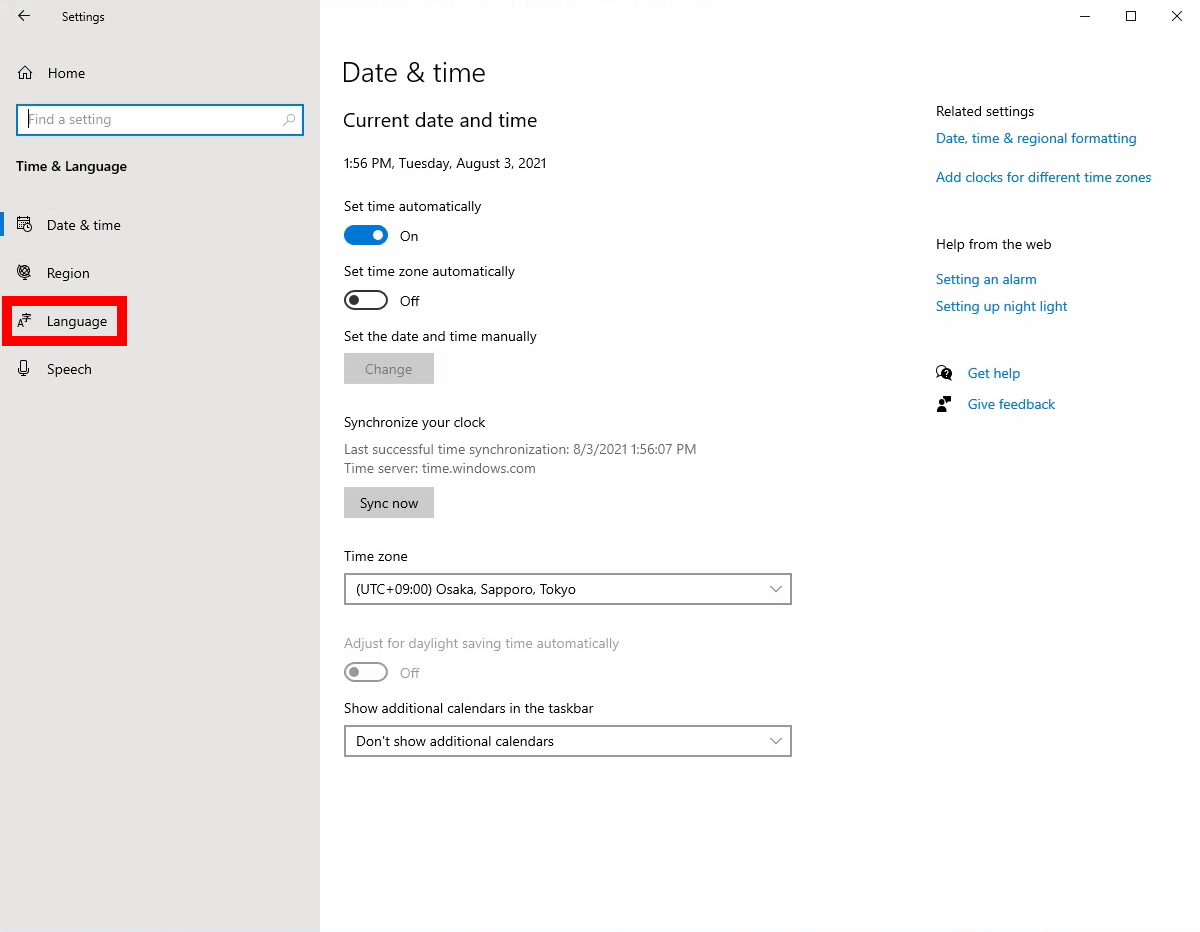
Click 'Time & Language'.

Click 'Language' in the menu on the left.
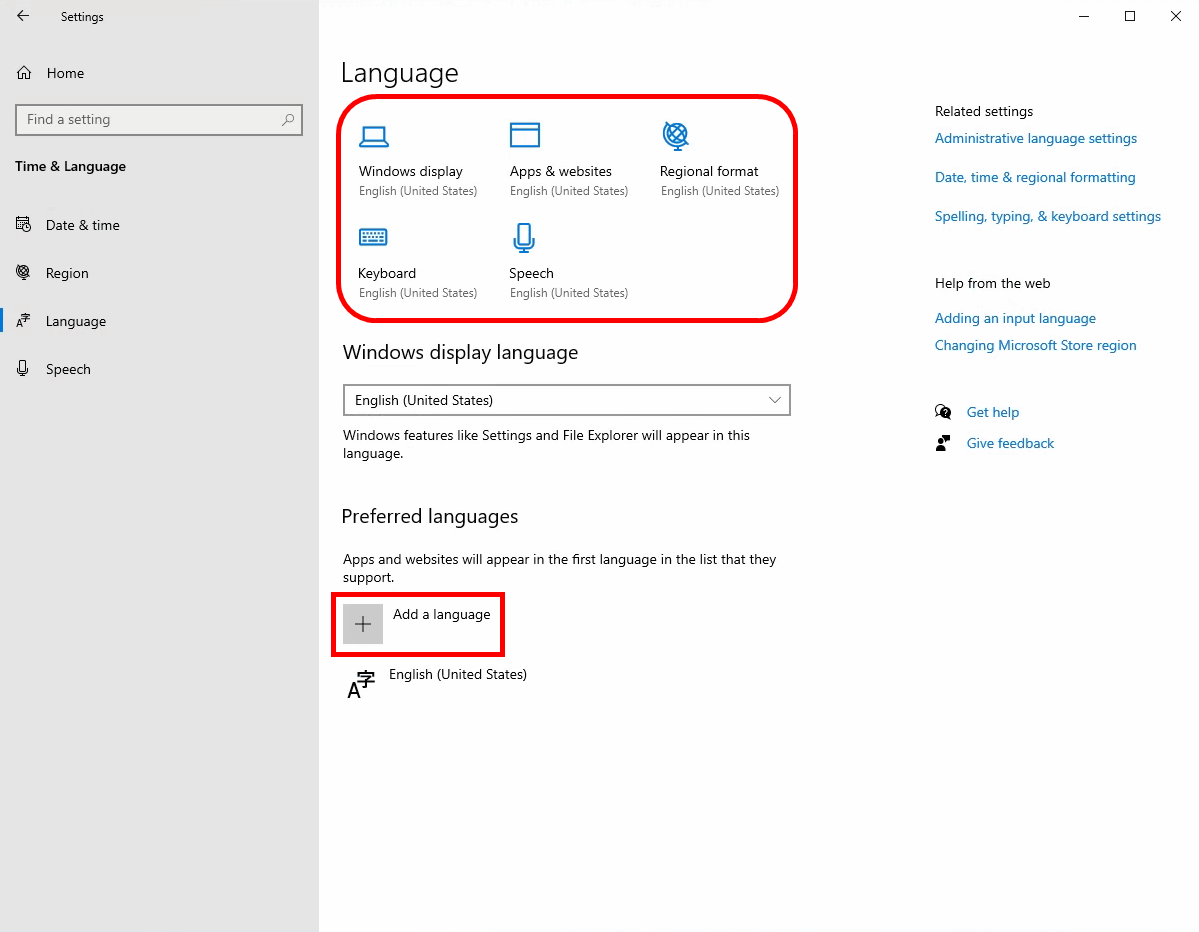
'Windows display', 'Apps and websites', 'Regional settings', 'Keyboard' and 'Voice recognition' are all set to 'English'. Click 'Add a language' at the bottom.
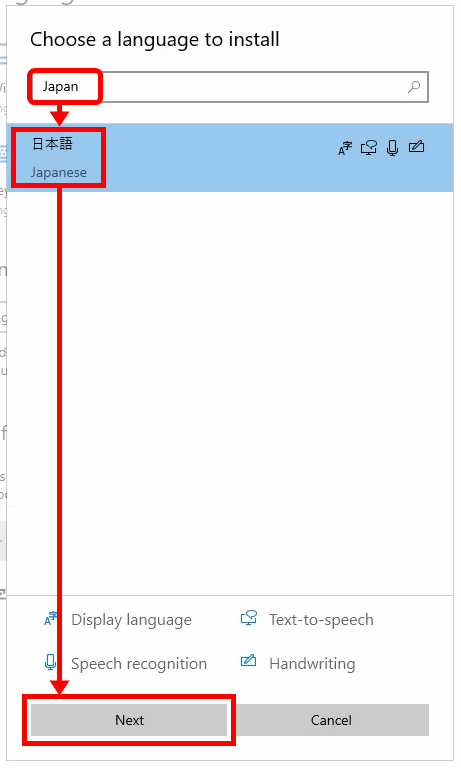
Enter Japan in the search box, click 'Japanese' that appears, and click 'Next' below.
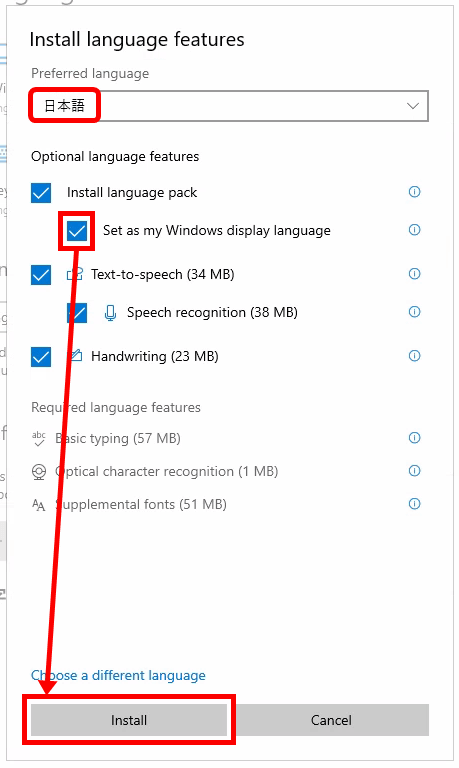
Confirm that the upper part is 'Japanese', check 'Set as my Windows display language' and click 'Install'. This will install the Japanese language pack.
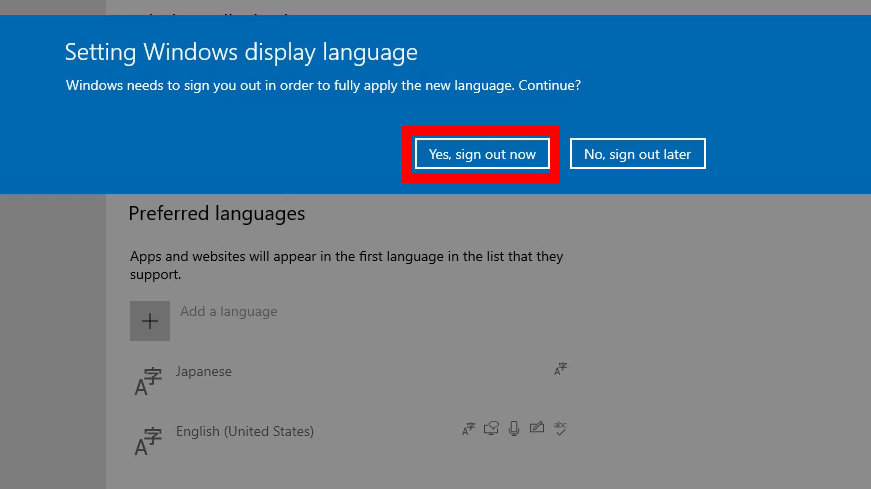
You will be asked to sign out to switch the display, so click 'Yes, sign out now'. After restarting, enter your ID and password again to log in.
You can see that it is displayed in 'Recycle Bin' and is displayed in Japanese.
The setting screen is also like this.
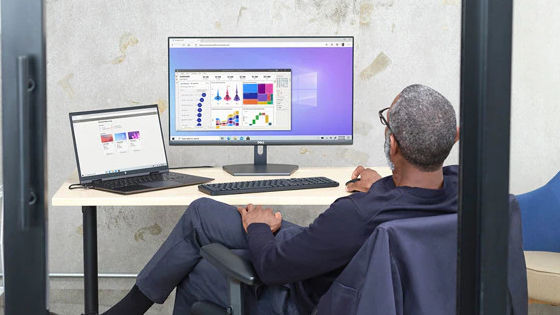
Office 365 and Microsoft Teams are installed by default on Windows 365, and you can take over the same work from any device or environment.
The trial period is 60 days after installation. Please unsubscribe from the

Click Manage Subscription Details.

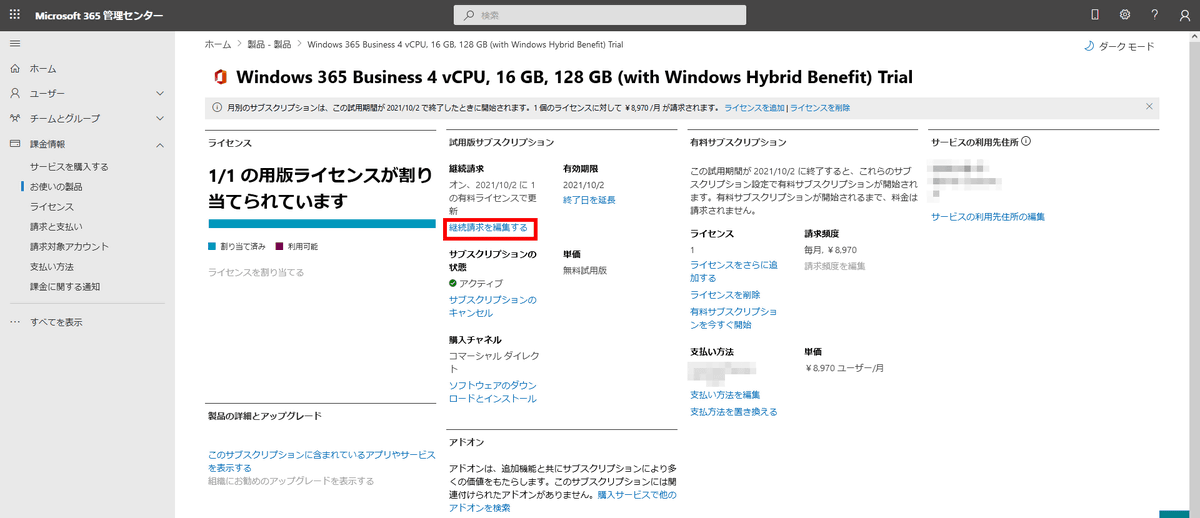
Then you will be taken to a screen like this. It has been announced that the trial period will end (October 2, 2021 if you apply on August 3rd) and that the monthly subscription will start at 8970 yen. Those who plan to continue using the service for a fee can leave it as it is, but those who finish using the service only during the trial period click 'Edit renewal bill'.
A menu will appear from the right side of the screen, so select 'Off' and click 'Save'.

It is OK if the display changes to 'Expiration date on October 2, 2021'.

Related Posts:

in Web Service, Review, Posted by logc_nt