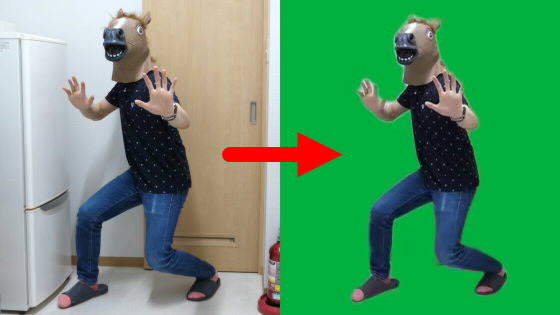
I tried using the web application 'Runway' that can cut out the object and create a composite movie with just a few clicks
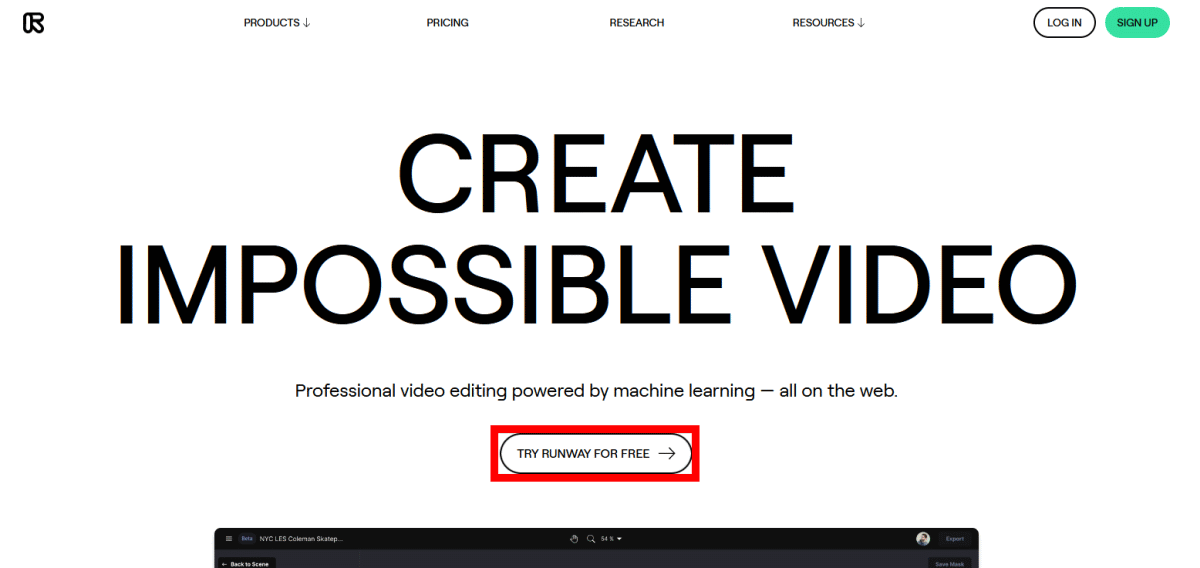
Runway | CREATE IMPOSSIBLE VIDEO
https://runwayml.com/
To use Runway, click 'TRY RUNWAY FOR FREE' on the official website. In addition, some functions of Runway are only compatible with Google Chrome, so this time I am using Google Chrome.
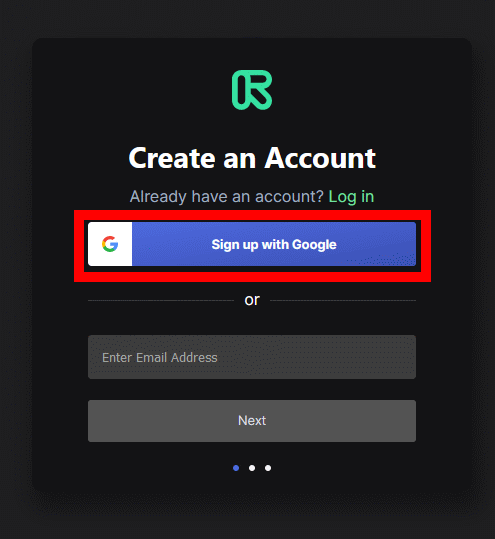
Click 'TRY RUNWAY FOR FREE' to go to the Runway account creation screen. This time I will use a Google account, so click 'Sing up with Google'.
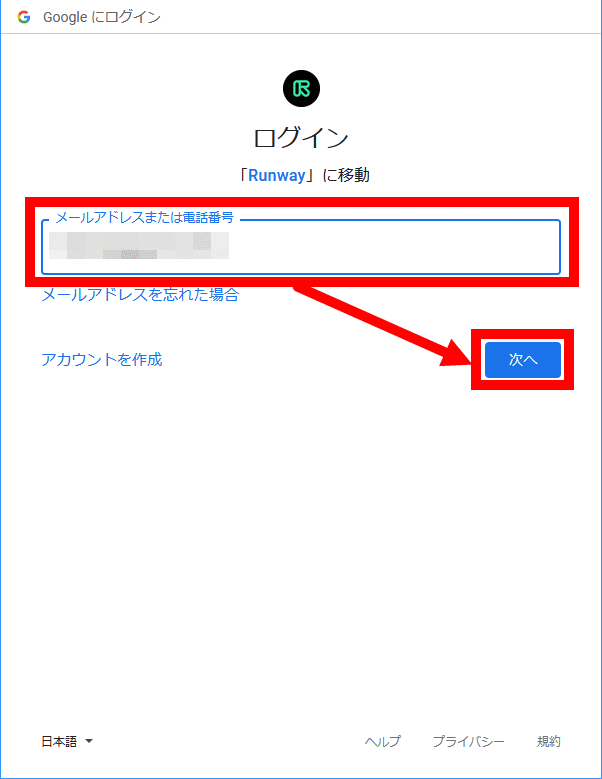
Enter your Google account email address and click Next.
Enter the password and click 'Next'.
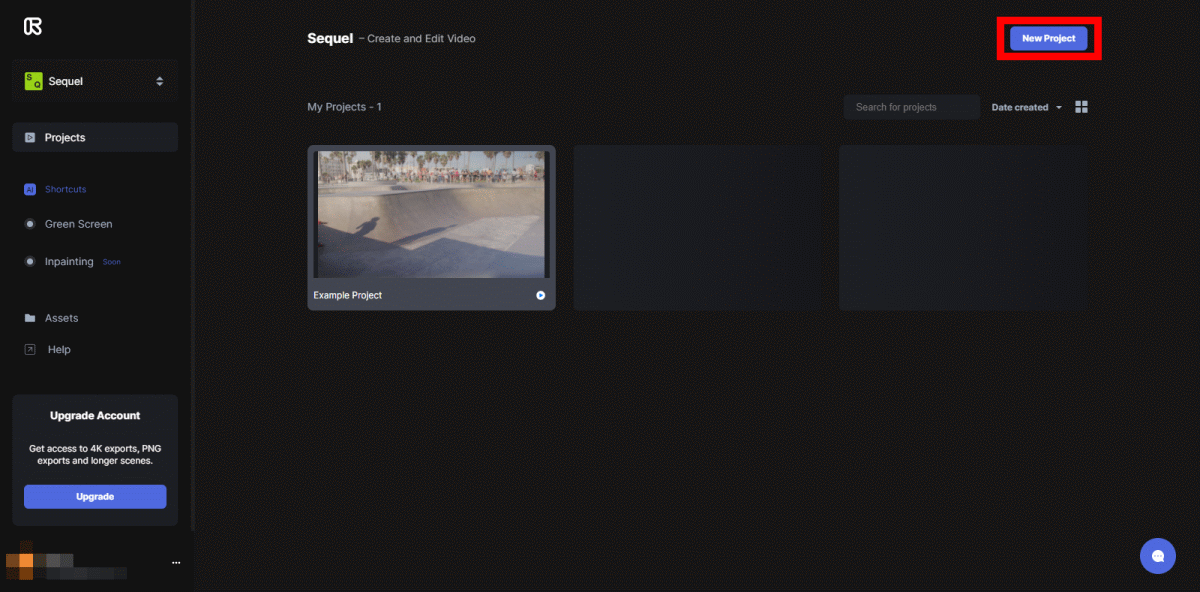
Then, the top screen of Runway is displayed. Links to each function are displayed on the left side of the screen, and a list of created projects is displayed on the right side. This time I want to create a new project, so click 'New Project' at the top right of the screen.
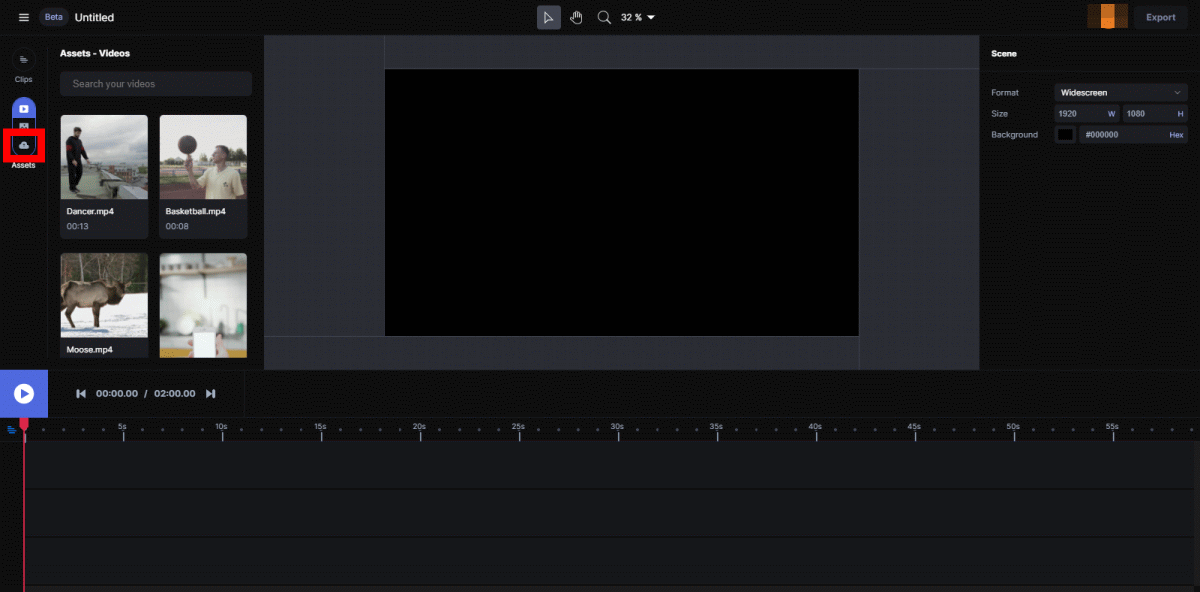
Then, the movie editing screen is displayed. On the left side of the edit screen is a list of materials for the movie, in the center is a preview, on the left side is an area for specifying the format and resolution of the movie to be created, and on the lower side is a timeline. To add any movie to the material list, click the icon in the red frame at the top right of the screen.
When the file selection screen is displayed, select the movie you want to add and click 'Open'.

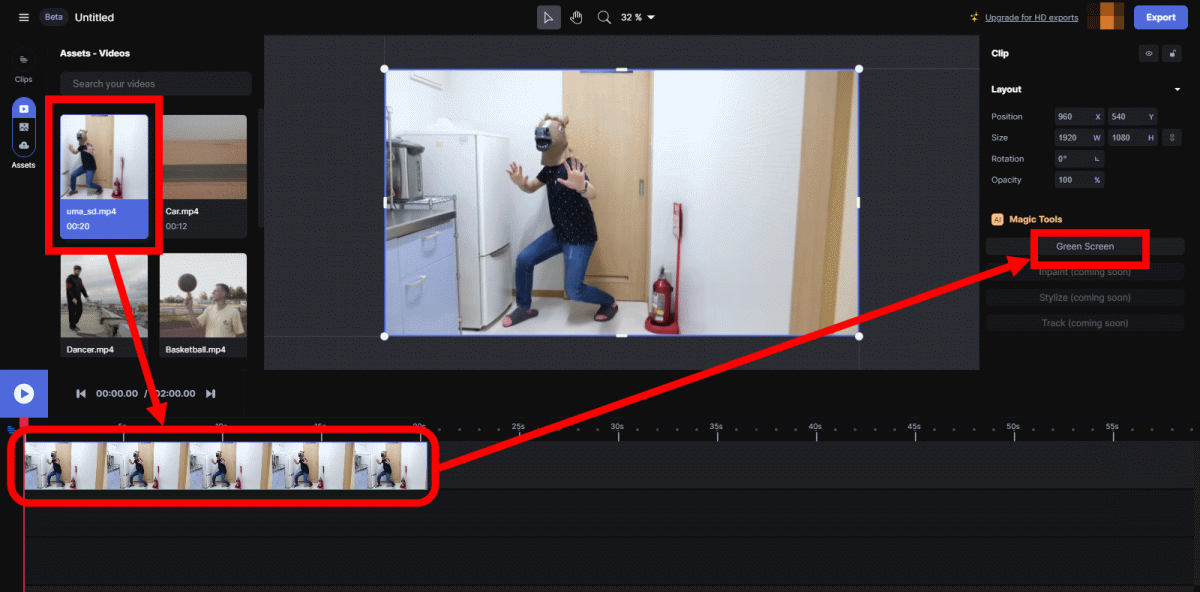
When the selected movie is added to the material list, drag and drop it on the timeline at the bottom of the screen and click 'Green Screen' on the left side of the screen to crop the object.
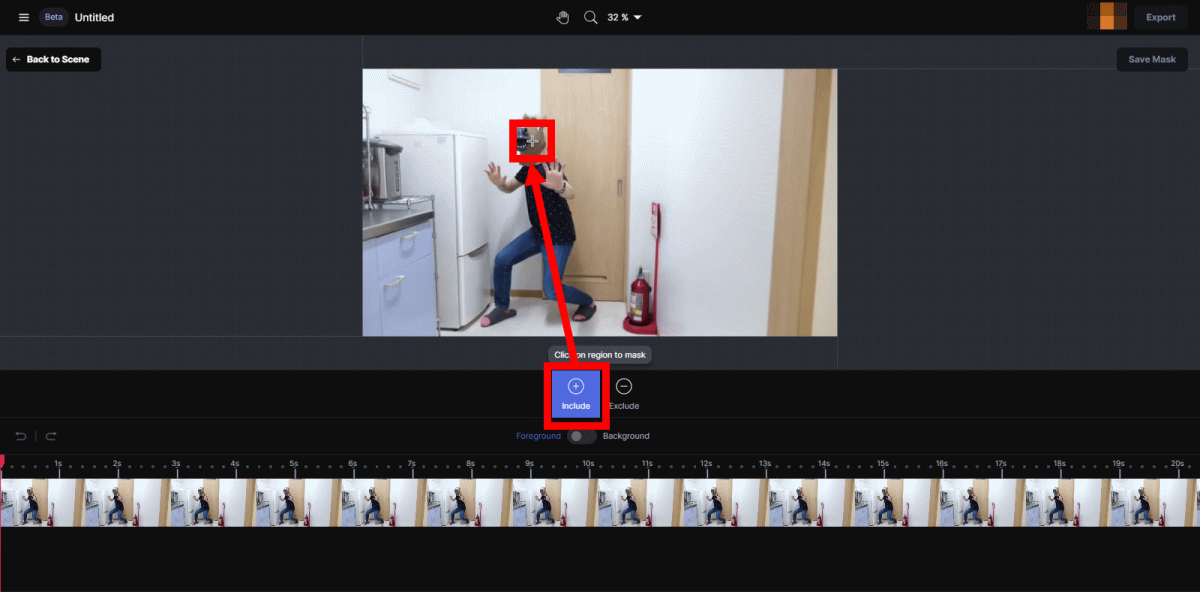
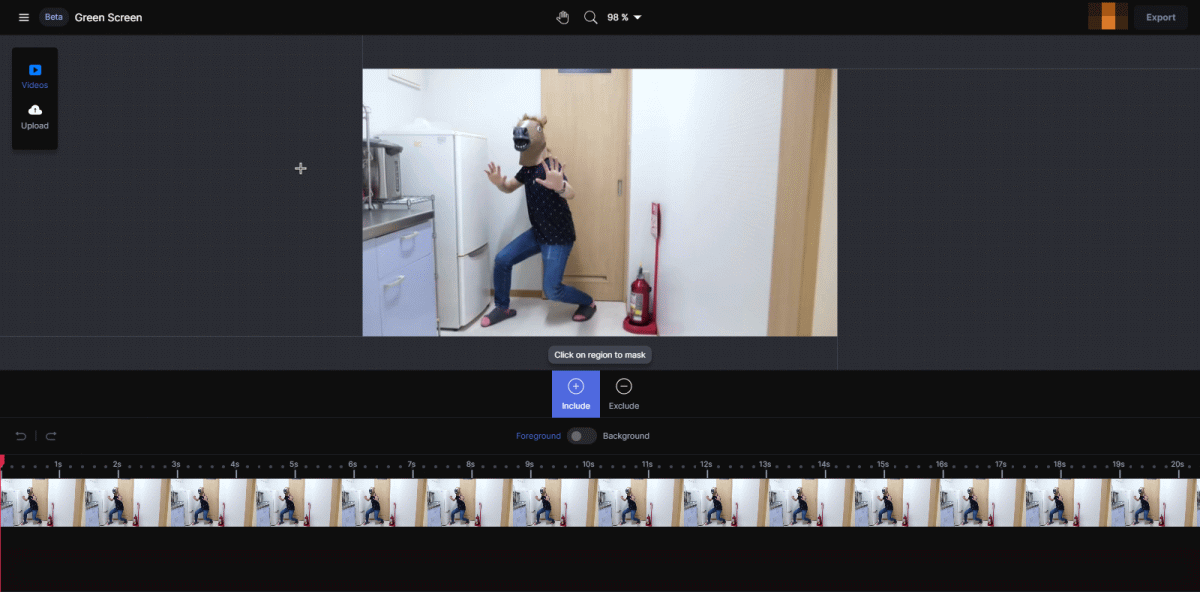
The clipping screen looks like this. On this screen, specify the object you want to keep and the background you want to delete. First, click 'Include' to select the object you want to keep, and then click a part of the object ...
The object was automatically recognized and filled in green. Since the foot part is not filled yet, click the foot part as well.
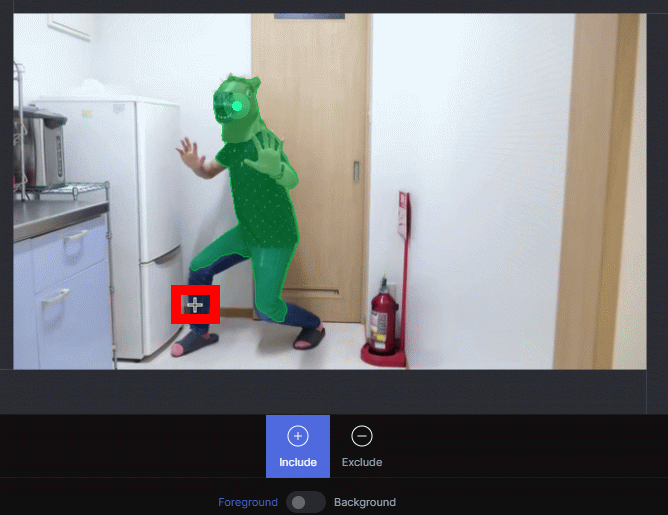
Then, the foot part was also painted. Click Preview when you have finished filling the object.
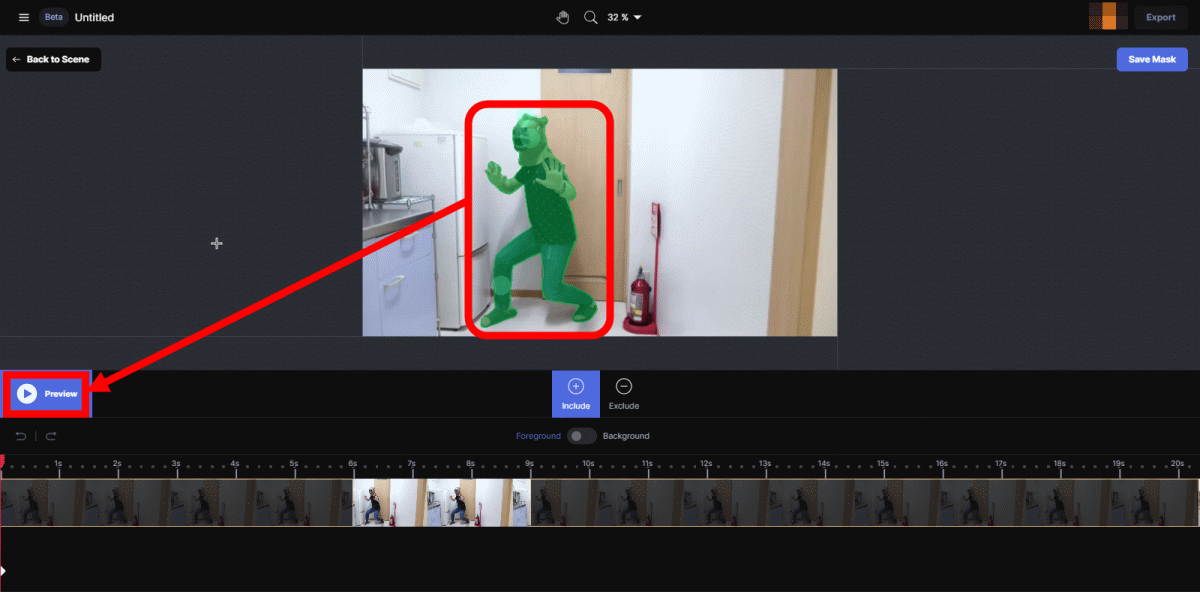
After waiting for a while, the objects in the movie were tracked and automatically filled in green.

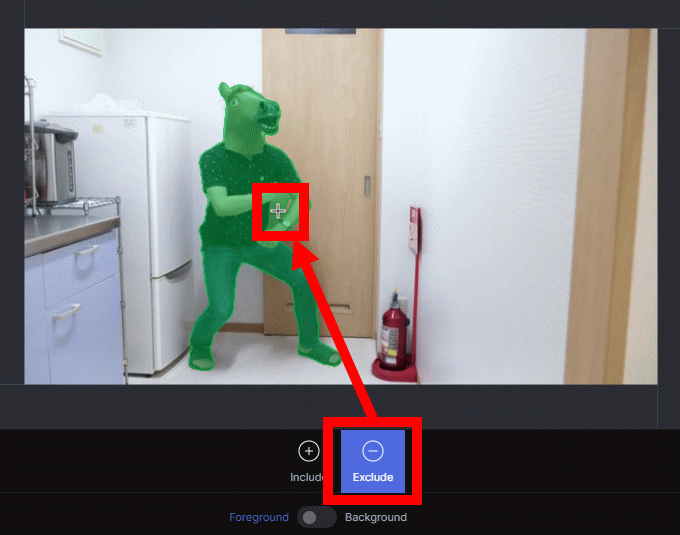
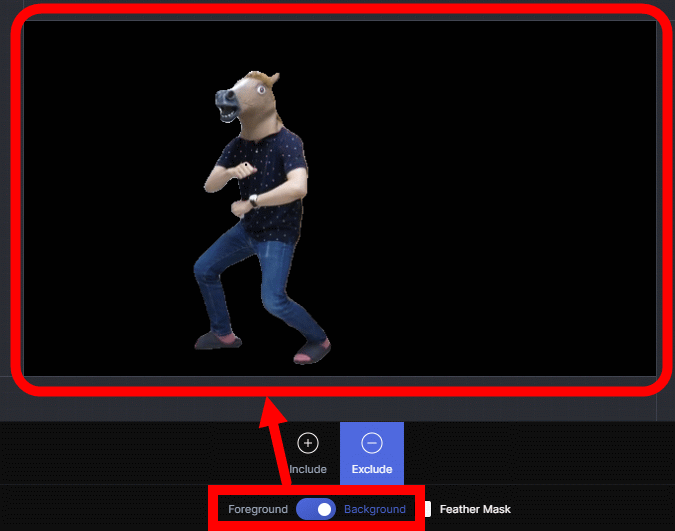
If the background area you want to delete is also filled, click 'Exclude' and then click the area you want to delete to remove the green fill.
If the boundary between the object and the background is difficult to see, switch the toggle switch located at the bottom of the preview screen to 'Background', and the background will turn black to make the boundary easier to see.
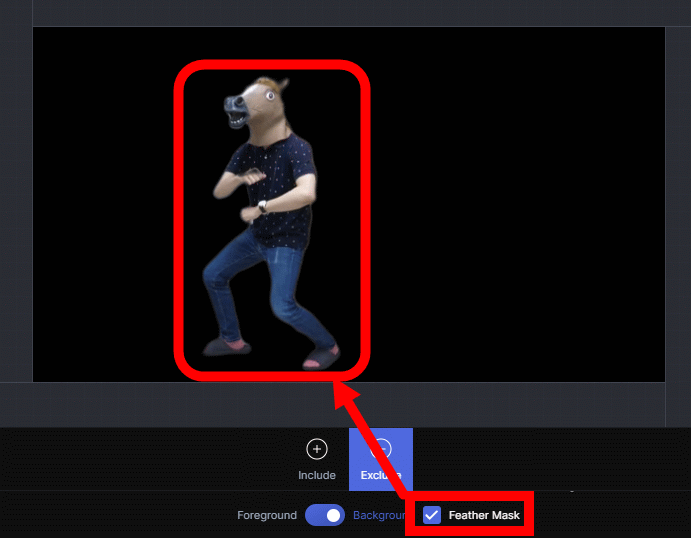
You can also blur the border by clicking 'Feather Mask'.
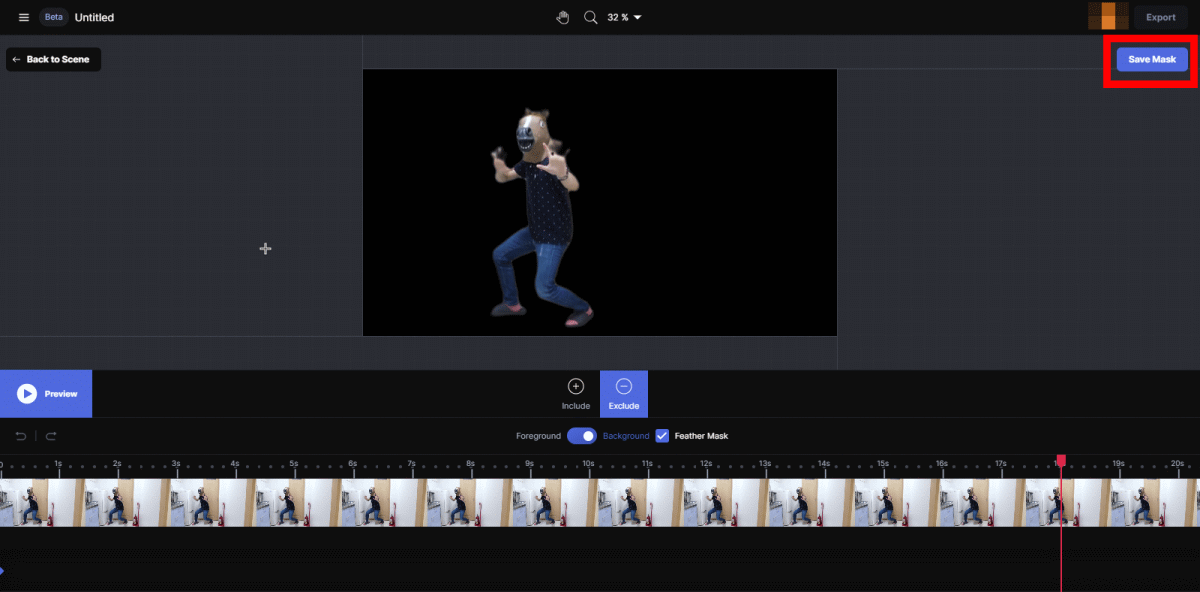
When the clipping work is completed, click 'Save Mask' at the top right of the screen.
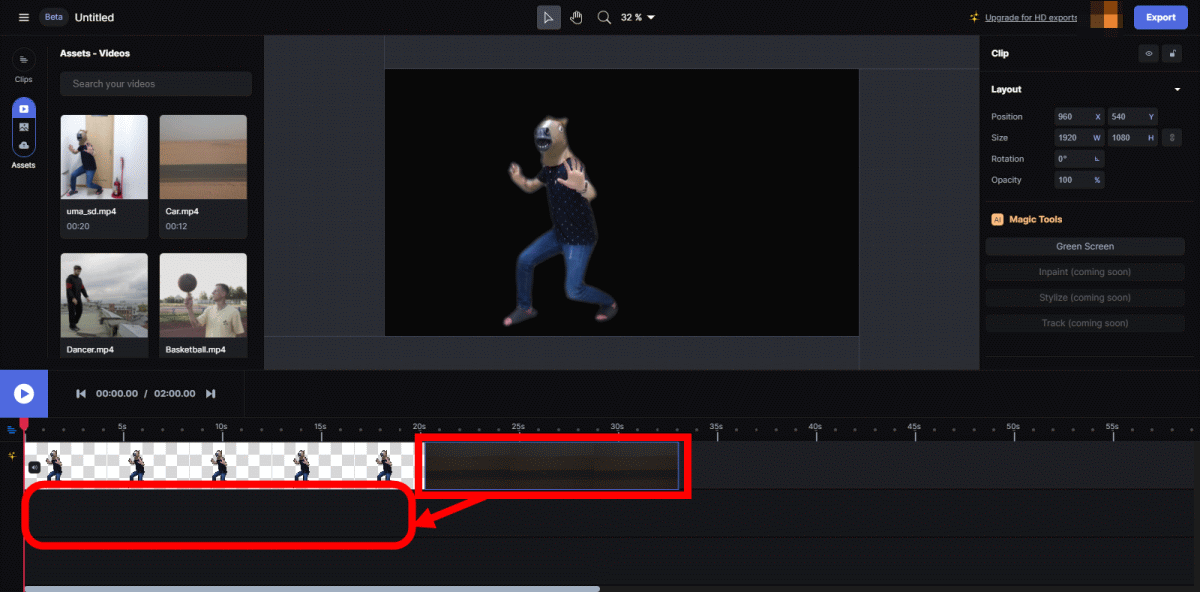
Then, you will return to the movie editing screen with the clipping applied. Next, drag and drop the movie you want to use as the background onto the timeline.

The dragged and dropped movie will be placed after the original movie. This time I want to use it as a background, so drag and drop it under the cropped movie to move it.
Then, the dragged and dropped movie was displayed as the background.
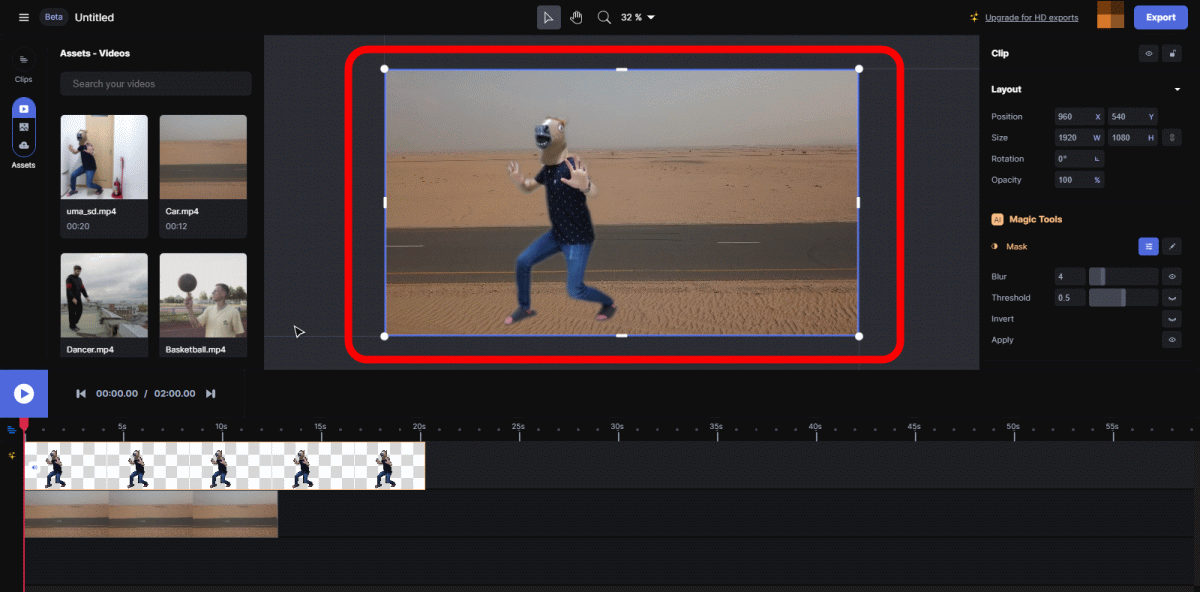
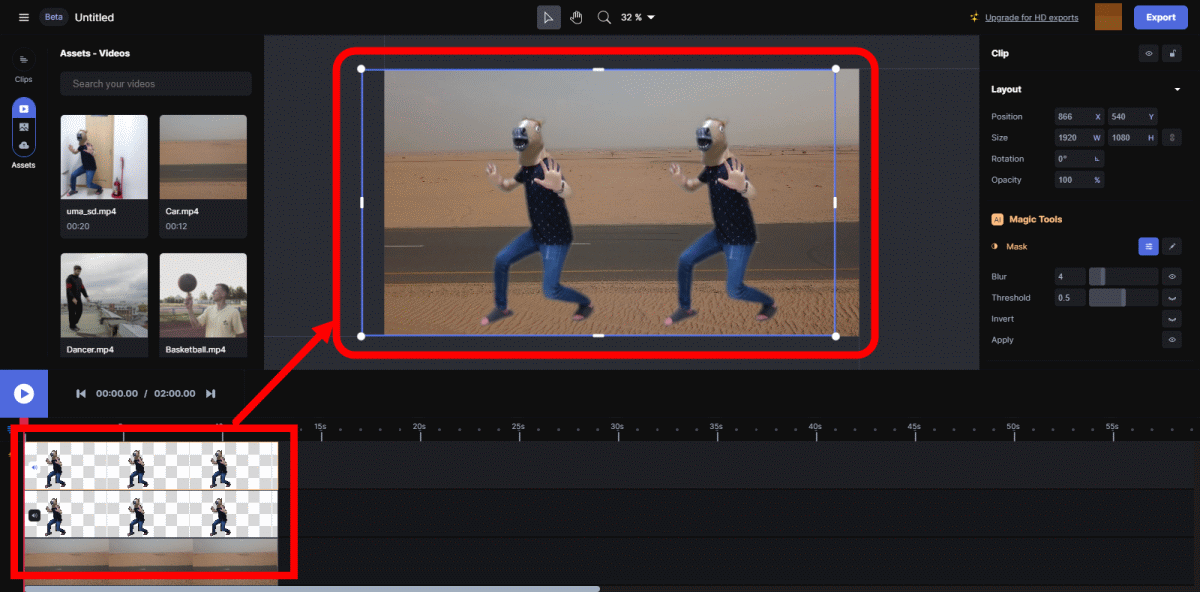
The position of the movie displayed on the preview screen can be adjusted by dragging it with the mouse.

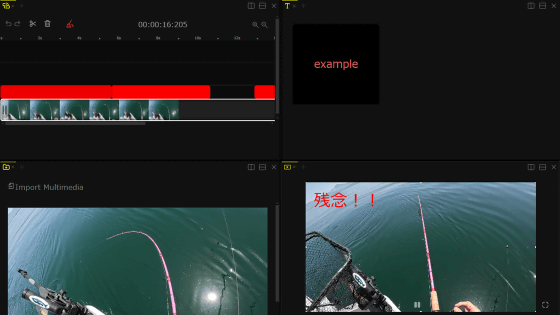
This time, I tried to create a movie that looks like an alter ego by stacking two movies that have been cut out and adjusting the position.
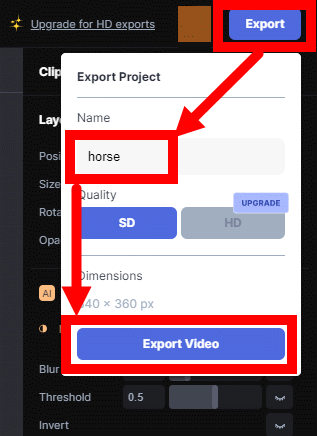
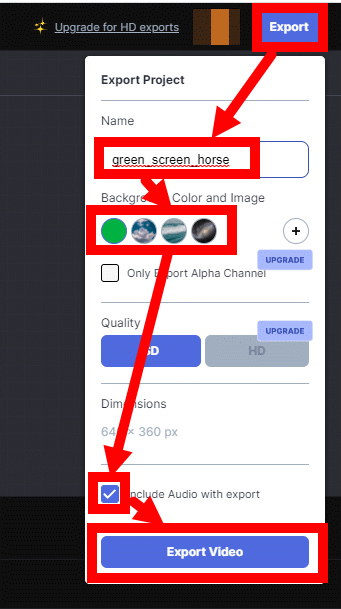
When you have finished editing the movie, click Export at the top right of the screen, enter a name, and click Export Video to save the movie. For free members, the output resolution is fixed at 640 x 360 pixels.
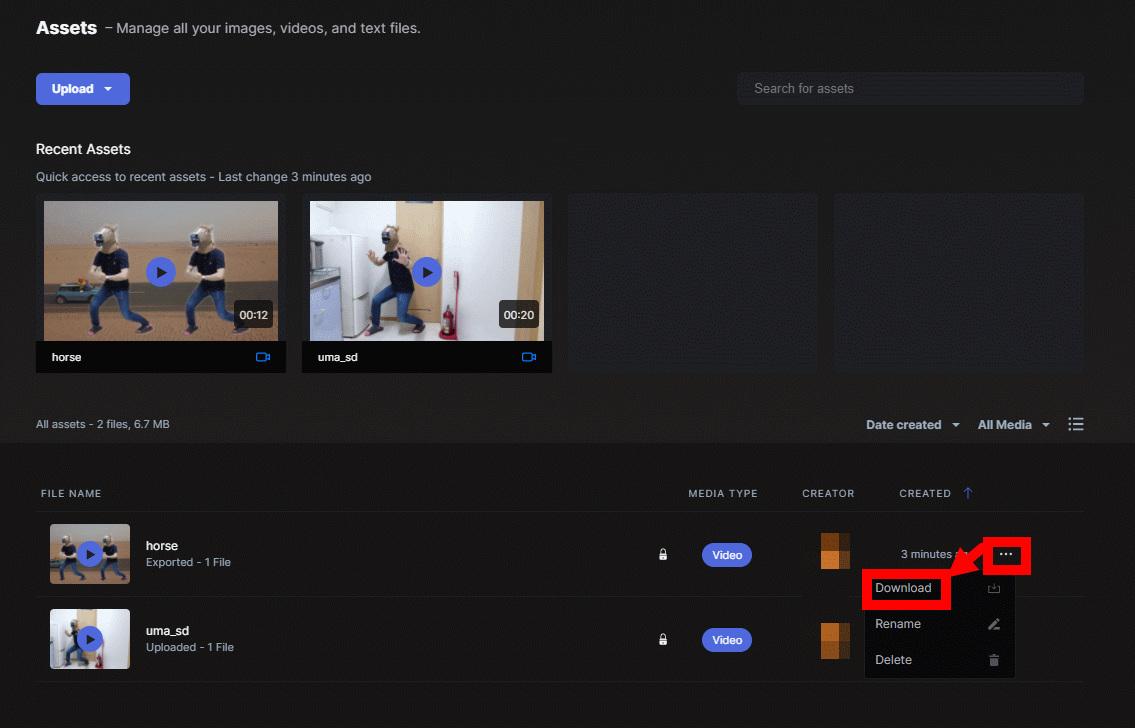
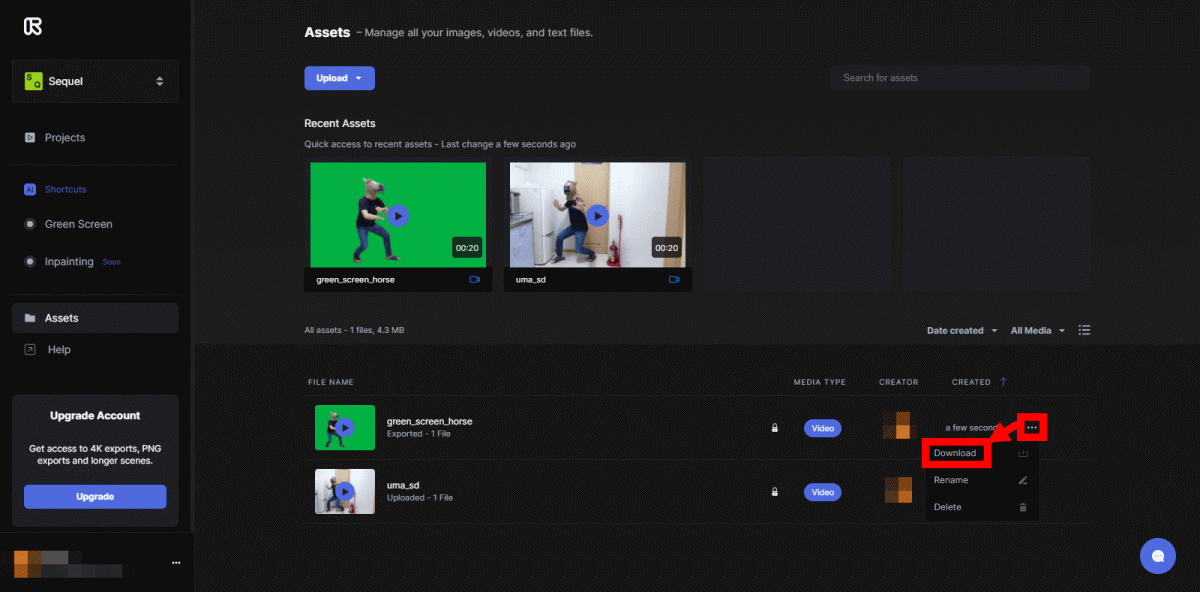
After waiting for a while, the created movie will be output on the 'Assets' screen, so you can download the movie by clicking the '...' button in the red frame and then clicking 'Download'.
The movie I made this time looks like this. Even without preparing a greenback, I was able to cut out the object and create a composite movie with just a few clicks.
Runway also has a function to specify the background color of the cropped movie and output it as a material. First, click 'Green Screen' on the left side of the screen from the top screen.

Then, the clipping screen opens, so perform the same work as before and specify the object and background.
When you're done, click Export at the top right of the screen to give it a name, specify a background color and background image, choose whether to include audio, and click Export Video.
The material is output with the specified background applied, so you can download the created material by clicking the '...' mark and clicking 'Download'.
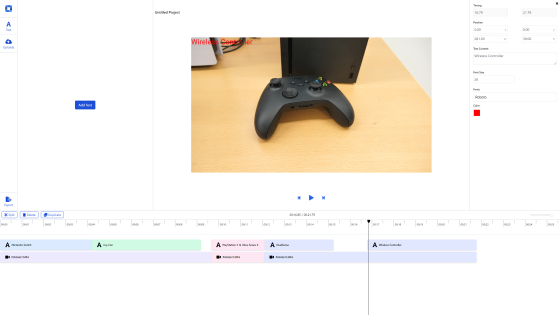
The output material looks like this. After that, you can use it as a synthetic material with your favorite movie editing application.
In addition, free members of Runway have restrictions on 'the function to output the material created with Green Screen with the background transparent' and 'the function to specify the output resolution of the material and the created movie'. By subscribing to a paid plan of $ 35 per month (about 3800 yen), the function restrictions will be lifted, and you can select the output resolution up to 4K and try out new functions as soon as possible.

Related Posts:

in Video, Review, Web Application, Posted by log1o_hf