I tried using 'GitBook' which breaks the 'vertical fence' that hinders information cooperation between teams

Nowadays, it has been called a highly information-oriented society, and information such as knowledge and experience is regarded as a kind of shared property in any organization. Therefore, various things have appeared and are used as
◆ About GitBook
There is also a CLI version of GitBook that specializes in document creation, but this time I will try using the cloud service.
GitBook --Where software teams break knowledge silos.
https://www.gitbook.com/
When I visited the site, the phrase 'Where software teams break knowledge silos.' Was strongly eye-catching at the time of writing the article.
The word silo used here usually literally means a silo, which gives an idyllic impression at first glance, but in the English-speaking business scene, 'a state of lack of horizontal connection and being tied to an organization' It is used as a meaning word. In other words, this phrase seems to mean that the service 'breaks down the obstacles to knowledge sharing between software teams' when translated a little forcibly.

So I'm wondering what kind of team is using GitBook, but a concrete example was introduced on the site about this.
Powered by GitBook
If you look here, you can see that it is used in tools and platforms used for various developments, and some of them are also used for document creation of popular developers such as Adobe and Thunderbird. I will. You can also check the actual document created by GitBook at each link.
Home --Adobe Experience Platform Mobile SDKs
https://aep-sdks.gitbook.io/docs/
About Thunderbird --Thunderbird
https://developer.thunderbird.net/
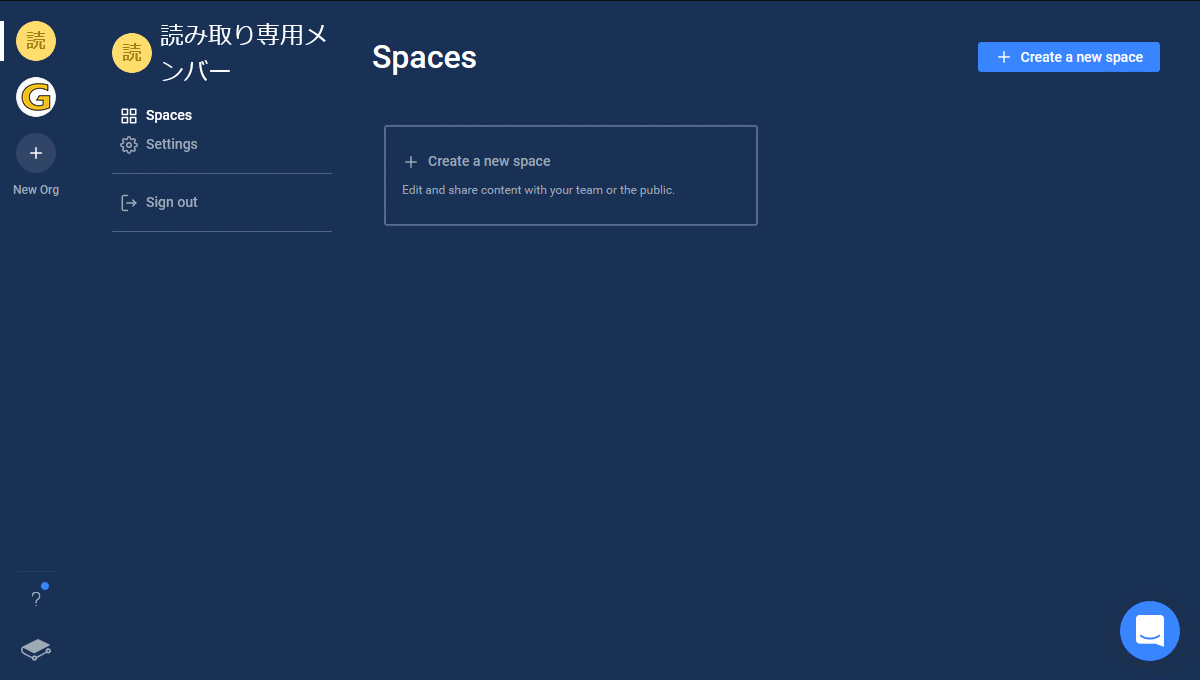
◆ Sign up and create spaces
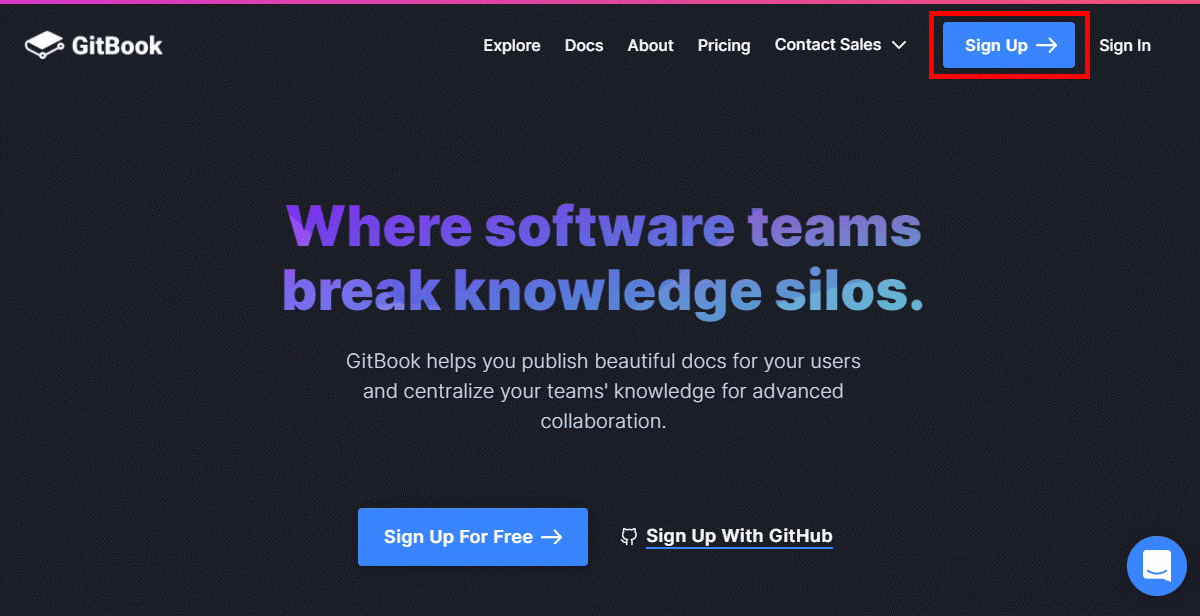
Let's actually use GitBook. First, click 'Sign Up' at the top of the site.
You will be taken to the sign-up screen, where you can enter the required information and click 'Create your account', or you can sign up using your Google or GitHub account. This time I will try to sign up using the former method.

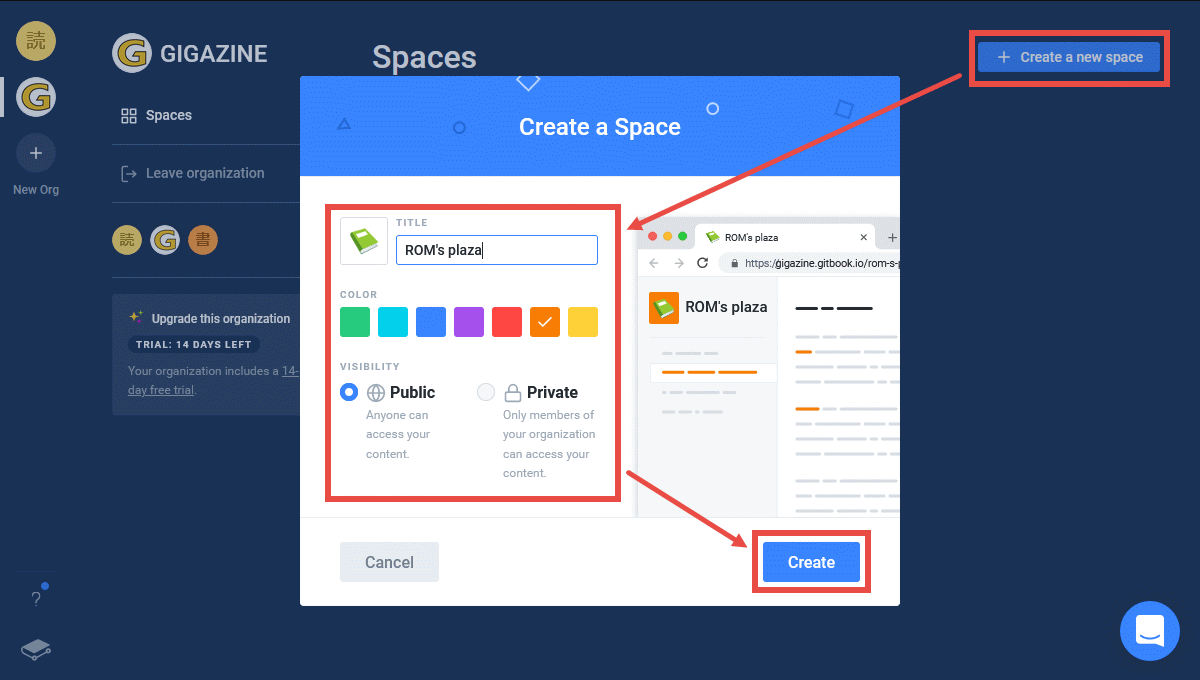
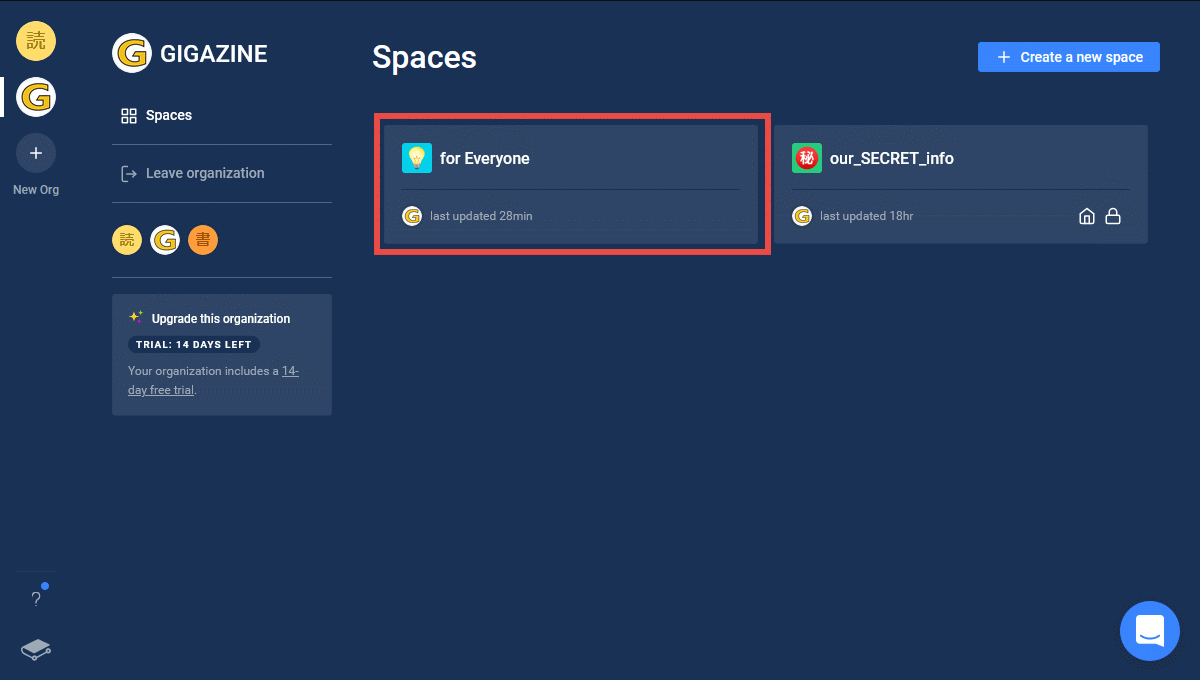
After signing up, you will be taken to the 'Create a Space' screen.
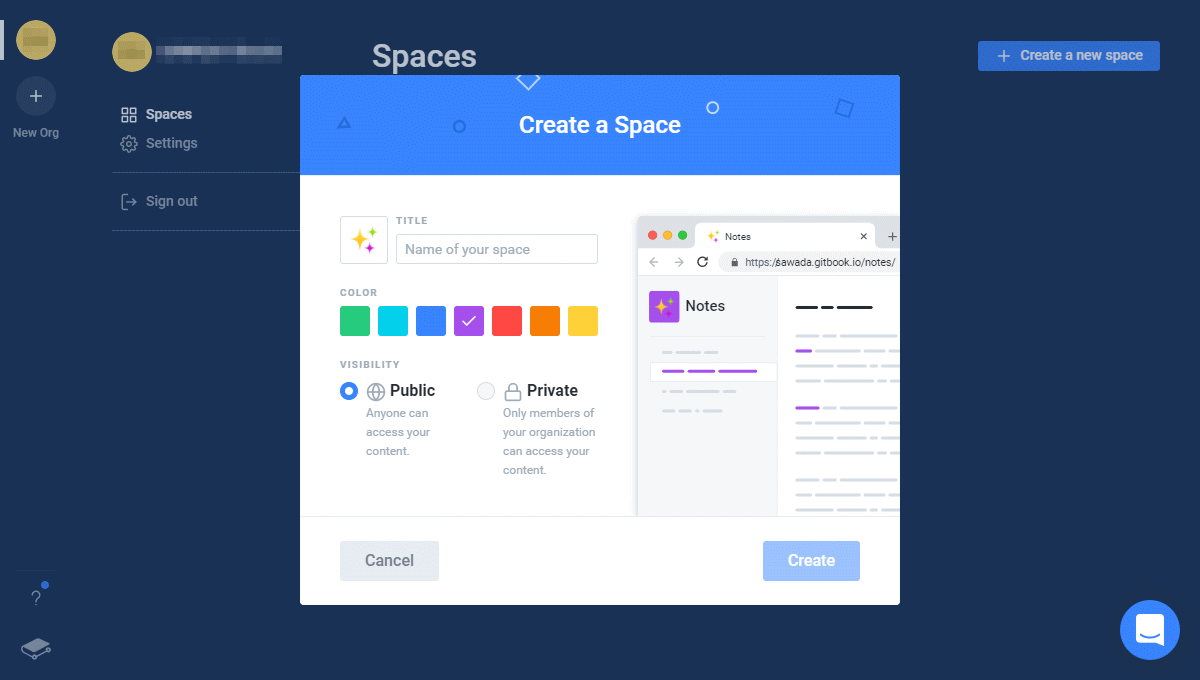
First, let's create a space. Specify the space icon, title, and color on the 'Create a Space' screen, select Public (accessible to anyone) or Private (accessible only to members) according to the purpose, and click 'Create'. I will.
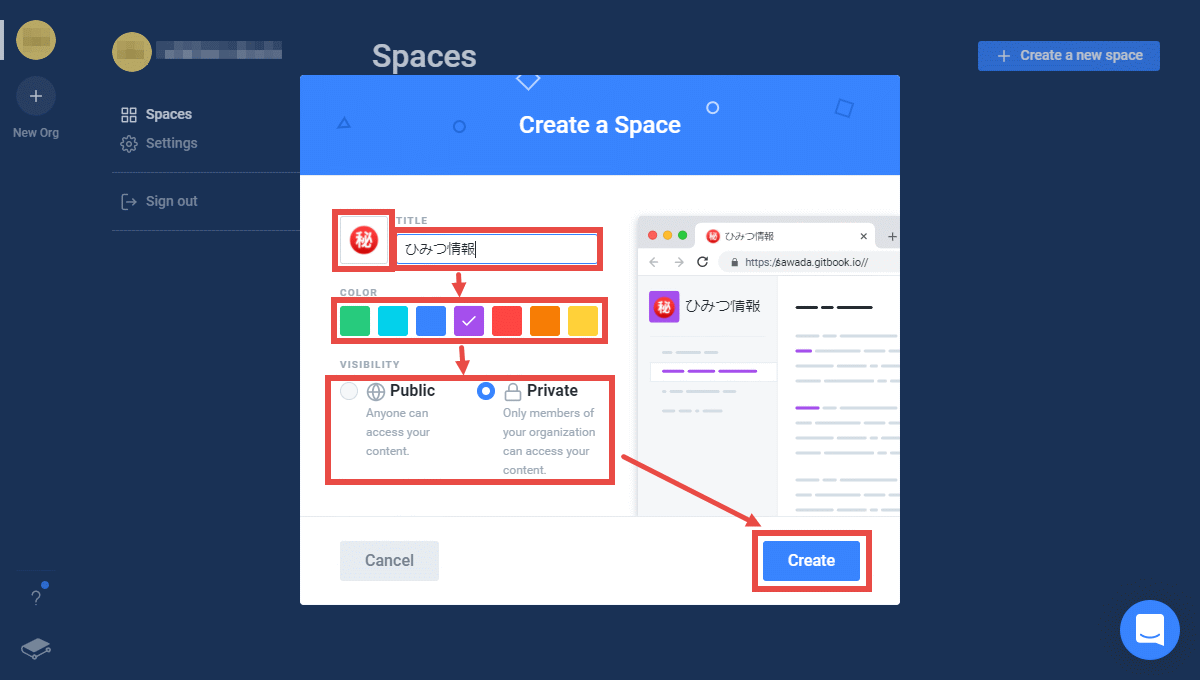
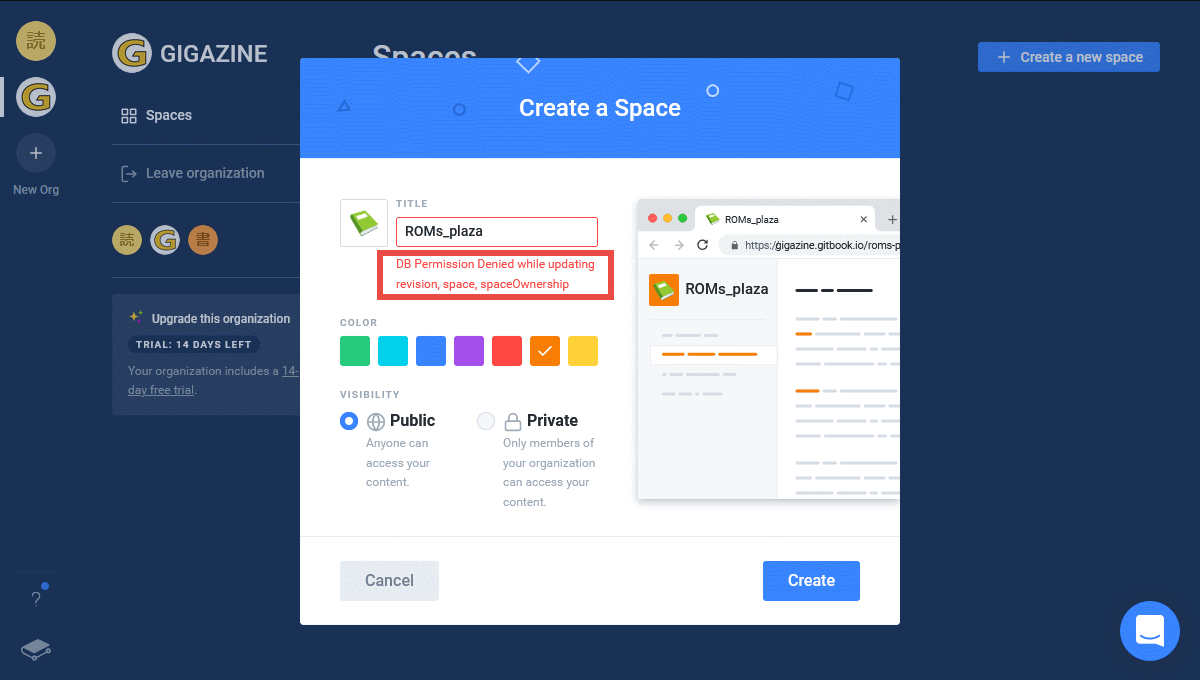
…… I got an error. I was confused about what happened to the error content such as 'DB Permission denied ~', but after trying various things, it seems that Japanese cannot be used for the space name at the time of writing the article.

I regained my mind, changed the title to no Japanese, and tried again.

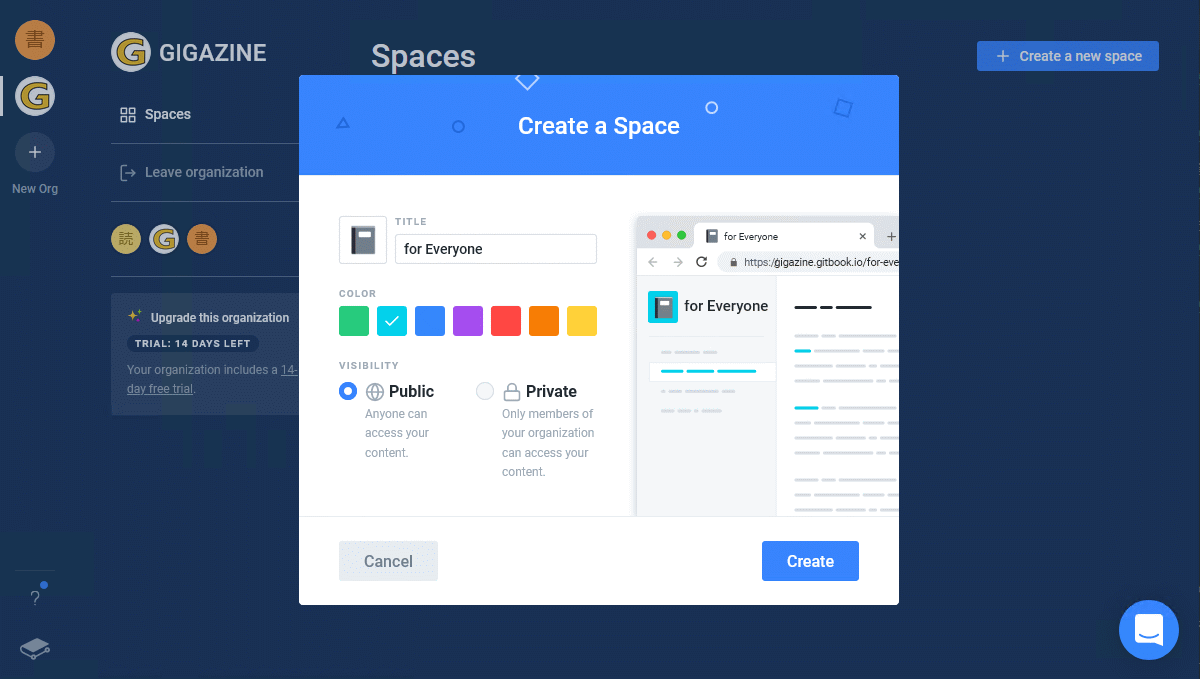
This time the space was created successfully.
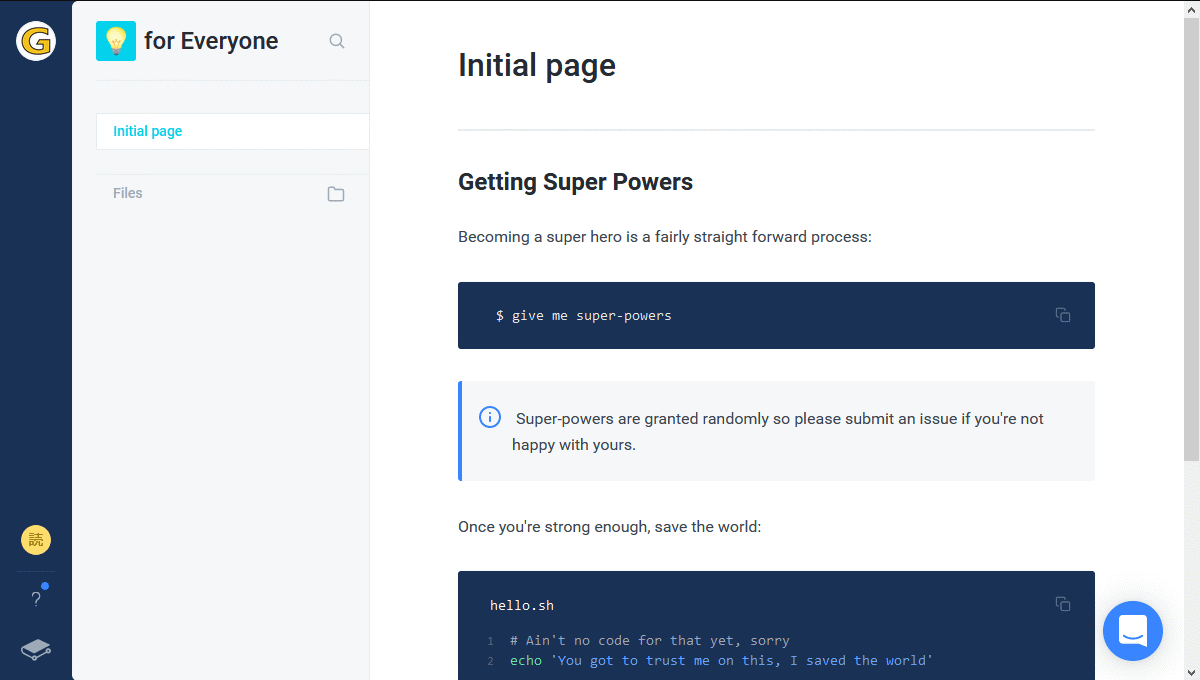
◆ Edit page
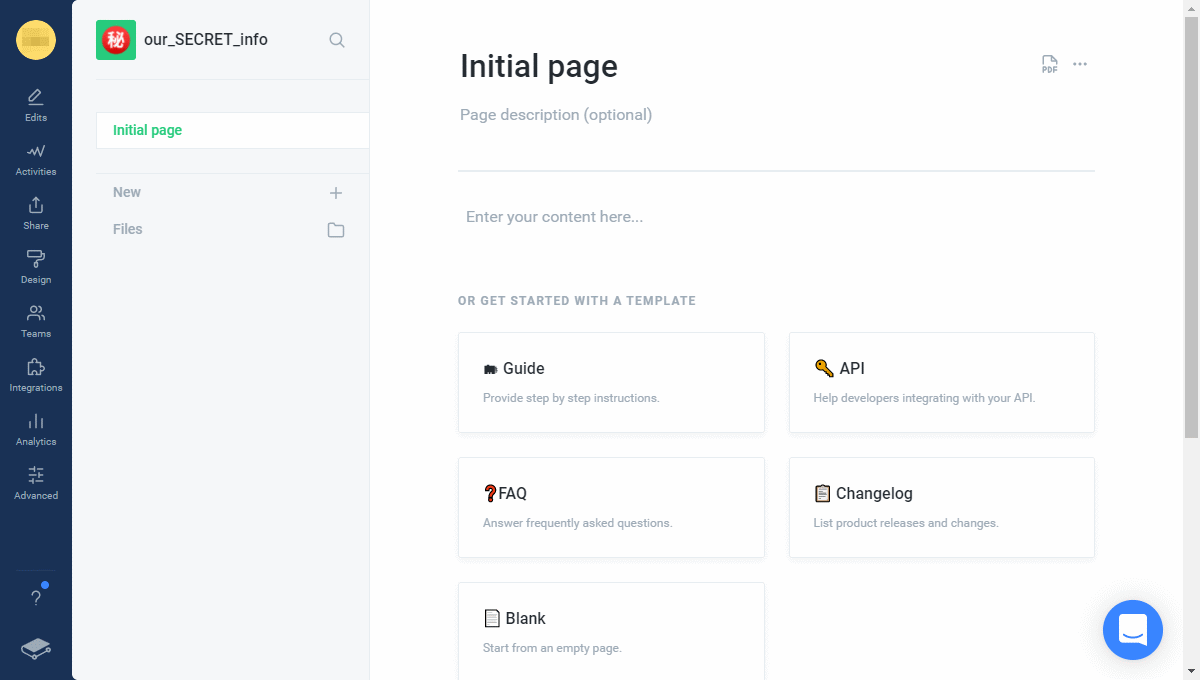
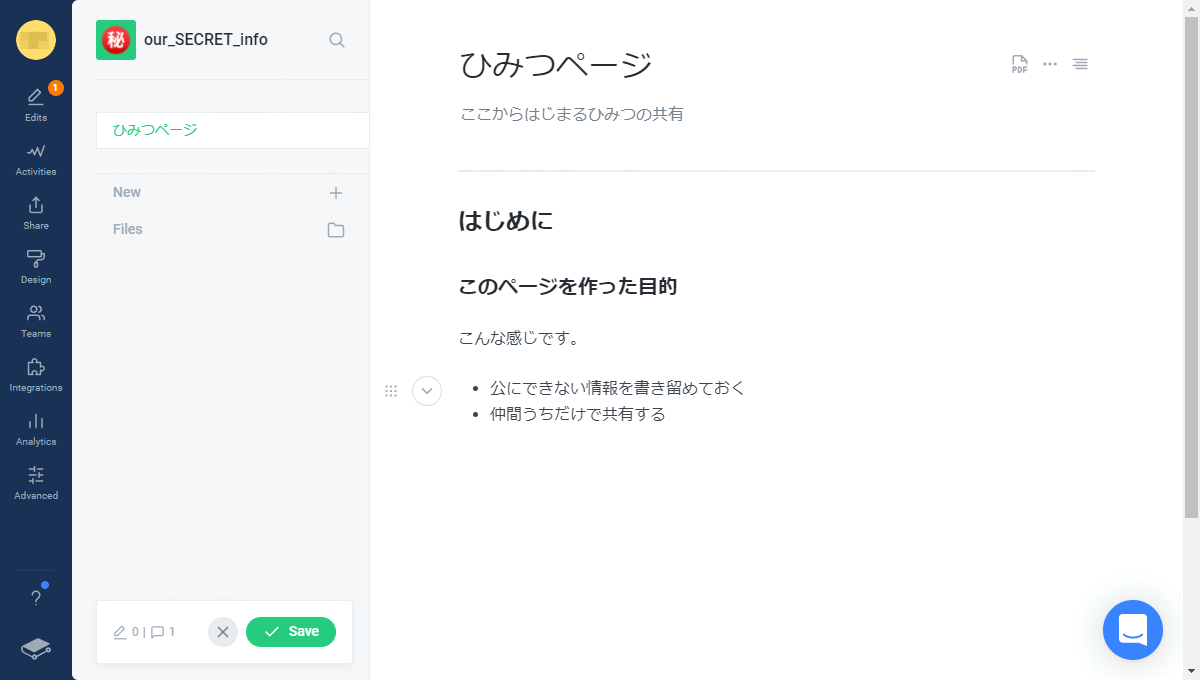
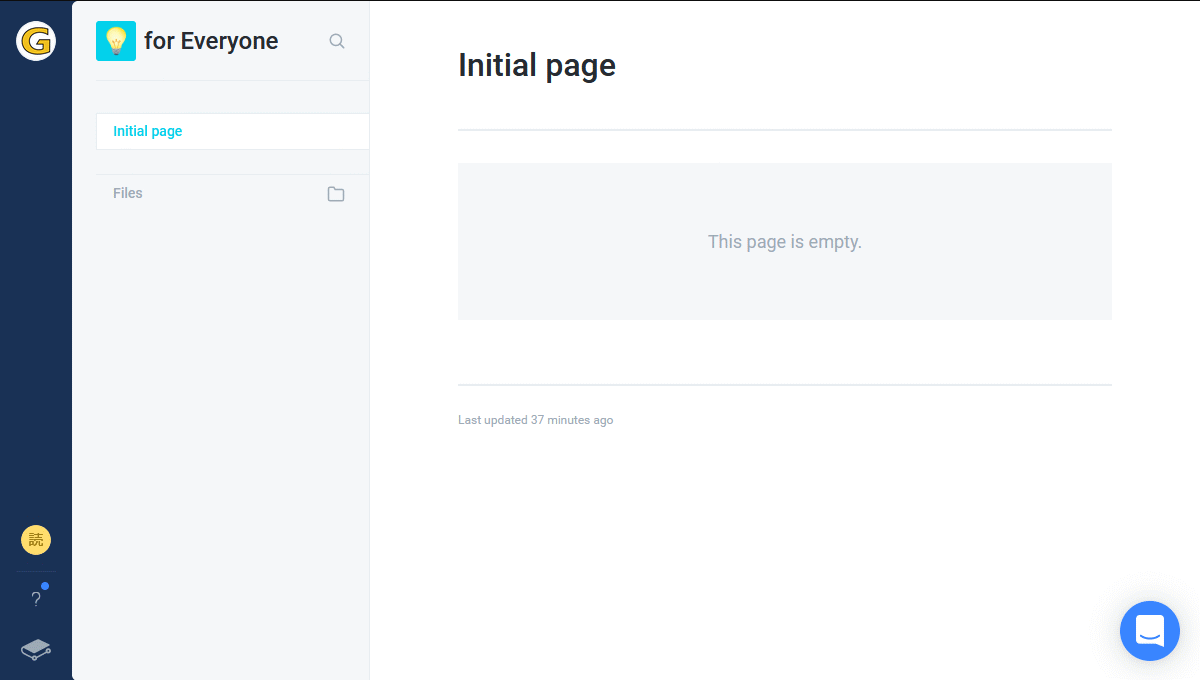
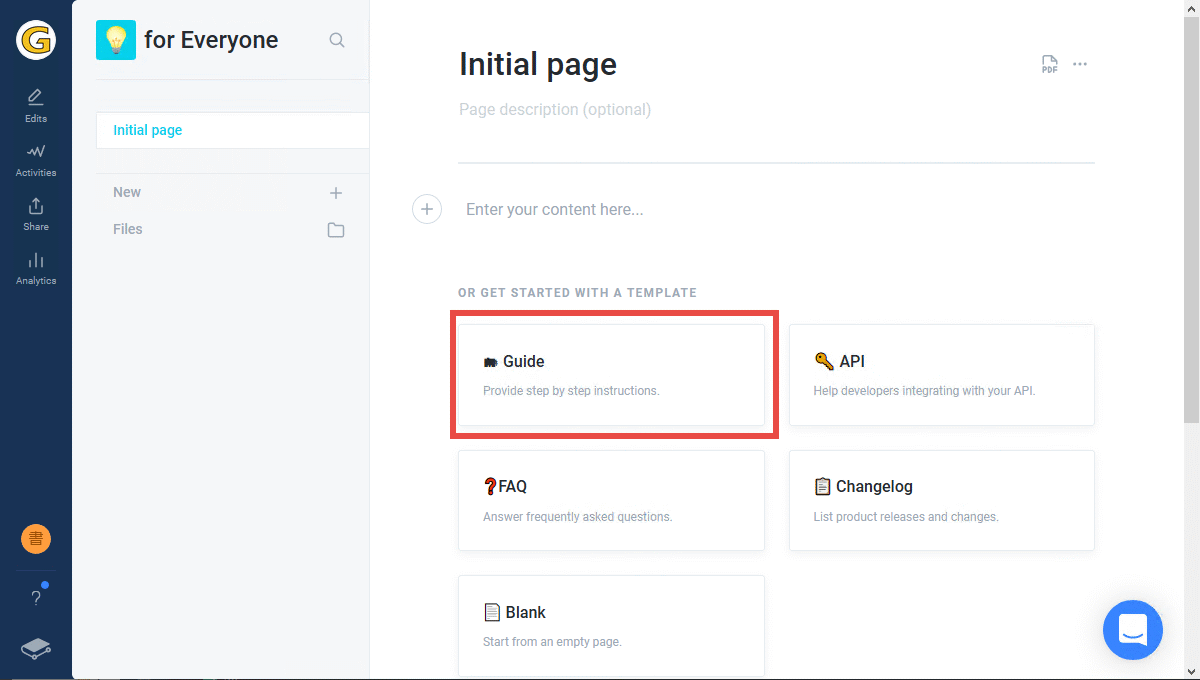
Now that we have the space, let's create a page. There is an 'Initial page' in the space you created earlier, so edit it. It seems that a template is prepared, but first I will write it from scratch. Give a summary of the page in 'Page description' and click 'Enter your content here ...'. Then, a list of cards indicating the style to insert was displayed.

If you select a style and type in the characters, you will be able to create more and more documents. It feels like a WordPress block editor.
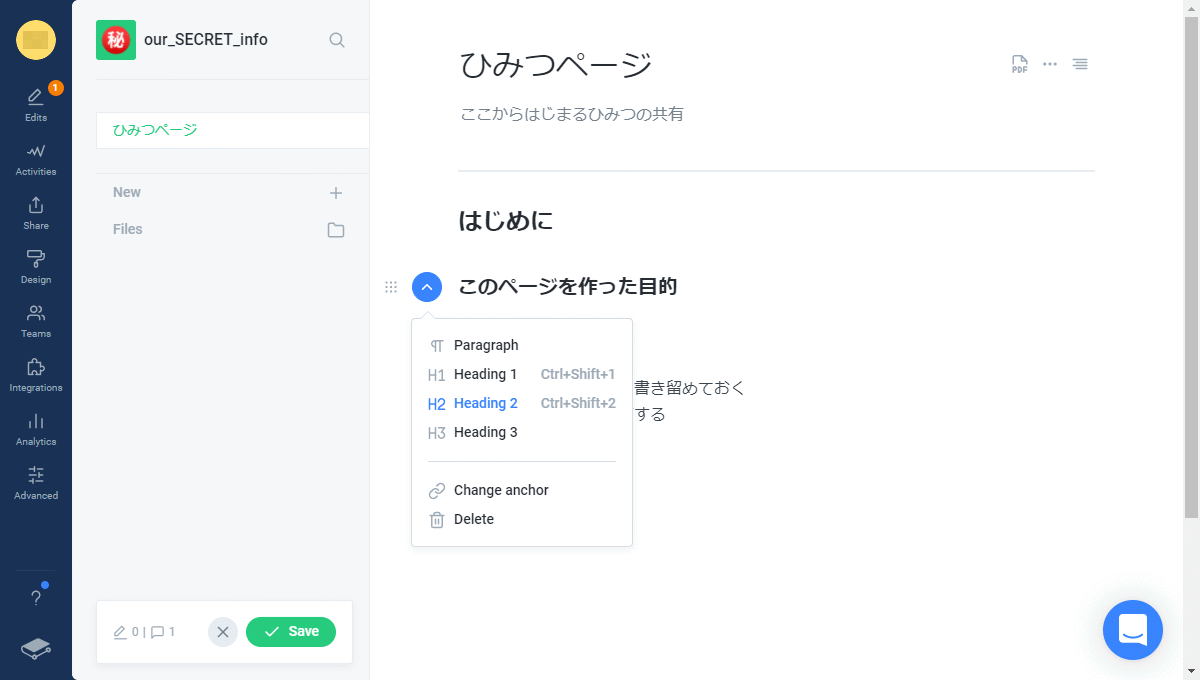
When you select a block, a menu appears on the left side where you can select suggestions for style changes.
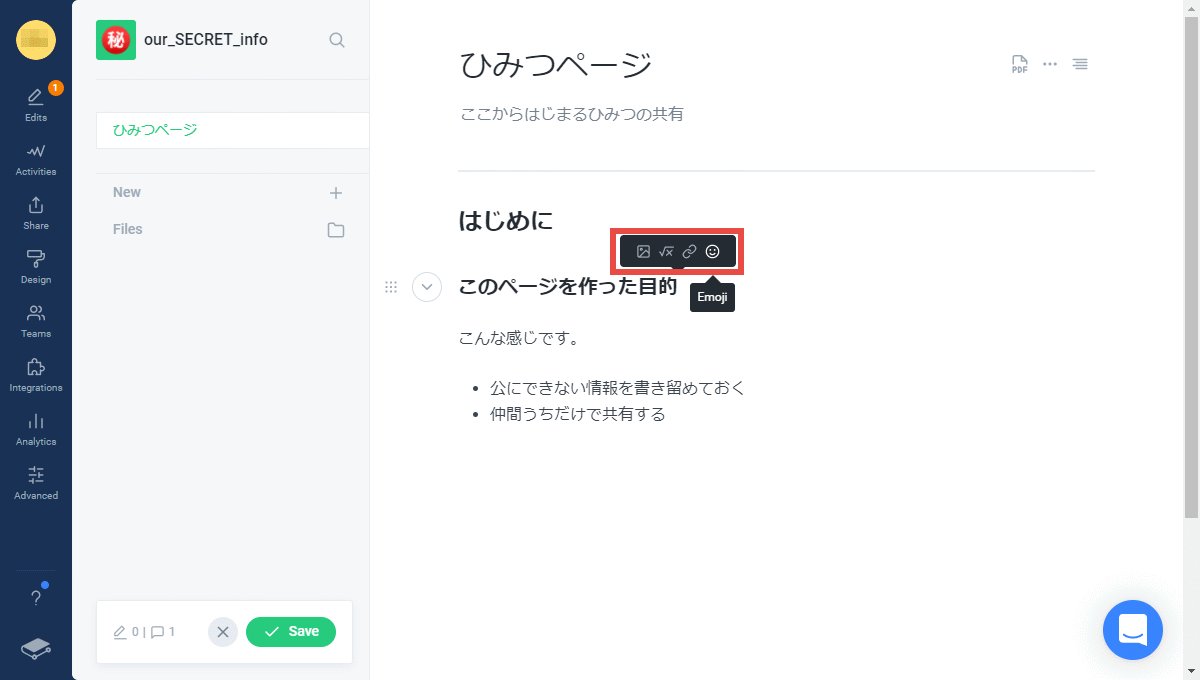
Also, when you hover the mouse cursor over the caret of the block, a + mark balloon will be displayed.
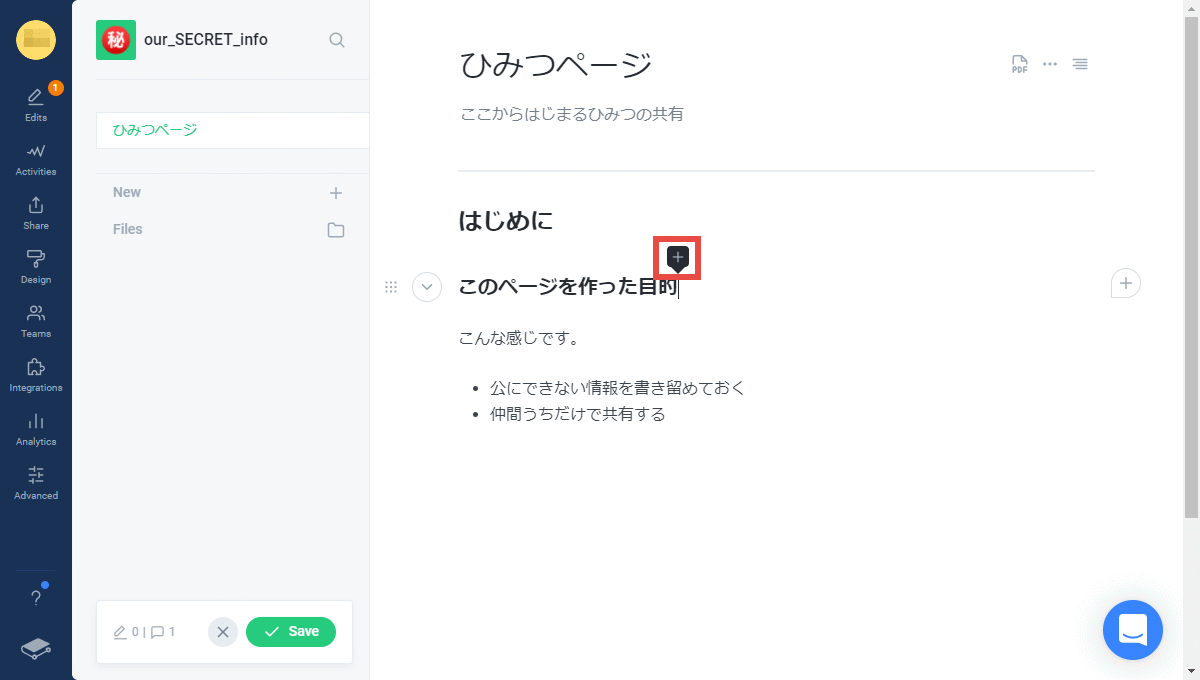
By hovering the mouse cursor over this balloon, you will be able to insert images, formulas, links, and pictograms.
What's interesting is the + sign balloon that appears to the right of the hover when you hover the mouse cursor over the block.
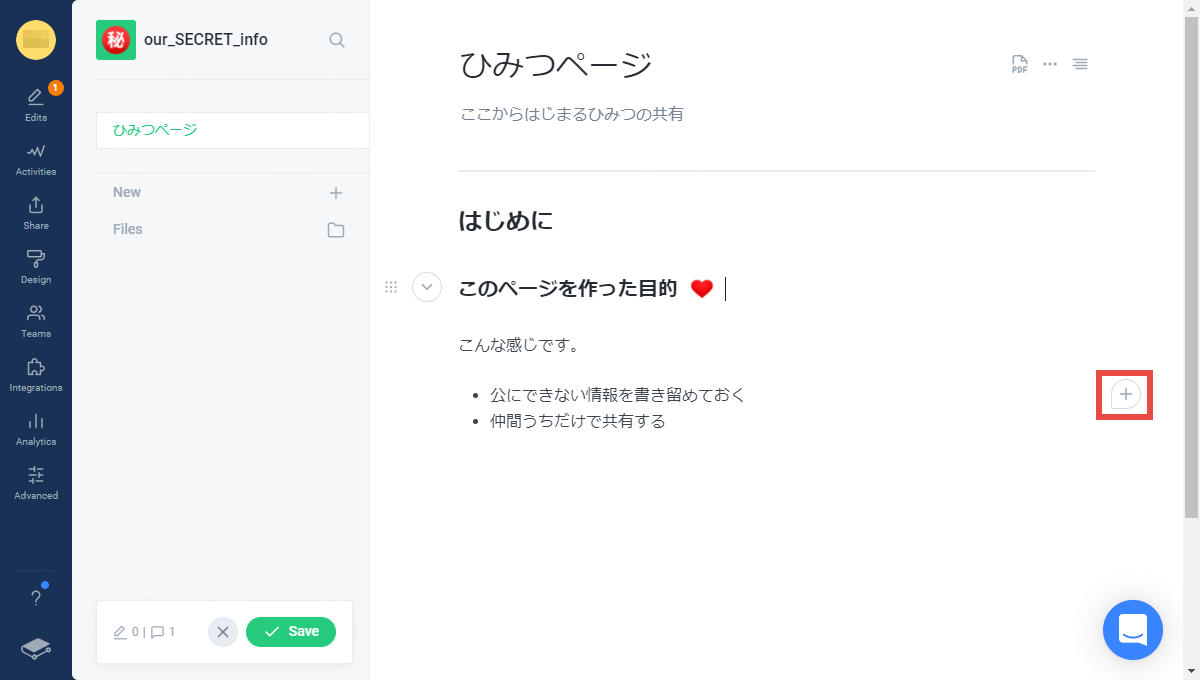
Click this to leave a comment on the block. This comment only seems to be visible to those with write permissions.
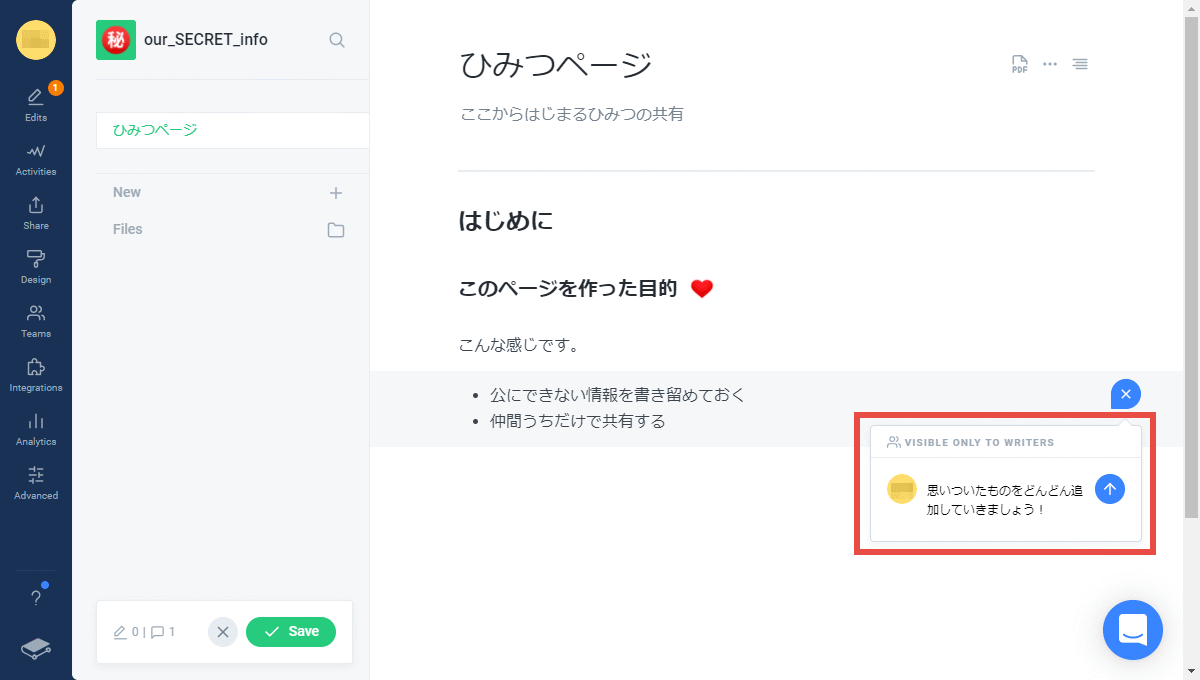
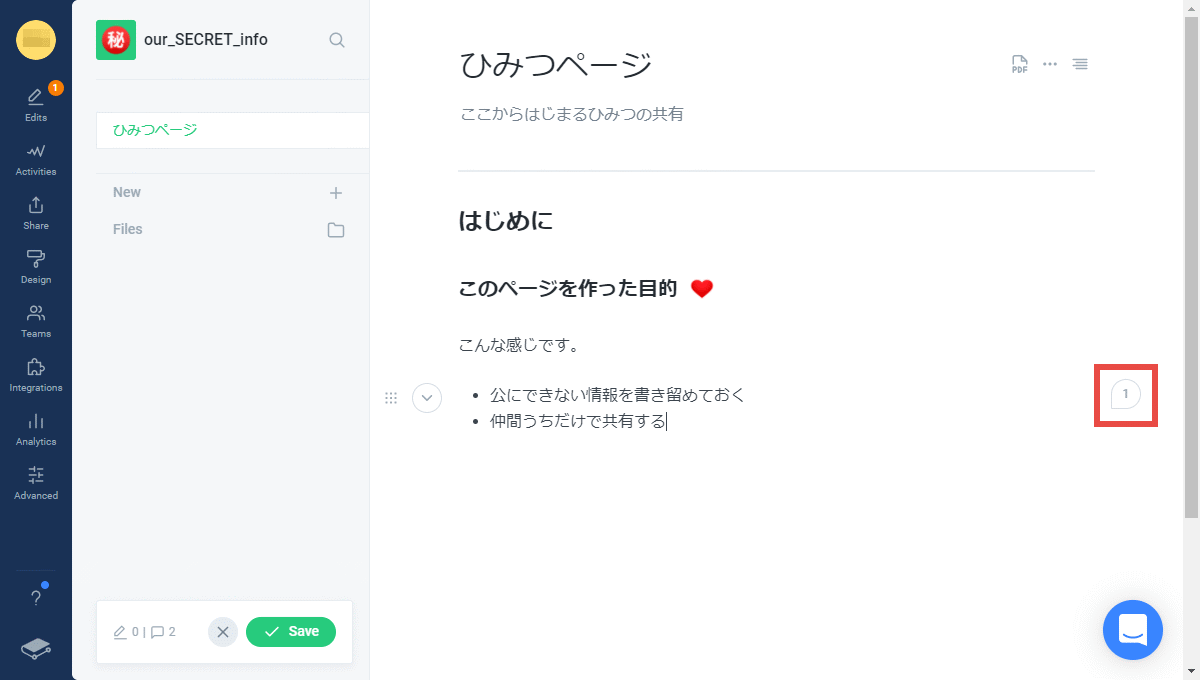
This comment is usually a compact display that shows only the number of cases, and you can expand it by clicking it.
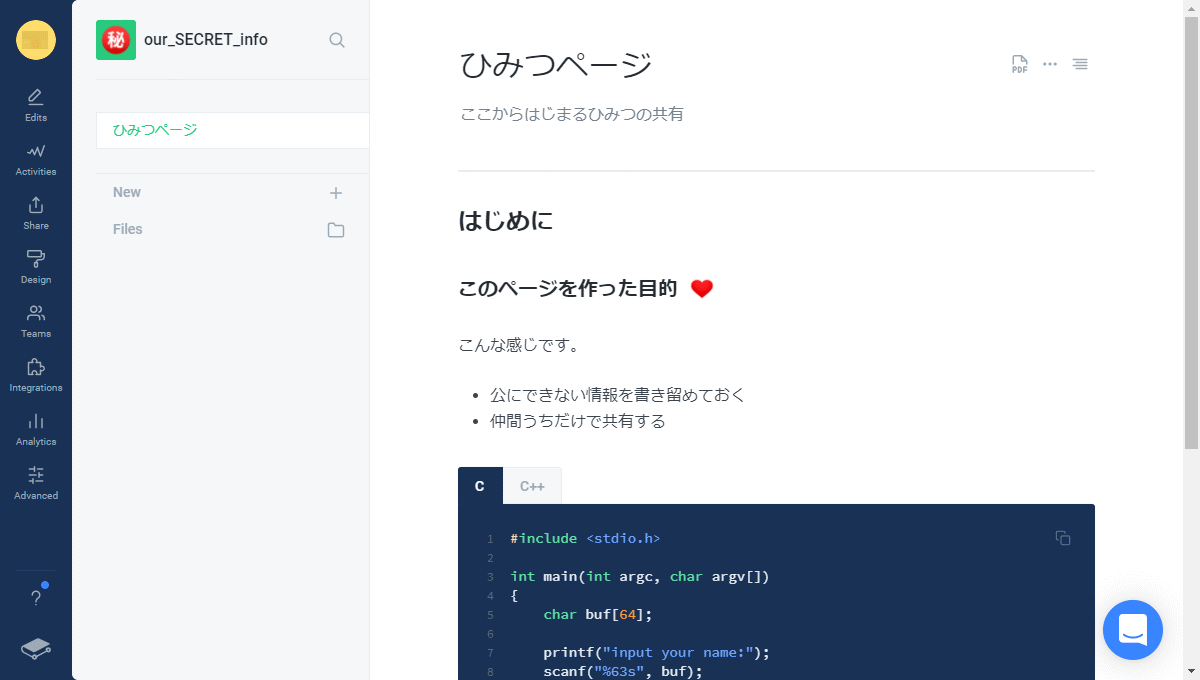
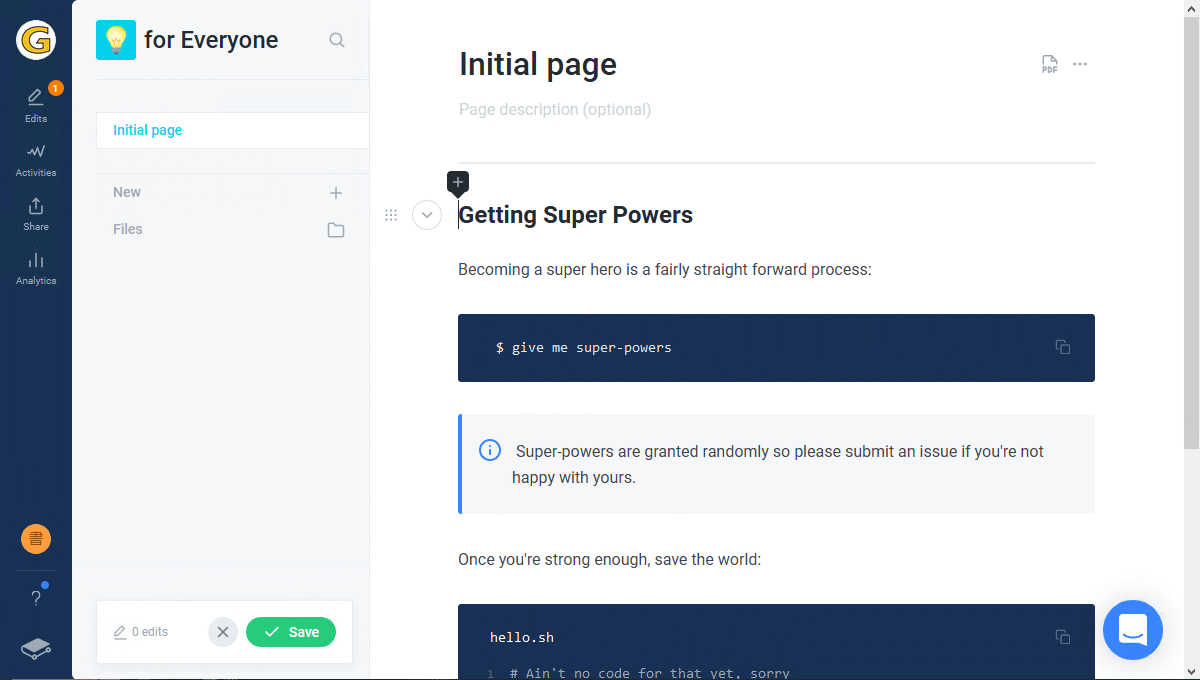
Among the various types of blocks, the code block is of concern from the perspective of targeting the software team as the main target. If you try inserting a code block and opening the menu, you can see that it supports major languages and formats.
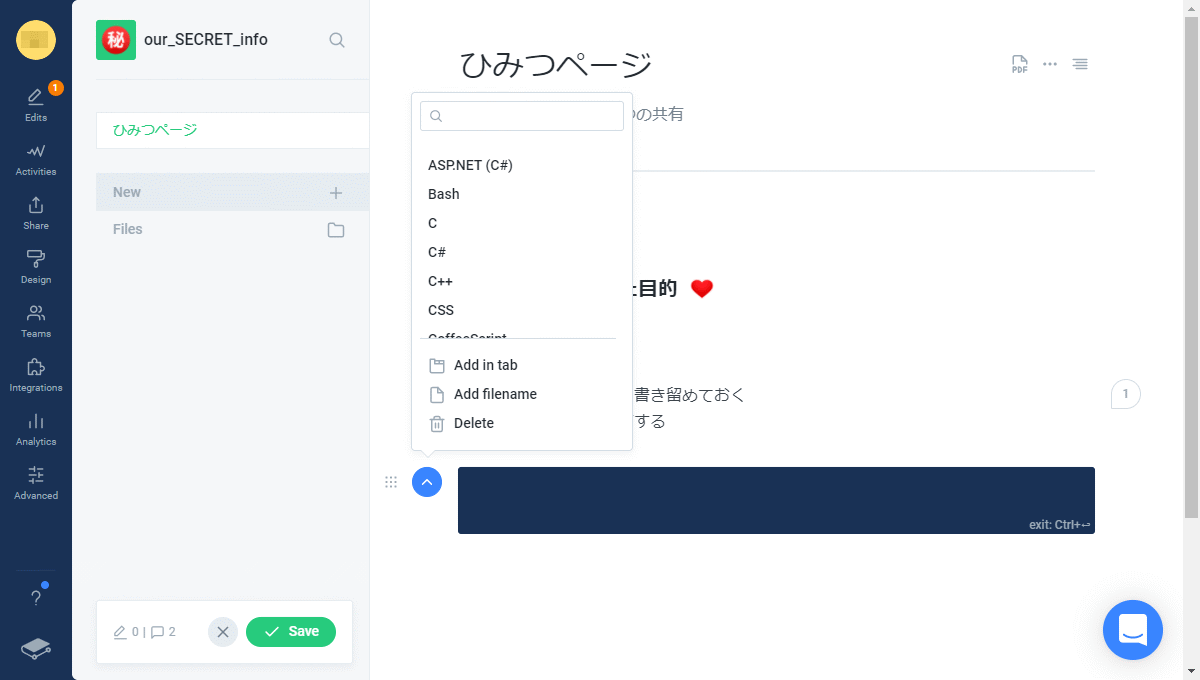
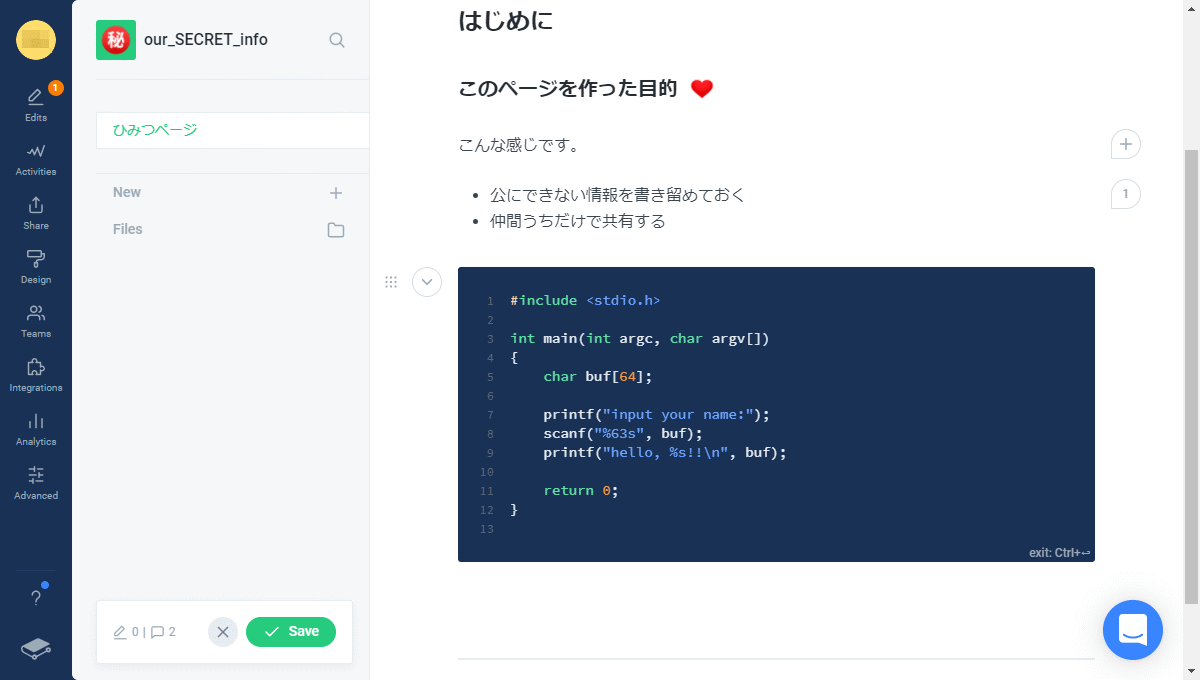
If you select C and enter the code, you will see that the keywords and syntax are highlighted.
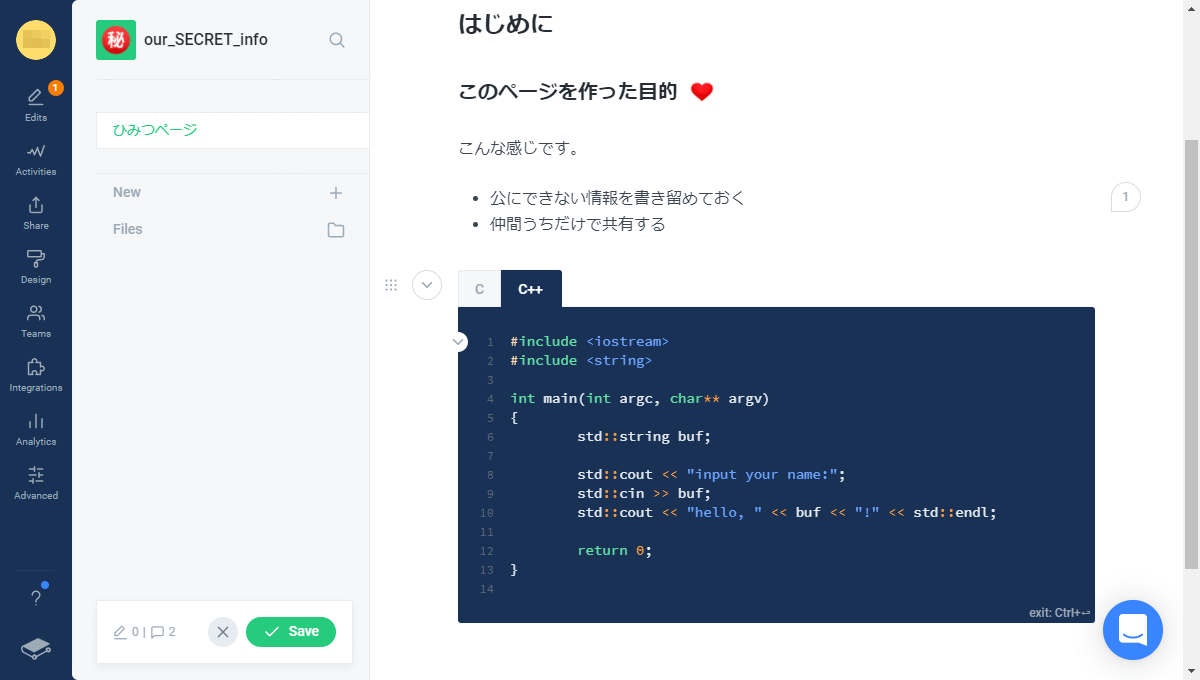
Also, it seems that usage such as setting tabs and writing the same content in multiple languages is also considered.
◆ Saving / merging pages
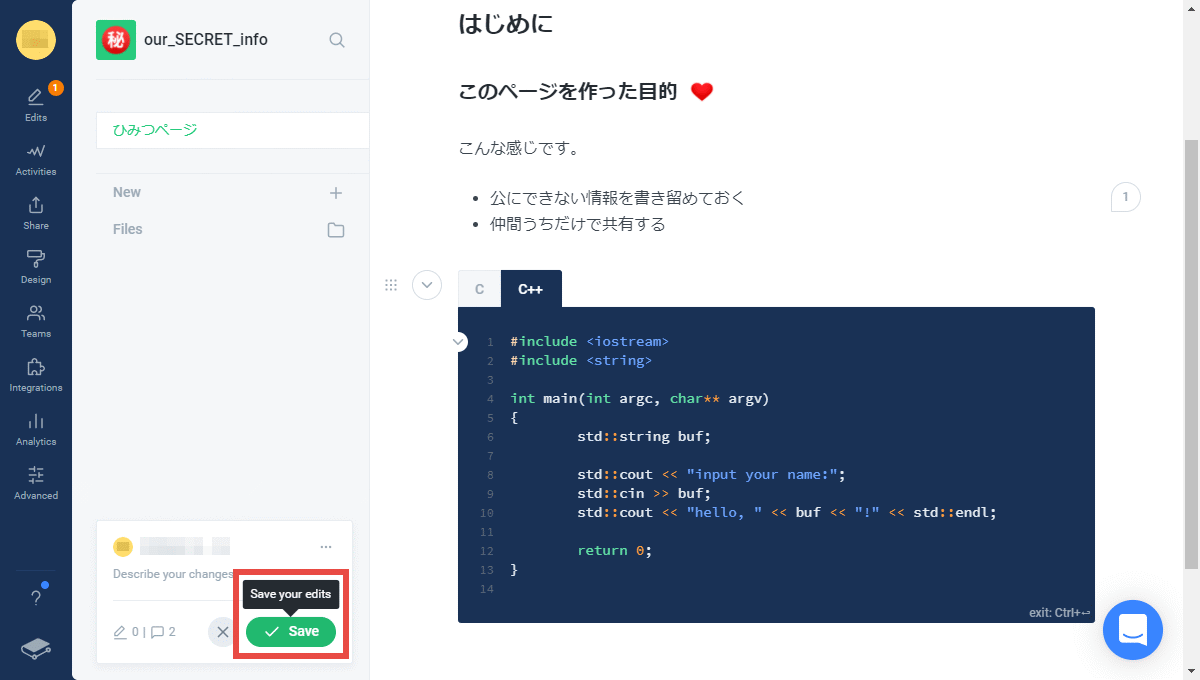
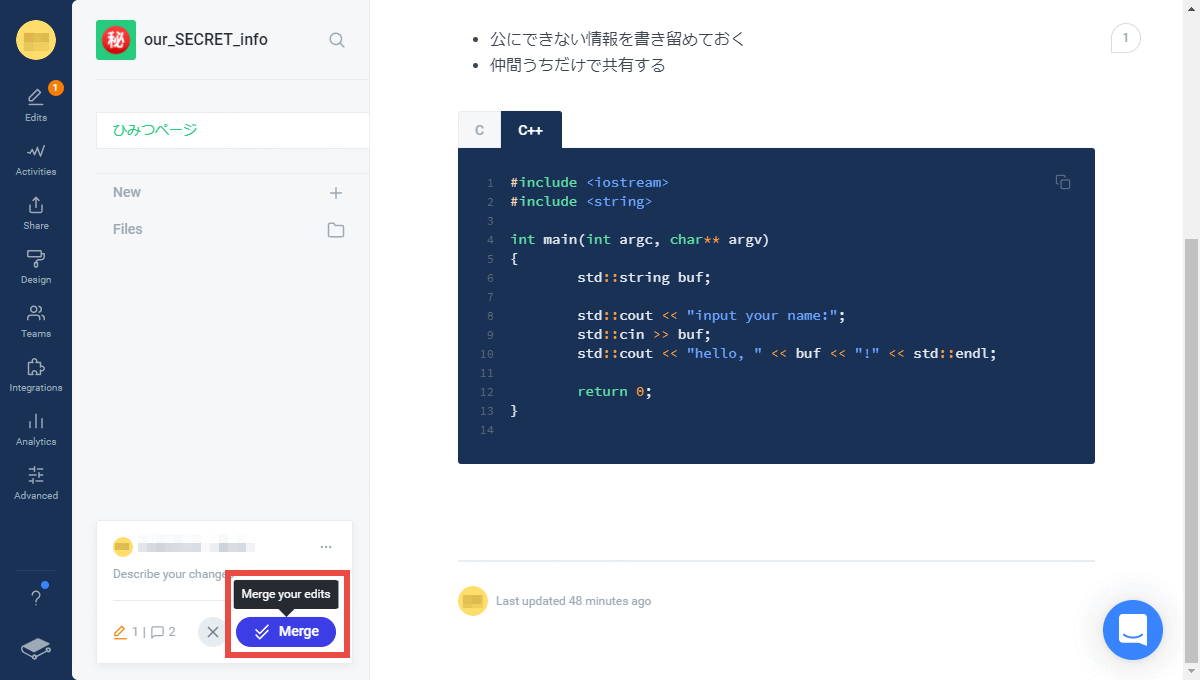
To finish editing and save, click the 'Save' button at the bottom left of the screen.
Then, the button at the bottom left of the screen changes to 'Merge'. In other words, at this point, the edited content remains at the individual level, and it seems that executing 'Merge' will spread to the team level. I feel that this area is similar to a distributed code management tool like git.

When I opened the page separately, it is true that the edited contents are not reflected on another screen at this point.
Now, let's click the 'Merge' button on the screen of the person who was editing.
Shortly after, I exited the edit screen and replaced the 'Initial page' on the left with the edited page title.
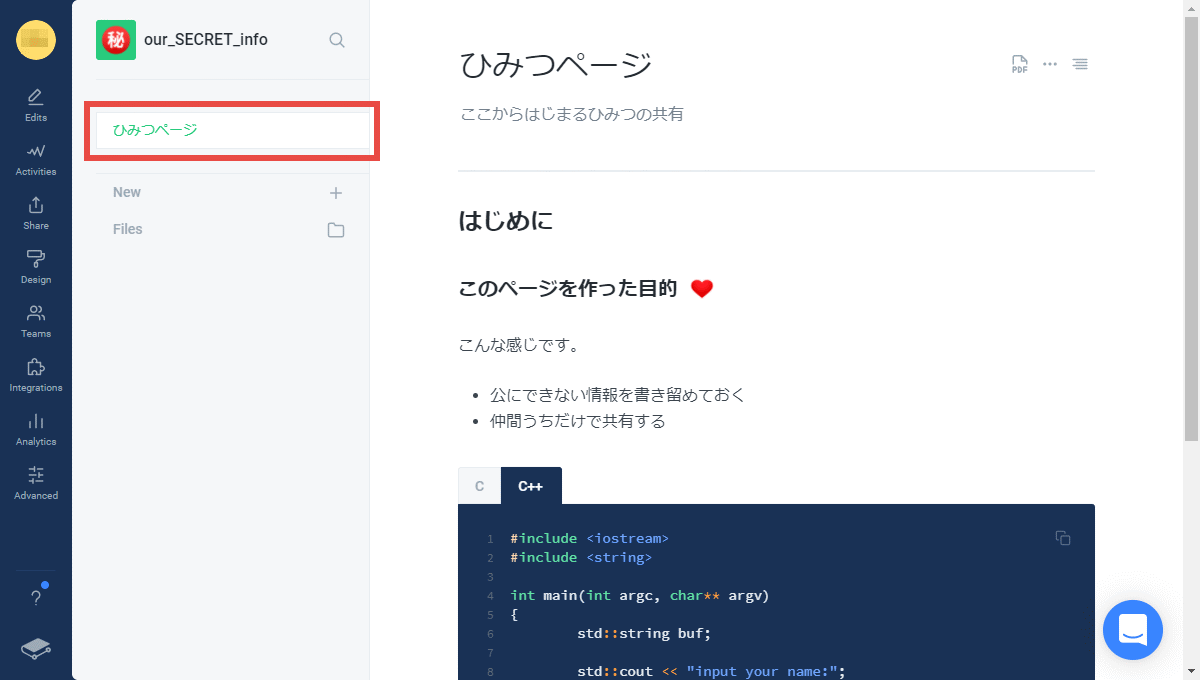
When I checked the other screen that opened earlier, it was already reflected here. Of course, the contents are exactly the same, and if there is no difference in the active tabs set in the code block, I could not notice which was the original edit screen.
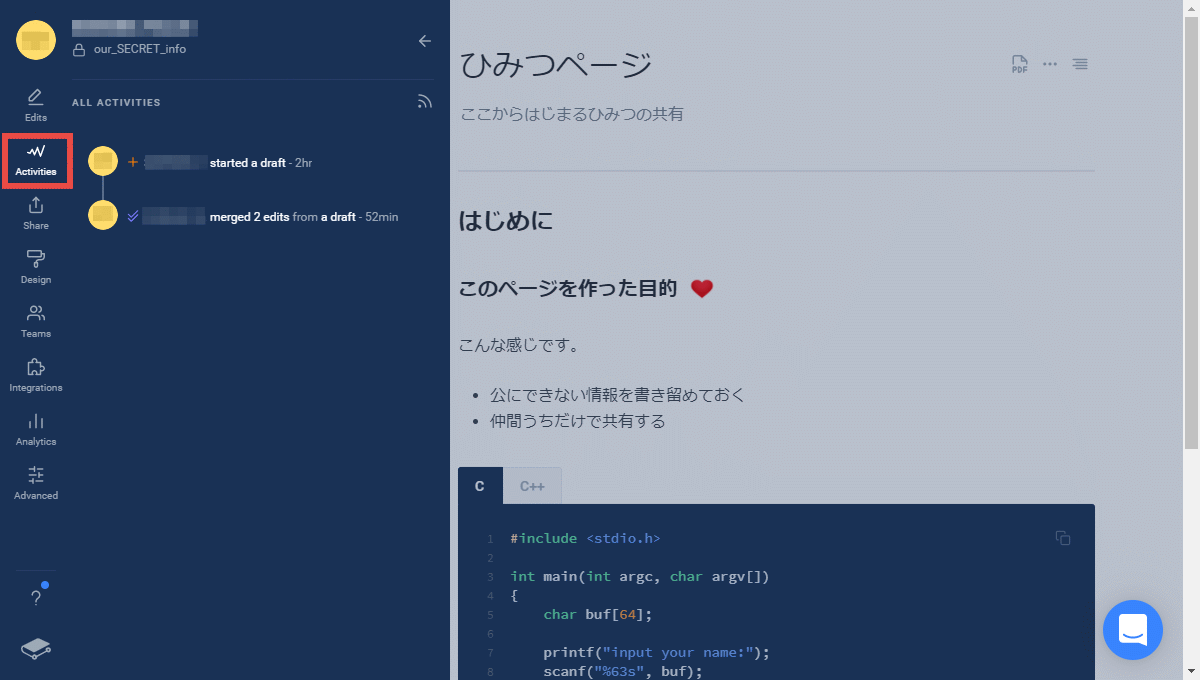
You can check the progress of the work up to this point by clicking the icon that says 'Activities' among the icons on the left side of the screen.
◆ Use by team
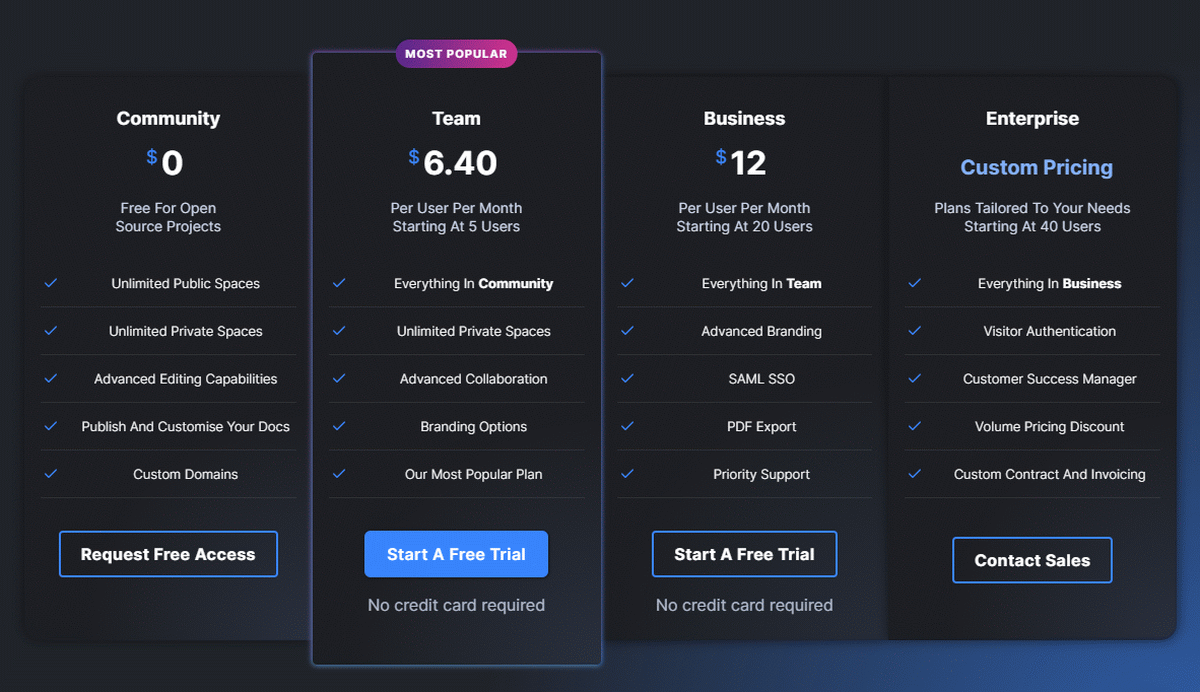
Up to this point, I used the free version, but there is a restriction that it is for personal use , and in order to use GitBook with multiple people, it is necessary to use a subscription of Team or higher. However, it seems that a free trial is available, so I will use it this time.
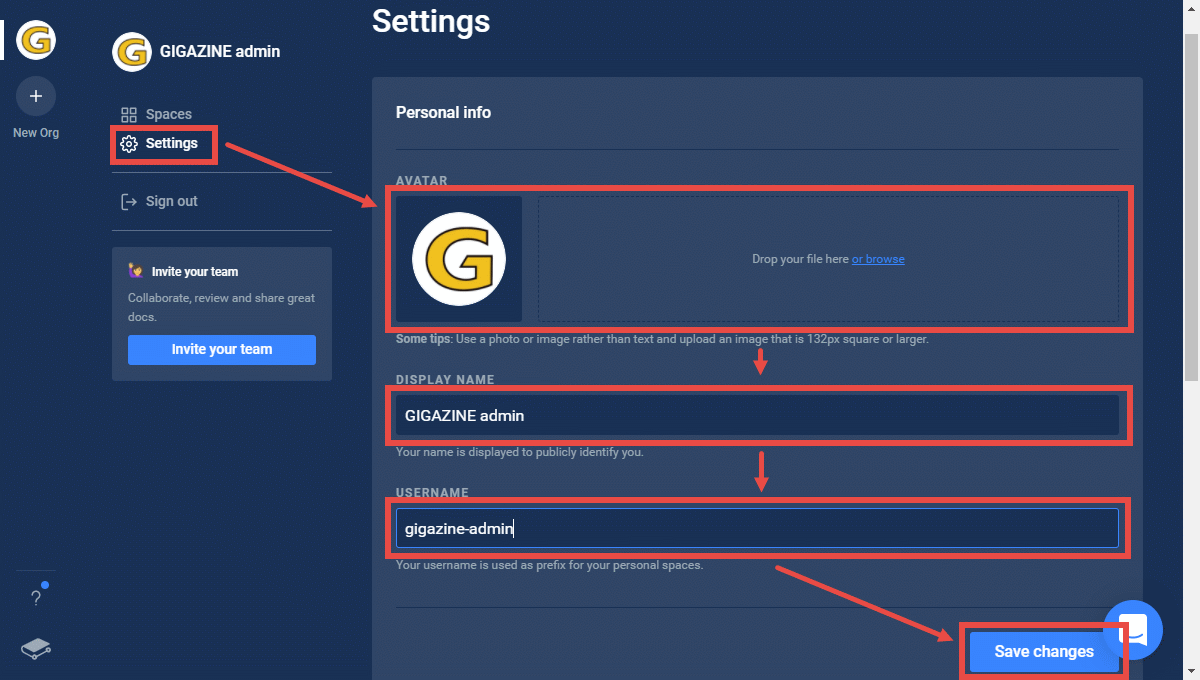
Before that, let's make personal information team-like. Click 'Settings' on the left menu on the top screen, change 'AVATAR', 'DISPLAY NAME', and 'USER NAME' of 'Personal info' at the top of the Settings screen, and press 'Save changes' to reflect. I will.
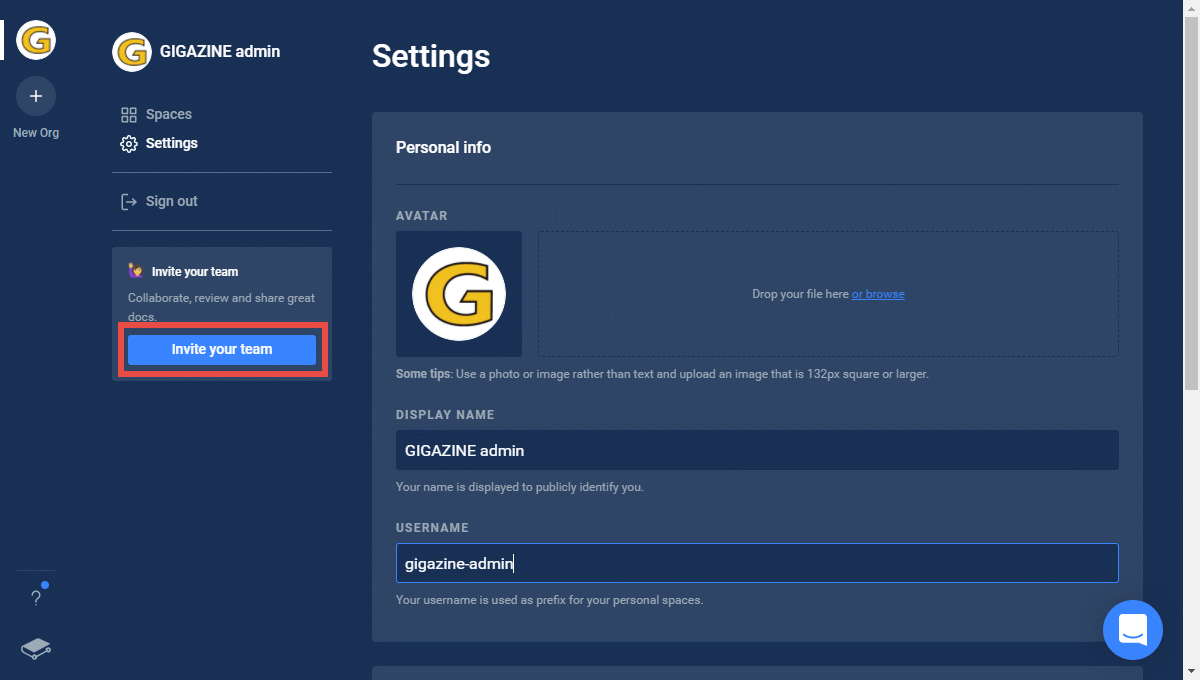
Now let's invite members to the team. When you click 'Invite your team' displayed at the bottom of the left menu on the top screen ...,
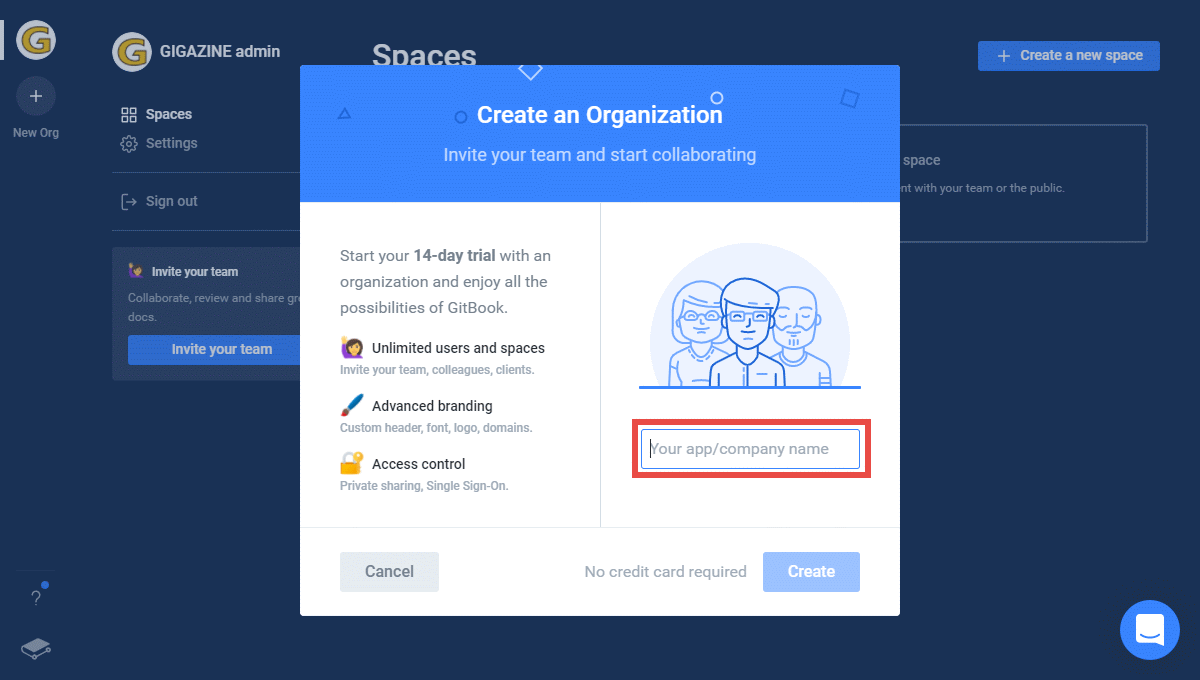
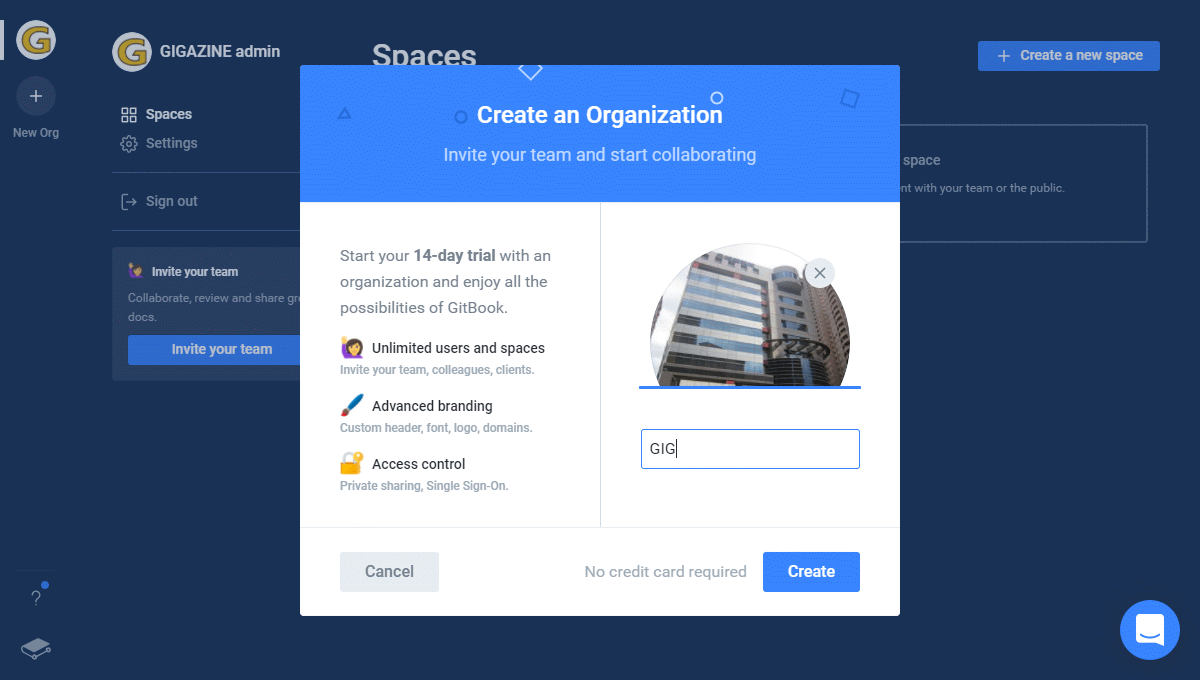
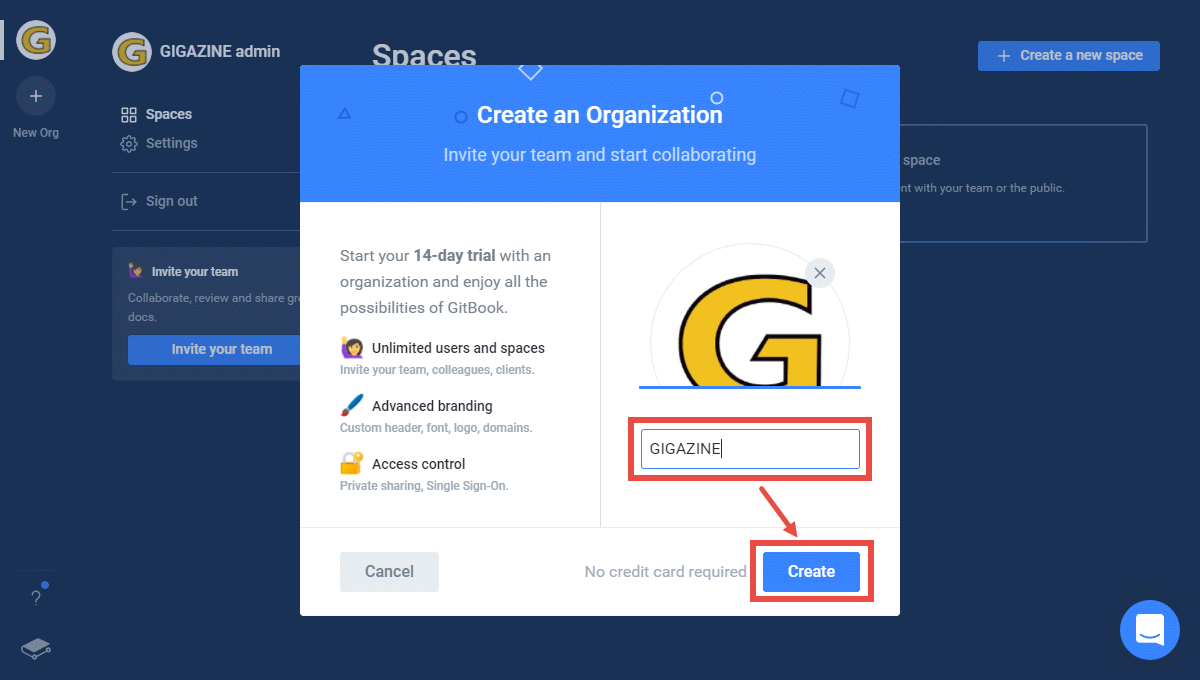
A pop-up screen called 'Create an Organization' is displayed. Since 'Start your 14-day trial ~' is displayed, it seems that this procedure will automatically handle the trial. Here, enter GIGAZINE as a trial in the edit box where the placeholder 'Your app / company name' is displayed.
……Hmm? GitHub? A familiar design is displayed as an avatar. This is a pretty interesting mechanism.

……? ?? ??
……! !! !!
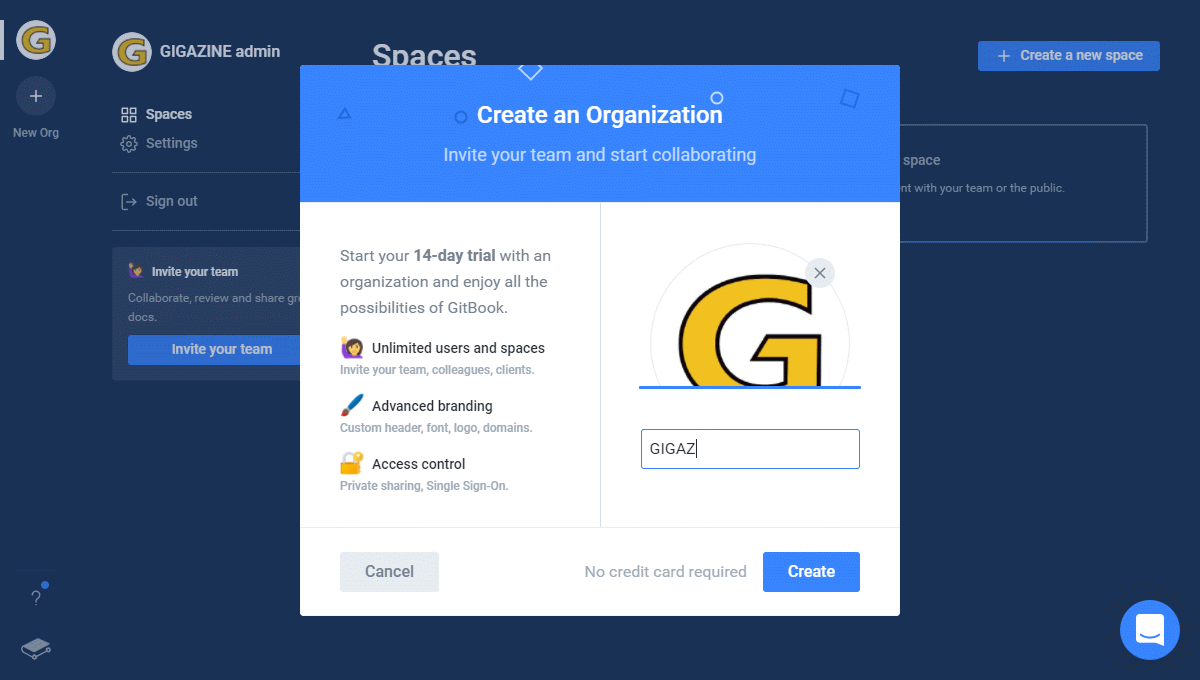
I didn't expect to see the familiar logo suddenly here. Well, I think that the image set in Personal info earlier was just a hit. Click the 'Create' button without feeling uncomfortable.
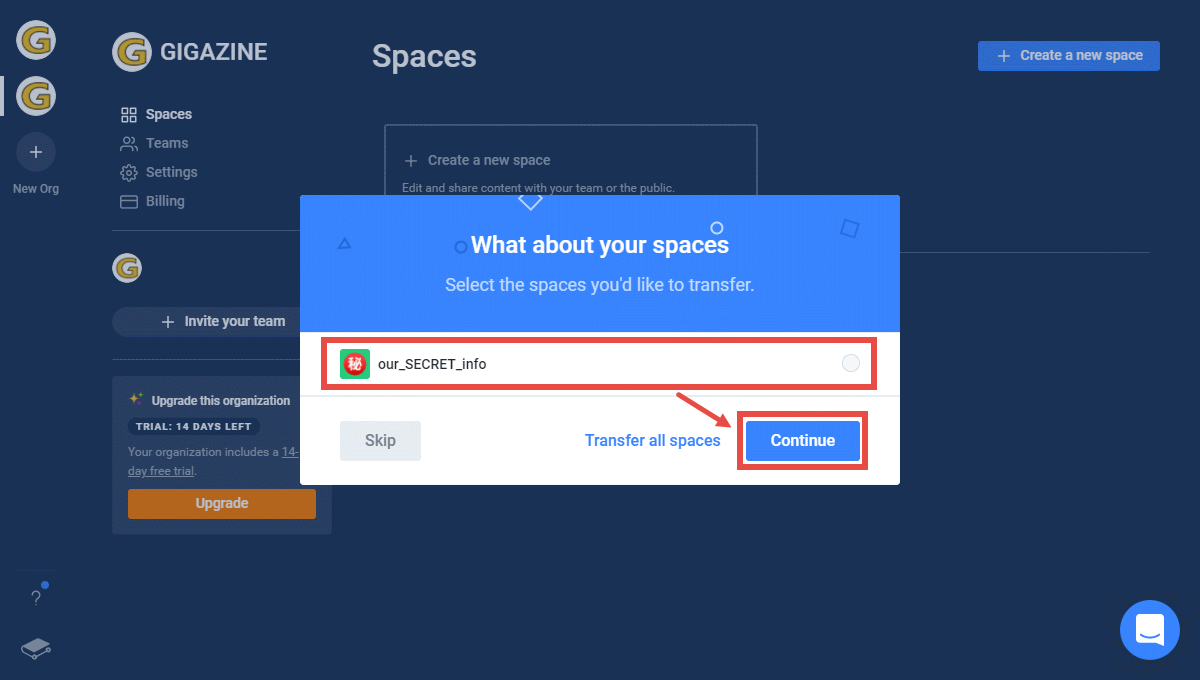
Then, a popup was displayed asking for the space to move to the team. At this point, the screen behind you has casually added team avatars and upgrade instructions from the trial. Check the checkbox (looks like a radio button) to the right of each of the listed spaces and click the 'Continue' button, or select 'Transfer all spaces' if you want to cover all spaces. Click to proceed.
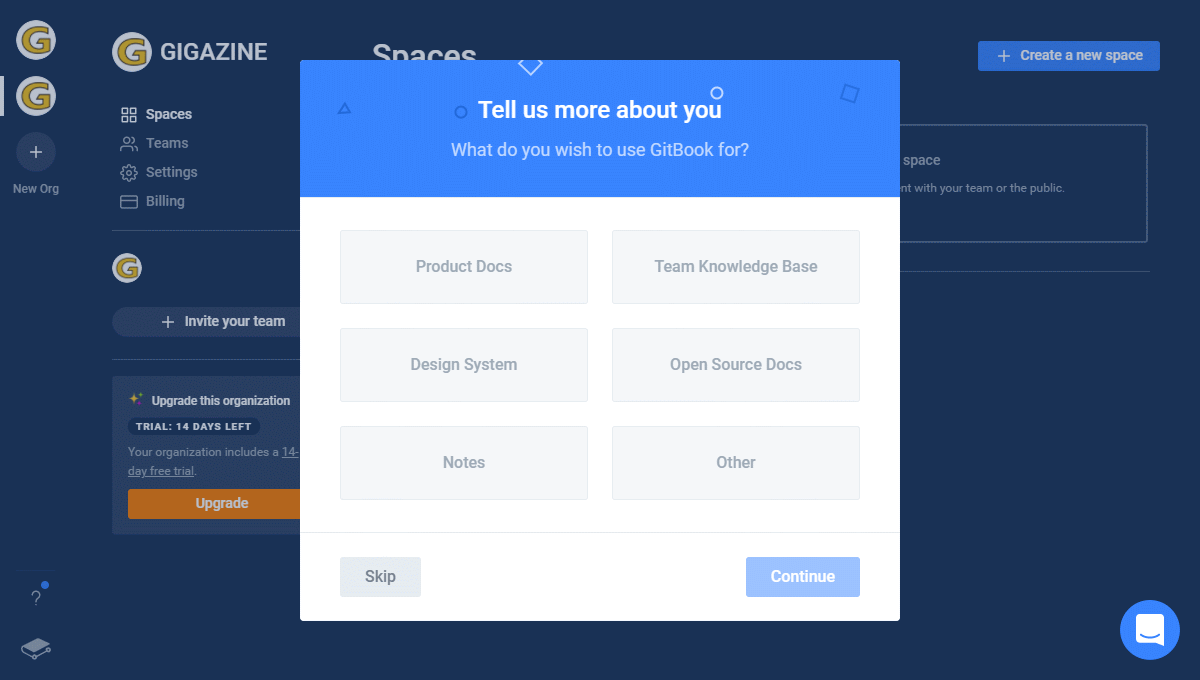
The screen 'Tell us more about you' is displayed. What do you want from your GitBook? It seems that you are being asked, but since we are still looking at it, click the 'Skip' button to skip it.
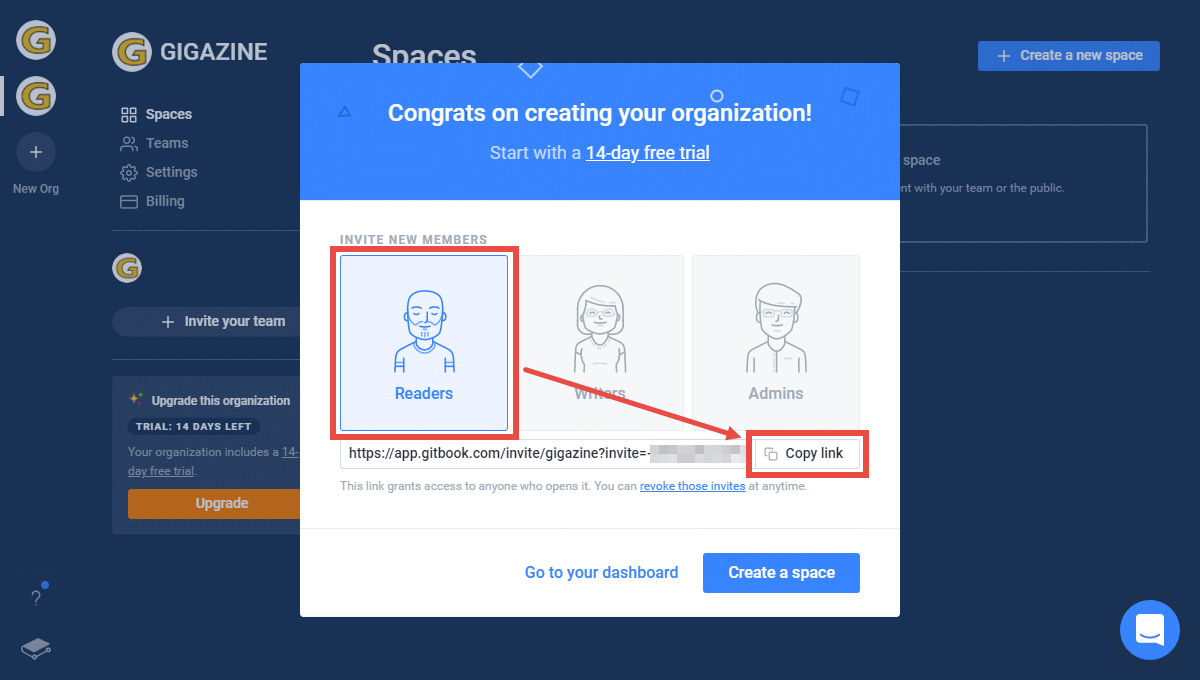
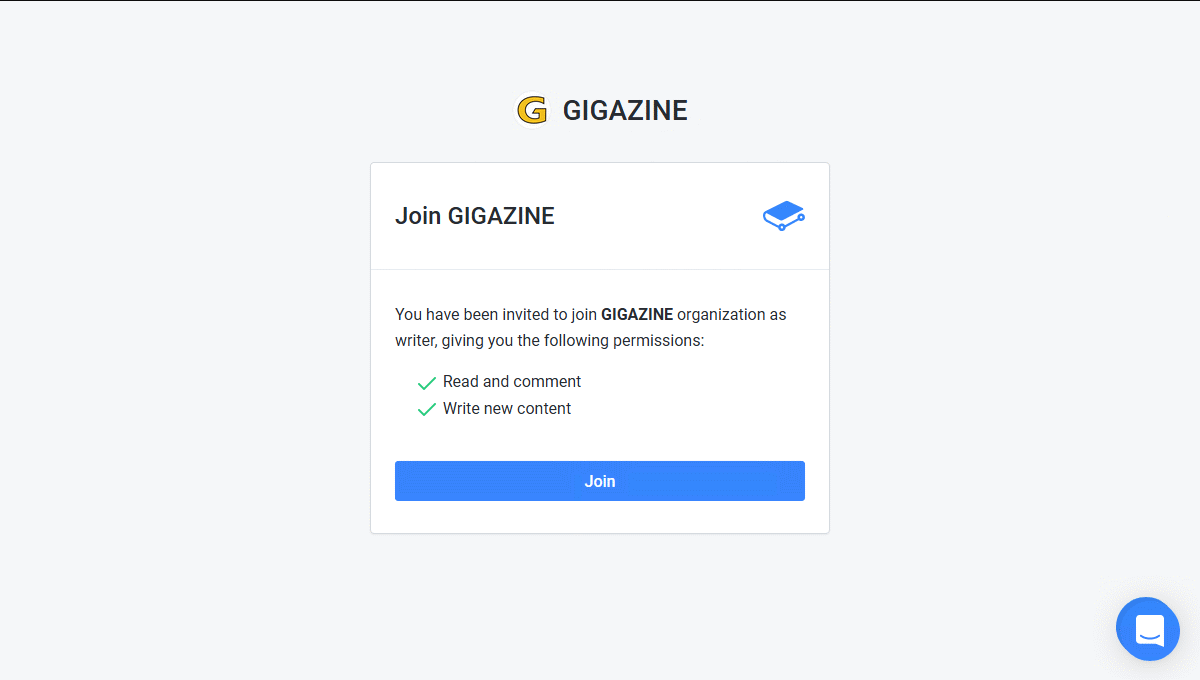
A screen was displayed to congratulate the completion of the organization creation. Here you can issue invitation links that grant permissions according to the members. There are three types of permissions: Readers, Writers, and Admins, and when you select one, the URL corresponding to it is generated. By telling the members about this, you will be invited, so while it is convenient, it seems that you need to be careful when handling this URL.
First of all, assuming that you issued an invitation link with Readers authority, I opened a URL with the same authority. First, you'll see a screen similar to the first sign-up screen, except that the organization name is displayed at the top.
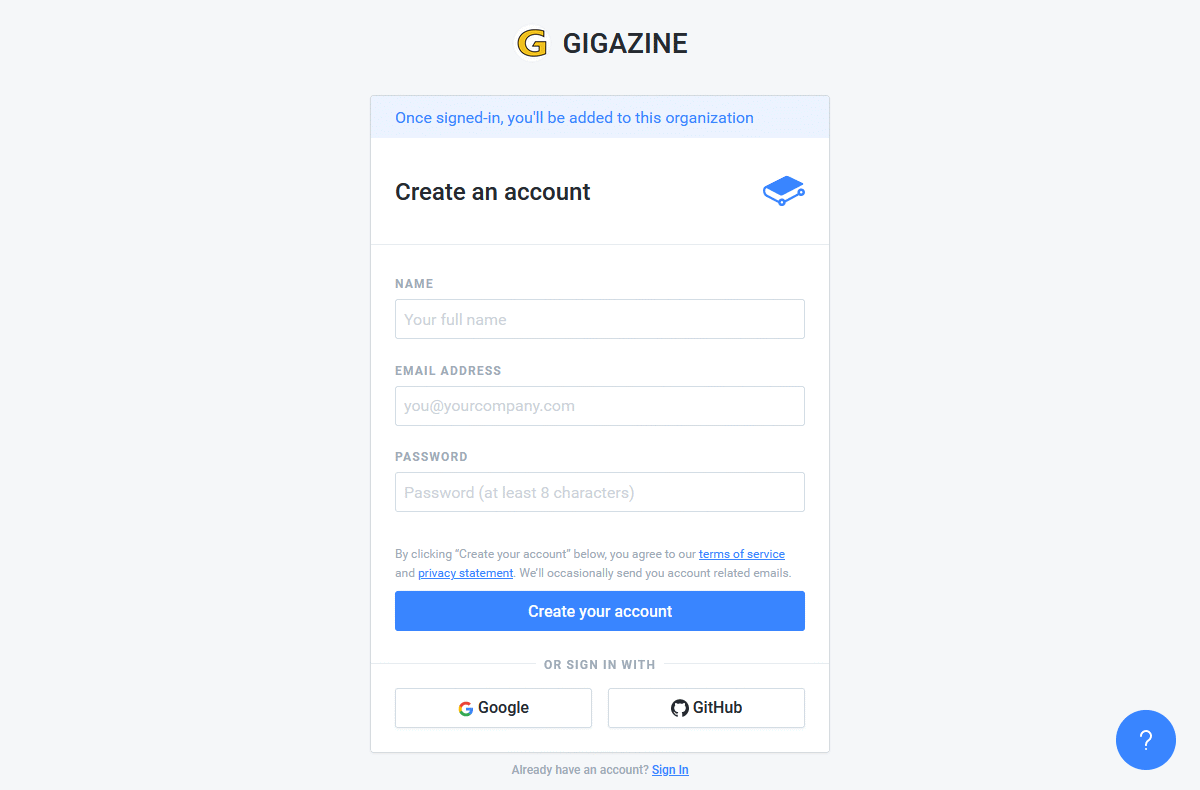
If you create an account as you would on the sign-up screen, you will see that this account has read and comment permissions on the document. Click the Join button here to proceed.
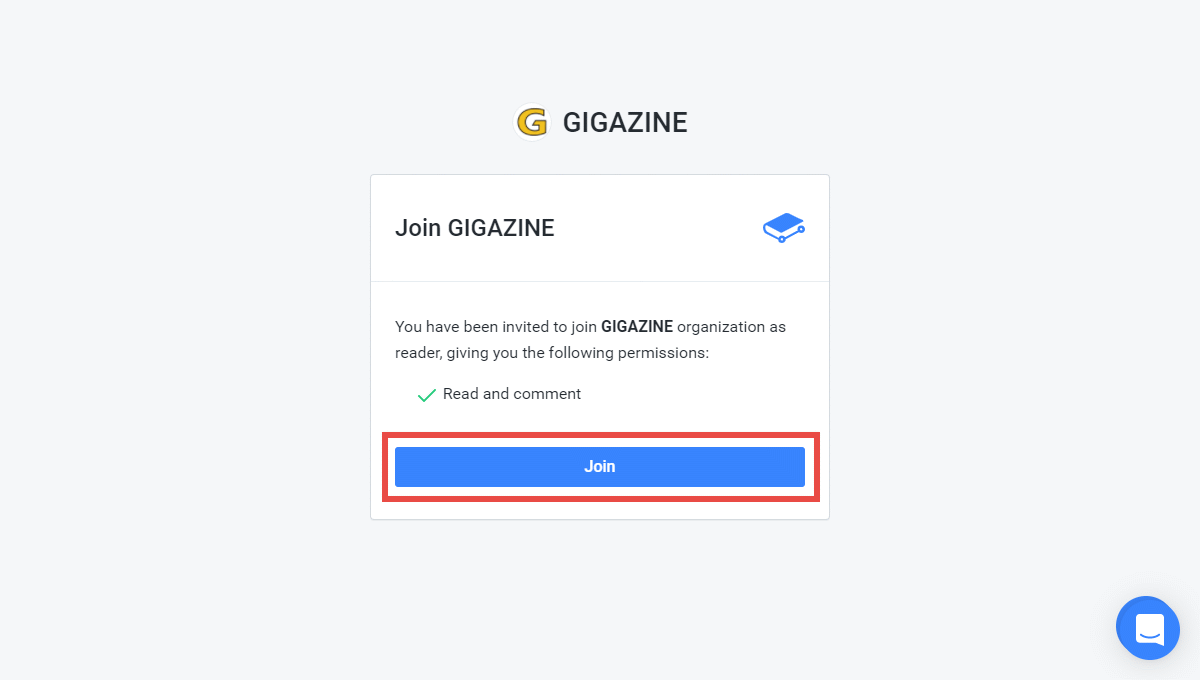
I was invited safely. Since it was created with the name 'read-only member', the avatar with the acronym 'read' is displayed at the top of the left end.

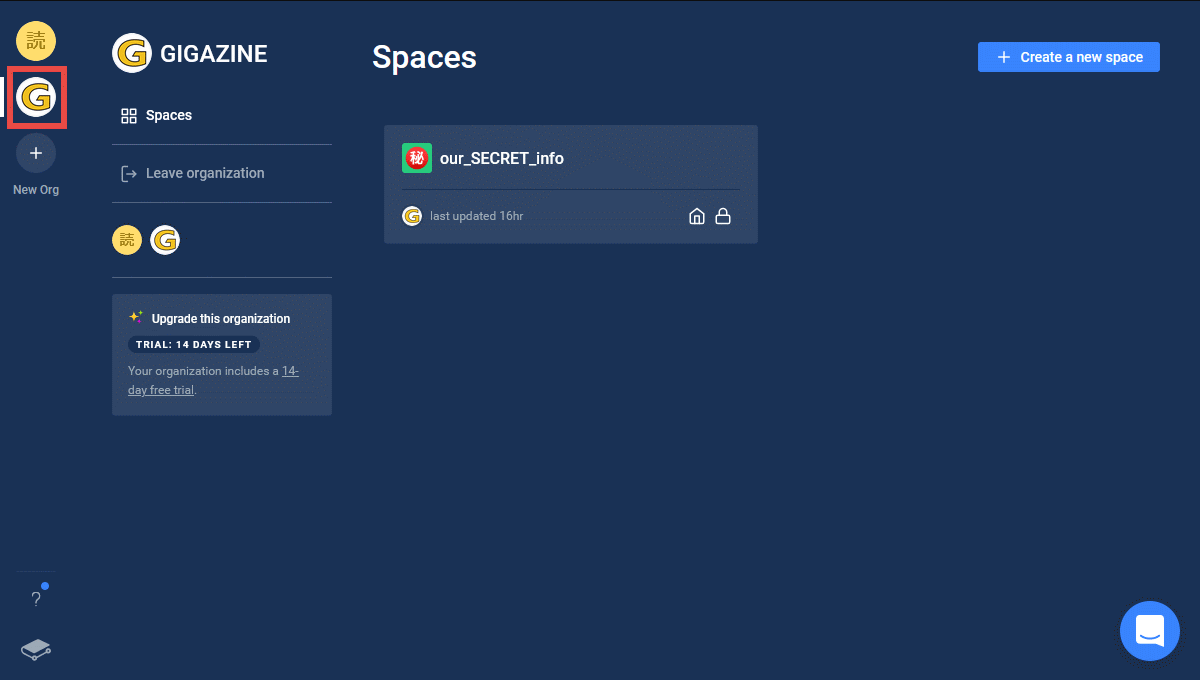
I checked Spaces with this member, but I can't see the Private Spaces I have created. Maybe members who only have read permission can't access the Private space ...?
…… From the leftmost avatar, select the one of the organization (second from the top) instead of the one of the logged-in member (top), and it will be visible. It seems that you can only see the page you created (= the page you own) when the login member is selected.
I also created a Writers member in the same way. Compared to Readers, you can see that 'Write new content' has been added to the permissions.
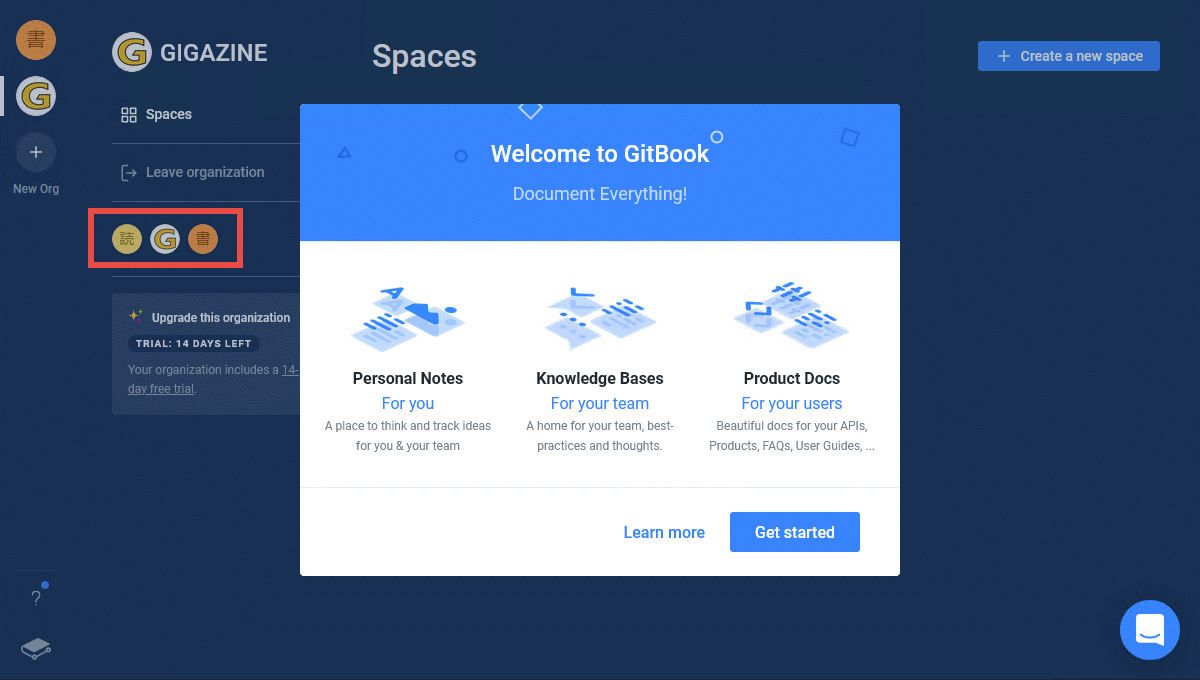
This was also invited. You can see that the members are gradually enriched.
When I check the list of spaces with Writers members, I can see the private spaces properly this time.

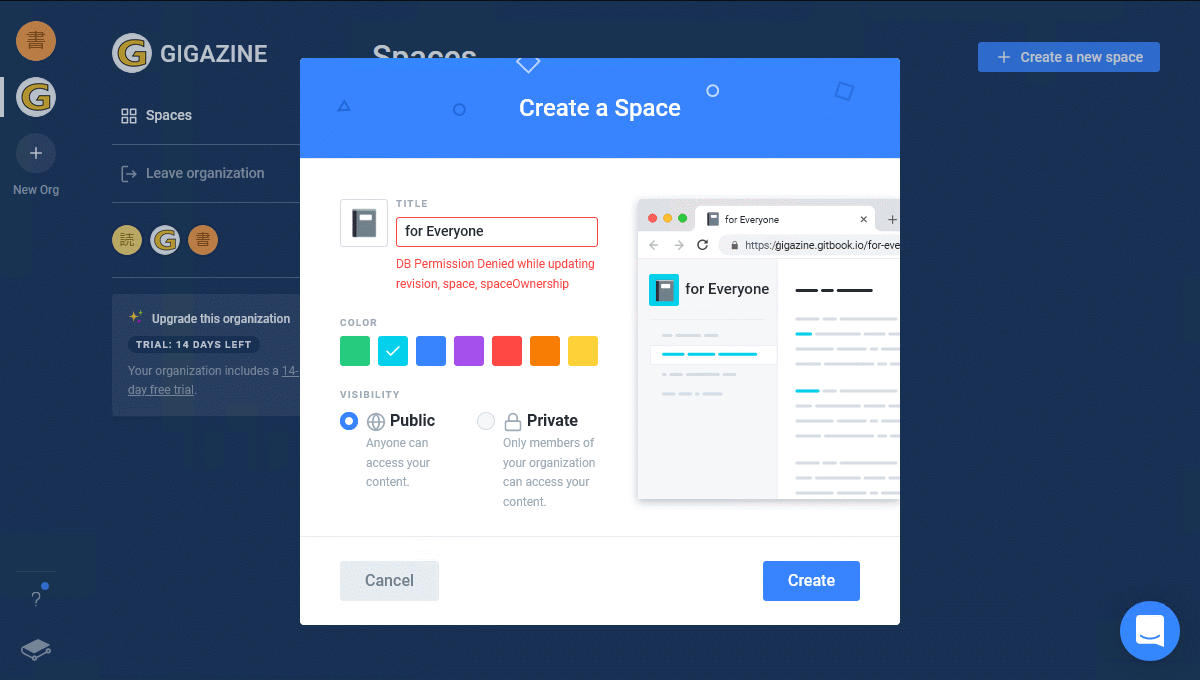
Now let's create a space. First, click the 'Create a new space' button in the Readers member, and then specify 'Public' to create it.
…… A familiar error has occurred. Unlike when I created the first space, I only use ASCII strings in the name, so unlike the previous error, it seems that I don't actually have permission to create the space. To be honest, I wish I could disable or hide the 'Create a new space' button itself.
So, I will make a space again with a member who has Writers authority.
...... In error again. In other words, it seems that spaces are created by Admins .
In that case, I made a space with the member I created first, and when I checked it with the Readers member, I was able to confirm that the space was added to the list safely.
I looked into the space as a Readers member as it was, but since I did not create the contents in particular, only the dry space in the initial state is displayed, and I can not do anything because I am a member who does not have write permission ... ….
So, here is how the Writer's member tried to open the space. If this is the case, it seems possible to create content. This time, select 'Guide' from the template to create a page.
The screen immediately after creation looks like this. The 'Guide' template seems to have a sample aspect for the tutorial, exemplifying how to use various blocks.
When I executed Save / Merge with the Writers member as it was, it was reflected on the Readers member screen almost at the same time as the Merge was performed.
◆ Summary
The impression that I actually used the GitBook was that although I felt the roughness in the details, it could be an easy-to-use knowledge base that is not ashamed of the singing phrase. In cases where using existing tools such as groupware and Wikis doesn't seem right, deploying GitBook should be an option.
Related Posts:


in Review, Web Service, Posted by log1c_sh