A camera application ``Adobe Photoshop Camera'' review that enables Photoshop-level photo processing for free in an instant

The iOS & Android application ' Adobe Photoshop Camera ' has been released, which allows even beginners to create images that have been subjected to high-level processing in Photoshop in just a few seconds. I actually tried using
Adobe Photoshop Camera-Apps on Google Play
https://play.google.com/store/apps/details?id=com.adobe.lens.android
'Photoshop Camera' on the App Store
https://apps.apple.com/jp/app/photoshop-camera/id1274204902
The greatness of Photoshop Camera can be seen in one shot by watching the following movie.
The camera application ``Adobe Photoshop Camera'' that instantly processes Photoshop level processing looks like this-YouTube
While I was reviewing Photoshop Camera, it was not cloudy and it wasn't dark, but it was a terrifying sky.
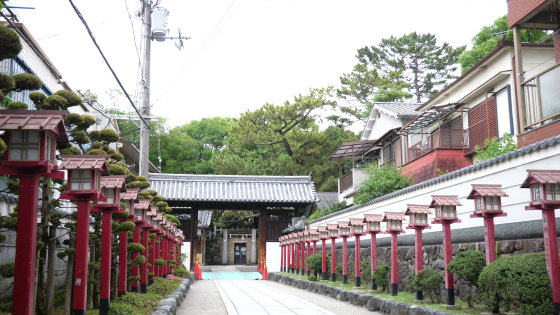
...... However, if you point the lens while Photoshop Camera is running, the sky, which should have been cloudy on the screen, gives a nice sunny weather.
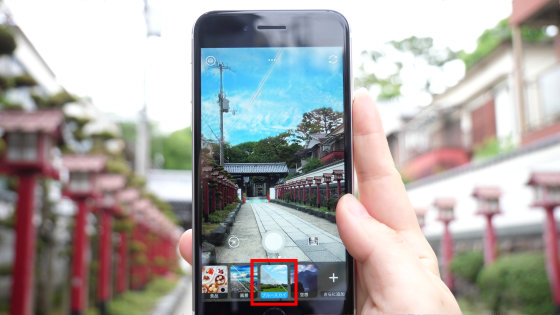
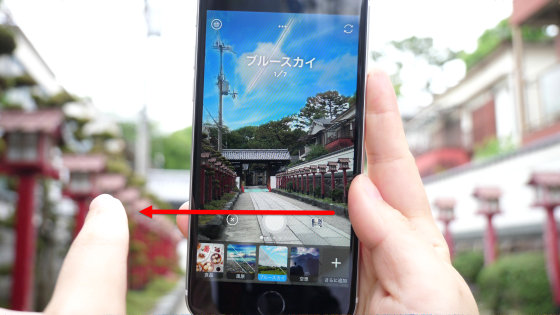
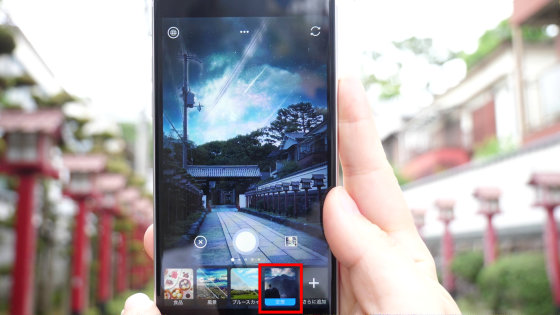
The filter of the lens can be switched by sliding it from right to left. The 'Blue Sky' lens, which turns any weather into a clear sky, has seven filters, and there are contrails.
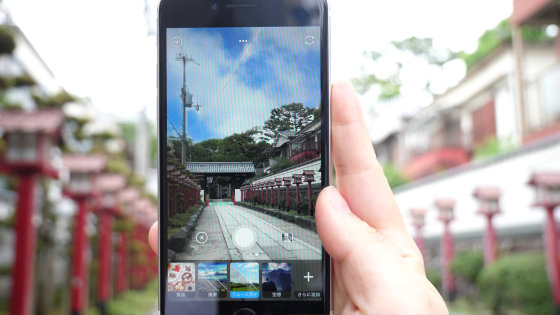
Depending on the filter, it may be an animation instead of a still image. The clouds on the screen move as if the wind was blowing.
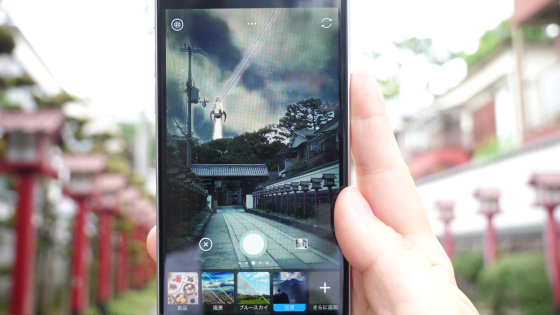
Furthermore, if you use a lens called 'fantasy', the world will change its appearance as if you were in a different reality.
A rocket flies...
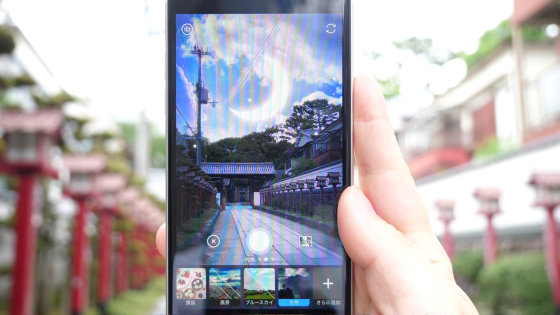
Illuminated by the moonlit night. In some cases, the animation was also played.
◆ I actually installed the application and tried using it
Photoshop Camera has an iOS application and an Android application, and I tried using the iOS application this time.
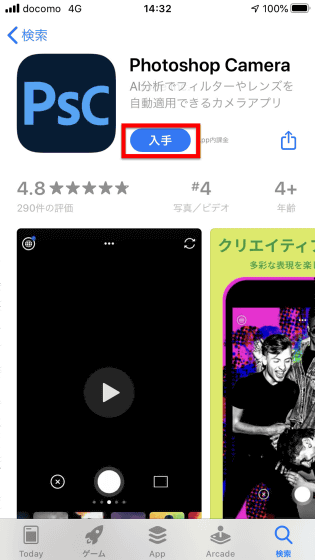
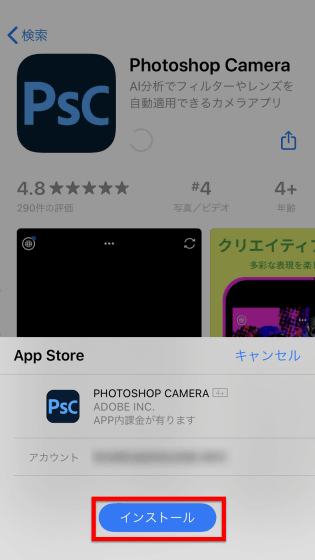
Tap 'Install'.
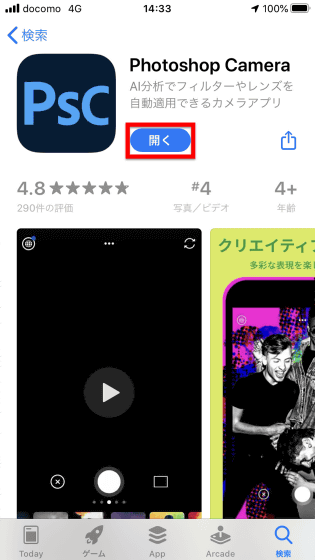
After installation is complete, tap 'Open'.
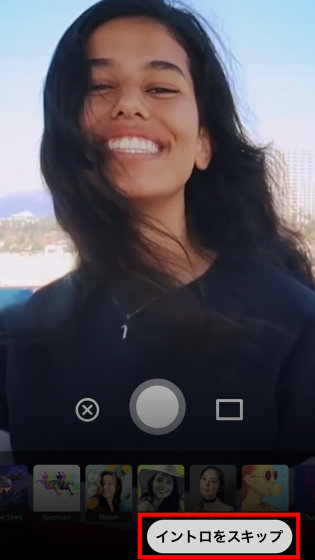
When you start the application, the intro will be played first, but you can press 'Skip intro' and OK.
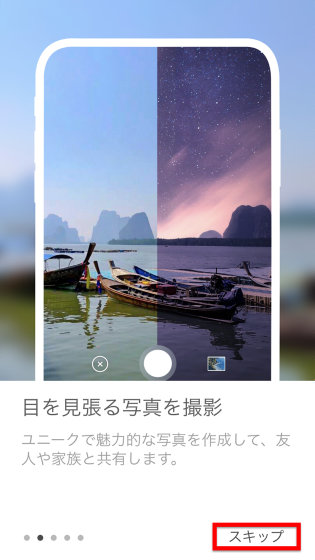
To use the app at the fastest speed, push 'Skip' for instructions.
Before using the application, you will be asked to log in to any of your Adobe ID, Facebook, Google, or Apple accounts, so this time, log in with your Google account.
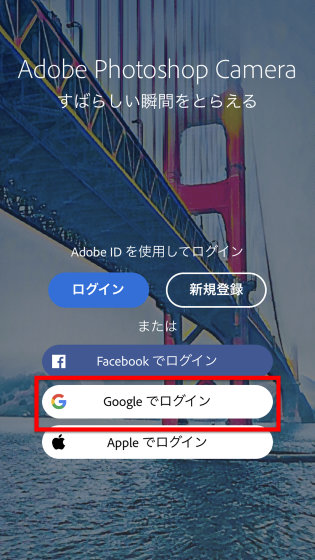
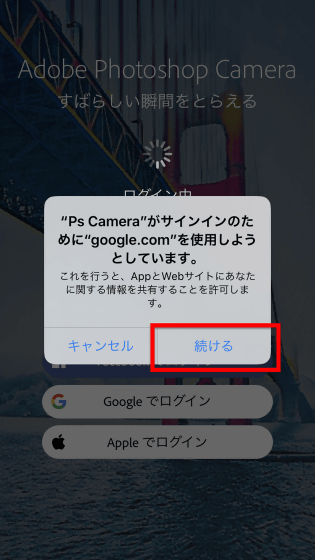
Tap 'Continue'.
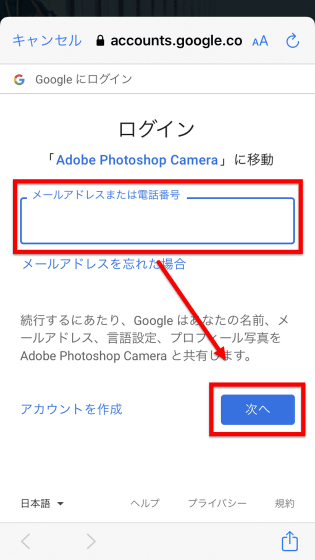
Enter your email address and tap 'Next'.
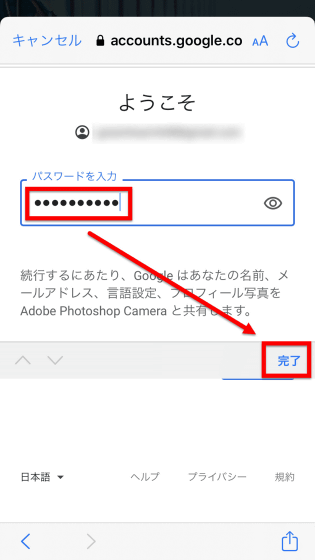
Enter your password and tap Done.
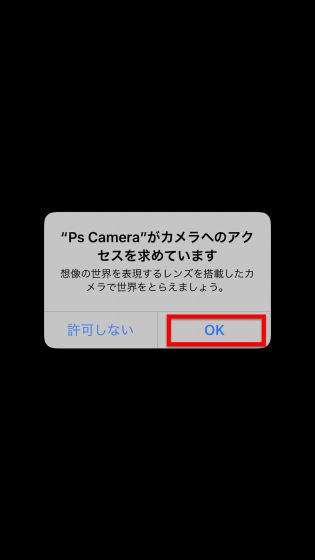
'Ps Camera' wants to access the camera, so tap 'OK'.
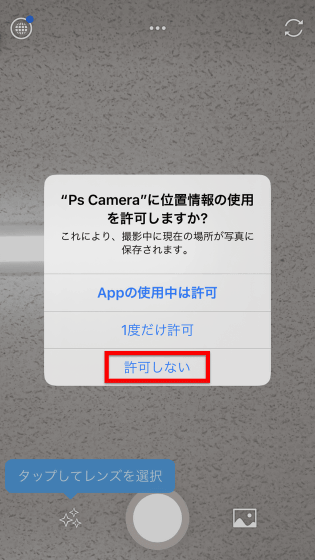
If you want to add location information to the photo, press 'Allow while using the app' or 'Allow only once', but this time there is no particular need, so I chose 'Do not allow'.
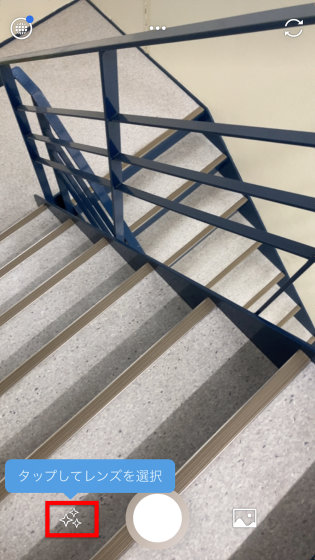
Then, the camera stood up like this. If the camera has just started, no filters or effects are applied. If you tap the icon below the 'Tap to select lens' balloon...
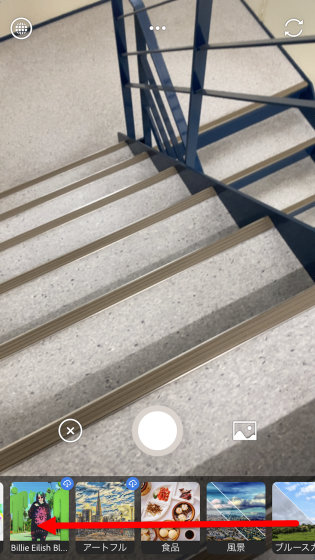
Lens options are lined up at the bottom of the screen.
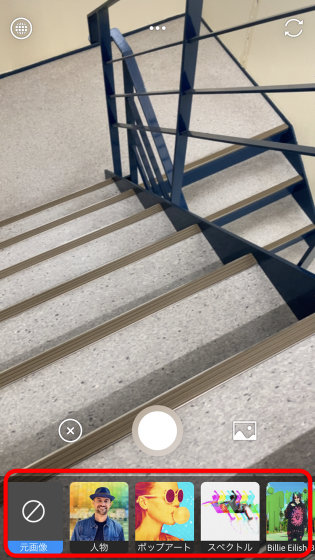
You can see various lenses by sliding from right to left.
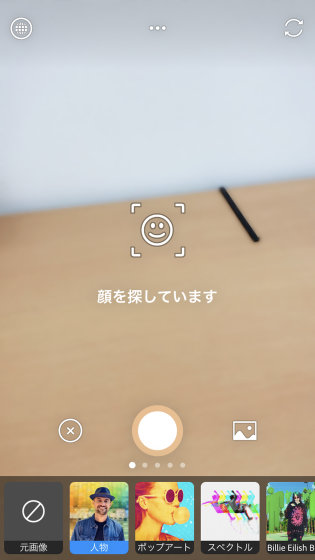
First, I tried selecting 'Person'. If there is no face in front of the camera, 'I am looking for a face' will be displayed...
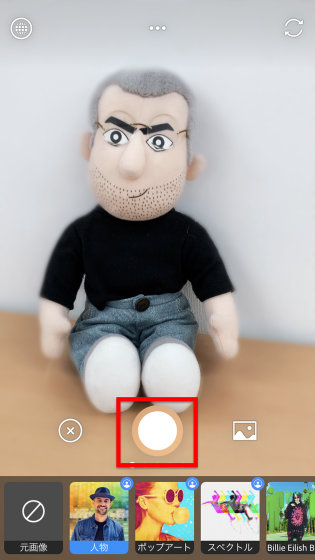
When the face is in, only the person is clearly shown, and the surroundings are softly blurred, resulting in a portrait-like finish. At the bottom and center of the screen is the shutter button.
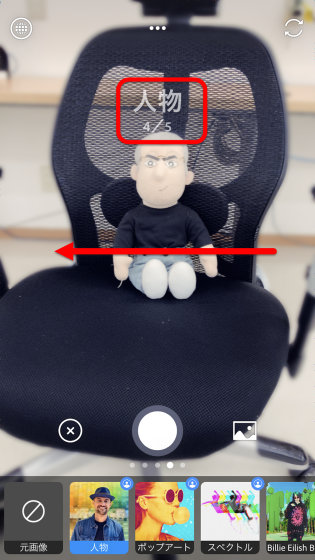
The 'Portrait' lens has a total of five filters, and the types of filters can be switched by sliding the screen from right to left.
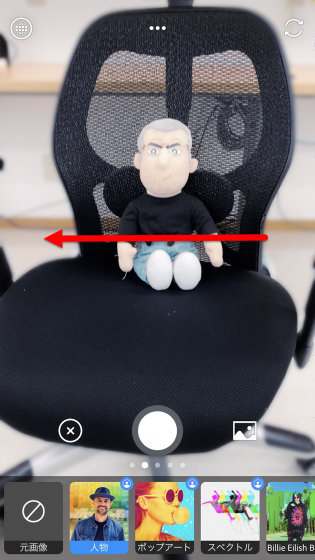
The lens name and the number of the filter are displayed only for the moment you slide it.
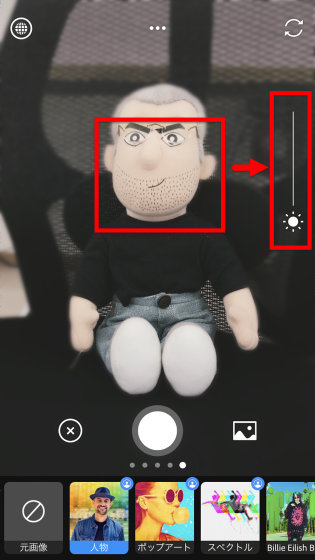
Similar to the iPhone's camera function, the place where you tapped will come into focus and you can press and hold it to adjust the brightness. It's a very simple function, so you won't be confused when you're using it.
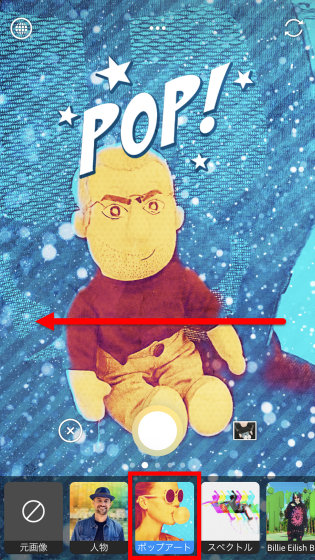
I will switch the lens steadily. 'Portrait' was not such a strong effect, but selecting 'Pop Art' changes the atmosphere. Slide it further and change the filter...
The time and place information will be lost, and it will be the very end of the 'art' finish. When I came here, I realized, 'I see, why did you ask about location information first?'
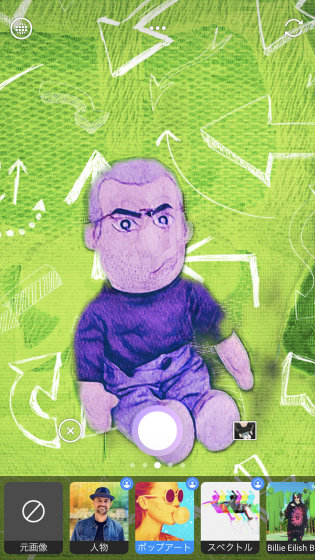
With a filter that allows text, text may appear in front of the subject.
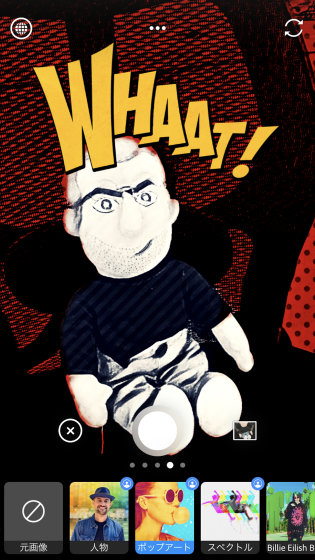
The 'spectrum' looks something like this. I will slide to the left.
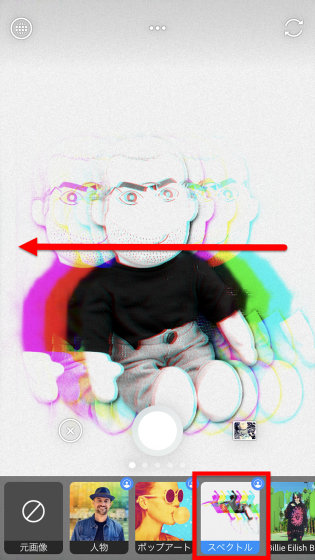
The characteristic of 'spectrum' is that the subjects overlap and become buggy.
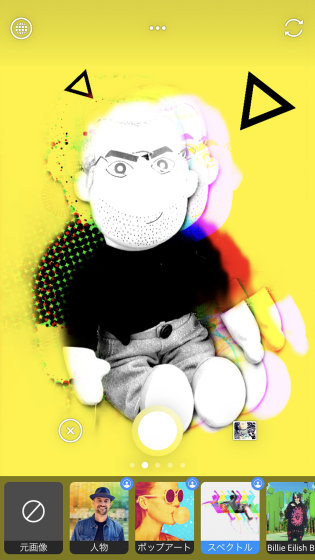
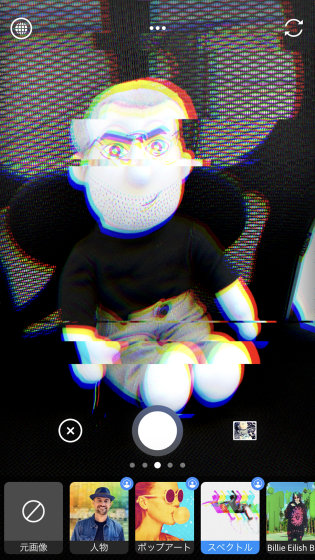
Not all the lenses lined up at the bottom of the screen were pre-installed, and some had to be downloaded.
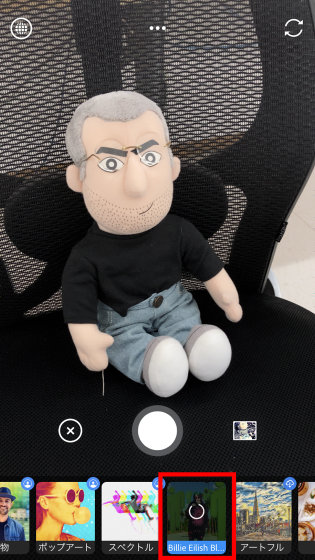
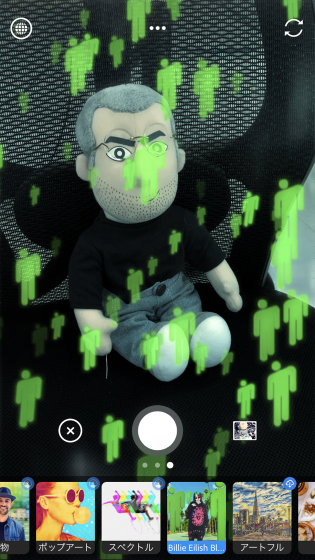
When I tried using the lens, a character called 'blohsh' often appeared on
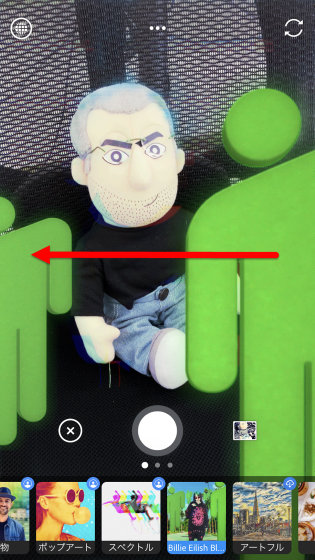
An even smaller blohsh appears on the screen.
In addition, I downloaded the lens that says 'Artful'.
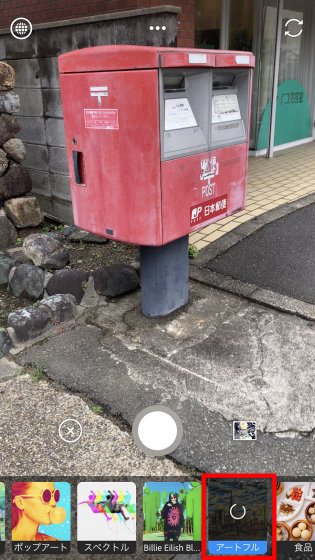
Although the original shape is not lost as much as pop art and spectrum, the hue and touch also change drastically.
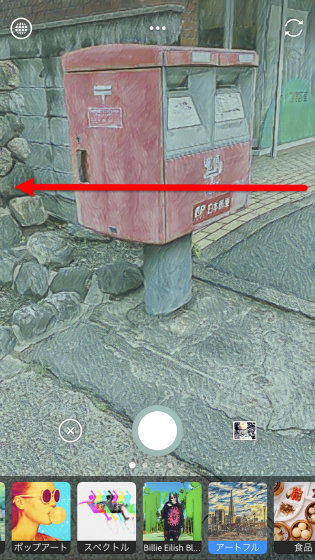
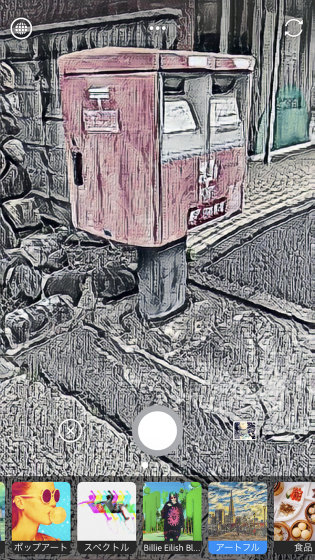
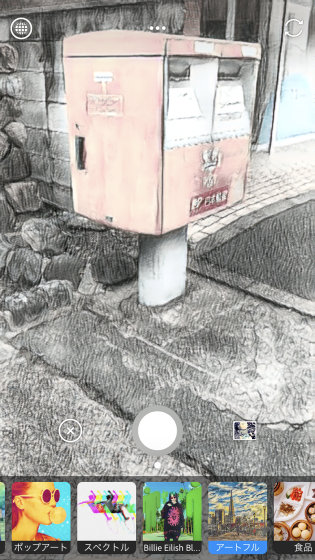
I will also try using a 'food' lens. It looks like this without a filter...

By using food lenses, you can create a calm atmosphere...
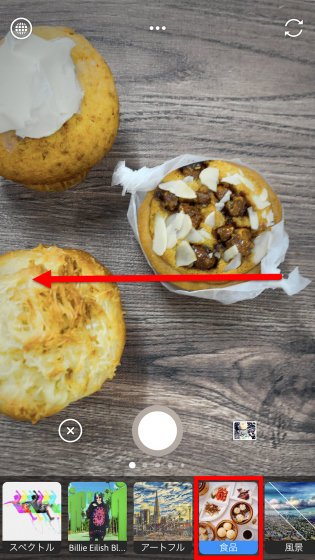
A gentle shade.

It looks a little vintage, and it has a stylish finish.

A 'landscape' lens is similar to a food lens, and although it doesn't have such a strong effect, it changes in color and has an overall vintage finish.
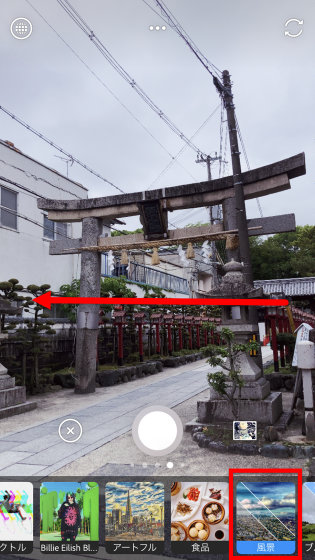
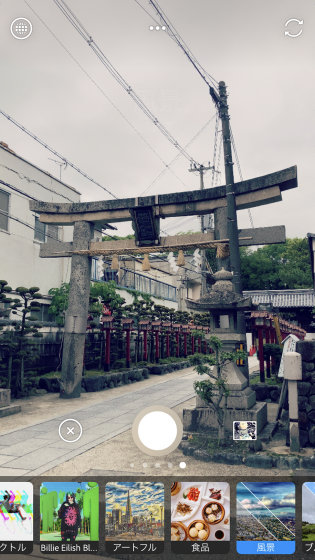
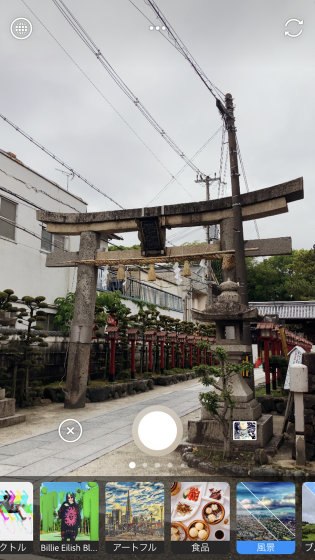
The lenses that had a particularly large impact were the 'blue sky' and 'fantasy' that were also found in the opening movie. Since there are not only still images but also animations, the result will be a terrible mix of real and unreal.
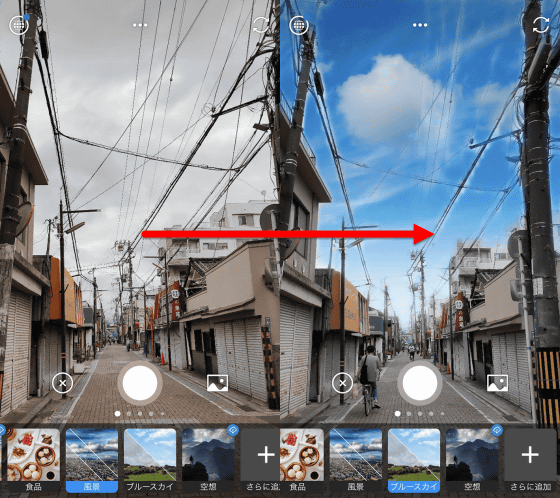
It looks like this when the state without a lens and the state when applying the blue sky lens are lined up. The area around the wires is a little whiter, but it turns cloudy weather into sunny weather quite naturally.
Clicking 'Add more' at the bottom of the screen...
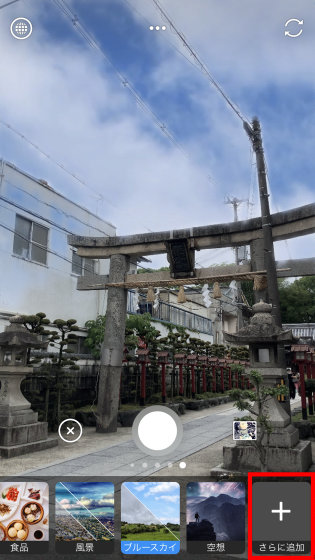
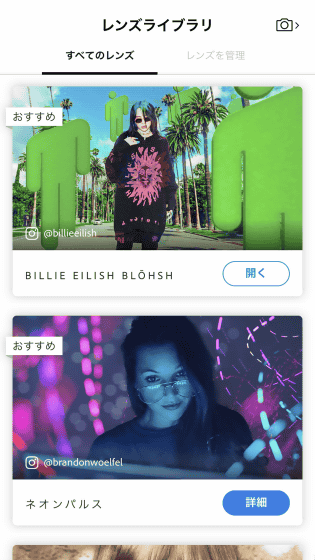
The lens library for downloading new lenses has been opened.
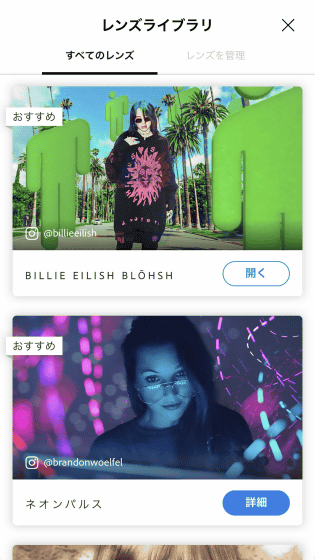
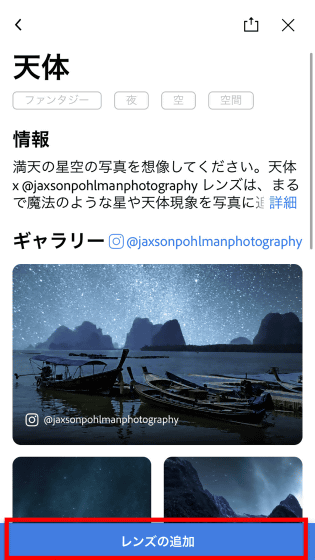
Let's look at the lens called 'celestial body'. Tap 'Details'.

Tap 'Add lens'.
Tap 'Open'.
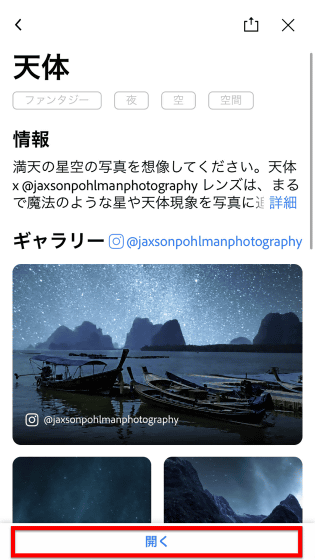
Then, I returned to the application with the astronomical lens applied. I took it in a bright time, but the photo was at night. If you slide...
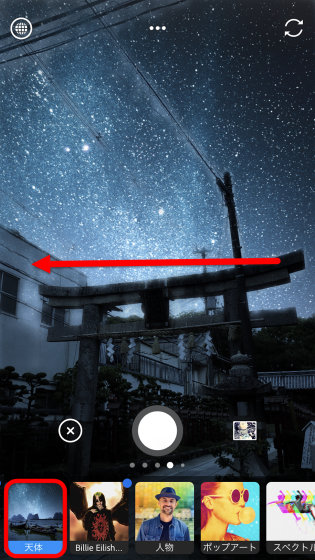
The magnificent landscape is spreading.
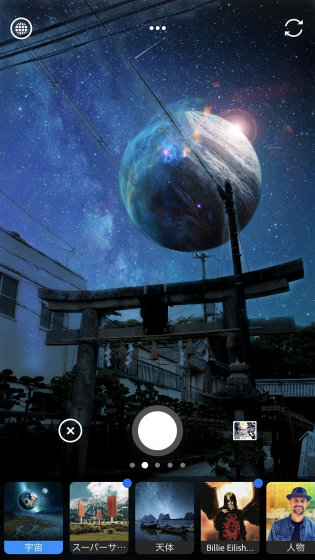
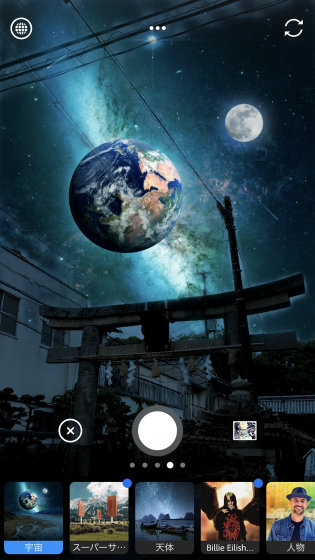
Furthermore, if you download more and more new lenses from the lens library, you can add devilish effects to people...
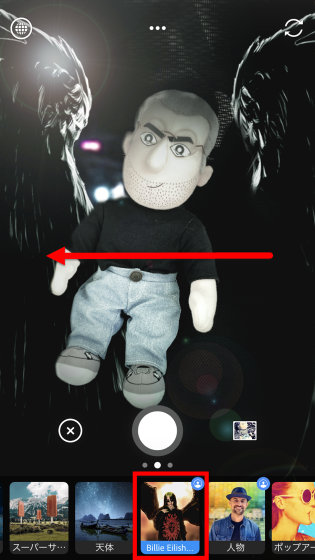
You can take messenger-like photos from hell.
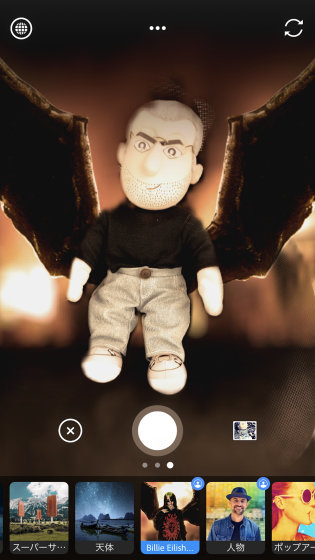
The lens called 'Super Size' is a mysterious effect that huge size food is lined up in nature. If you take a picture of a person, you can be surrounded by food that is larger than yourself. This also has multiple filters, so slide it...
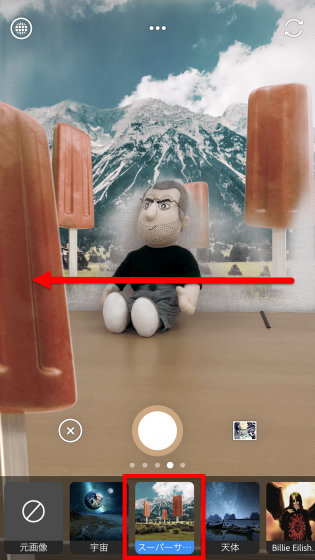
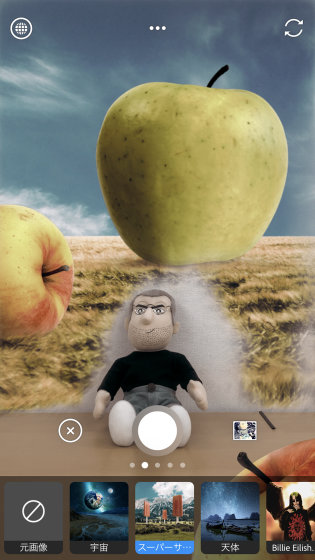
The CEO is surrounded by a giant Apple.
The application is a very simple construction that selects the lens, slides the screen and changes the filter steadily. There are no detailed editing tools. On the home screen, press the icon at the top left of the screen……
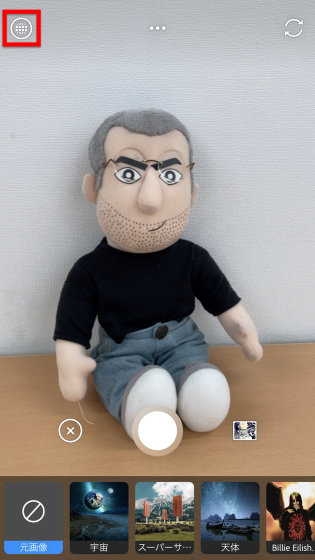
The lens library you opened earlier will open.
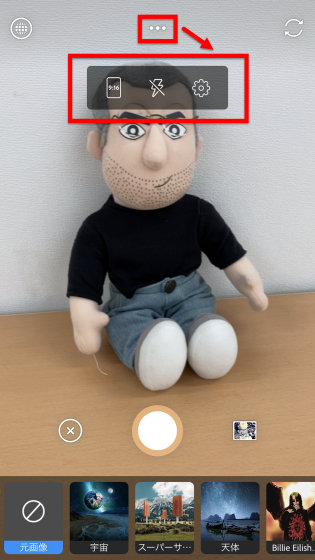
The buttons at the top and center of the screen are lined up with setting buttons that indicate the screen size, the presence or absence of flash, and support and version information.
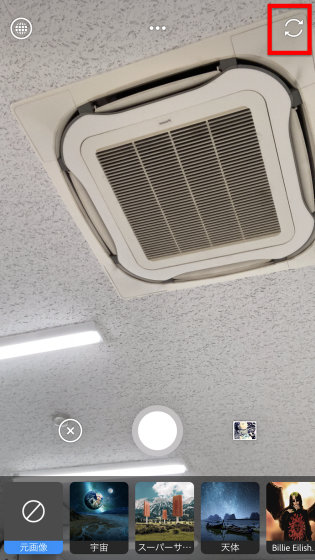
You can switch between the out-camera and in-camera from the icon on the upper right of the screen.
Press the icon at the bottom right of the screen……
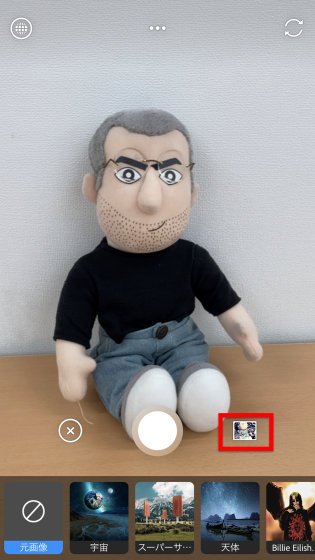
You can import photos from the album. You can apply the lens to the photos you have taken so far.

Related Posts:


