Firefox add-on that allows MP3 conversion for free, video conversion, audio extraction from video, video and audio combining, multiple videos combined into one, maximum volume adjustment, video resolution change, video rotation, sound shift correction, video cut Media Converter and Muxer-Audio Tools '
If you try to edit video and audio files with only free tools, you may need to install many tools depending on the purpose, but if you install the Firefox extension `` Media Converter and Muxer-Audio Tools '' You can use 10 types of functions for free, such as video and audio file formats, resolution changes, sound shift correction, and video file cut editing.
Media Converter and Muxer-Audio Tools –? Get Extensions for Firefox (en-us)
table of contents:
◆ Installation procedure
◆ MP3 Converter: MP3 conversion
◆ Custom Converter: Video conversion
◆ Audio Extractor: Extract audio files from video
◆ Video Combiner: Combine video and audio files
◆ Concatenating Files: Combine multiple videos
◆ Volume Adjuster: Maximum volume adjustment
◆ Video Scaler: Change video resolution
◆ Video Rotator: Change video direction
◆ Time Shifter: Sound shift correction
◆ Video Cutter: Video cut editing
◆ Installation procedure
To install Media Converter and Muxer-Audio Tools, access the above URL from Firefox and click 'Add to Firefox'.
Click “Add”.
Click “OK”. To run in a private window, check 'Allow this extension to run in a private window'.
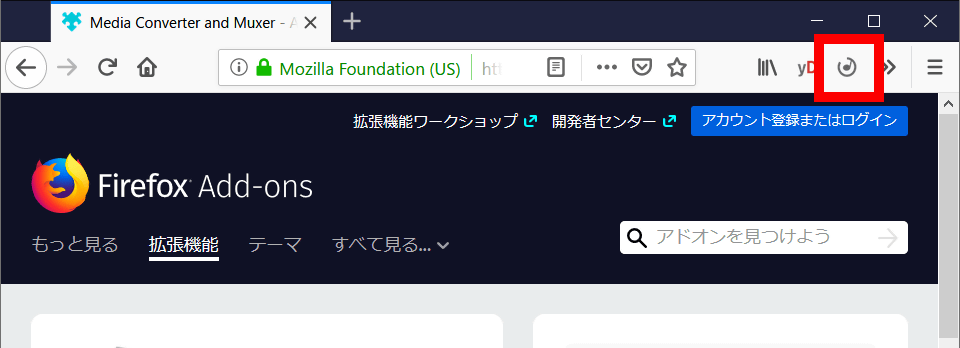
When the Media Converter and Muxer-Audio Tools icon appears on the toolbar, click the icon.
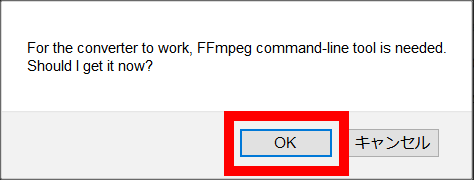
When you click the icon, a dialog opens and asks if you want to download ffmpeg, a tool for using Media Converter and Muxer-Audio Tools. Click 'OK'.
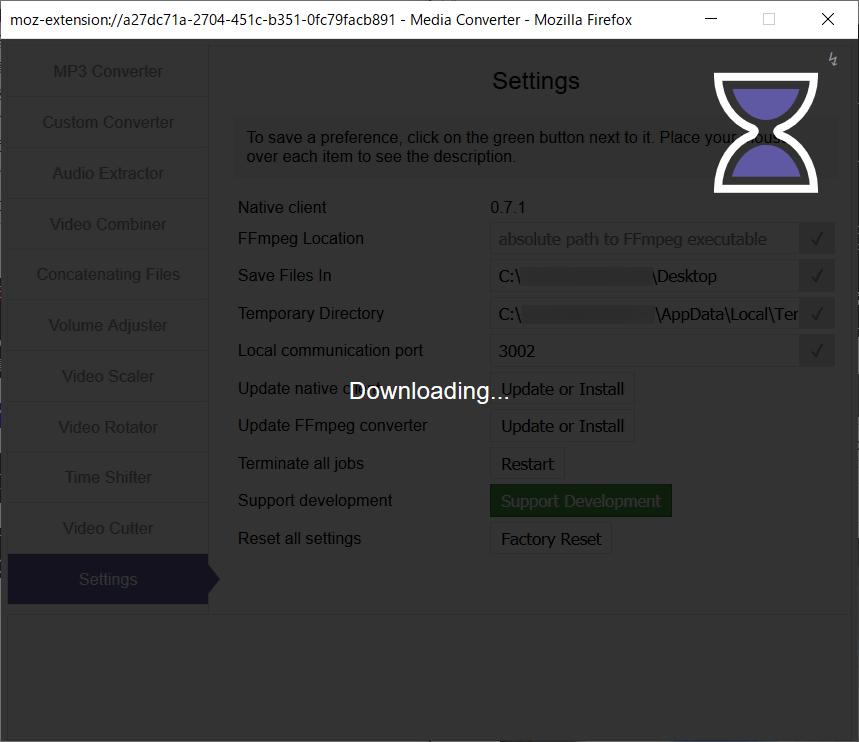
An hourglass will appear and download and installation will begin.
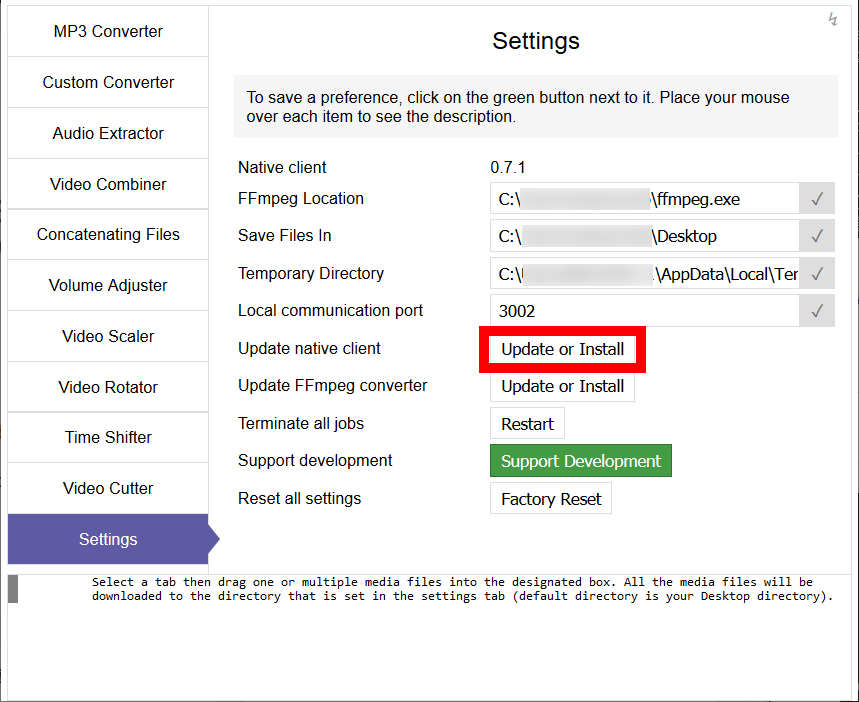
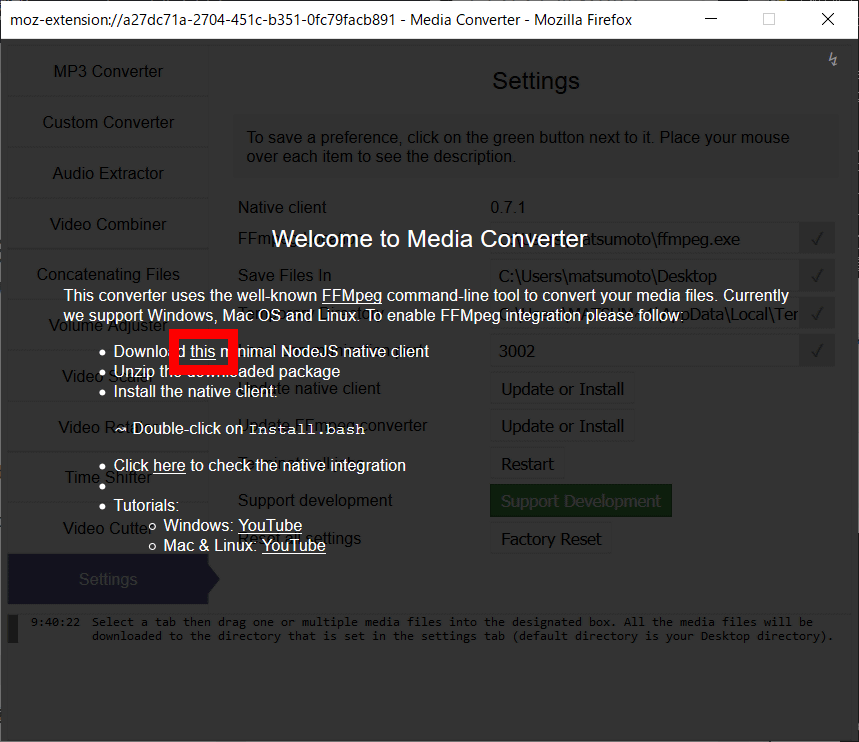
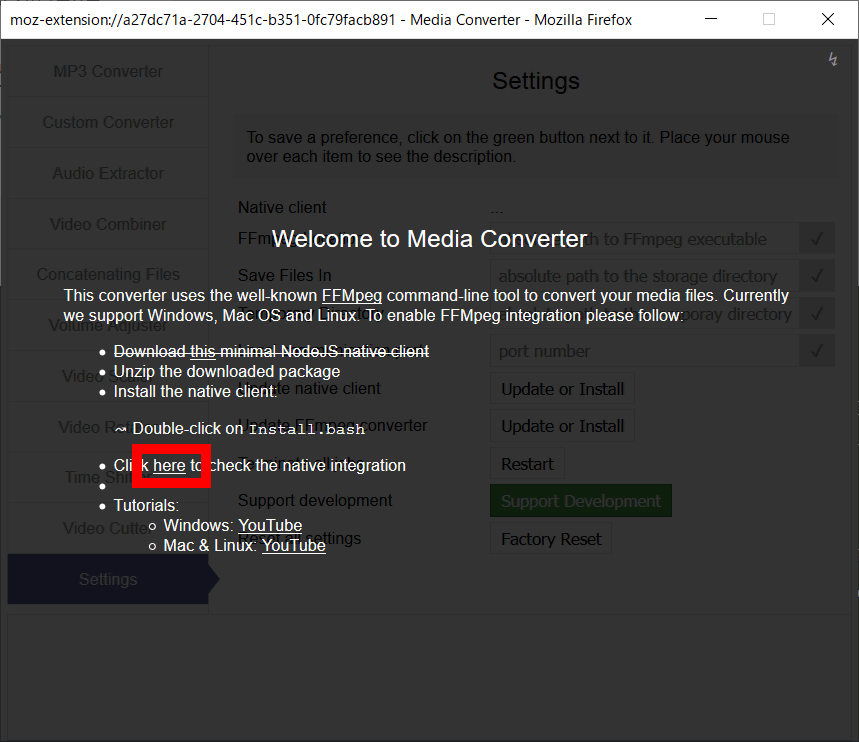
When the installation is complete, the Media Converter and Muxer-Audio Tools window will open. Since “Settengs” is displayed in the initial state, click “Update or Install” in the red frame to install “Native client” necessary to use Media Converter and Muxer-Audio Tools.
The installation procedure is displayed in the window, so click “this” in the red frame.
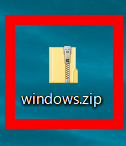
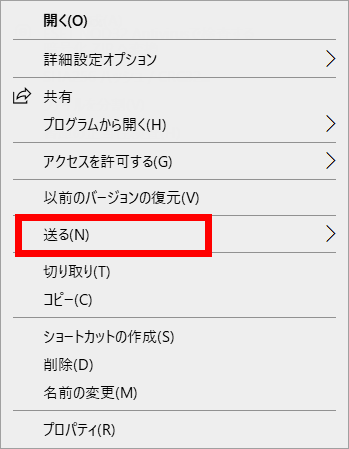
A zip file called “windows.zip” will be downloaded, so right-click on the file to unzip it.
Select “Send”.
Select “Unzip” to unzip.
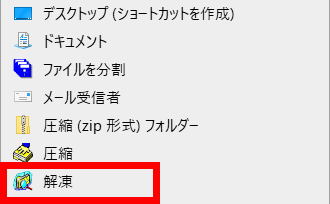
Open the unzipped file “windows”.
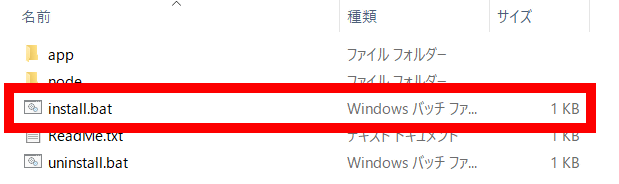
Click install.bat.
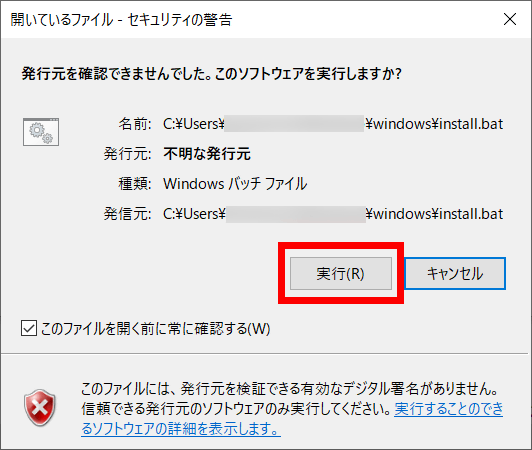
Click “Execute” when the dialog is displayed.
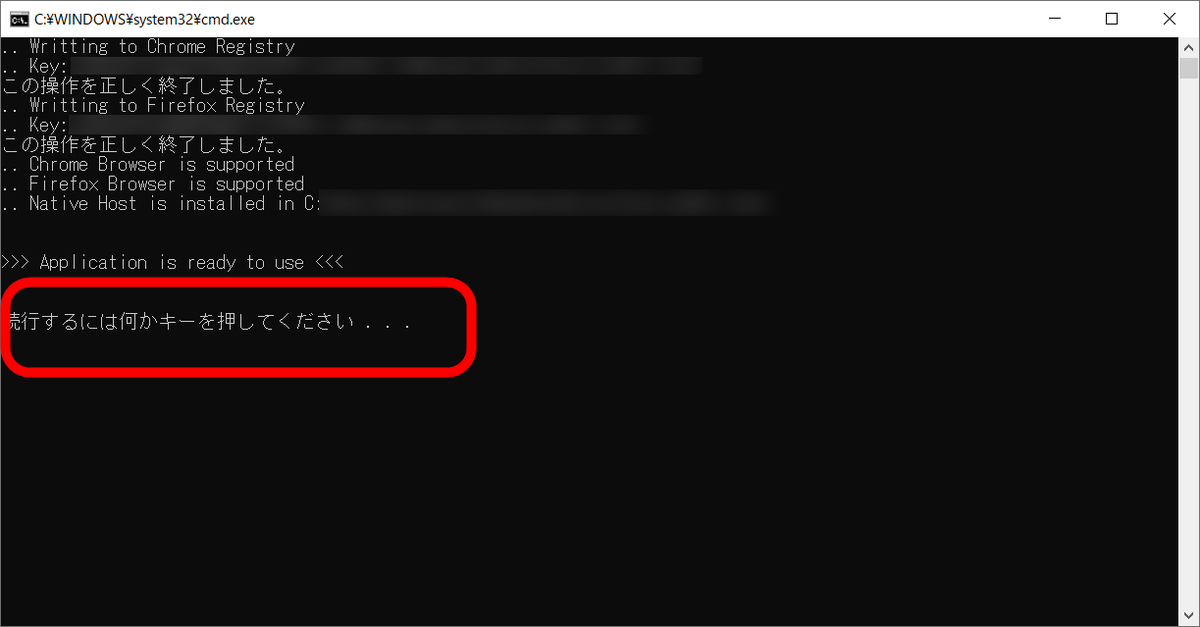
The installation is complete when a window opens and says 'Press any key to continue'. Pressing an appropriate key such as the enter key closes the window.
Display Media Converter and Muxer-Audio Tools window and click “here” in the red frame.
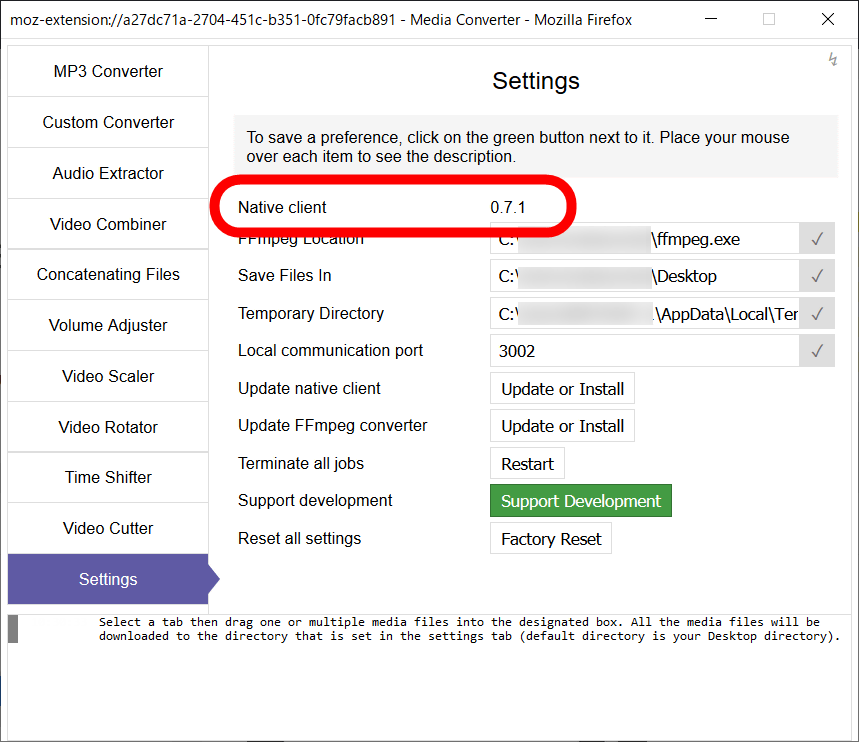
If the Native client version is displayed, the installation is complete.
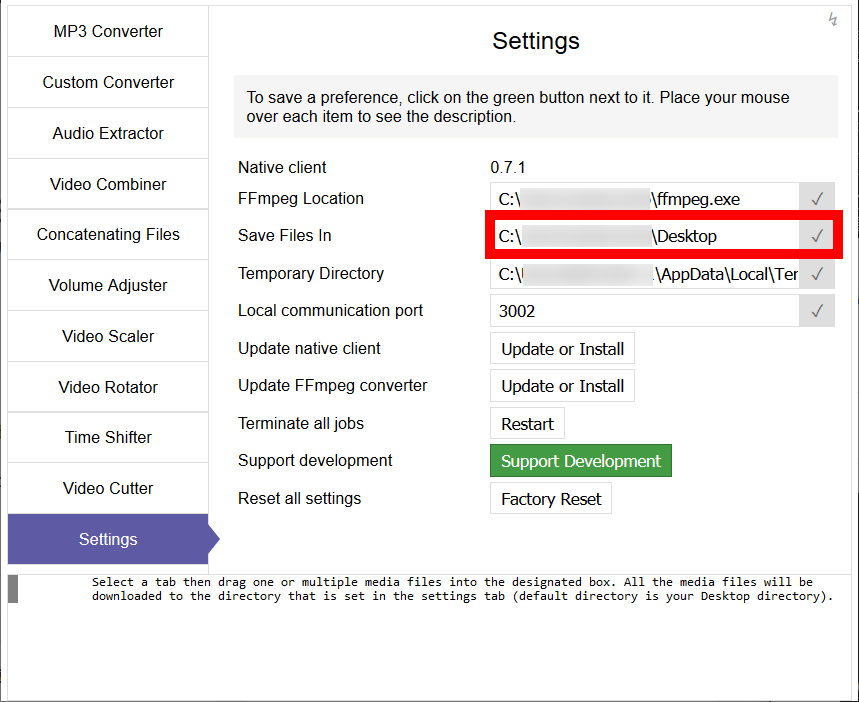
To set the output folder of the converted file, enter the folder path directly in the red frame on the right side of 'Save Files In'. The default setting is output on the desktop.
Media Converter and Muxer-Audio Tools includes 'MP3 Converter' that converts video and audio files to MP3, 'Custom Converter' that converts video, 'Audio Extractor' that extracts audio files from video, and video and audio files. “Video Combiner” to combine, “Concatenating Files” to combine multiple videos into one file, “Volume Adjuster” to adjust the maximum volume of video and audio files, “Video Scaler” to change video resolution, There are 10 types of functions, 'Video Rotator' to change the orientation, 'Time Shifter' to correct the sound shift of video and audio files, and 'Video Cutter' to cut and edit video, all of which can be used free of charge. .
◆ Custom Converter: Video conversion
◆ Audio Extractor: Extract audio files from video
◆ Video Combiner: Combine video and audio files
◆ Concatenating Files: Combine multiple videos
◆ Volume Adjuster: Maximum volume adjustment
◆ Video Scaler: Change video resolution
◆ Video Rotator: Change video direction
◆ Time Shifter: Sound shift correction
◆ Video Cutter: Video cut editing
◆ MP3 Converter: MP3 conversion
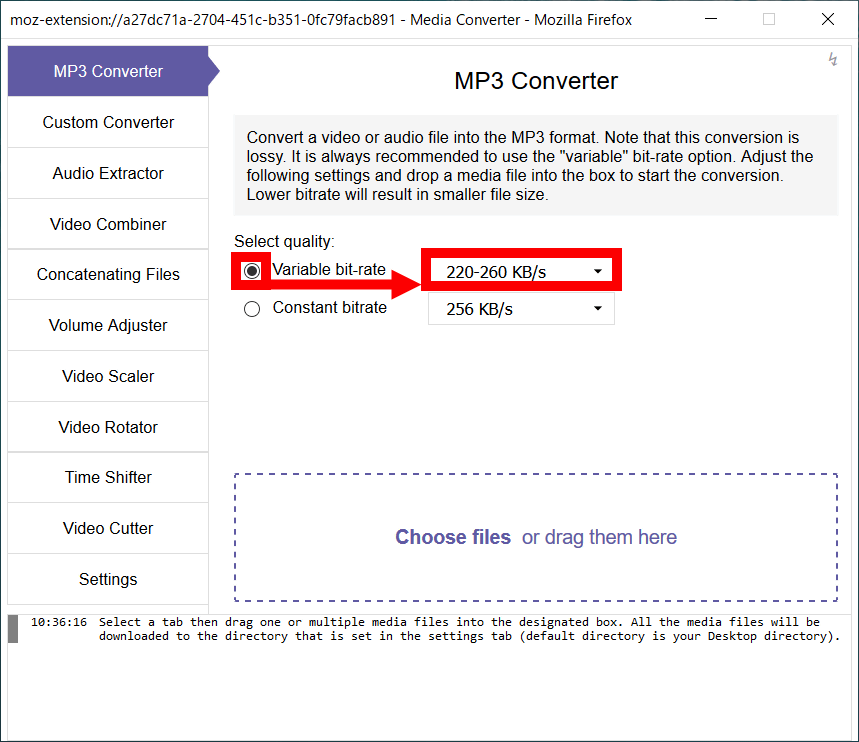
To use MP3 Converter, first click 'MP3 Converter' from the left menu.
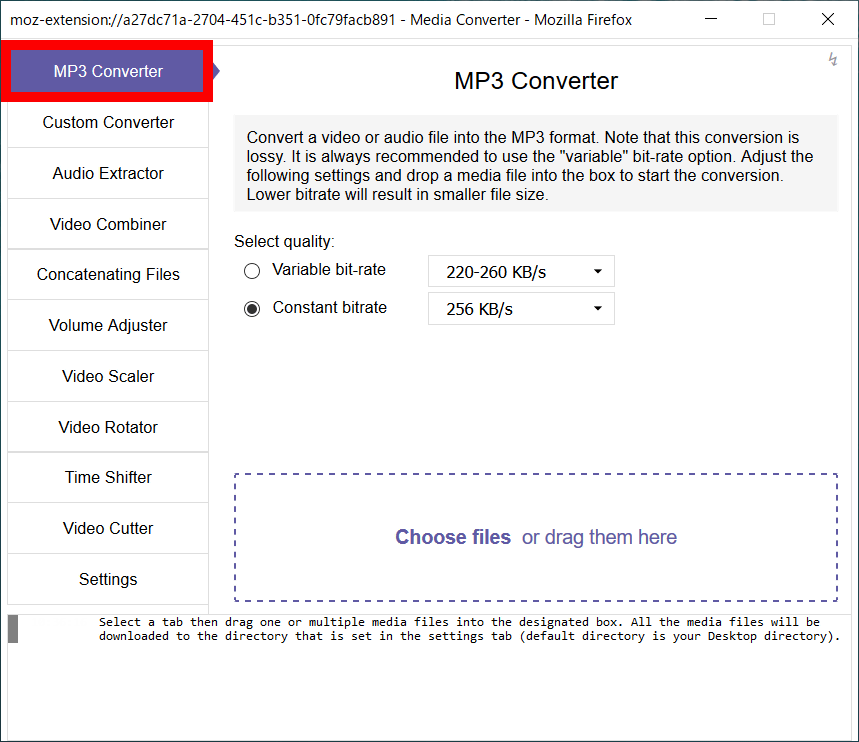
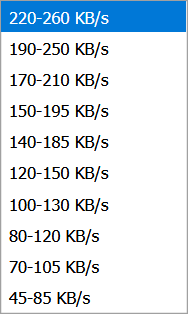
You can specify the bit rate, so if you want to make it variable, check “Variable bit-rate” and click the pull-down on the right.
You can choose from 10 types.
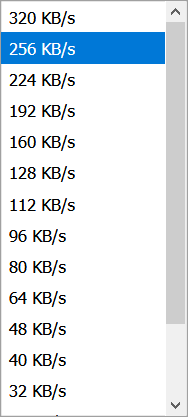
To convert at a constant bit rate, check “Constant bitrate” and click the pull-down on the right.

Available from 8KB / s to 320KB / s.
Let's convert the M4A file as a trial.

Drag and drop the file you want to convert inside the square dotted line.

When “Done!” Is displayed at the bottom of the screen, the conversion is complete.
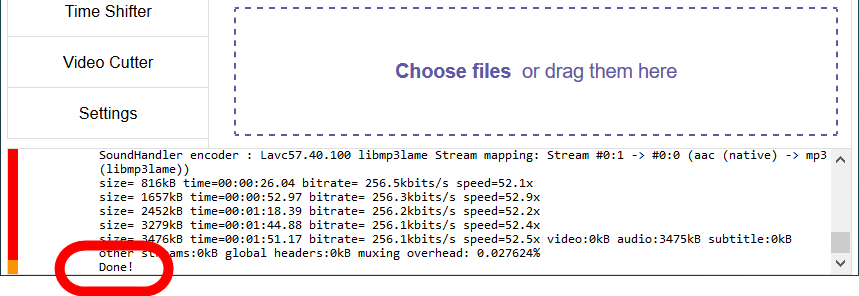
The converted file is output to the folder specified in “Settings”.

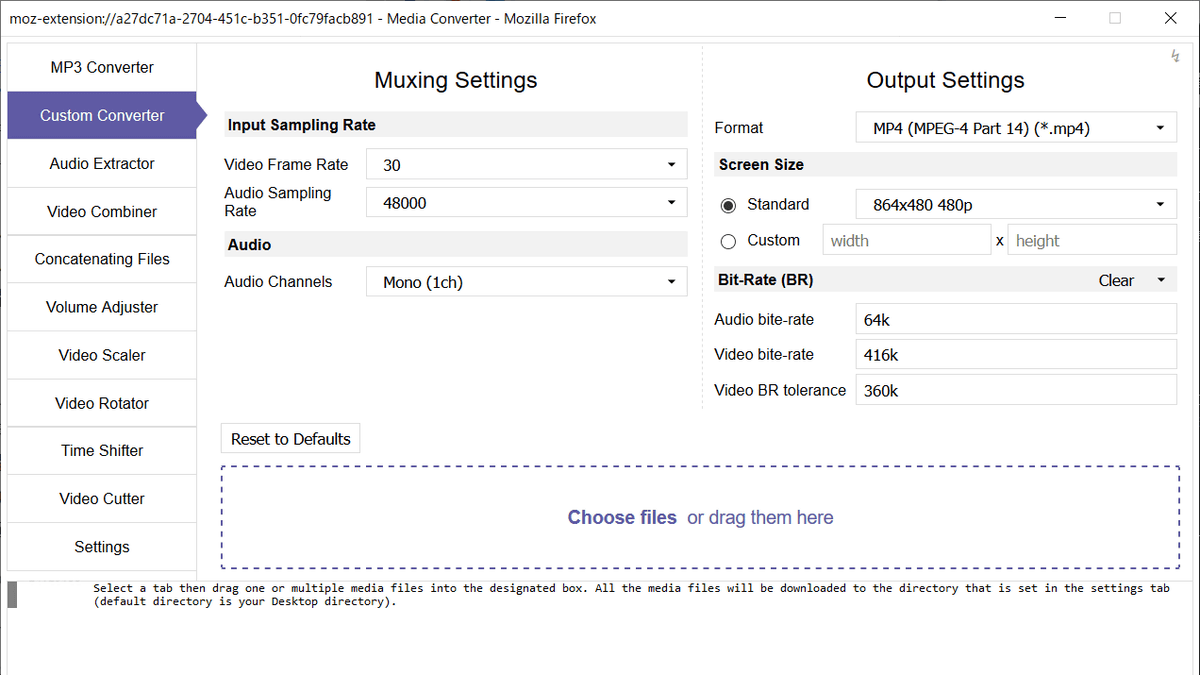
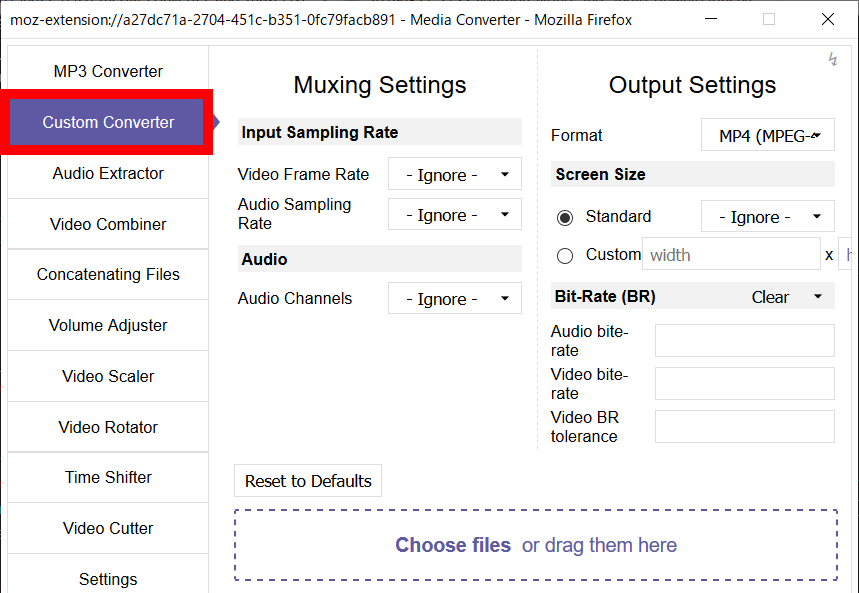
◆ Custom Converter: Video conversion
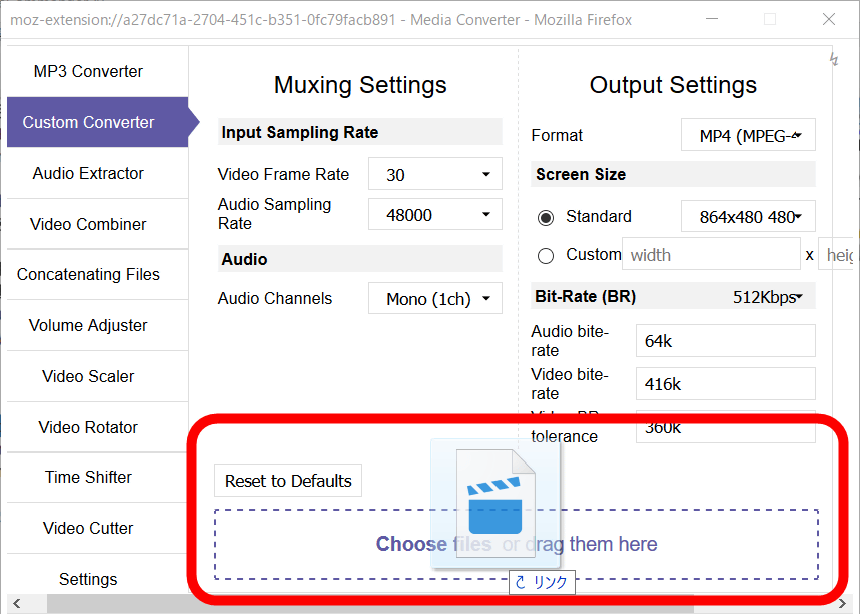
If you select “Custom Converter” from the menu, you can use the function to change the frame rate, sampling rate, playback method, format, size, and bit rate of the video.
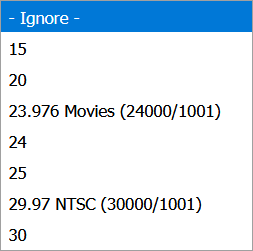
Click the pull-down next to “Video Frame Rate” to change the frame rate.
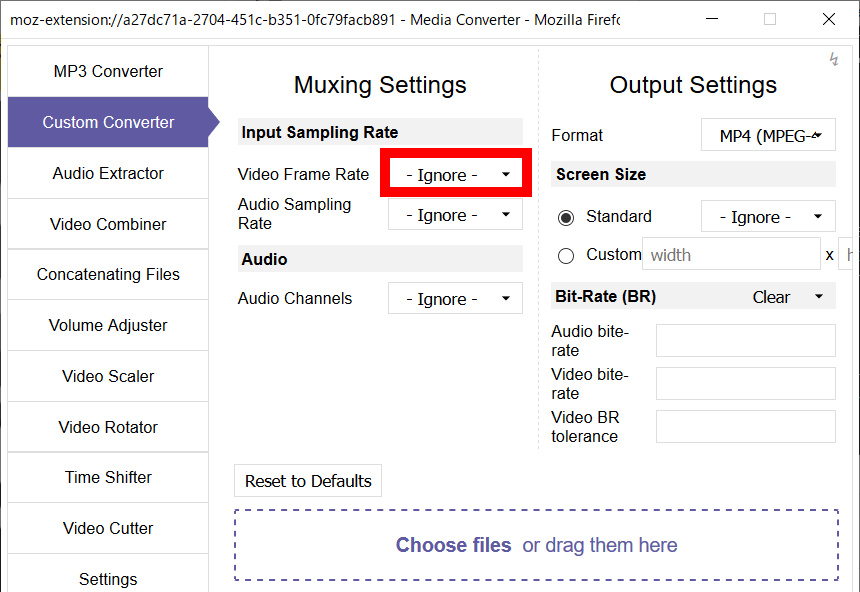
You can select from 7 types.
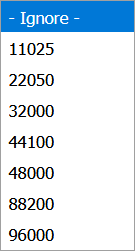
Click the pull-down next to “Audio Sampling Rate” to change the sampling rate.

Select from 7 types according to your purpose.
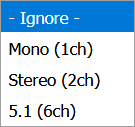
Click the pull-down next to “Audio Channels” to change the playback method for stereo, monaural, etc.
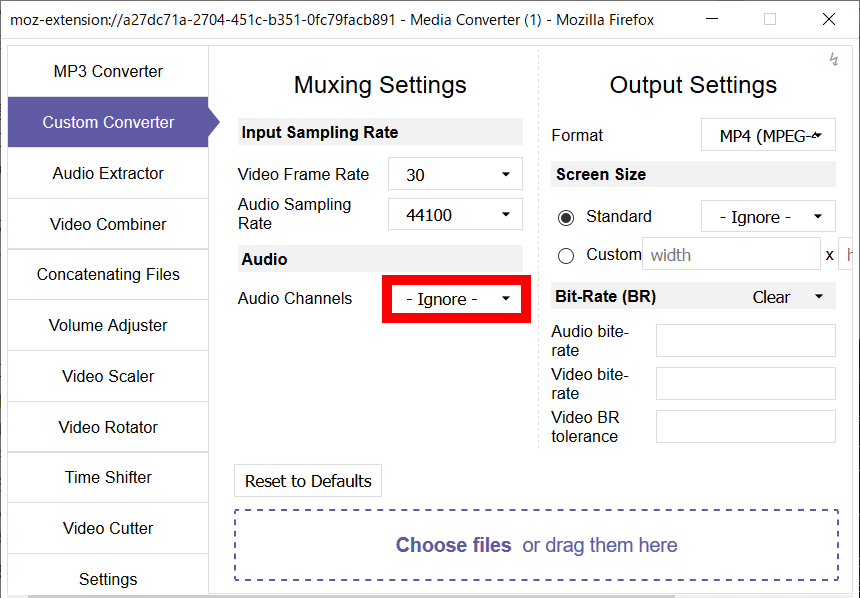
In addition to stereo and monaural, 5.1ch surround is also supported.
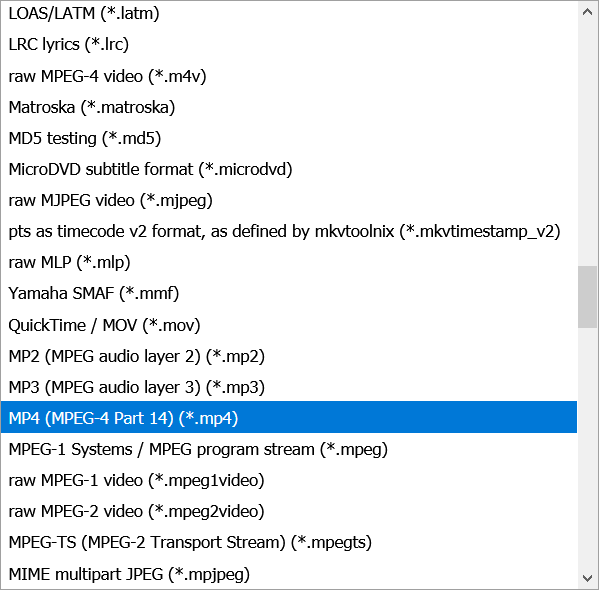
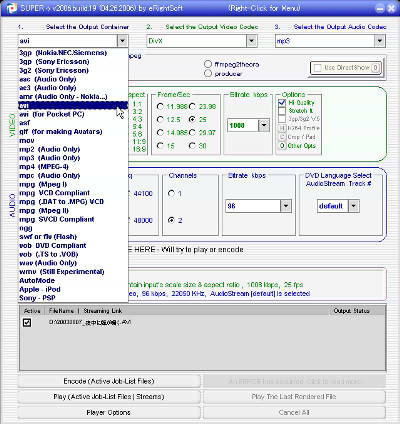
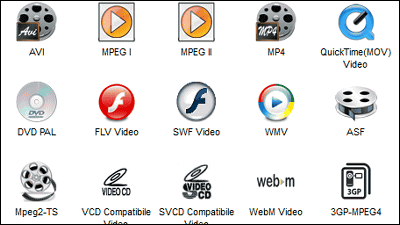
Click the pull-down next to “Format” to change the format.
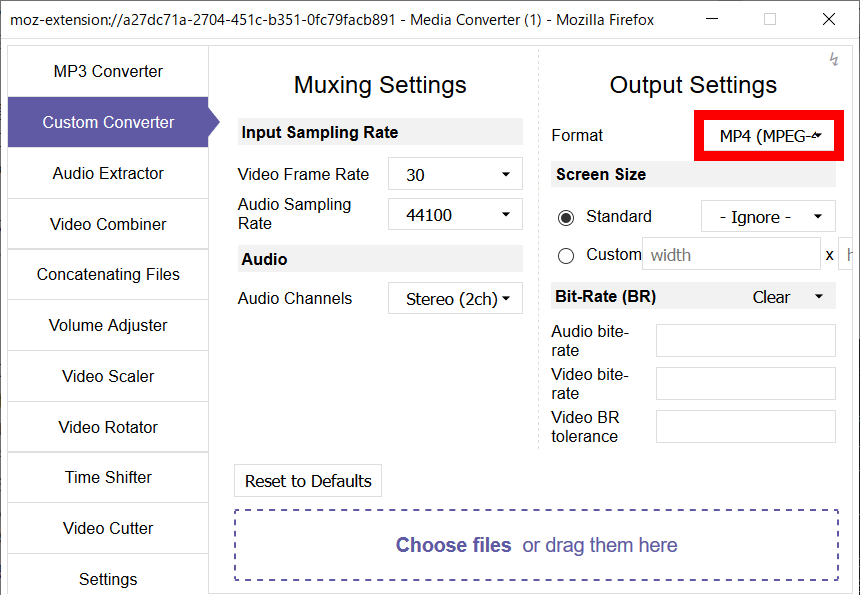
Select the format you want to convert.
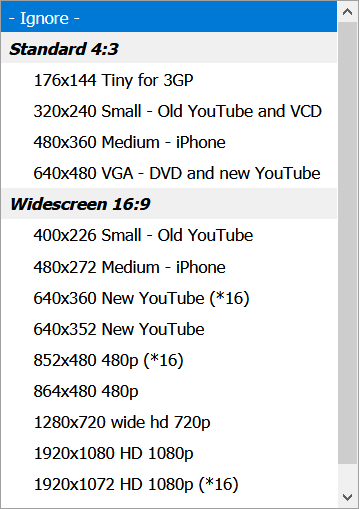
To change the screen size, check “Standard” and click the pull-down next to it.

Since it is classified by ratio, select the one according to the purpose.
If the desired screen size is not available, you can also specify the size by checking “Custom” and entering the width and height.

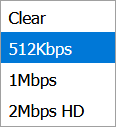
The bit rate can be changed by clicking the pull-down next to “Bit-Rate (BR)”.
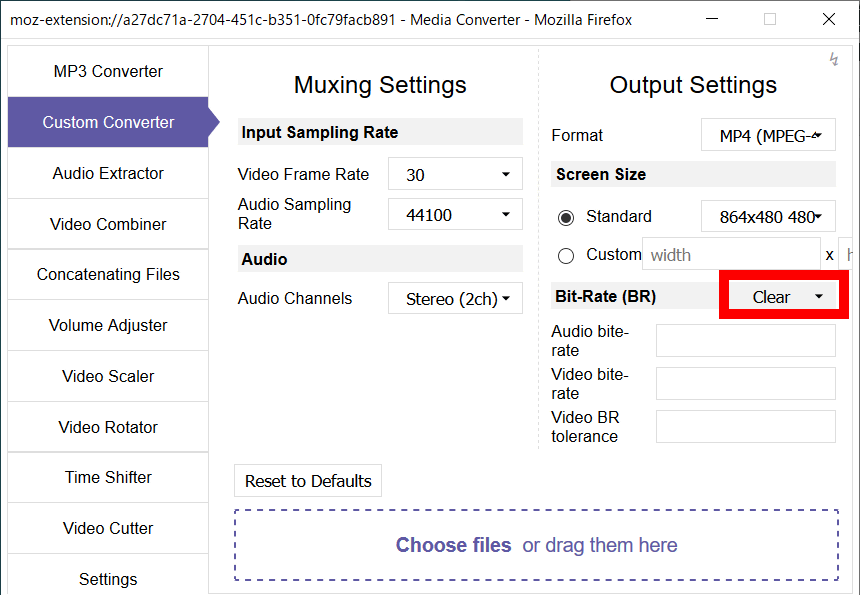
You can choose from 3 types.
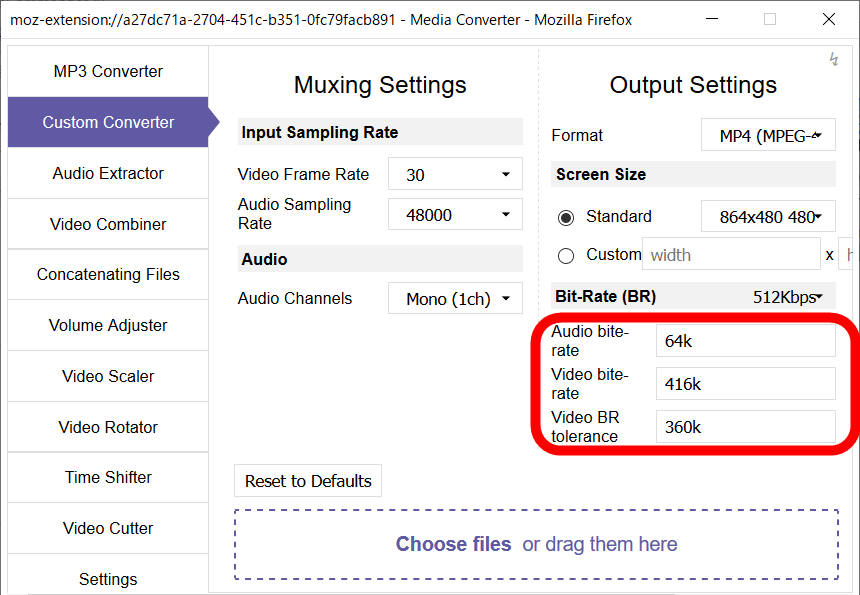
When the bit rate is selected, the red frame will be entered automatically.
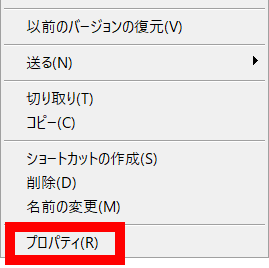
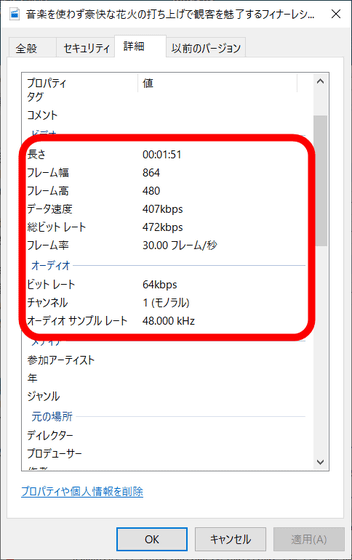
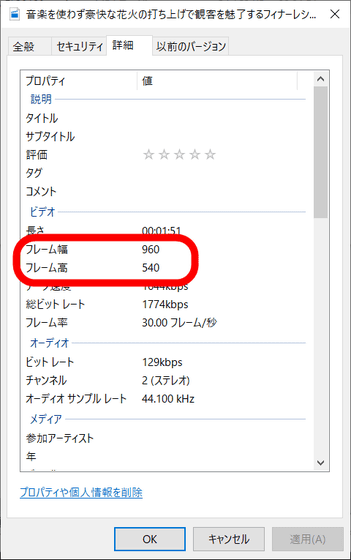
Convert MP4 file to trial. Right-click on the file to see the current settings.

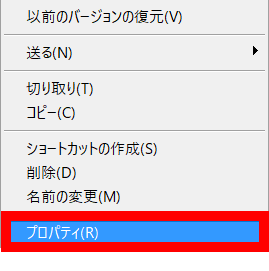
Select 'Properties'.
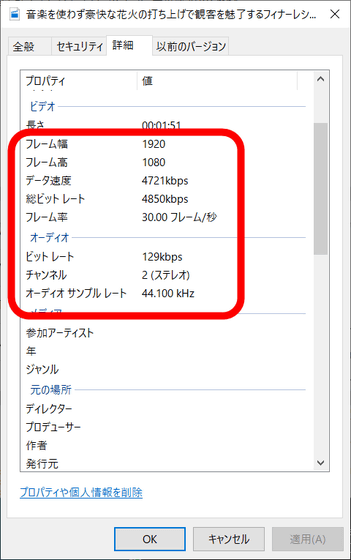
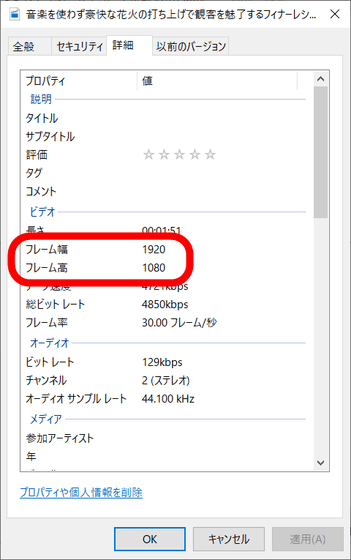
Click “Details”.
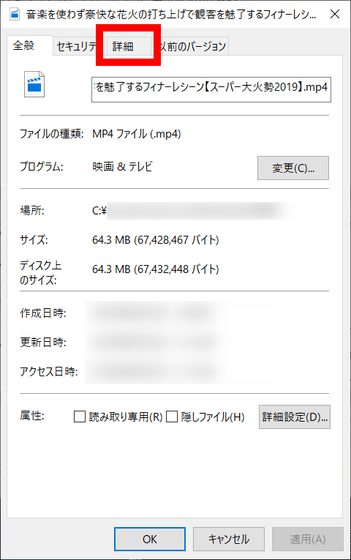
You can check the video size and bit rate.
Drag and drop the file you want to convert inside the square dotted line.
The conversion is complete when 'Done!' Is displayed at the bottom of the screen.

If you right-click on the converted file and check the details from the properties, you can see that it has been changed according to the settings.
◆ Audio Extractor: Extract audio files from video
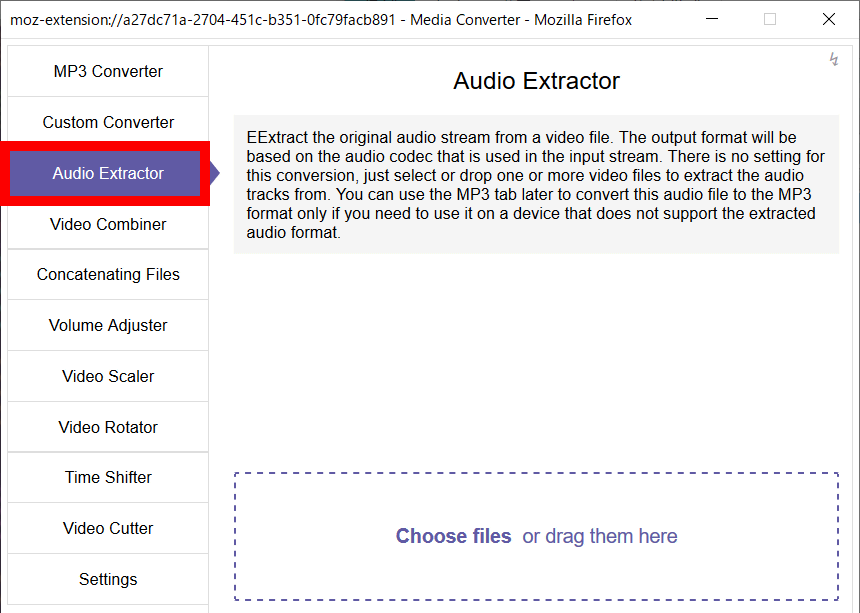
'Audio Extractor' is a function that extracts only audio files from video. Click 'Audio Extractor' from the menu.
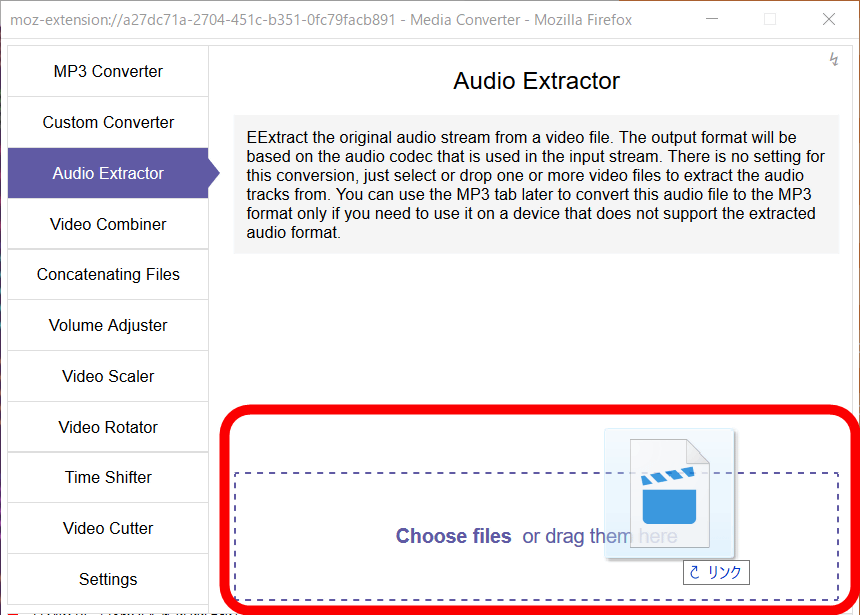
Drag and drop the video file you want to extract the audio file inside the square dotted line.
The conversion is complete when 'Done!' Is displayed at the bottom of the screen.
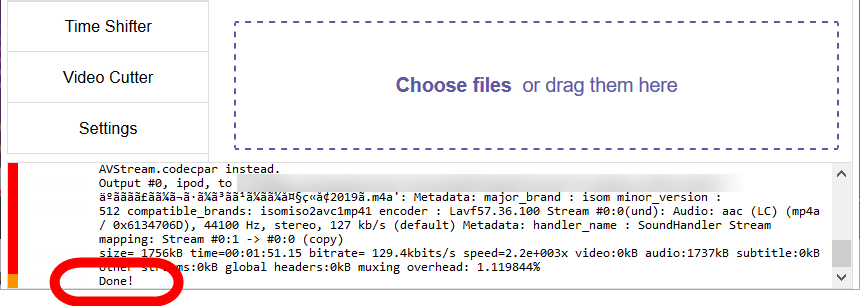
Because the output data is converted to M4A file. Use

◆ Video Combiner: Combine video and audio files
Click “Video Combiner” from the menu to combine video and audio files. Note that if the video already has audio data, the audio data will be overwritten.
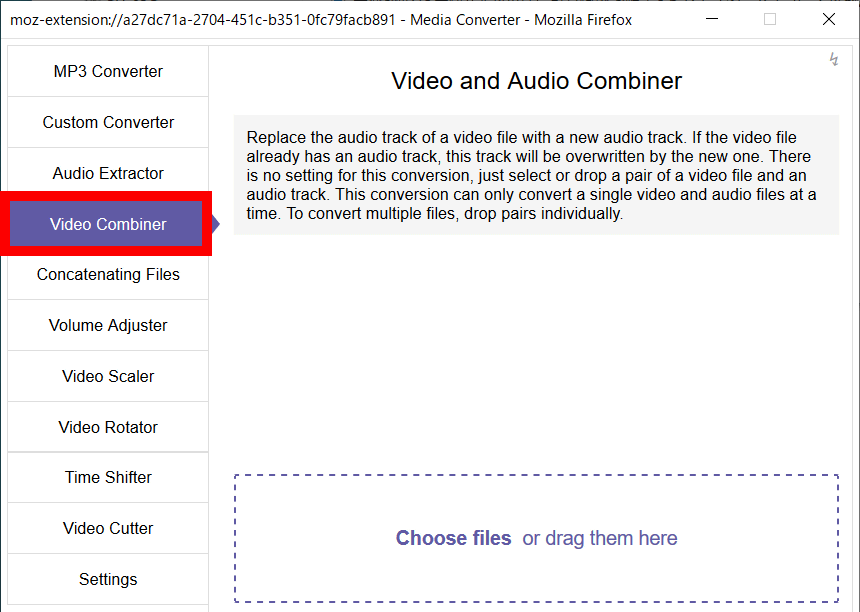
To combine files, select both video and audio files.

Drag and drop two types of files together.
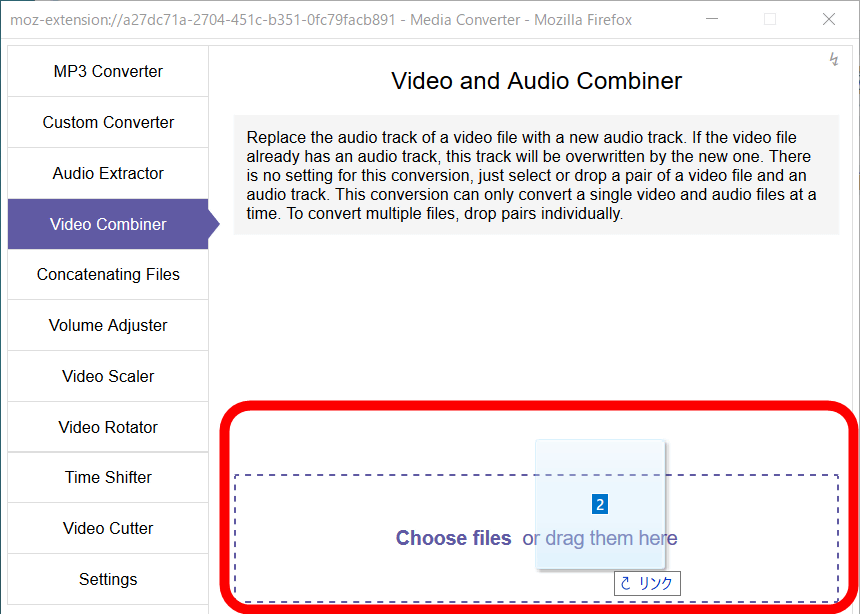
The conversion is complete when 'Done!' Is displayed at the bottom of the screen.

The combined data is output as an MP4 file.

◆ Concatenatin Files: Combine multiple videos
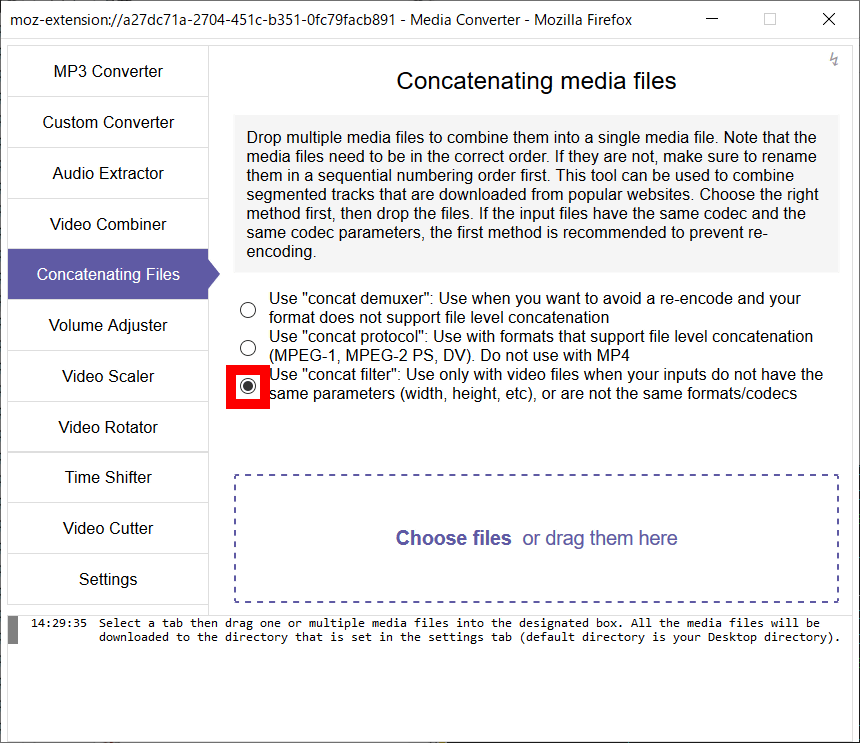
If you select 'Concatenatin Files' from the menu, you can use the function to combine two or more videos into one video.
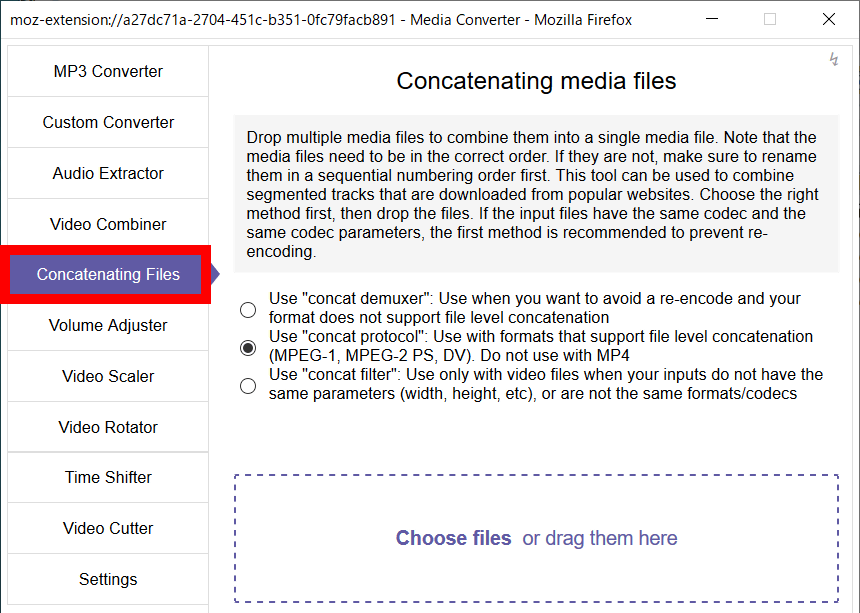
If the video files you want to combine are in the same format, check the top. ,
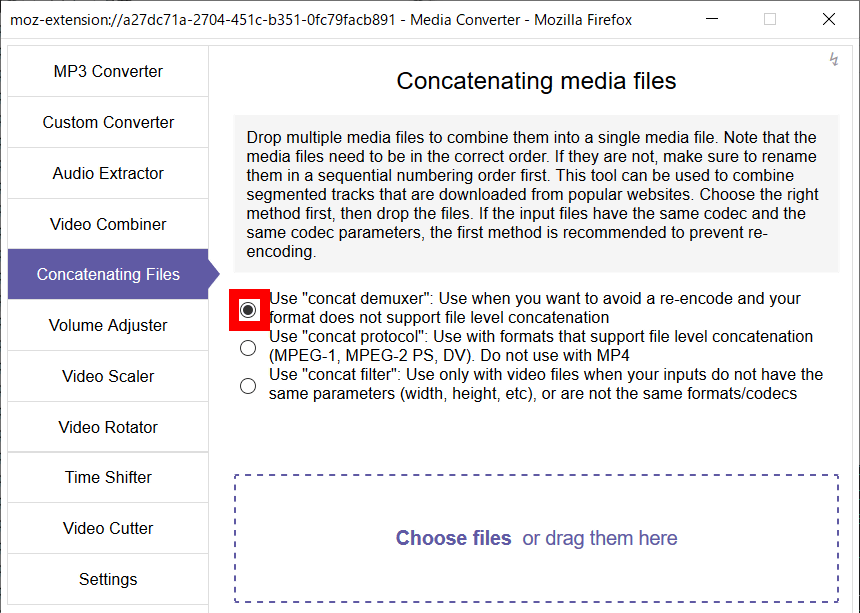
If the video codec is different, check the center. MP4 cannot be converted.

If the video resolution is different, check the bottom.
Drag and drop the files you want to join together inside the square dotted line.
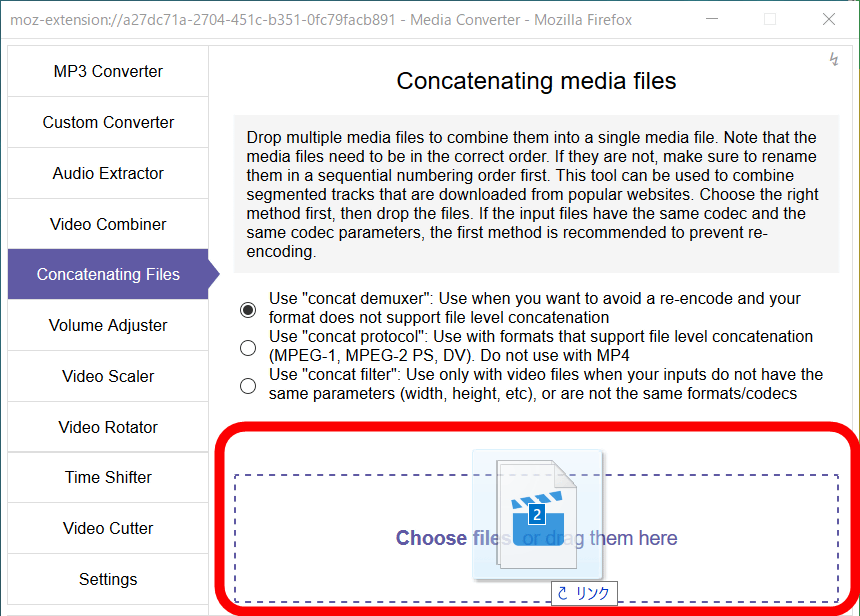
Then, two videos are output as one MP4 file.

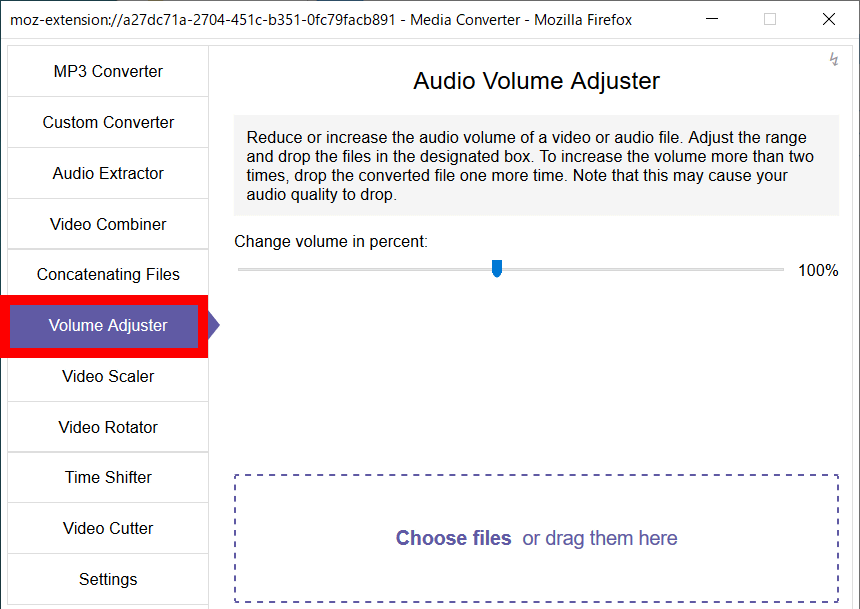
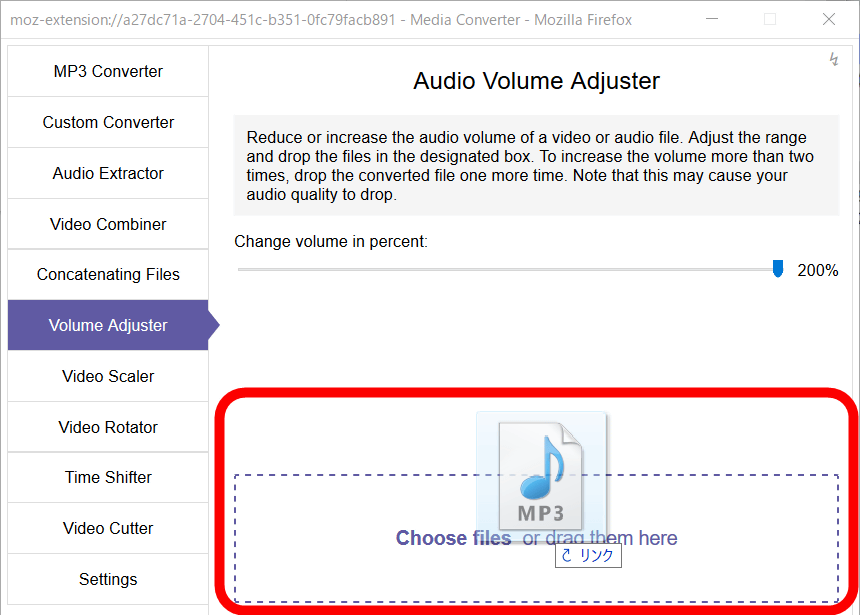
◆ Volume Adjuster: Maximum volume adjustment
By selecting “Volume Adjuster” from the menu, you can adjust the maximum volume of video and audio files.
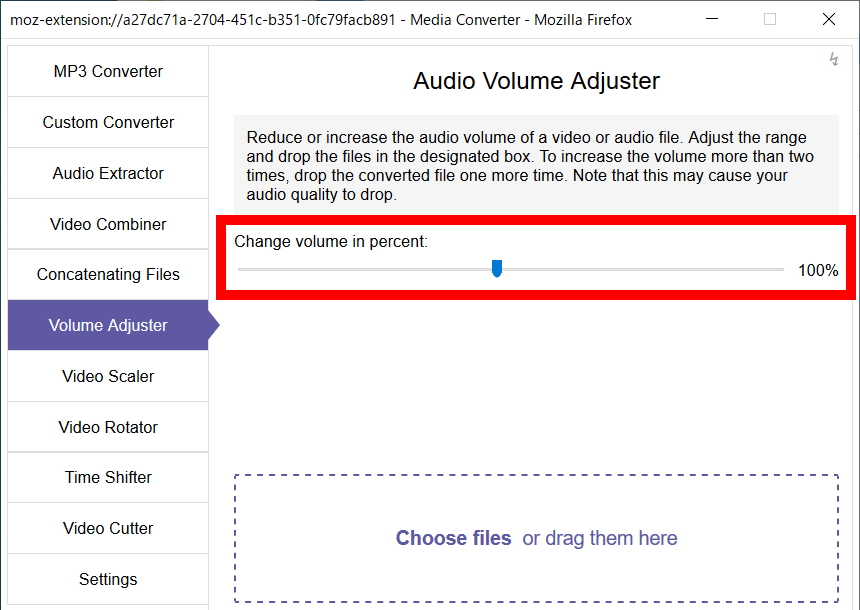
The slider can be changed from 10% to 200%. If it is less than 100%, the maximum volume is small, and if it exceeds 100%, the maximum volume can be changed greatly.
If you want to convert, drag and drop the file inside the square dotted line.
The conversion is complete when 'Done!' Is displayed at the bottom of the screen.
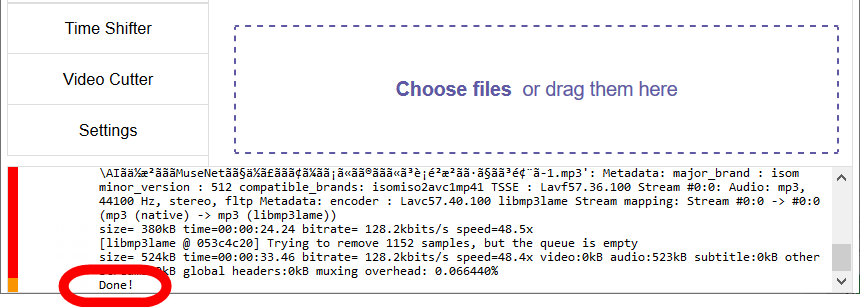
Data with the maximum volume changed is output in the same format as before the change.

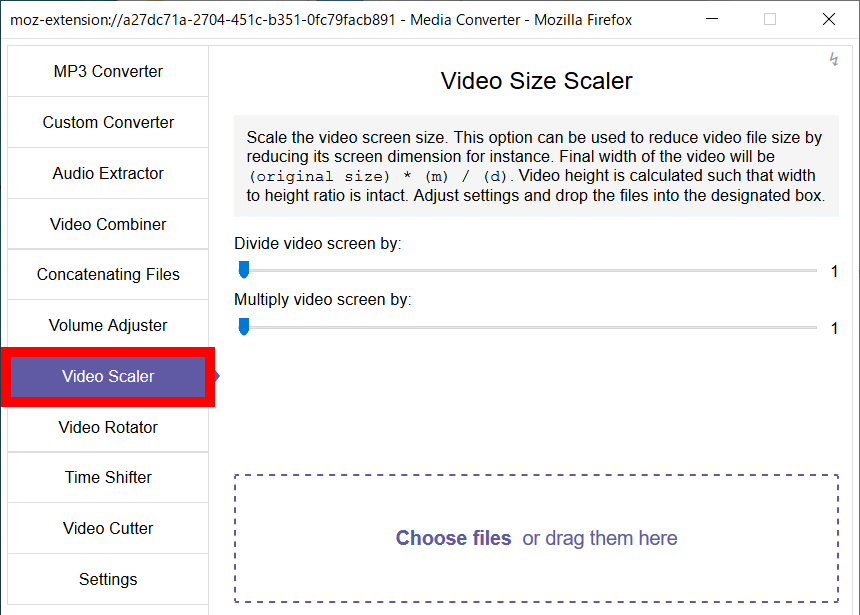
◆ Video Scaler: Change video resolution
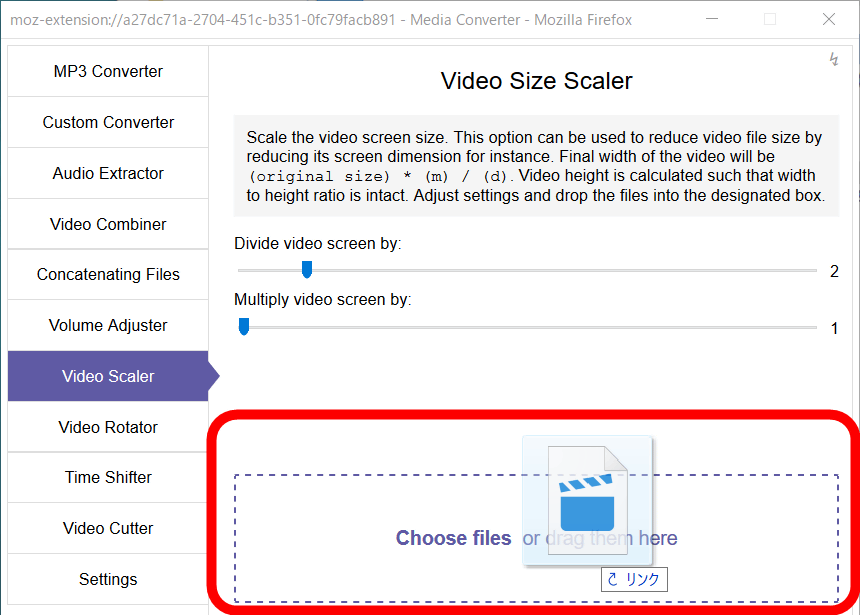
Click “Video Scaler” from the menu to use the function to change the video resolution.
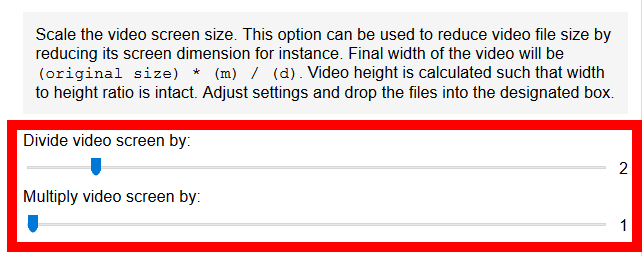
The slider for `` Divide video screen by: '' is the denominator and the slider for `` Multiply video screen by: '' is the numerator, so for example, `` Divide video screen by: 2 '', `` Multiply video screen by: 1 '' The file that has been reduced to half is output.
To check the resolution of the file you want to convert, right-click on the file.

Select “Properties”.
You can check the resolution from “Details”.
Drag and drop the file whose resolution you want to change inside the dotted line.
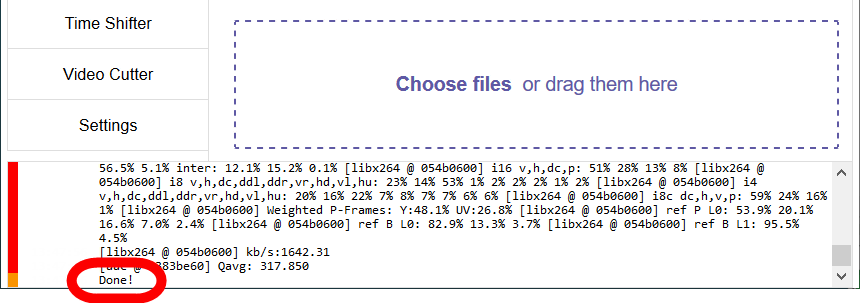
The conversion is complete when 'Done!' Is displayed at the bottom of the screen.
Right-click on the converted file and check the resolution.

If you look at the details from the properties, you can see that the resolution is half.
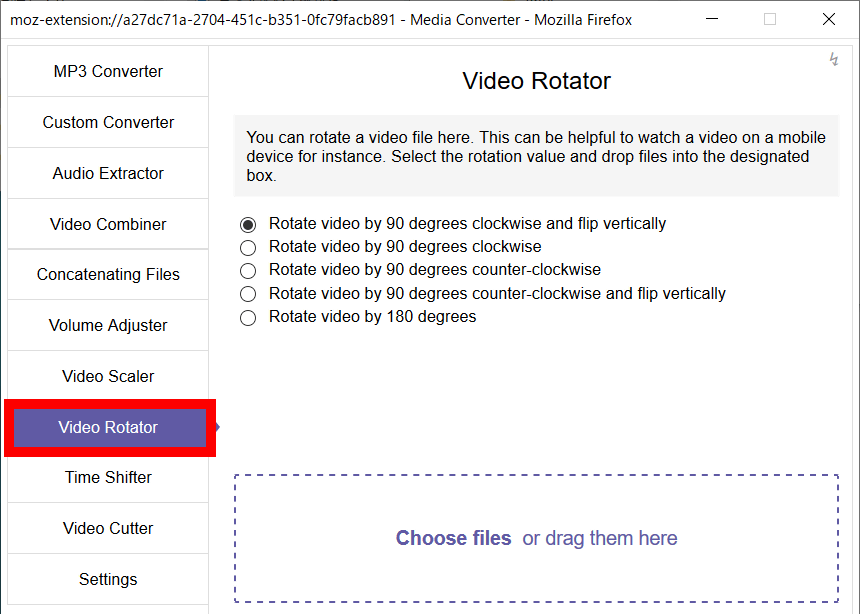
◆ Video Rotator: Change video direction
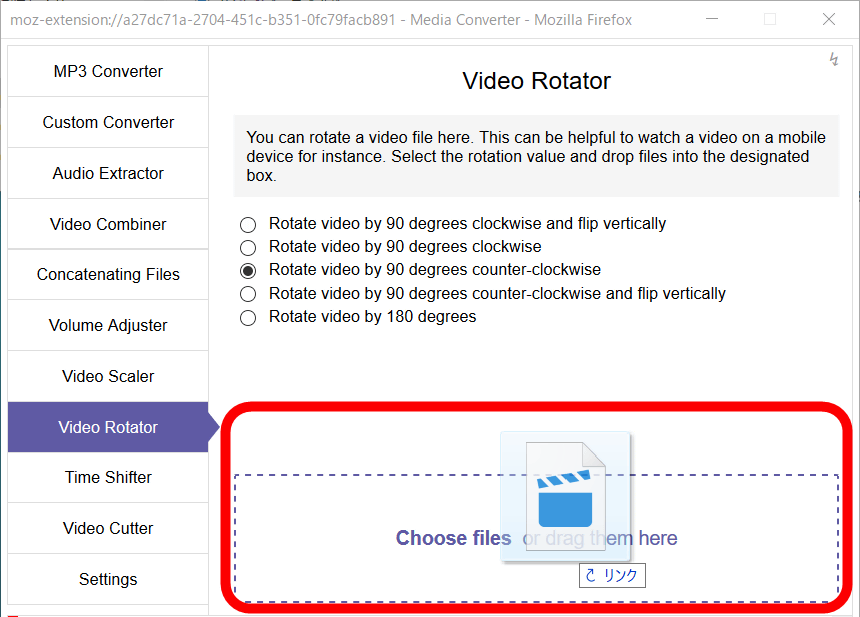
Click “Video Rotator” from the menu to use the function to rotate the video.
From the top, rotate 90 degrees clockwise and upside down, rotate 90 degrees clockwise, rotate 90 degrees counterclockwise, rotate 90 degrees counterclockwise and flip up and down, and rotate 180 degrees You can select.
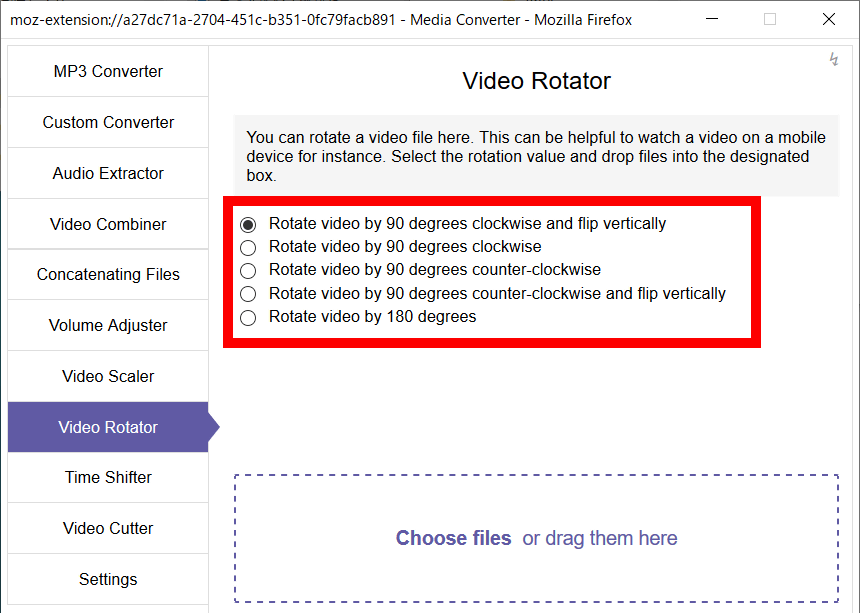
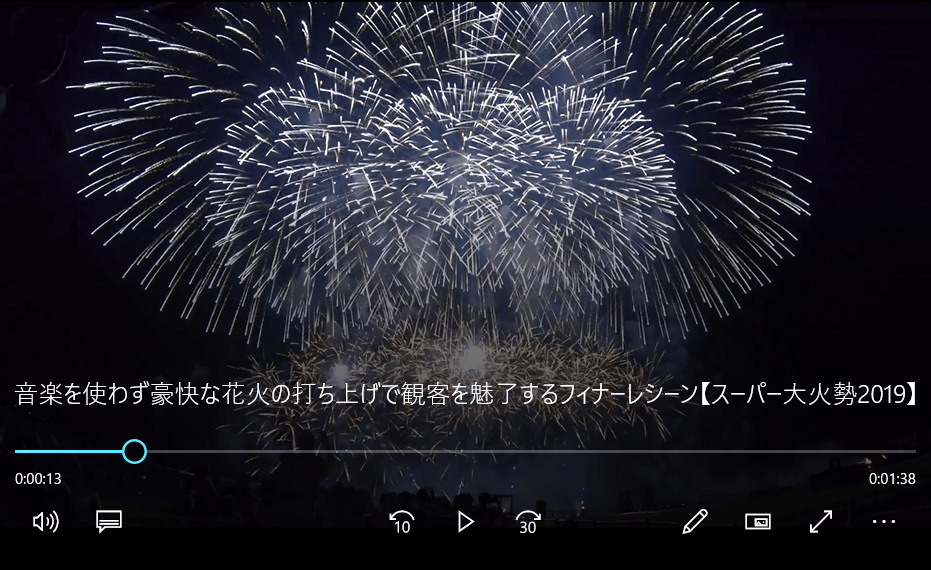
As a trial, try rotating the video 90 degrees counterclockwise.

It looks like this before conversion.
Drag and drop the file you want to convert inside the square dotted line.
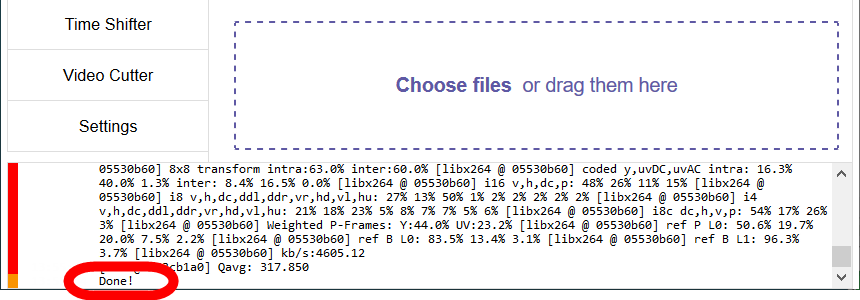
When “Done!” Is displayed at the bottom of the screen, the conversion is complete.
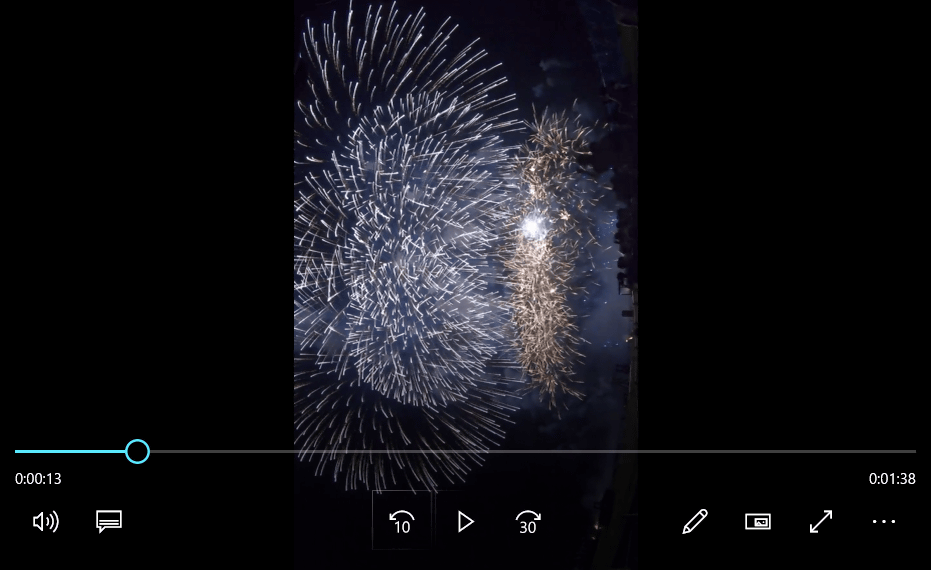
Play the converted file and check it.

I was able to create a video that was rotated 90 degrees counterclockwise.
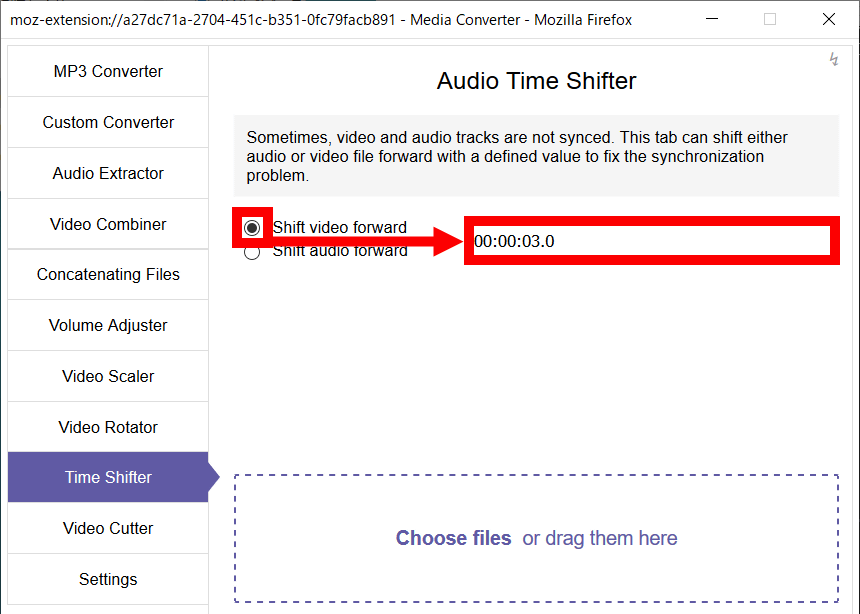
◆ Time Shifter: Sound shift correction
Click “Time Shifter” to solve the problem that the sound of video and audio files is played with a few seconds shift.
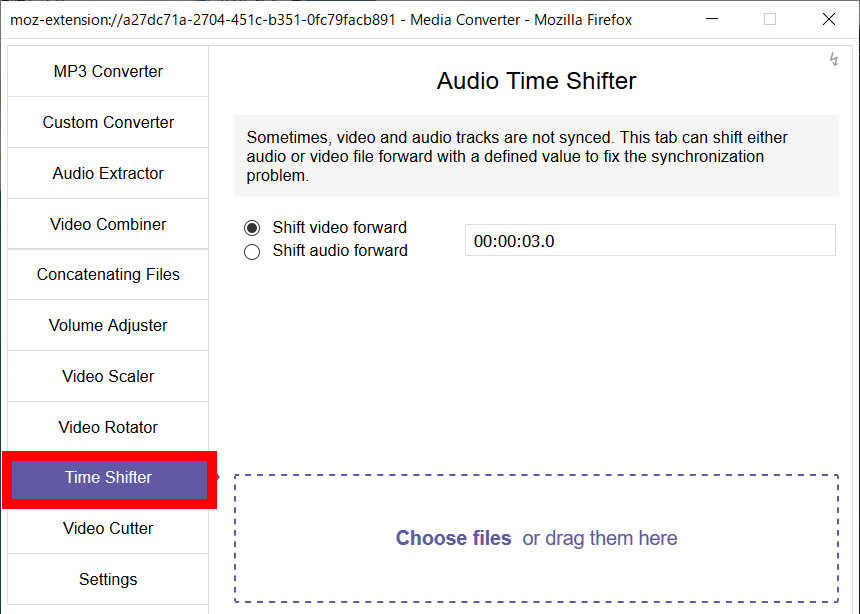
If you want to move the audio data of the video forward, check “Shift video forward” and enter the time.
To shift the sound of the audio file forward, check “Shift audio forward” and enter the time.
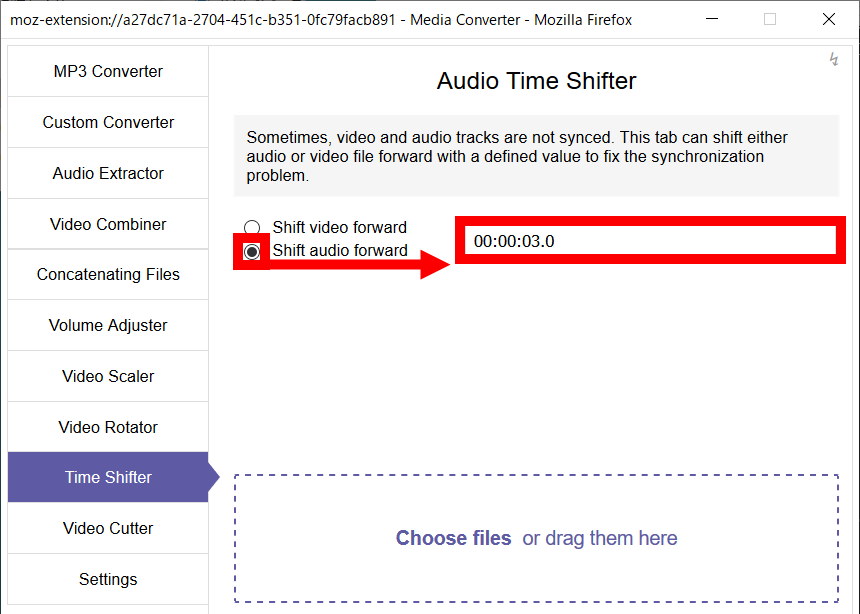
Drag and drop the file you want to correct the sound gap inside the square dotted line.

The conversion is complete when 'Done!' Is displayed at the bottom of the screen.

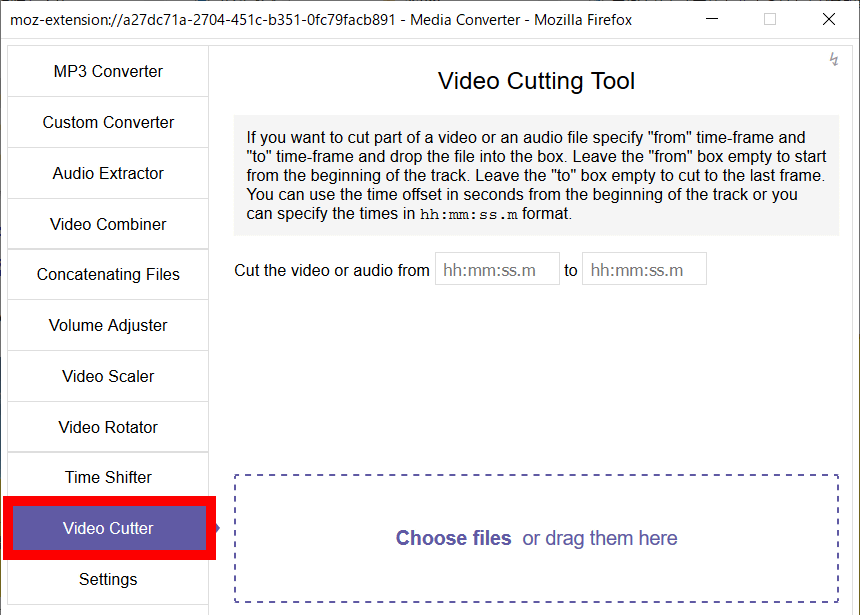
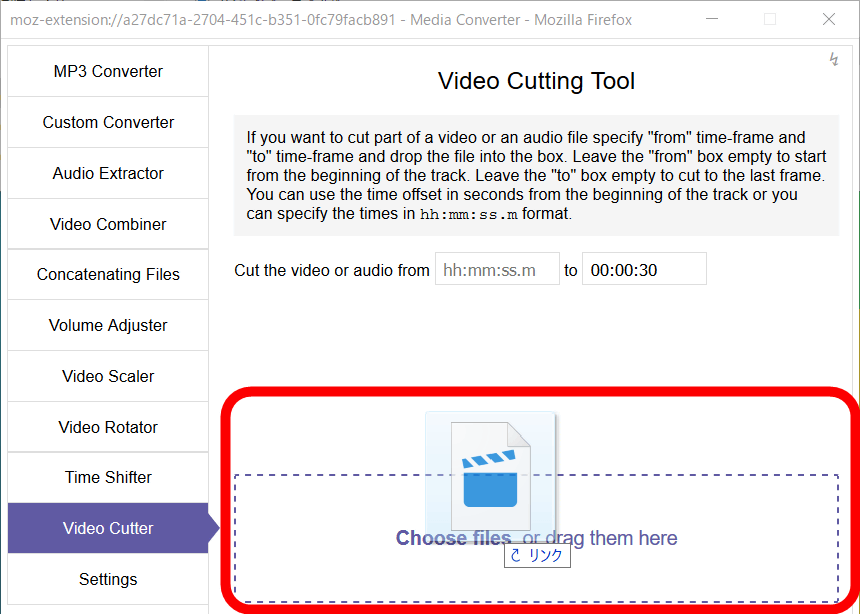
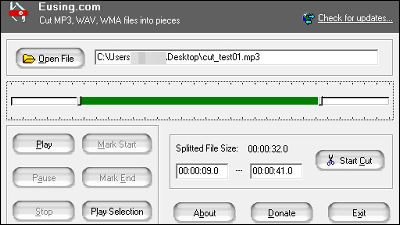
◆ Video Cutter: Video cut editing
If you select “Video Cutter” from the menu, you can use the function to cut and edit videos.
Since only the time entered in the red frame is extracted, for example, if you enter `` 00:00:30 '' in the left box and `` 00:01:30 '' in the right box, 1 minute 30 seconds from the start of the movie The video that is extracted only up to is output.
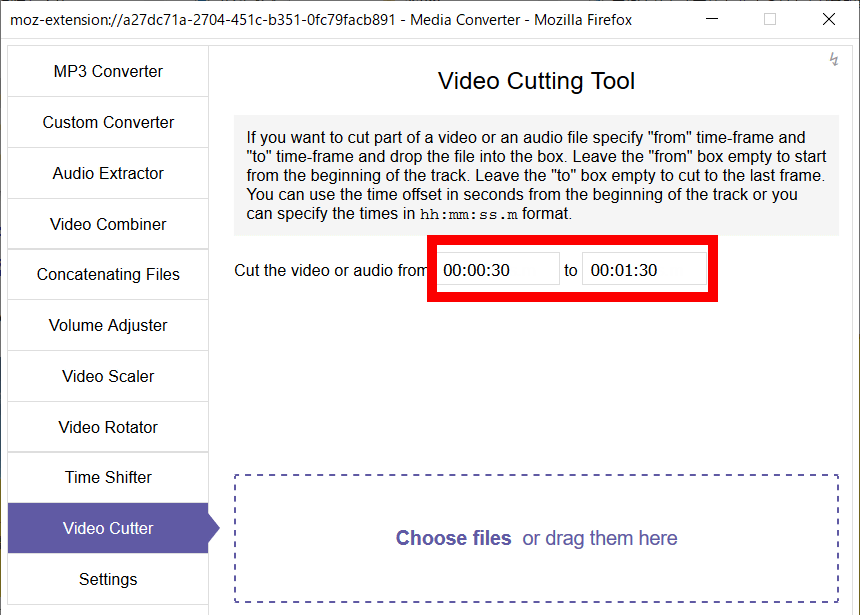
If you enter “00:00:30” only in the box on the left, the video after 30 seconds from the start of the video will be deleted.

Extract only 30 seconds from the start of the video from the 1 minute 51 seconds video.

Drag and drop the video file inside the square dotted line.
Extraction is complete when 'Done!' Is displayed at the bottom of the screen.
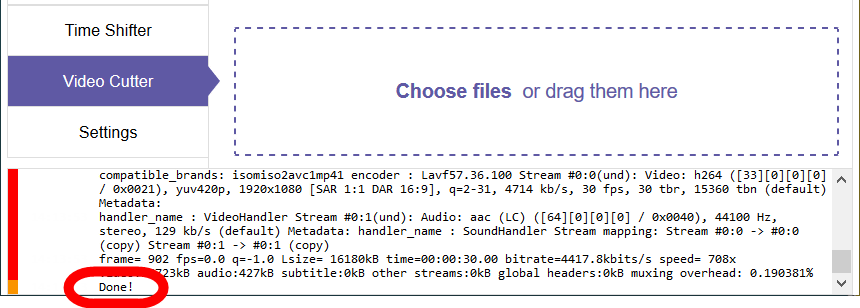
We were able to confirm the video extracted for 30 seconds.

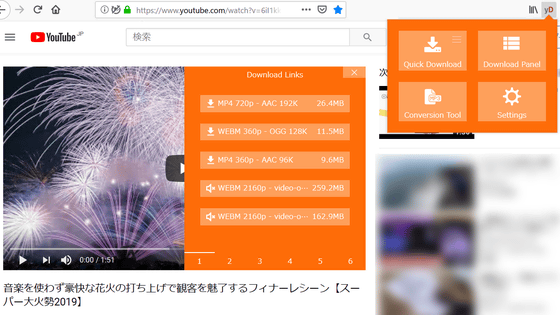
Media Converter and Muxer-Audio Tools can also be used in conjunction with the YouTube Video and Audio Downloader extension, which allows you to download videos from YouTube . You can check how to download and use from the following article.
Related Posts:

in Review, Software, Web Service, Web Application, Posted by darkhorse_log