I tried using 'Syncthing' which allows free synchronization of files between terminals for unlimited capacity
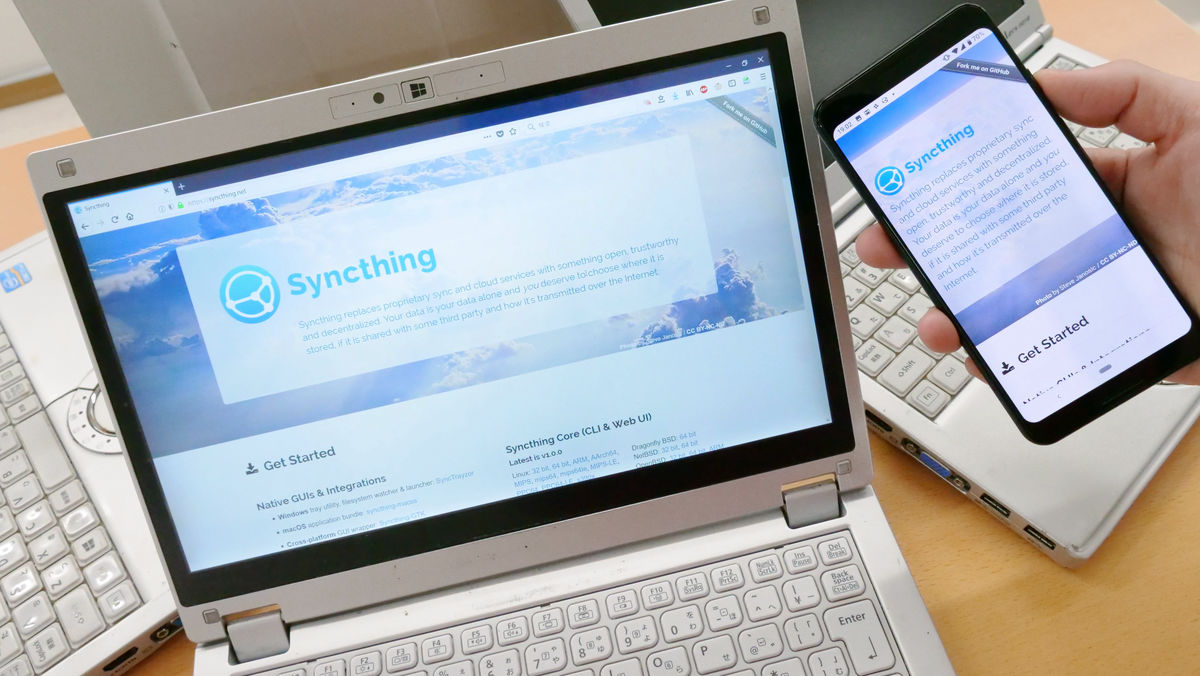
Syncthing is a software that allows you to synchronize files between computers directly without storage service, and even files that you think are "worried about putting in storage service" can be shared easily between terminals .
Syncthing
https://syncthing.net/
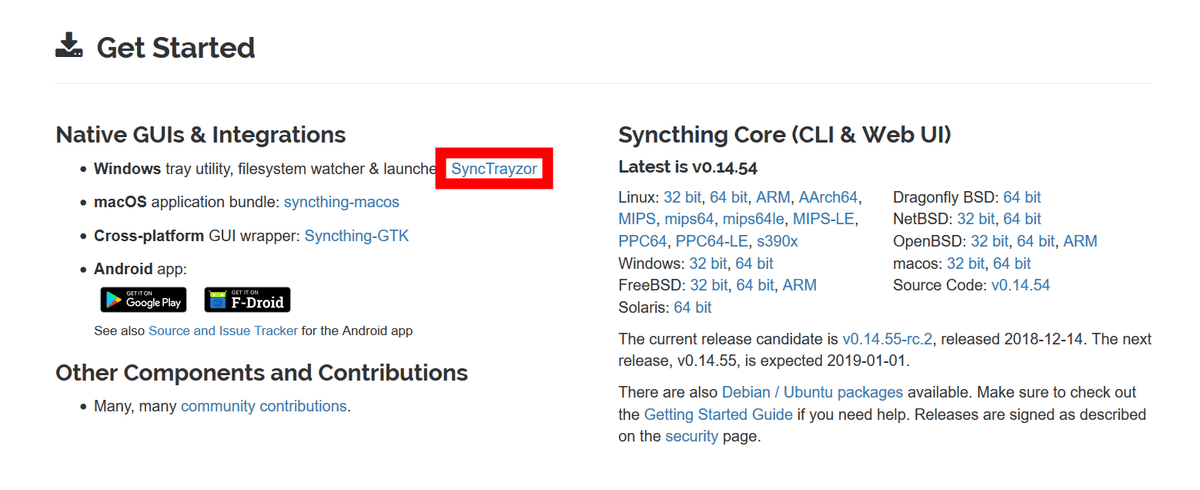
Syncthing is a multi-platform software that works on Windows, Linux, macOS, etc, Android as well. Since I am using Windows this time, when I visit the official site , click "SyncTrayzor" and go to the download page. SyncTrayzor is a GUI application including Syncthing which can be installed and operated easily.
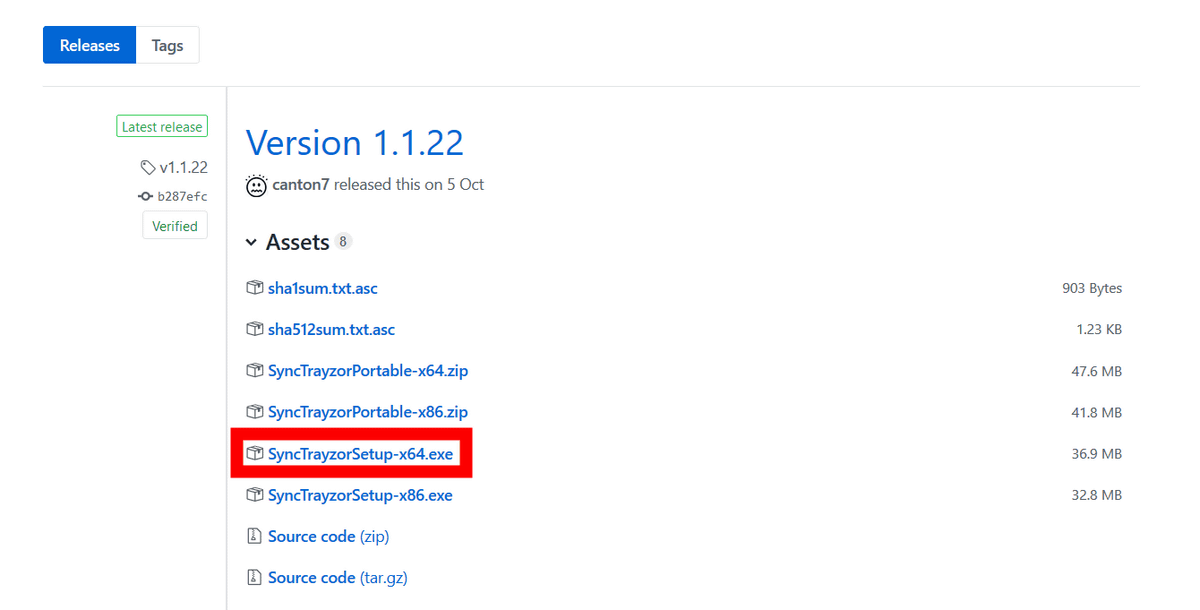
Since I am using a 64-bit version of Windows, click "SyncTrayzorSetup-x64.exe" of the installer version for 64 bit Windows and download it.
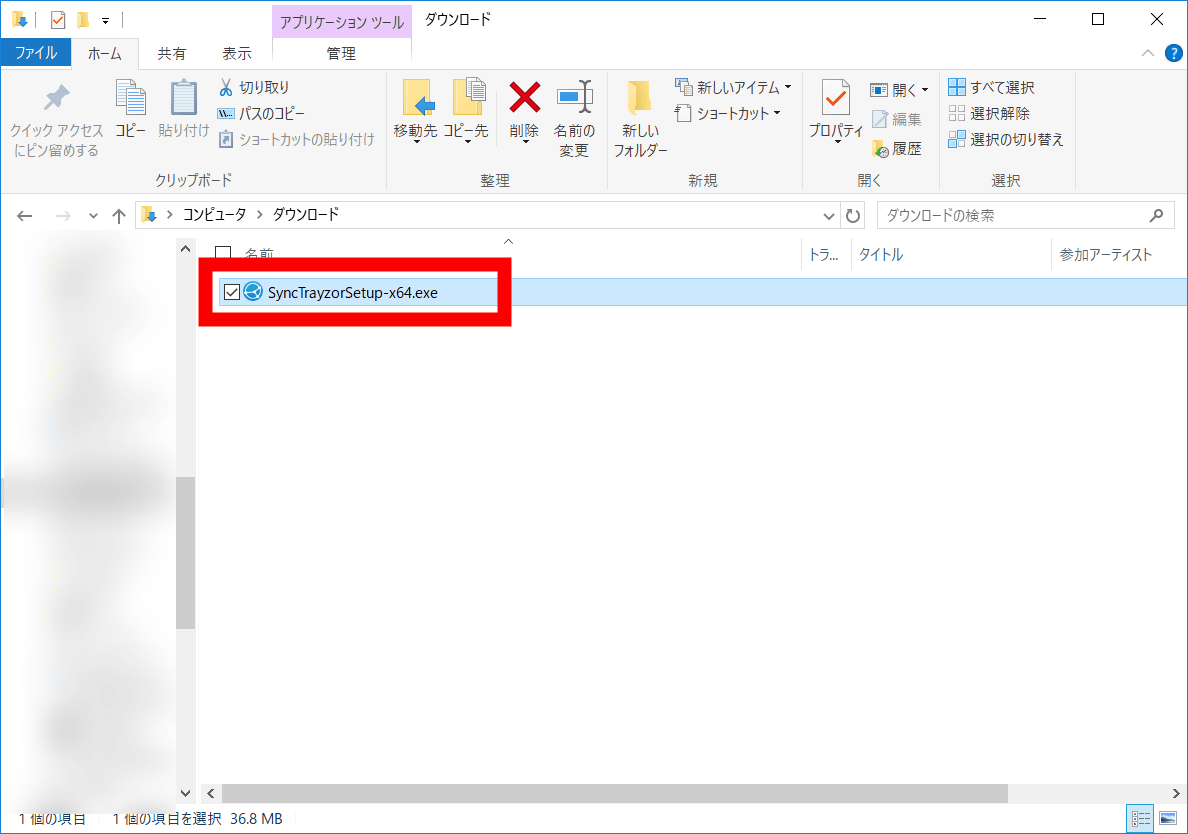
Double click on the downloaded "SyncTrayzorSetup - x64.exe" to start it.
Please check "I accept the agreement" and agree with the software license agreement and click "Next".

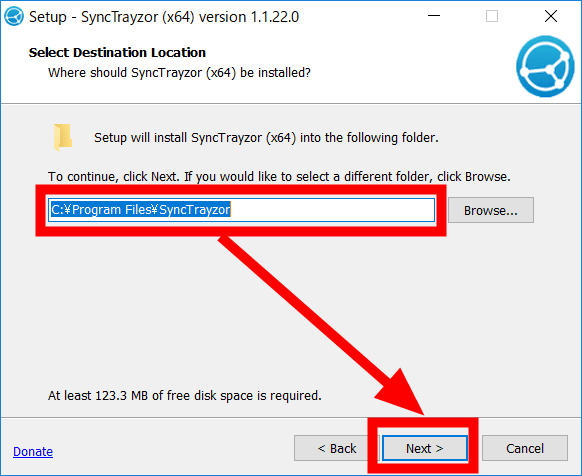
Decide the installation destination and click "Next".
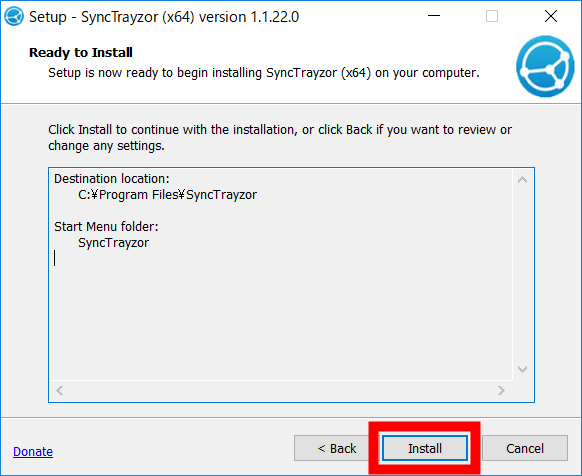
Click "Install".
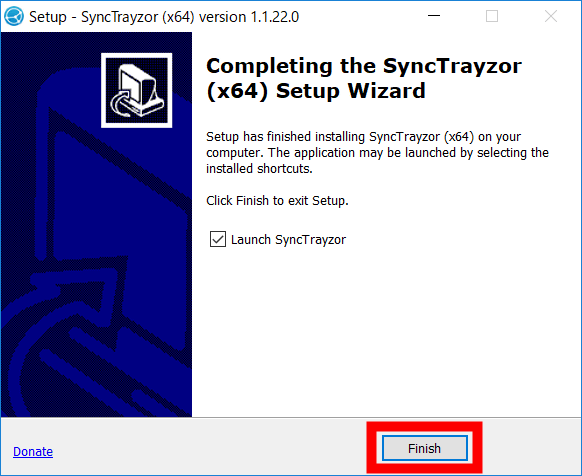
Click "Finish" to complete installation.
SyncTrayzor's home screen looks something like this. First of all, automatic update will start, so click "OK".
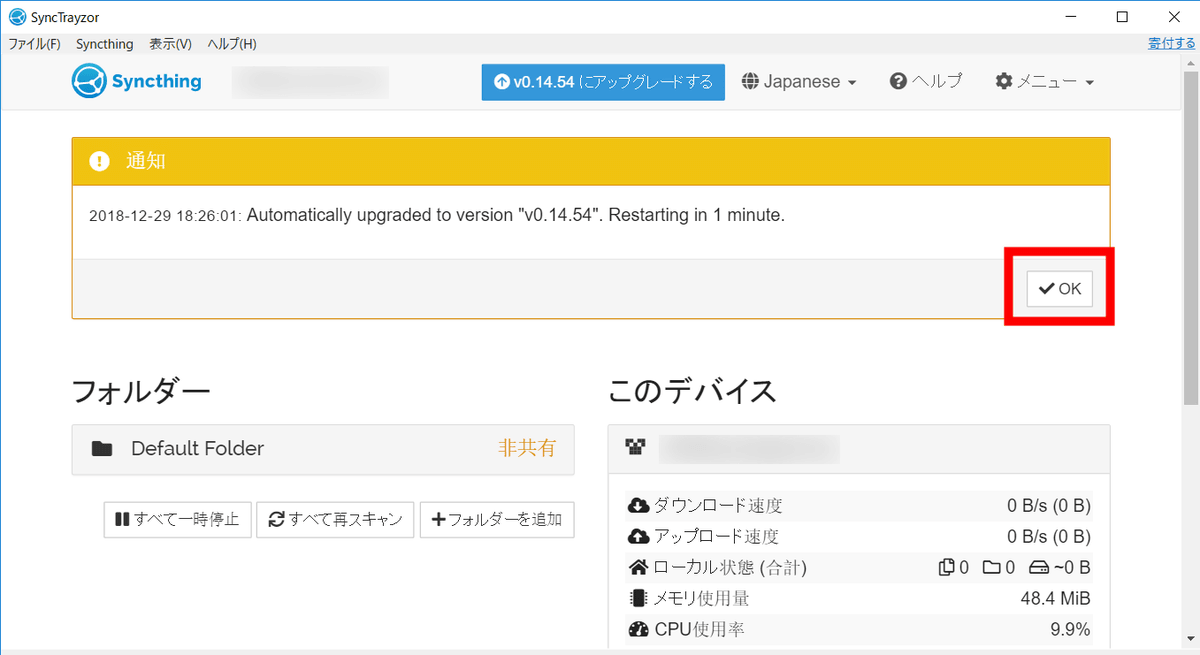
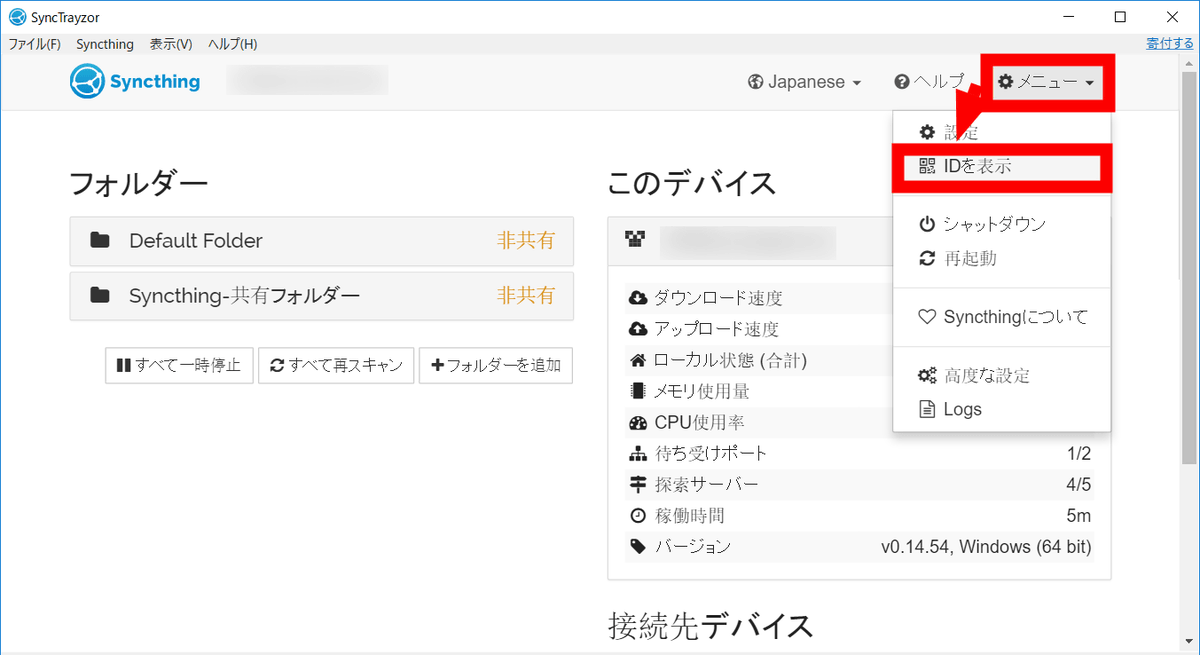
The automatic update is over in about 1 minute. First, add "connected device". First of all, let's synchronize the files of the two PCs using Syncthing. After installing SyncTrayzor, click "Show ID" from "Menu" in the upper right.
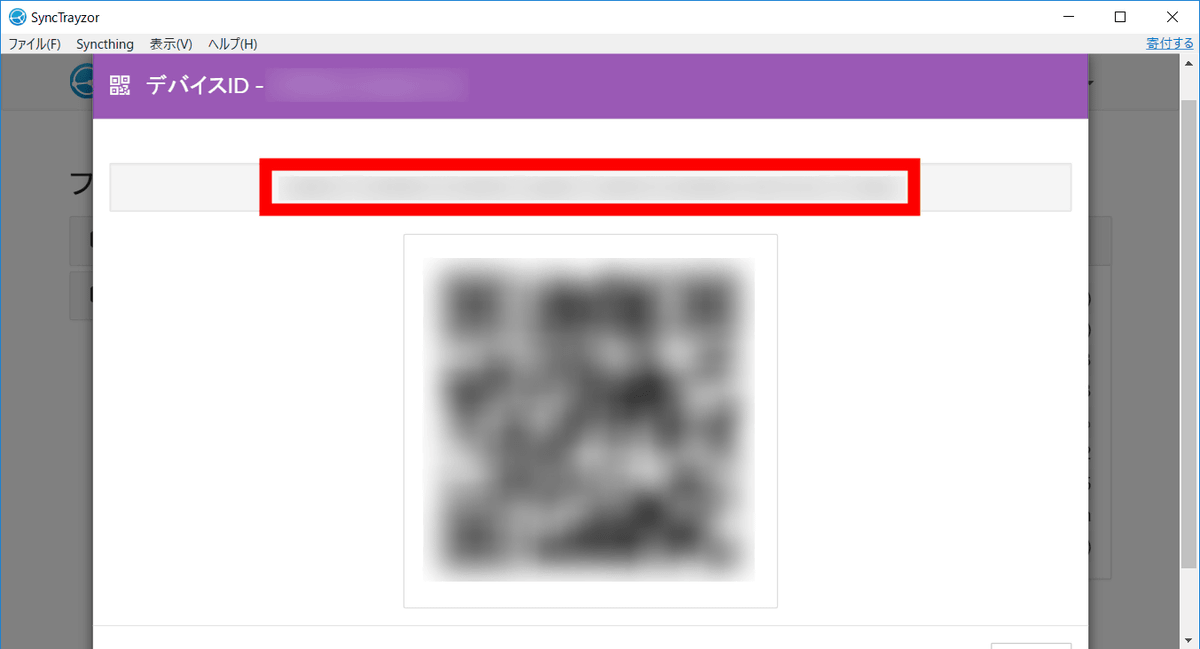
Then the ID for Syncthing on the PC is displayed, so enter this ID into the PC you want to synchronize and connect the terminals.
Click "Add a connected device" on the PC not displaying Syncthing ID.

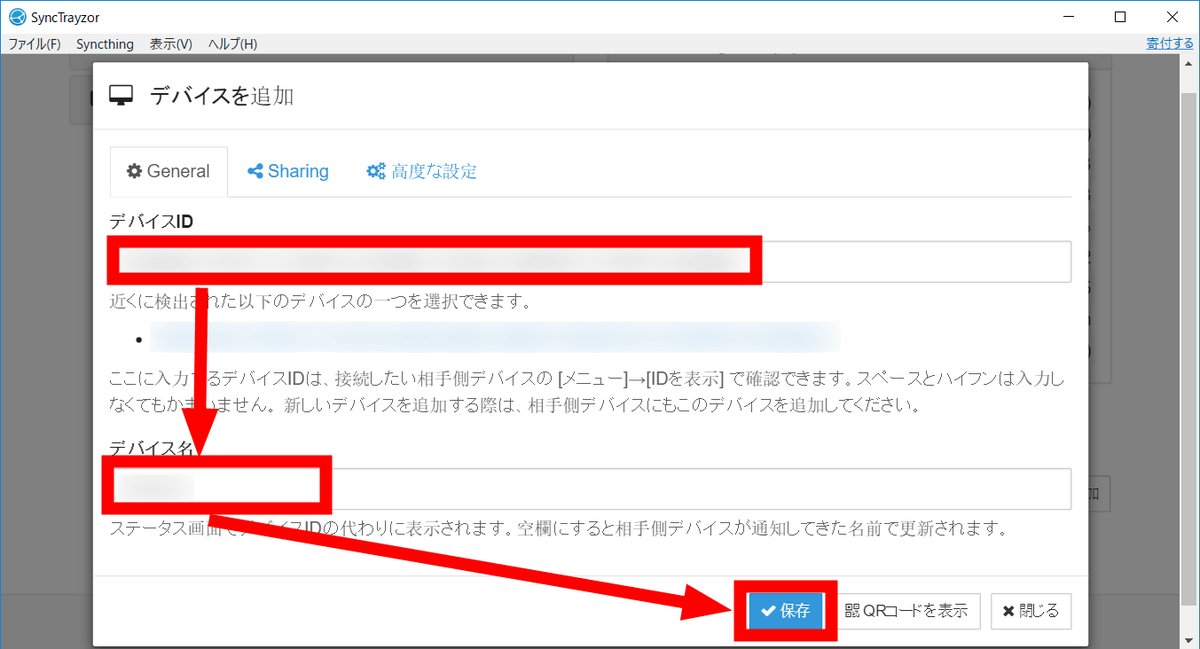
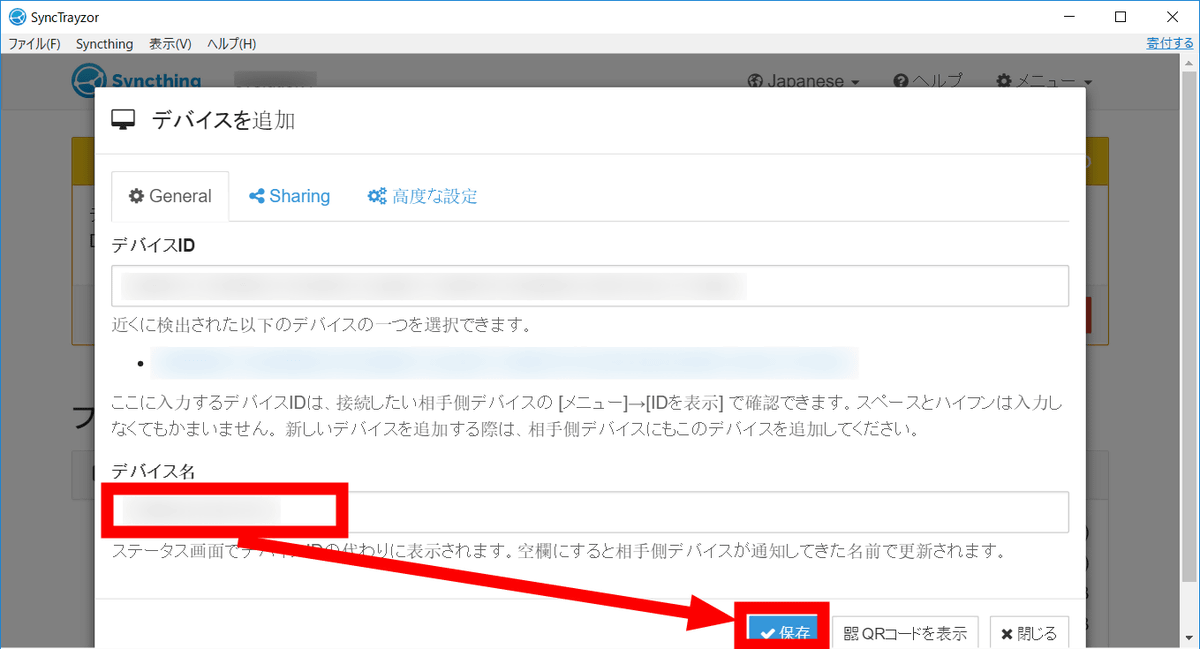
Enter the previous ID in "Device ID", enter the name of the connection destination in "Device Name", and click "Save". The connection information of SyncTrayzor has been saved to one PC.
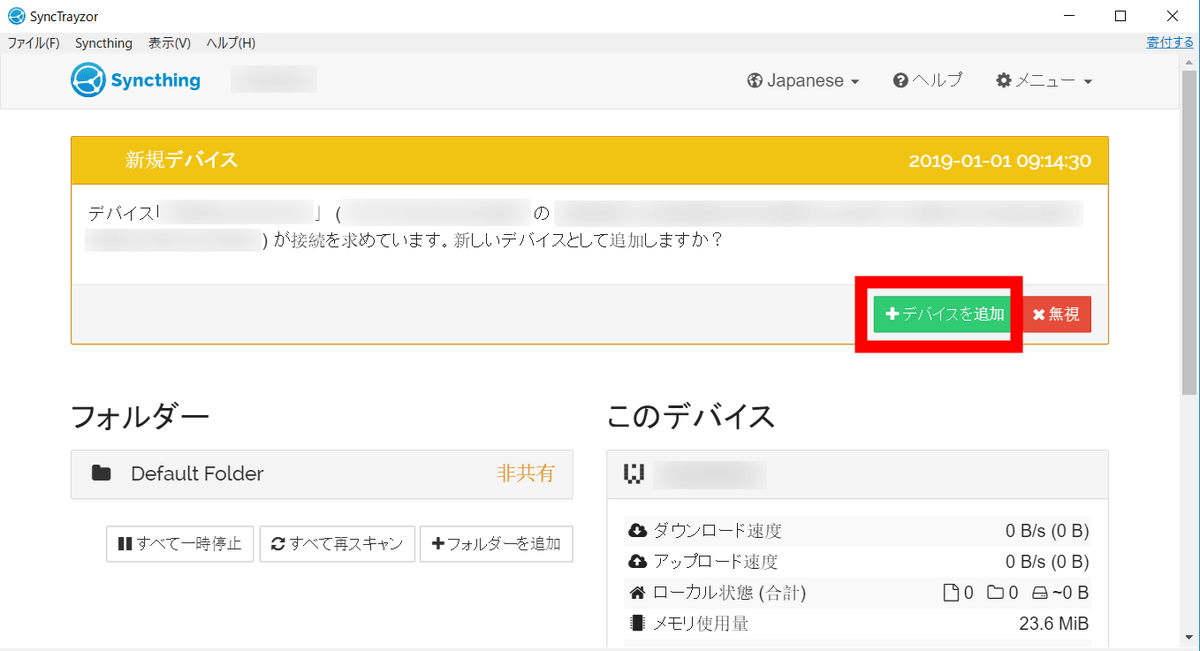
When returning to the PC displaying Syncthing ID, "PC is requesting connection" is displayed, click "Add device".
The "Add device" window is displayed also on the PC side to which the destination device was added earlier, but since the device ID has already been entered, click "save" when entering "device name". This completes preparation for synchronization of the two PCs.
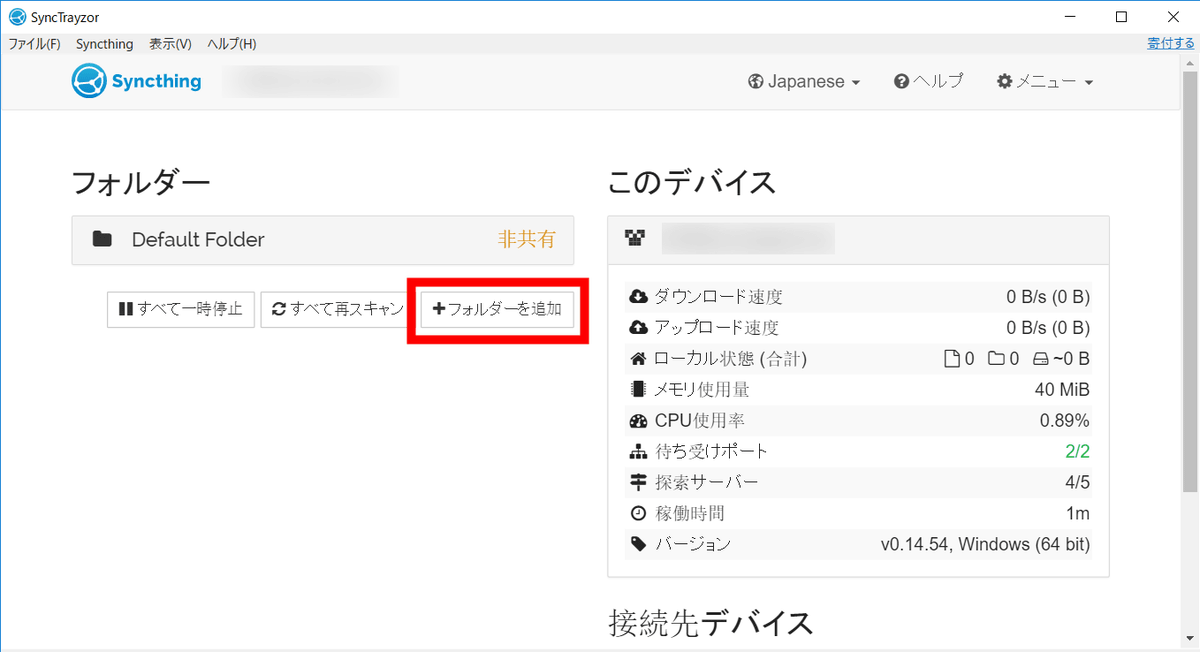
Next, decide which folders to synchronize. Click "Add Folder" on the SyncTrayzor home screen.
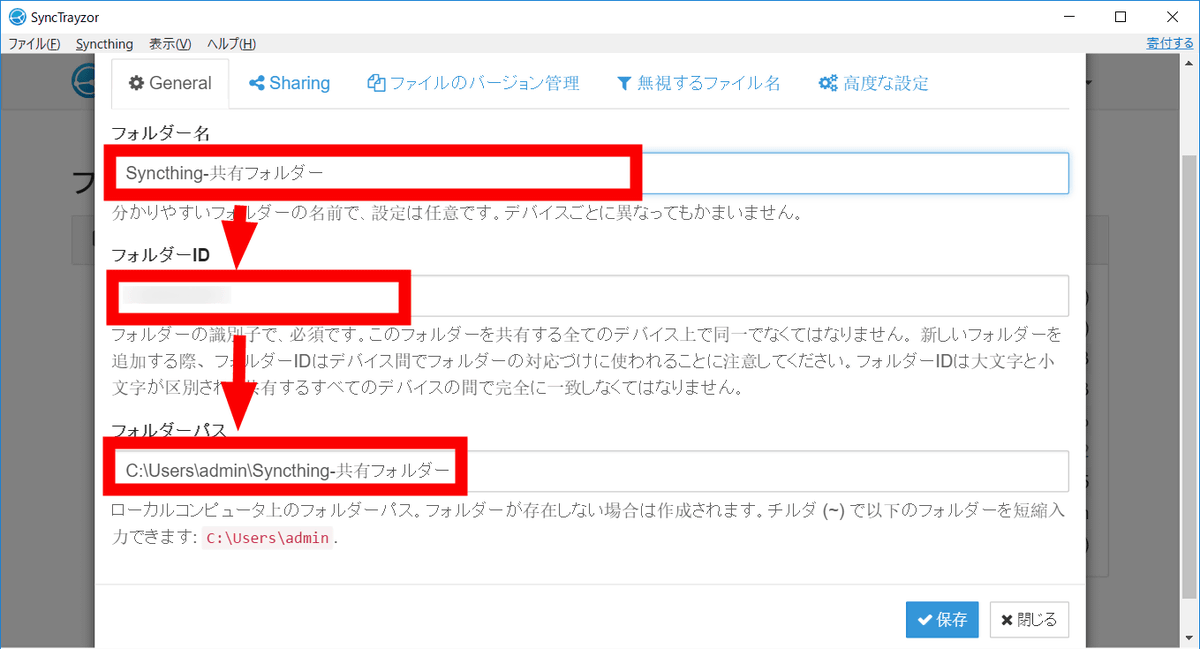
"Folder name" "folder ID" "folder path" is determined in order from the top.
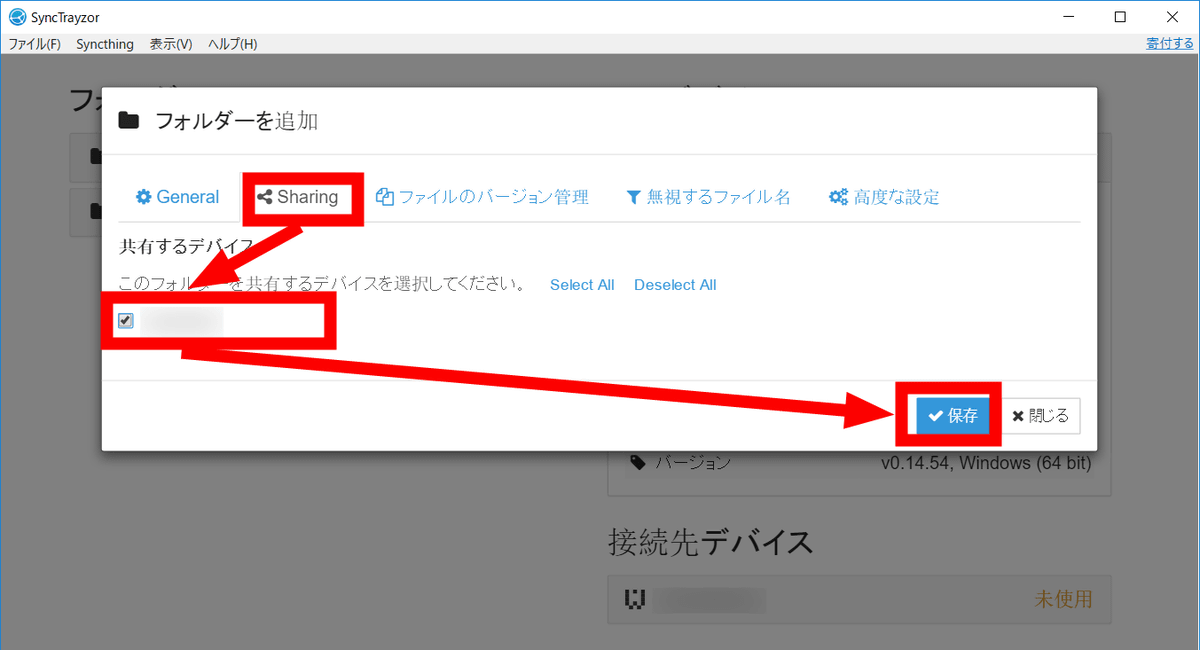
Next, click on the "Sharing" tab and the name of the PC that was synchronized earlier is displayed in "Sharing device", so check the checkbox and click "Save".
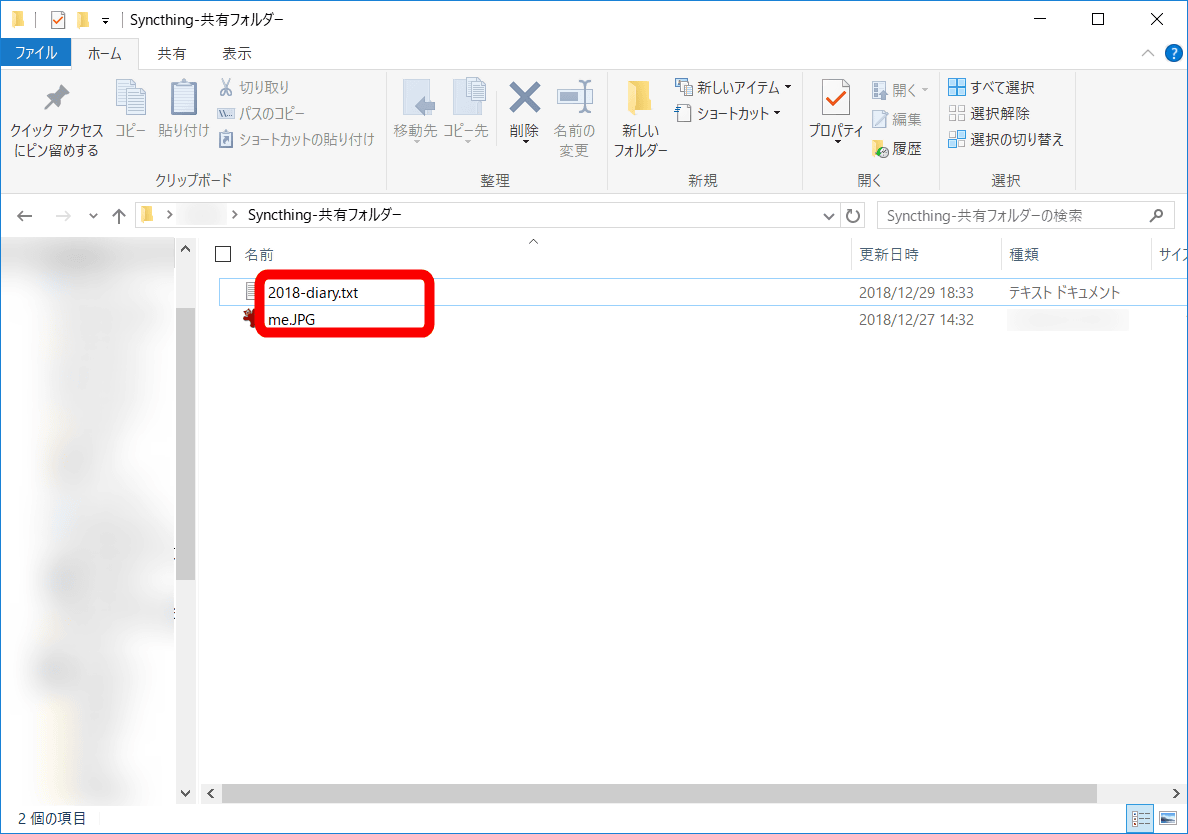
All you have to do is just put the files you want to share between the two PCs in the shared folder you created.
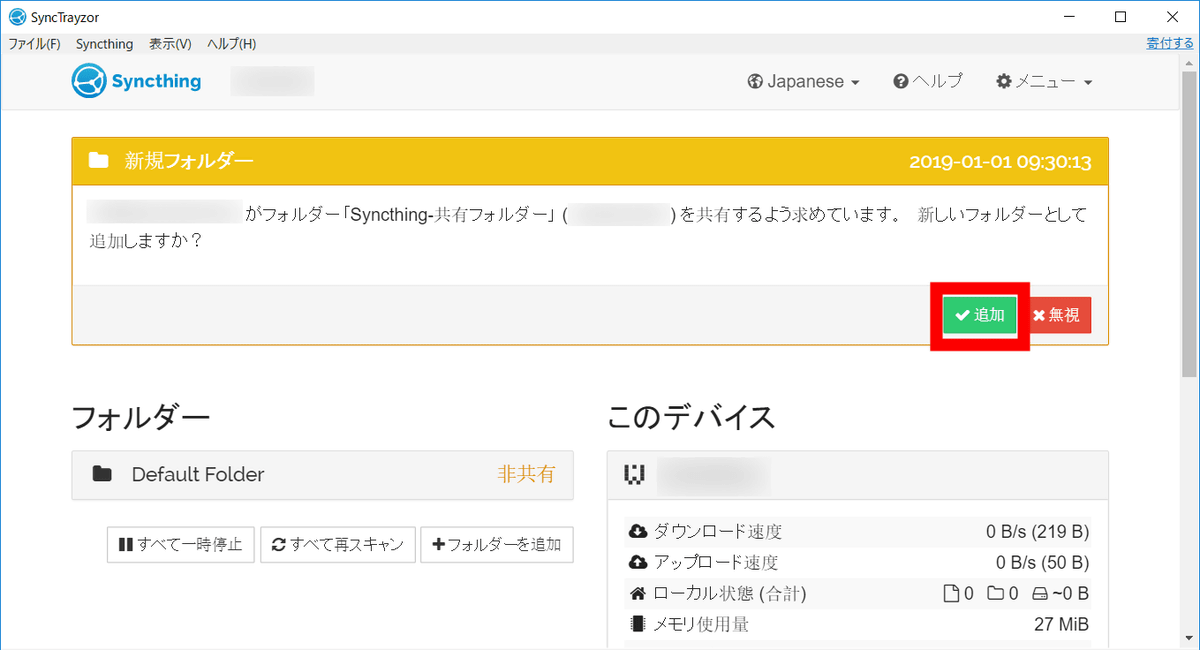
If you create a new sync setting, you will be prompted to add a new folder on the non-sync PC, so click "Add".
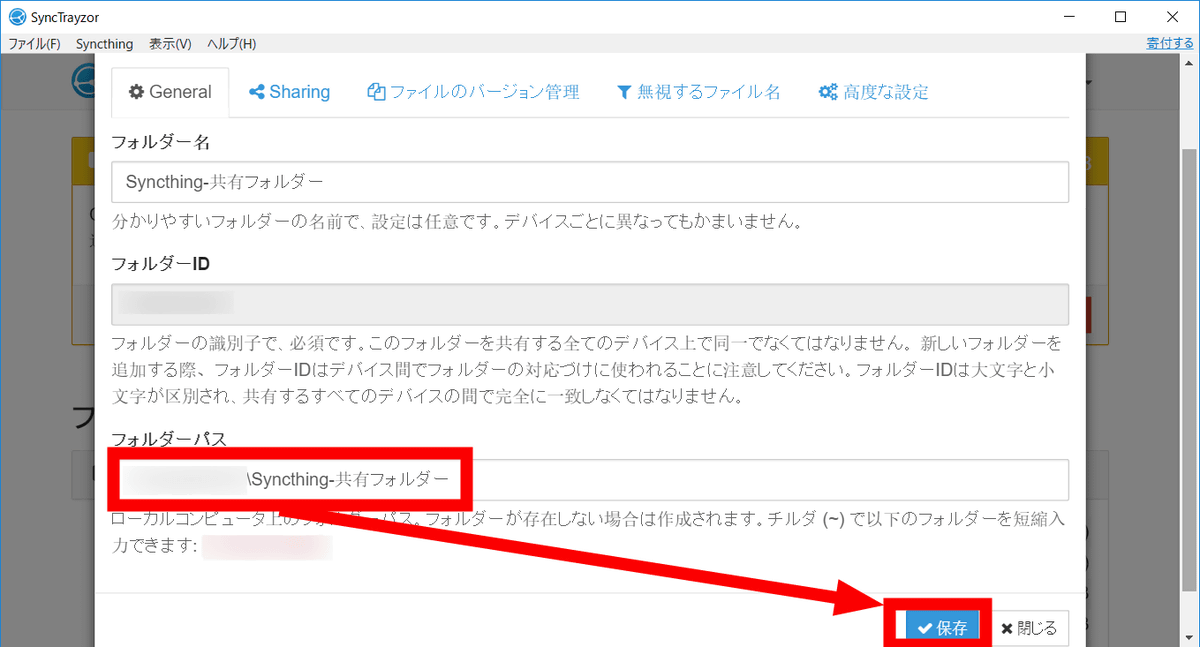
Decide where to create the shared folder on the PC with "Folder path" and click "Save".
Then, the files put in the shared folder will be shared between the two PCs. The added files are always synchronized, but in order to synchronize, it is necessary to run SyncTrayzor on both PCs.
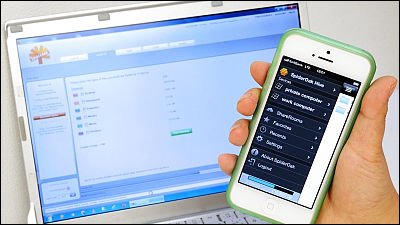
Let's synchronize Android terminal and PC using Android version of Syncthing.
Syncthing - Apps on Google Play
https://play.google.com/store/apps/details?id=com.nutomic.syncthingandroid
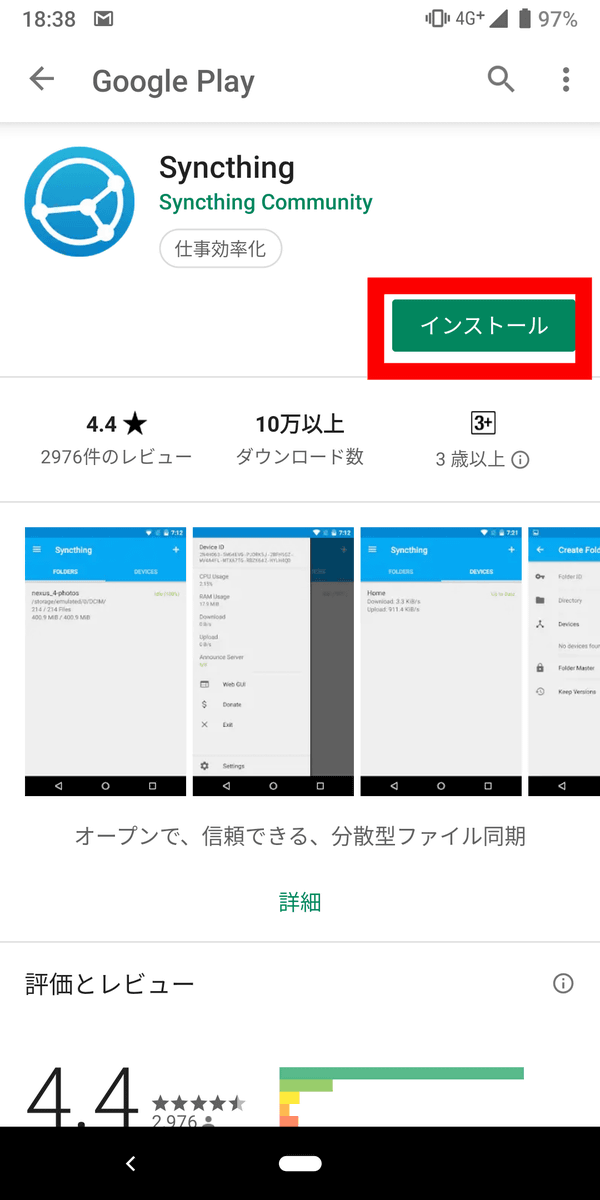
Open the Syncthing application from Google Play and tap "Install" to start the installation.
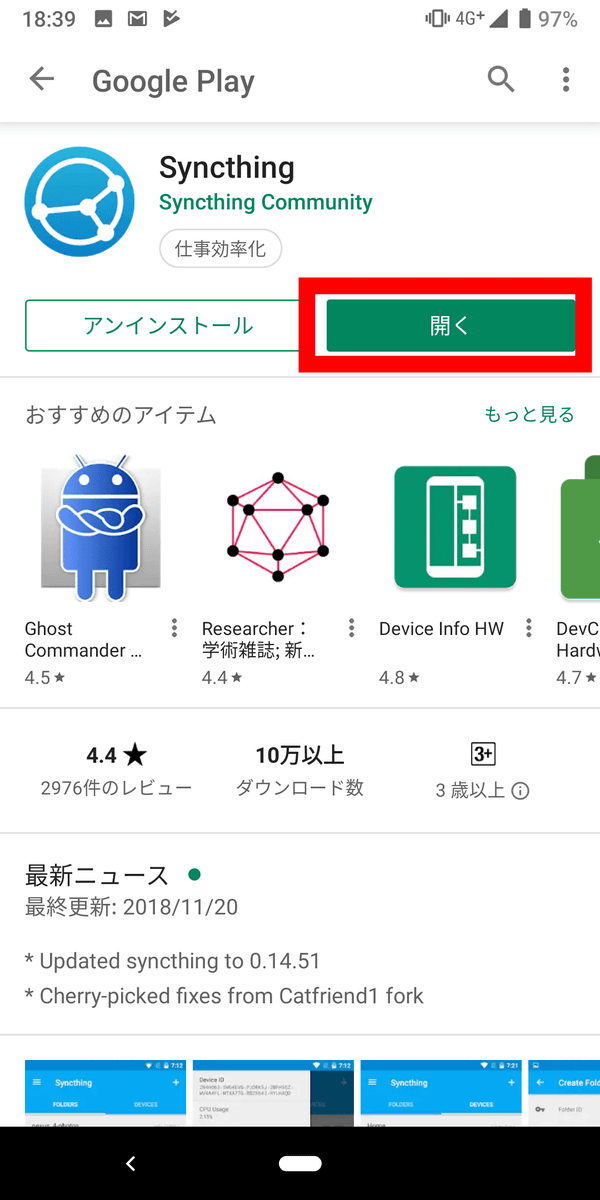
When installation is completed, tap "Open".
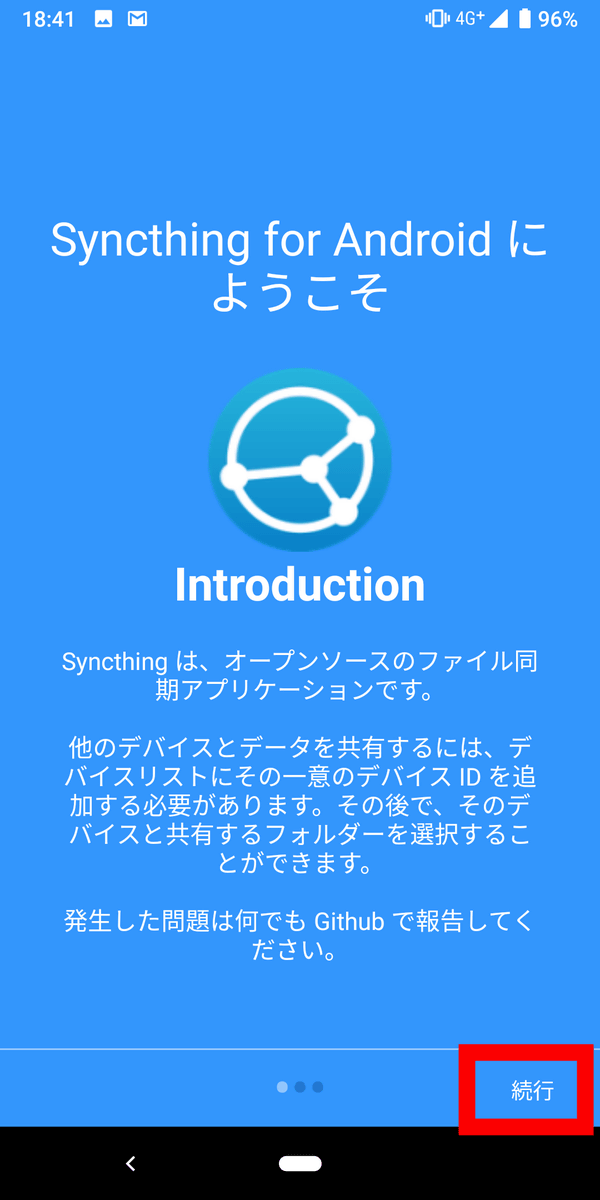
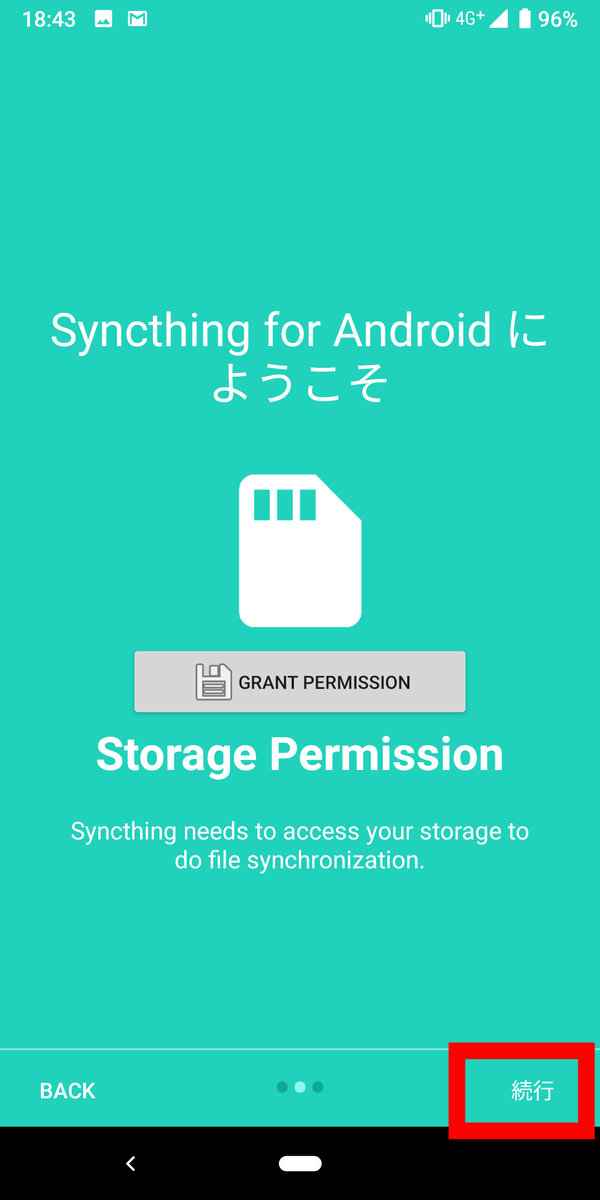
Syncthing for Android version starts, tap "Continue".
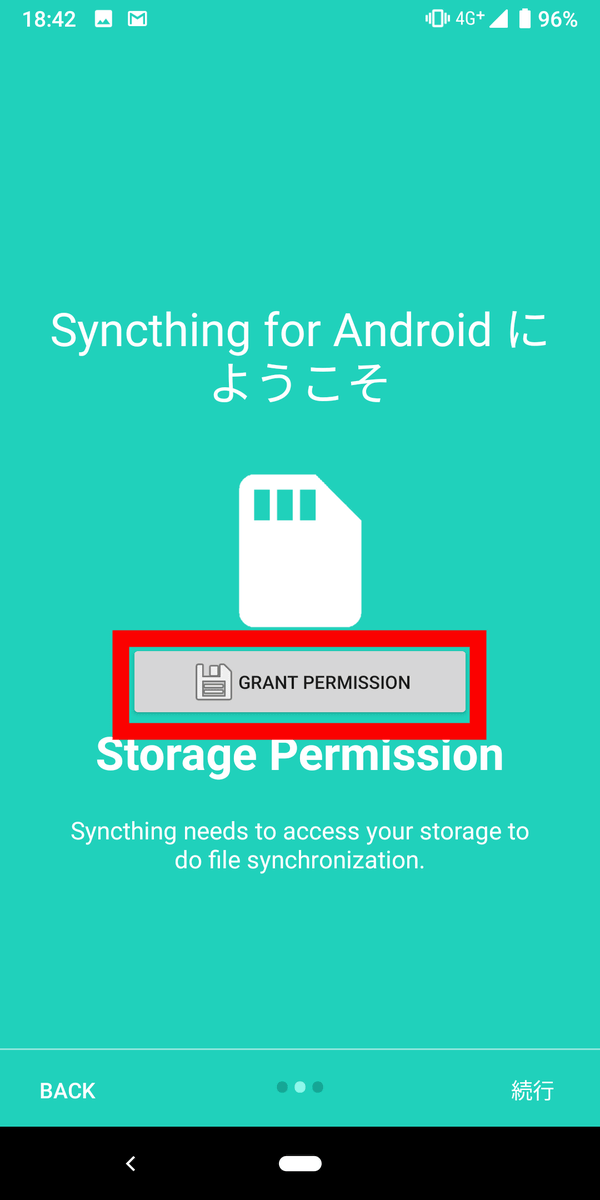
Tap "GRANT PERMISSION" to give the user access rights to files on Android device.
Select "Allow".

Now that Syncthing will be able to access the files on Android device, tap "Continue".
Tap 'GRANT PERMISSION'.
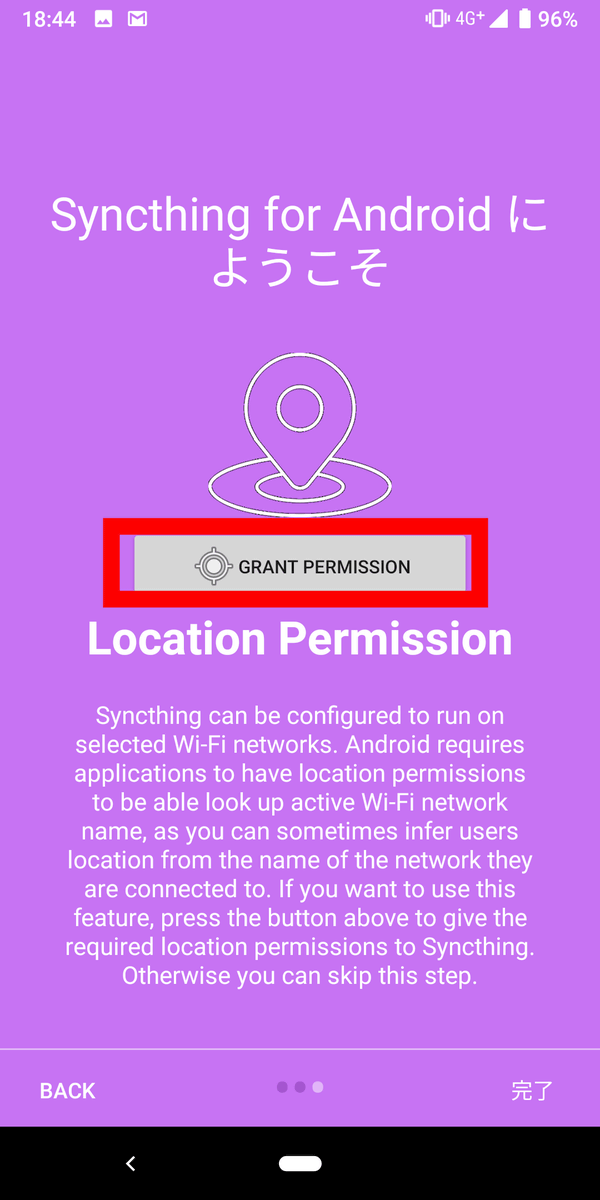
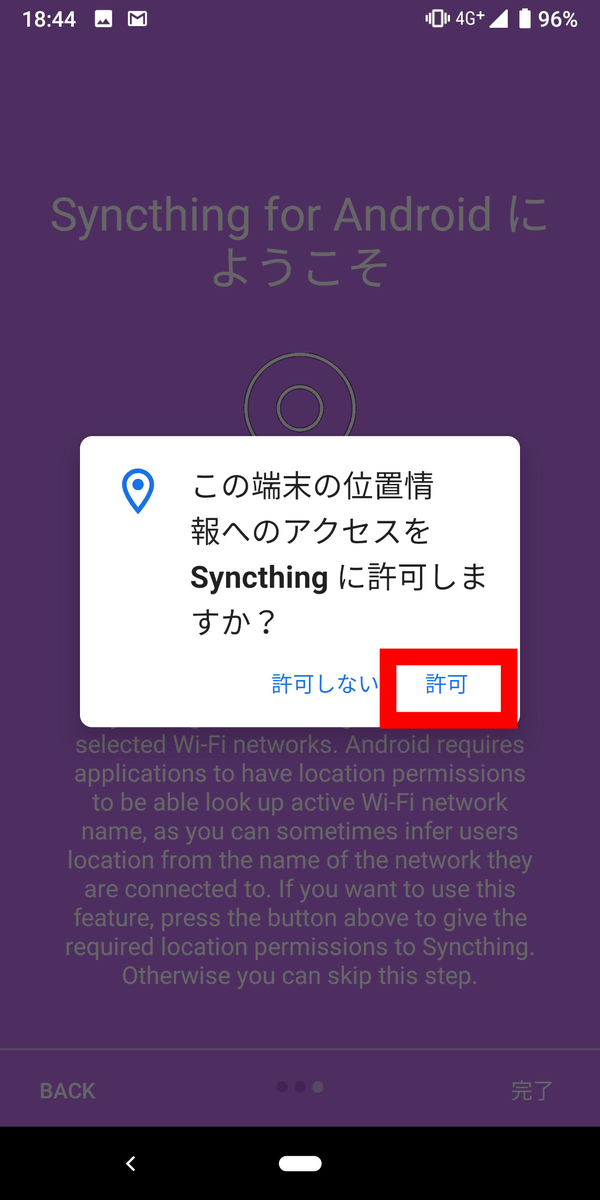
In order to synchronize with Syncthing "only when connecting to a specific Wi-Fi", access to Syncthing's location information is required, so tap "permission" this time.
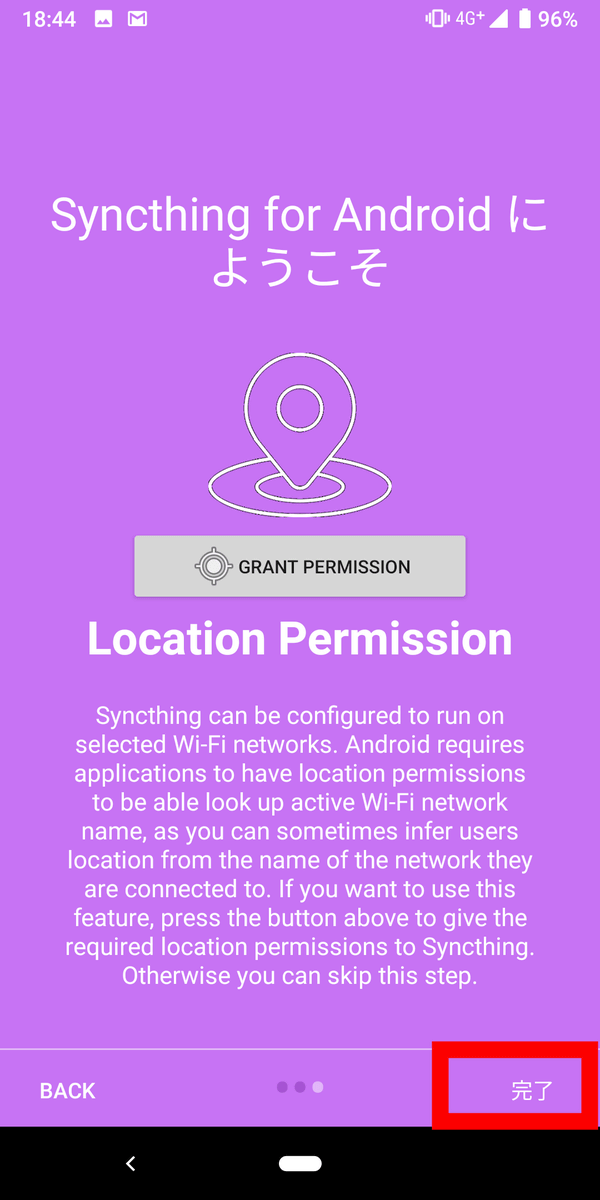
Tap "Done". This completes the initial setting.
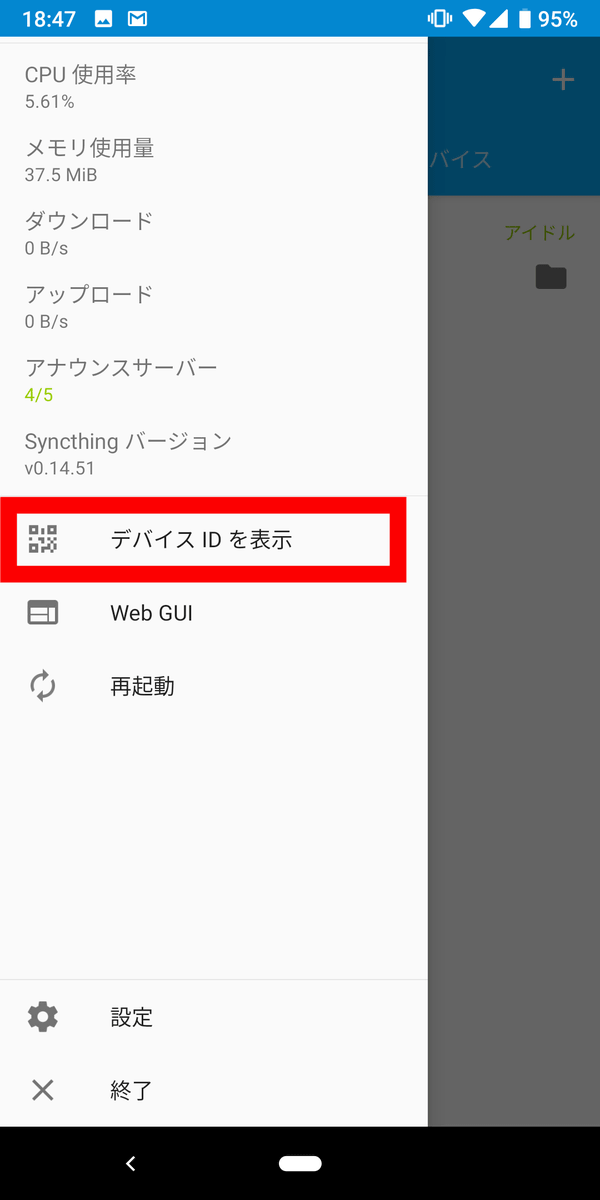
The home screen of Syncthing for Android is like this. Tap the display on the menu bar on the top left.

Tap "Display Device ID".
Since the device ID is displayed ......
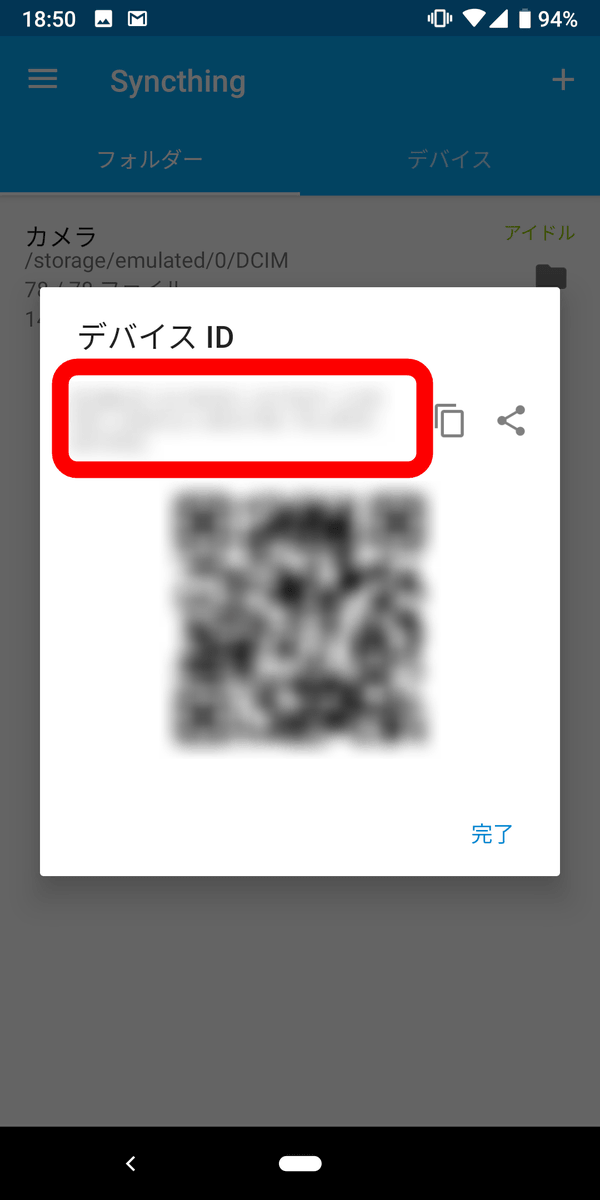
Click "Add a connected device" on the PC you want to synchronize.
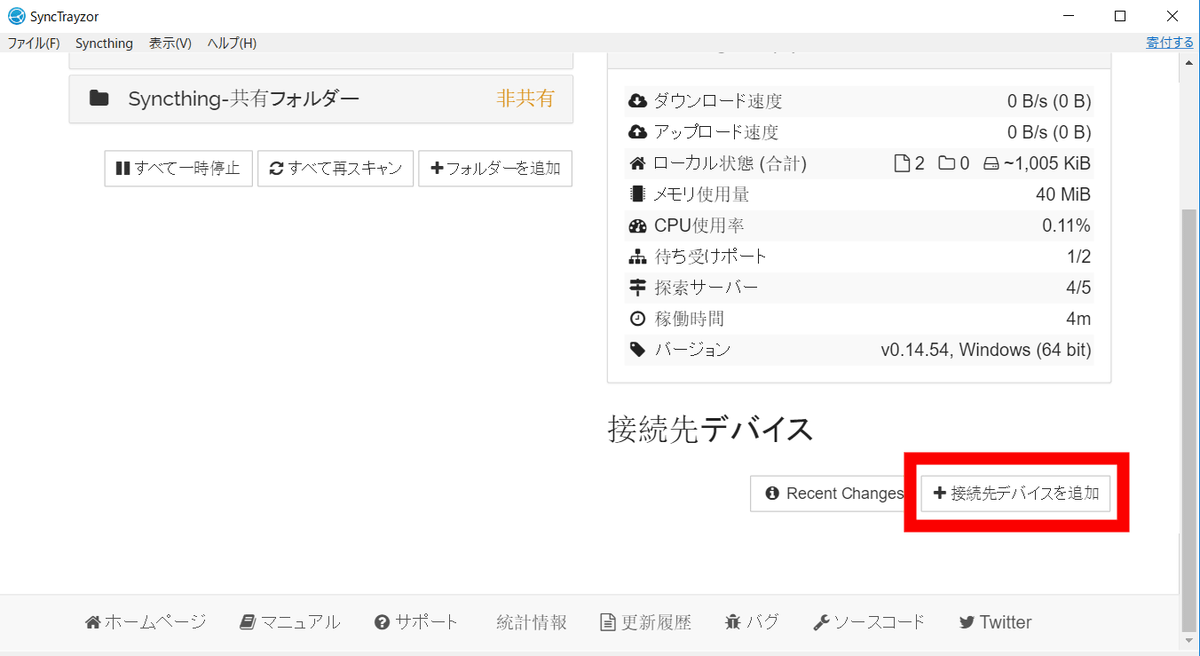
Enter "Device ID" "Device Name" and select "Save".

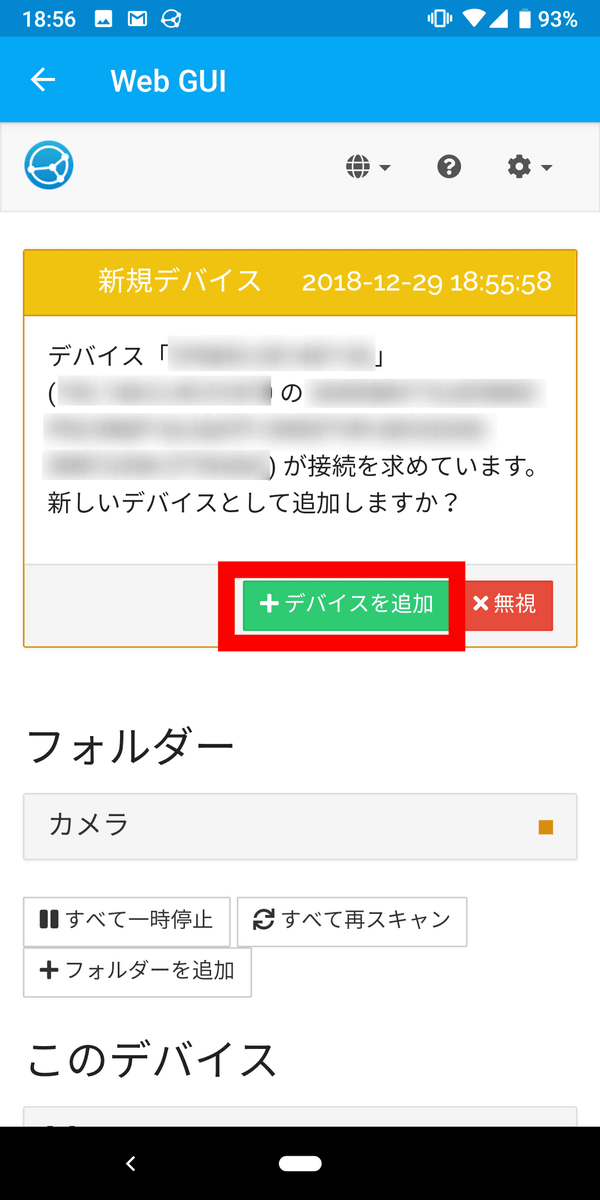
From the menu bar of the Syncthing application on the Android terminal side, select "Web GUI".

Then you will be prompted for a connection from the PC, so select "Add device". Your PC and Android device sync setup is now complete.
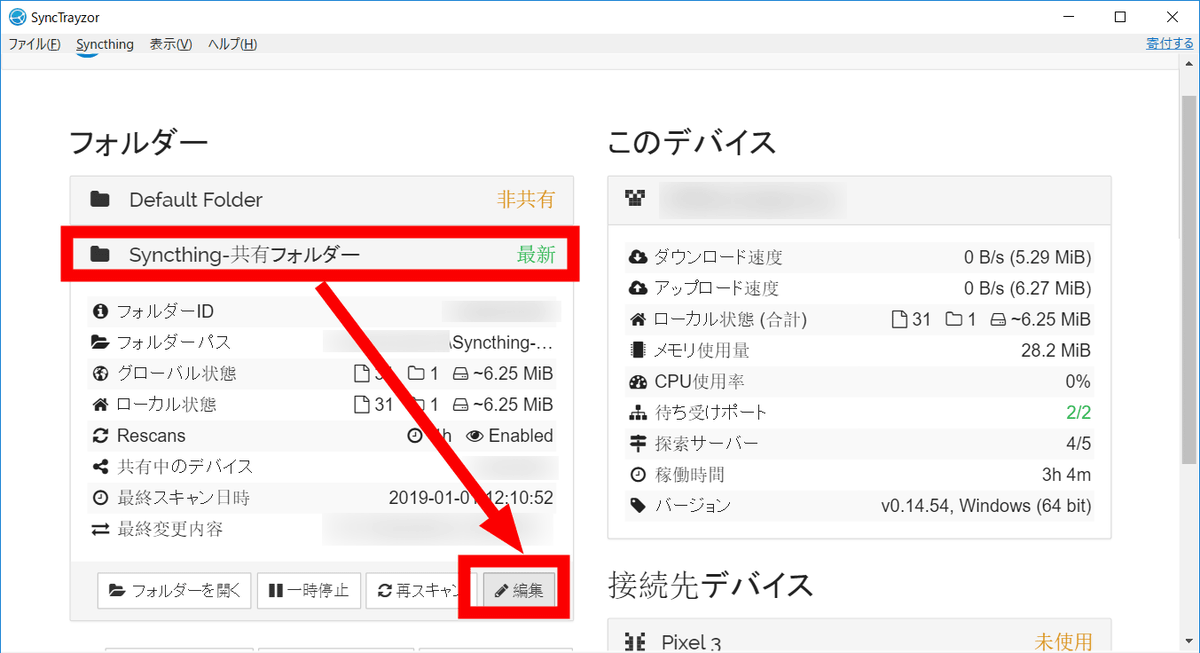
Next, select the folder to share. I will synchronize "Syncthing - Shared Folder" synchronized with two PCs with the Android terminal as well. Click "Syncthing - Shared Folder" in the "Folder" item on the PC's SyncTrayzor home screen and click "Edit".
Click the "Sharing" tab, check the Android terminal you want to share, and click "Save".

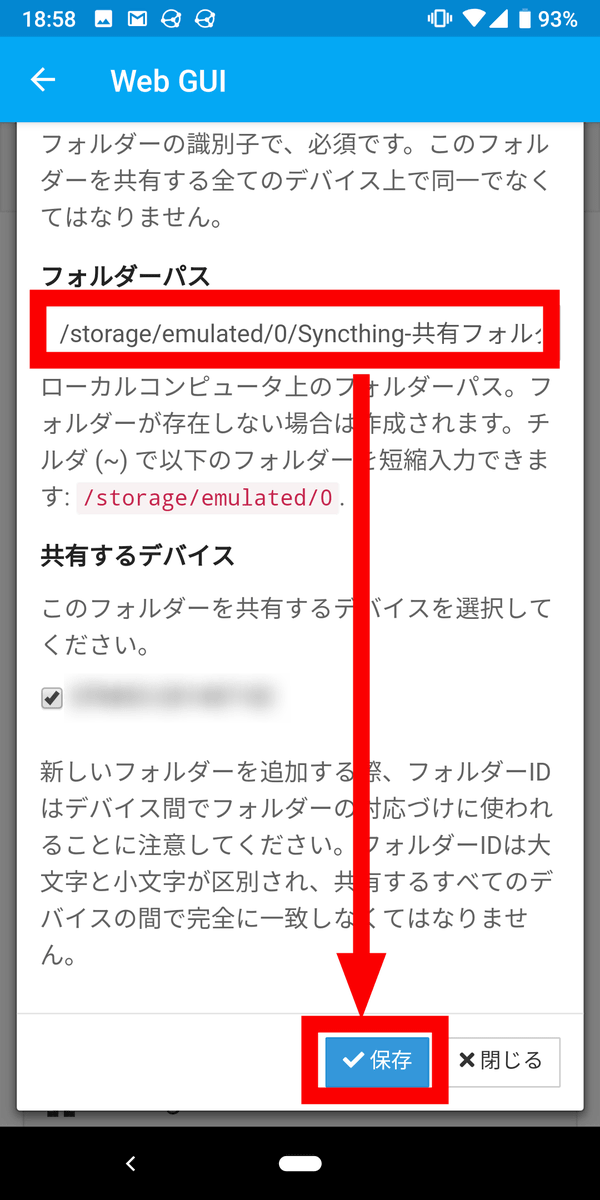
When opening the Web GUI on the Android terminal's Syncthing application side, you are asked to allow folder sharing from the PC, so tap "Add".

In the folder path, decide where to save the shared folder and tap "Save". The folder is now shared.
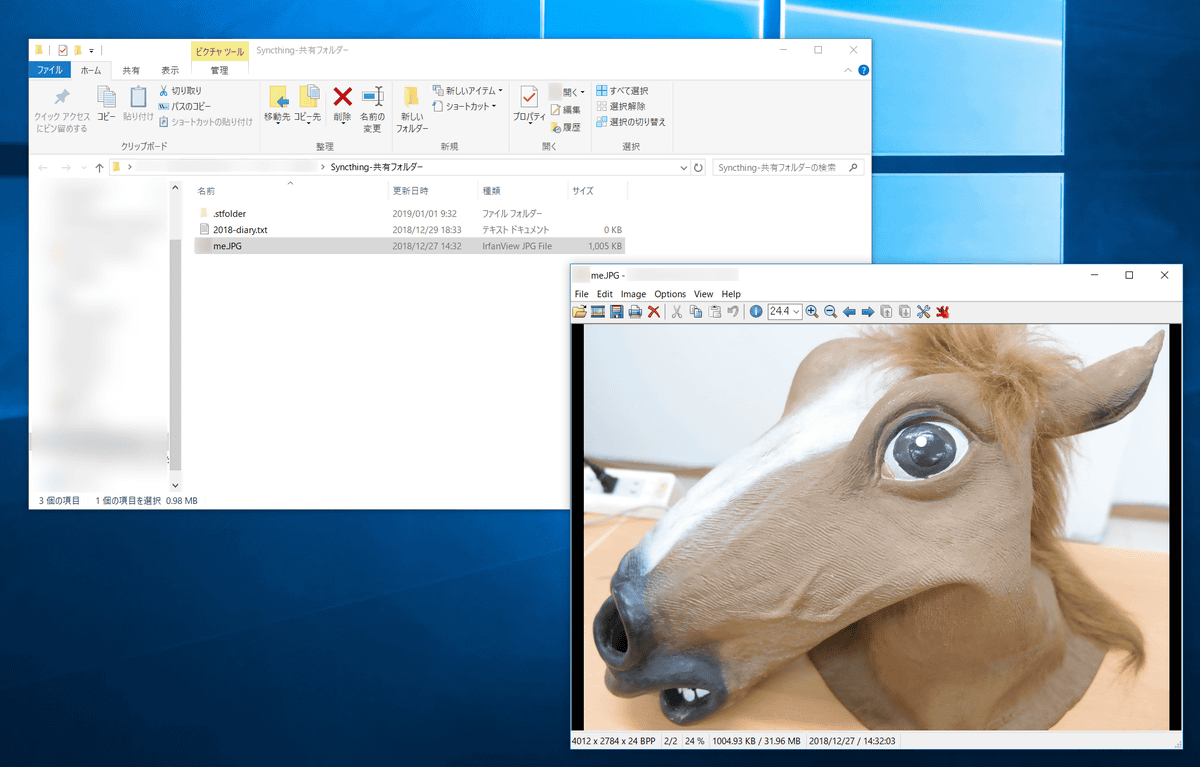
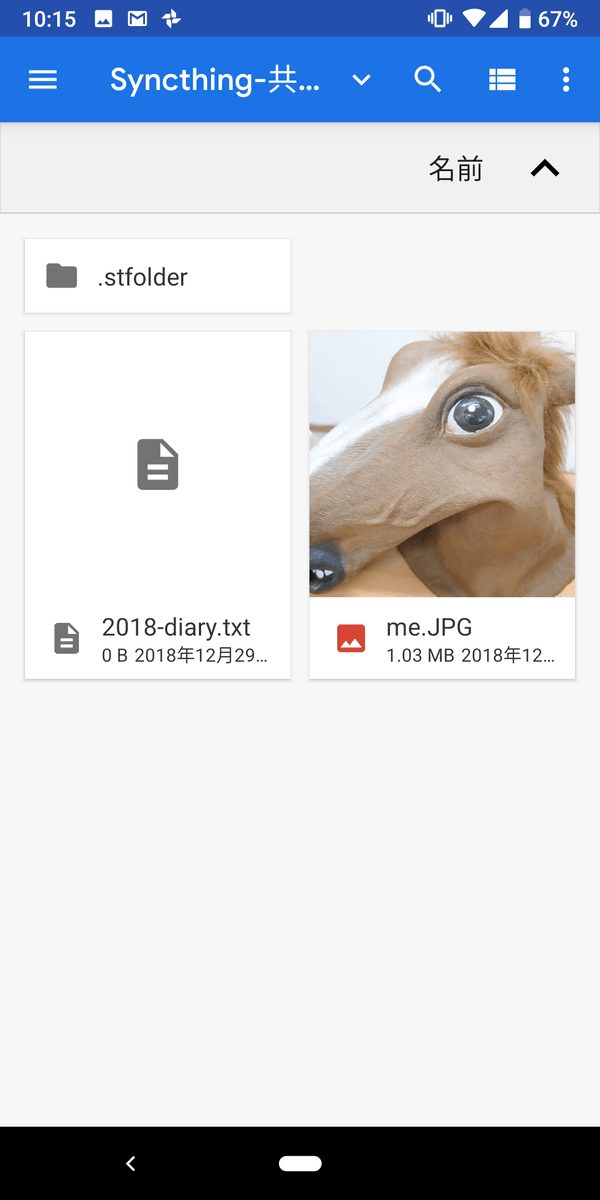
Actually confirming the folder, the file was surely shared. This makes it easy to share files with Android terminal and PC.
In fact, when using it, since the capacity of files that can be synchronized is unlimited, it is attractive that you can easily share files. In order to synchronize, it is necessary to connect the PC to the Internet and start Syncthing, but as long as the storage capacity of the terminal does not become full, it will be easy to share files and it will be useful for emergency backup etc. is.
Related Posts:

in Software, Smartphone, Review, Posted by darkhorse_log