I tried using a web application 'Pearltrees' which can manage web pages, photos, files etc on-line for free and share it with others
Pearltrees is able to store various contents such as web pages that you are interested in, on the Internet, local files, documents in PDF format, etc. in one page in the form of "icons". It's a web application that you can create your own collection and share with others, so I actually tried using it.
Pearltrees
https://www.pearltrees.com/
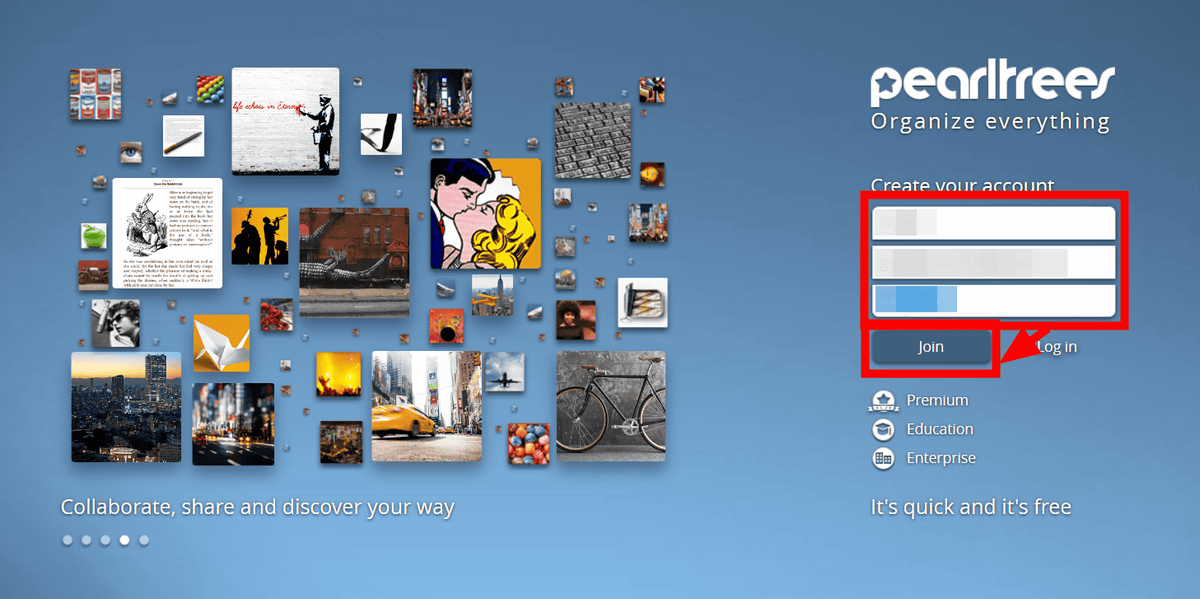
First, access the official page from the above URL and create an account. Twitter account · Facebook account · You can also log in with your Google Account, but this time we will create an account. Enter account name, e-mail address, password and click "join".
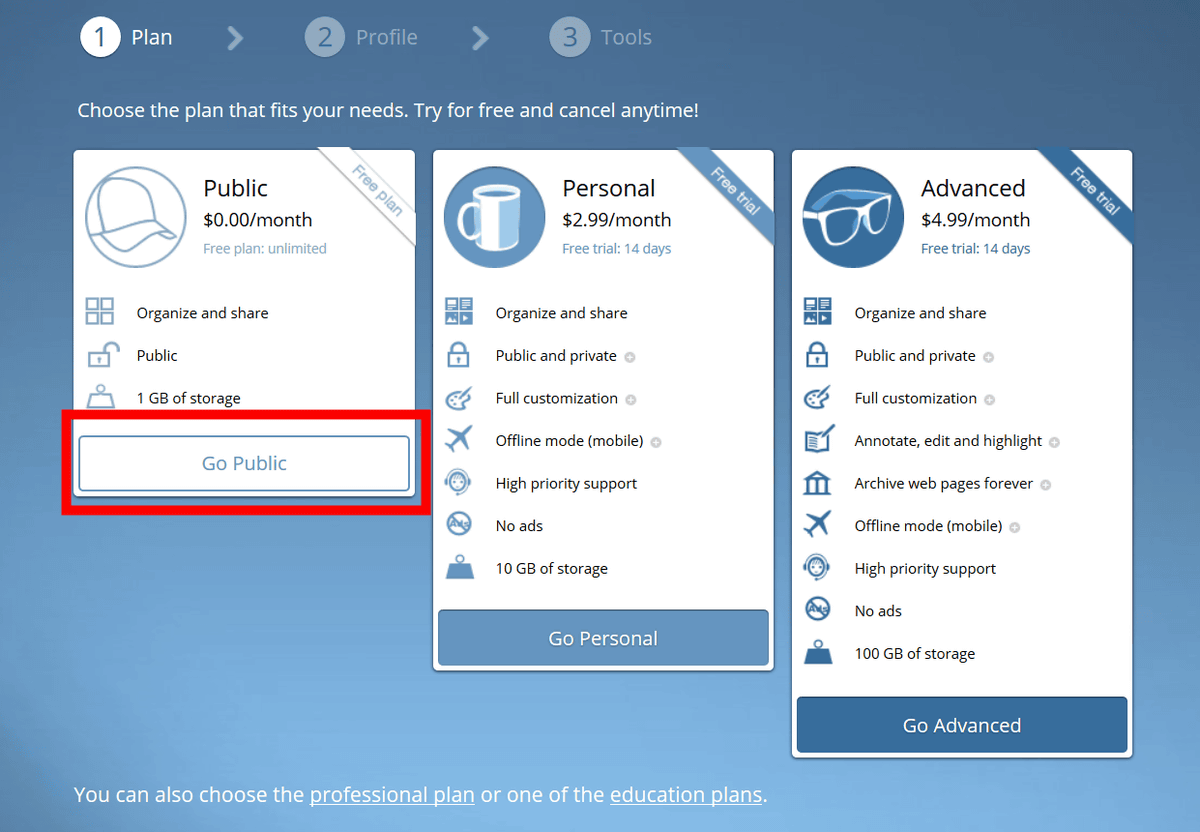
You can select the account plan from "Public" (free), "Personal" ($ 2.99 per month, about 331 yen per month), "Advanced" ($ 4.99 per month, about 553 yen per month). In the "Personal" plan, it is possible to create private pages, add offline mode in mobile applications, delete advertisements, etc. In the "Advanced" plan, in addition to the function of "Personal" plan, likes saved web pages It adds a highlight function to change the color of the line, a function to add notes to the saved web page, and a function of the web fishery . For this time we decided to use the free version of "Public" and click "Go Public".
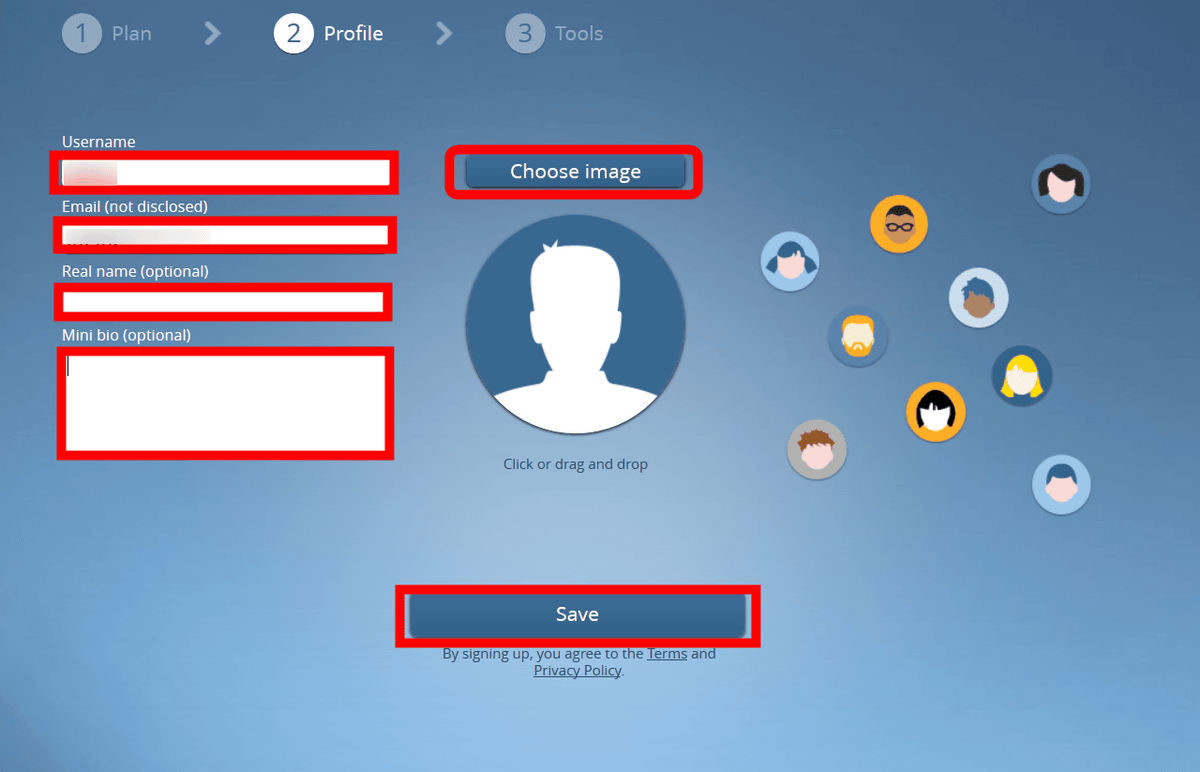
Enter your account information. Your user name - Enter an e-mail address, real name, self-profile that will not be published to other users. Your real name and your profile are optional and do not have to be entered. You can upload the account icon image from "Choose image" but you can use it, but I decided not to use icon picture this time. Press "Save" at the bottom.
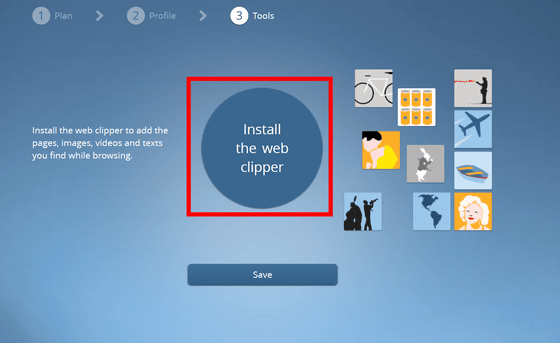
To use Pearltrees's extension "Web clipper" for Firefox · Chrome, click "Install the web clipper" in the middle. You can use Pearltrees without using Web clipper, but I will install it because it is convenient. In Firefox, when you click "Install the web clipper" ......
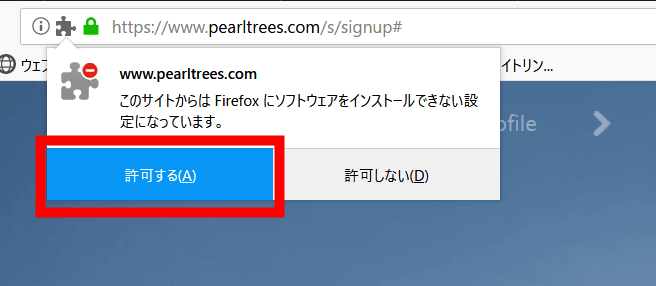
Since such a pop-up appears under the address bar, click "Allow".
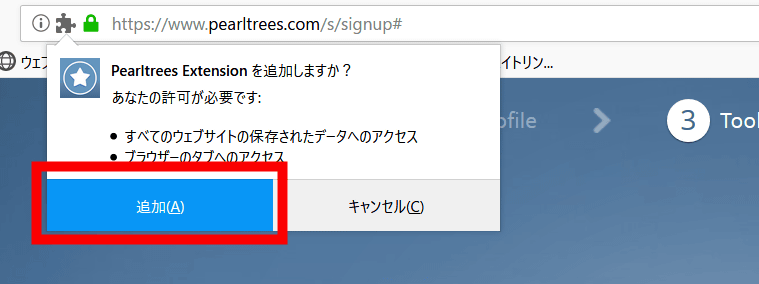
When you click "Add", web clipper is installed in Firefox.
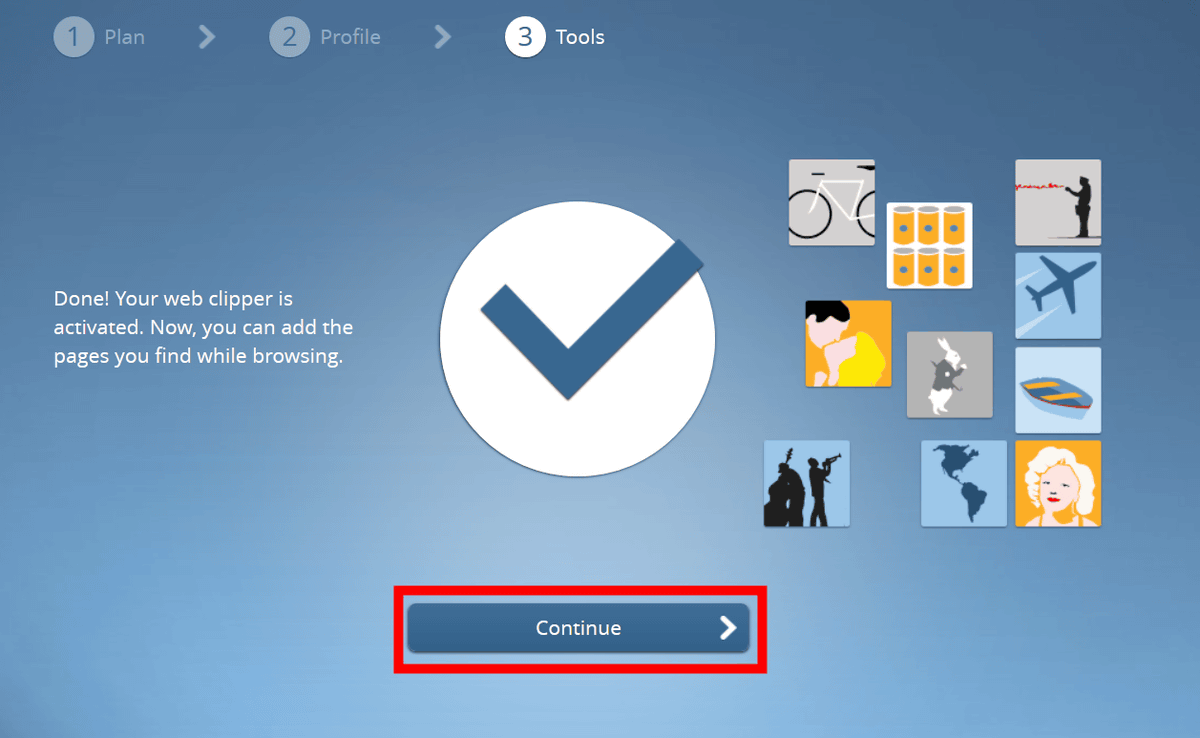
When the Web clipper is installed on the browser you are using, a large check mark will be displayed on the screen, so click "Continue".
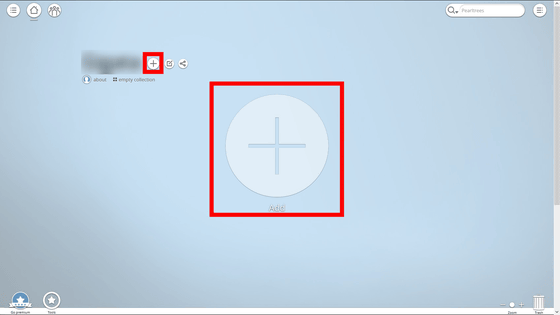
The Pearltrees home screen looks like this. First, I will add a web page. Click the big + button at the center or the + icon to the right of your user name ... ...
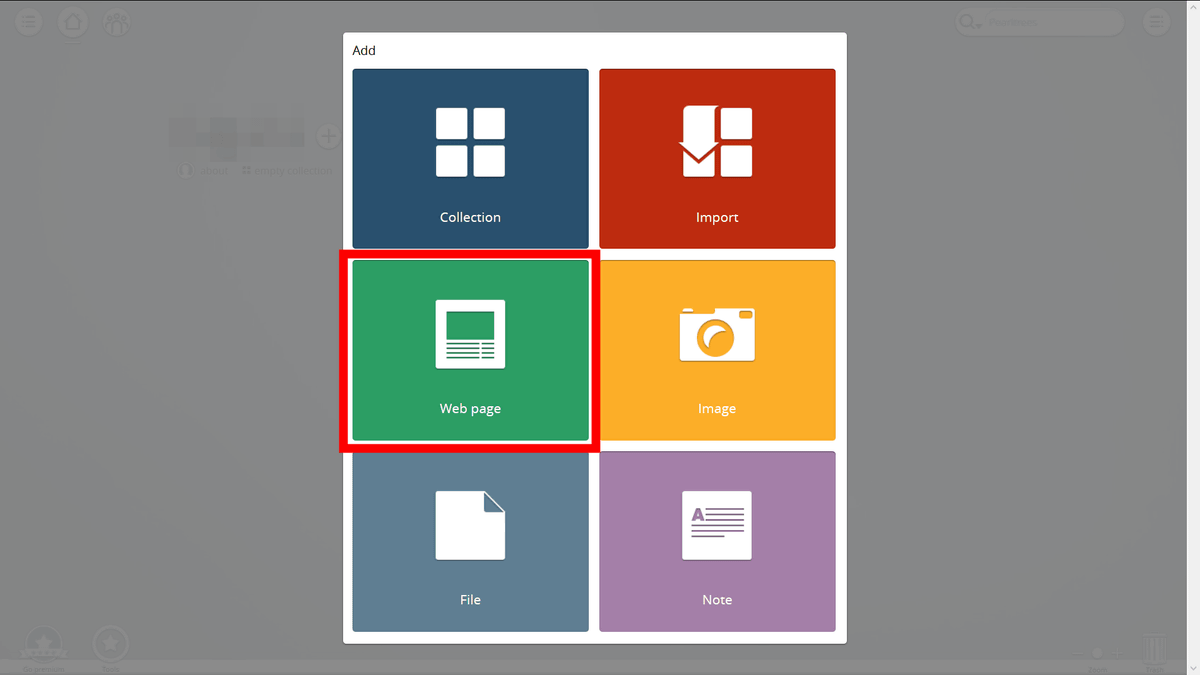
Click "Web page".
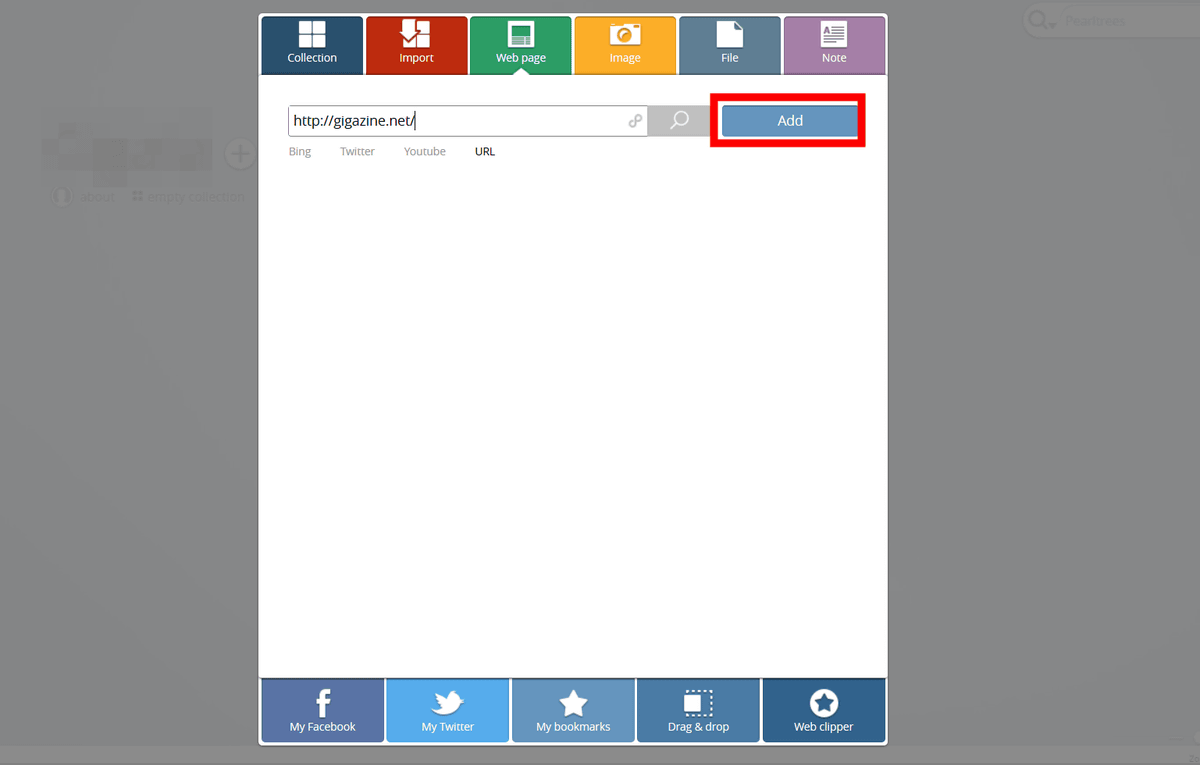
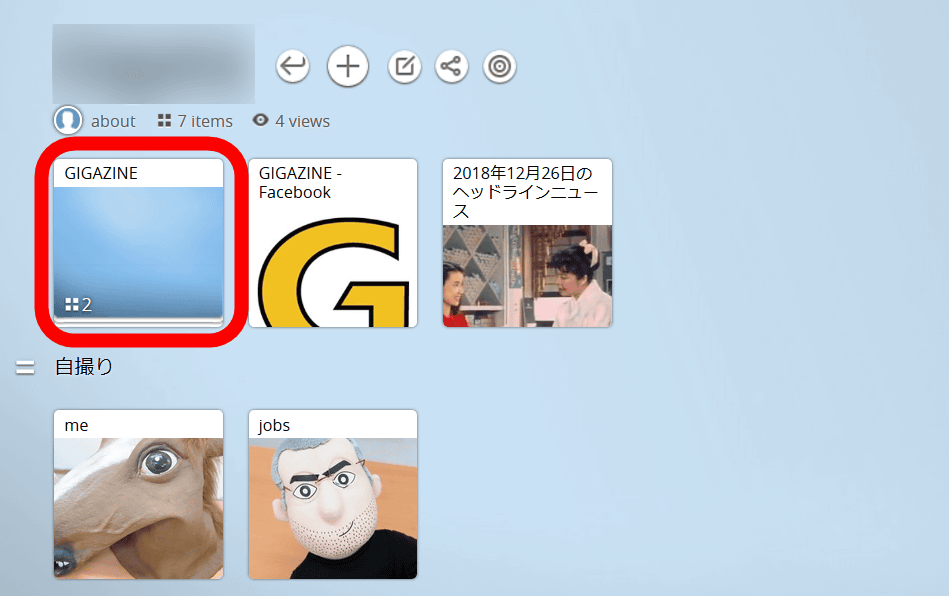
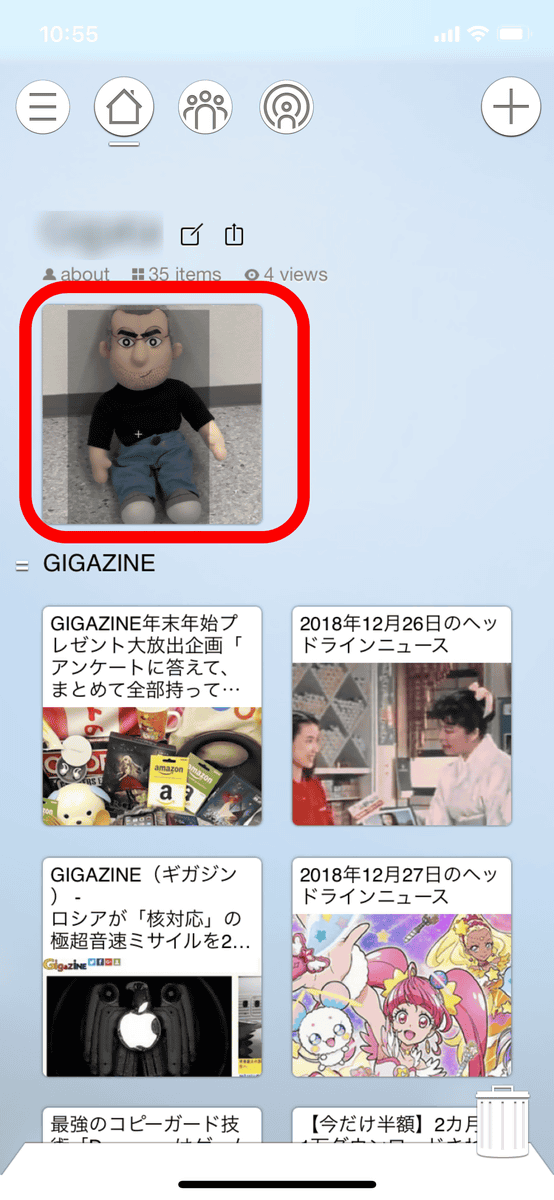
Then the entry field is displayed. In order to register the top page of GIGAZINE to Pearltrees this time, enter "http://gigazine.net/" and click "Add".
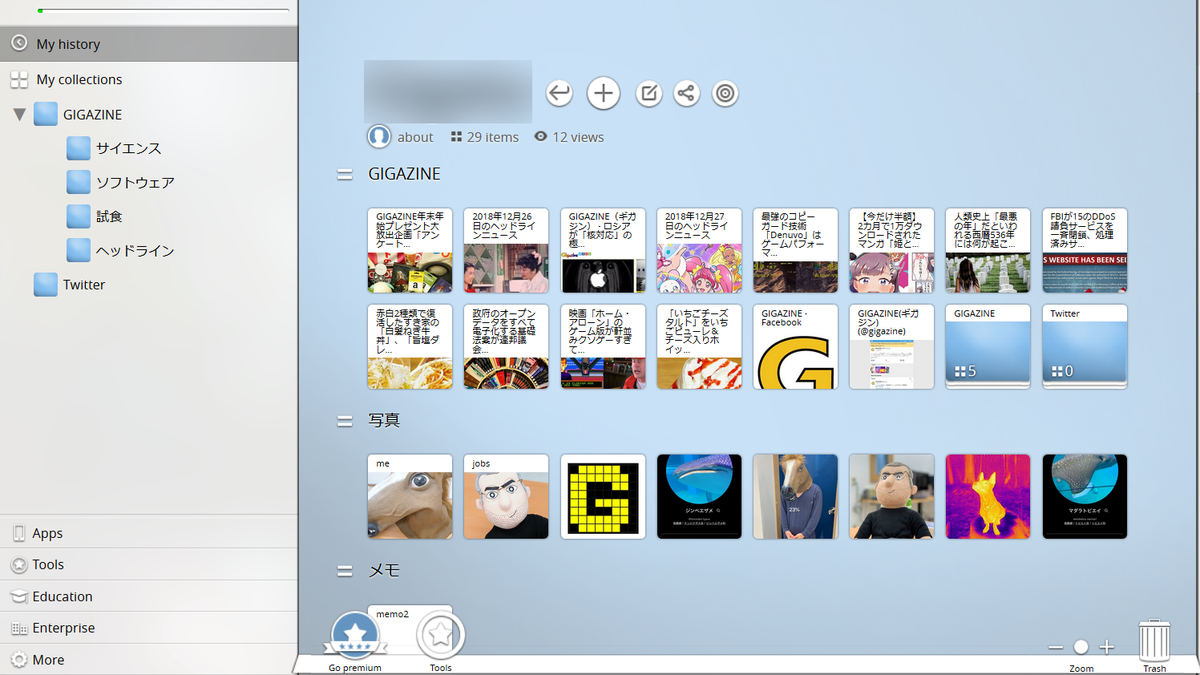
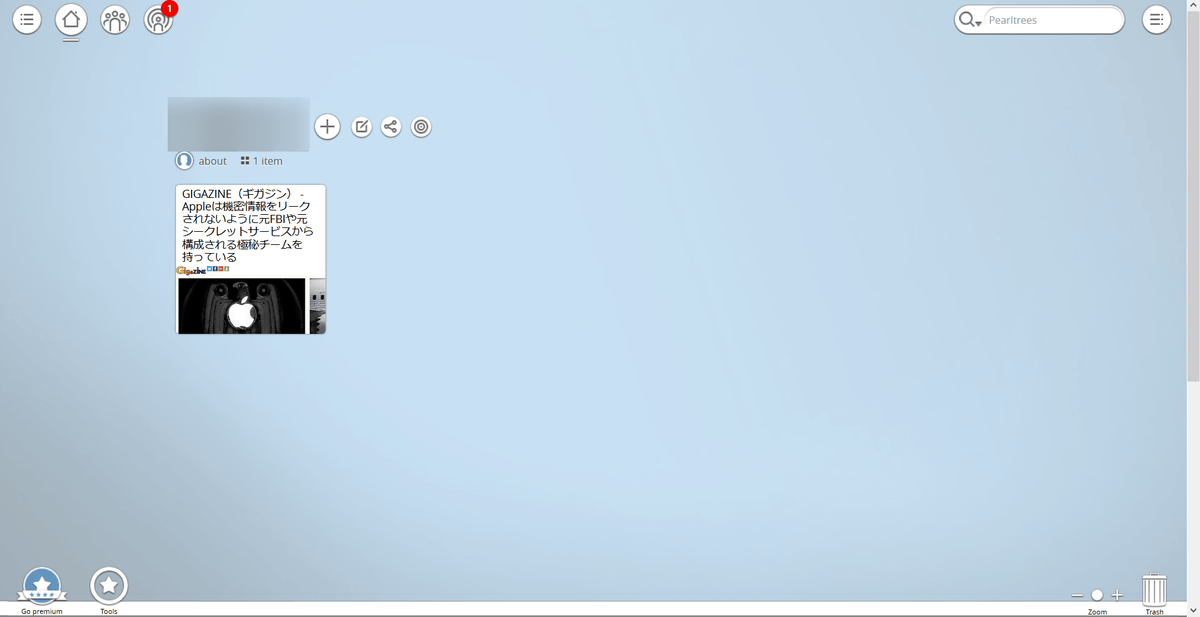
Then the top page of GIGAZINE was registered on the Pearltrees home screen with a rectangular thumbnail. In Pearltrees, by placing web pages, images, files, etc. on Pearltrees like this, I make my own favorite memos. Also, with a free "Public" user, links, images, files and the like saved on Pearltrees can be selected only in "Public mode" which others can view freely, and a paid It is necessary to register to "Personal" plan or "Advanced" plan.
If it is said that "It is troublesome to input each URL ...", if you install Web clipper, you can register links, images, etc. in crispy Pearltrees. Right click on the link and select "Add to Pearltrees" ......
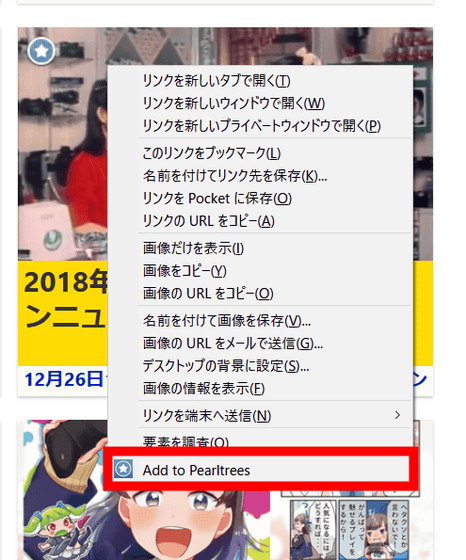
A window for specifying the save destination on Pearltrees appears, so double clicking on the save destination completes saving.
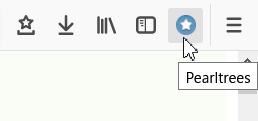
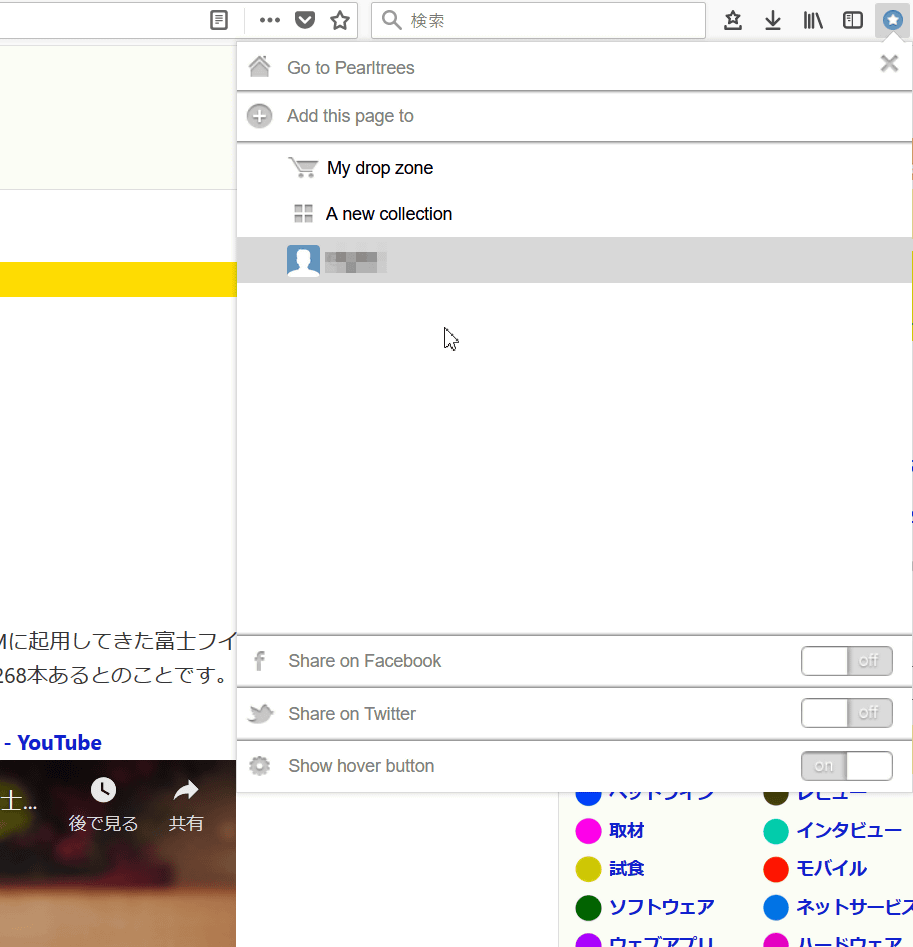
To save the webpage you are currently viewing, if you have introduced the web clipper, the icon of Pearltrees with a star mark appears on a light blue circle on the extended tab of the browser, so clicking ......
Simply select the save location and the link will be saved on Pearltrees. Also, in order to save a web page like a web fishery, it is necessary to register to the "Advanced" plan.
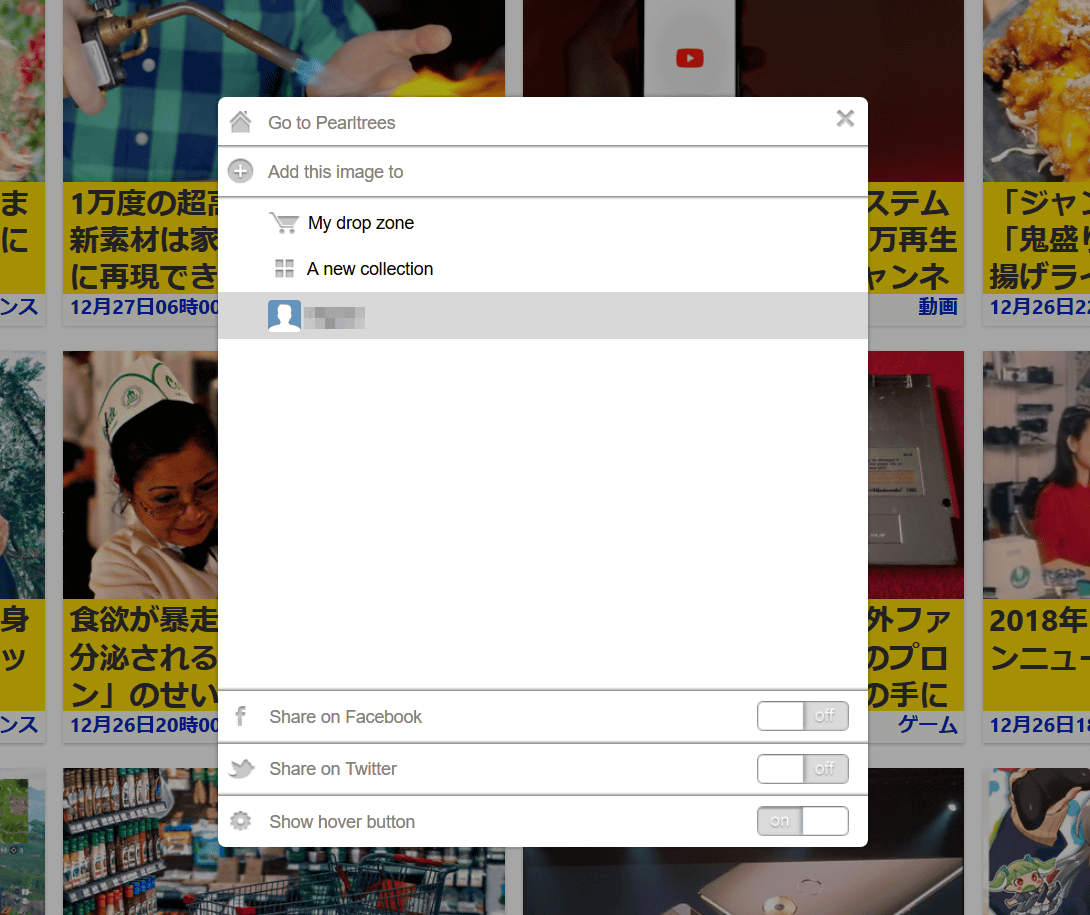
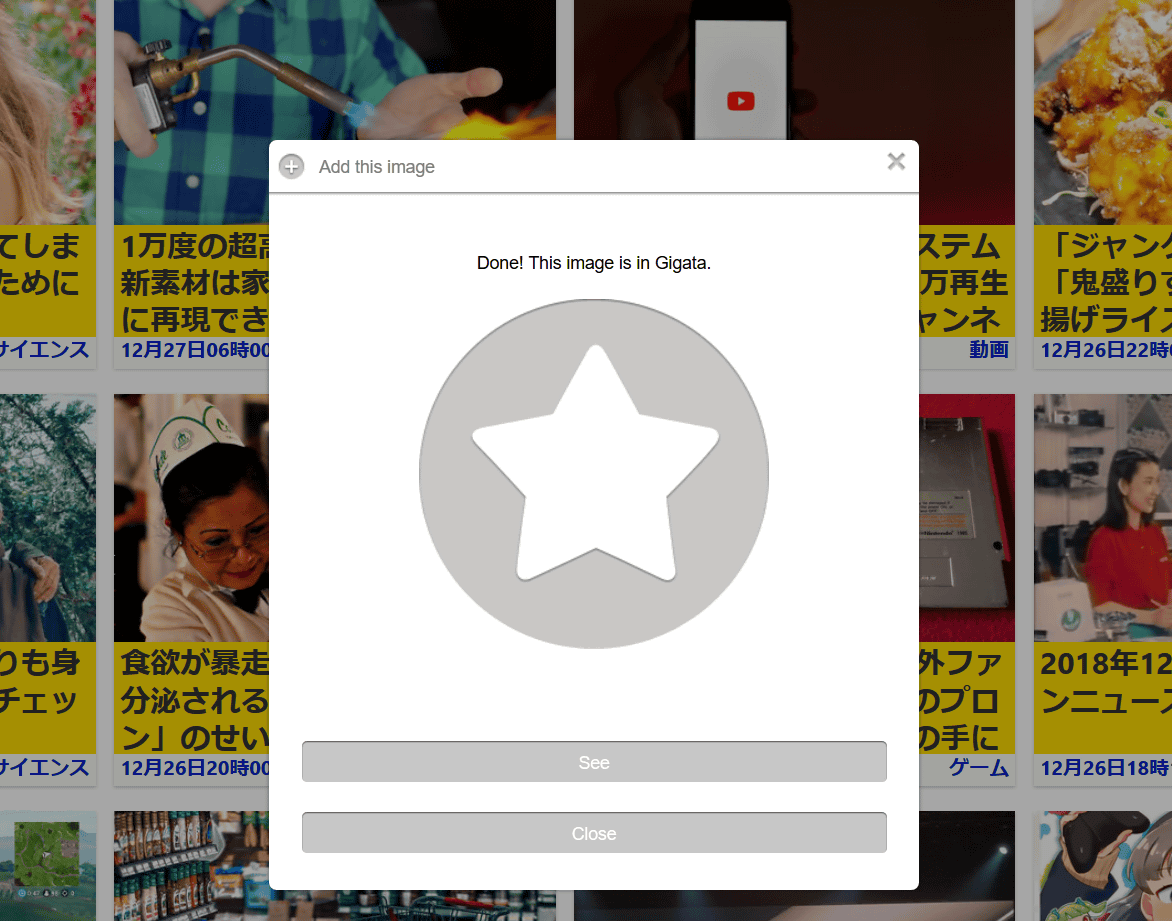
When you want to save the image, when you move the cursor to the image, the icon of the star mark is displayed at the upper left of the image, so clicking the icon ......

I could easily save it by specifying the save destination.
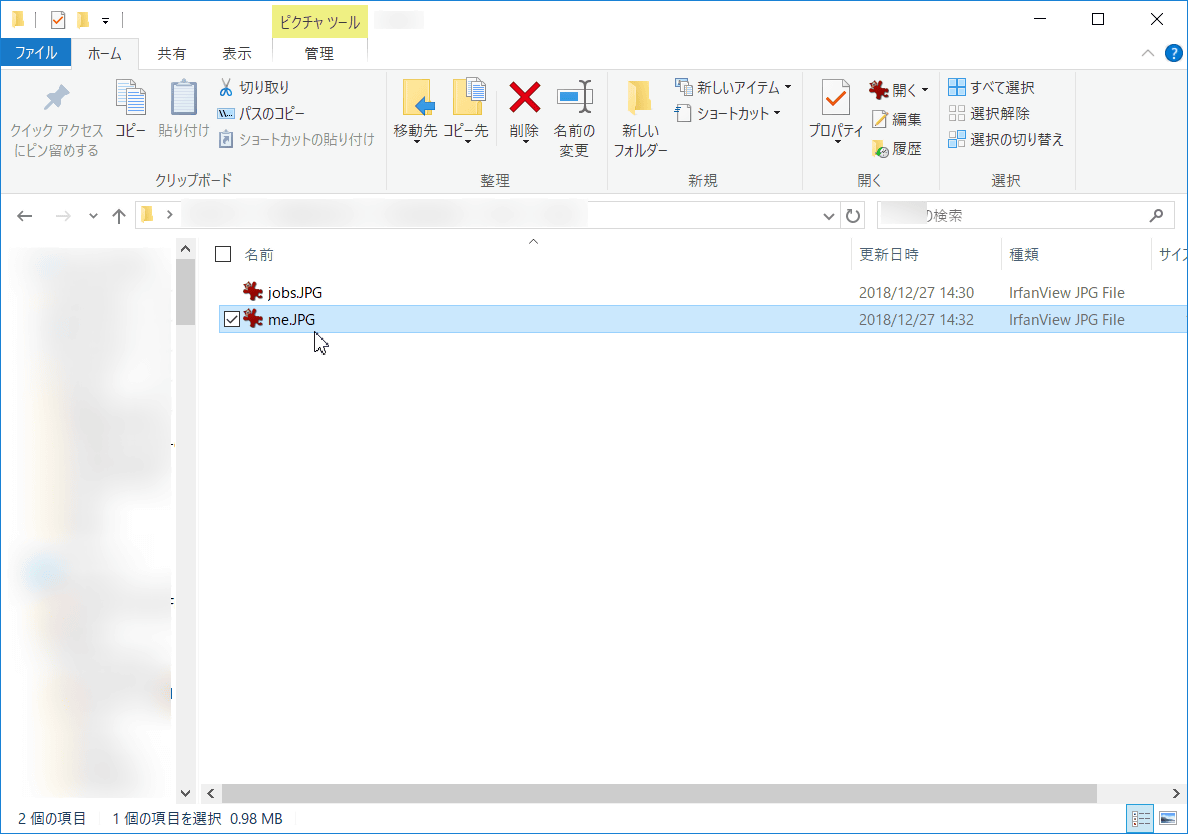
To display your local file on Pearltrees, you can register by simply dragging and dropping the file onto Pearltrees. ...... However, for free "Public" users, files registered on Pearltrees can be viewed by others, so be careful.
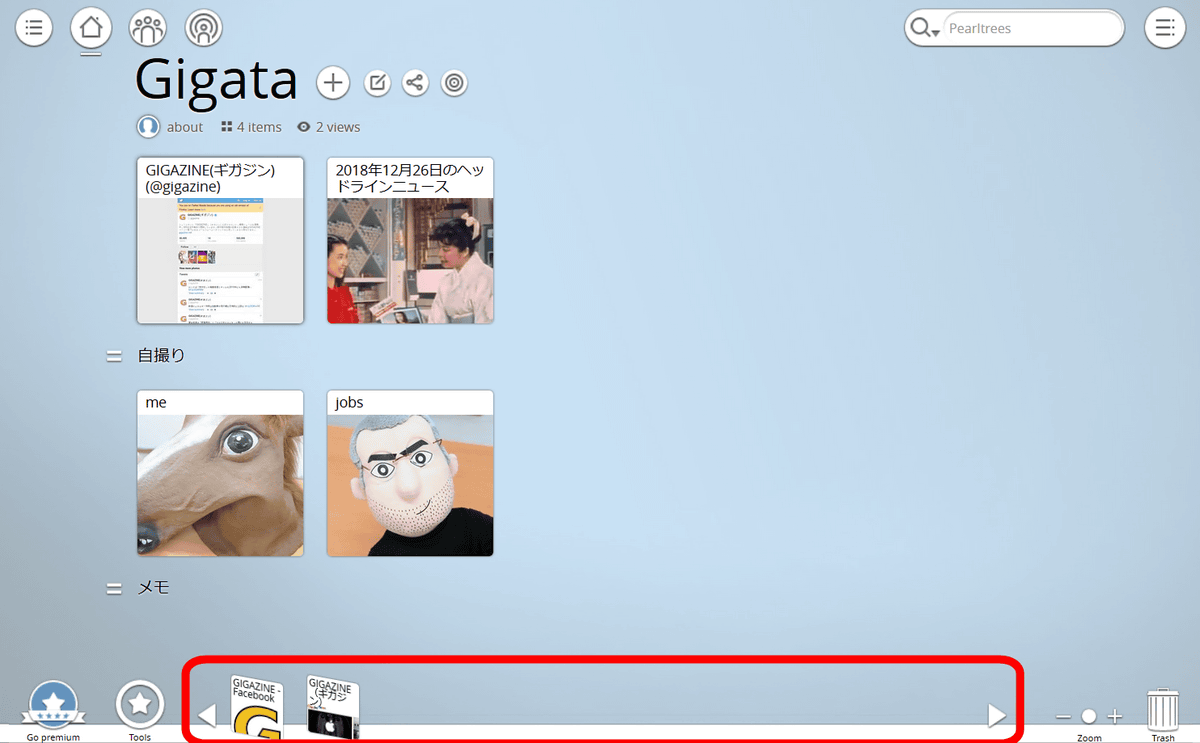
"When you register too many things, Pearltrees got scurpy ... ..." when you click the "Edit" icon ... ...
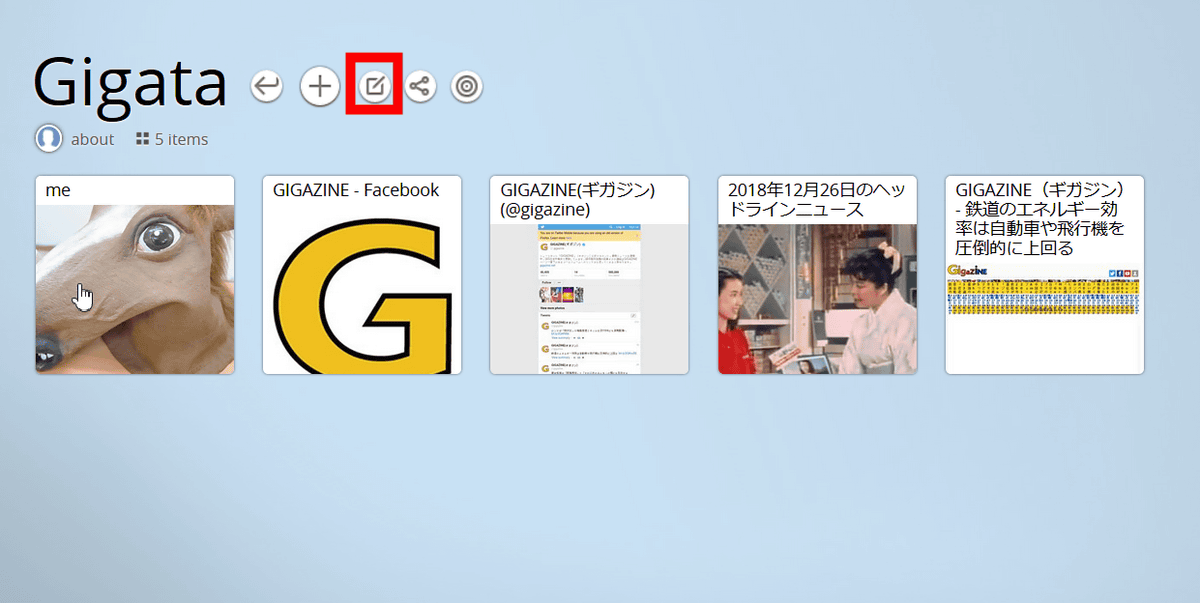
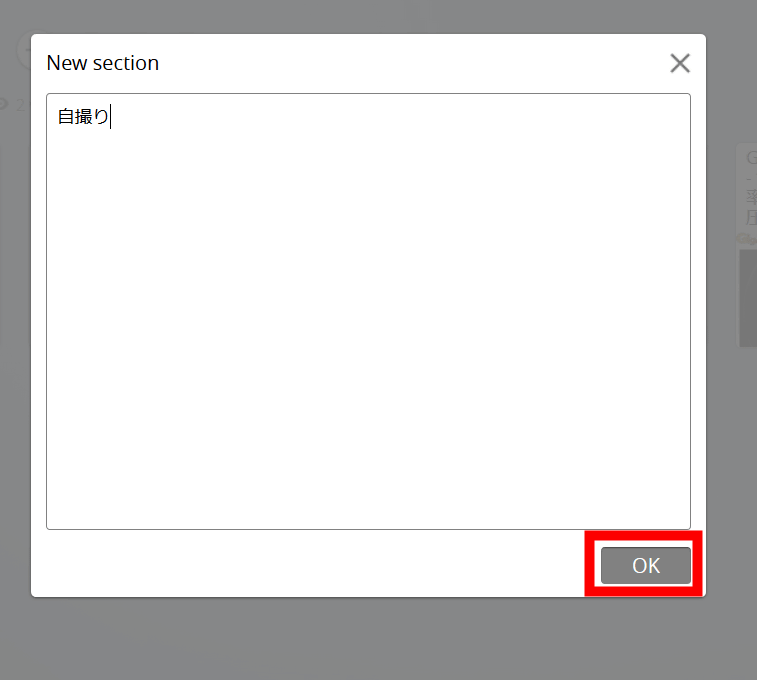
Select "New section".
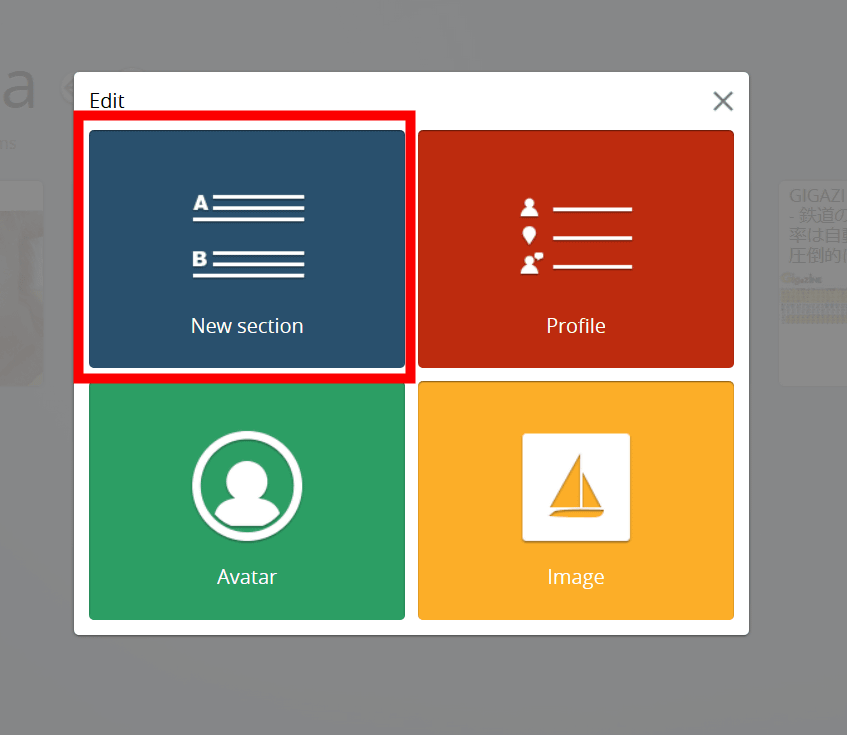
Here you can create new classification. In order to make my image easier to understand this time, I will make a division called "self-shooting". Click "OK" on the bottom right ... ...
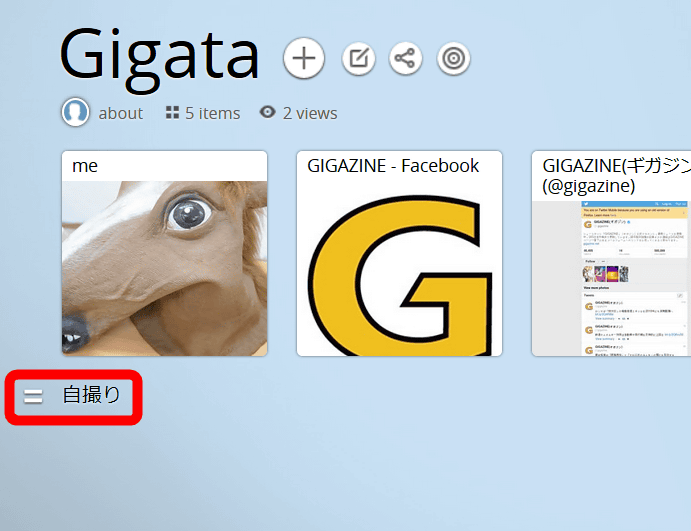
The category "Self-portrait" was displayed.
After that move any thumbnail with drag & drop ... ....
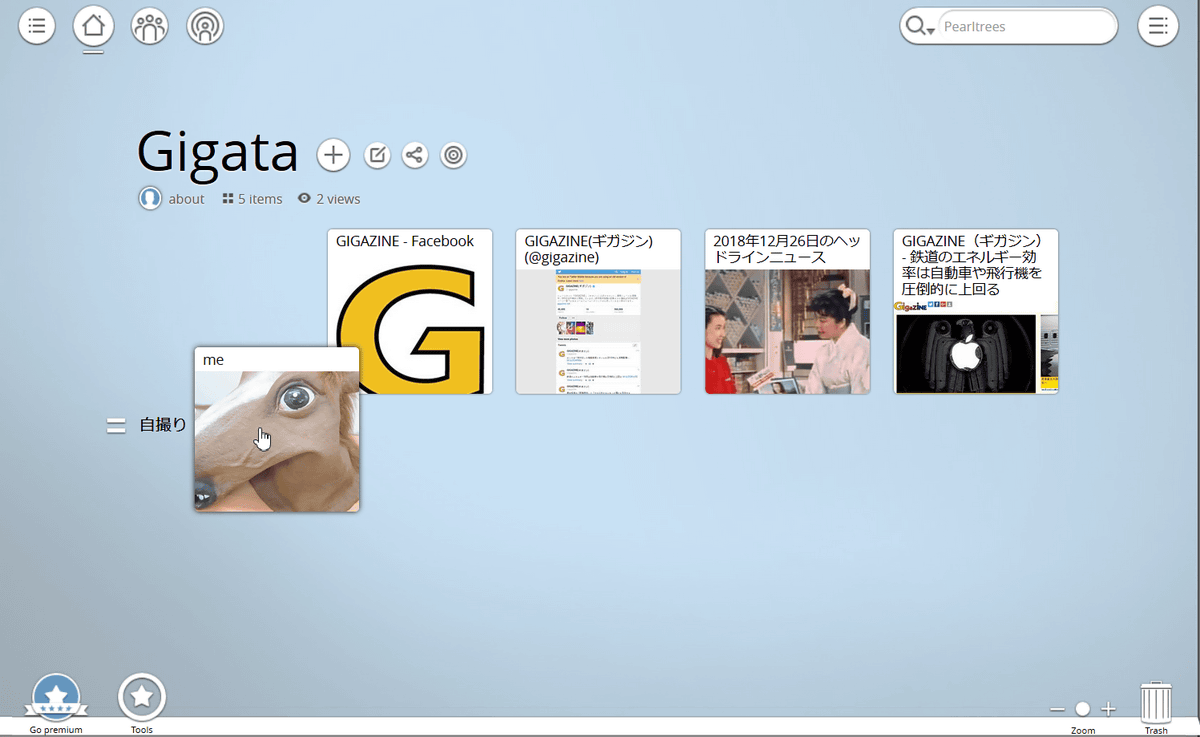
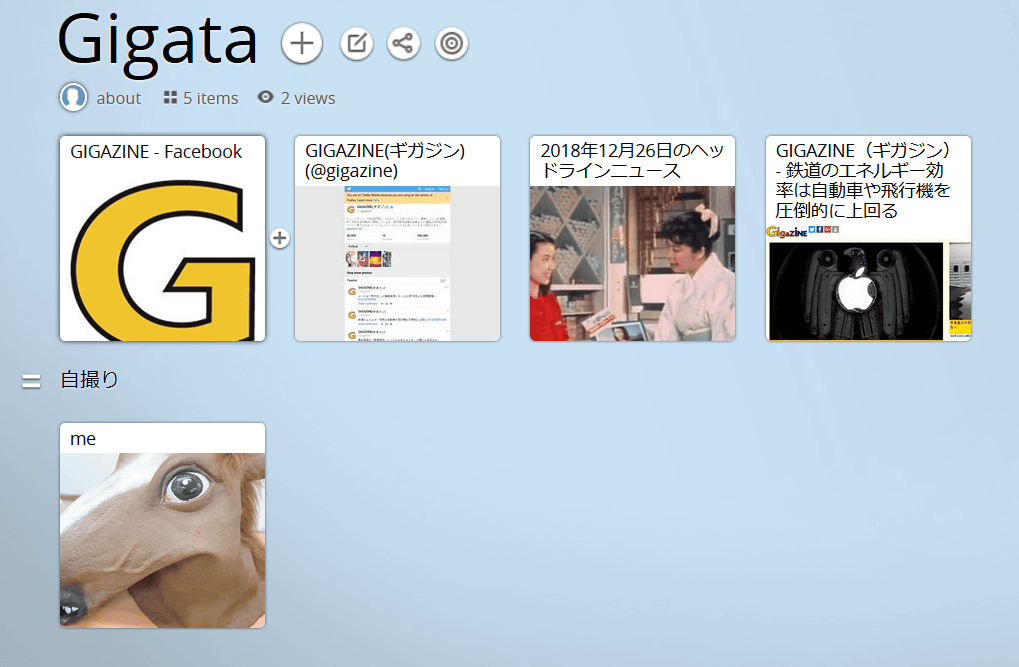
Movement is completed. This makes it easy to understand only image files.
By dragging and dropping the icon to the bottom of the screen, you can also register links and images like the task bar.
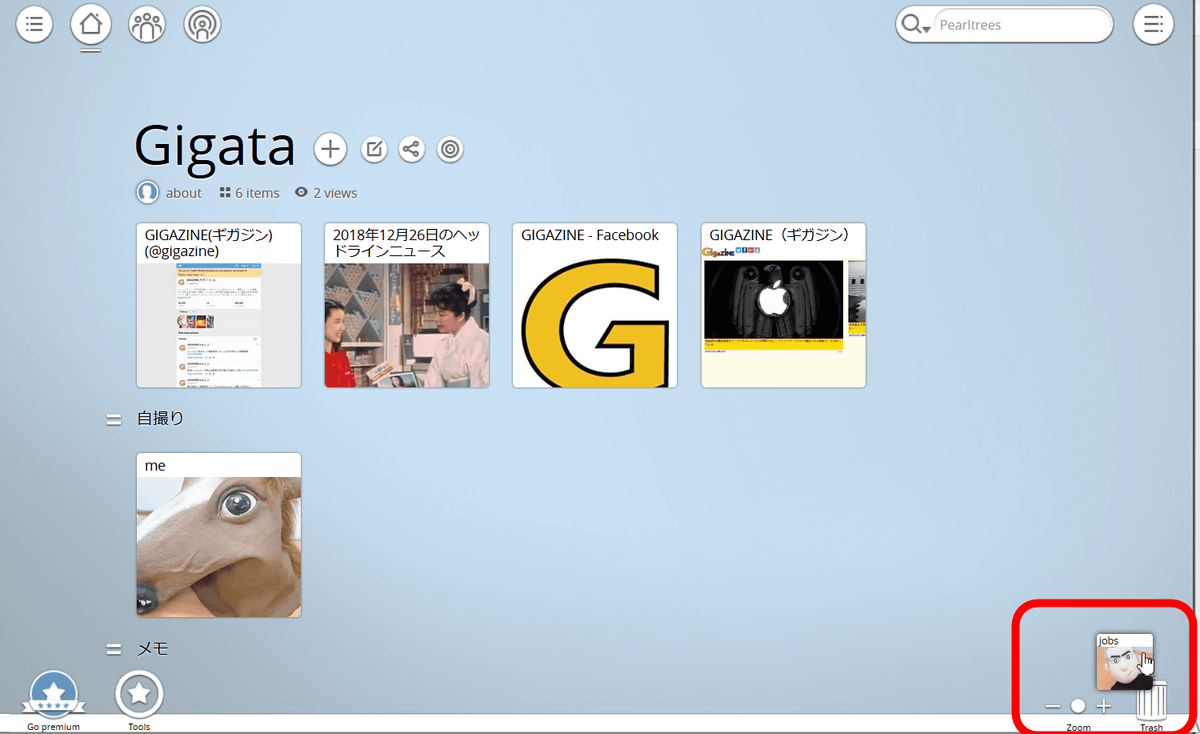
You can also delete unnecessary links and images by dragging and dropping them to the trash can icon on the bottom right of Pearltrees.
You can also classify by using "Collection" function like folders. Click the + icon to the right of your user name.

Select "Collection".
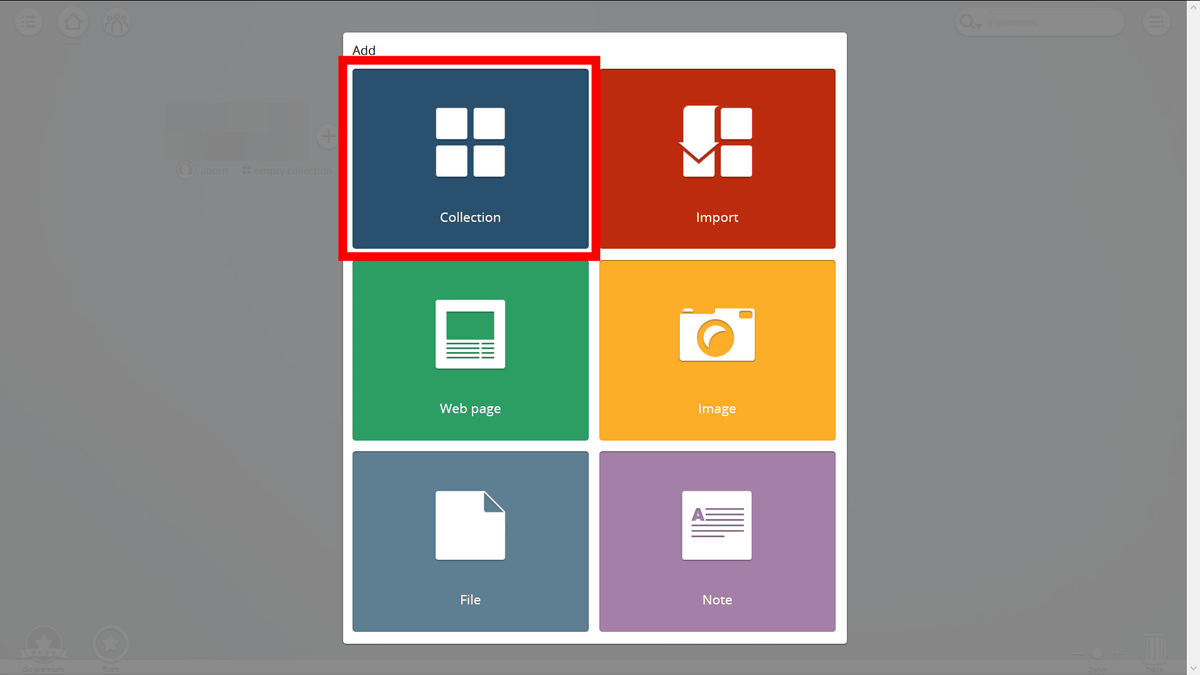
Enter the folder name and folder information, and click "Add".
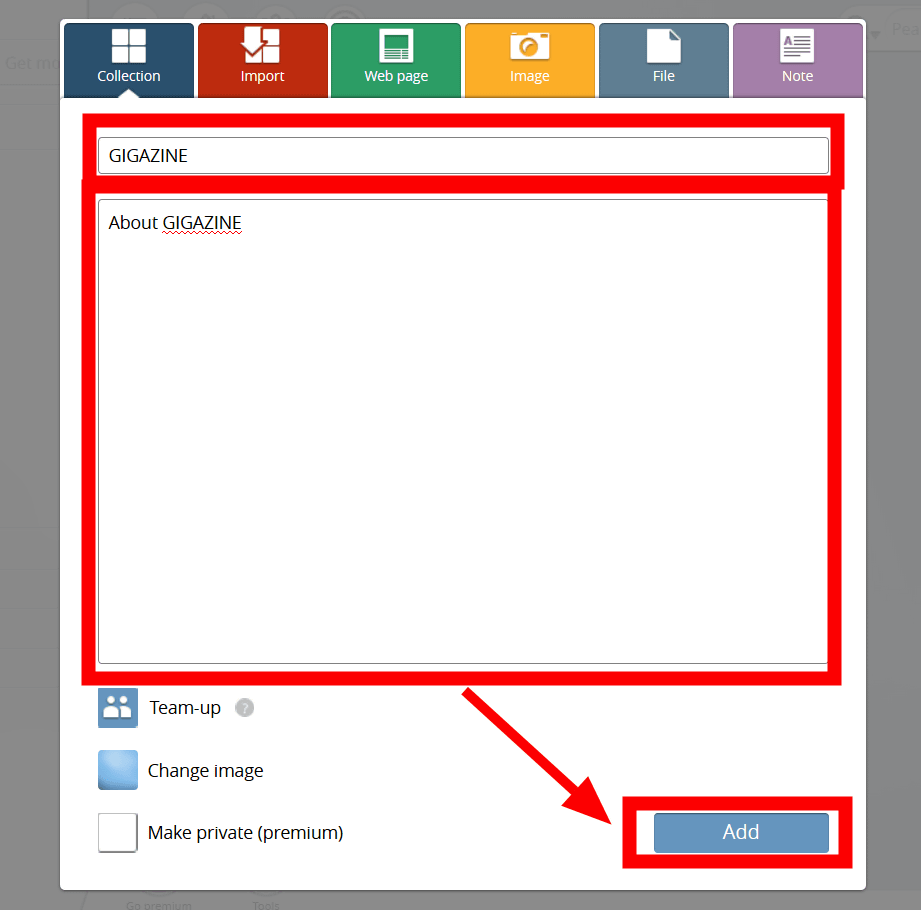
Then you can "Collect" multiple icons into one. Collection can be used like folders, after that drag & drop put links and images into the collection, classification work will be easier as well.
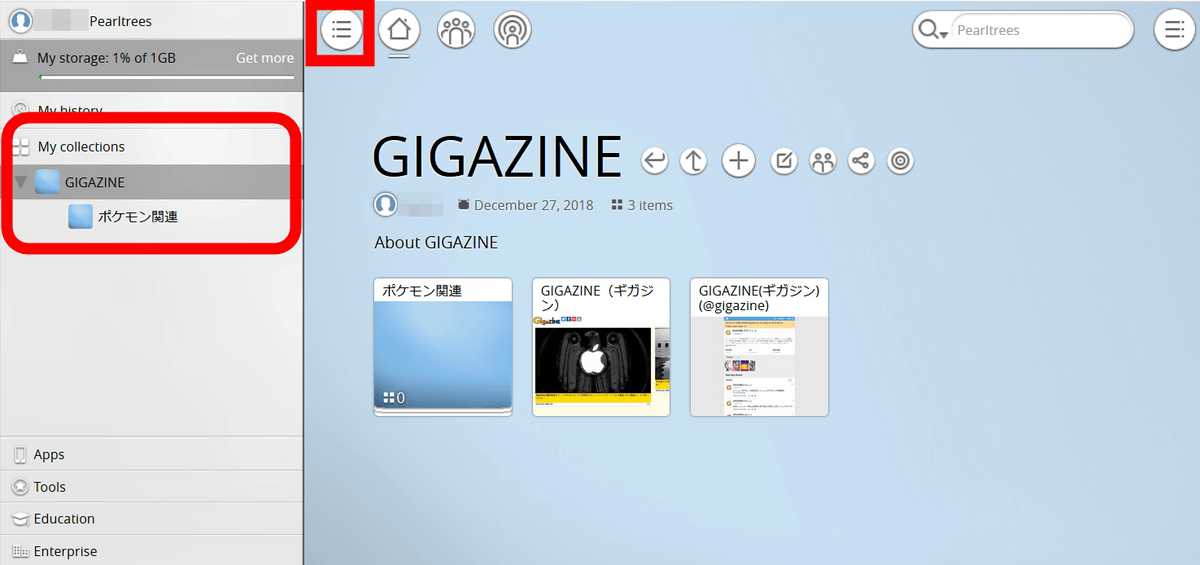
Also, open the left sidebar from the "My account" icon at the top left, you can see at a glance what your collection tree is like.
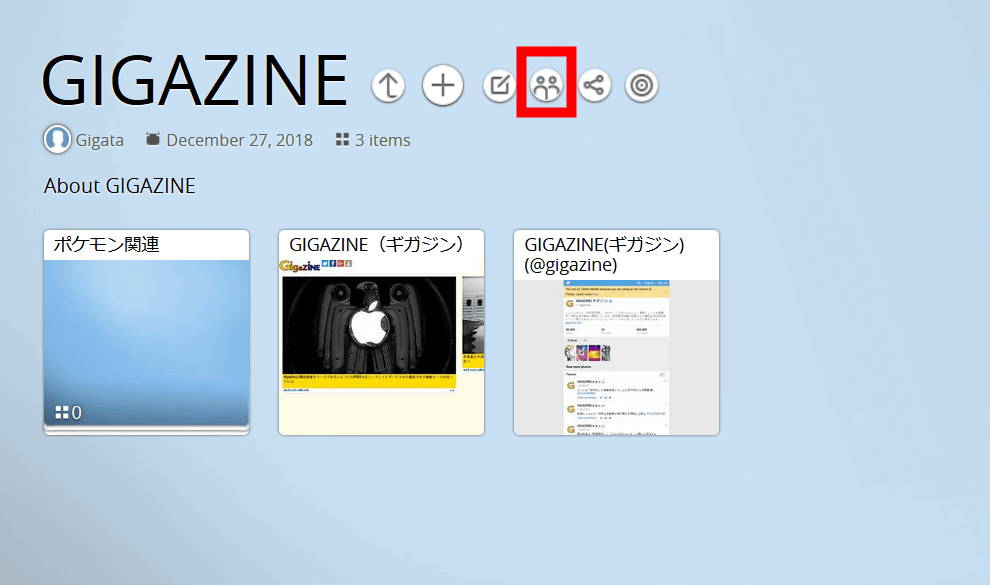
It is also possible to share a specific Collection with others. Click "Team-up" icon.
Click "Add members".
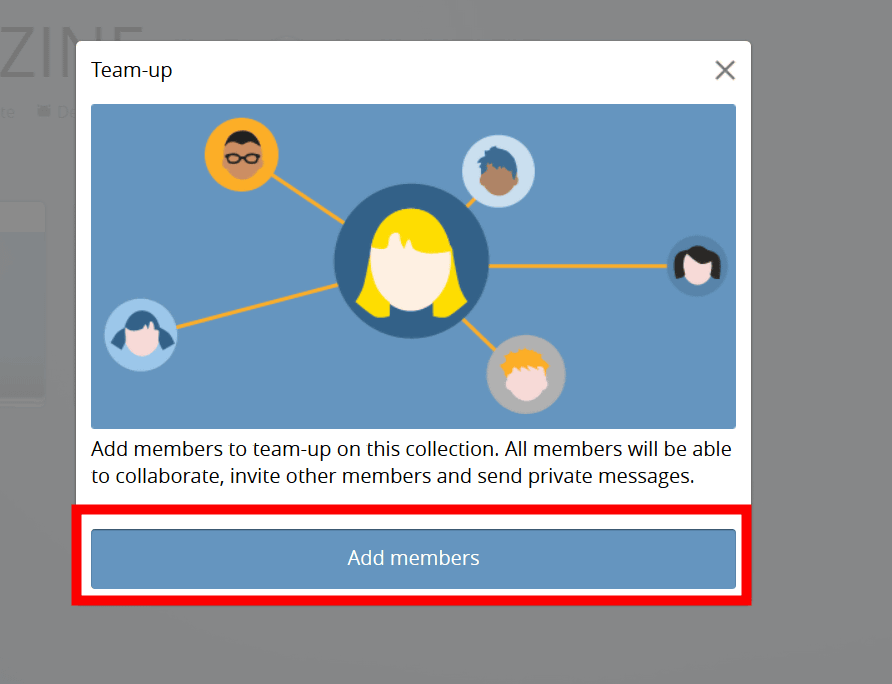
Although you can also use the phone book function such as Gmail, click "Email list" this time.

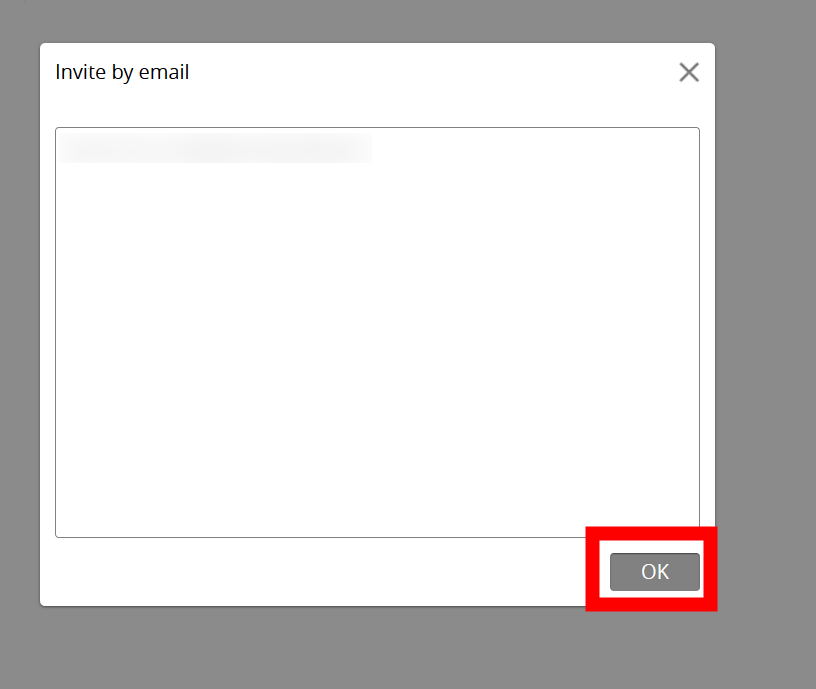
Enter the email address of the person you want to manage the collection and click "OK". At this time, if you input multiple mail addresses one by one in one line and click "OK", you can register more than one person at the same time.
From the Pearltrees account registered with the sent e-mail address, the same Collection can be sharedly managed. As an example of how to use, it seems convenient to use sharing with Collection, information on game strategies and university issues shared with others.
Also, since Pearltrees has a smartphone application version, I actually try using it.
"Pearltrees" on the App Store
https://itunes.apple.com/jp/app/pearltrees/id463462134
Pearltrees - Apps on Google Play
https://play.google.com/store/apps/details?id=com.pearltrees.android.prod
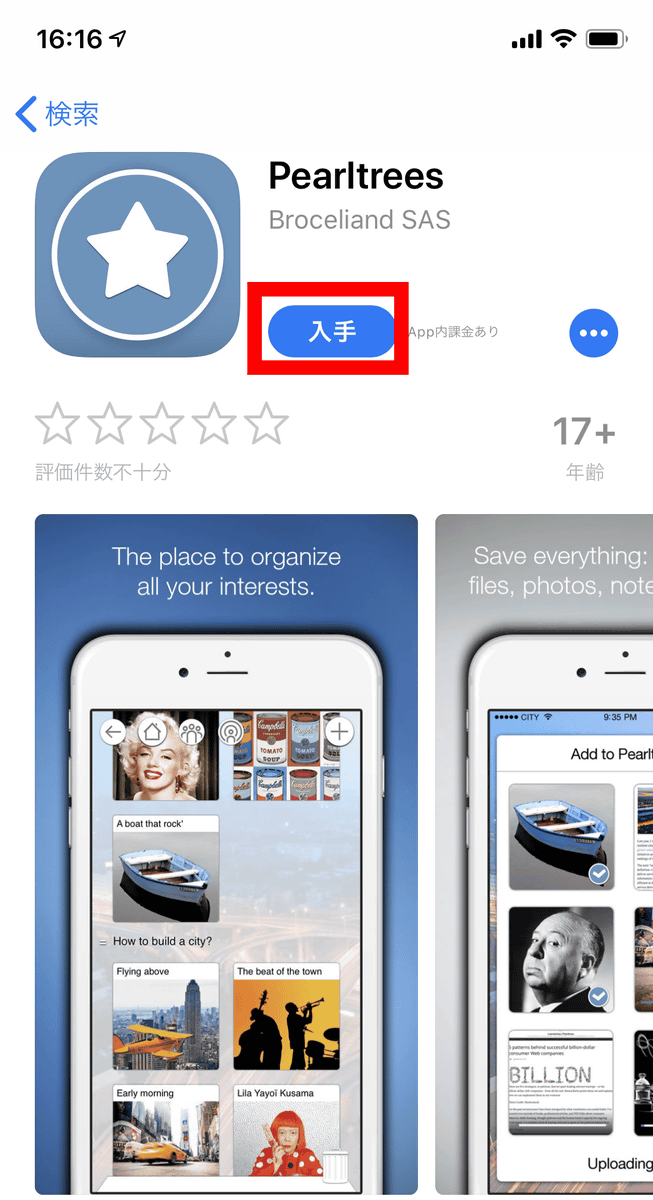
This time I use the iOS version of Pearltrees application. First, tap "Get" from the App Store.
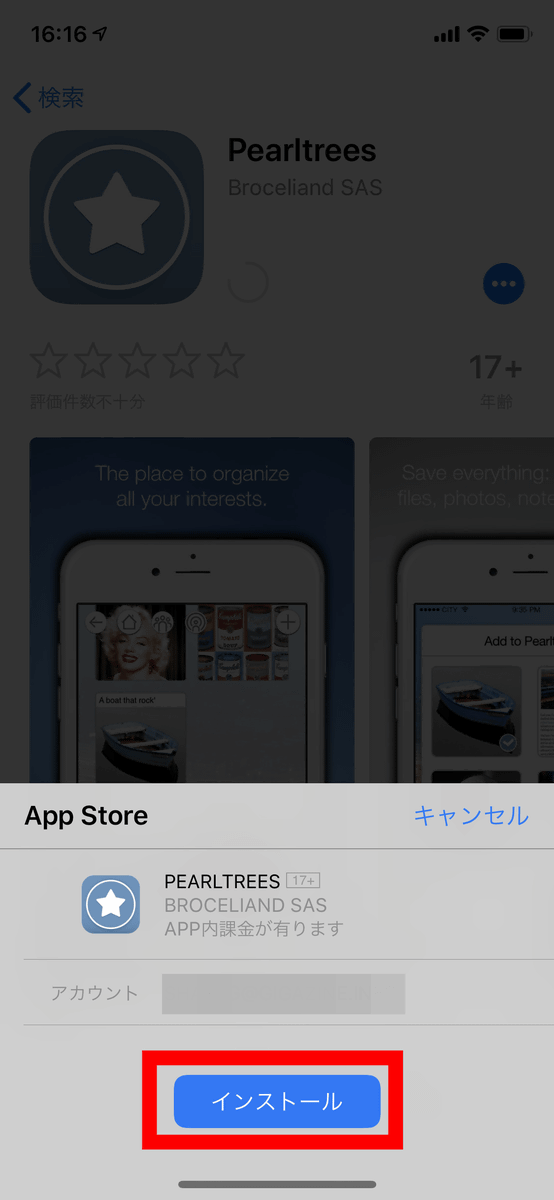
Tap Install.
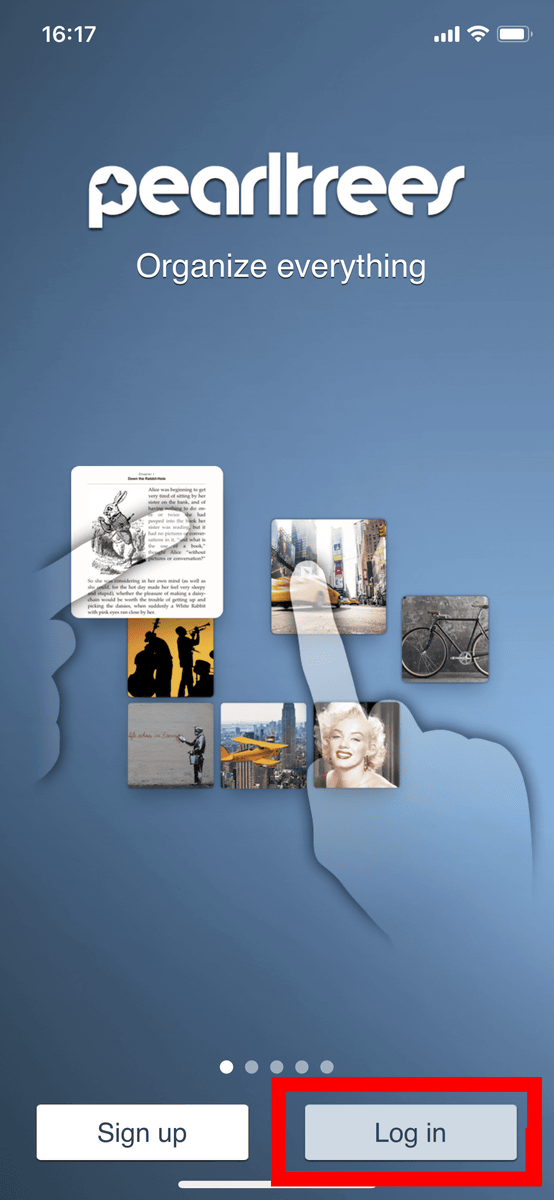
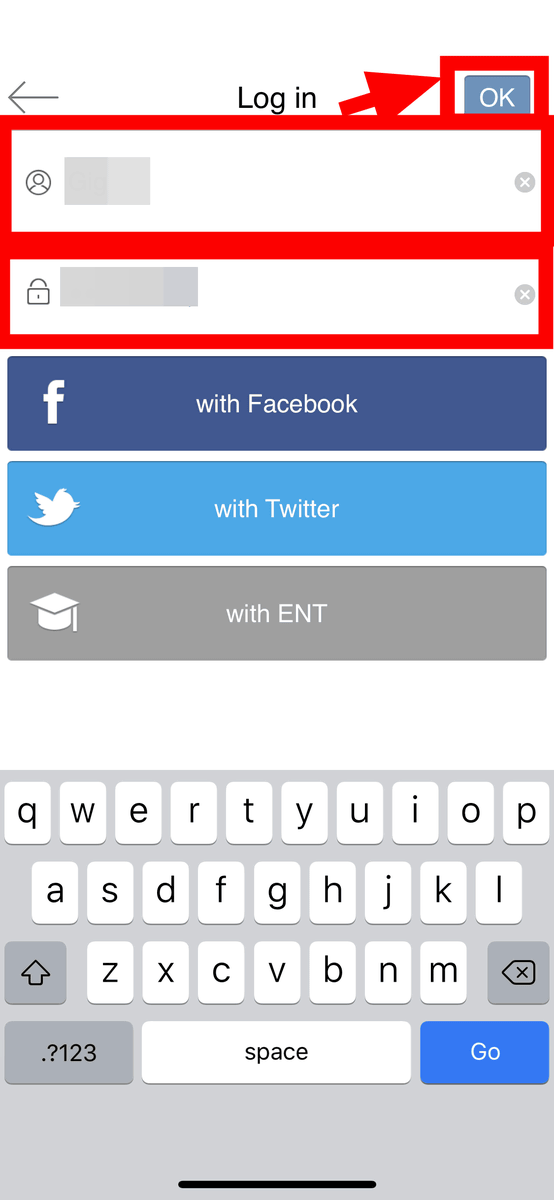
Start up and tap Log in to log in.
Enter your user name and password for your Pearltrees account and tap "OK". In the smartphone application version, you can also log in from your Facebook account and Twitter account, but you can not log in from your Google Account.
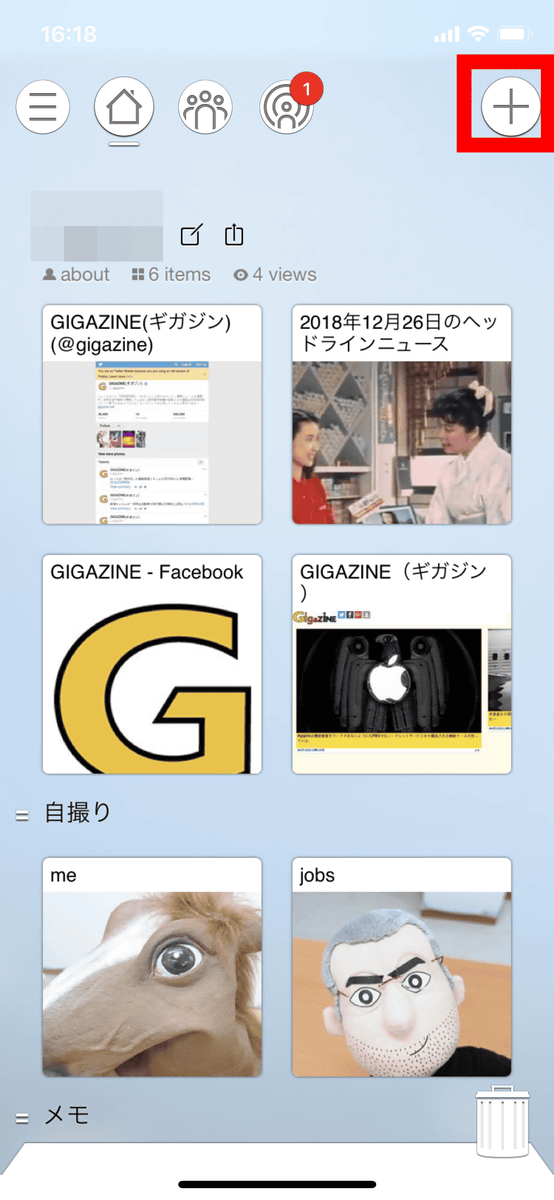
The home screen of Pearltrees's smartphone application version looks like this. It is almost the same interface as the desktop version. Register photos taken with smartphones as a trial. Tap + on the top right.
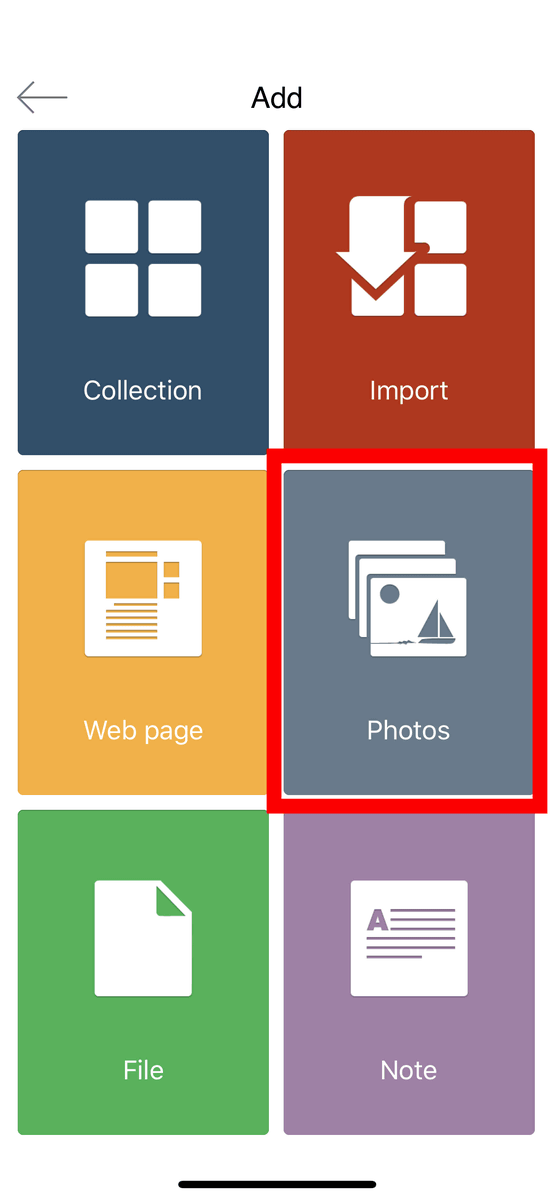
Select "Photos".
From the photo taken by you, tap the image you want to upload and tap "OK" in the upper right.
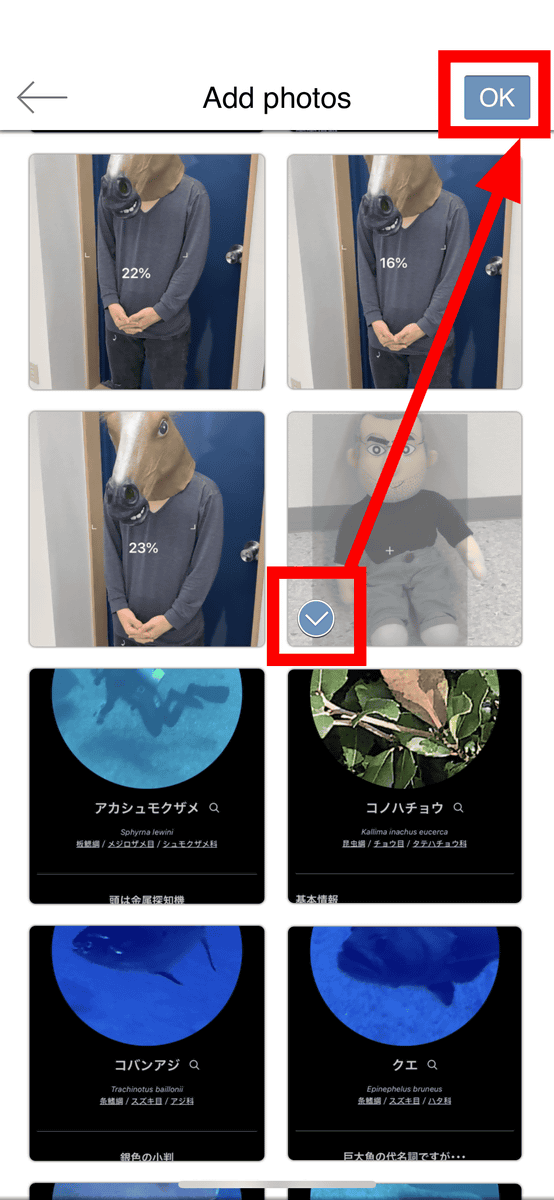
Uploading is complete. This way you can share and use one Pearltrees with PC and smartphone.
Related Posts:
in Web Service, Review, Web Application, Posted by darkhorse_log