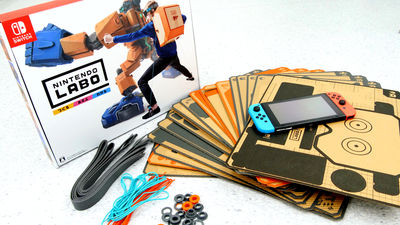
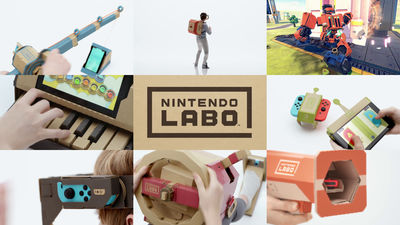
Nintendo Switch × I made a "robot Toy-Con" that can move a robot by moving his body with cardboard
You can make corrugated robot Toy-Con "Robot KitI got it, so I tried to assemble it. In the box it is written that the assembly time is 180 to 240 minutes, and in the developer interview the average period of assembly is "3-4 hoursAlthough it is said, "It seems to be the case of children" When it challenged completely, the editorial staff also thought that it takes about 3 hours to assemble something while taking pictures Heavy work I was waiting.
Nintendo Labo Toy - Con 02: Robot Kit (Robot Kit) | Nintendo Labo | Nintendo
https://www.nintendo.co.jp/labo/kit/robot.html
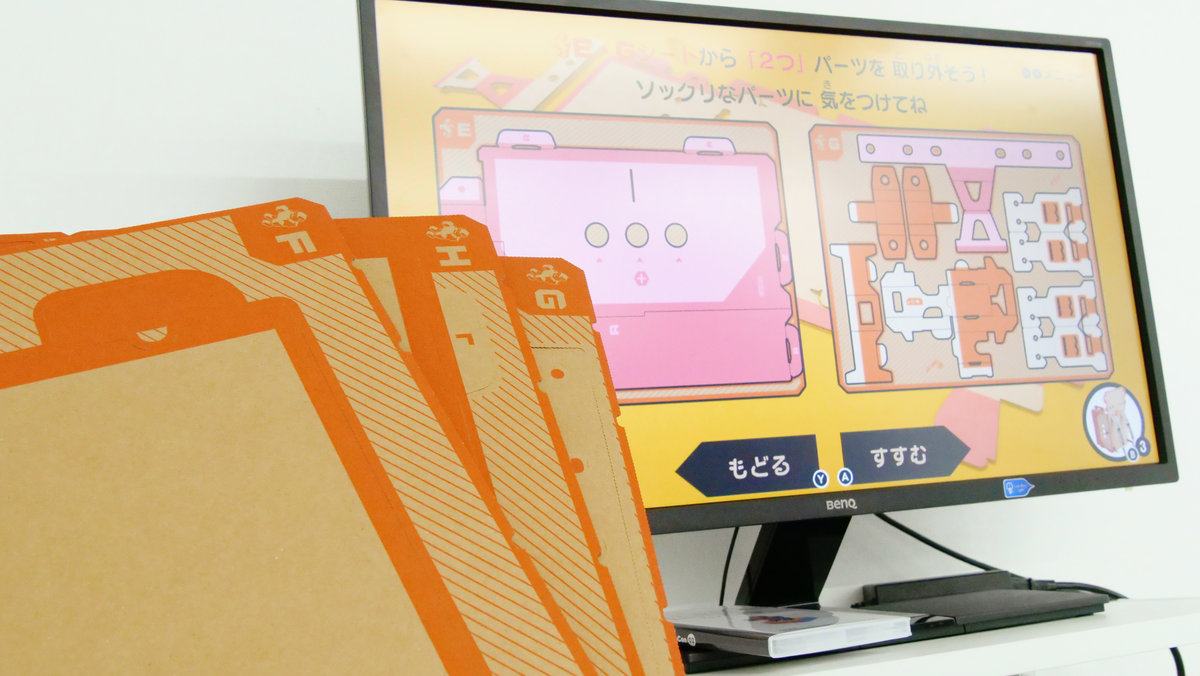
Robot Kit does not have an assembly manual for robot Toy - Con, etc. By inserting the included game card into Nintendo Switch, you can let the lecturer assemble how to assemble in the game.

So when you start the game of Robot Kit, at the beginning you will get an indication "Update controller, please wait." Joy - Con will be updated.

After that, "Screens" started as soon as the following screen appears. Since you can not play the game without the robot Toy - Con, you will be forced to make a robot Toy - Con at first forcedly.
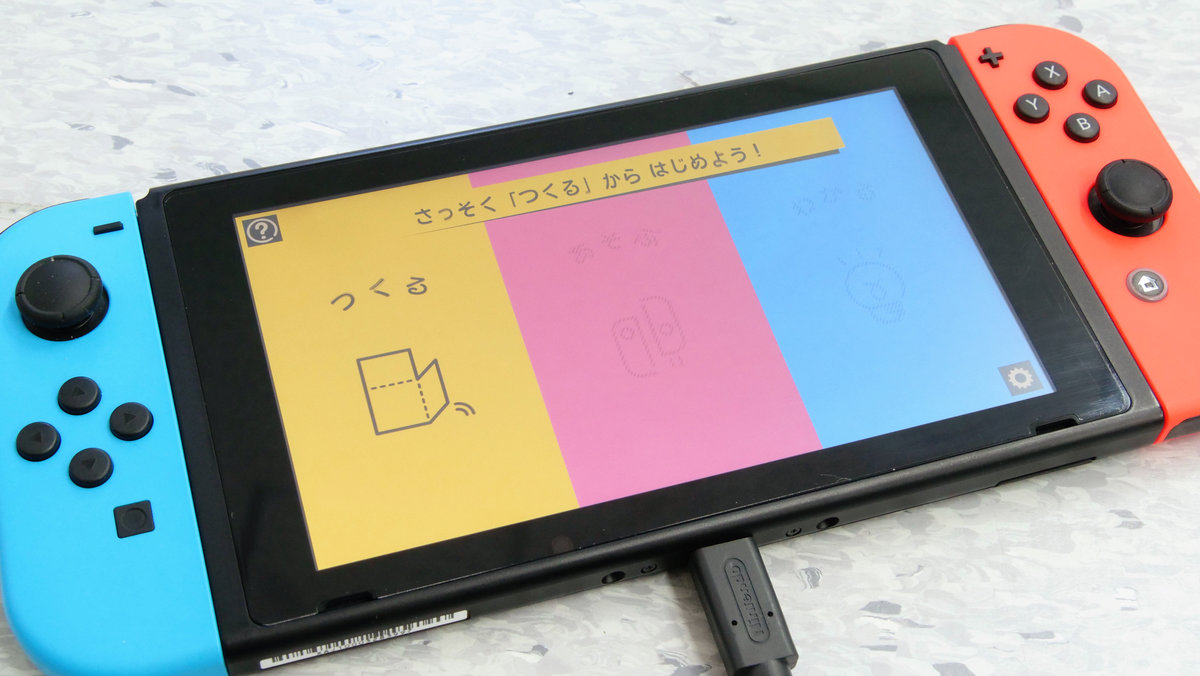
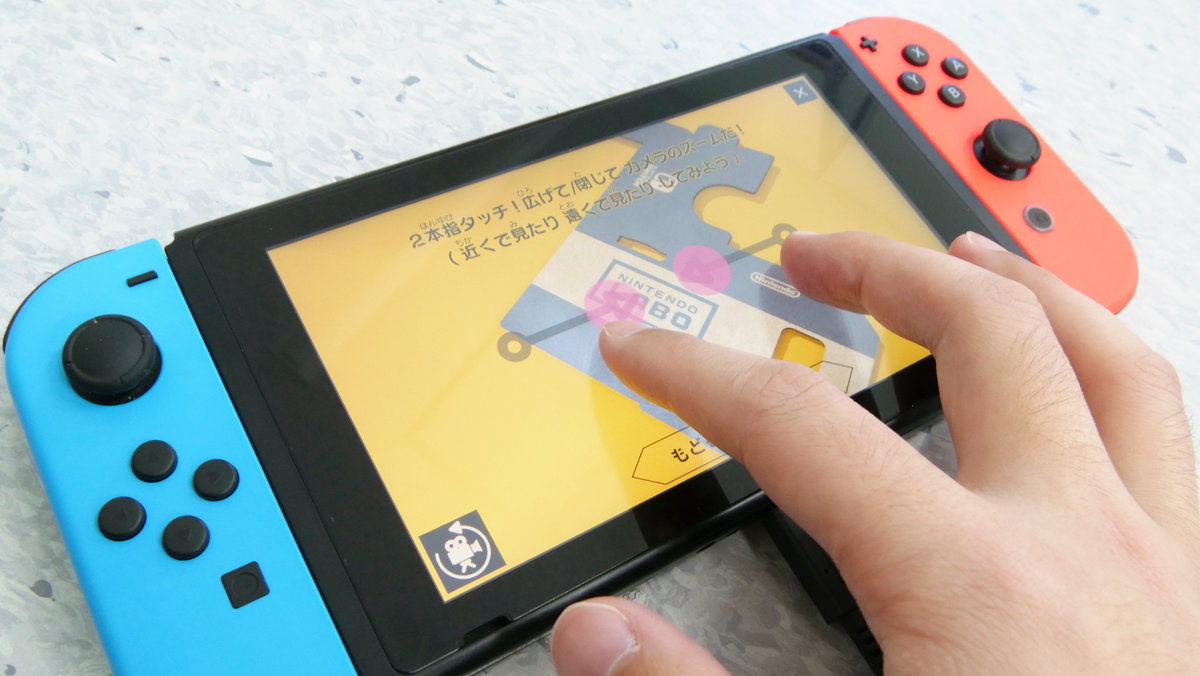
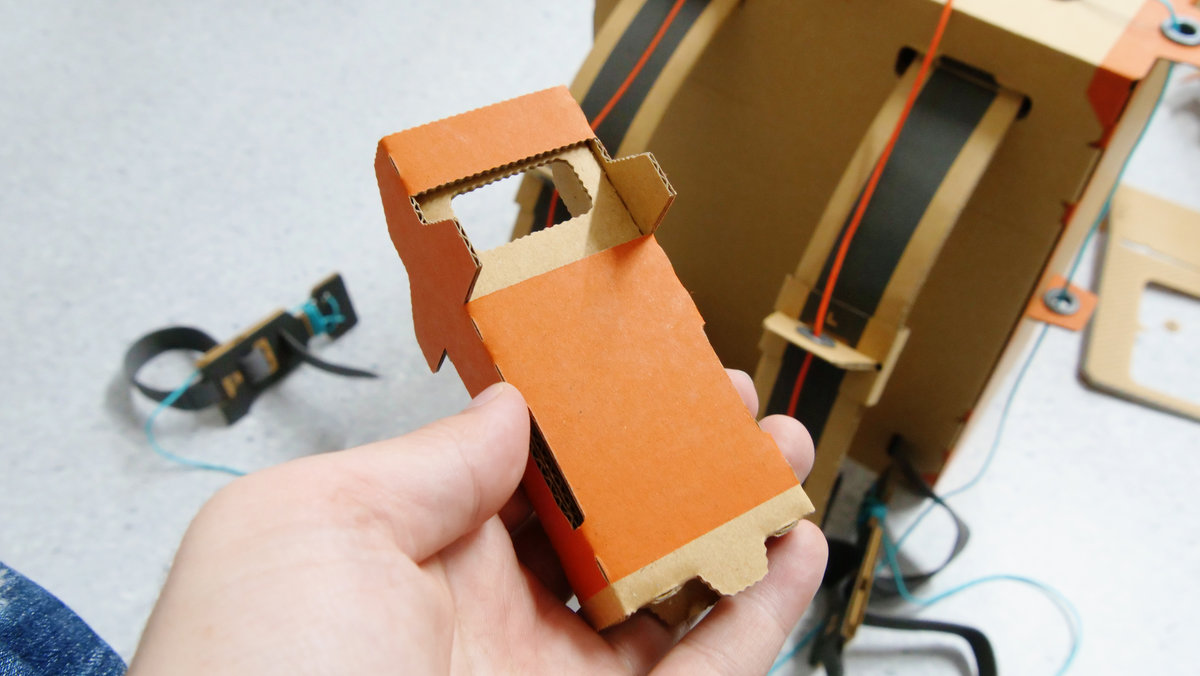
Before making the robot Toy-Con, first of all it will be "small Joy-Con case making!", But in this part you can get used to how to operate the screen and how to handle cardboard sheets.
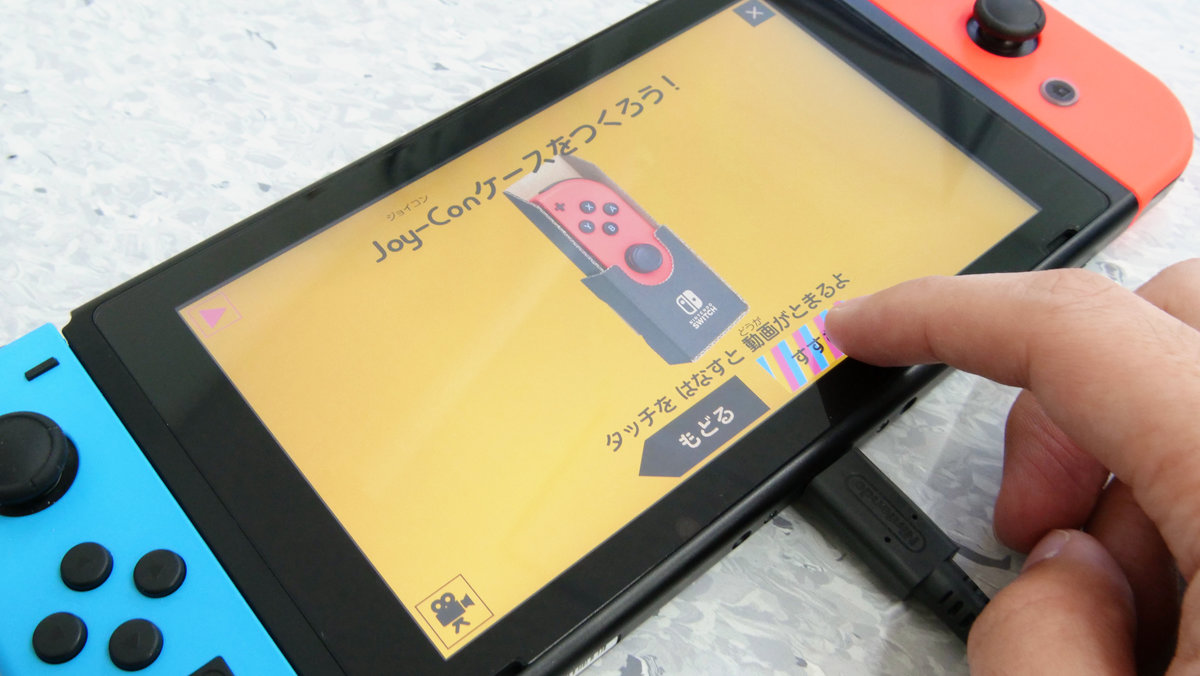
By tapping the screen or pressing the Joy-Con button you can advance and rewind the assembly instructions. Although the assembly method is displayed finely on the screen, these do not proceed unless you tap the screen or press the button, so there is nothing to miss, and you can rewind it as many times as you miss it .
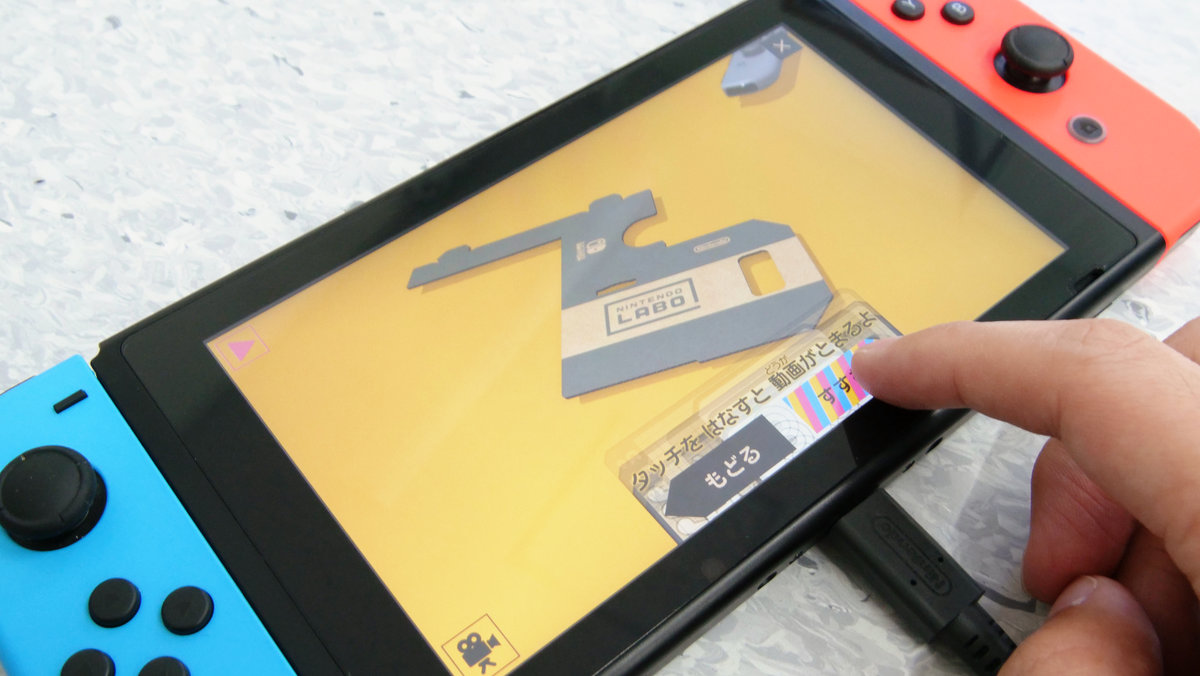
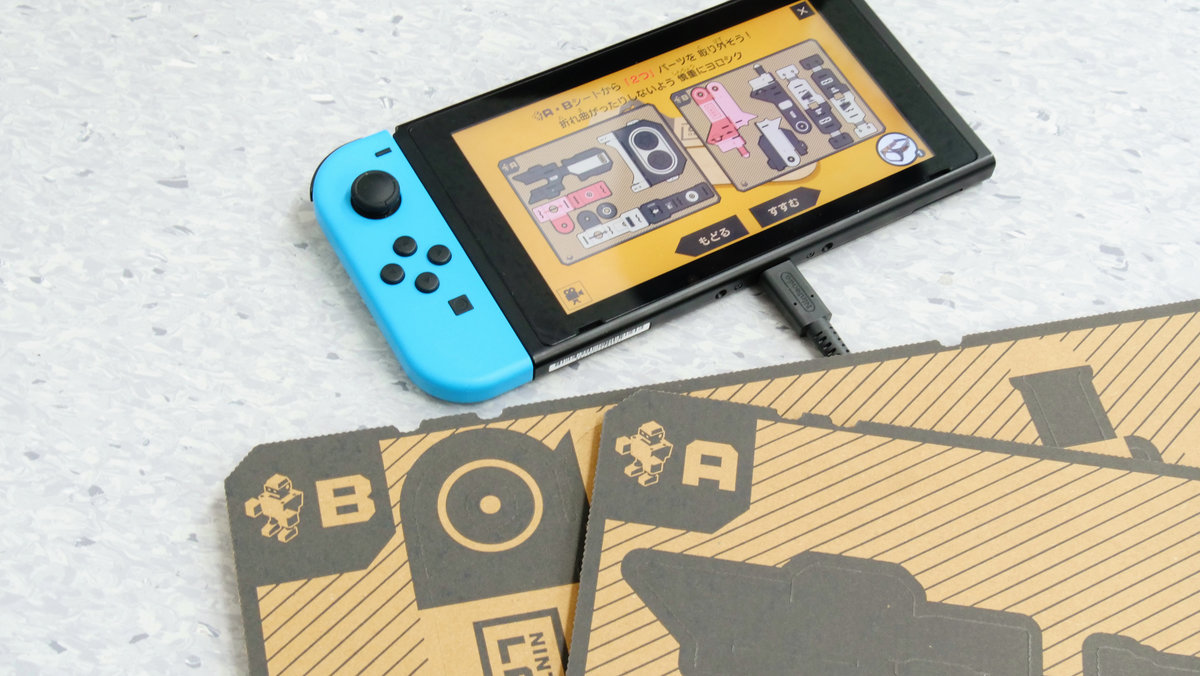
The number of the cardboard sheet to be used is displayed on the screen and the parts to be used are displayed in red so it is obvious which parts to use.
Also, since the screen can be scaled freely and the camera position can be moved, it is possible to immediately solve the question "What is this backside?"
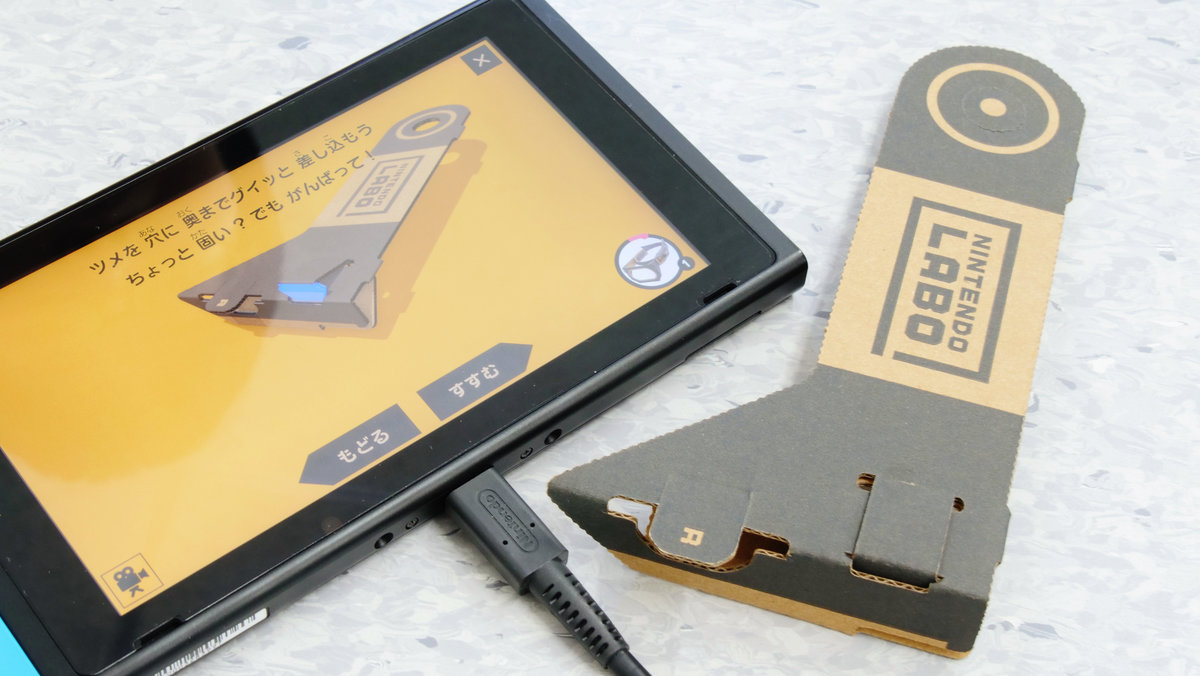
Parts that become important at the time of assembly will be informed with red letters & parts red.
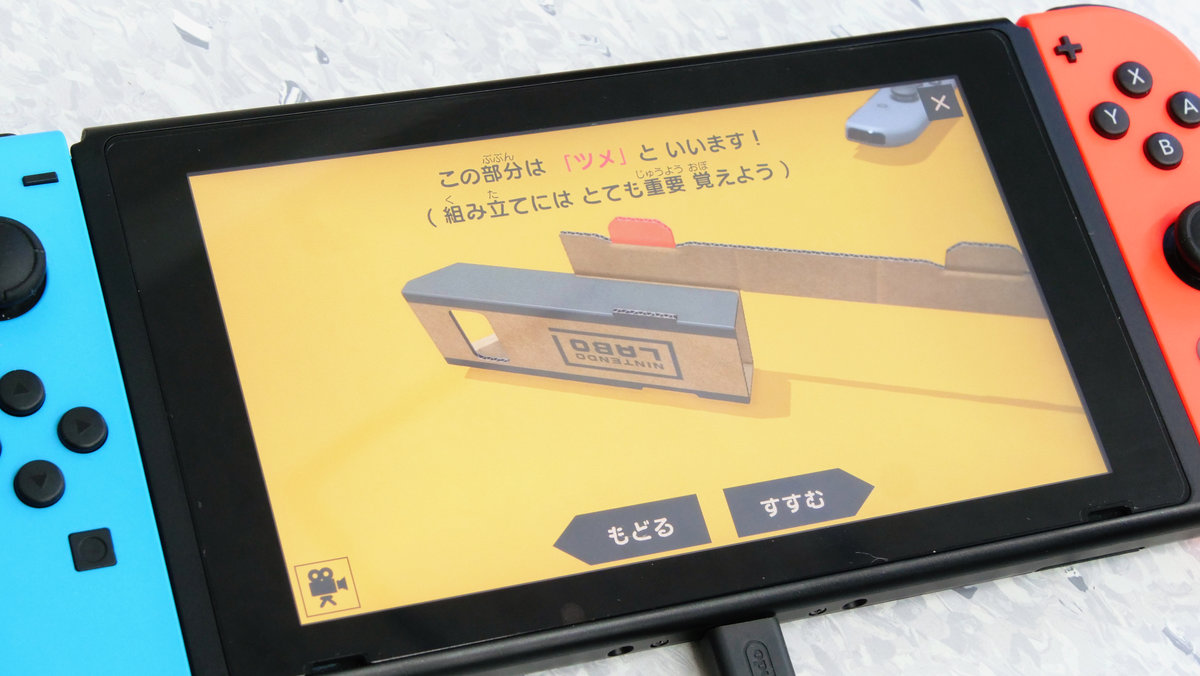
She explains how to assemble kindly so that everyone can understand such as "Well this is" Tsume "......!
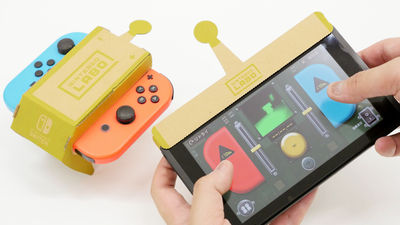
So I was able to assemble a Joy - Con case.

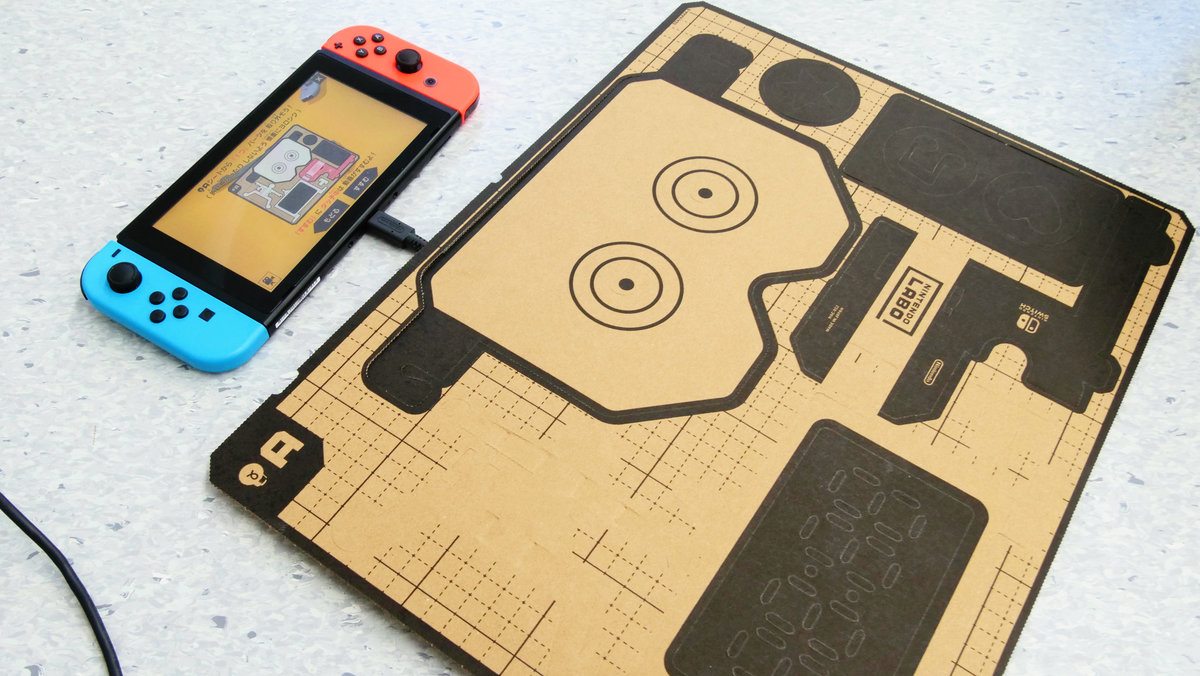
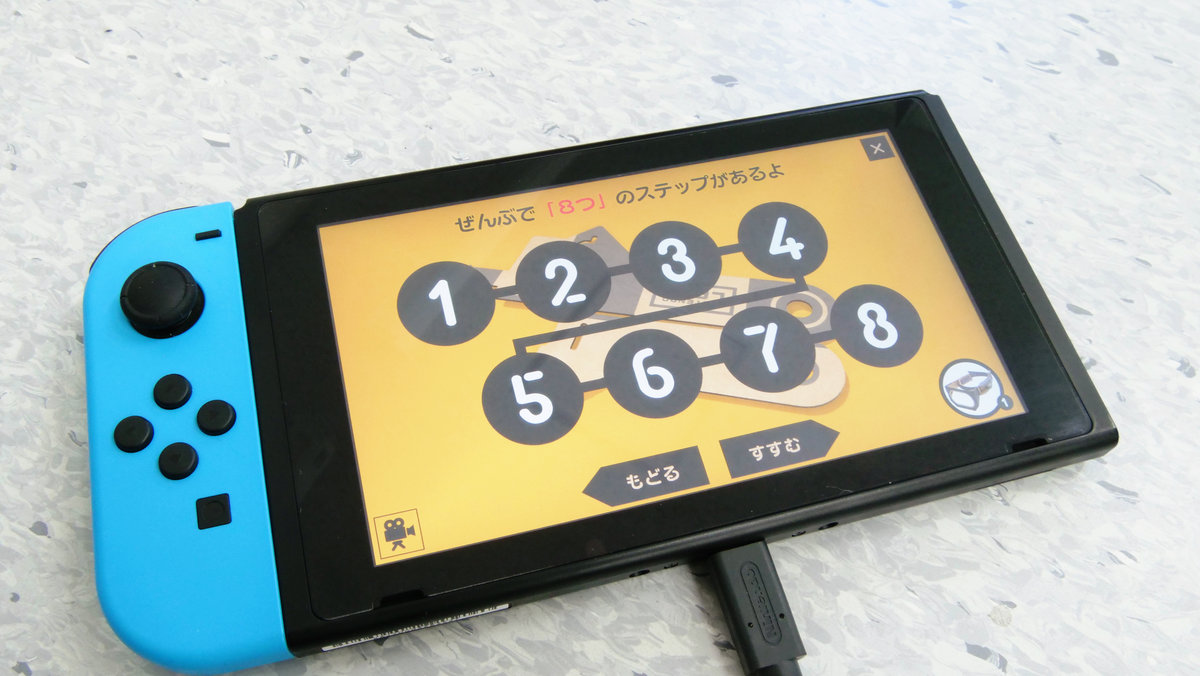
Assembly of the robot Toy-Con started from here.
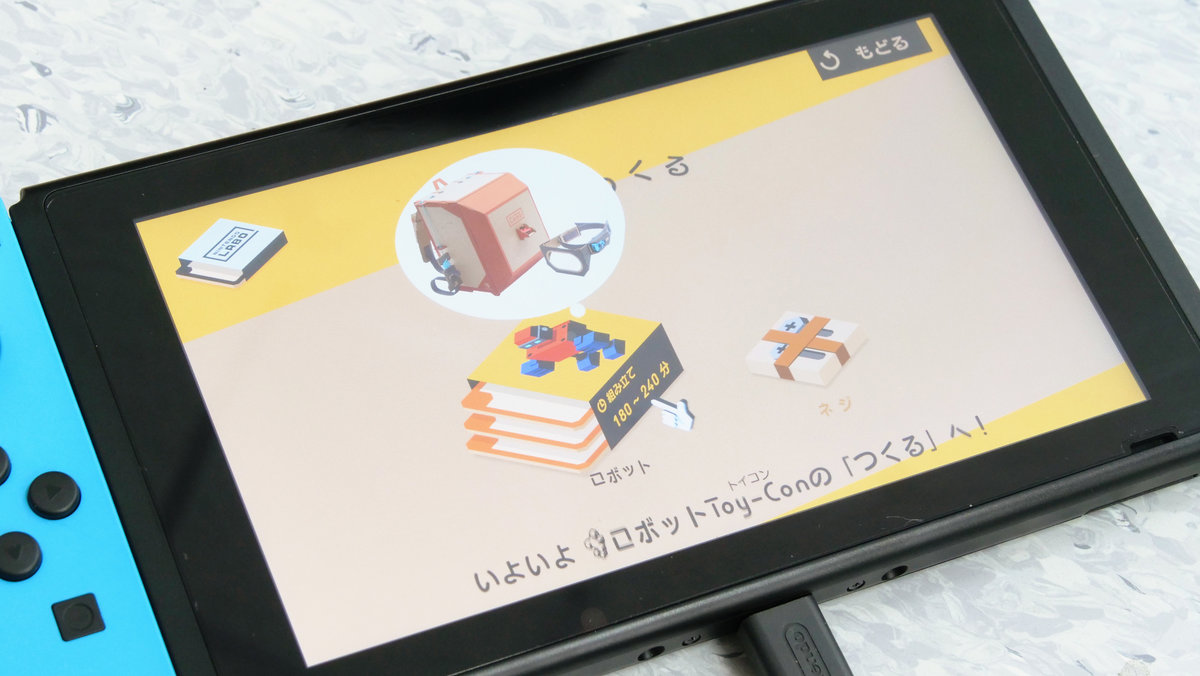
There are 8 stations in all.
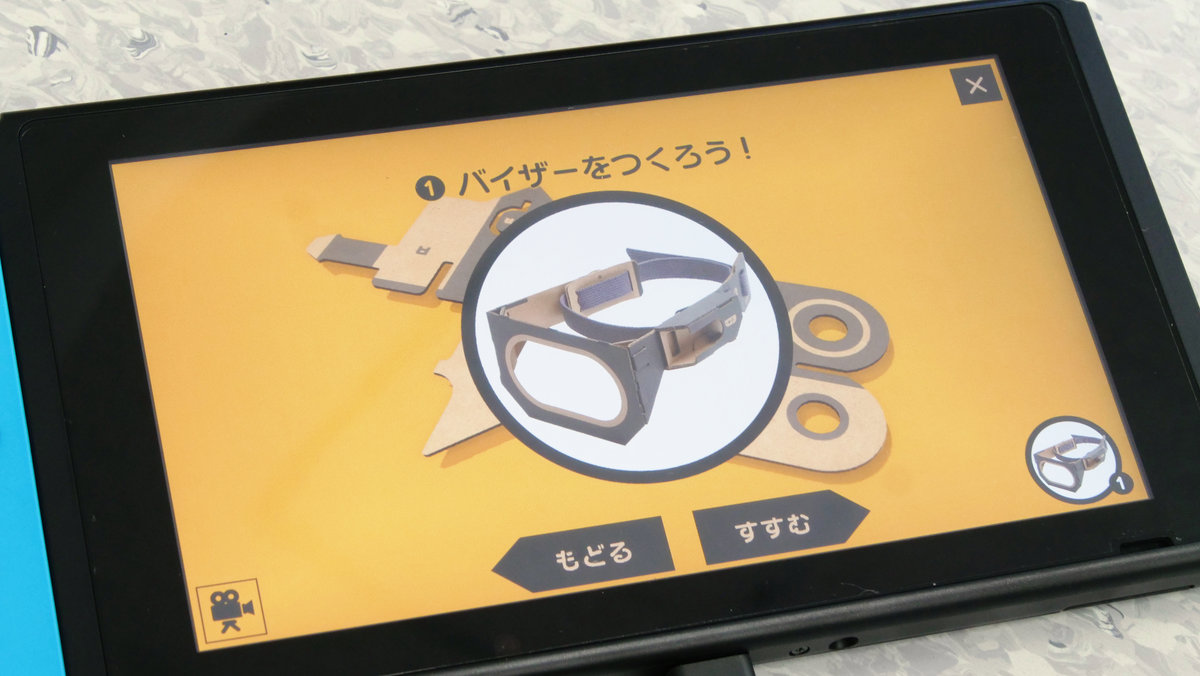
The first thing we make is "visor" to wear on the head.
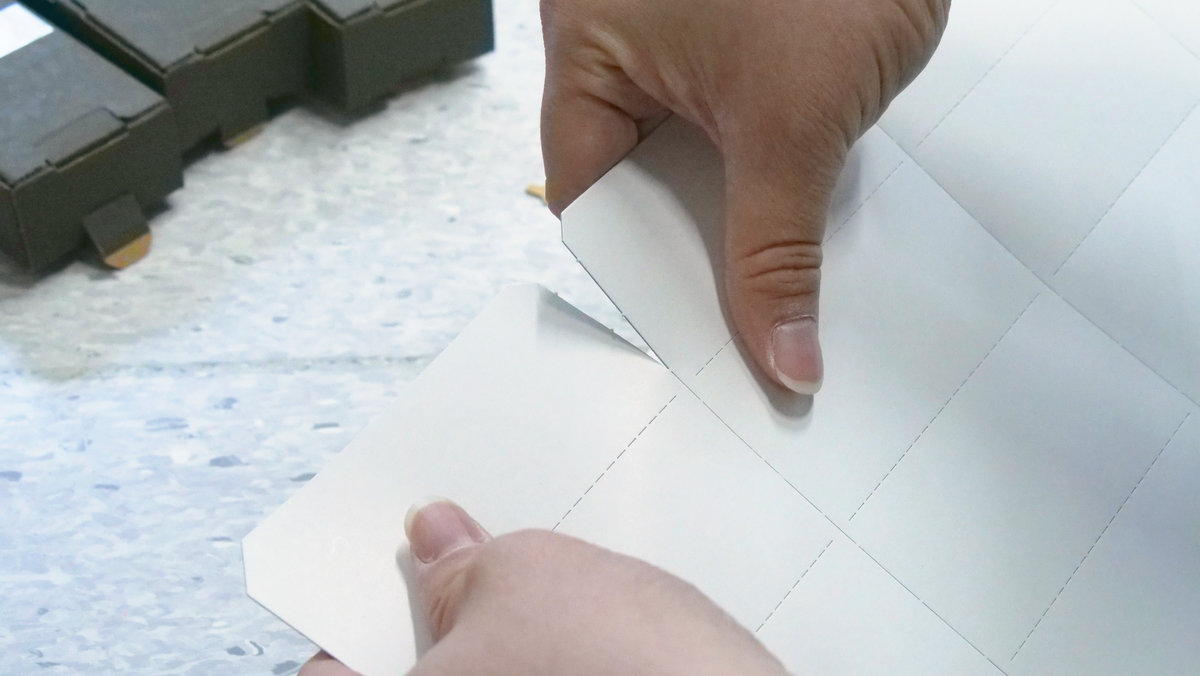
Cut out the parts displayed on the screen of the Nintendo Switch from the sheet ......
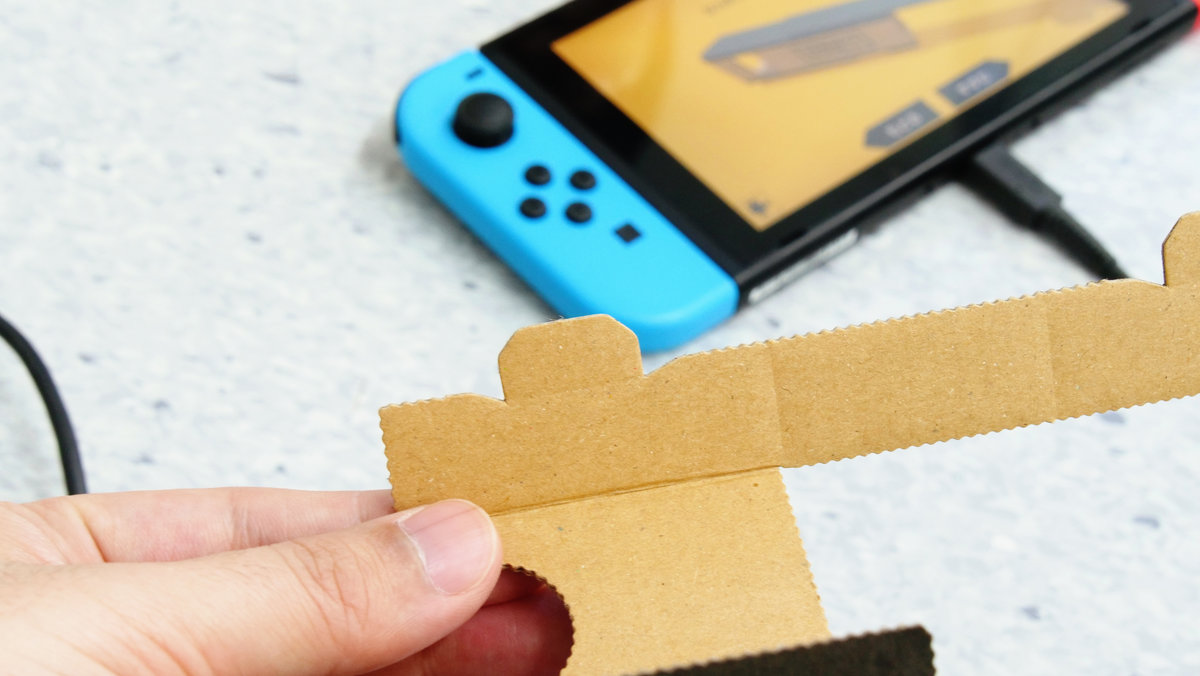
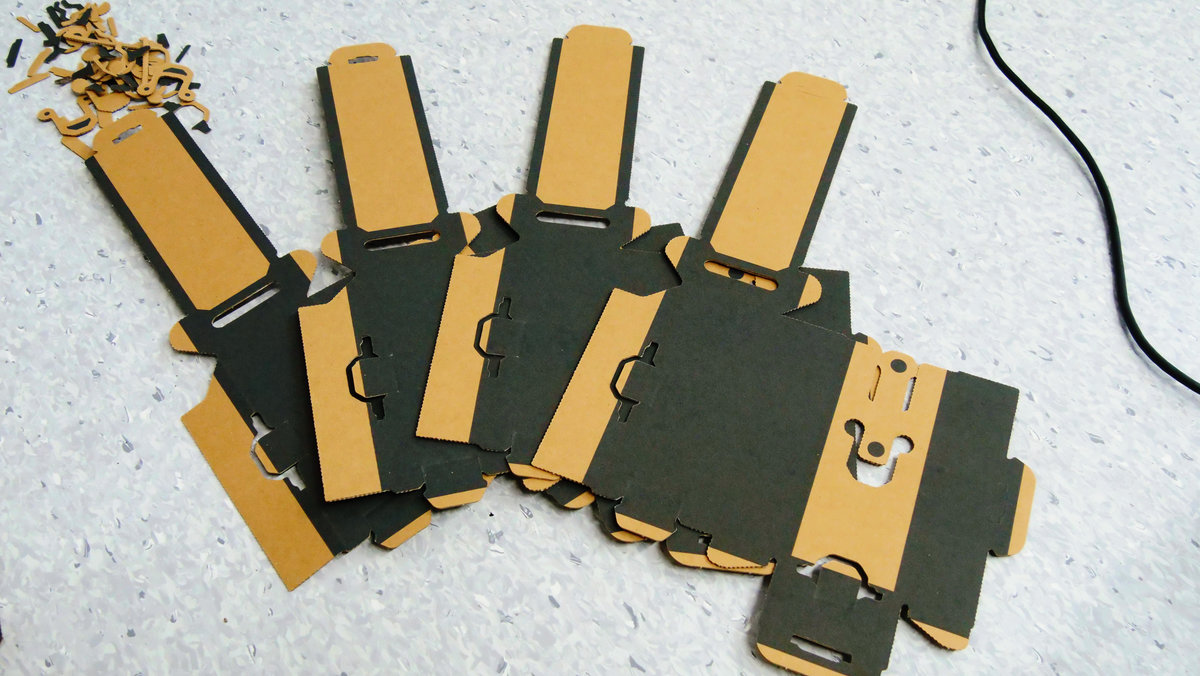
We will assemble parts one by one. At the time of assembly, there is no need for a cutter or adhesive, so it's easy to make everything with bare hands.
"Hatome" of a few fastener parts.
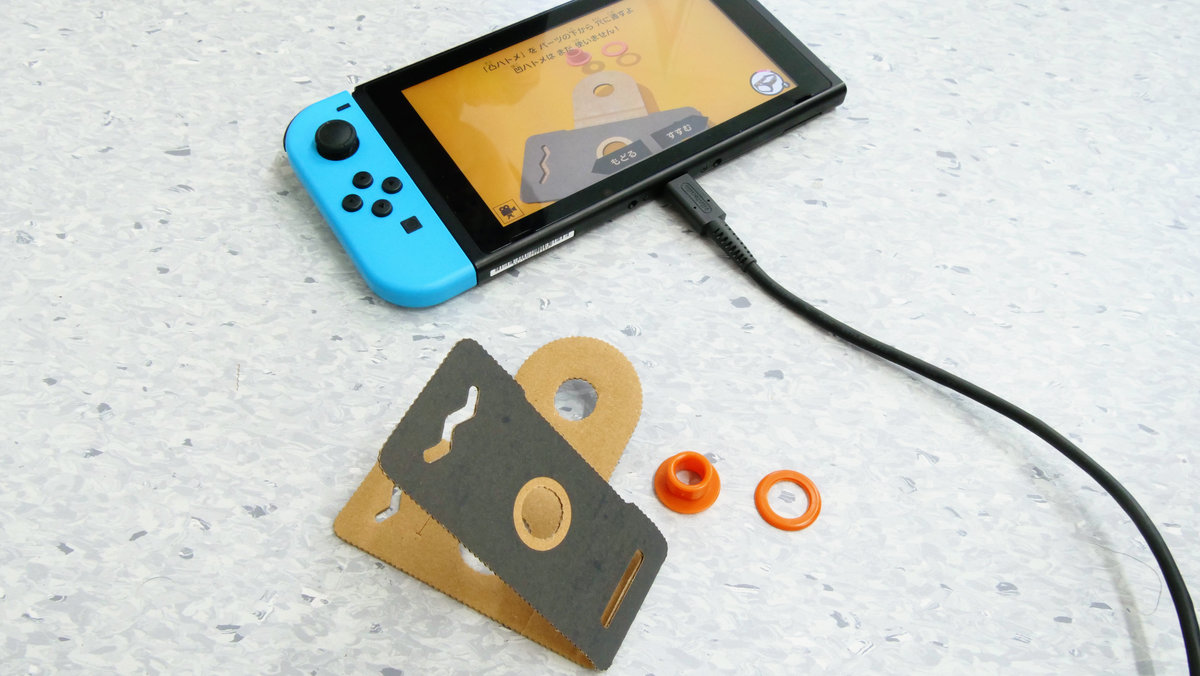
It is used to create two or more parts with this feeling and to create a working part.
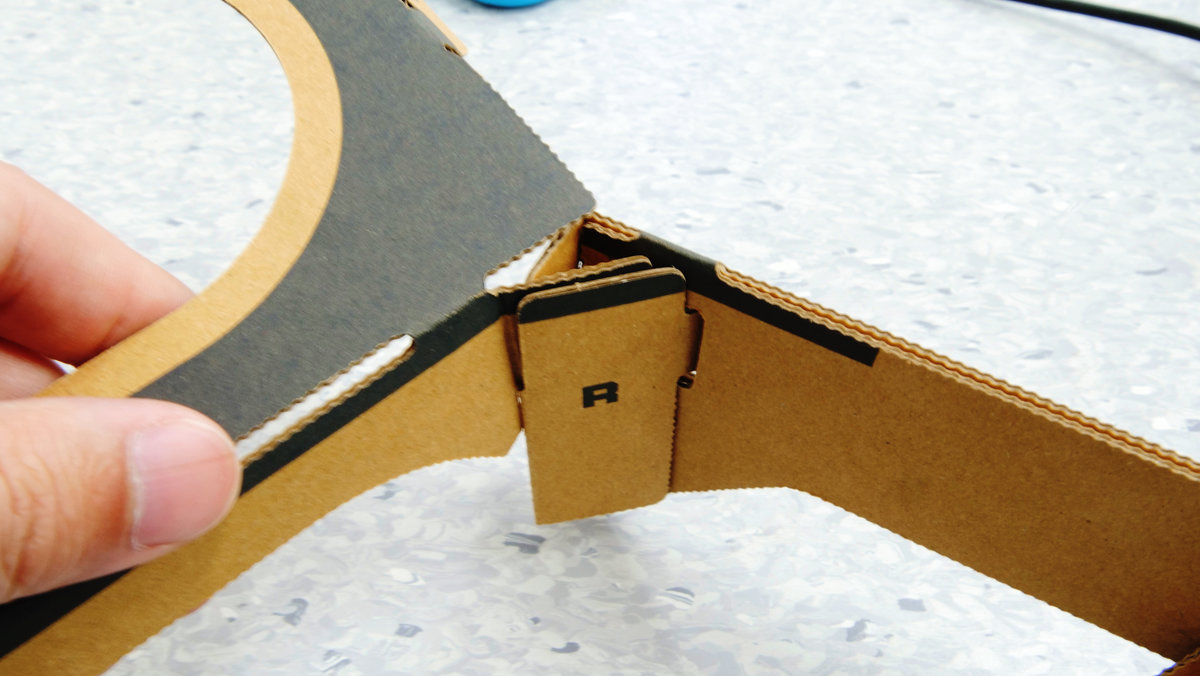
Corrugated parts are designed to overlap double or quadruple on parts where there is a strong pressure, and are designed to increase the strength by making triangles at the corner as follows.
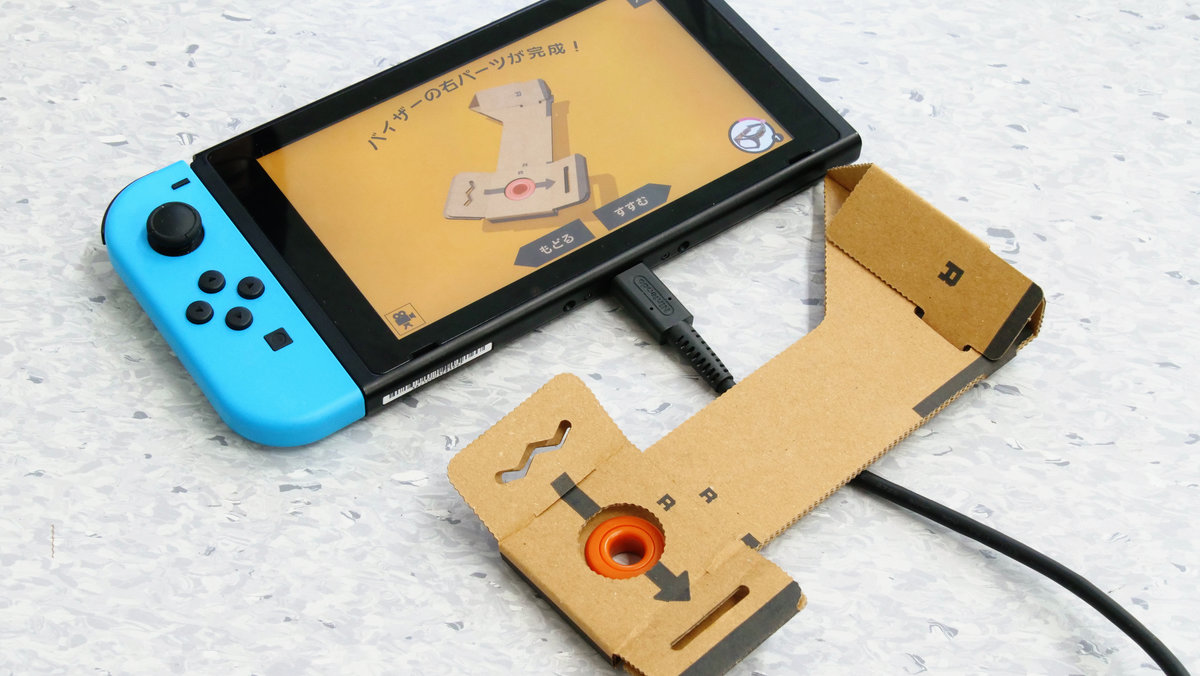
By assembling the parts, gradually a visa-like nanica is finished.
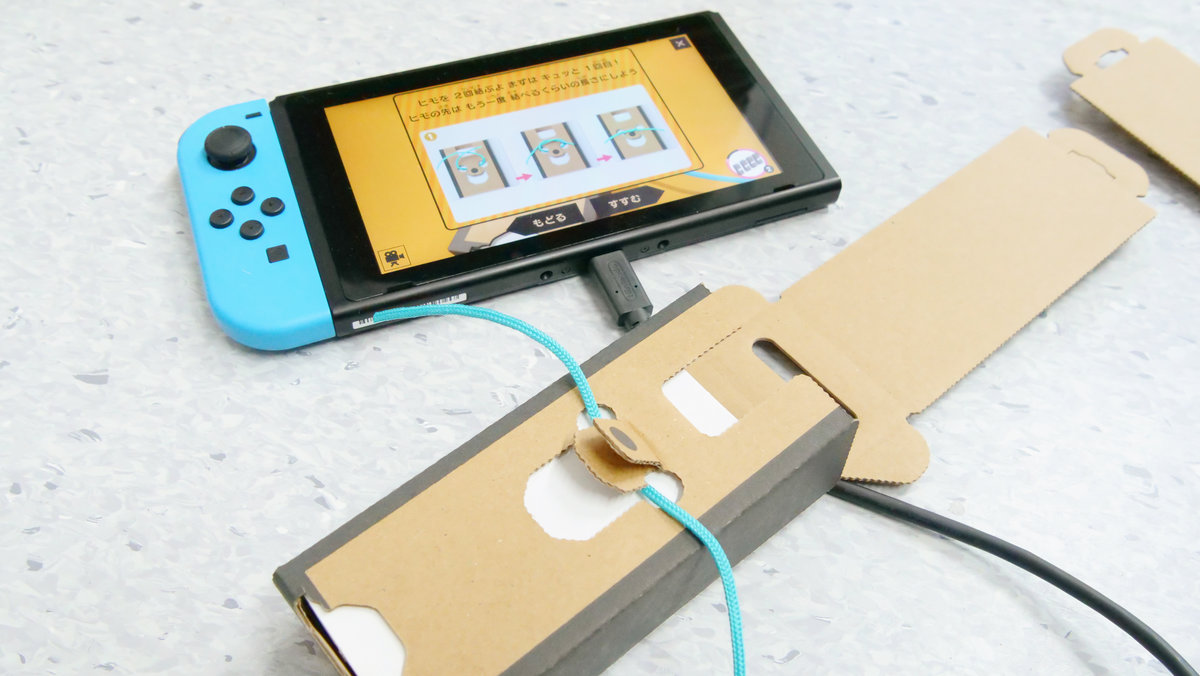
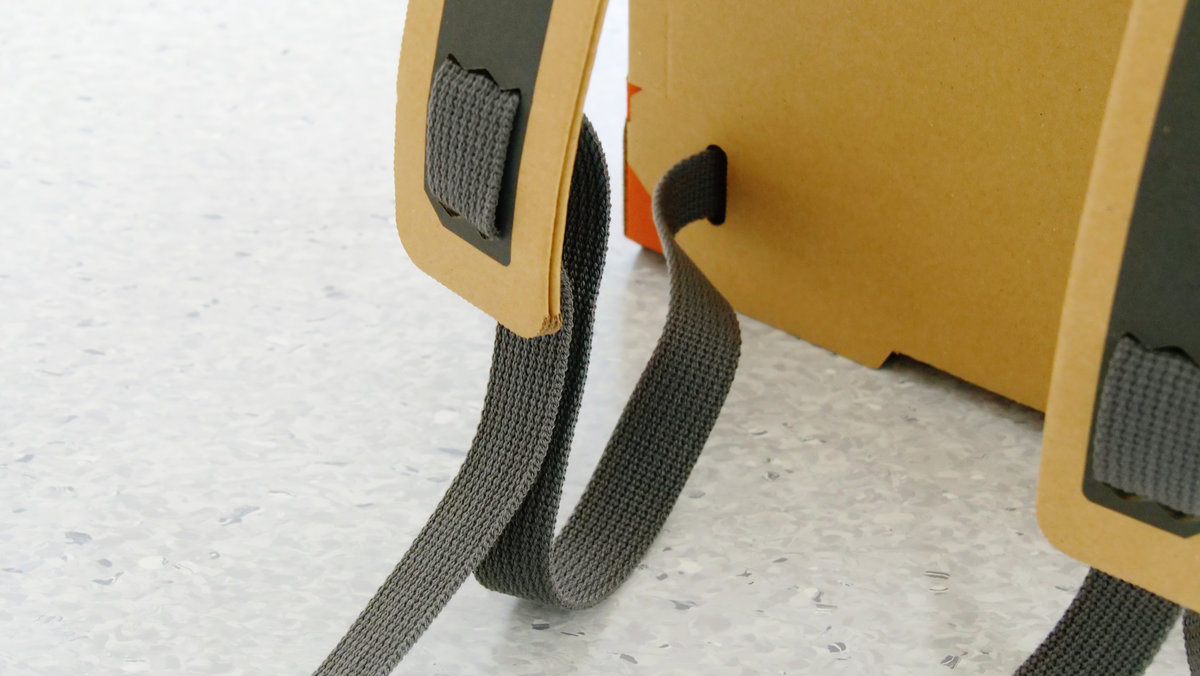
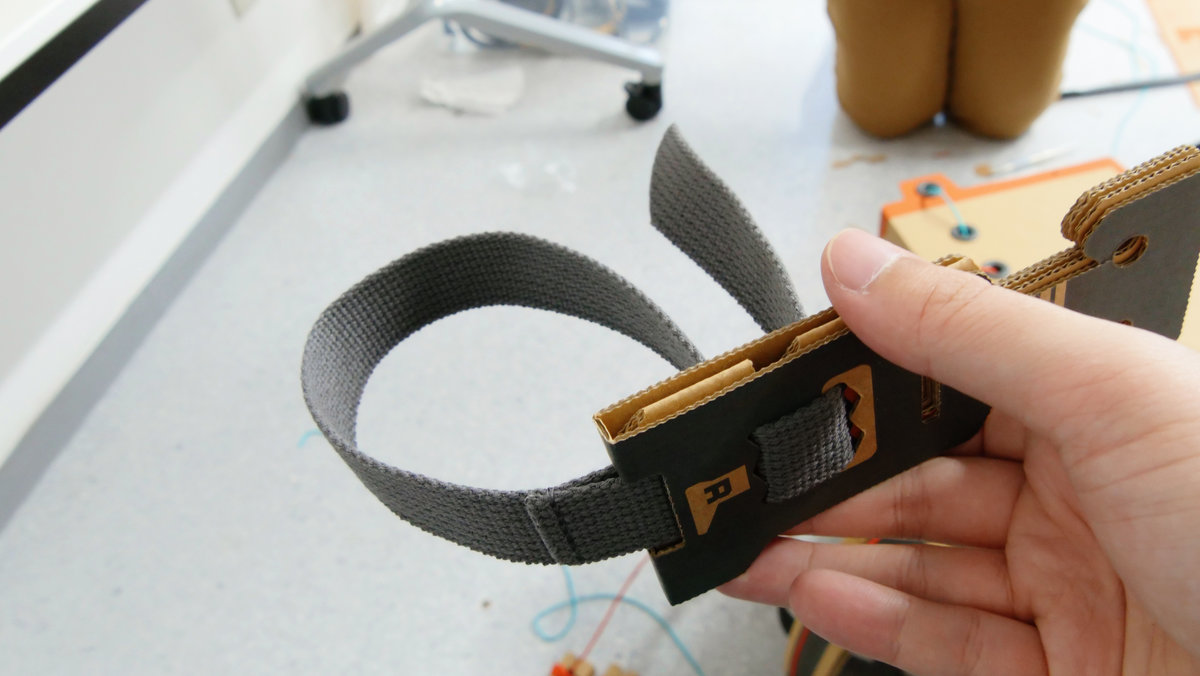
Next, prepare flat strings. A flat string of the middle length to use in the visor part.
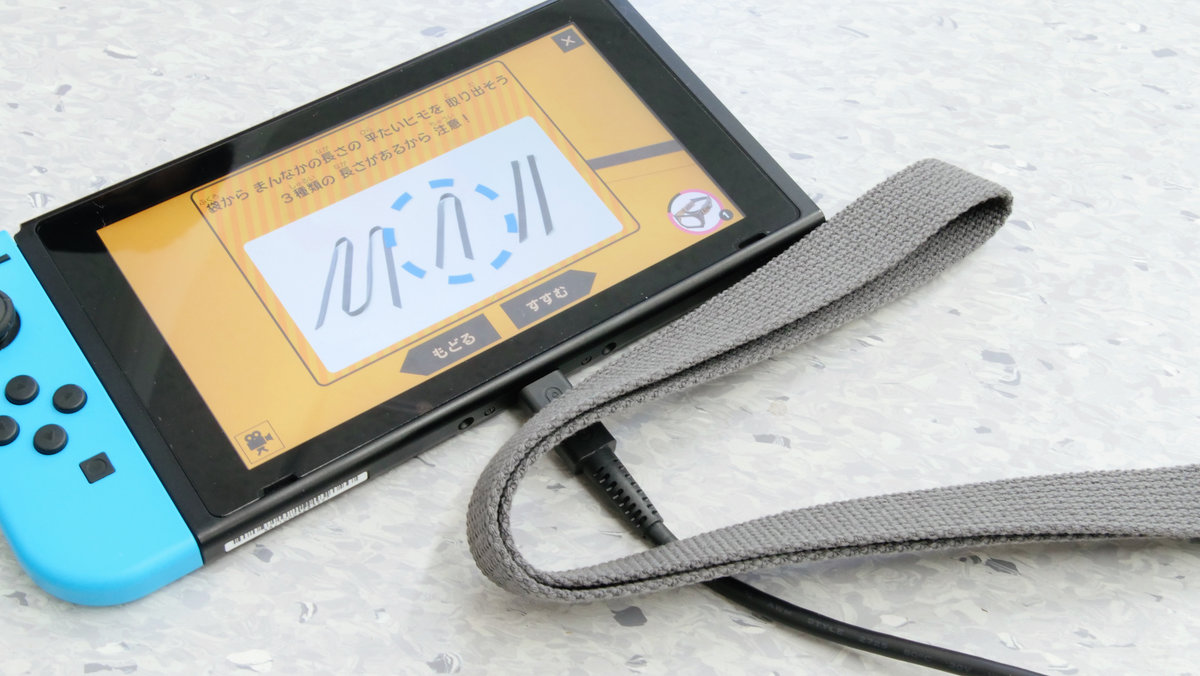
Pass this through the designated place ......
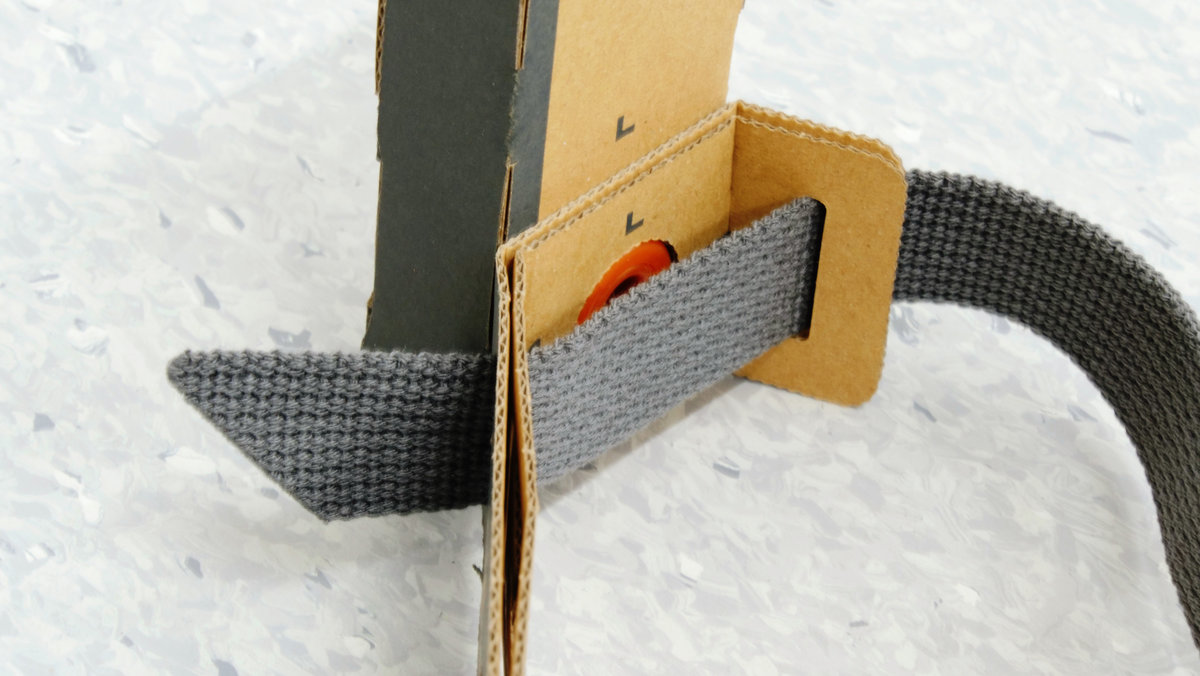
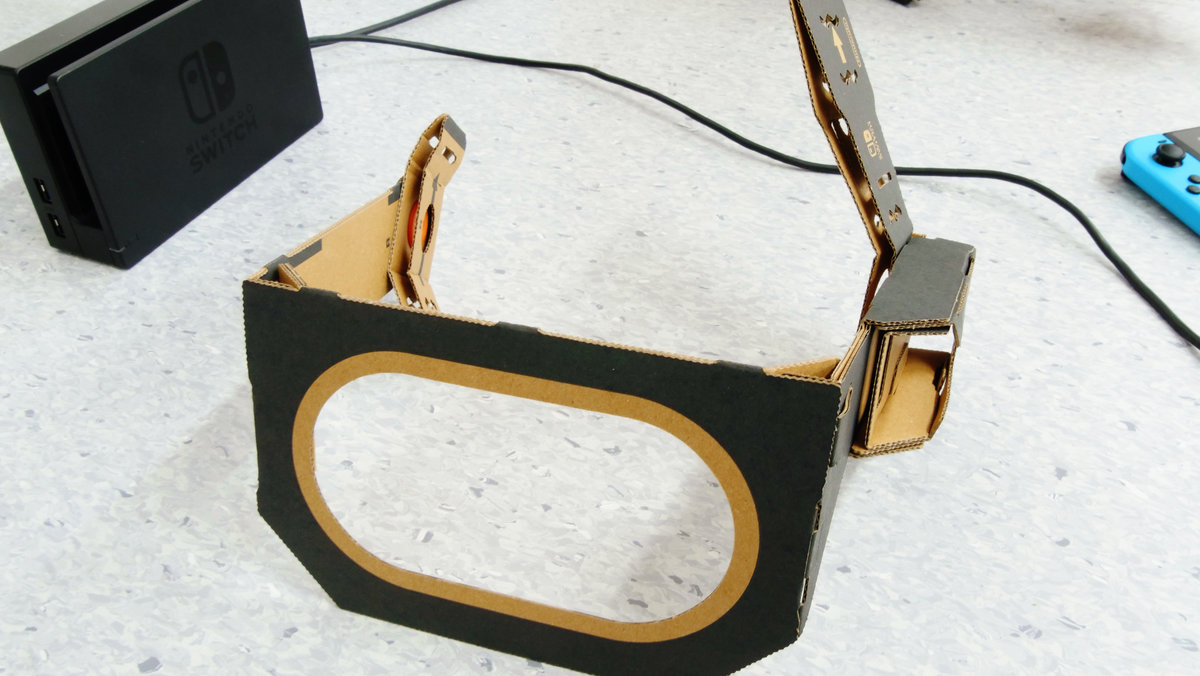
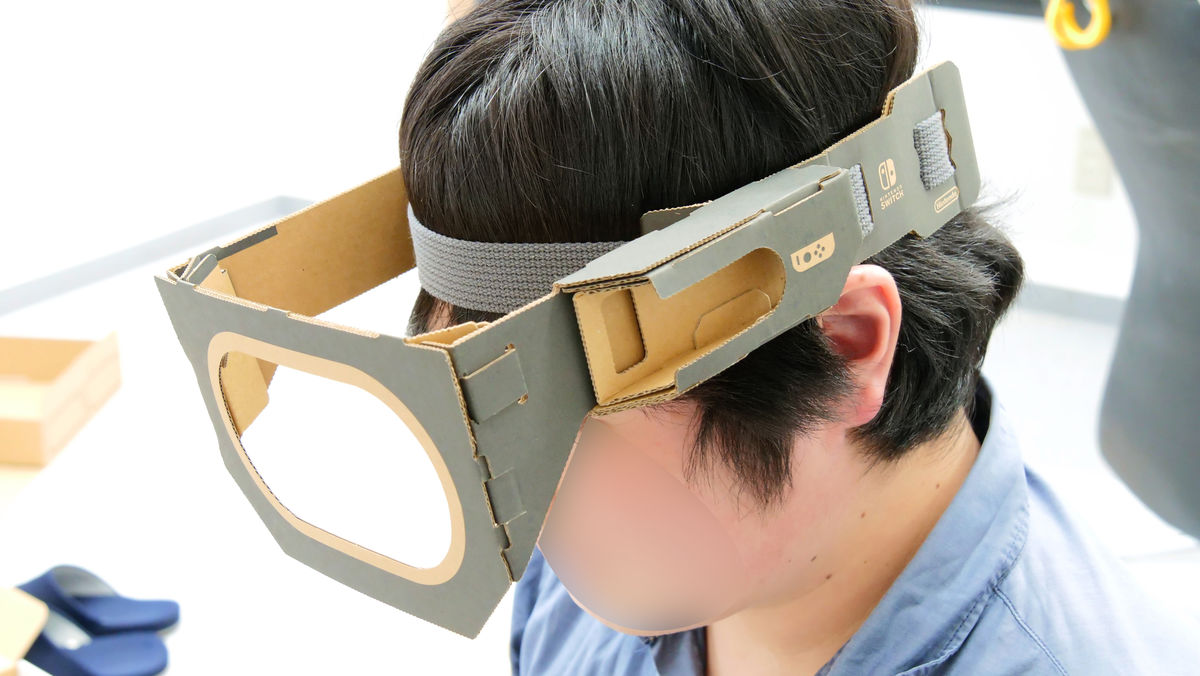
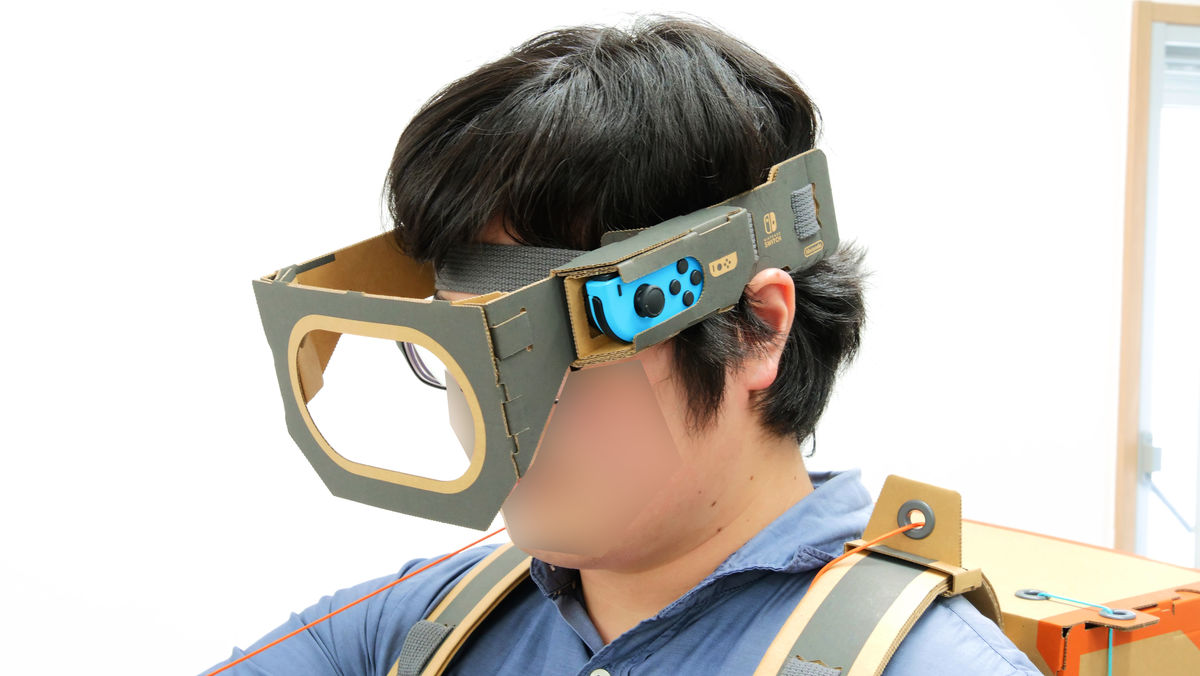
The visor is complete. If you tighten the straps according to the size of the head, you can easily adjust the size. Even adults level enough for pimp.
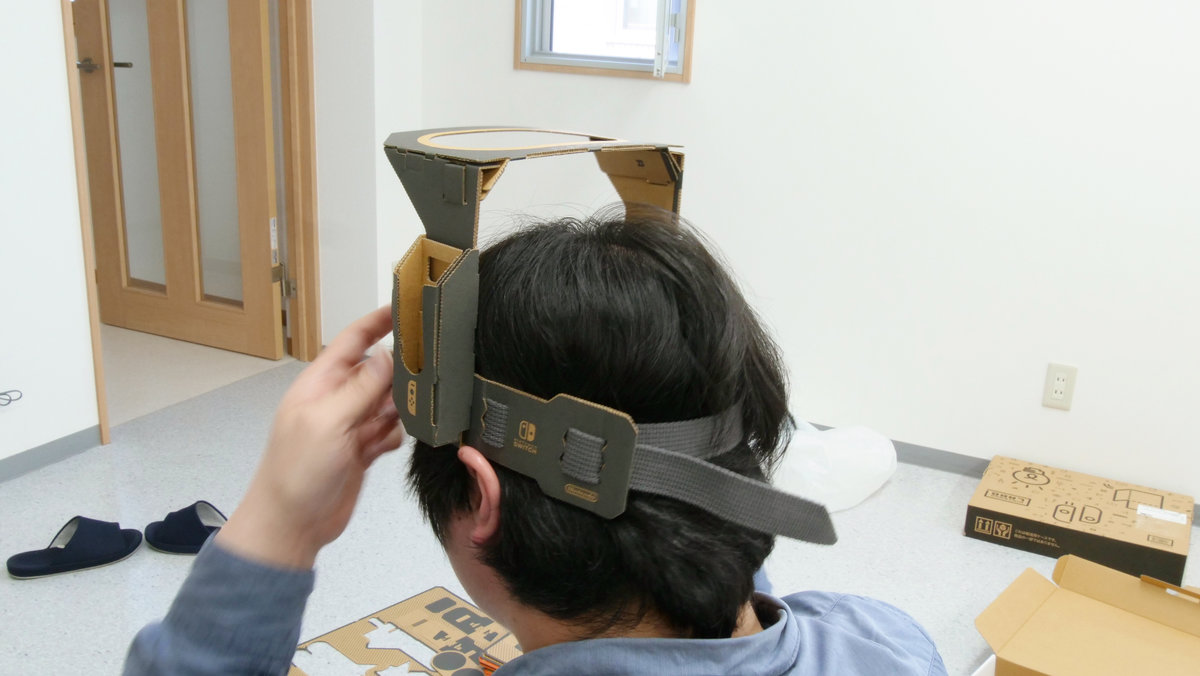
When I unload the visor this way. The feeling of goggles will increase, but how do you really use it during the game ...?
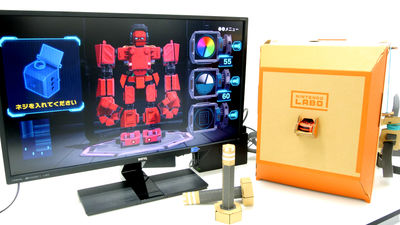
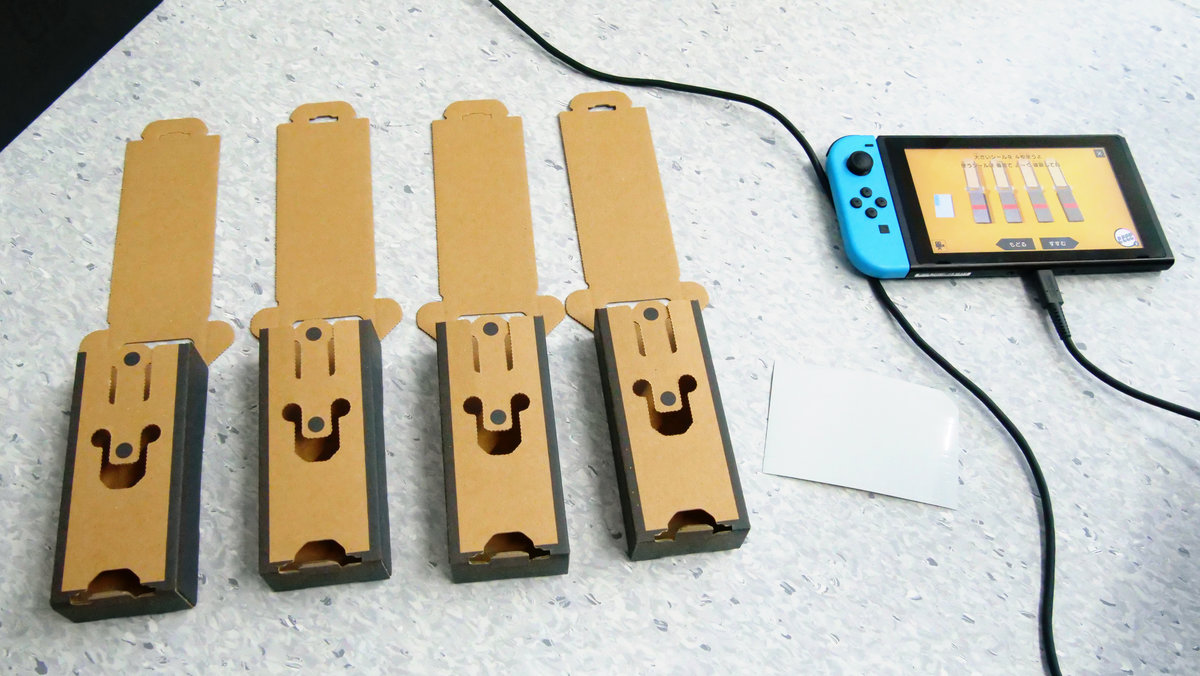
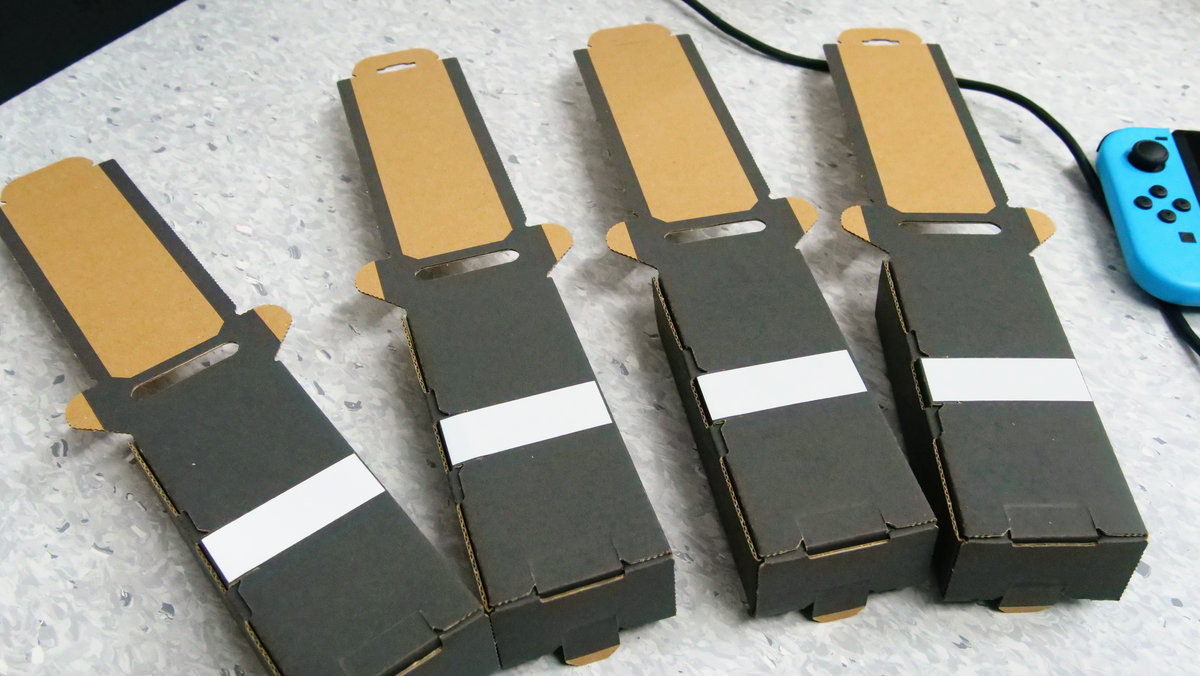
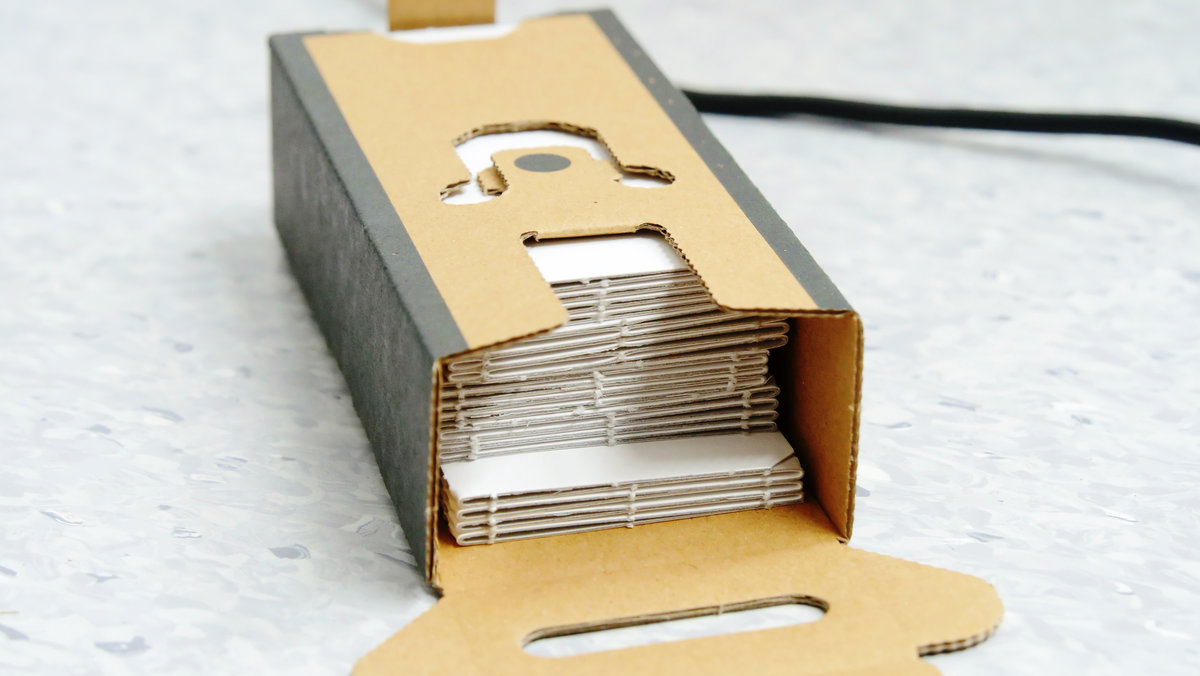
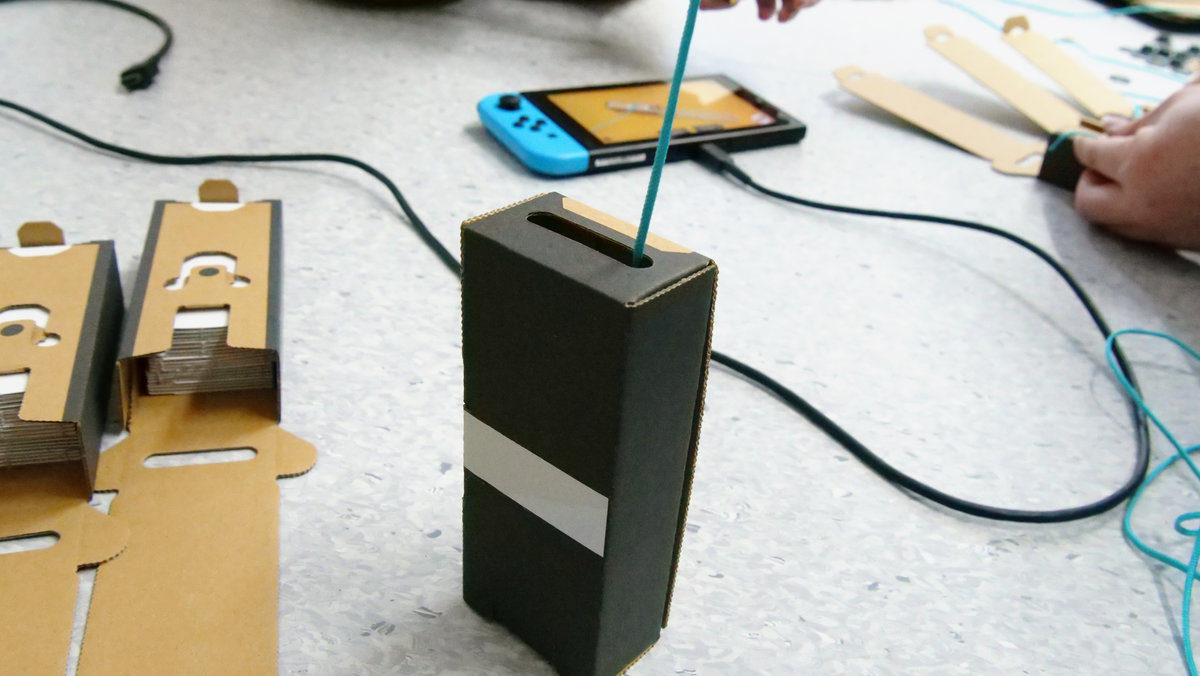
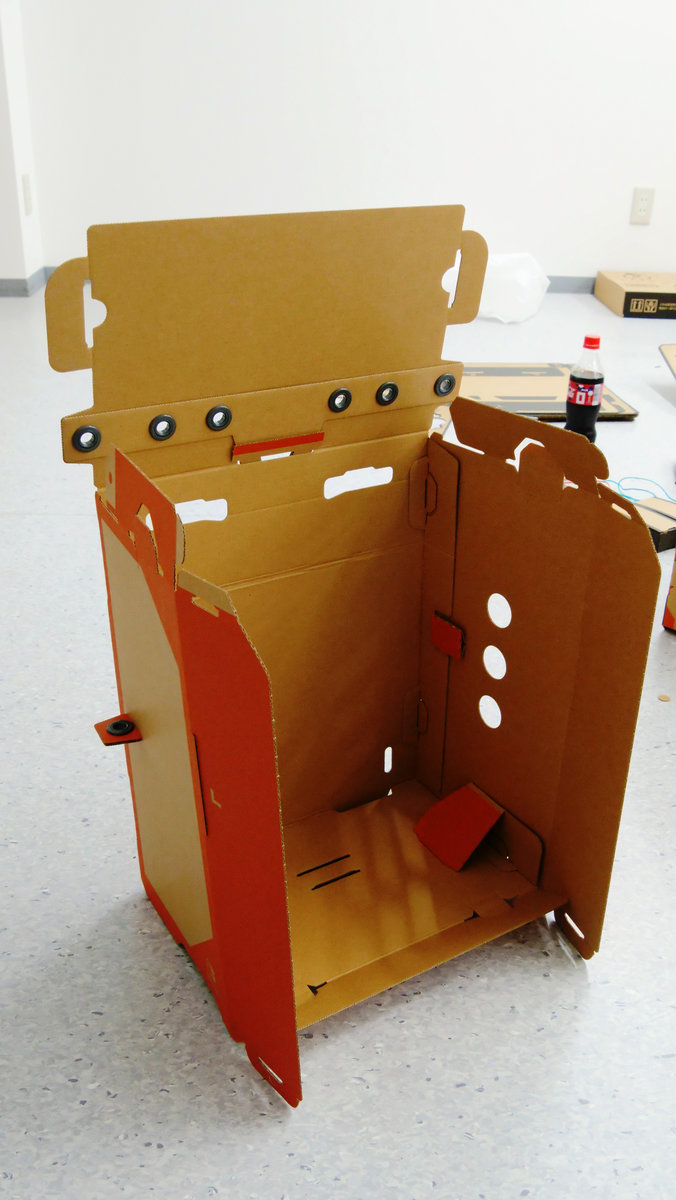
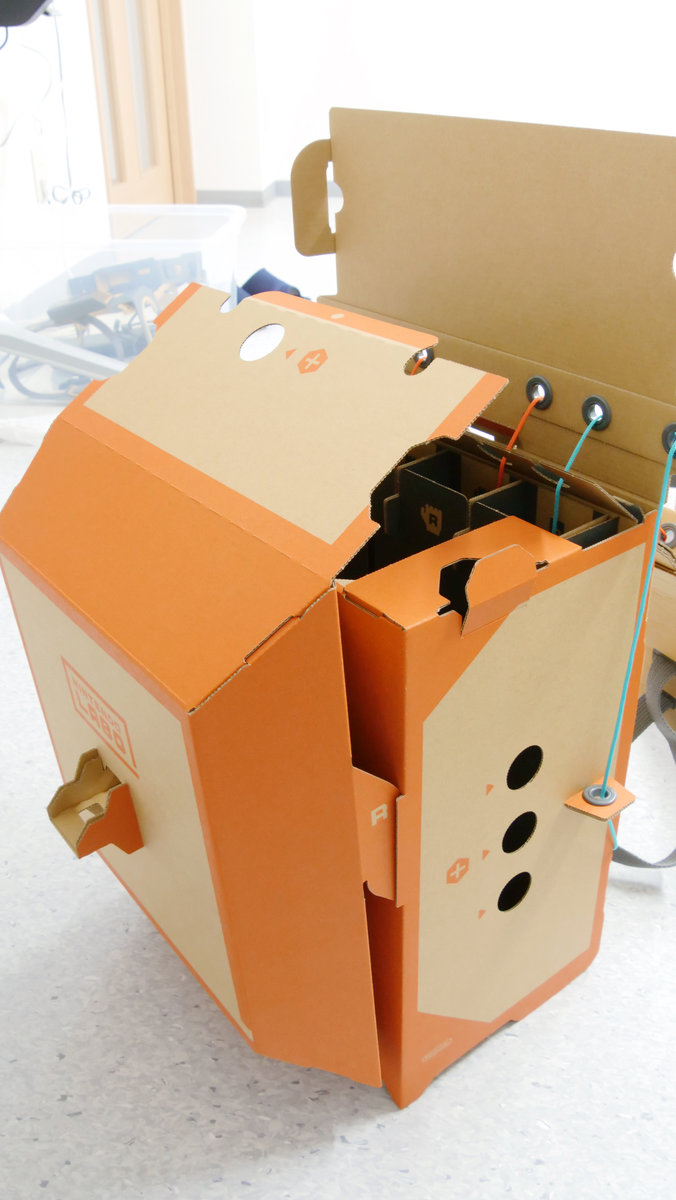
Next, I will make the "Power Box" which is the heart of robot Toy-Con.
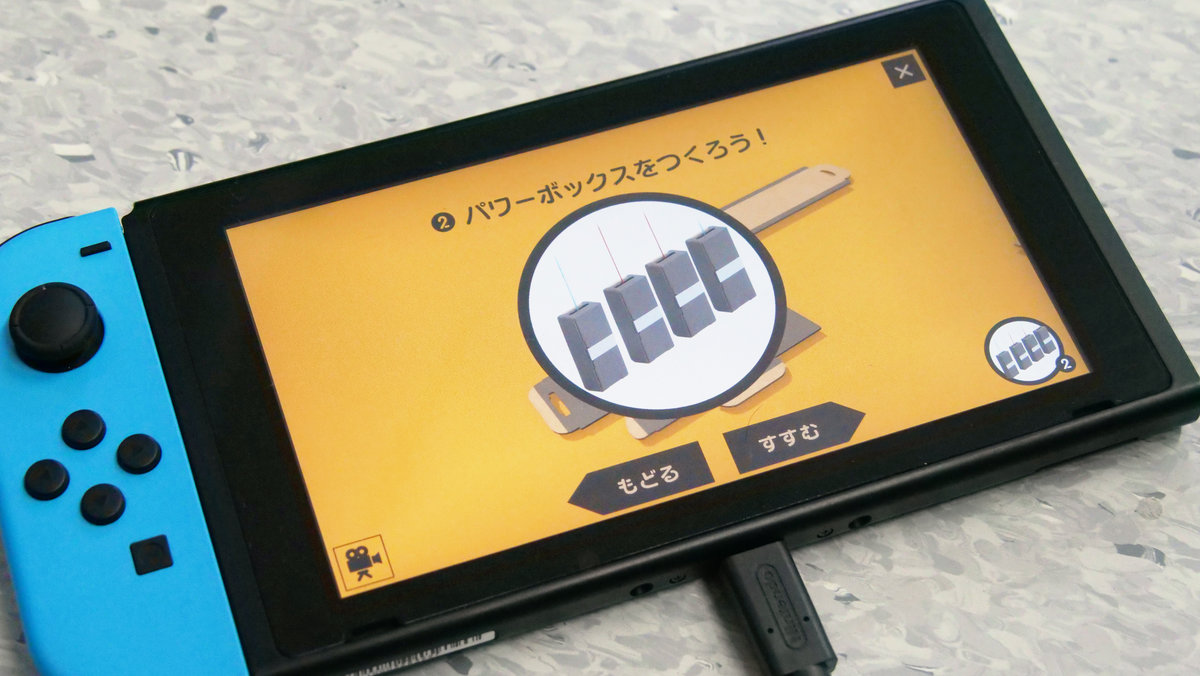
Power box has 4 same parts.
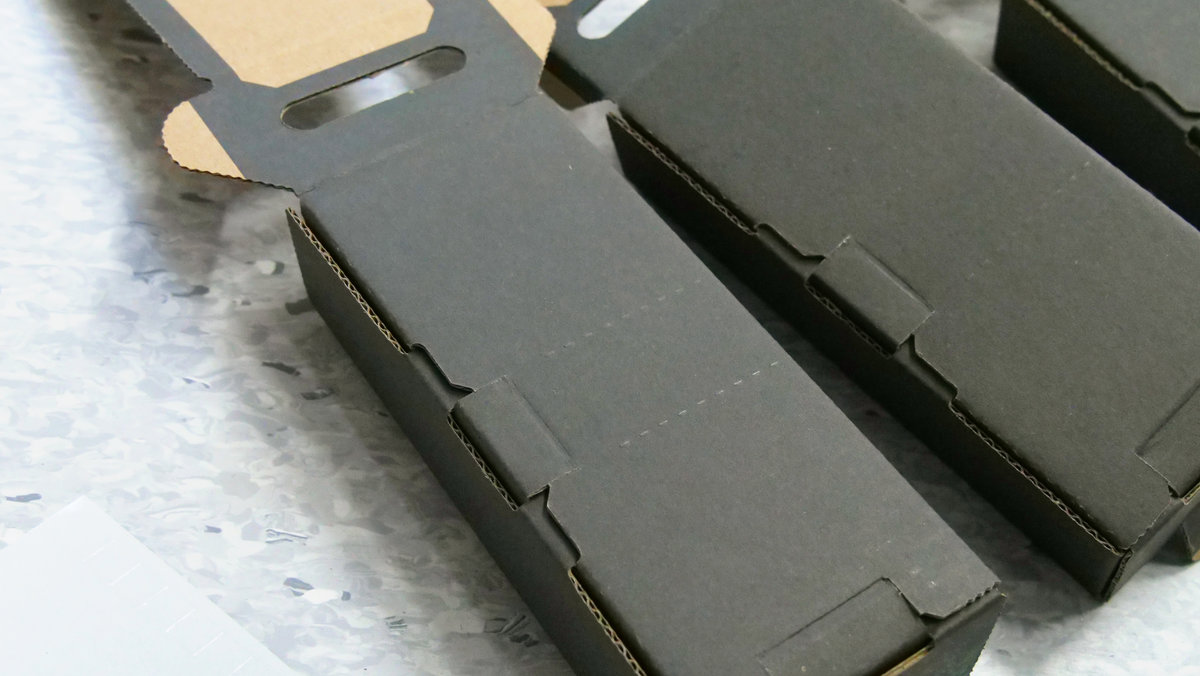
It is assembled so as to be each in a box shape, but keep only the head part not closed.

Attach the retroreflective sheet attached to this box. Nintendo Switch 's screen tells you which sticker to put on where.
Because there are two dotted lines in the center of the part where the one side of the box is gray ... ...
Paste the largest one of the retroreflective sheets here.
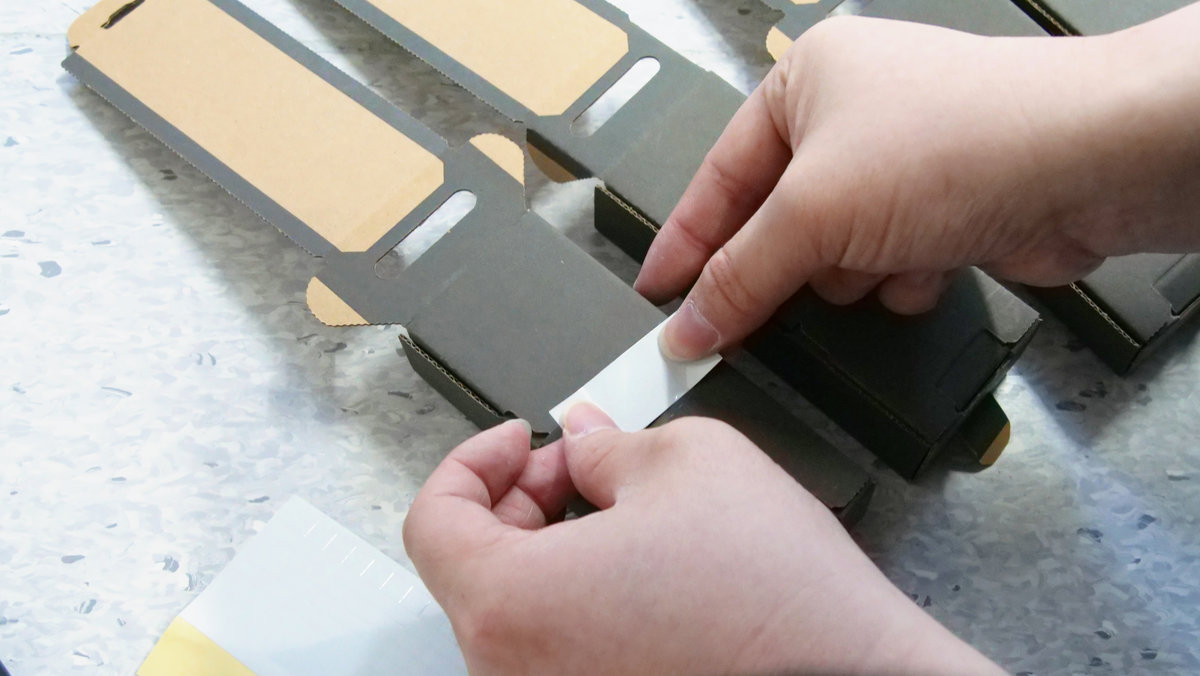
If you paste the seal in the same way for all four, it will be completed.
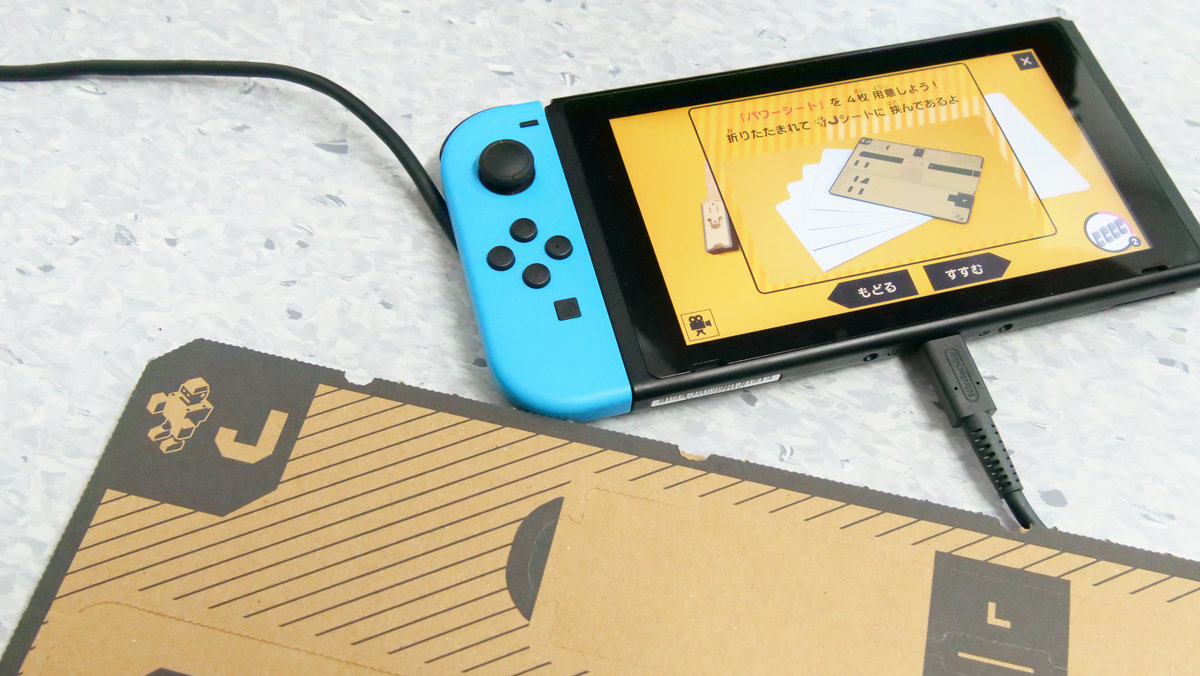
Next, prepare the power seat. The power seat is a white sheet sandwiched between cardboard sheets of "J".
As there is a triangle cut in the power sheet like the red frame part ... ...
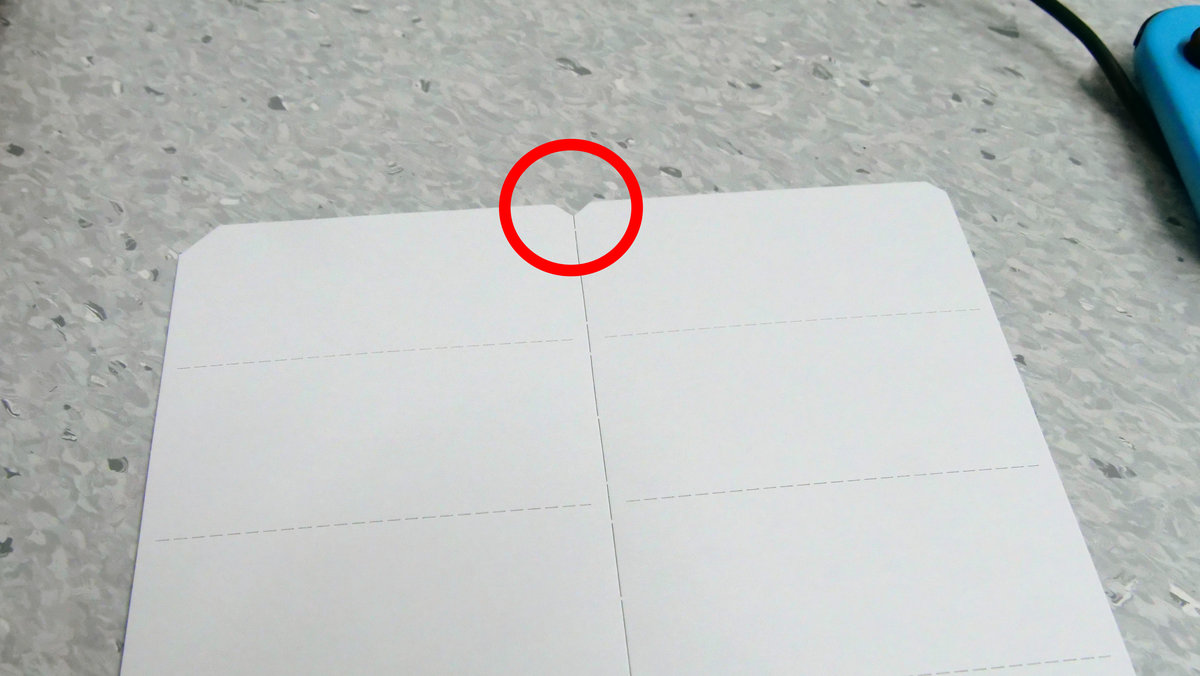
You can cut it by hand from here.
Following cutting, fold it along bellows ...
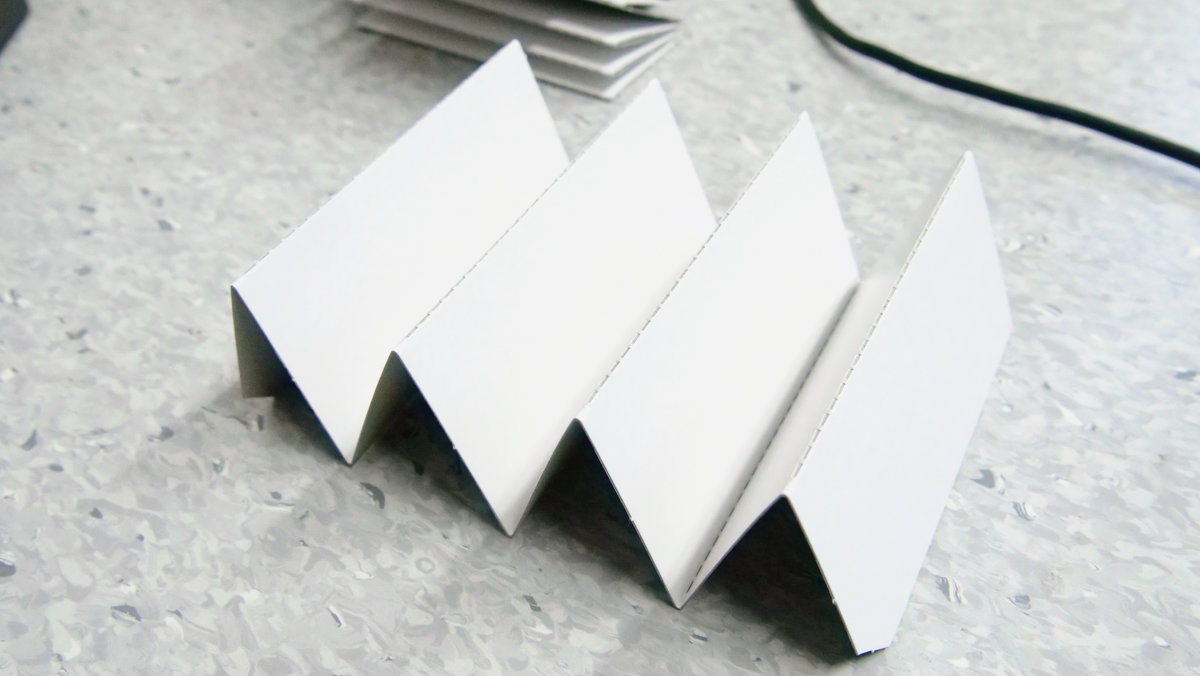
I put five in the power box I made earlier. When putting five power seat folded into a bellows into the box just the perfect power seat will not come off easily.
Four power seat × 5 power boxes are prepared.
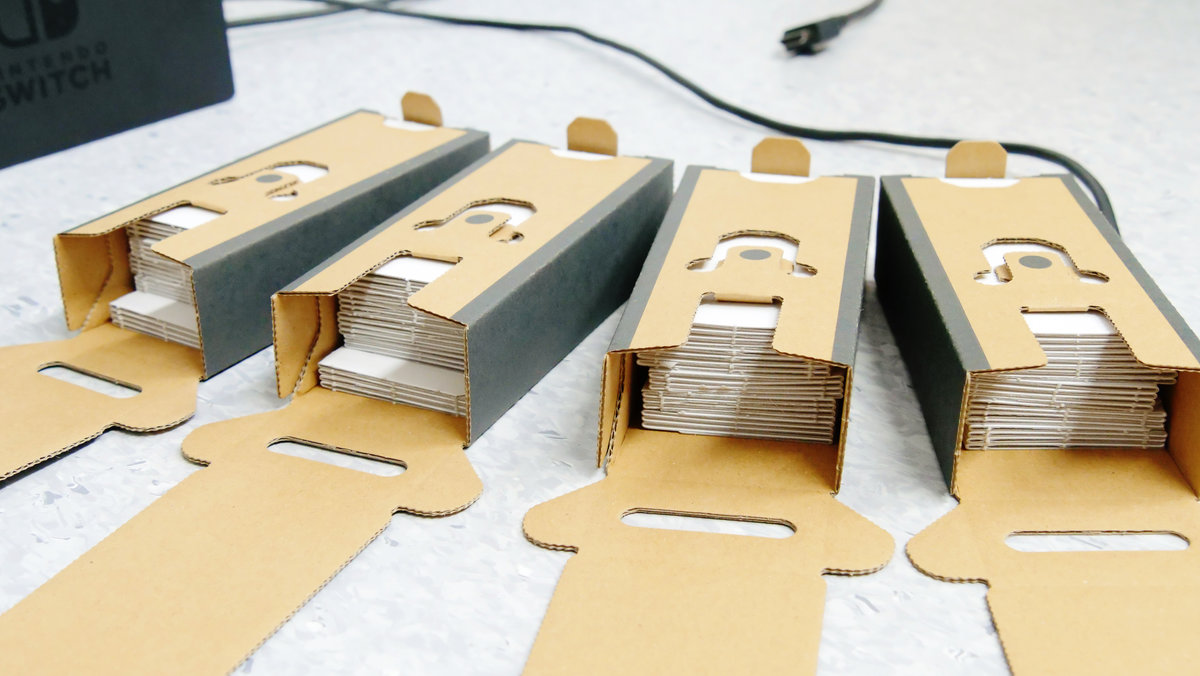
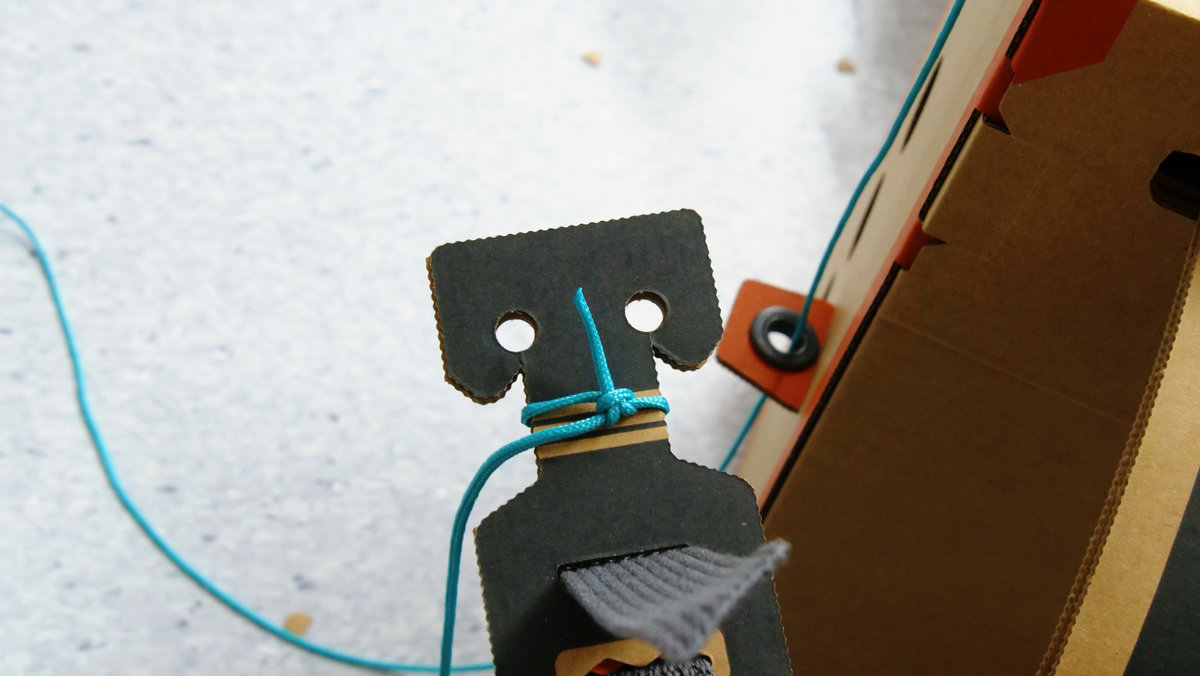
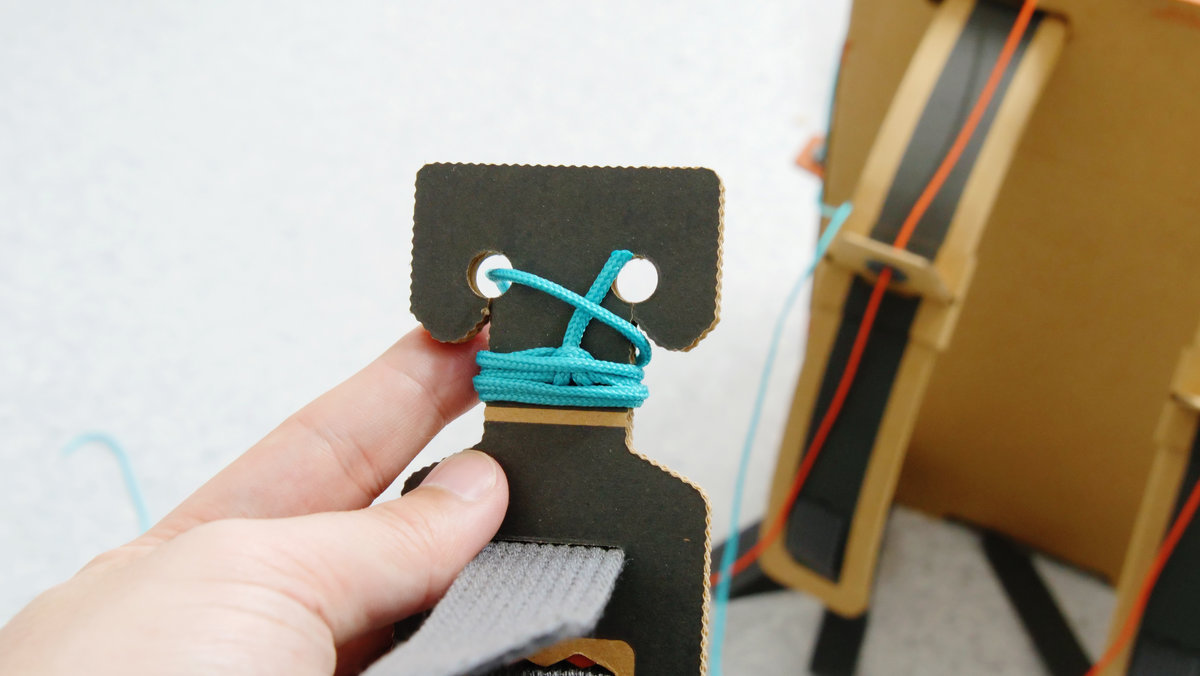
Next used are Orange and Blue Pimp. This is attached to the power box according to the instructions on the screen of Nintendo Switch. Knotting is a solid knot and OK.
Finally the lid is completed and the power box is completed. I will also join the rest to the remaining power boxes.
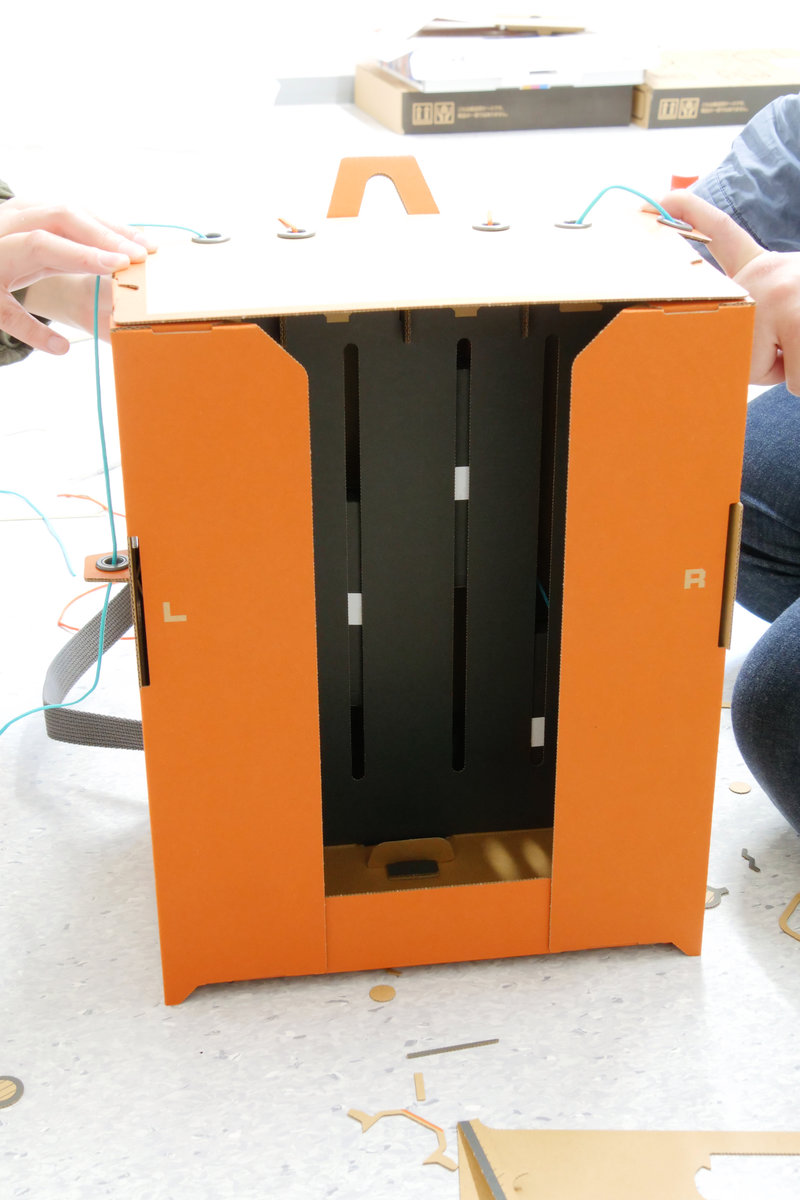
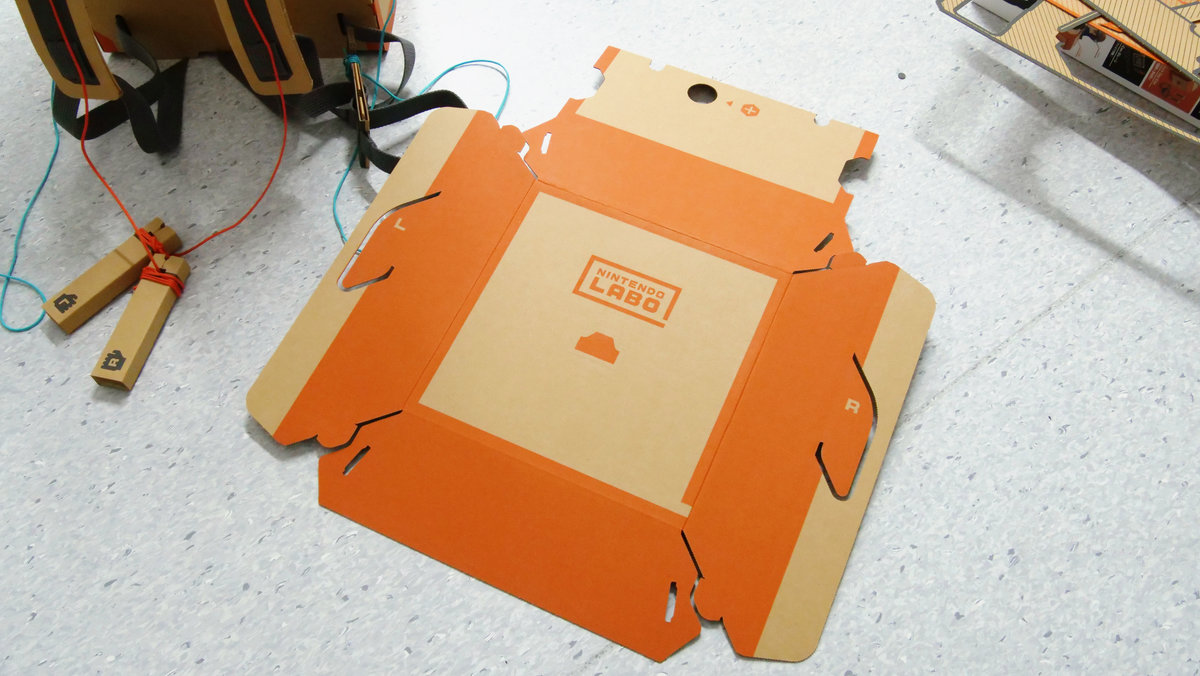
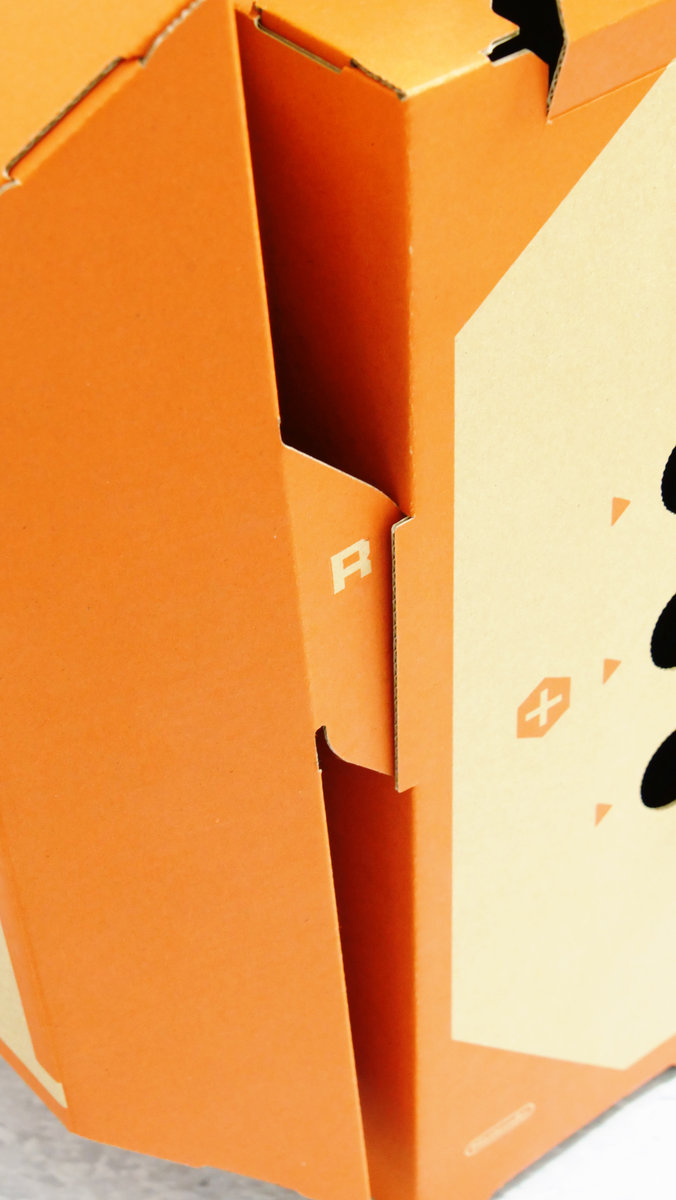
Next is the creation of "main body". The main body uses an orange cardboard sheet.
Remove the specified parts ......
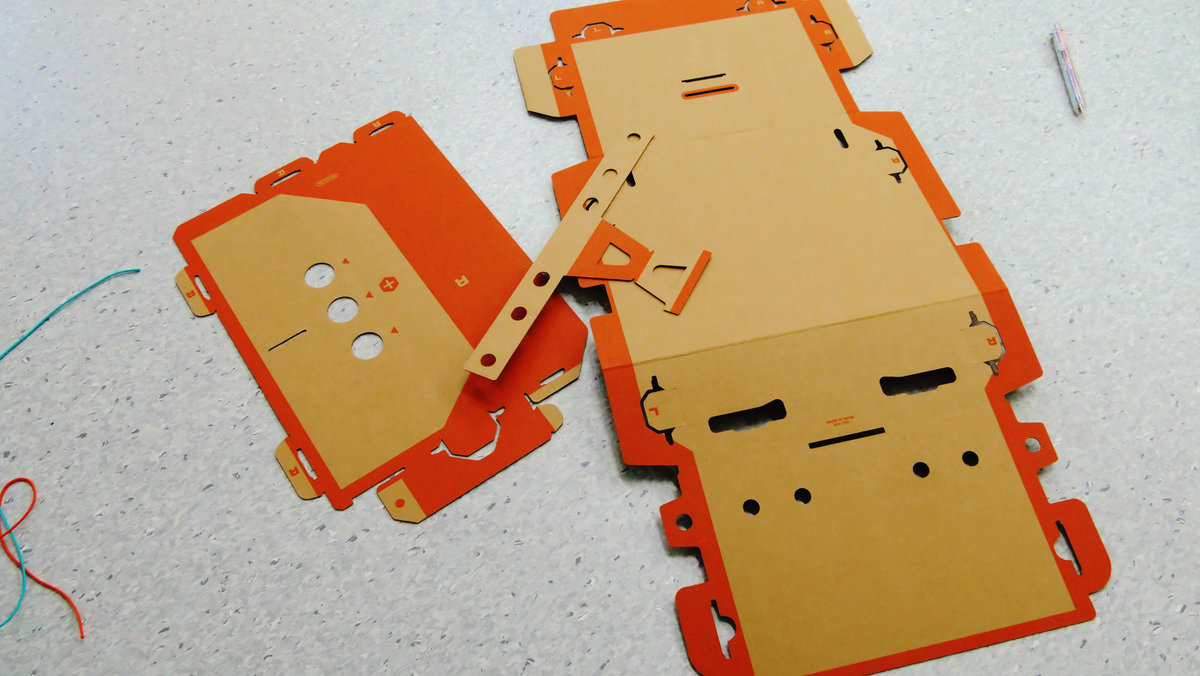
While using six luxury eyelets ......
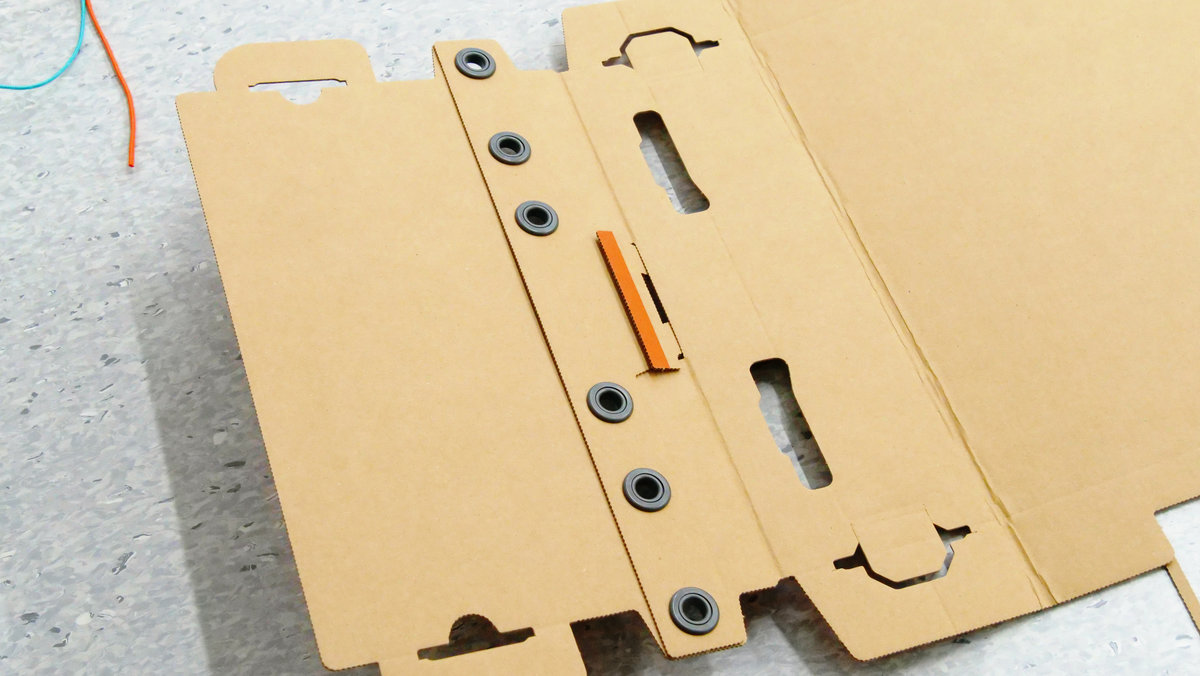
We will build up the main body.
T-shaped small parts ......
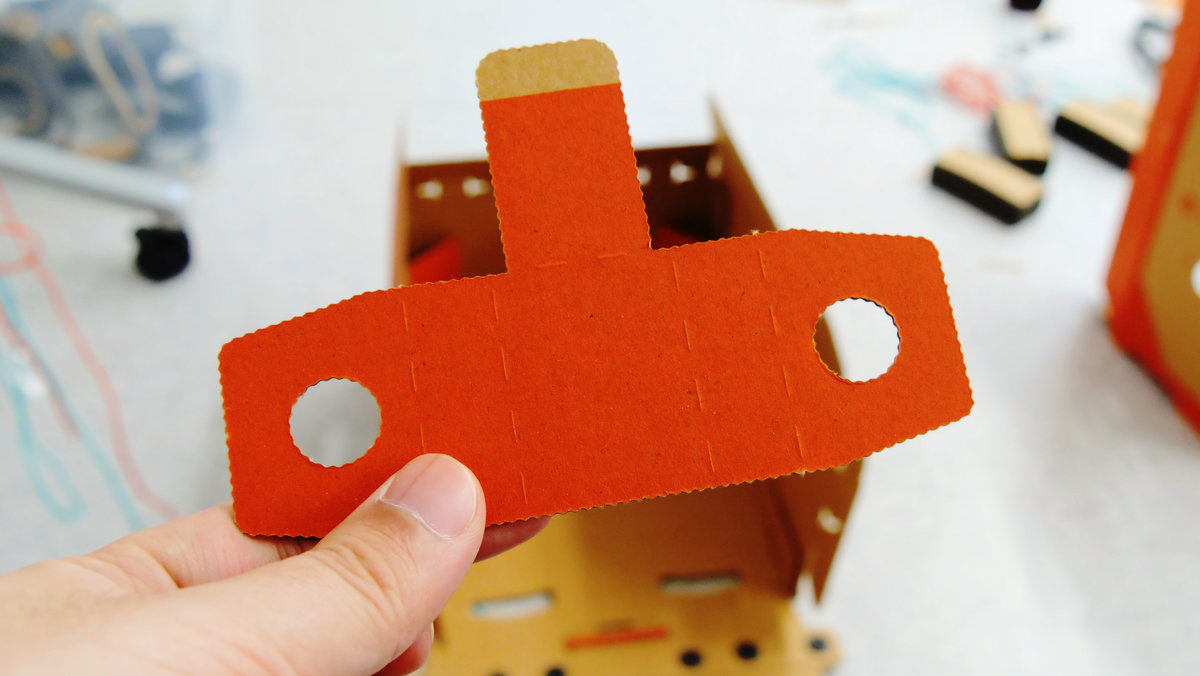
Fold it ... ....
Insert it on the side of the main body.
The main body gradually builds up. At first it took us more than 30 minutes to create a visor unfamiliar with the way to make it, but as soon as it comes to this place I get accustomed to assembly and work progresses smoothly.
The portion to be put on the shoulder will bend Guigui by hand and will follow the shape of the body.
The shoulder-hanging portion protrudes from the inside.
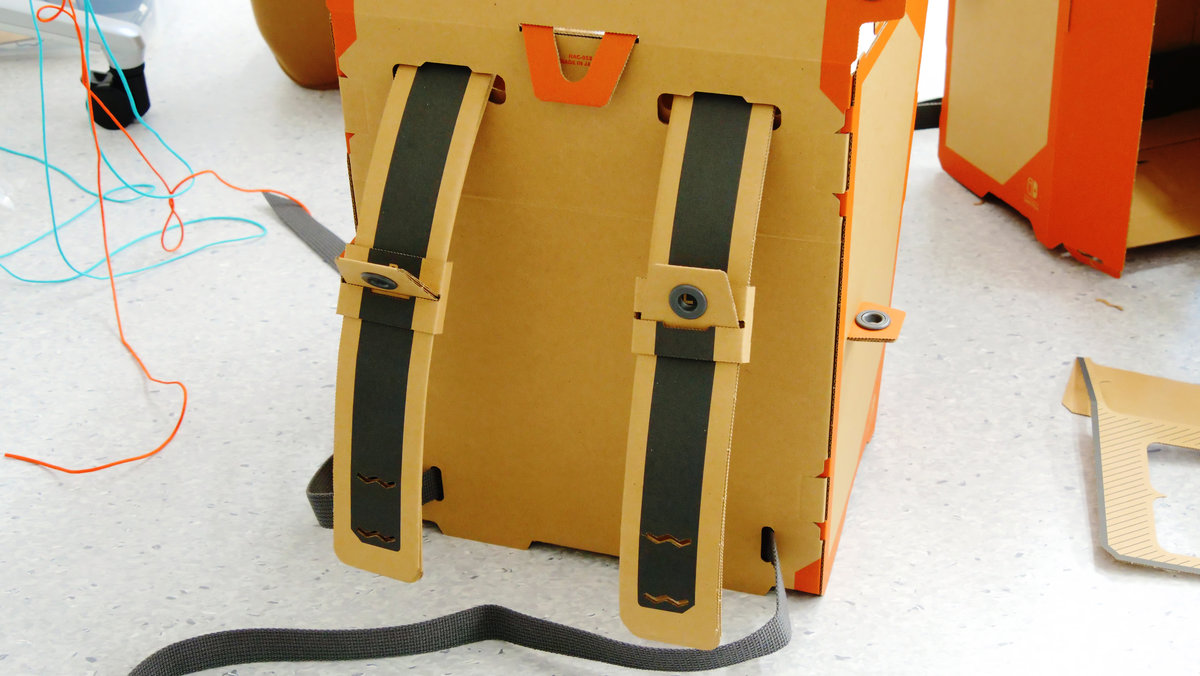
At the end connect with the plain straps coming out from the bottom of the main body ... ...
With such a feeling it will become to bear the main body.

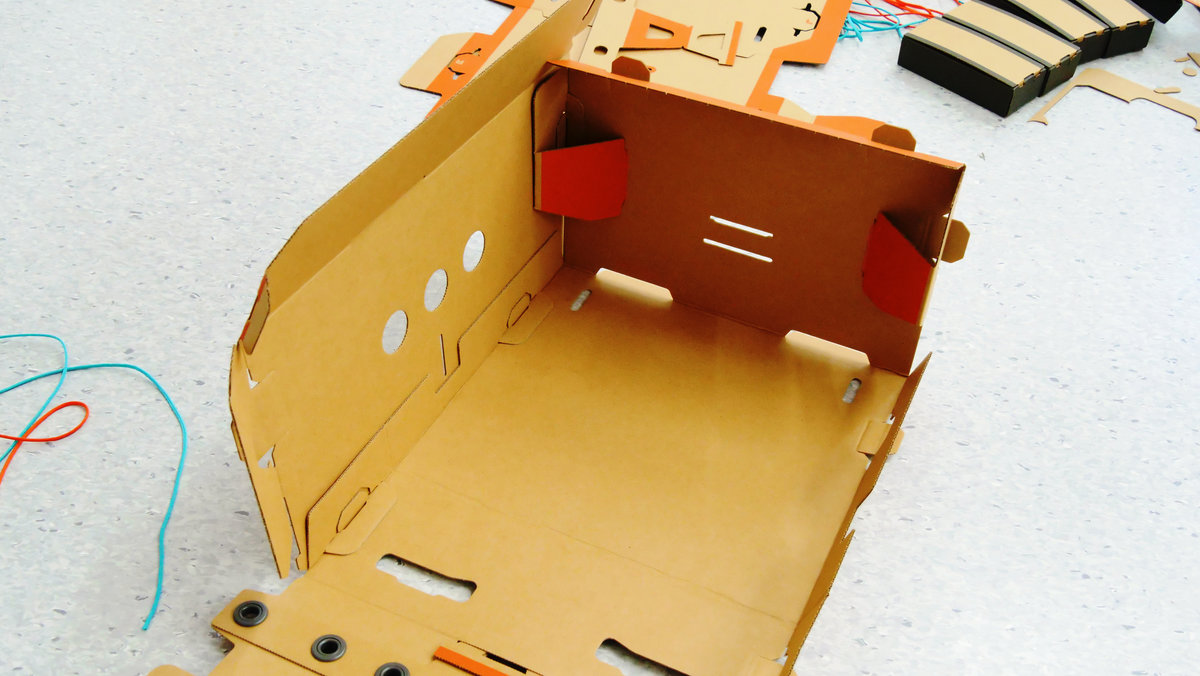
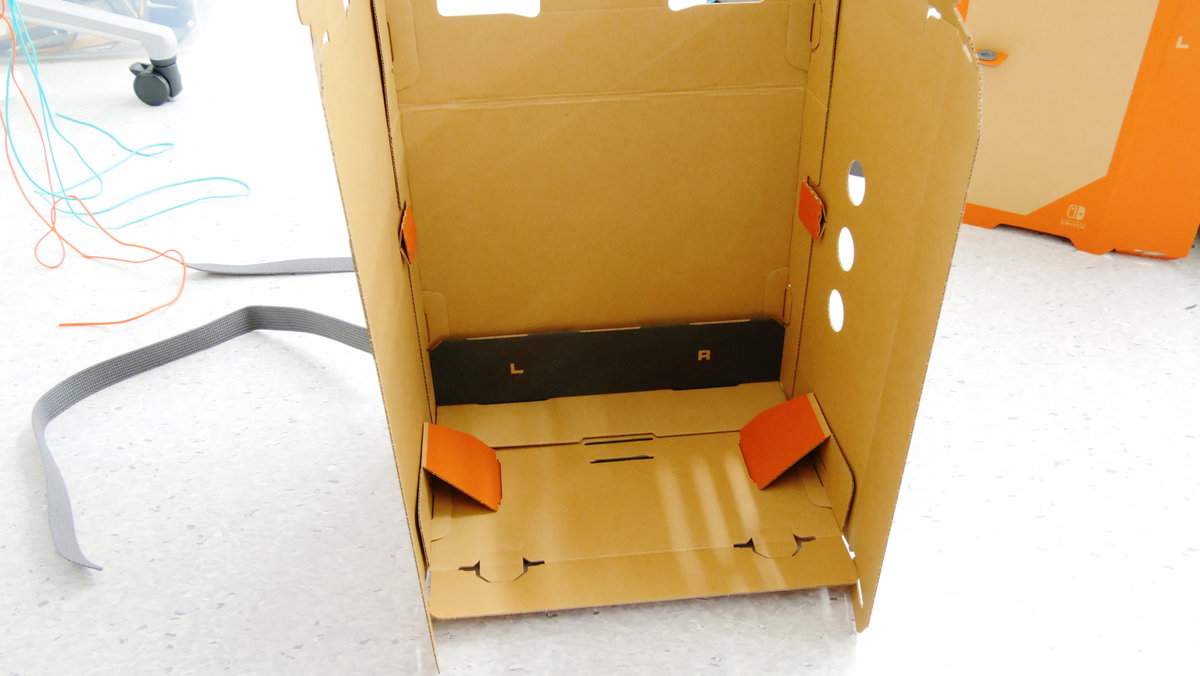
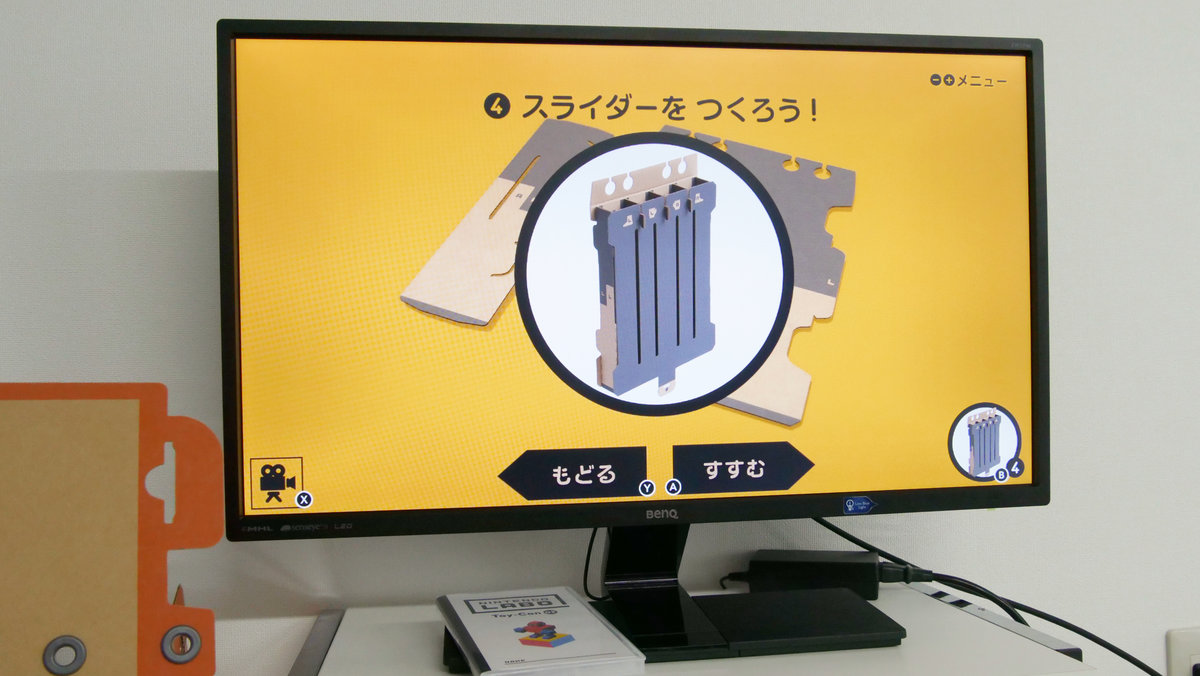
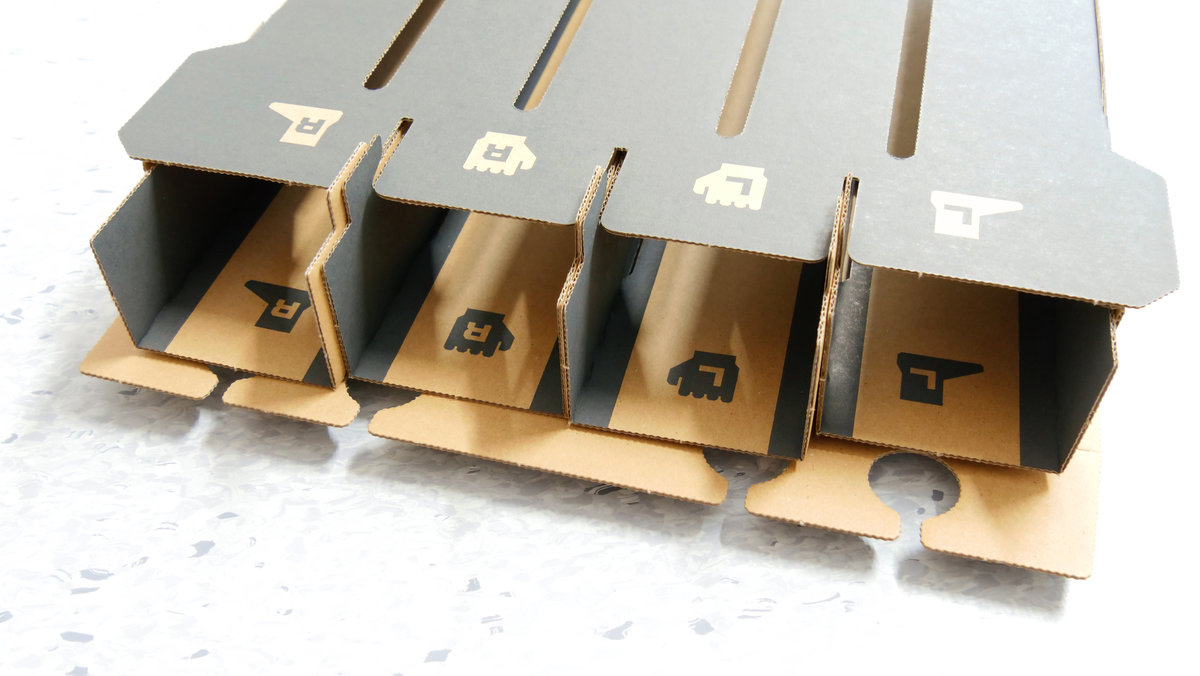
Next, I will make a "slider" to house the power box.
This is the outside of the slider.
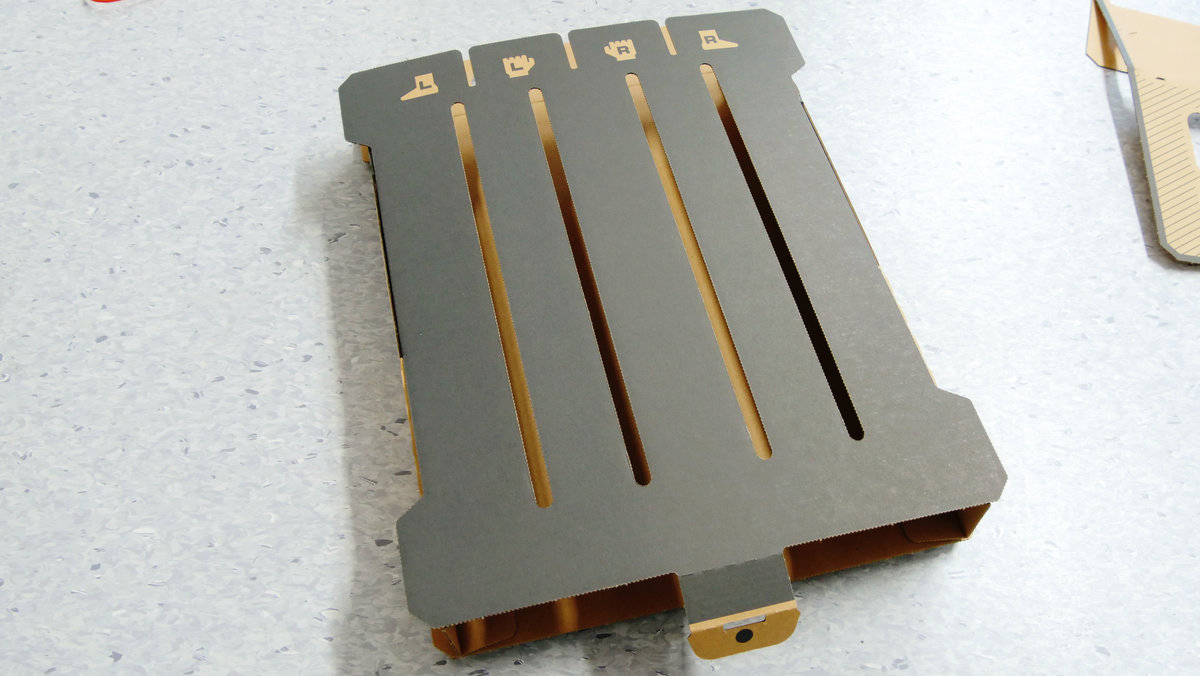
Here, insert 4 rails for right hand, right foot, left hand, left foot.
With this feeling, the rails for both hands and feet are completed.
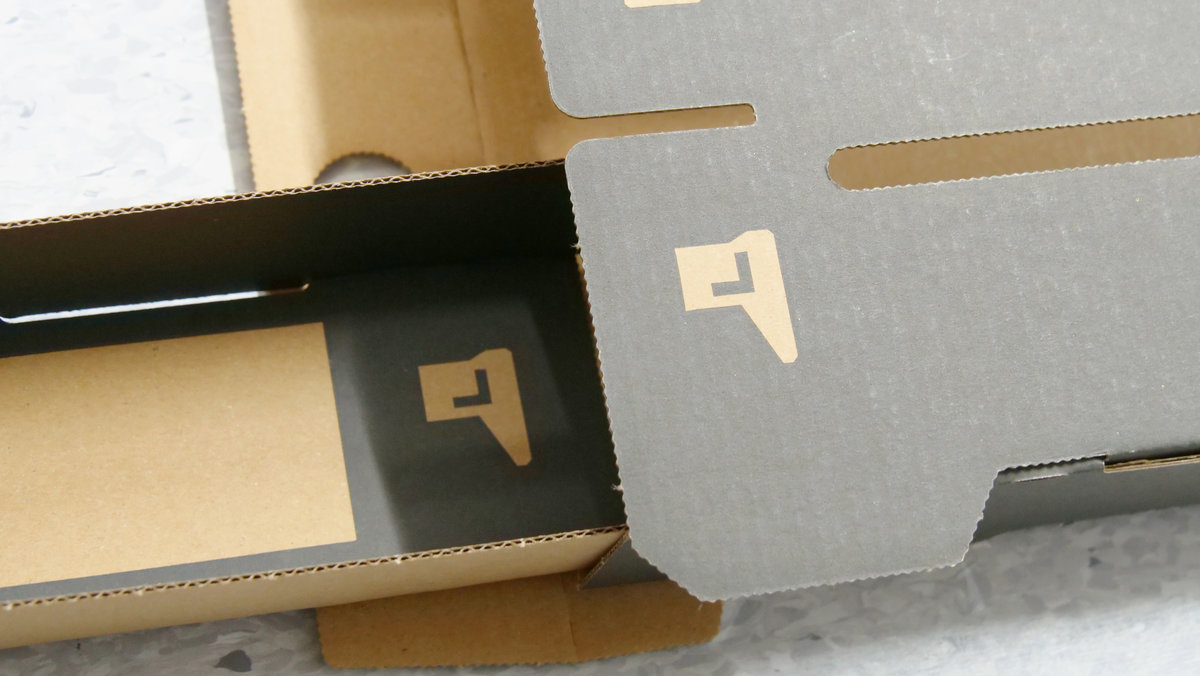
The slider is housed in the main body.
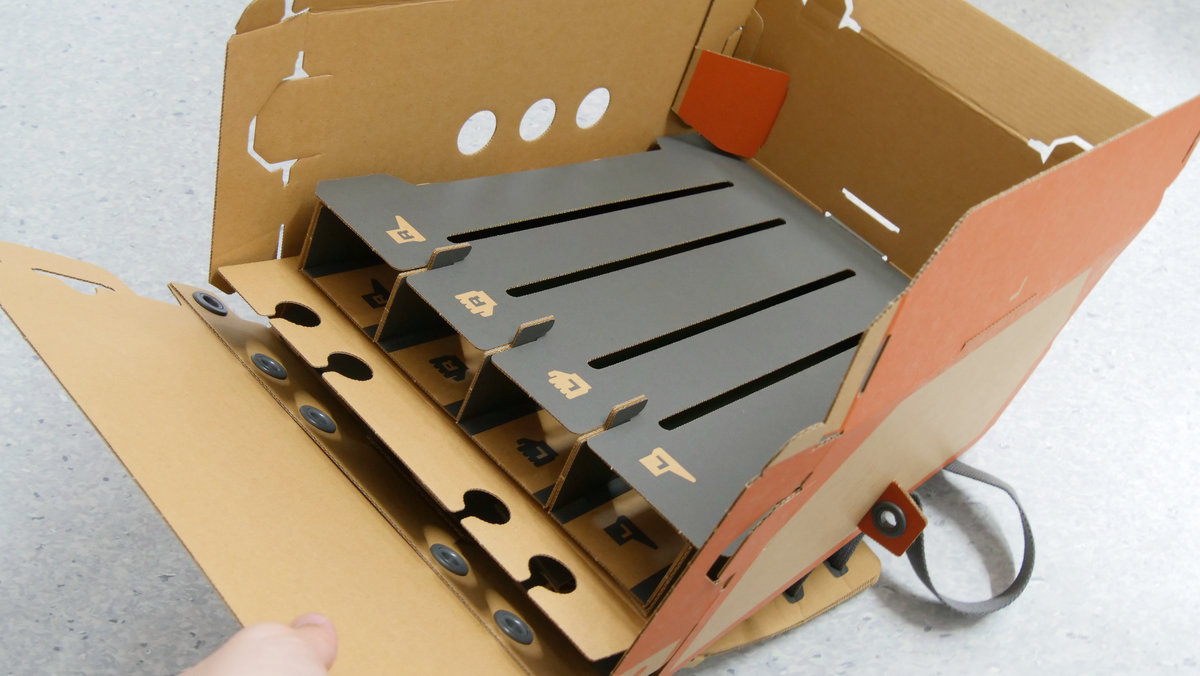
There are many methods of double locking with parts of a double claw to fix parts, but here it is possible to fix more strongly by inserting the following claws in the gap.
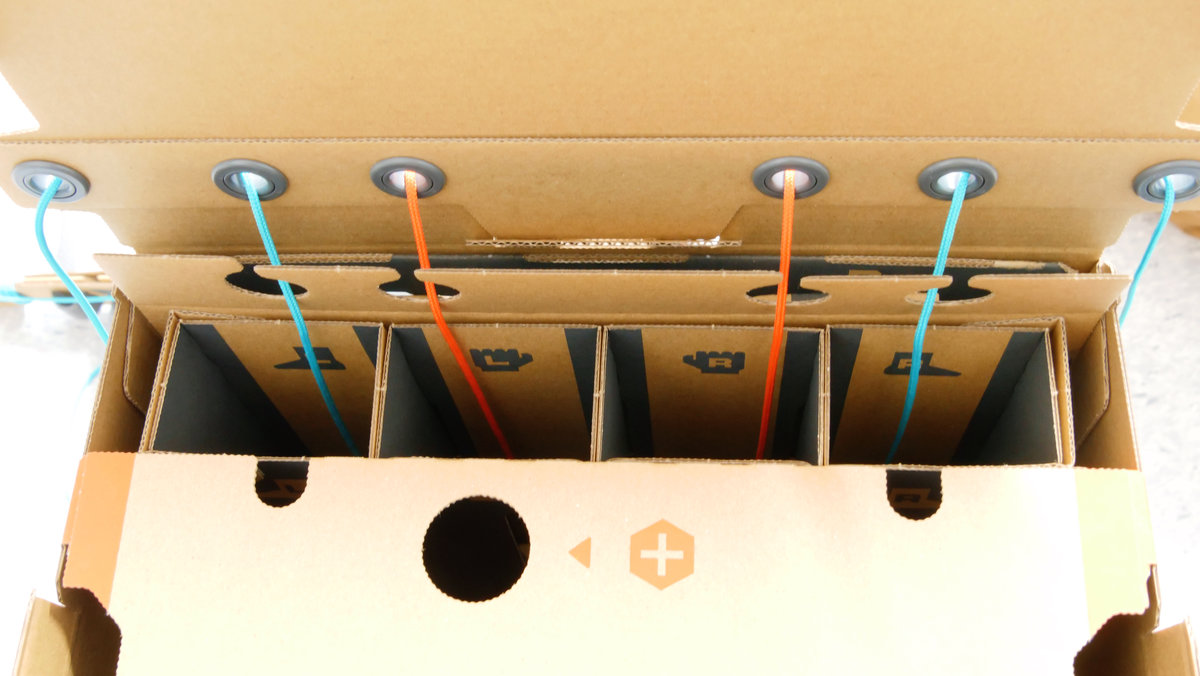
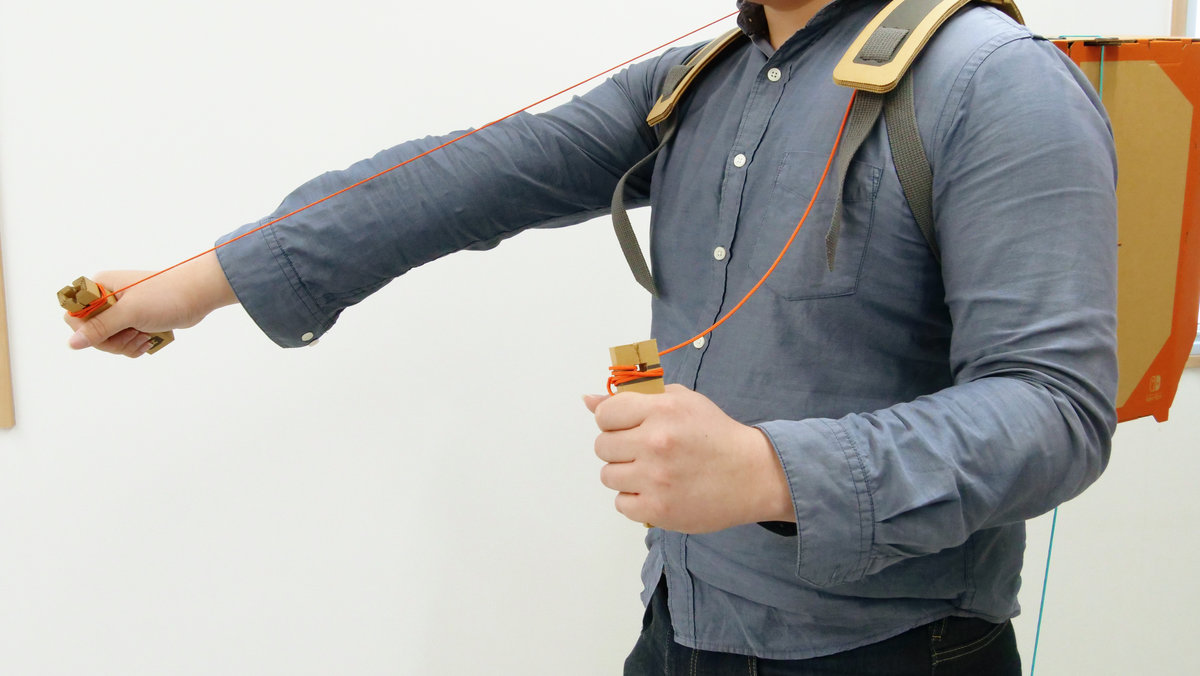
Put the power box in this slider part. Orange straps are a little shorter than blue straps and are for both hands. So, the power box with Orange straps is put in the middle rail.
If you insert a power box with blue strings on both the left and right ends OK.

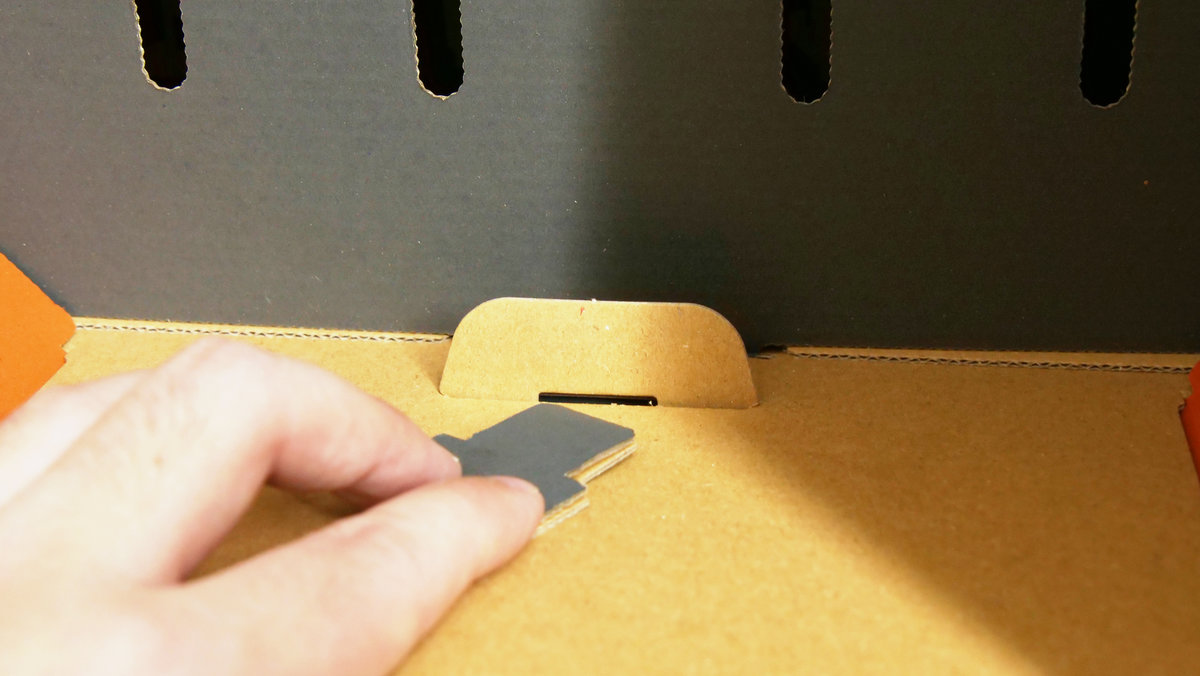
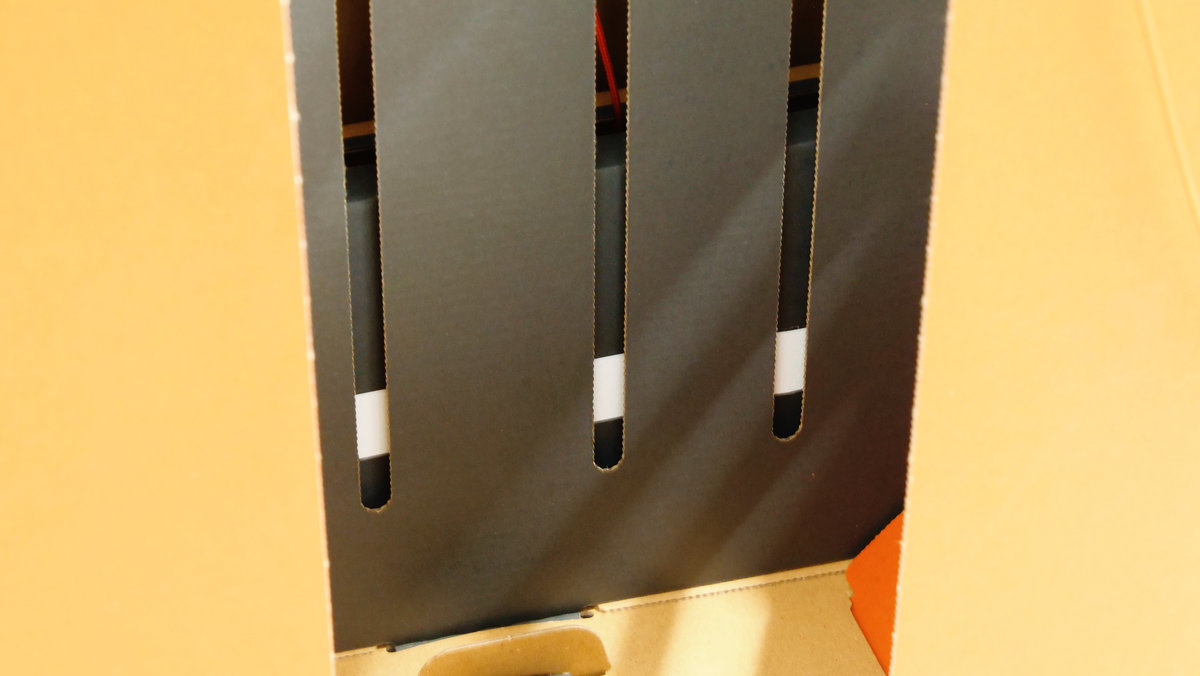
The slider has a vertically elongated slit, but from here it is OK if you can see the retroreflective sheet pasted on the power box.
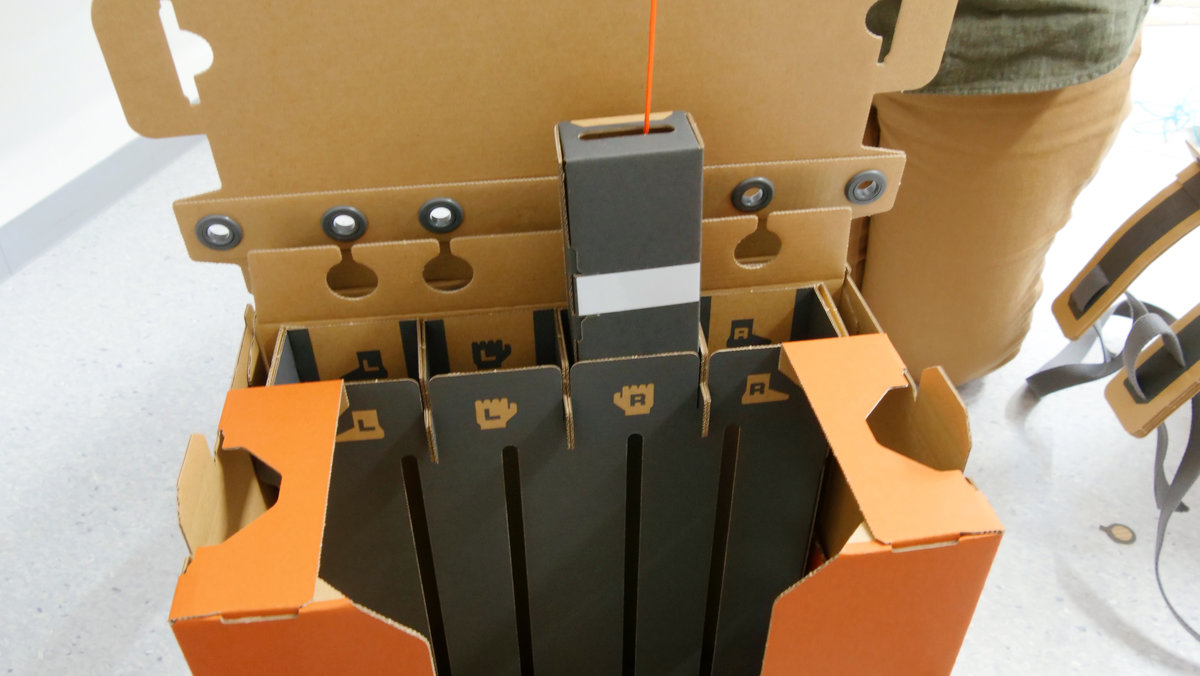
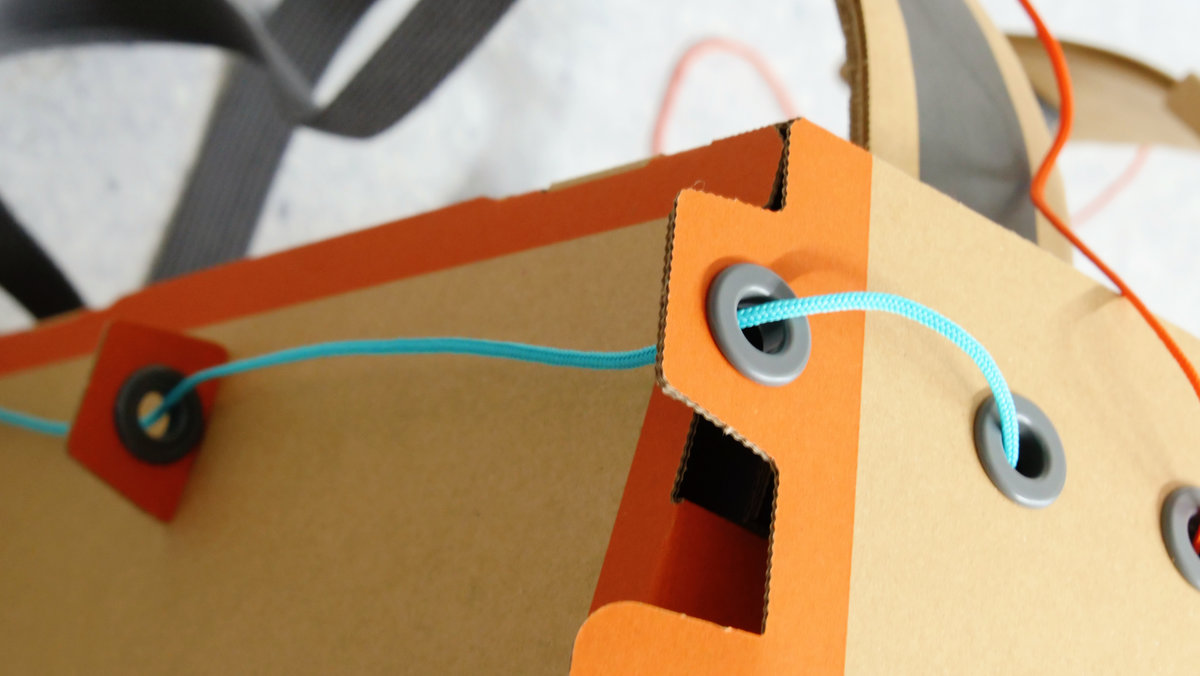
The orange strap extending from the power box escapes from the eyelet of the eyelet just above ......

I will pass it through the eyelet that is attached to the shoulder.
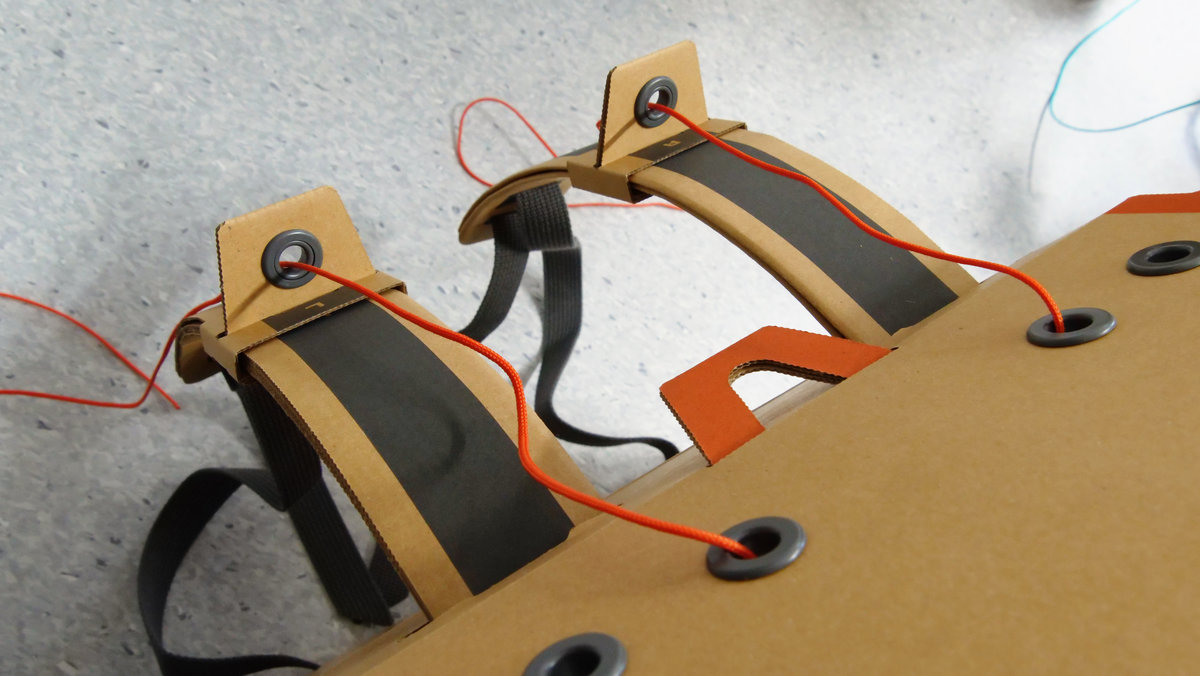
Through the eyelet directly above the blue straps ......
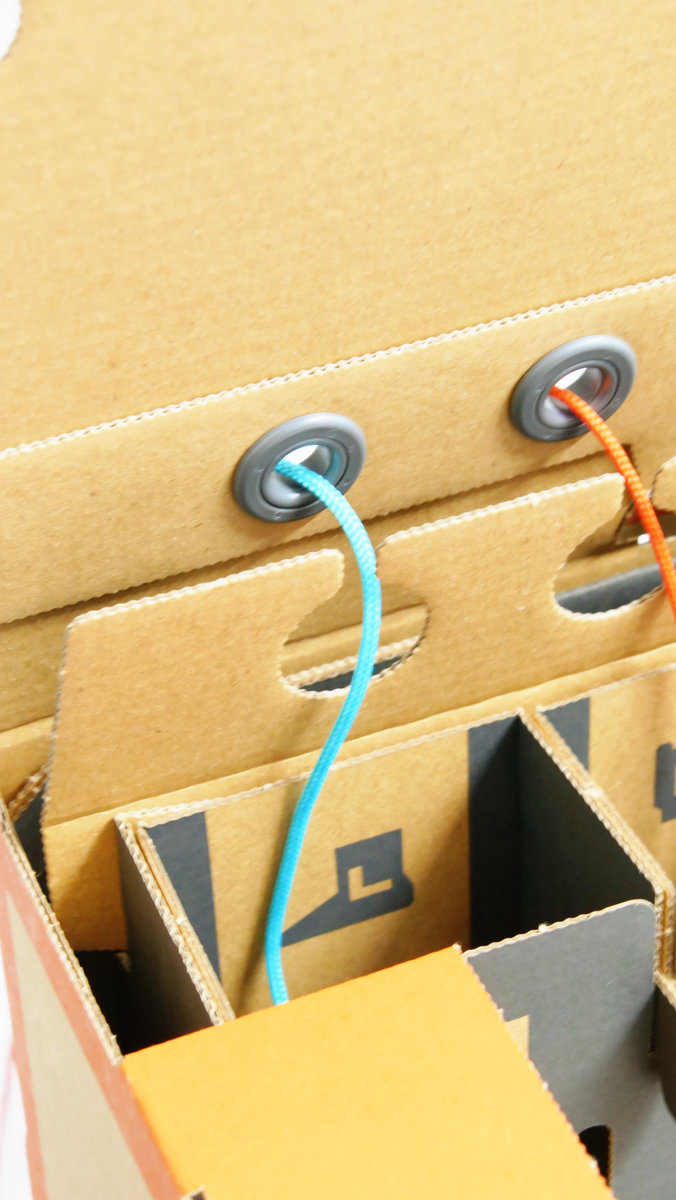
If you let two more eyelets pass as follows OK.
Pull the straps through the eyelet and let's check if the power box firmly moves up and down.
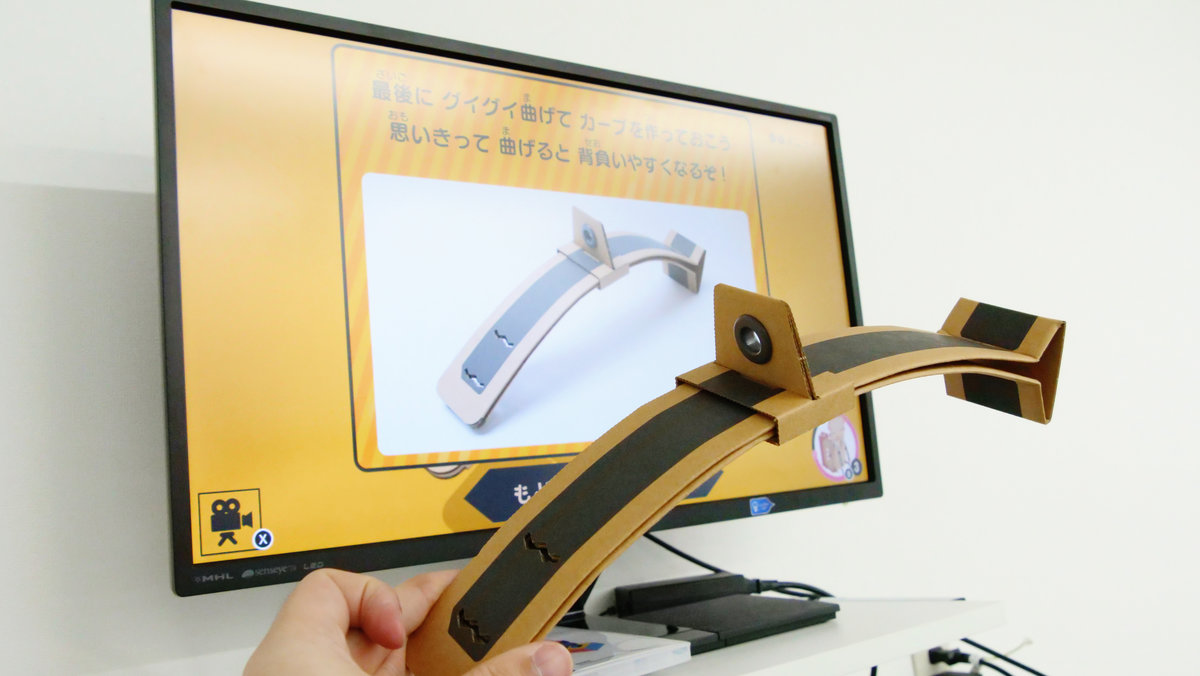
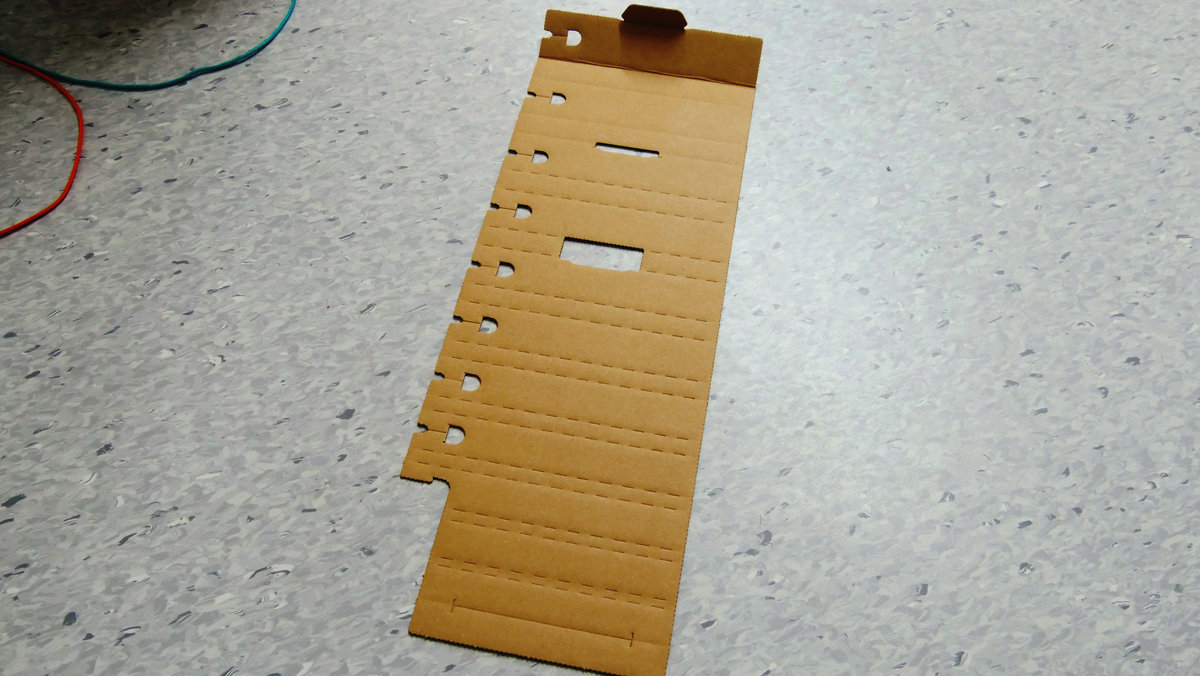
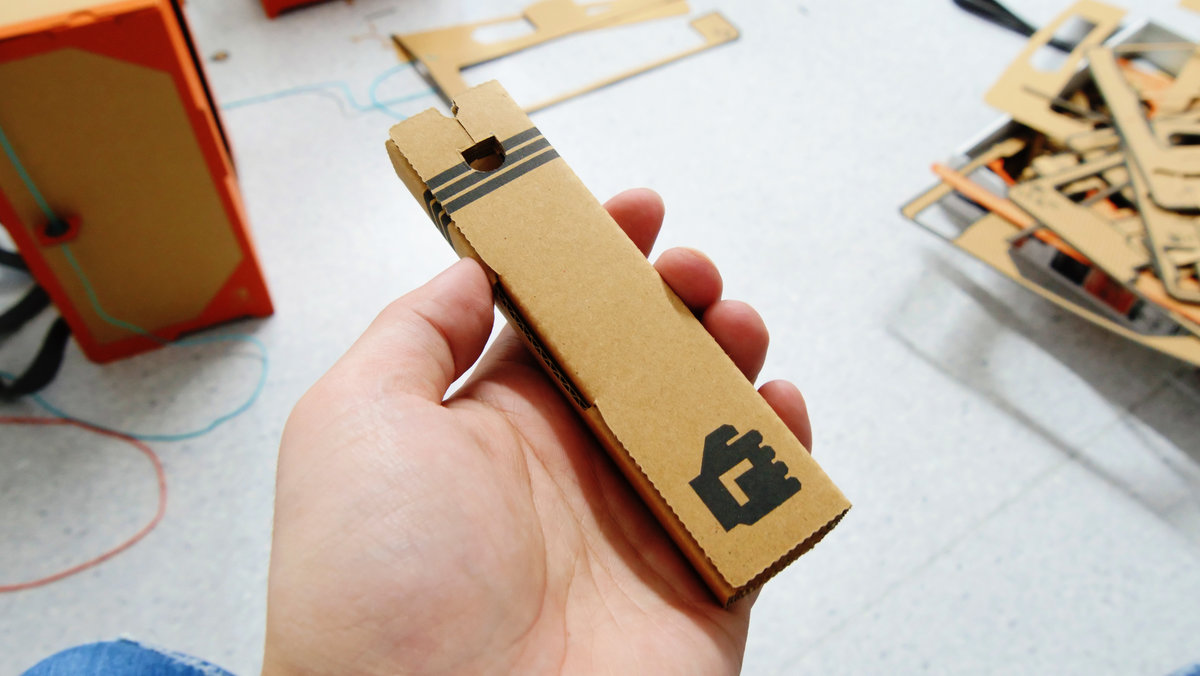
Next, create "robot arm".
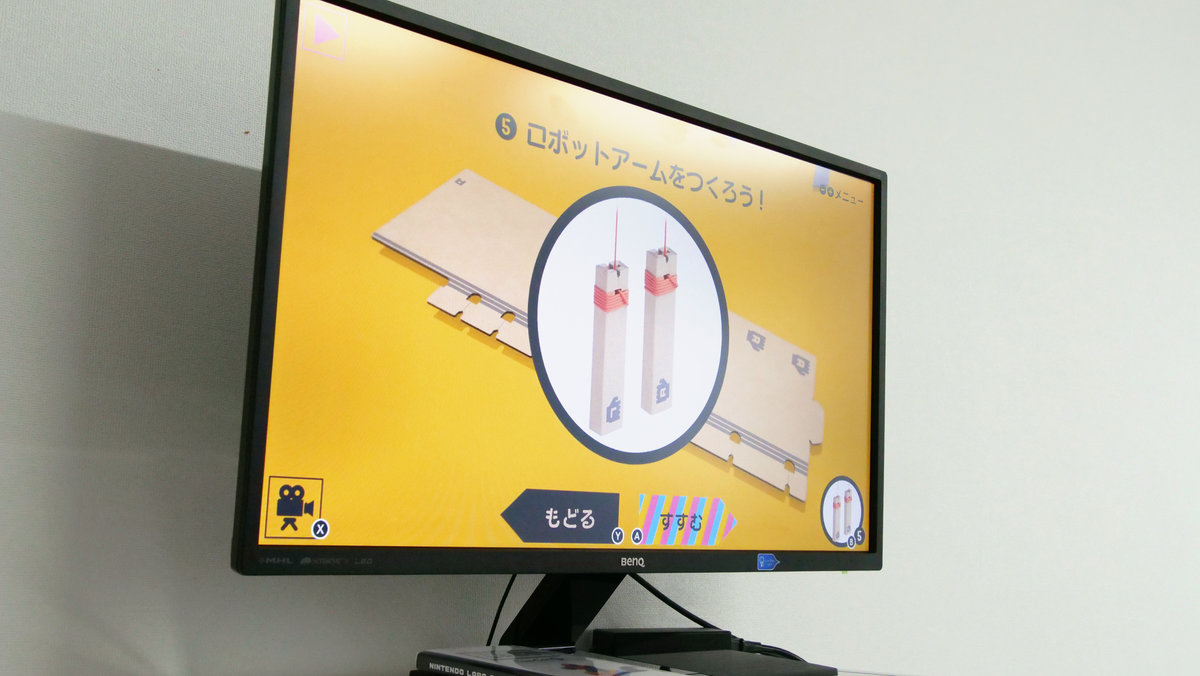
This cardboard sheet
I will fold.
Then got the following grip.
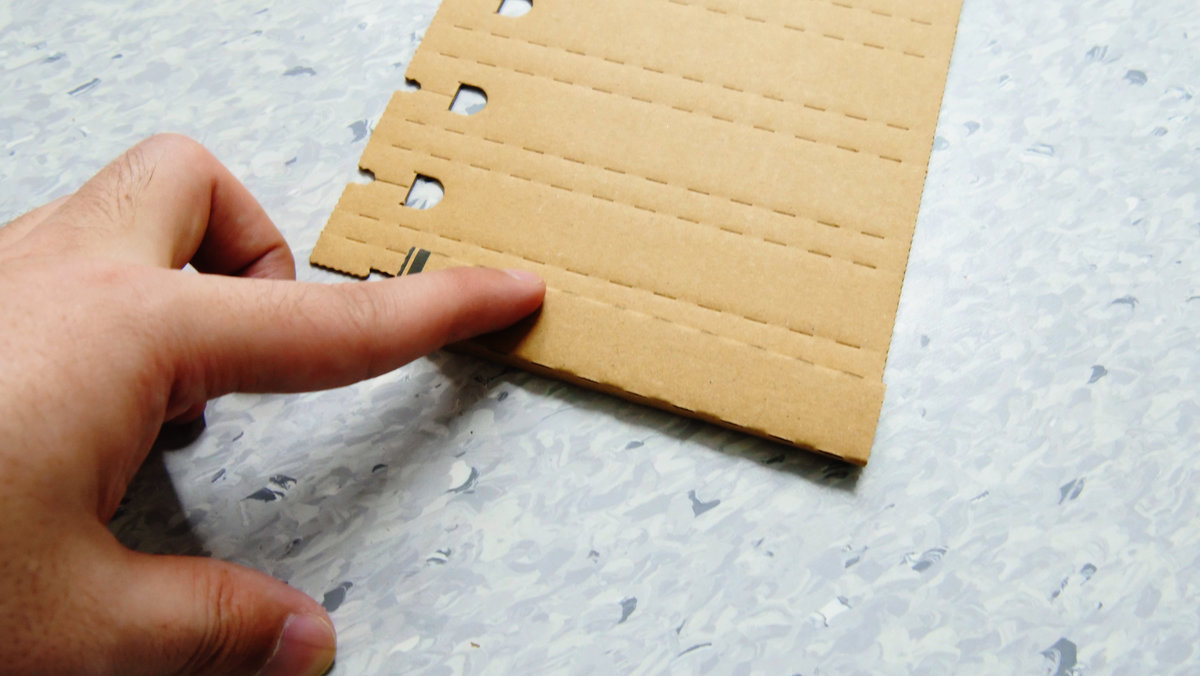
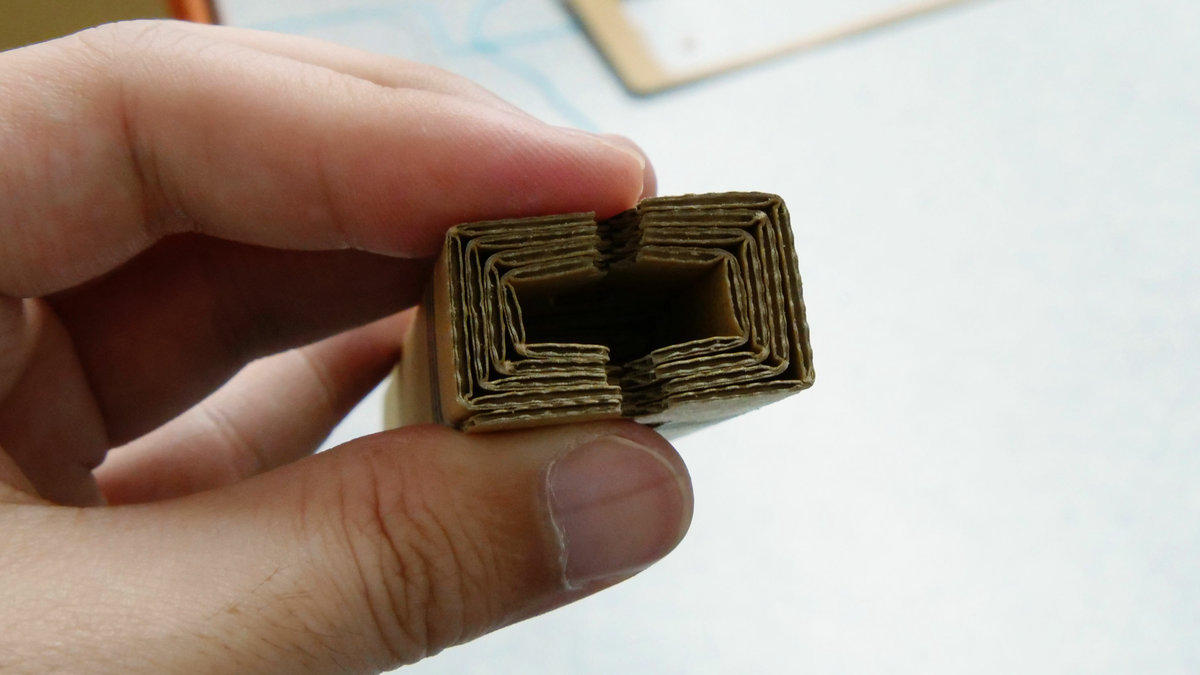
Looking at the cross section, it may not be a beautiful rectangle with such feeling, so in that case crush it with your fingers ... ...
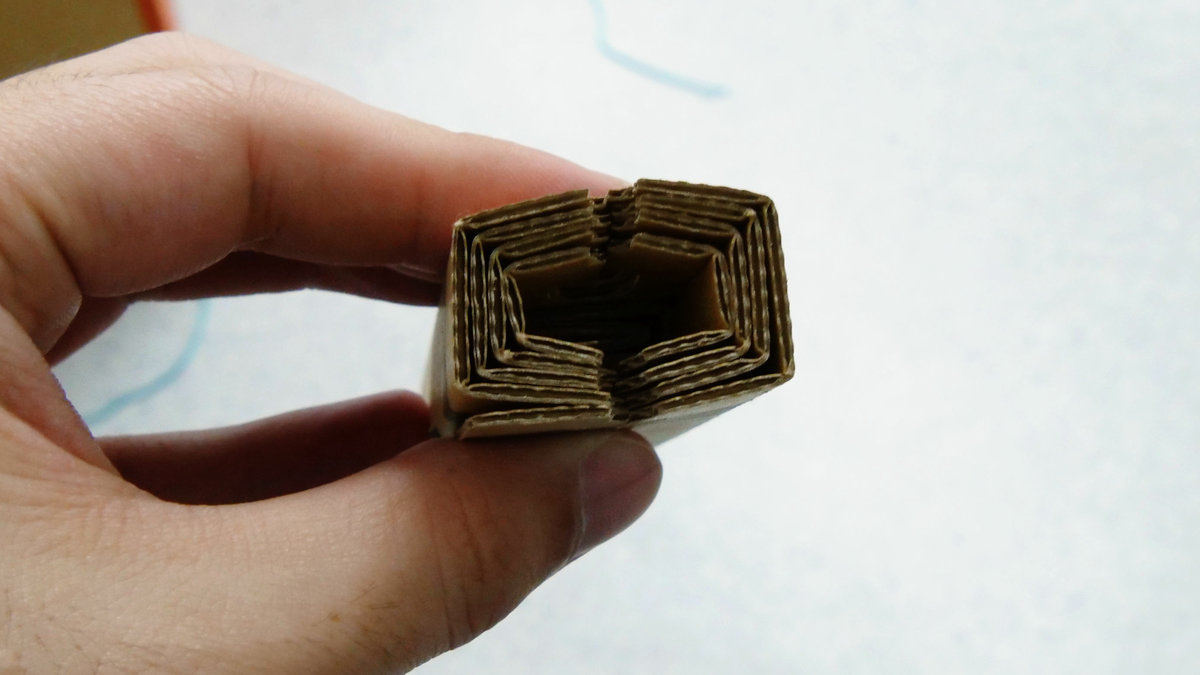
Let's transform it into a rectangular cross section.
I connect left and right straps to this.
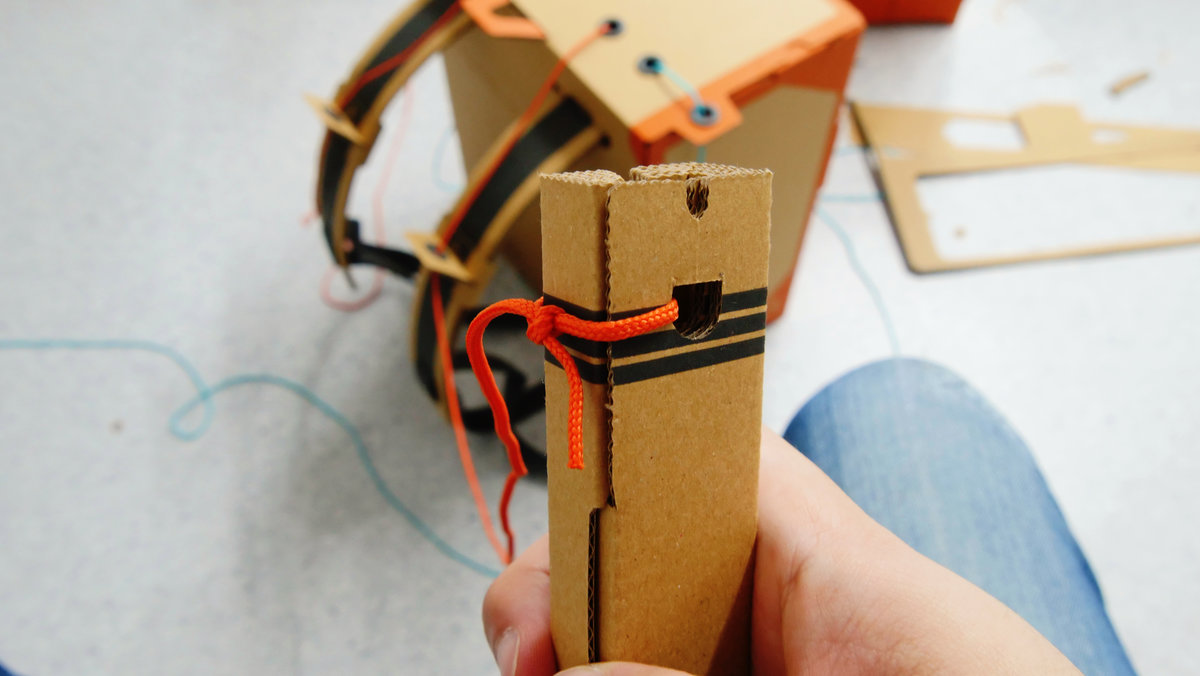
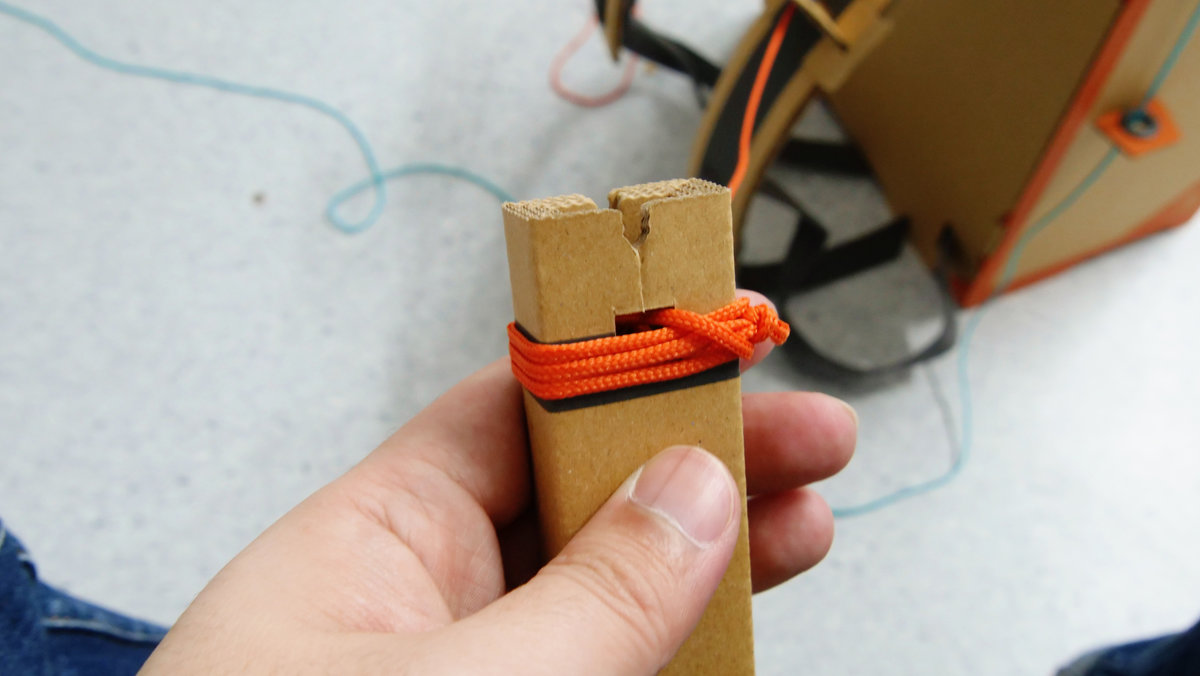
Adjust the length by winding a string around the grip part.
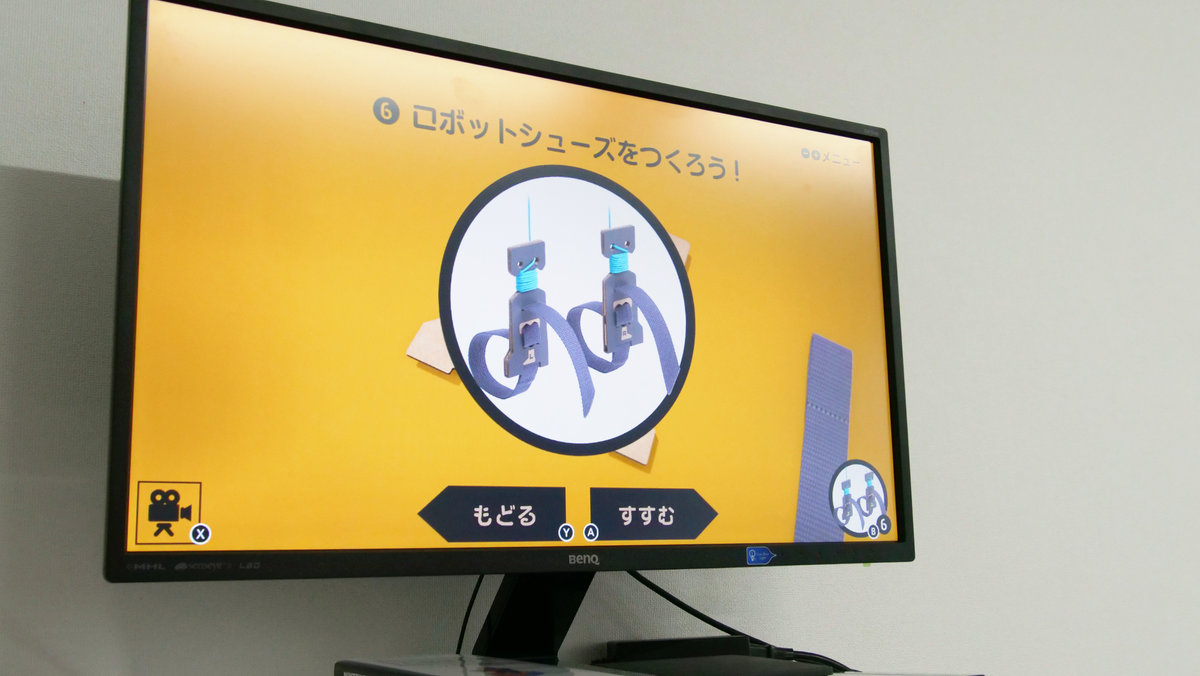
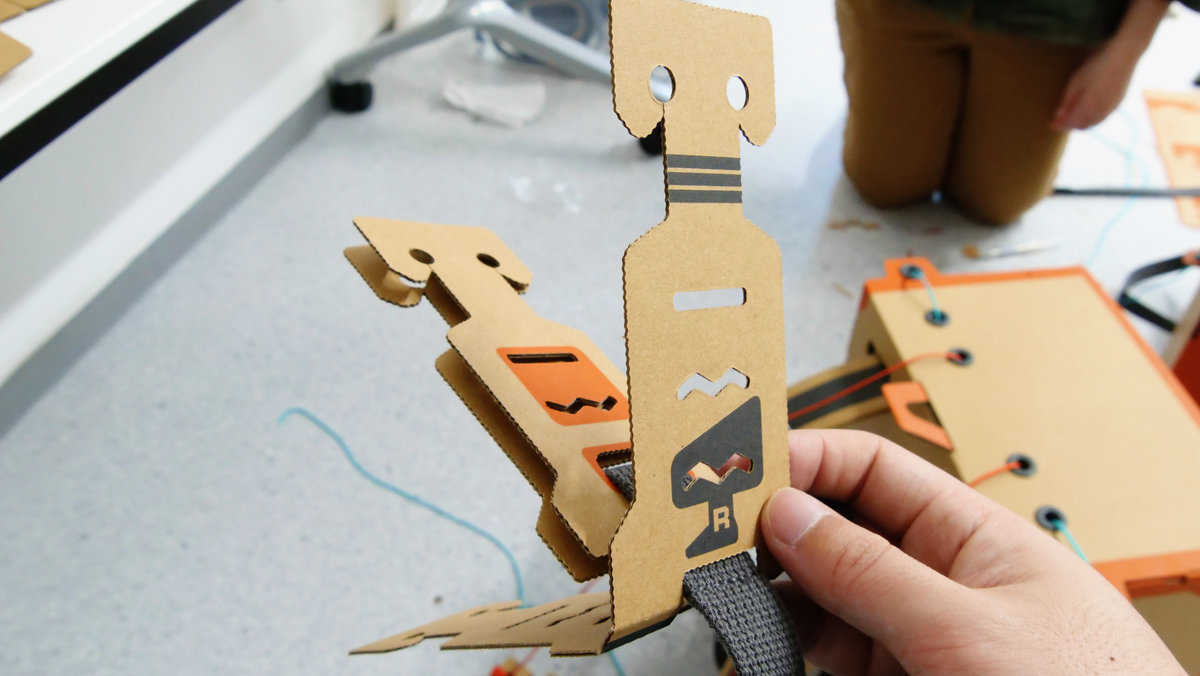
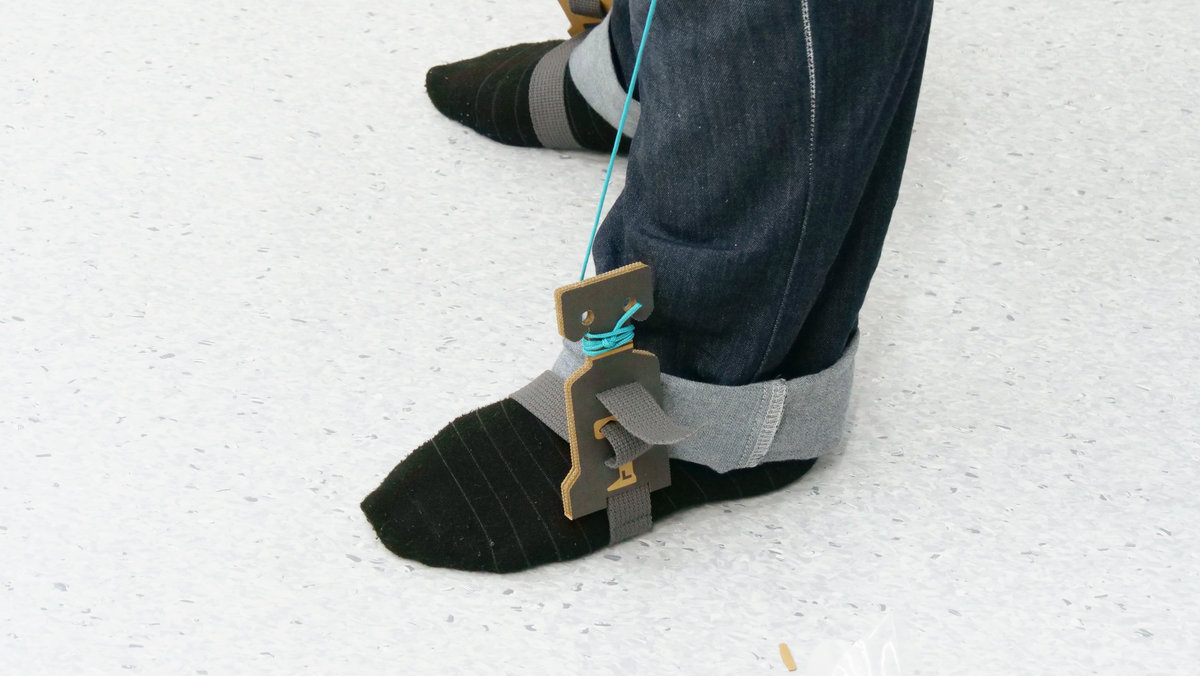
In addition, I will also make "robot shoes".
Put two cardboard sheets and hook a short flat string ... ...
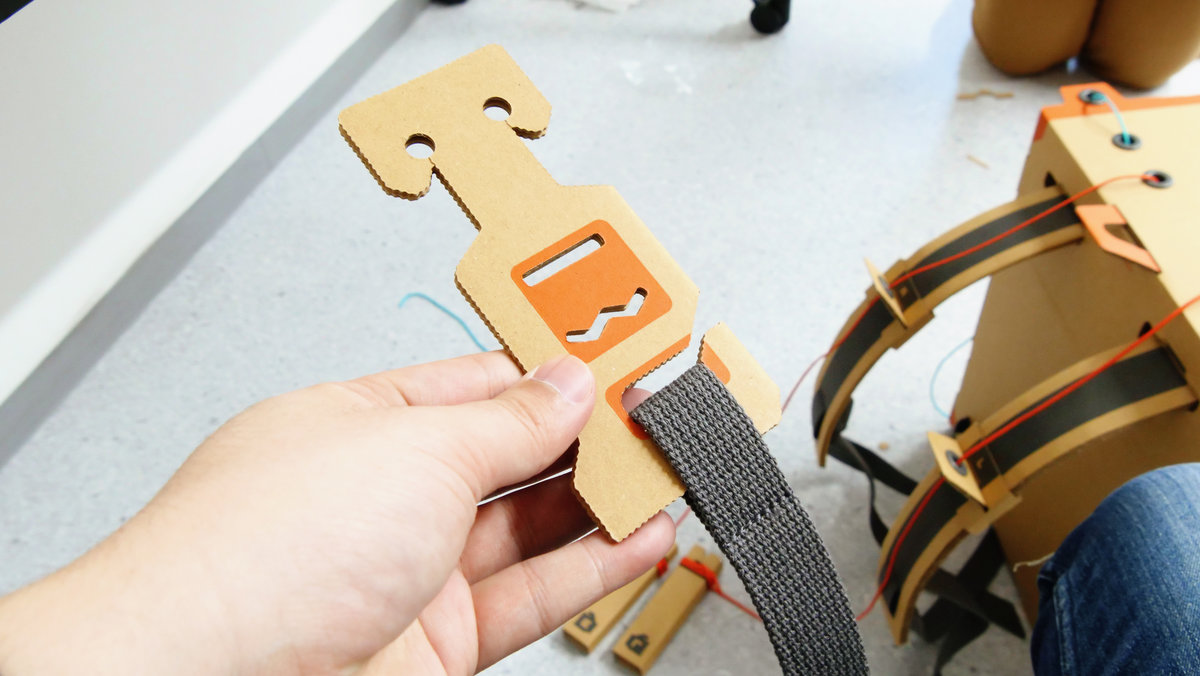
Furthermore reinforced by overlapping cardboard parts.
If you pass a plain strap through an empty elongated slit in a part ... ...
You can fix the parts to the feet like this.
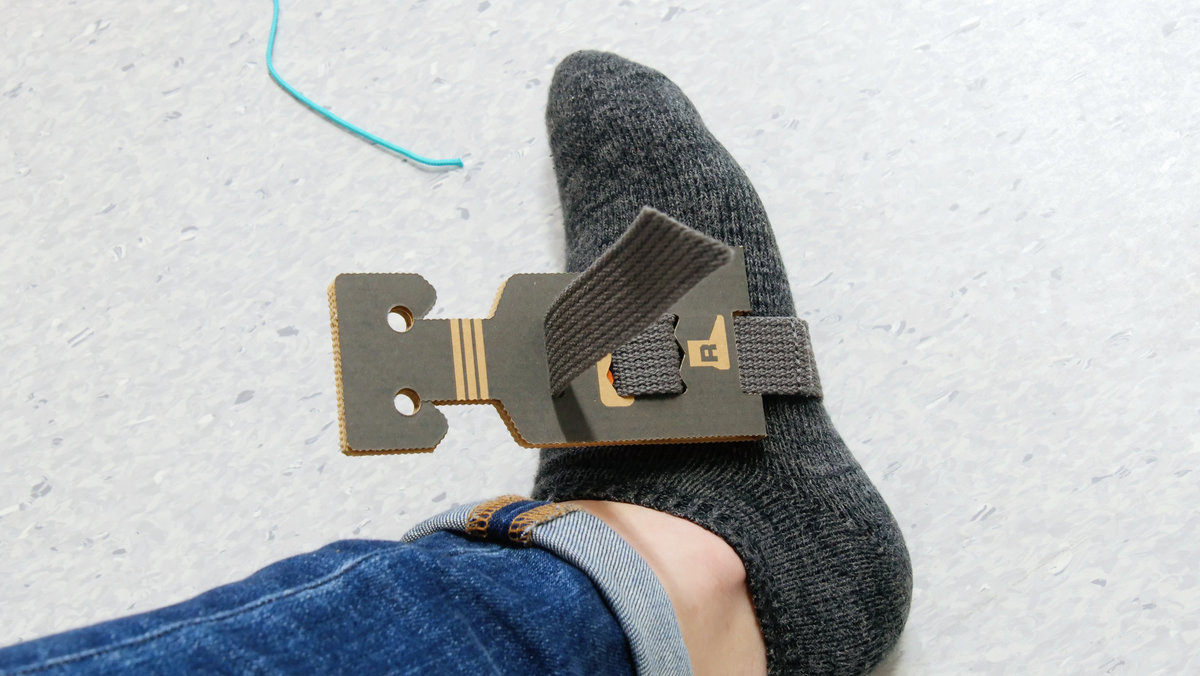
In addition to solidly tying blue strings ......
Adjust the length by rolling it like a grip part. Robot shoes are now complete.
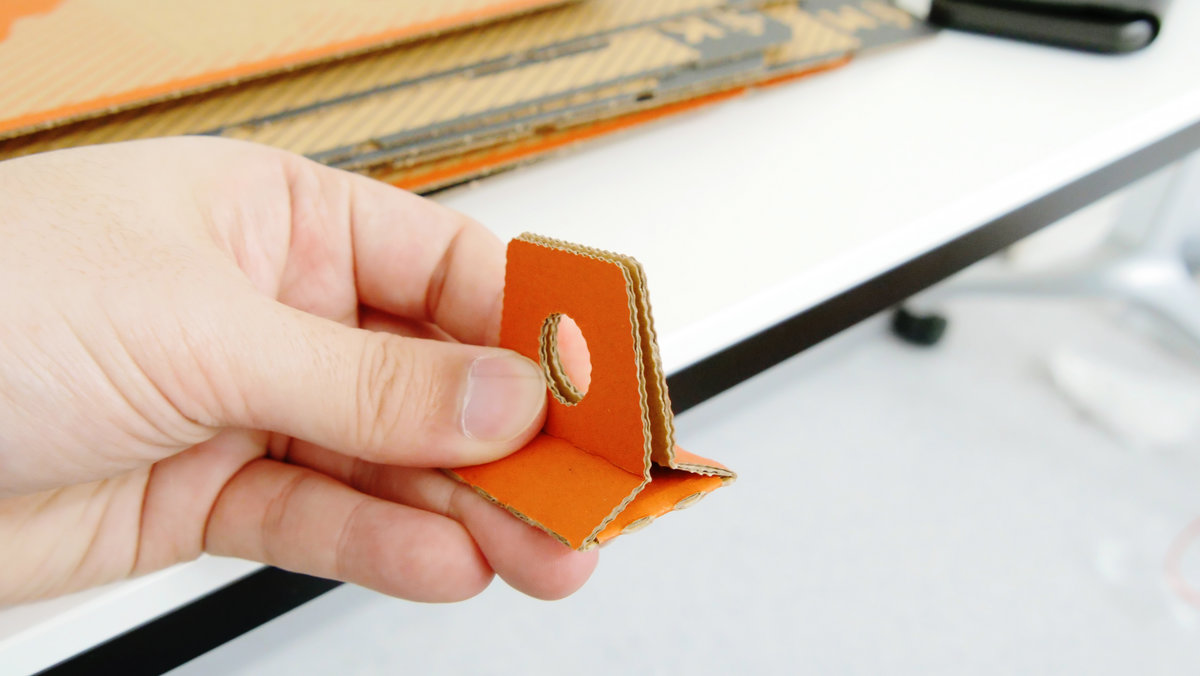
At the end, I will make a "dock".
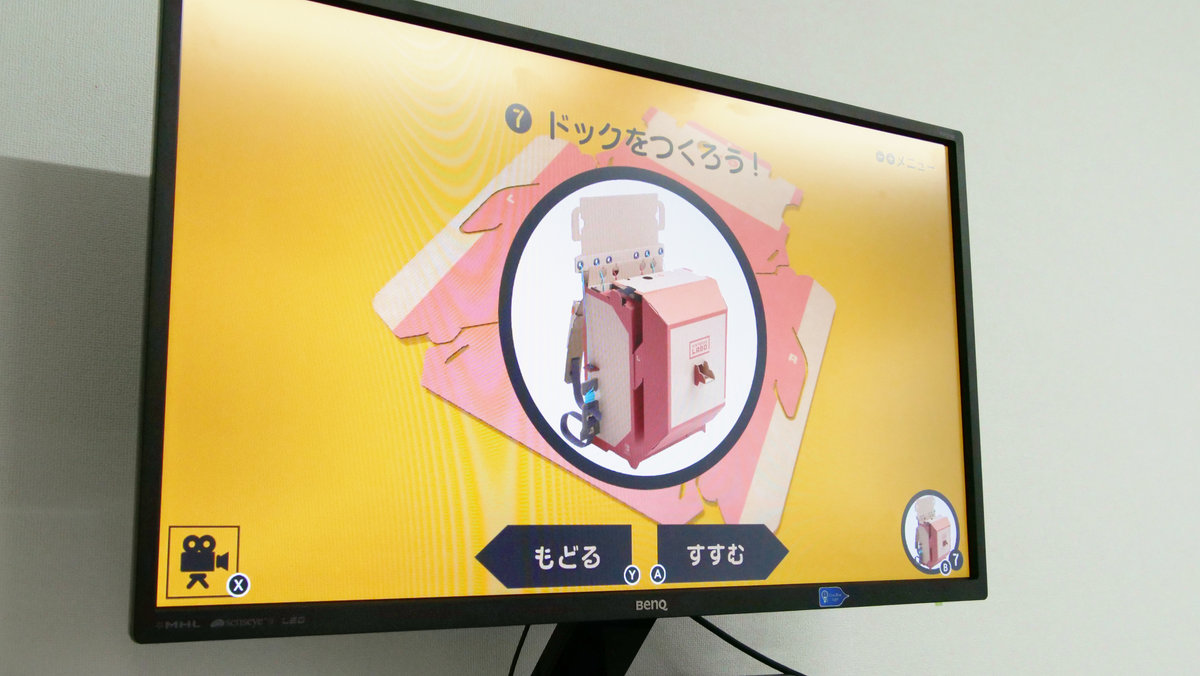
The dock is a part of the back of the main body.
Small parts like this ......
Fixed to the rear part.

Then attach the rear part to the main body.
Let's insert the long claws at both ends firmly all the way.
At the end of this we check whether the rail of the slider is not distorted.
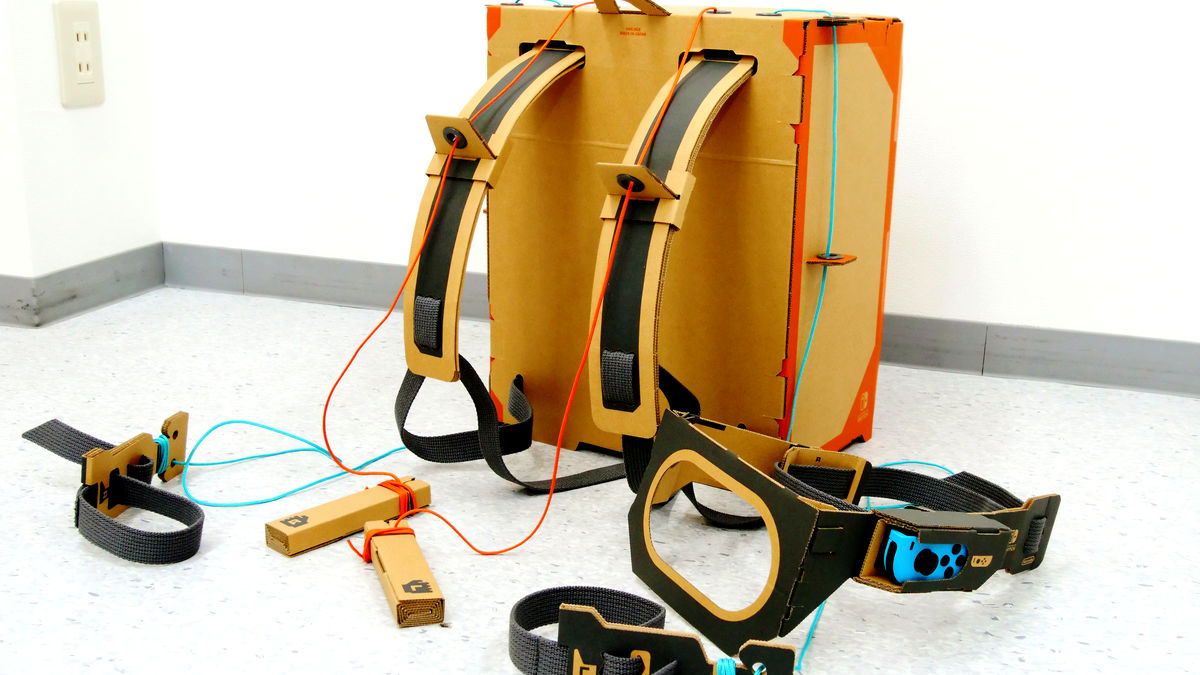
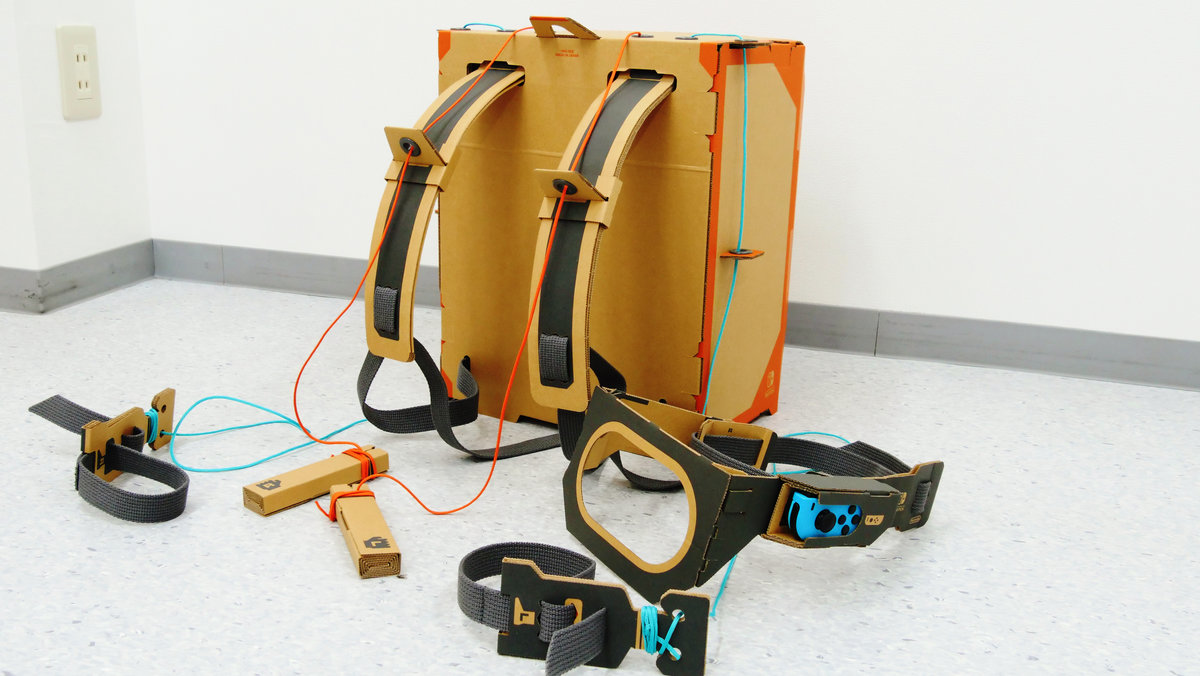
The robot Toy - Con is almost completed.

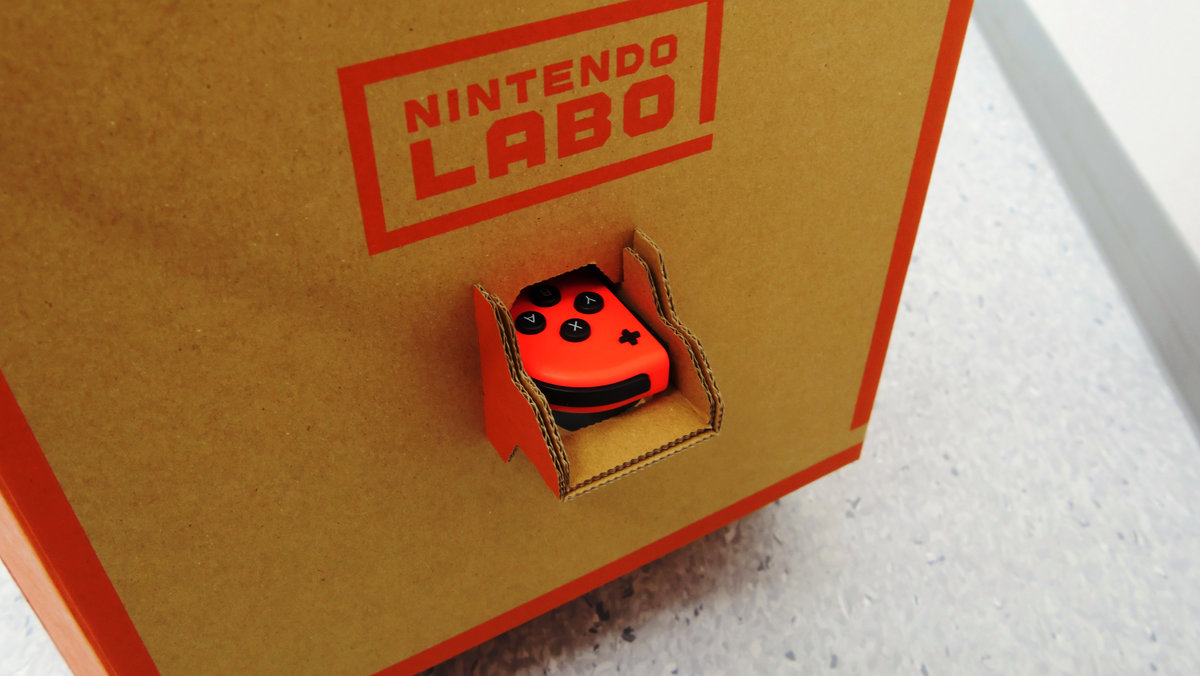
After that I attach Joy-Con to robot Toy-Con.
The side of the visor ......
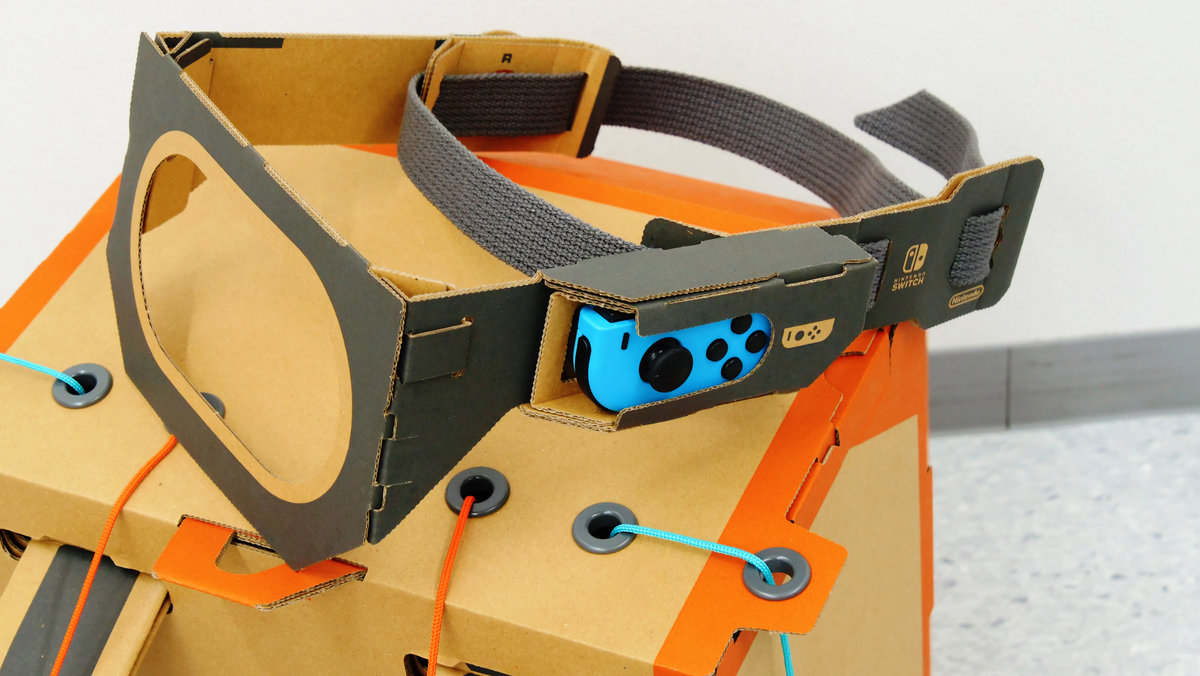
Joy - Con is just inserted in the back of the main body and it is OK with easy installation.
That's why the robot Toy-Con is completed. GIGAZINE editorial department tried to make two robots Toy - Con, but both completed in over 3 hours. The assembly explanation displayed on the screen of the Nintendo Switch is quite kind and it seems that there will be no place to wonder in the assembly process if it is watching firmly. However, all parts of the same assembly method will be displayed in movie format, so the impression is that it takes quite a while to see the screen of Nintendo Switch. In the GIGAZINE editorial department, preparing separately for the person who assembles and the person who advances the screen, it took more time to assemble "3 hours harder", so almost every time you do everything you almost certainly will take more than 3 hours is.
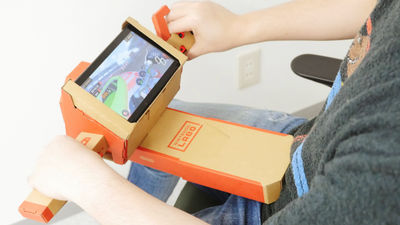
That's why I tried wearing the robot Toy-Con that I created.
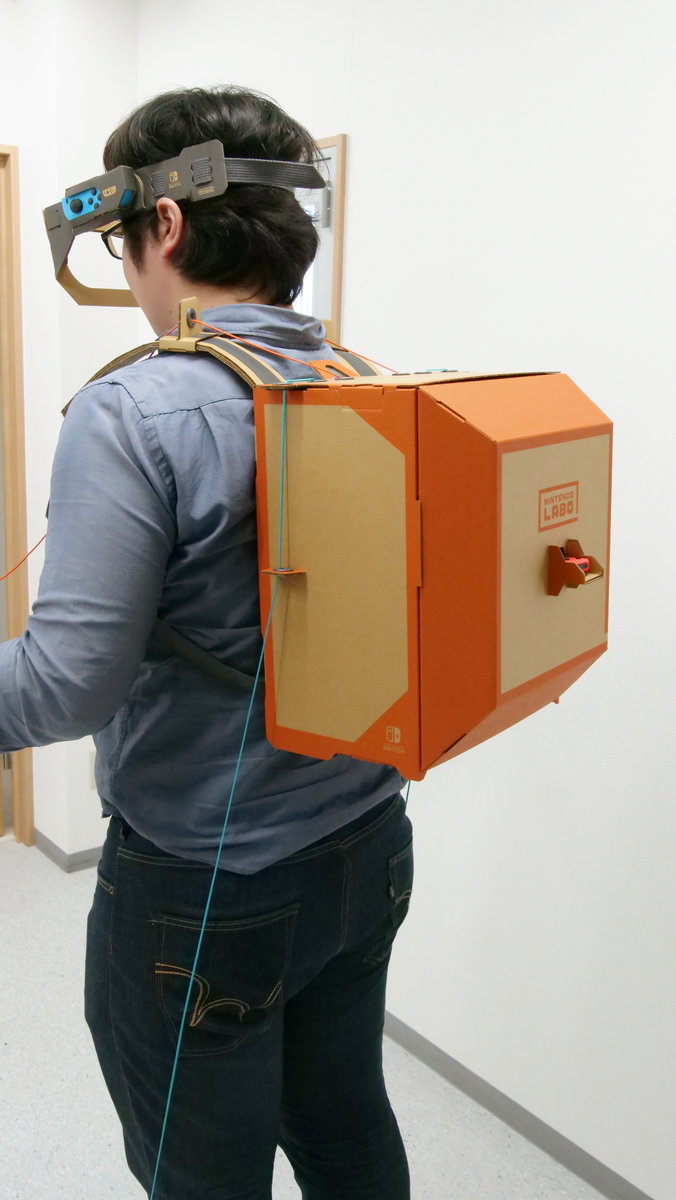
Robot shoes on the feet. Robot shoes should be adjusted to shorten the feeling so that the power box inside the main body will come to the bottom when the leg is bent.
Robot arm in hand. The robot arm adjusts the length so that the power box will rise when reaching.
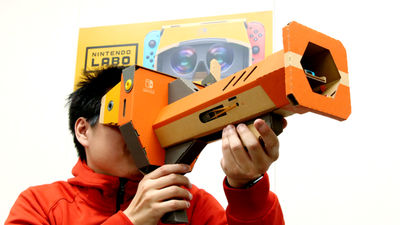
And wearing a visor on the head.
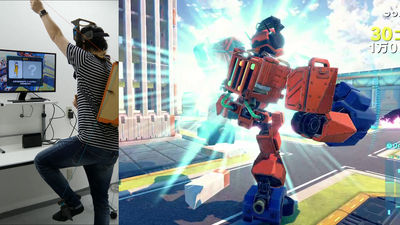
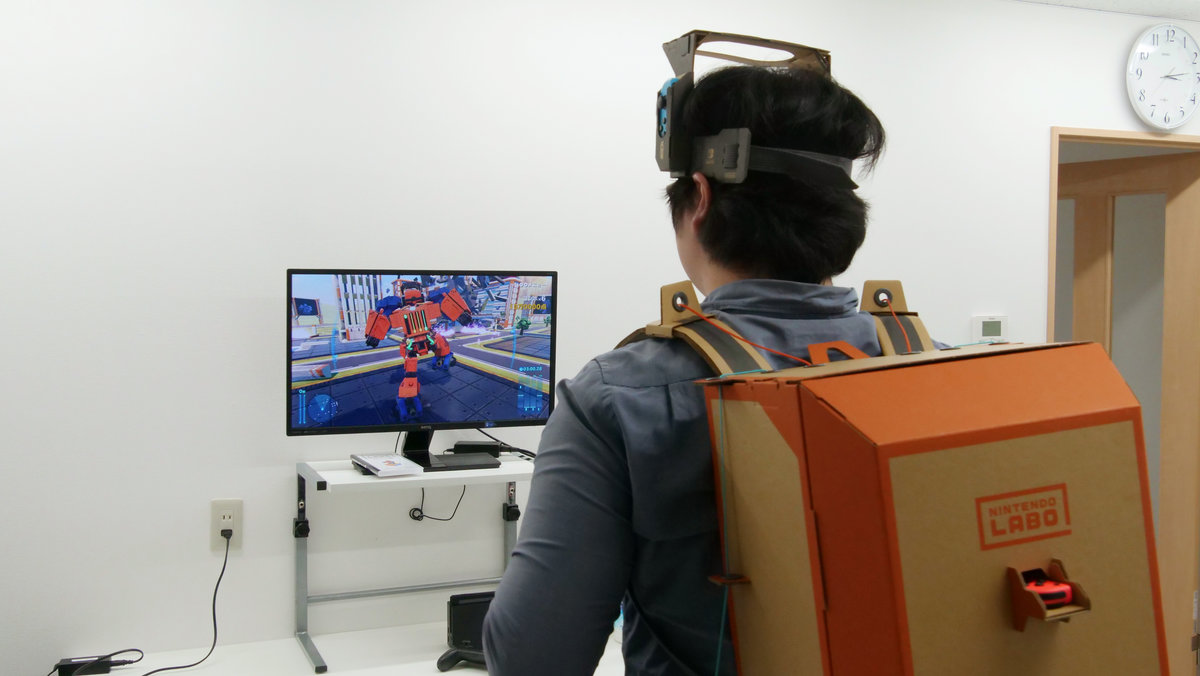
That's why the Robot Kit game operation tutorial starts as it is. When stepping on, the robot moves forward with both feet, and if the hand is thrust forward, the robot can punch and attack the building. The robot can be operated intuitively using the whole body, the operation of the robot is not slow, and the operation is unexpectedly refreshing. However, because the robot Toy-Con is made of corrugated cardboard, it is said that the pilot is "hot." Also, since the main body is of moderate weight, it seems that it got tired normally as the tutorial ended.
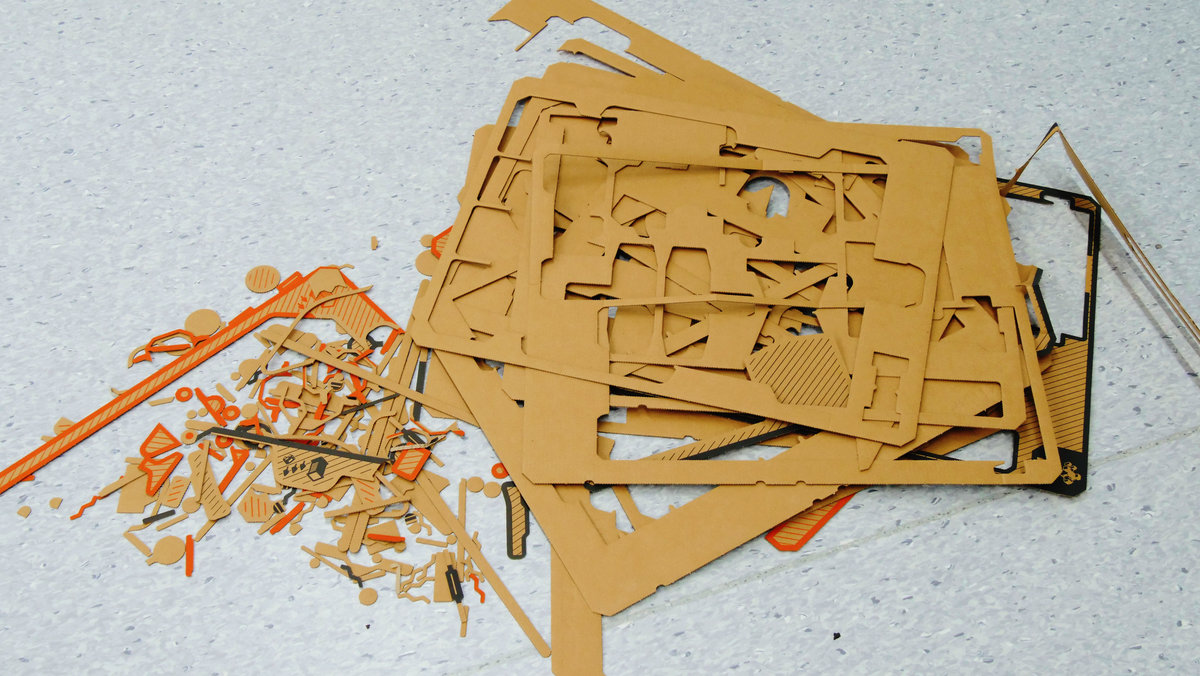
The rubbish that came out after assembling the robot Toy-Con is like this.
It takes a considerable amount of time to assemble it, and it seems to be good to be prepared for at least 3 hours. However, those who like to assemble a plastic model should be pleasant as they feel like they are playing a single game by just assembling work. Also, the assembly explanation that is played on the Nintendo Switch is pretty charming, so it excites the place so that the assembly does not become a simple work. Since the robot Toy - Con has a large number of parts, it is better to start the creation at a timing with a large space and time.
Related Posts: