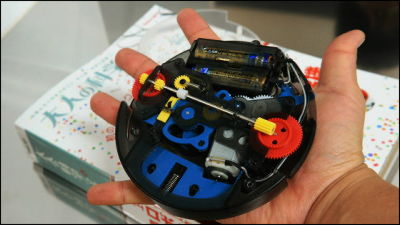
I actually tried using an adult science magazine "small letterpress printing machine" that makes letterpress printing of a retro atmosphere possible at home

I paint the ink on a character whose character part is convex, press it against the paper and print itLetterpress printingYou can print nostalgic characters with unique warmth not in digital. Released on December 15, 2017 (Friday) "Adult science magazine"Assembled and used"Small letterpress printing machineSince it was an appendix, I actually purchased it and assembled it & tried it.
Small letterpress printing machine | adult science magazine | adult science .net
http://otonanokagaku.net/magazine/vol45/index.html
You can see how you actually use small letterpress printing machines from the following movies.
Adult science magazine I tried playing with "small typographical press" of You fuku - YouTube
table of contents
I tried assembling a small letterpress printing machine
◆ I actually used it
◆ I played more
I tried assembling a small letterpress printing machine
Adult science that this arrived. The size is 28.8 × 21.6 cm ... ...
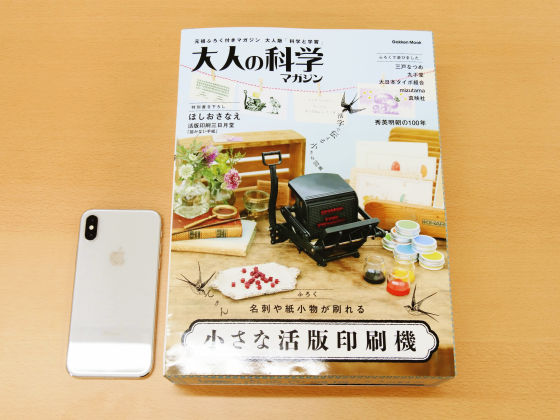
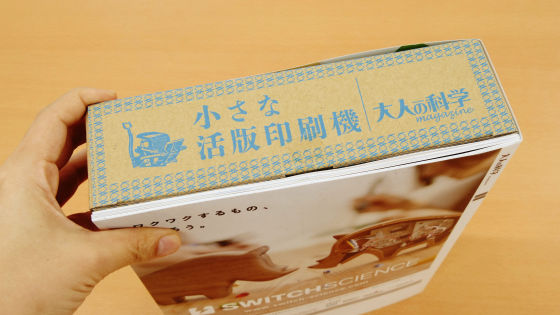
Because the box in the appendix is large, the thickness is 6.5 cm.
When I opened the box of the appendix, it looked like this.
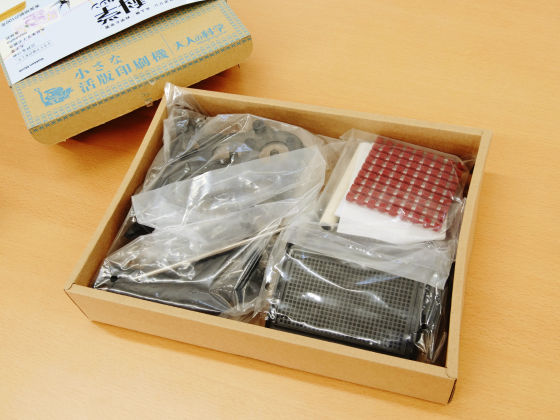
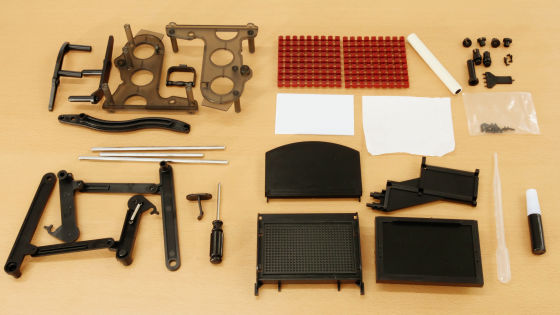
Included parts are platen arm, base, handle, handle (handle), shaft (short, medium, long), arm unit, stopper, plus driver, type (hiragana & alphanumeric), matte, absorbent paper, ink Plate · plate · shaft board · platen · ink roller · roller wheel · fastener (short · long) · pan screw · syringe · black ink.
For adult science booklet ... ...

Since the way of assembling is described with an illustration with the feeling as below, even people who are not used to the assembly work were able to make crispy. In addition, body assembling time is 30 minutes, so you can get into work as soon as adult science arrives because it also has a special driver.

That's why I started to assemble. First of all put the panning screw in the side hole of the platen arm ... ...

We will fix the left and right arms with screws using the supplied screwdriver.

Similarly for the foundation, align the left and right foundations, and screw in the three holes that are open on the side.

Insert the protrusion of the platen arm that I made earlier into the hole of the base, also screw it here. With such a feeling, many operations are completed by "combining" → "fixing with screws", which is very simple.

I will install the plate.

Screw the tabs of the machine board to the protrusion of the foundation and screw.

Pass the shaft (middle) and the shaft (short) through the front and back of the main body.

Attach left and right arm units to shaft ......

Fasten with fasteners.

It gradually became a machine-like appearance. Fasten the shaft and the arm unit with the pan-head screws.

With this feeling, the screw is about 2 mm floating and OK.

Attach the handle.

Looking from the side like this.

Pass the shaft (long) through the shaft board / arm unit / handle.

Attach fasteners to the left and right of the shaft.

The one with only one collar with a collar attached the handle to the shaft board.

Next, attach a stopper to the inking table and fasten it with a panhead screw.

Finally the installation of the inking stand.

Position the handle where the inking table can be set forward and bring the key-like part of the arm unit to the top of the main unit.


Install the ink roller.

A platen with mat attached ......

Set in the main body. I will put five key-like parts on the back of the platen on the shaft.

After installing the typeface ... ....

done.

The size when compared with iPhone X of 143.6 × 70.9 mm looks like this.

Footprint.

From the side.

A state seen from behind.

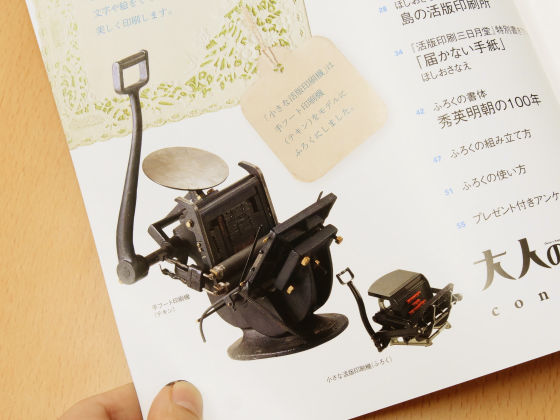
There is a photograph of a manual flat-tipped printing machine "Teckin" which became a model of a small letterpress printing machine in the place where the booklet was turned, but it certainly became a retro appearance like shrinking hand foot It was.
◆ I actually used it
Small letterpress printing machines have a total of 162 types such as hiragana, numbers, alphabets. So from the point of separating type letters into pieces one by one.
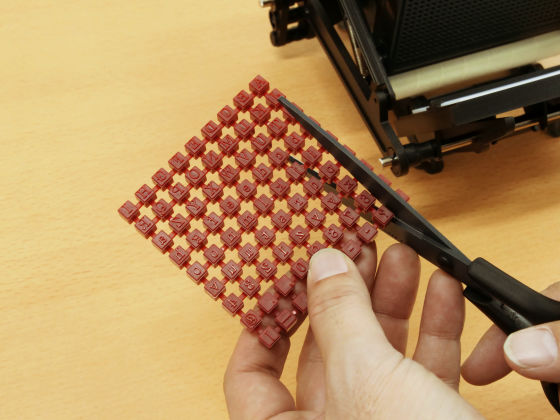
When Bali is left when separating with this kind of feeling, height difference is born for each character when inserting into the typewriter, so ink does not get on well, so you need to take Bali clean. This is quite a bit of work and takes quite some time. Because it is easy to burr with using nail clippersThings that I recommend.

Cut and put the letter on the typograph.

On one main unit, once releasing the inking unit, set blotting paper.

Once the inking table is attached, use the attached dropper to wet the blotting paper.

It is OK enough to get wet like this.

Put the ink on ... ...

Dry until the ink is on the entire ink roller.

We set up the type pads prepared earlier.

Move the handle back and forth to keep the ink on the typewriter.

In the booklet, as capital lap 120 g / m 2 and half aair · cotton 209.4 g / m 2 are supposed to be printed as printing paper, try using half air / cotton as test printing paper.

Set the cut paper.

Handle ......

Pull ahead ahead, the letters are pressed against the paper.

... .... This is the first print to commemorate. Only a faint "?" Can be recognized.

As reasons why printing can not be performed properly, it is thought that reasons such as "the height of prints is not complete", "ink does not cover the entire character", "paper irregularities are too strong", and so on When I tried it, there was a part in which pushing was sweet and height was not complete at all. So adjust the height by pushing the letters gently.

Furthermore, because the ink of the ink roller was not enough, roll the roller with the inking table. When the ink glue is bad, hold both ends of the roller and press it against the ink base, it is easy to go well.

When I tried it several times, I finally succeeded in printing characters. When placing letters on the typewriter, you have to reverse the left and right, so it was slightly misunderstood the direction of the letter, but it is also a texture that looks stylish.

Furthermore, it is said that hiragana can be used, so I will try it.

What you printed is like this. Basically, there are two kinds of alphabetical letters and two hiragana letters are used frequently, so you can not print documents that use the same letters many times, but you can use both uppercase and lowercase letters If you do, you will be able to write some content.

When using it, remove the print from the typewriter by using the attached type disassembler.

Wash ink plate, ink roller, used print etc with lukewarm water.

In the booklet, professional typographers and othersDai Nippon Typo UnionThere are also pages of members using small typewriting machines and there is also a way to use two identical letters "a way to print two copies with a single letter open" You can get hints on how to use!
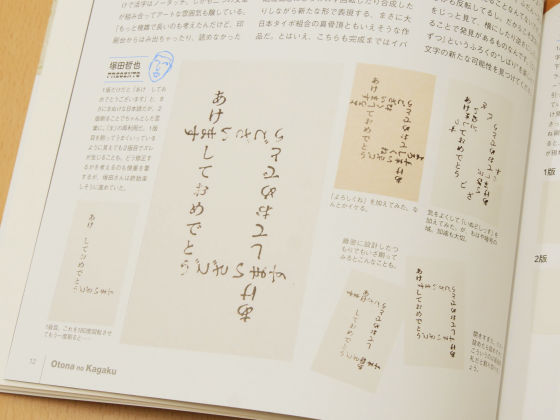
Combining illustration and letters by attaching eraser rubber to the typewriter ......

It will make the drawing a resin plateMakotozaHow to use it was also mentioned.

◆ I played more
It is said that not only the set included in the science magazine for adults but also materials that can be bought at 100 Yen can be substituted, so I tried it.

For example, the ink roller removes the felt on the surface ... ...

It is OK if you wrap "Sealed felt" sold for 100 uniformity.

Like this.

The blotting paper can be substituted with kitchen paper.

When wet with a syringe as before, the paper stuck firmly to the inking table.MakotozaAccording to "When using kitchen paper, if you roll the direction of the roll vertically you can stick it with no wrinkles".

The ink can also be a watercolor paint.

I tried kneading the ink with the ink roller, but the difficulty was that the kitchen paper was easily turned over.

It was easy to put ink on print.

When I actually printed it, it looked something like this.

It is nice to have a blurred letter and it has quite a feeling.

Furthermore, when putting type letters in a bag and saving it, it takes time to search for the target letter when you are about to use it ... so use a glued panel in such a case.

Open holes at equal intervals on the panel ...

If you type print on top of glue, you can take out the letters you want. This seemed to be useful later when doing separating type separately.

So, making the main body is very easy, it will be completed in 20 to 30 minutes, but the impression that it takes a little time to separate and preserve print. Also, since it is necessary to do while attaching ink to hands until get used to, it seemed better to have practiced before actually small typographical presses were needed. However, if you get used to it, you will feel good texture with a nice feeling, you should be able to print a message card etc. It can also be said that it is convenient to have one that is substitutable with what is at home and one that can be purchased at 100 H.
In addition, adult science magazine small letterpress printing machine is now available for purchase at Amazon 3780 yen at Amazon. However, the next arrival schedule is February 28, 2018.
Adult Science Magazine Small Typical Printing Machine (Gakken Mook Adult Science Magazine Series) | Adult Science Magazine Editorial Department | Books | mail order | Amazon

· December 23, 2017 (Sat) Postscript:
In addition, it is possible to order additional orders by sending a flat rate small change for type and roller.
We are also accepting additional orders for type sets (Hiragana / Alphabet)!
- Adult science (@ OKM_F)December 18, 2017
I bought a "small letterpress printing machine", but if you want more type ... please order according to the guide of this magazine ~.
Sometimes we ask you a question, but there is no kanji .... I'm sorry. . .# Small letterpress printing machine# Adult sciencepic.twitter.com/AzSNzGQJYp
Related Posts:


