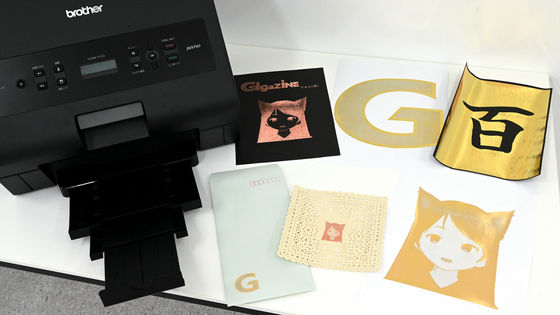
Brother's 'HAK110' usage report, foil cartridge edition that can print foil even from one sheet and can print 8 colors of foil by changing the cartridge
Foil printing is done by reacting the foil to the toner of a laser printer. Usually, you order all of them from a vendor, but if you use the foil printer ' HAK110 ', you can print even one sheet yourself.
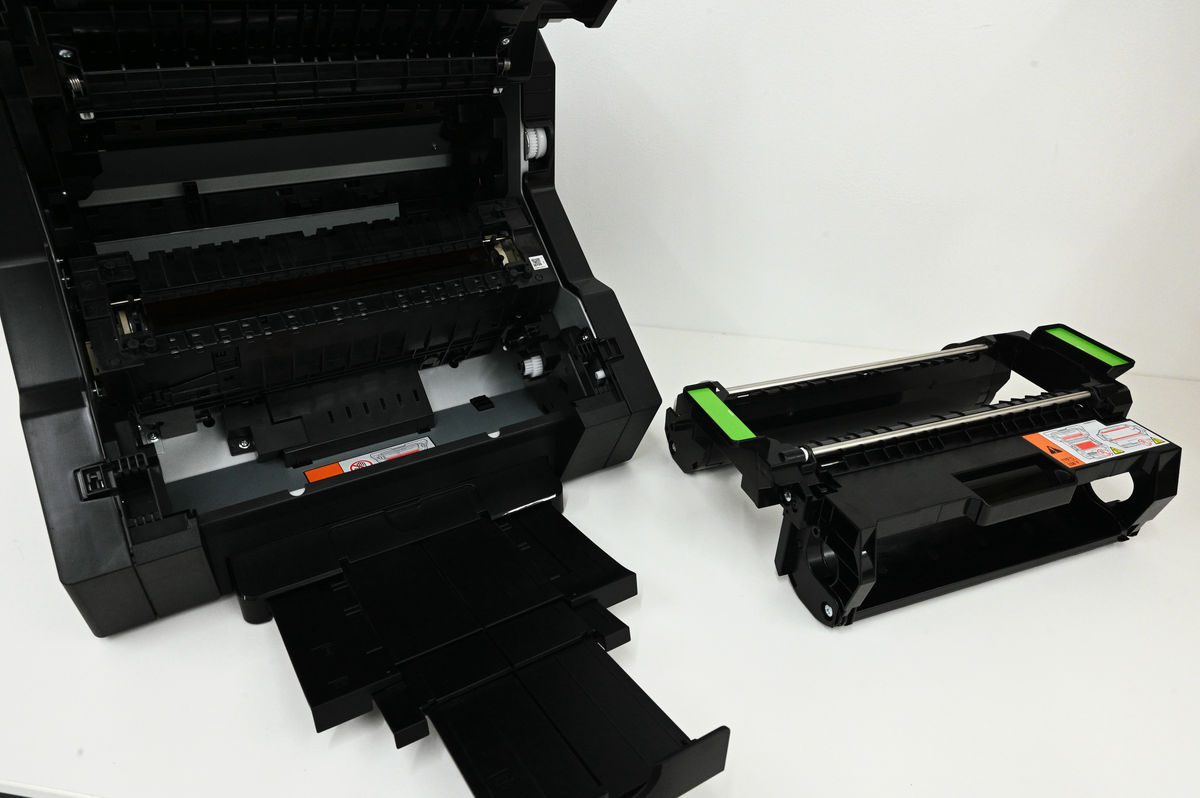
Foil printers are the same as ordinary printers in terms of 'printing', and there are some similarities in structure, but the fundamental difference is that they print foil, not ink or toner. A foil cartridge is used for this purpose, and the mounting process was quite unique.
Brother's foil printer HAK for small-lot, high-mix foil printing | Brother
HAK110 | Foil Printer | Brother
https://www.brother.co.jp/product/printer/hak/hak110/index.aspx
The following article summarizes what the foil printer 'HAK110' looks like and what is included.
Brother's 'HAK110' usage report / appearance edition that makes foil printing easy to match toner - GIGAZINE
The work continues from the last part of the previous article, where I opened the front cover and removed the foil holder.
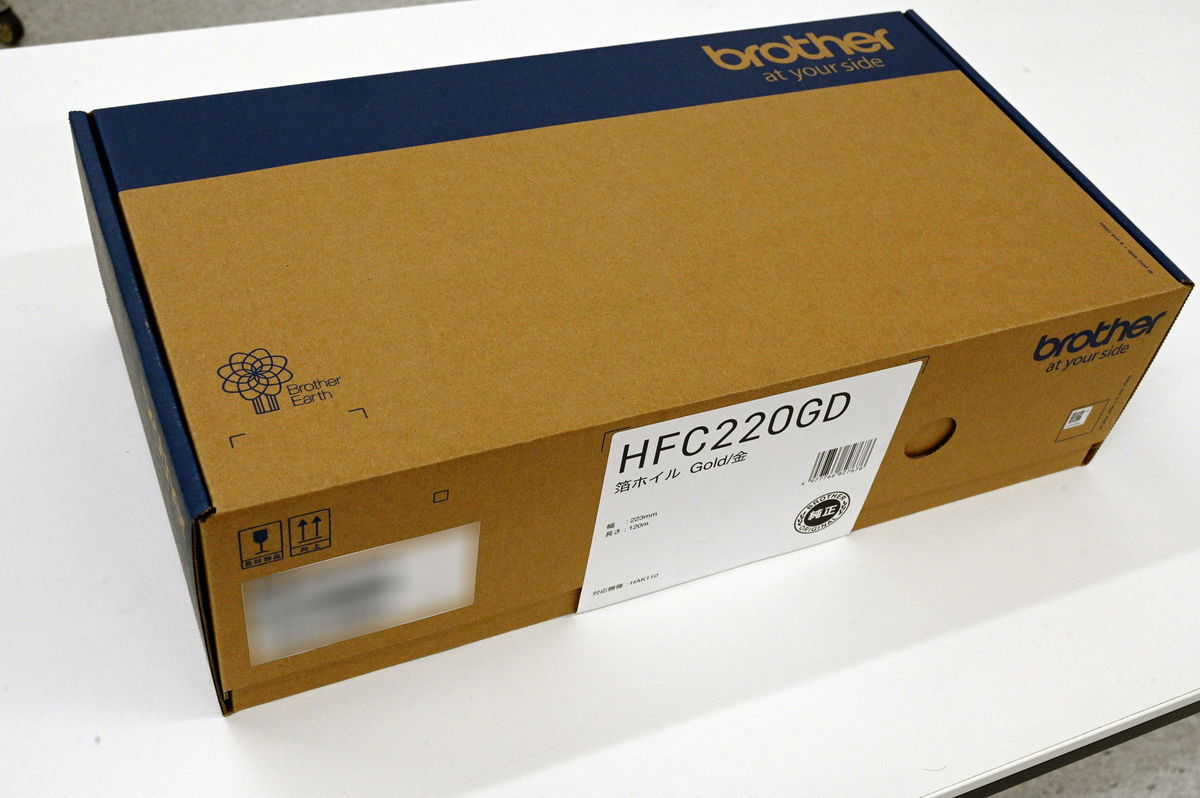
What you need to use a foil printer is 'foil'. The foil printer is sold separately.
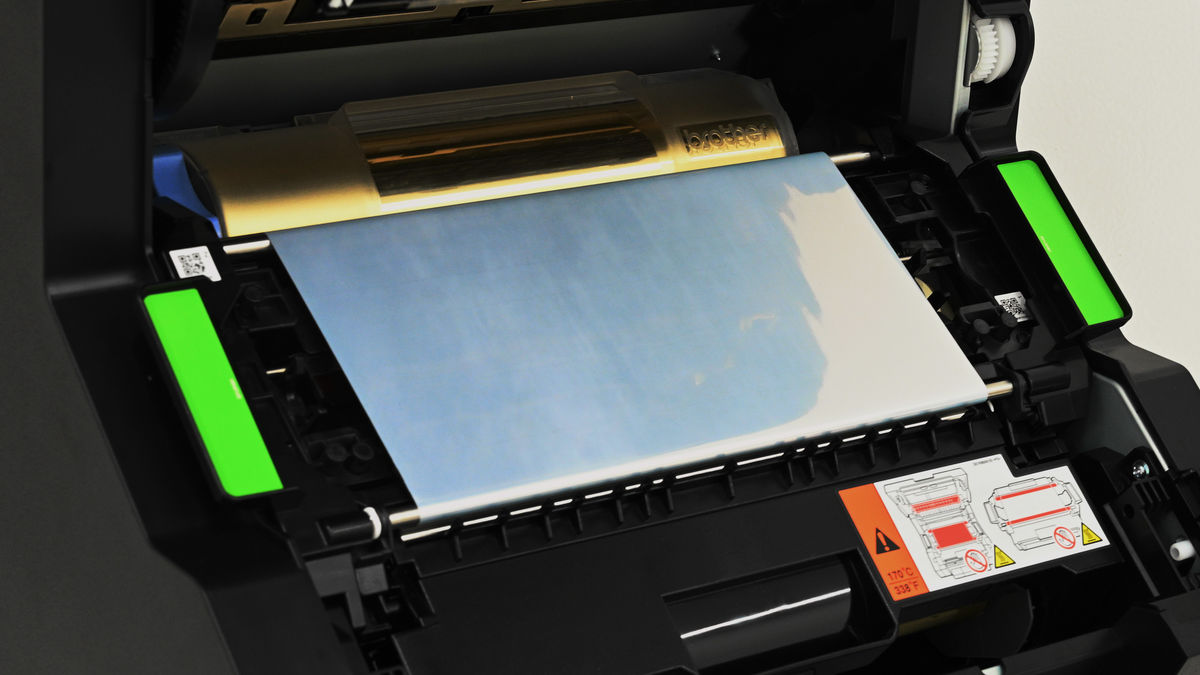
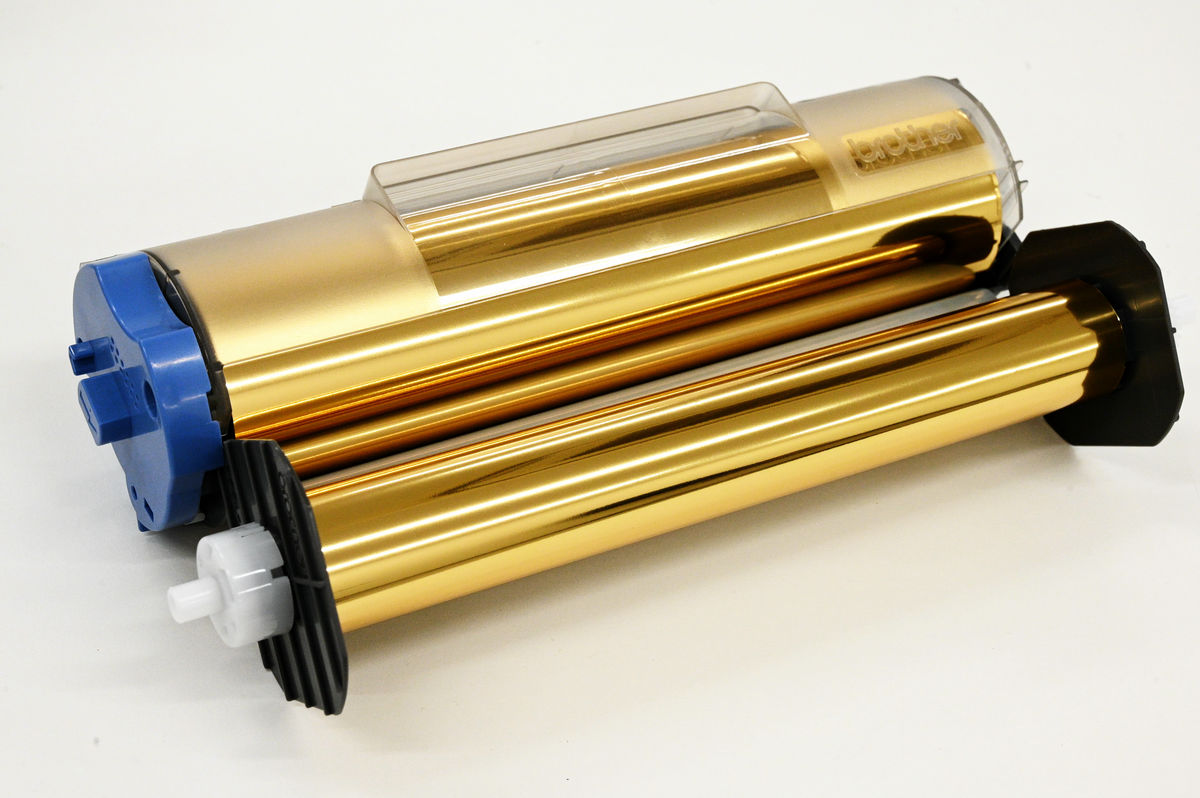
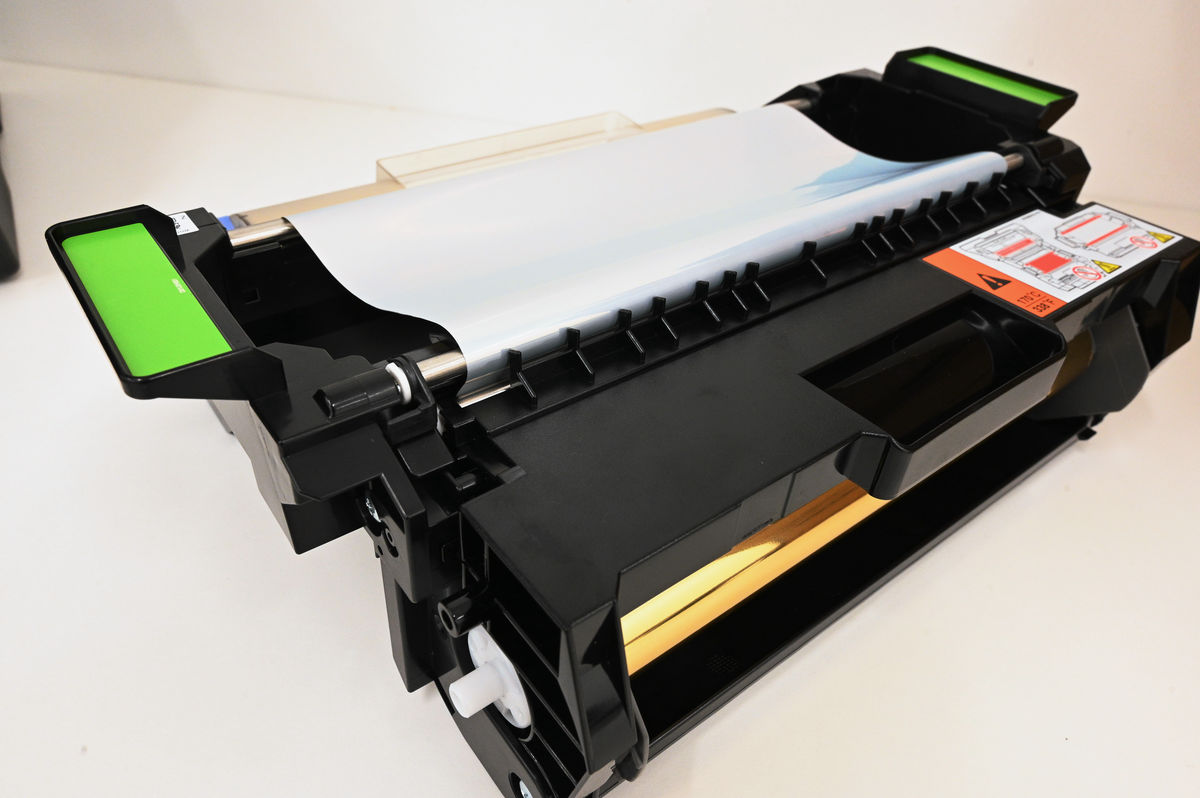
This is a foil cartridge with foil wrapped around it. It looks like there are two rolls, but this is one set. The roll in the back is contained in a case with a logo 'brother', and the roll in front is bare.
Open the foil holder cover.
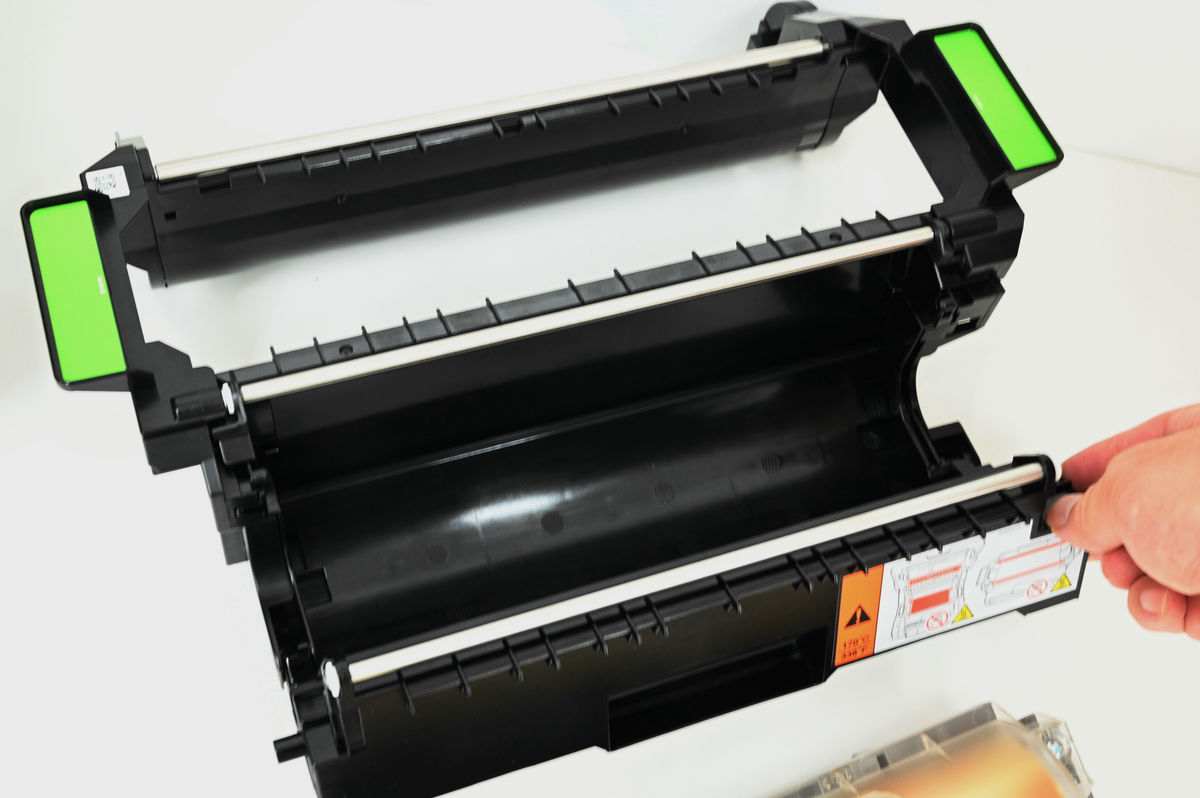
Place the exposed roll of the foil cartridge in the open part of the holder.

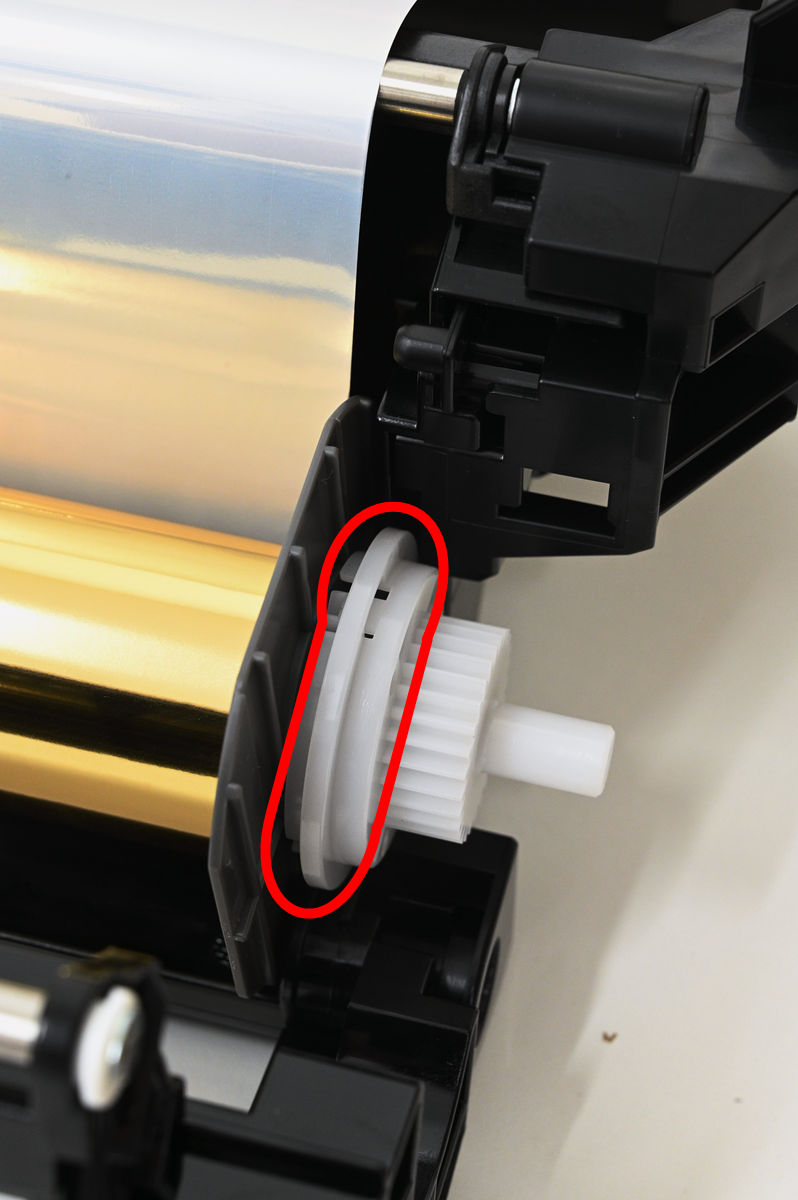
It doesn't click into place, but it's OK if you align the ring at the end of the roll with the groove of the holder.
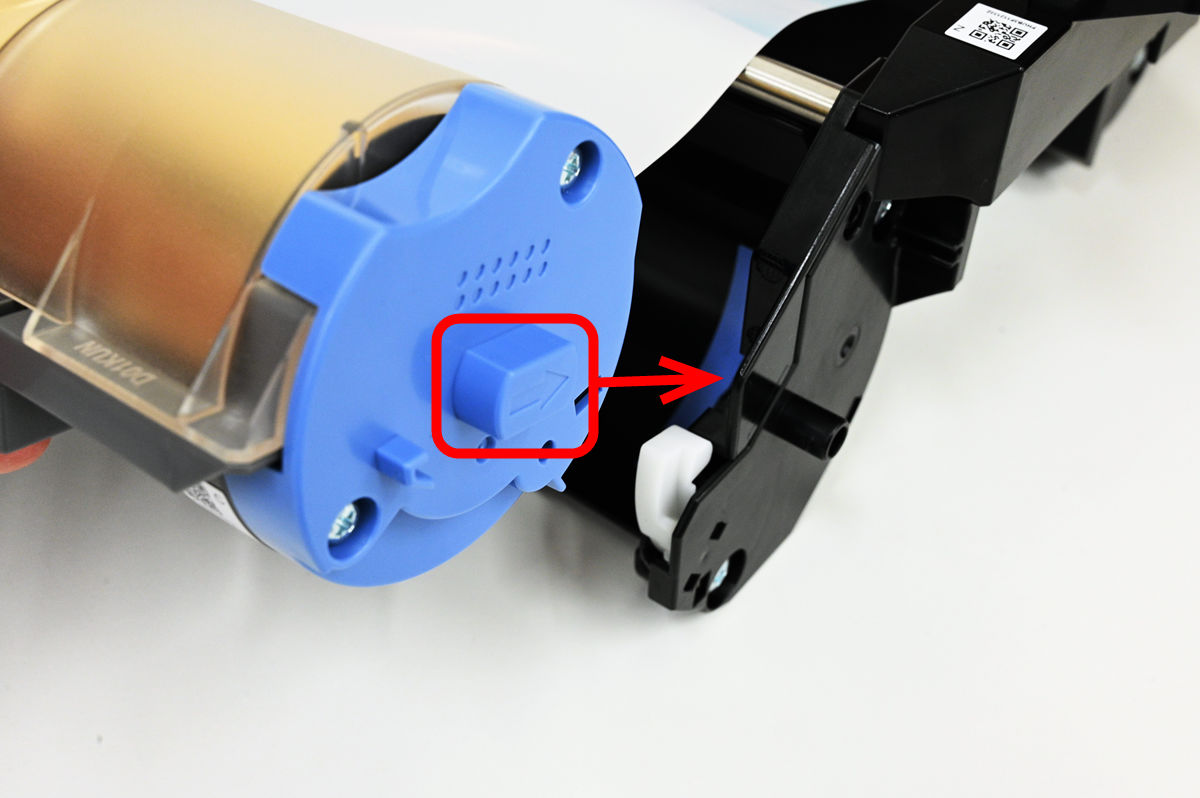
Place the other roll of cartridges in the holder without closing the holder. Here, an arrow is written on the blue part at the end, and it is inserted toward the groove.
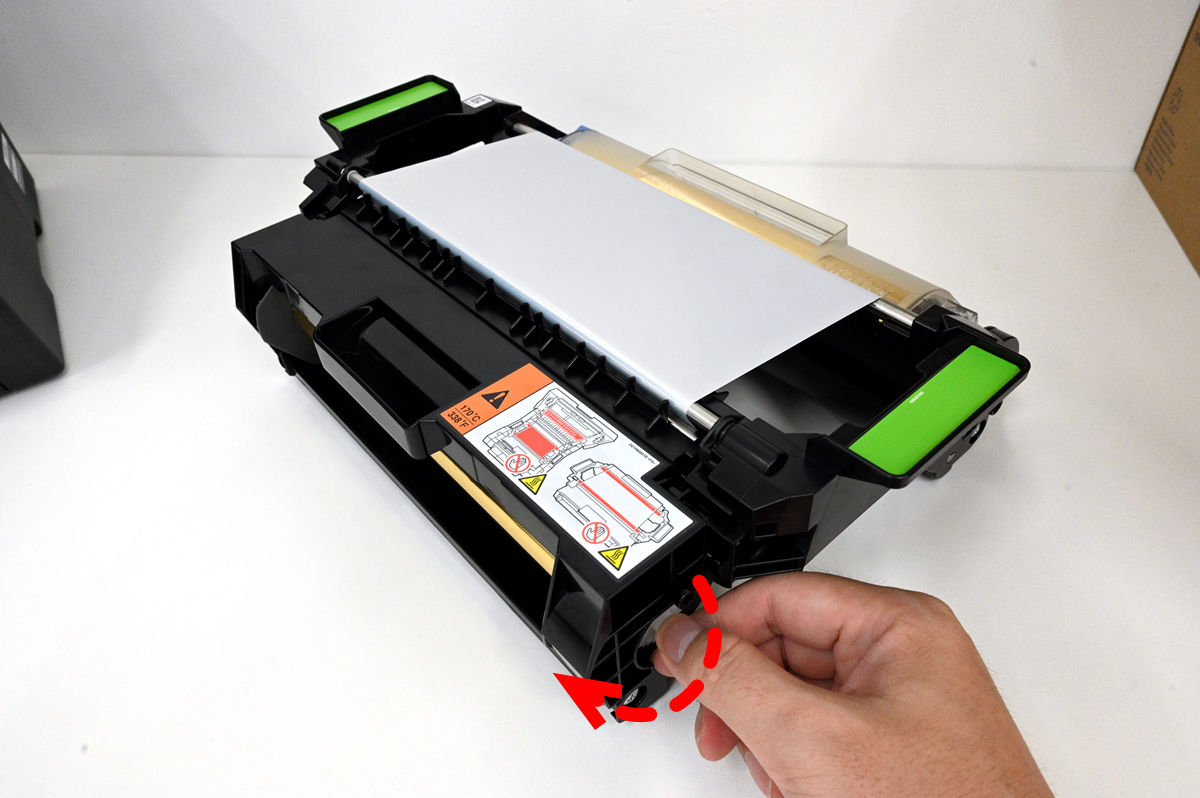
If you insert it all the way in, only the blue claw will be visible, so turn it counterclockwise so that it hooks on the white part below.
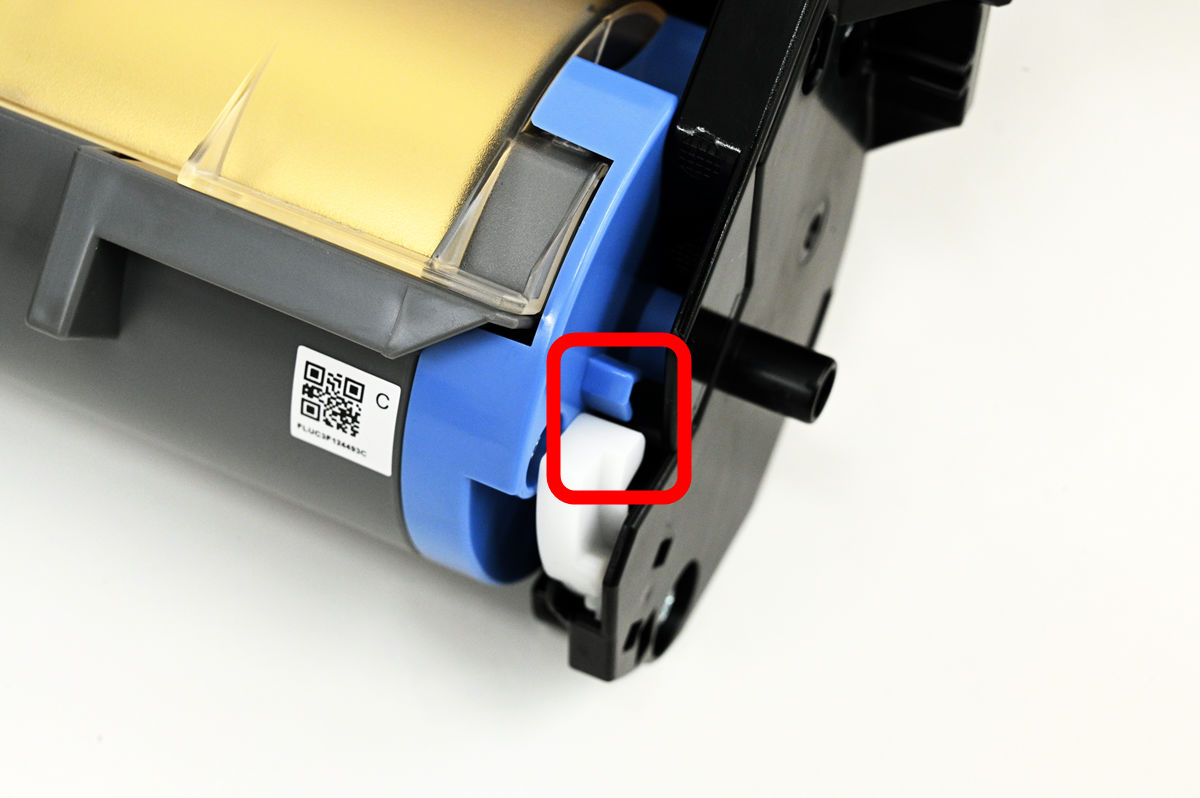
It is OK if there is a click.

Two rolls are now set in the holder.

Close the cover of the first opened holder.
It looks like this when closed.
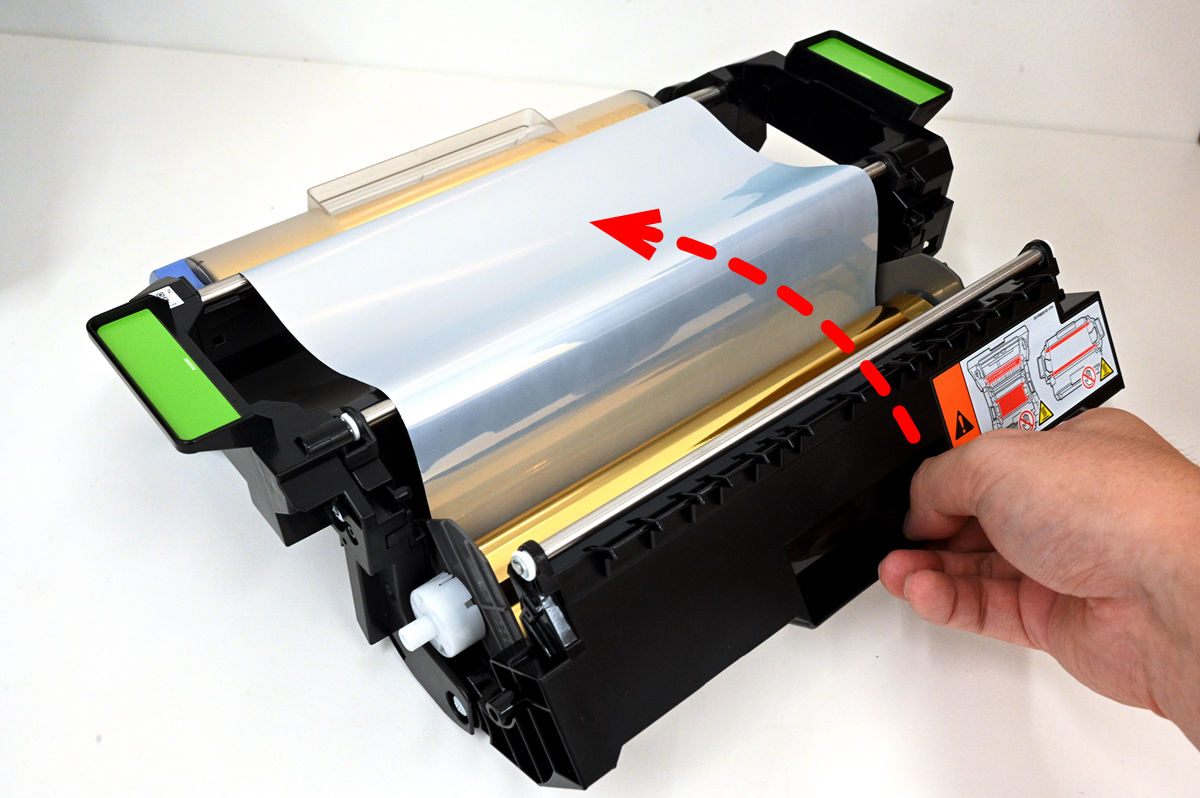
The foil is a little slack, so turn the end of the roll on the holder cover side to take up the slack.
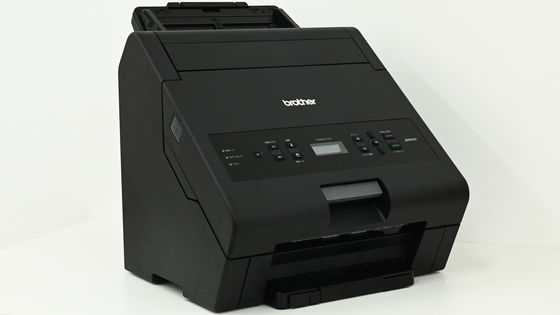
Put the entire foil holder back into the printer body.

Close the front cover.
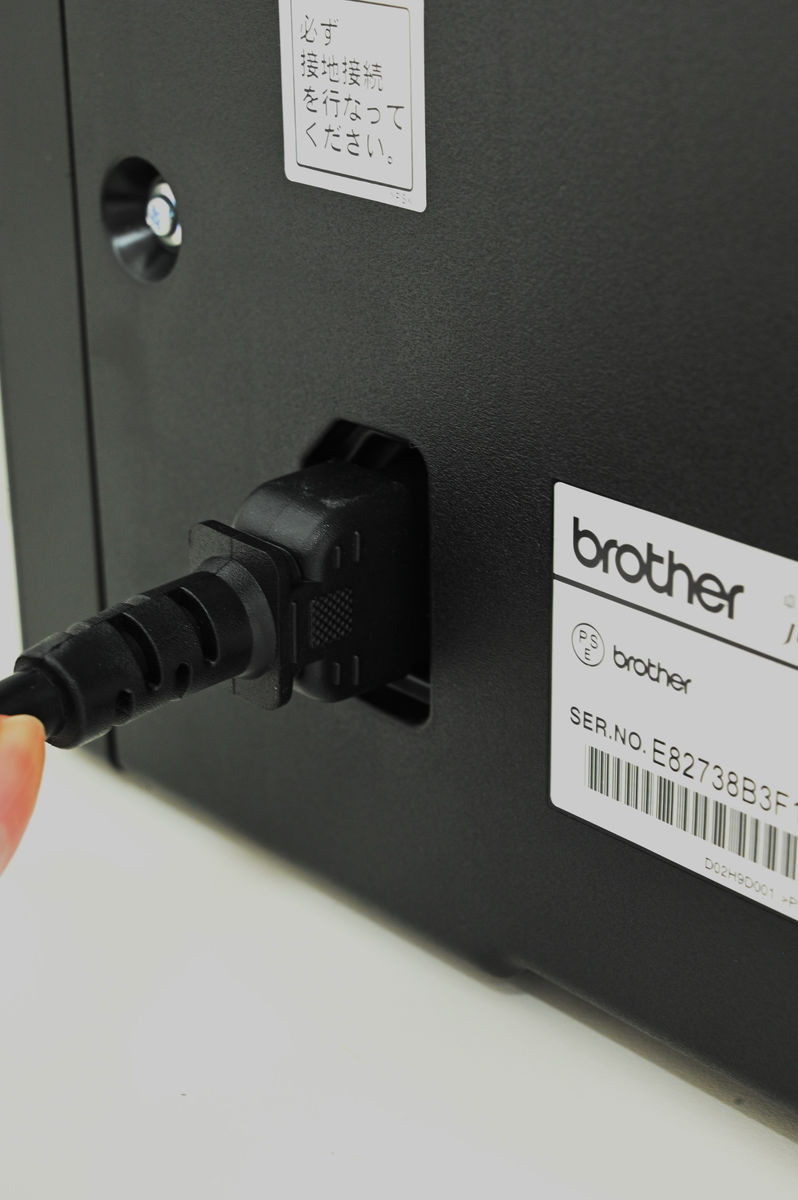
Then connect the power cable to the back of the foil printer.
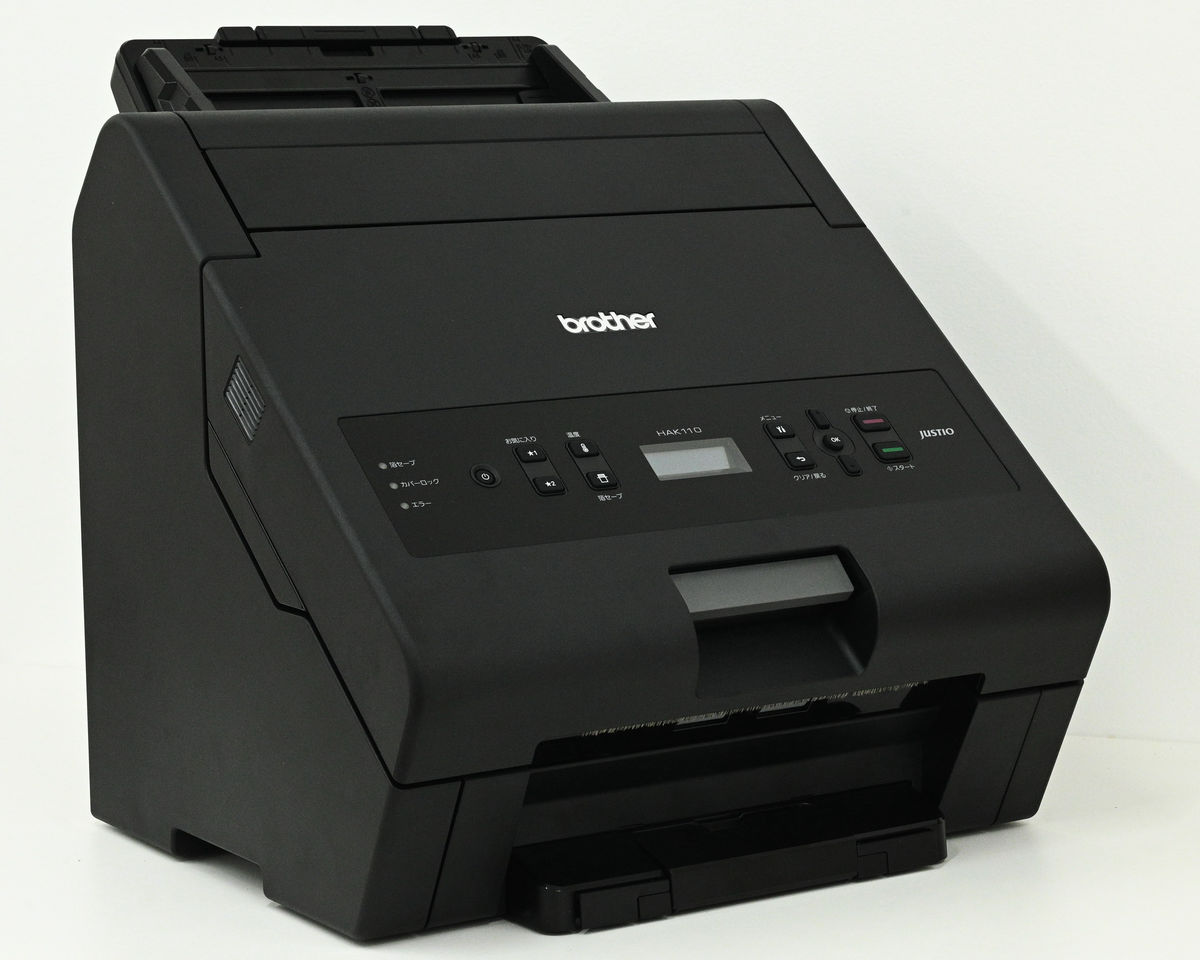
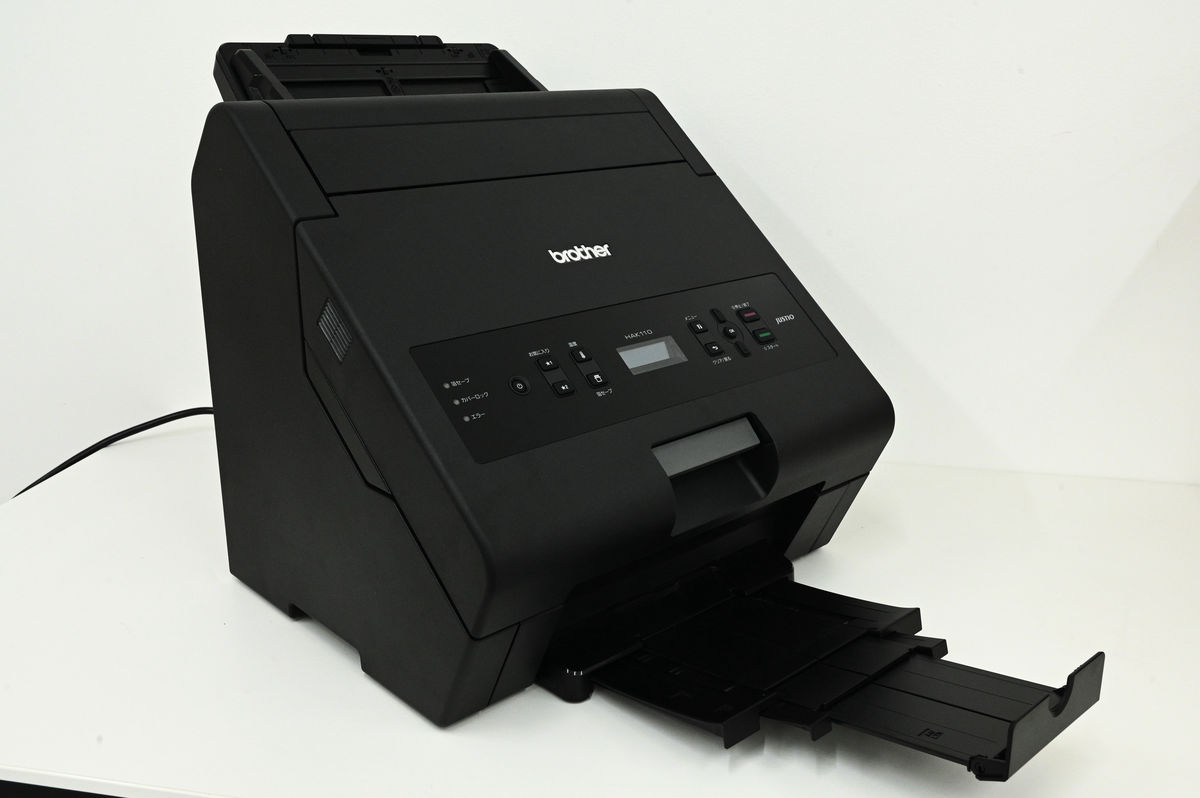
Pull out the output tray at the bottom front of the printer and you are ready to print.
Finally, we will start foil printing.
[to be continued]
Related Posts: