Brother's 'HAK110' usage report that makes foil printing easy to match the toner, appearance edition
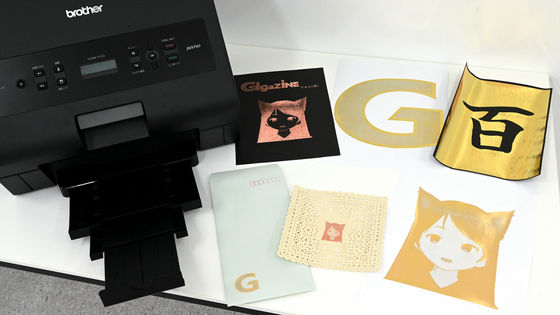
On May 31, 2023 (Wednesday), Brother will release a new foil printer `` HAK110 '' that can easily print foil in response to the toner when you print the design you want to print with a laser printer. With the HAK110, you can easily print foil even from one sheet, so I tried to see what kind of printer it actually is.
Brother's foil printer HAK for small-lot, high-mix foil printing | Brother
HAK110 | Foil Printer | Brother
https://www.brother.co.jp/product/printer/hak/hak110/index.aspx
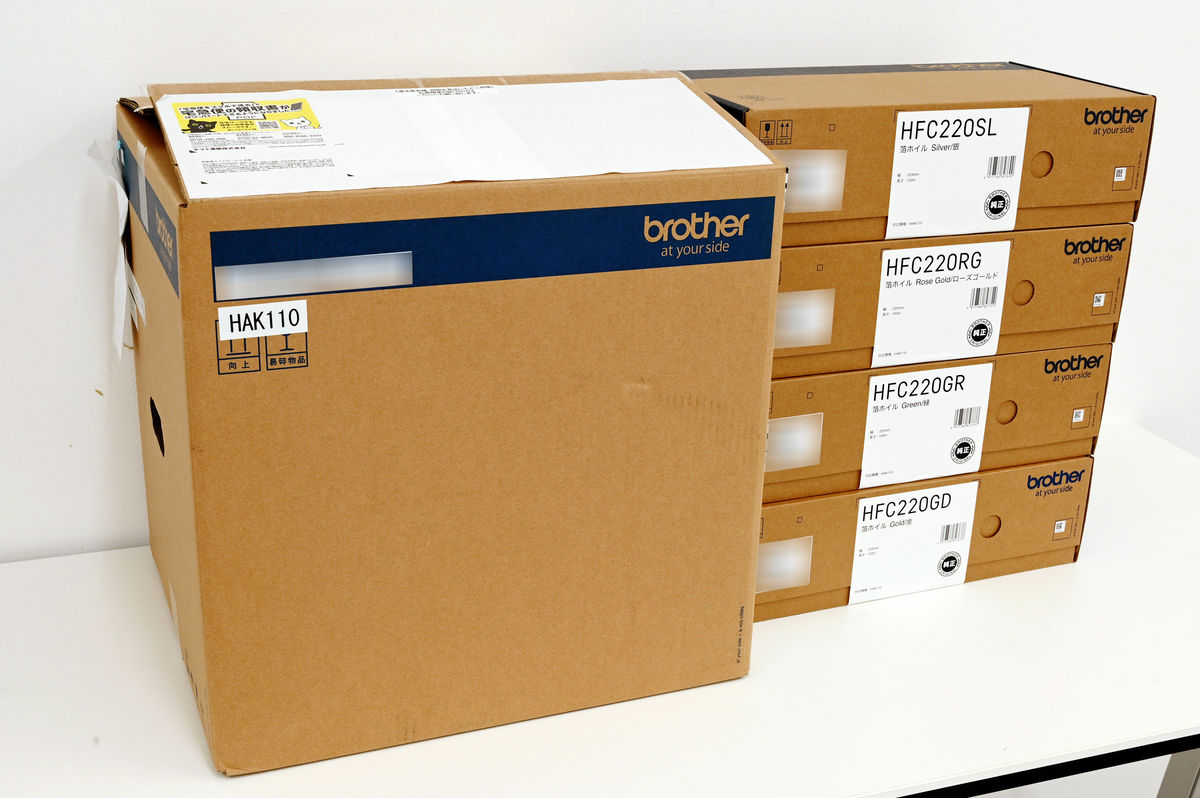
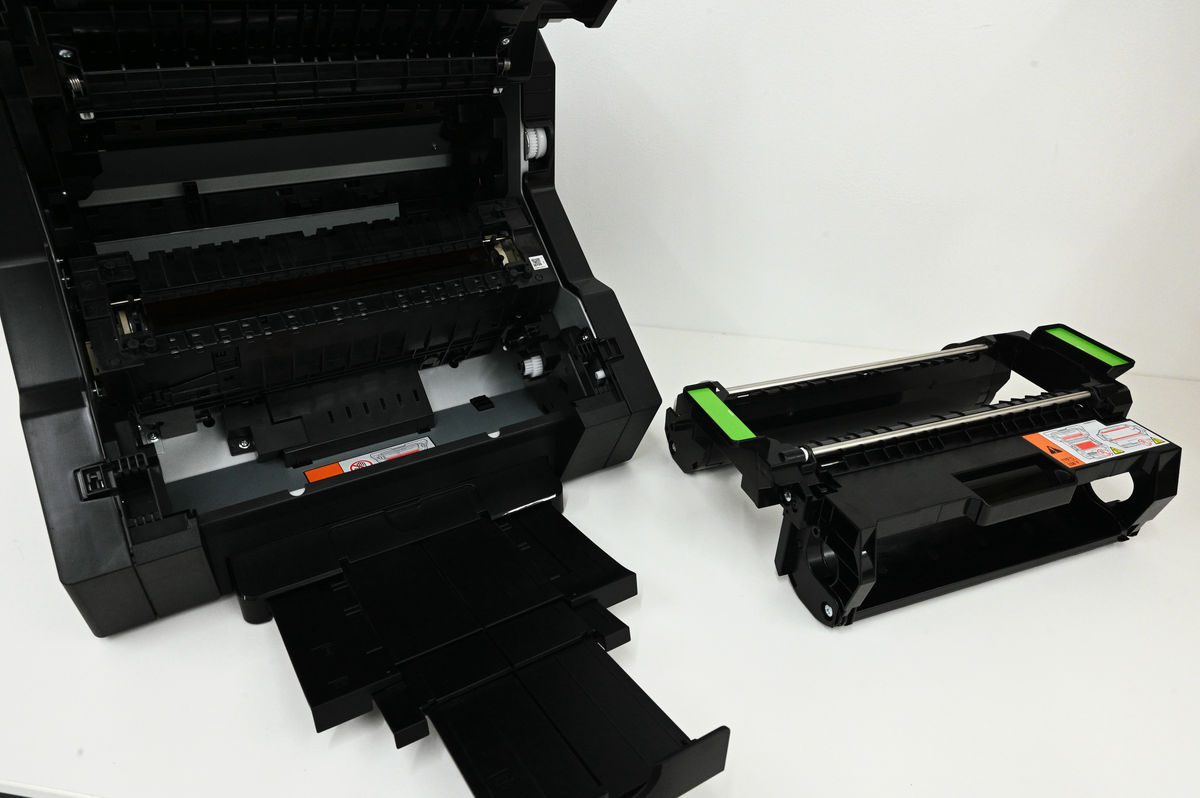
The main body of HAK110 and the foil cartridge for HAK110 that arrived from Brother.
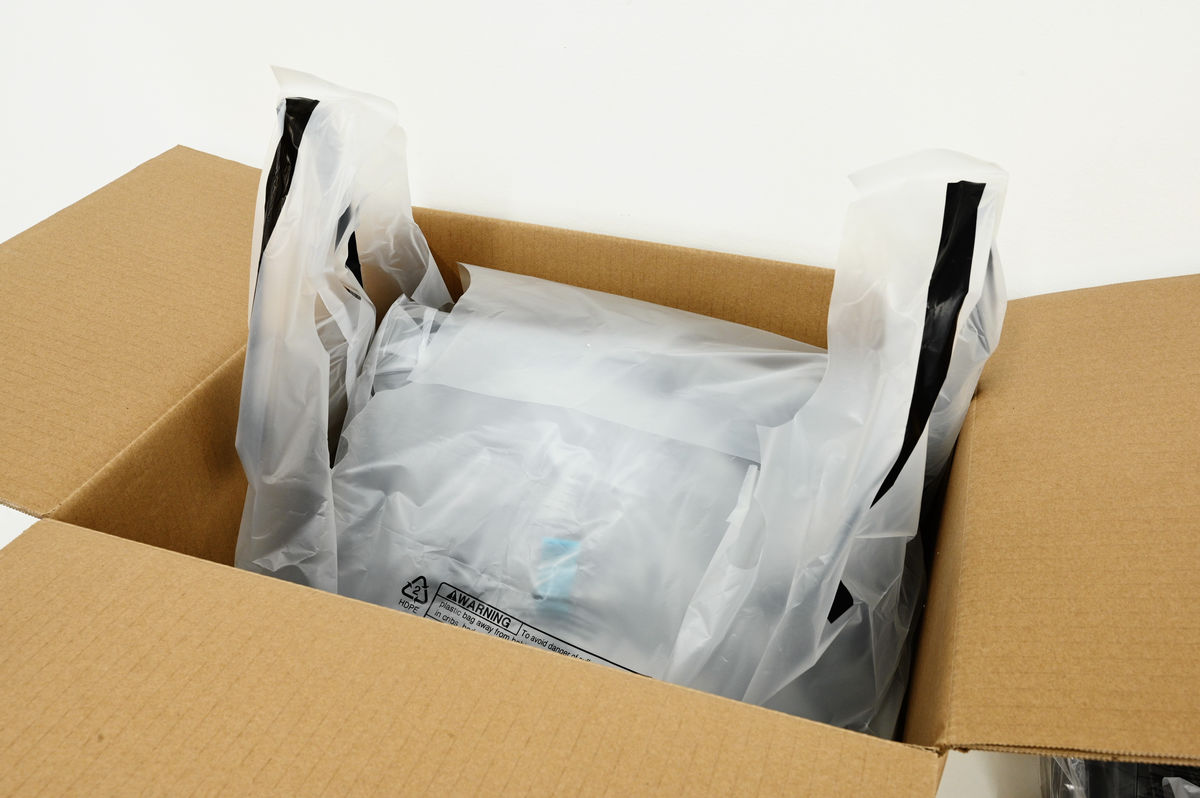
First, open the box of HAK110 and take out the contents.
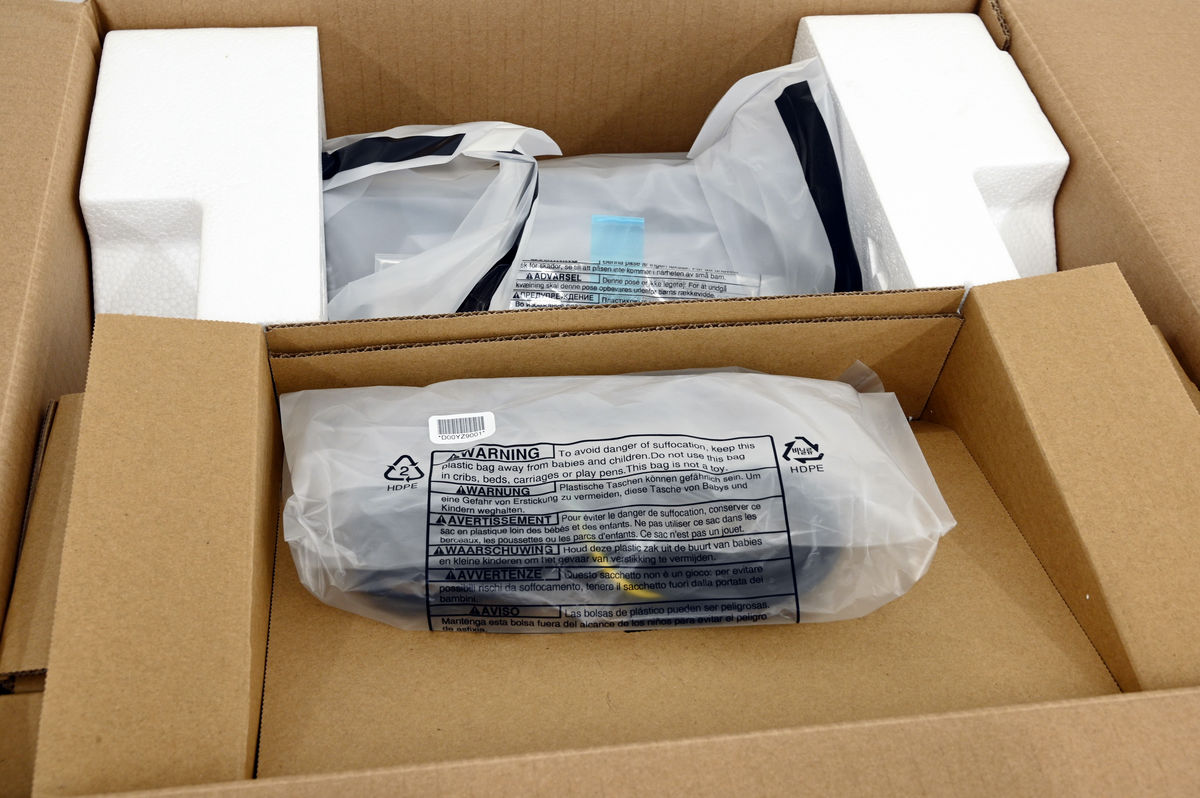
The HAK110 main unit was in a bag with a handle so that it could be easily pulled out of the box. In addition, since there is considerable weight, it is better to take out with multiple people if possible.
I was able to pull the bag out.

HAK110 came out with packing tape and notes attached.
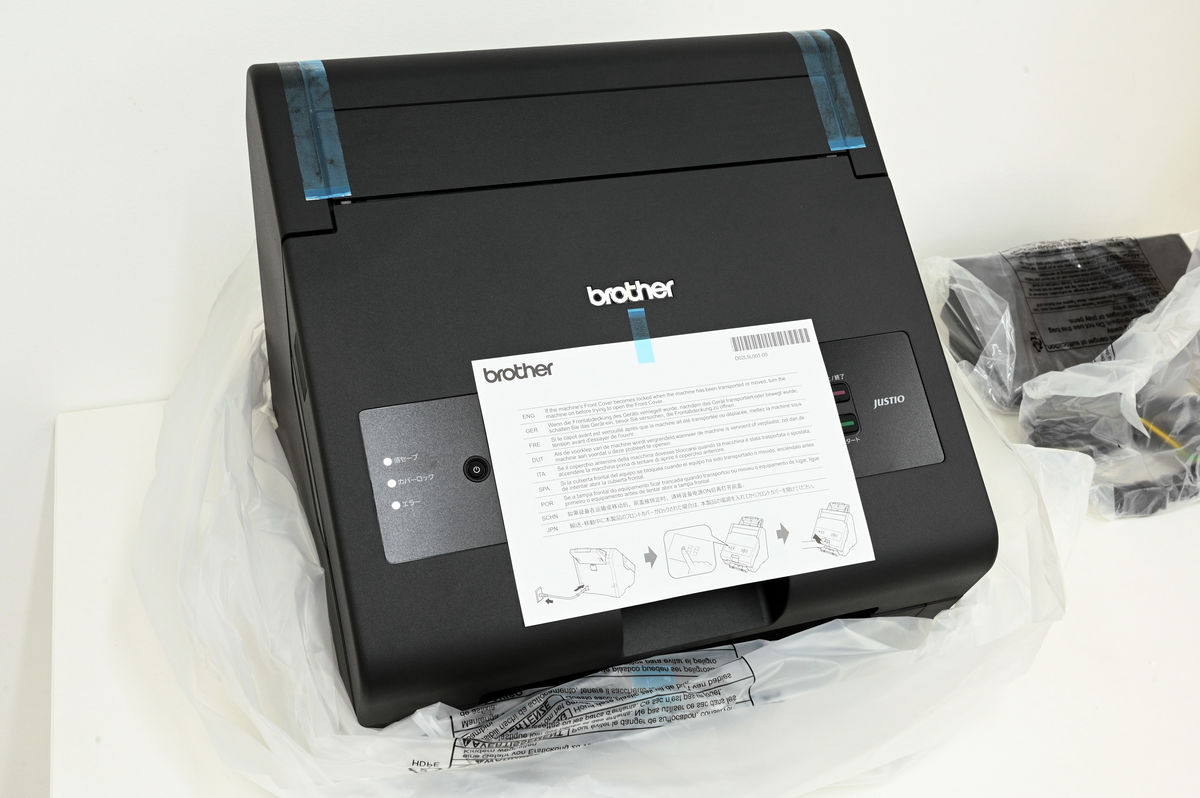
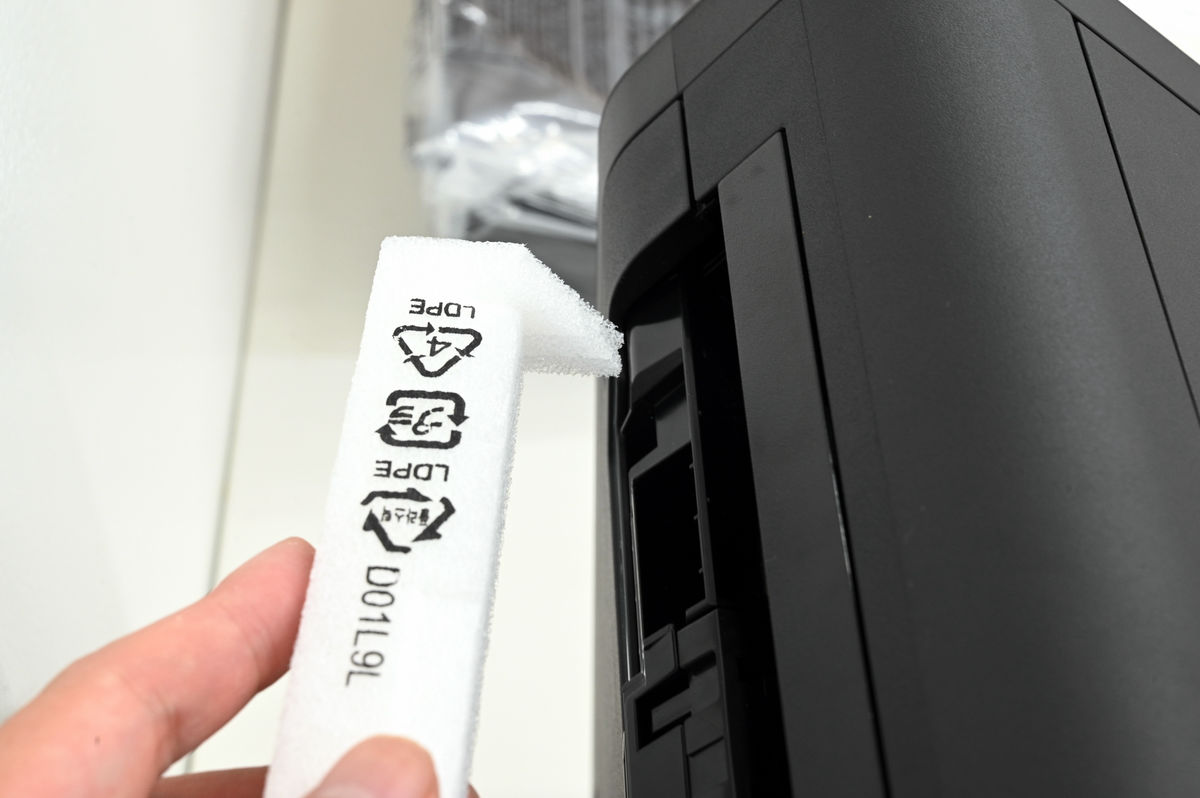
Remove any packing tape or packing material.
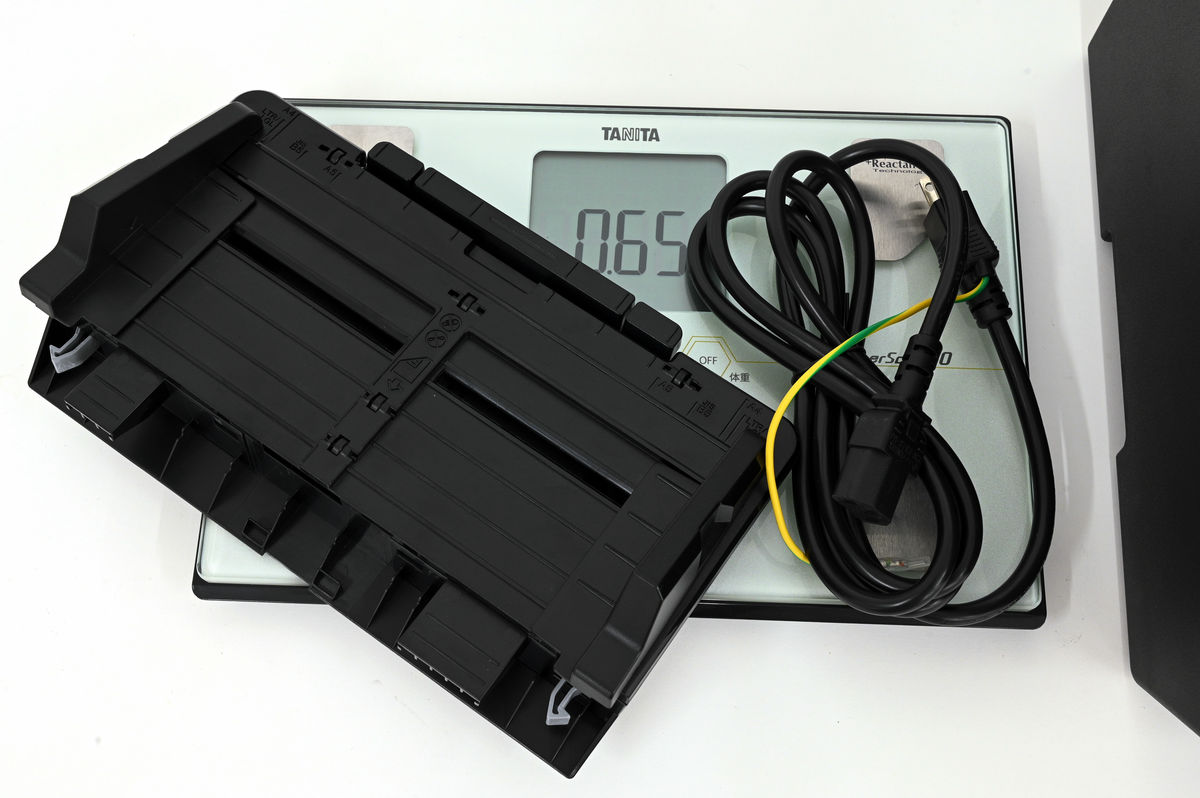
The bundled items are like this, documents such as the printer body and paper feed tray, power cable, easy installation guide.

When the main body weight was measured with a scale, it was displayed as 14 kg. The spec sheet says about 16.3kg, so it may not be measured well.
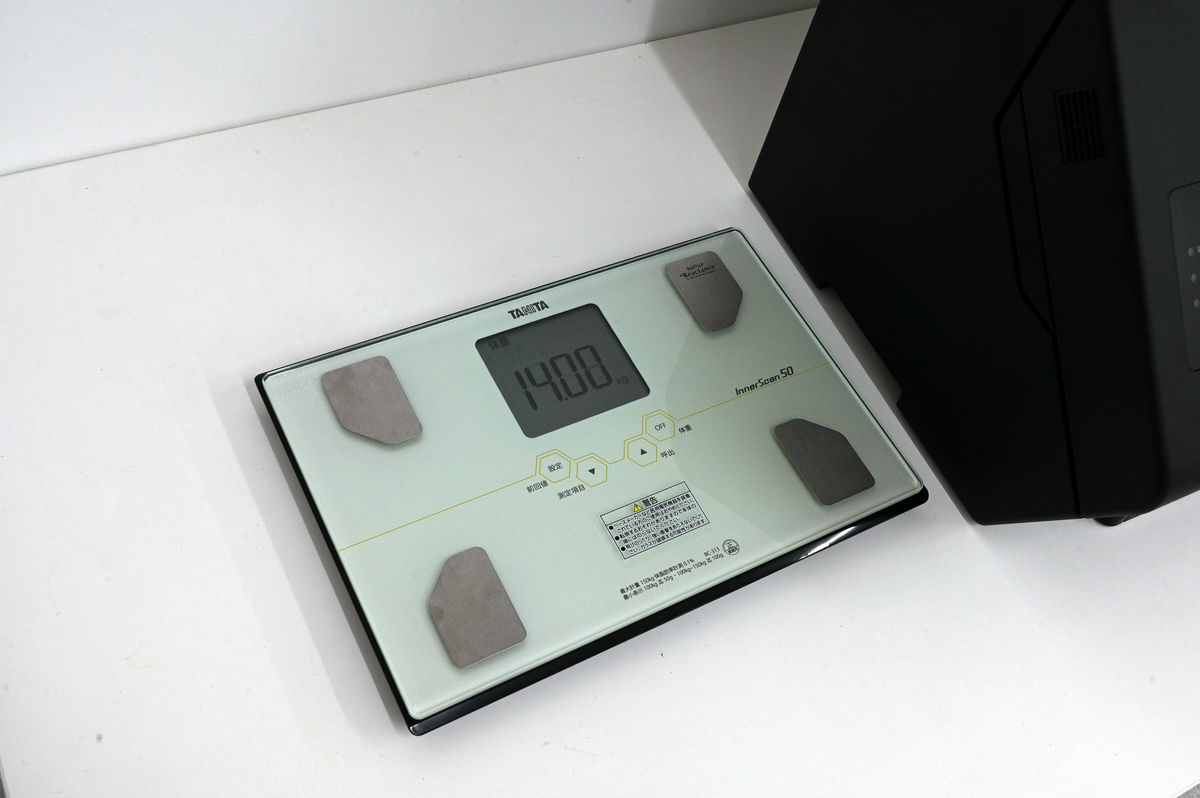
Accessories are 0.65 kg.
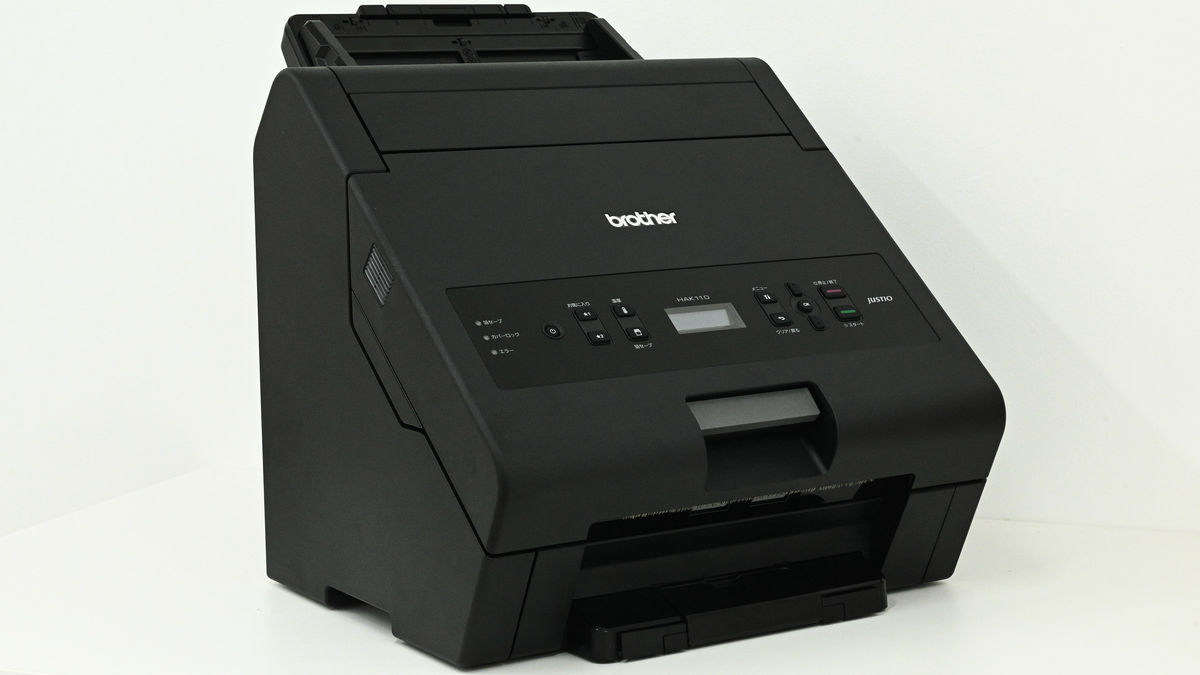
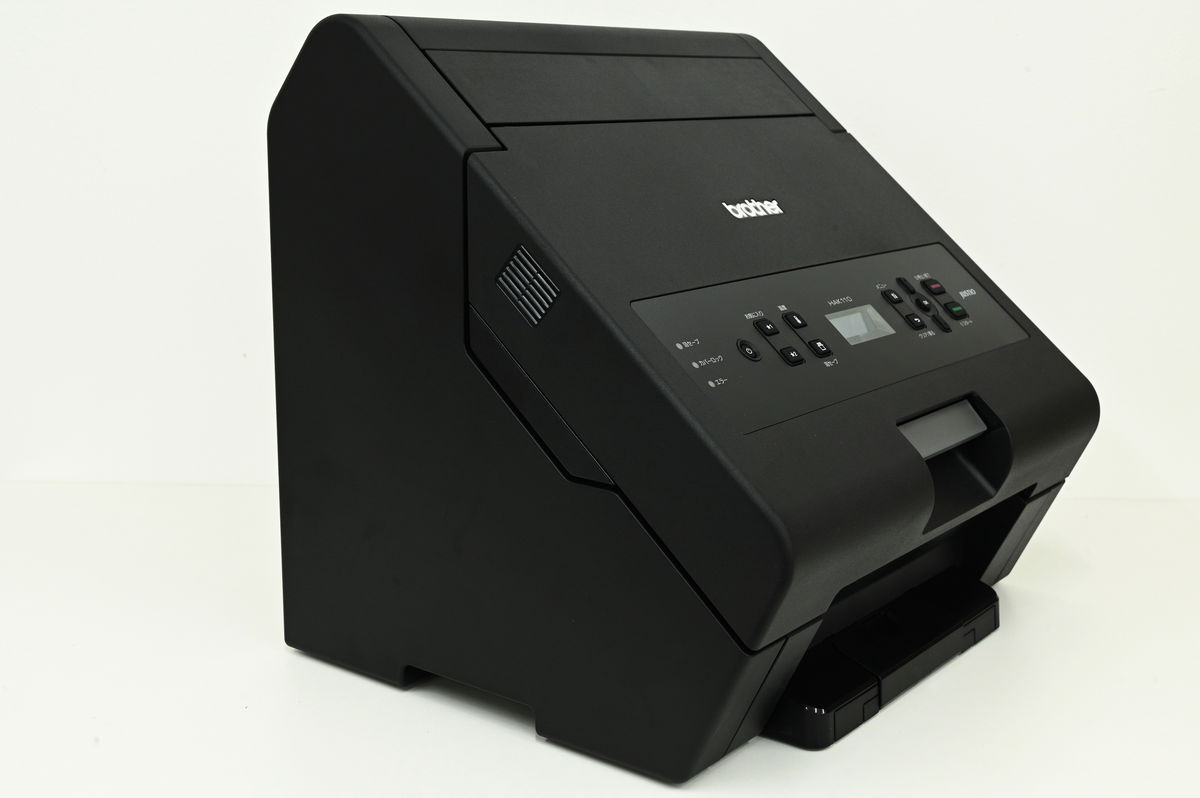
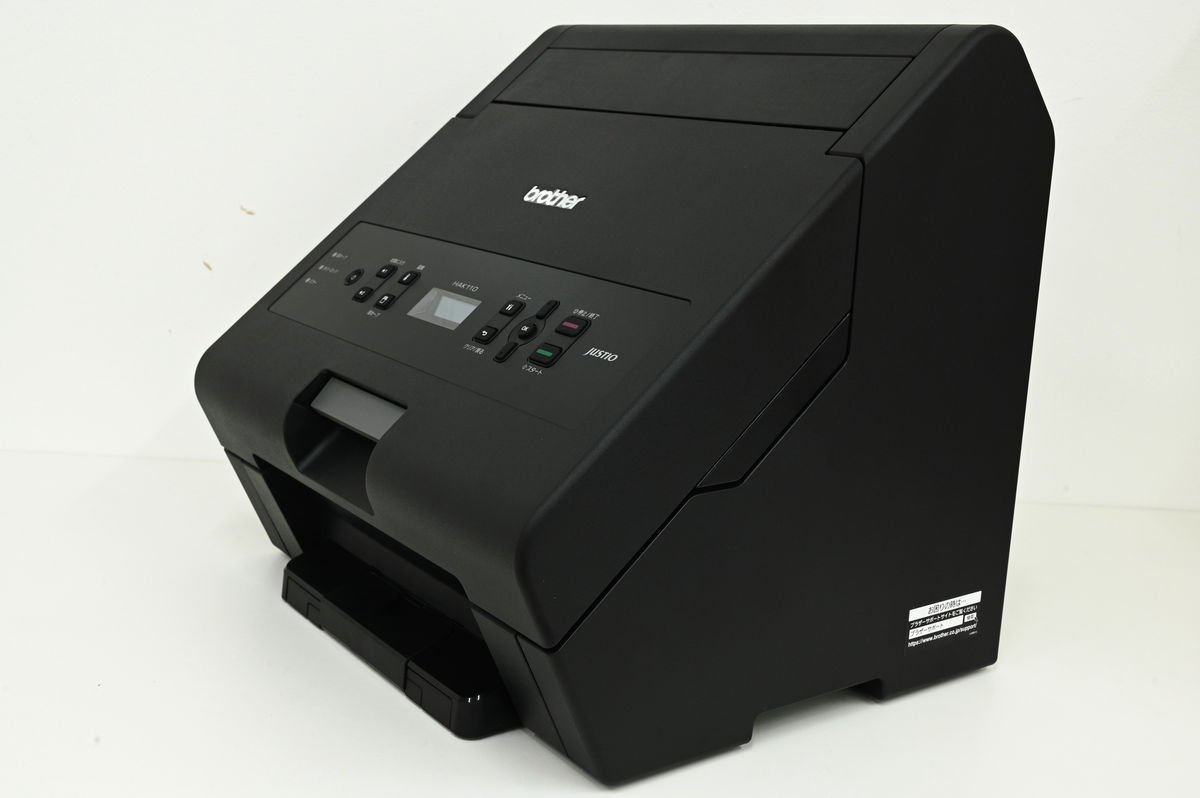
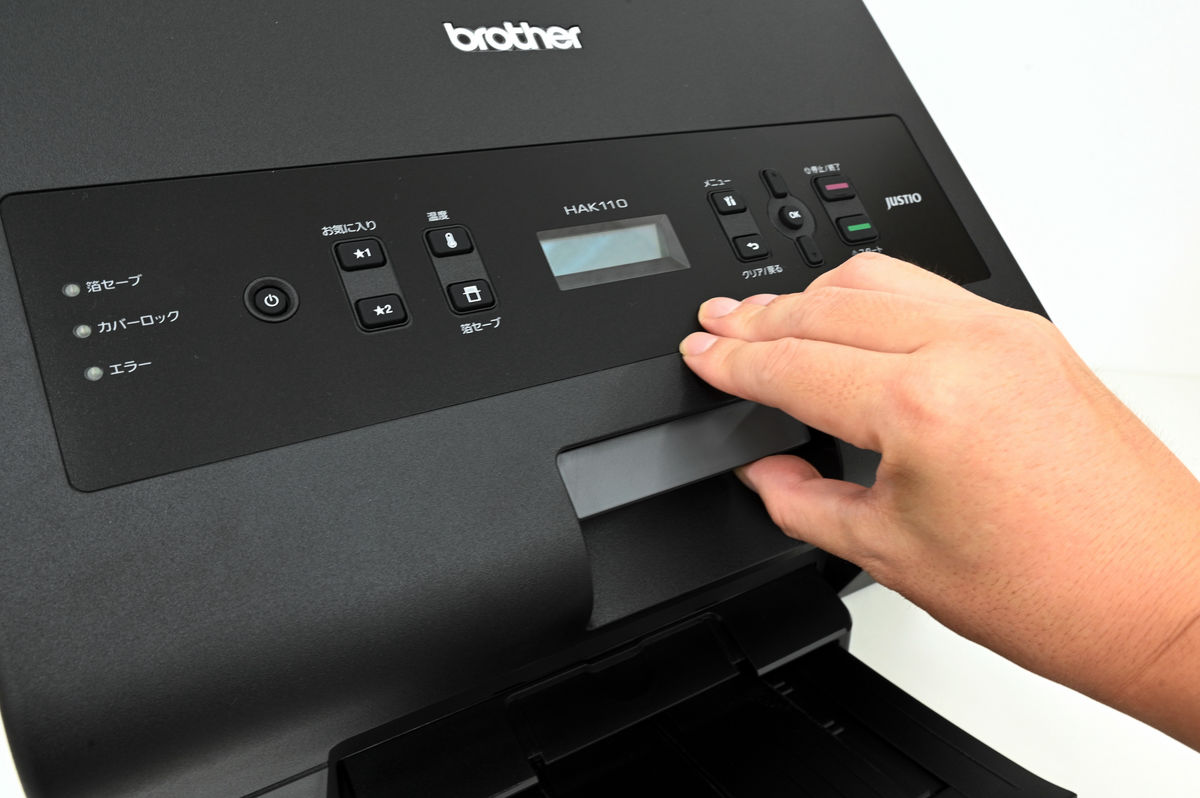
Looking from the front, it looks like this, and the buttons for operation are arranged in the central part. Width is about 38cm.

It is shaped like a triangle with the corners dropped. The depth is about 33 cm and the height is about 35 cm.
There is a part like a dent at the bottom of the main body, but here is a dent to put your hands on when moving. Be careful as it may break if you put your hand on the tray and move it.
There are no switches on the side or back.
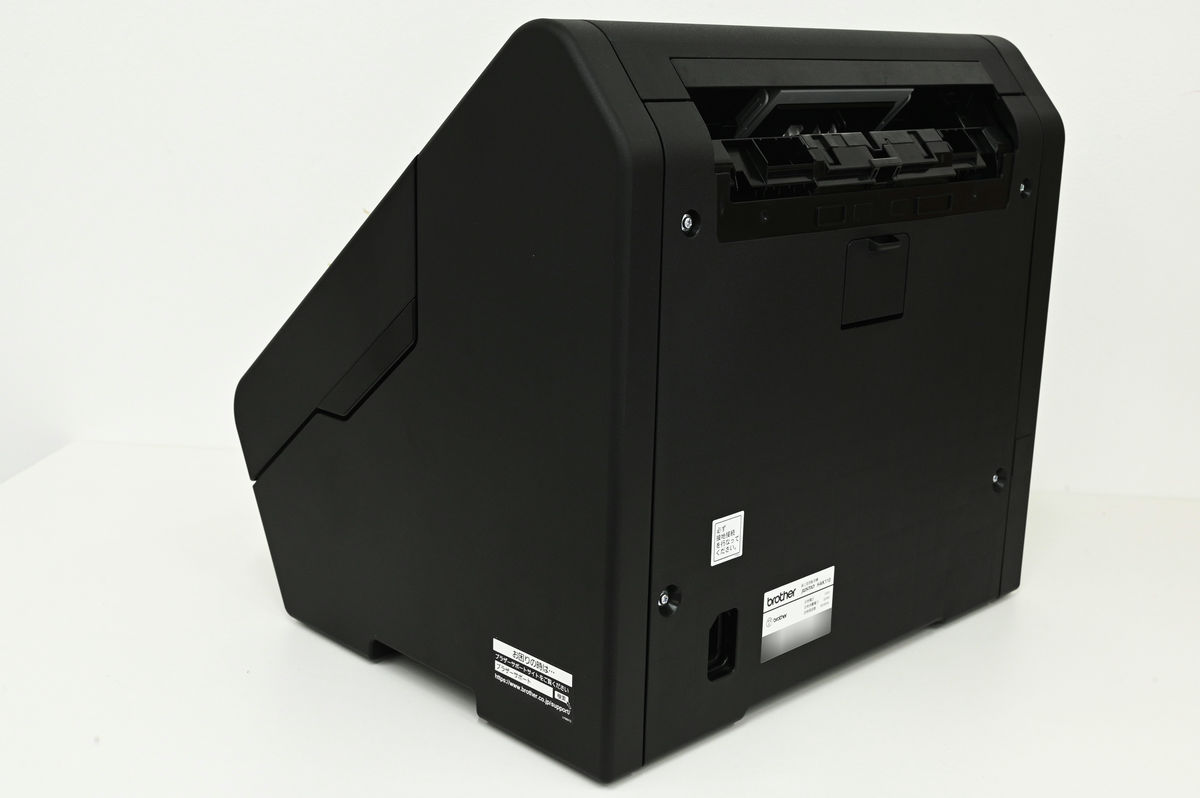
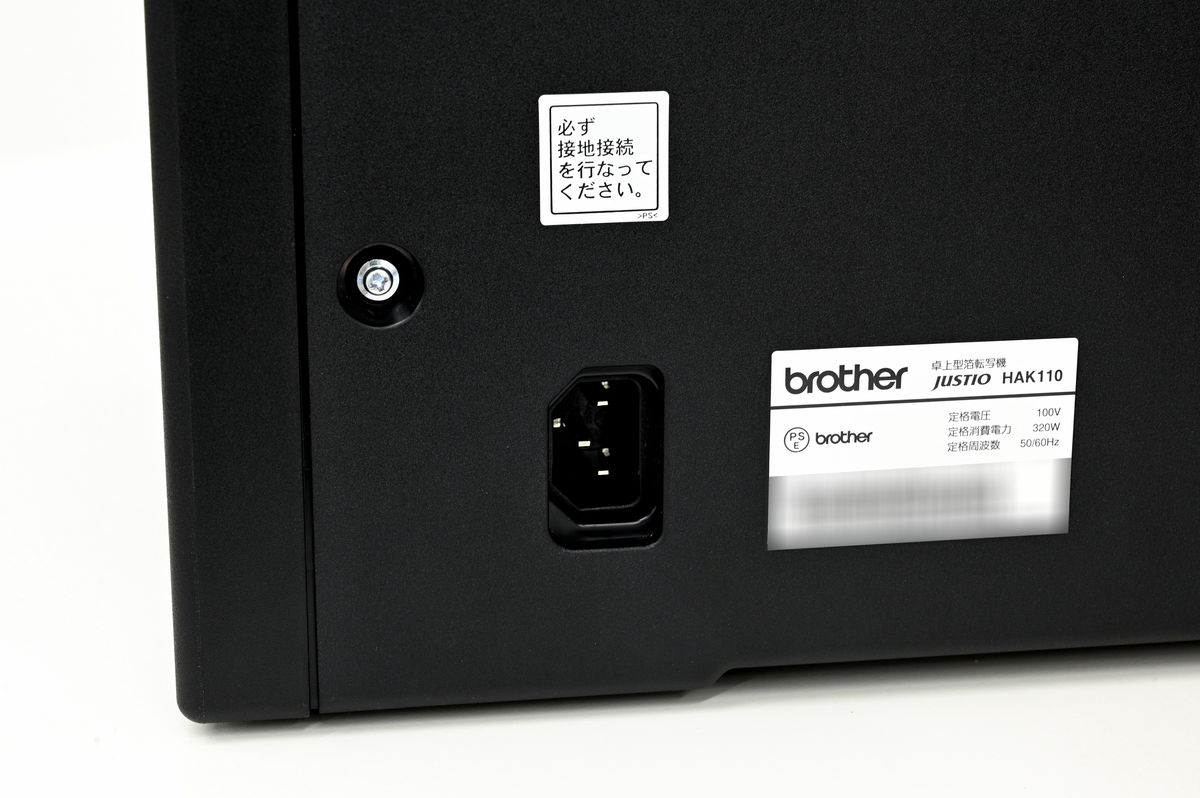
There is a connection port for the power cord on the lower left side of the back.
Upper back opening.
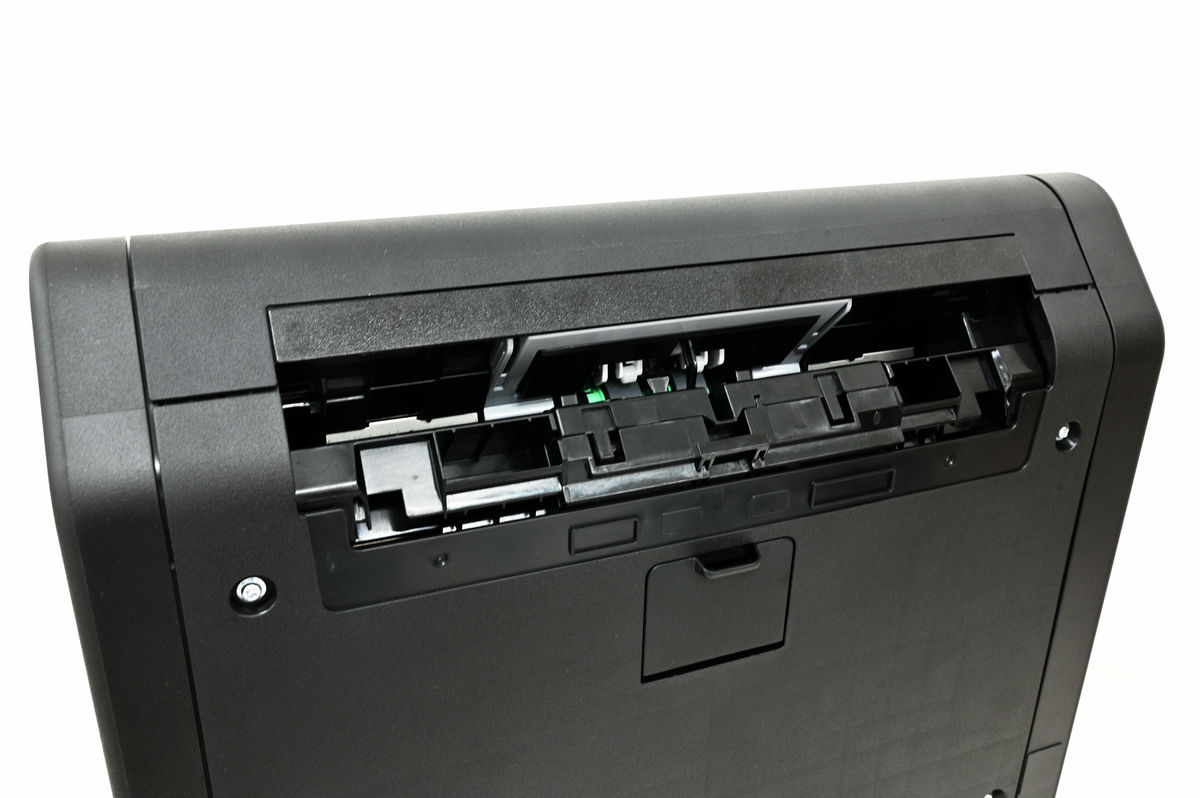
Connect the supplied paper tray here.
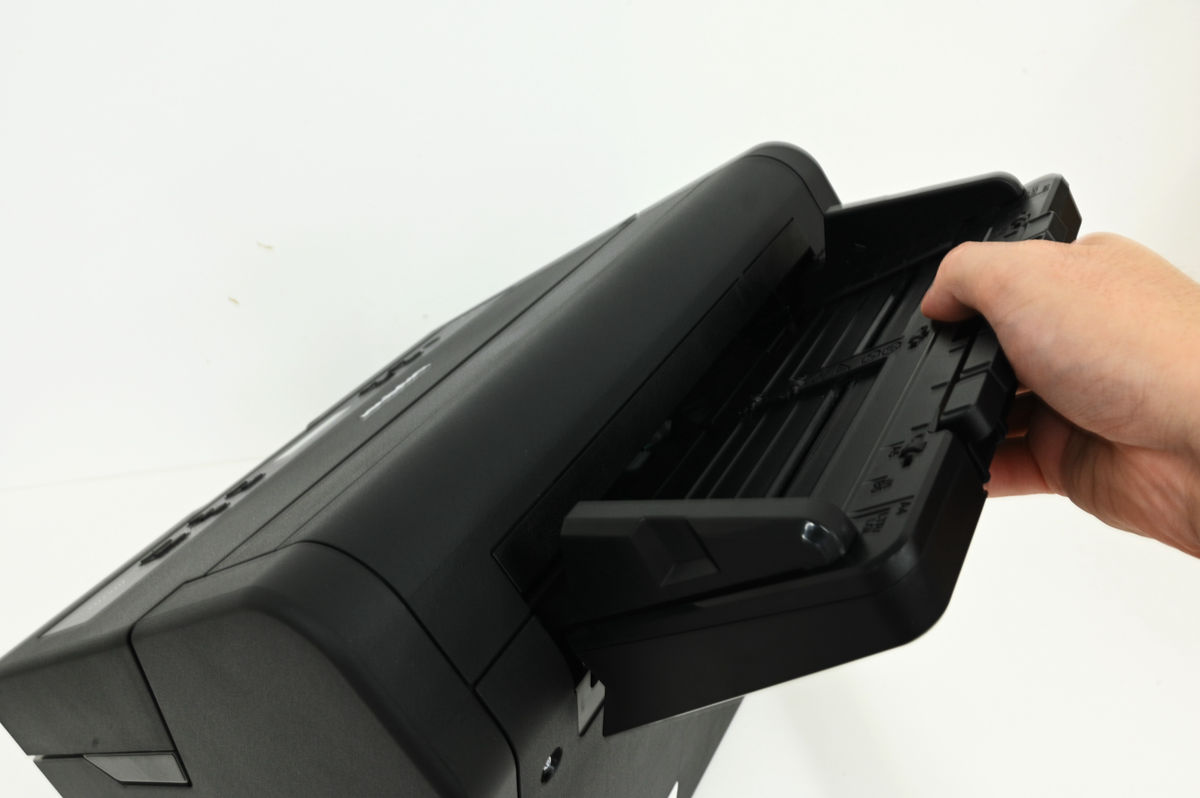
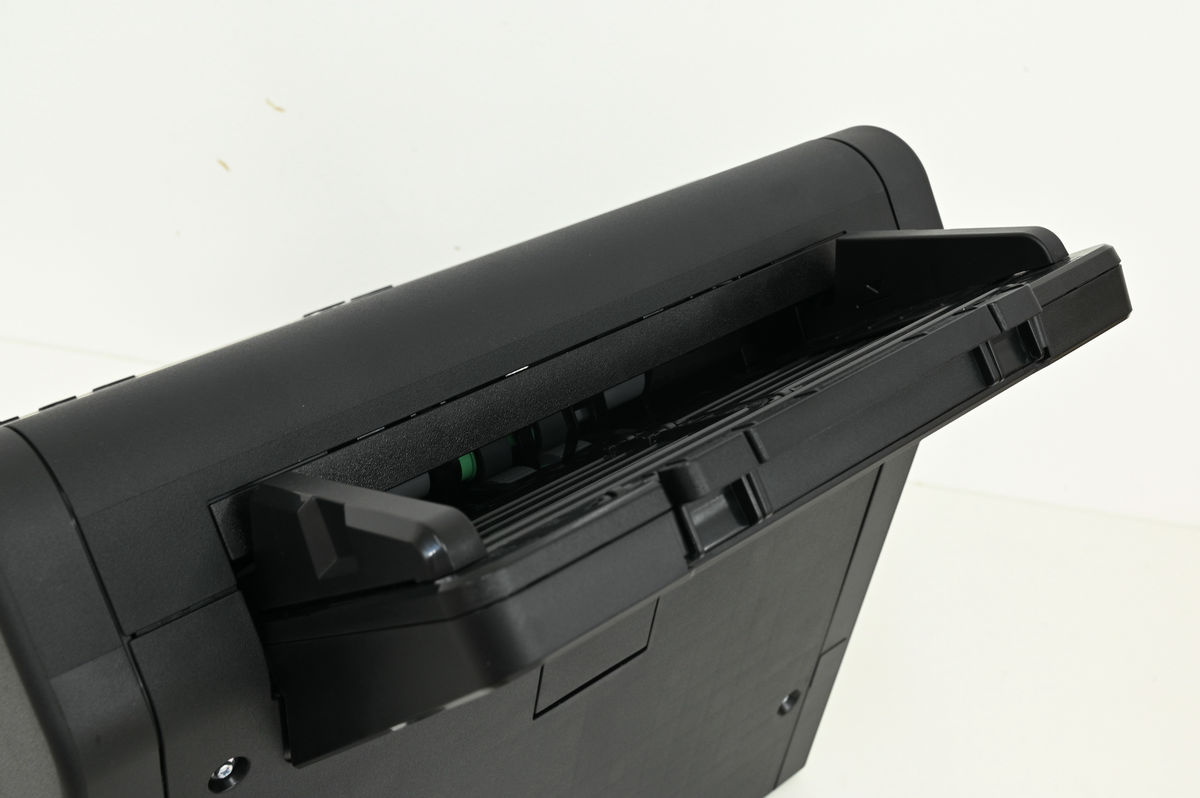
It looks like this when installed.
At the bottom of the paper tray mounting part is the 'separation roller cover'. Used for roller maintenance.
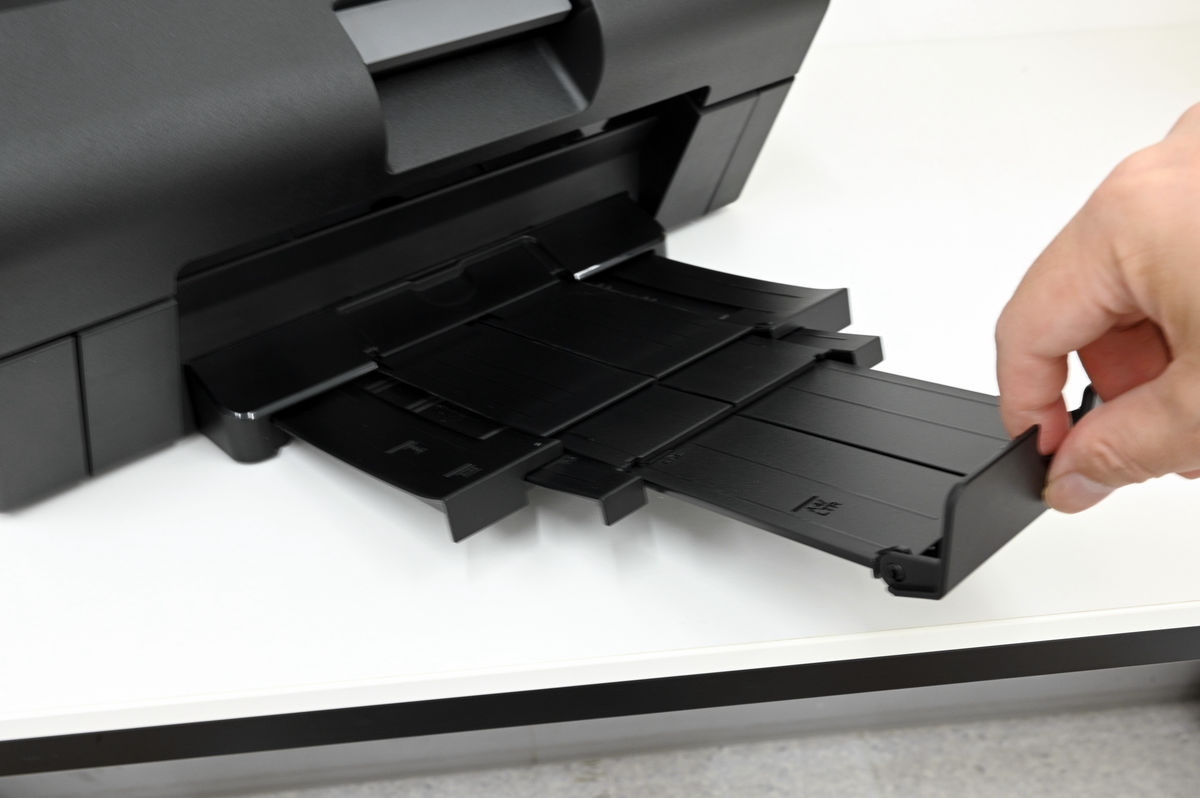
There is an output tray at the bottom front of the main unit. Pull out manually when in use.
When you pull out the output tray, it looks like this.
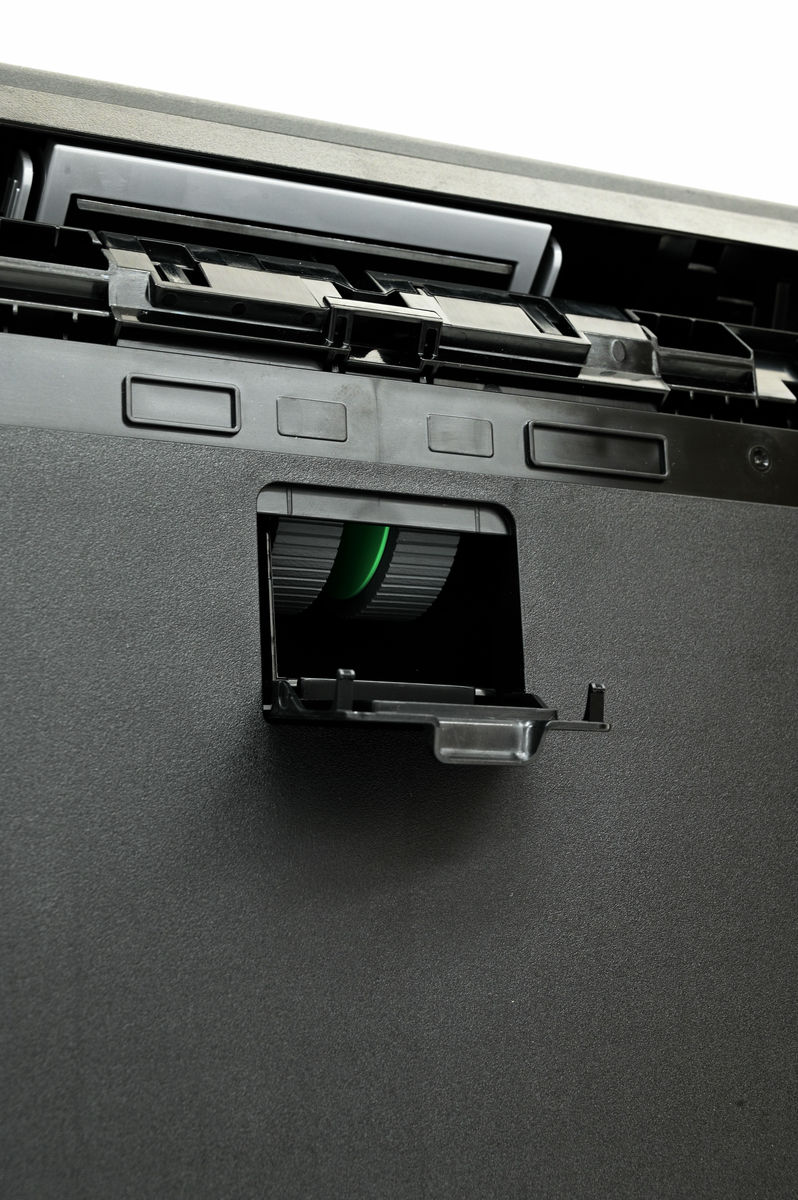
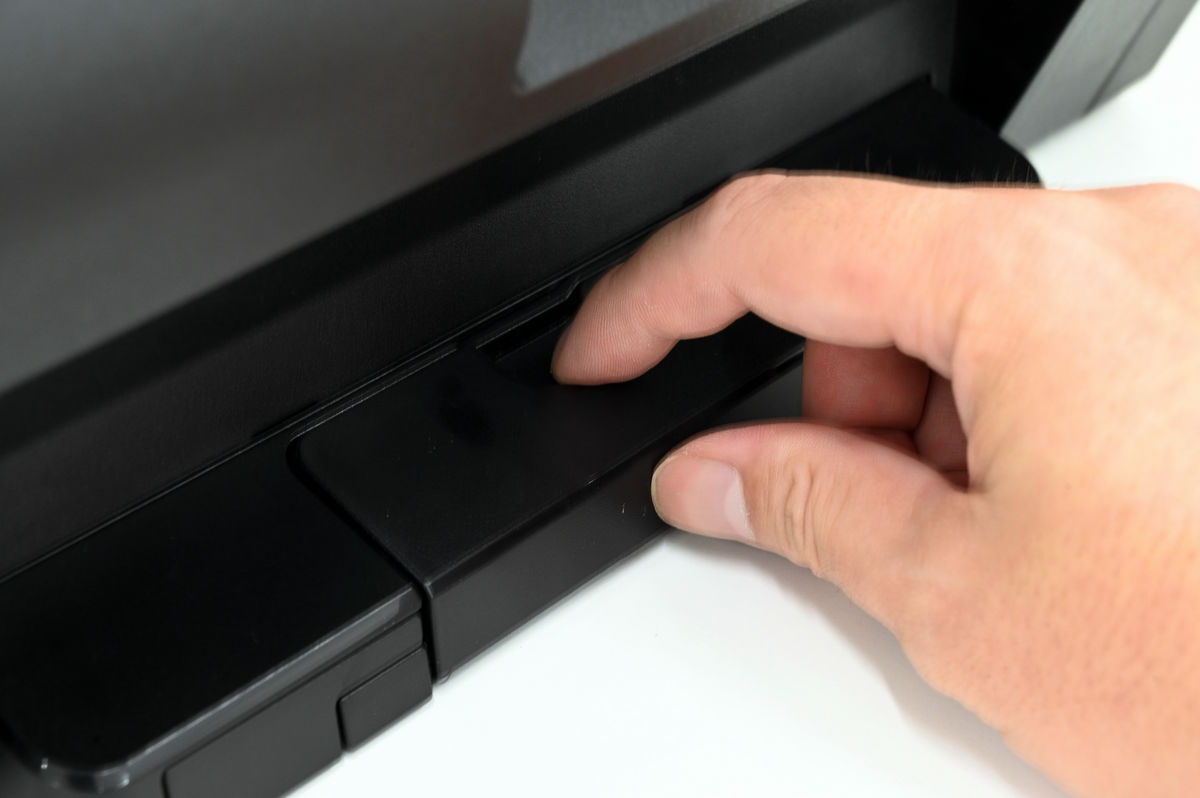
Below the operation panel is the front cover handle. Push up to open the front cover.
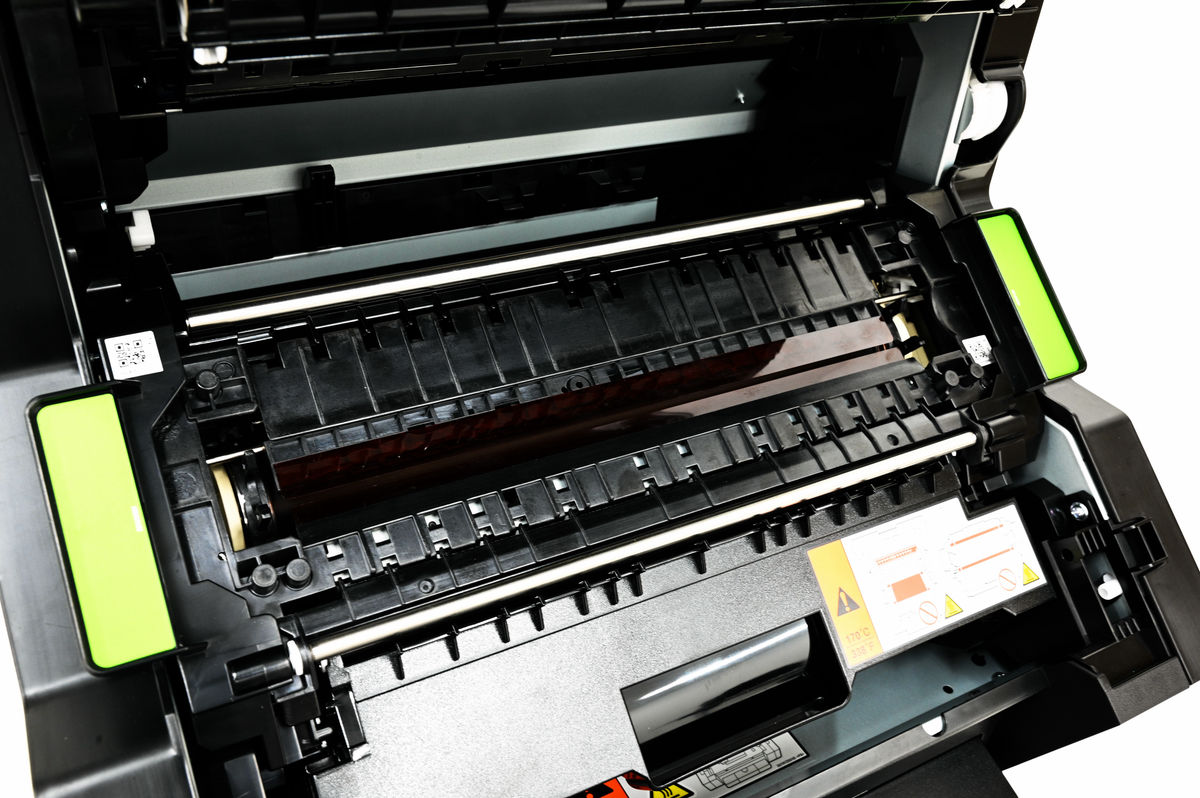
I opened the front cover. Remove the packing material that prevents the parts from moving.
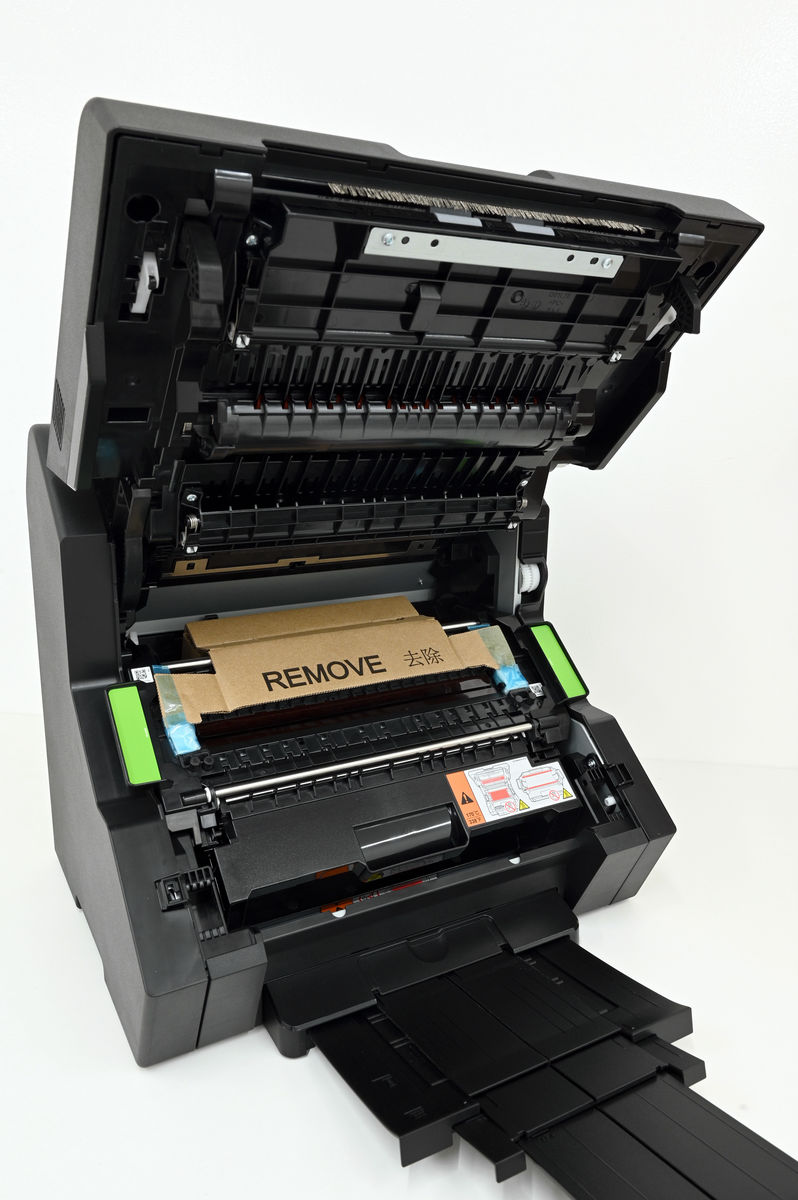
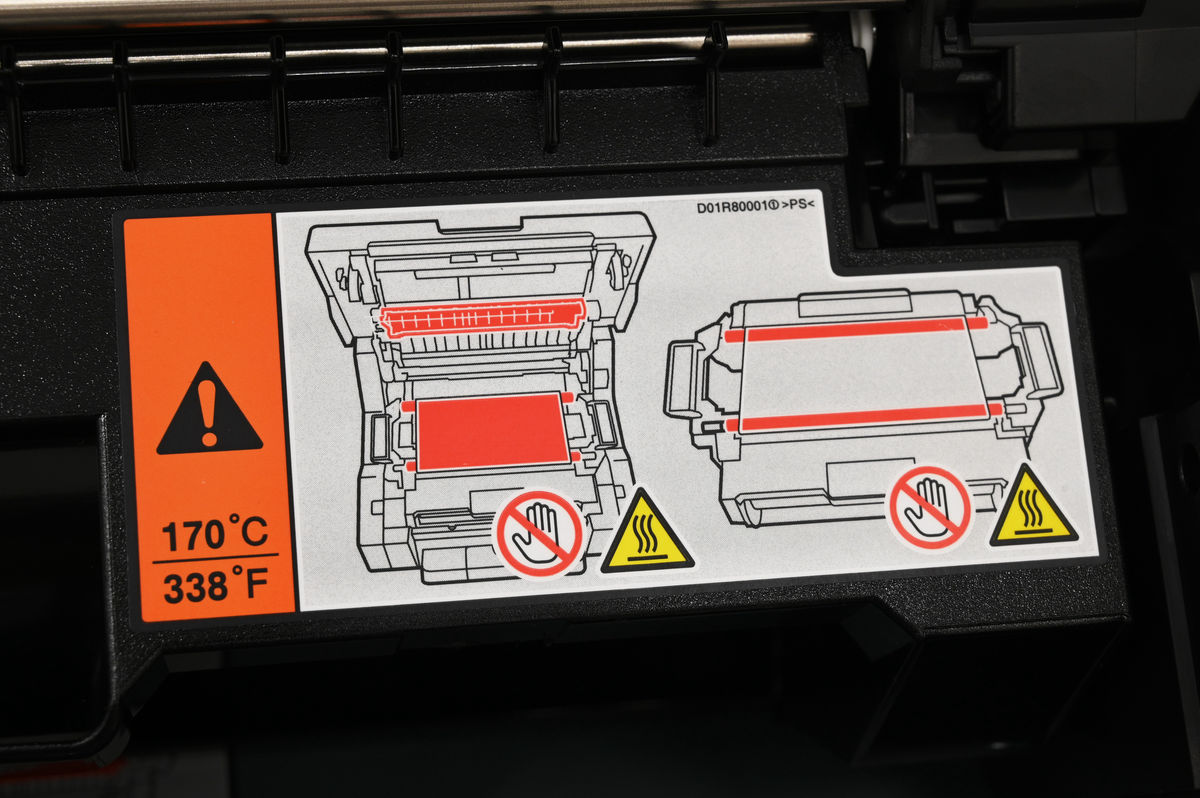
There was a cautionary sticker indicating that it would be hot.
The parts with green handles on the left and right are the “foil holders”.
The foil holder can be removed by pulling it up.
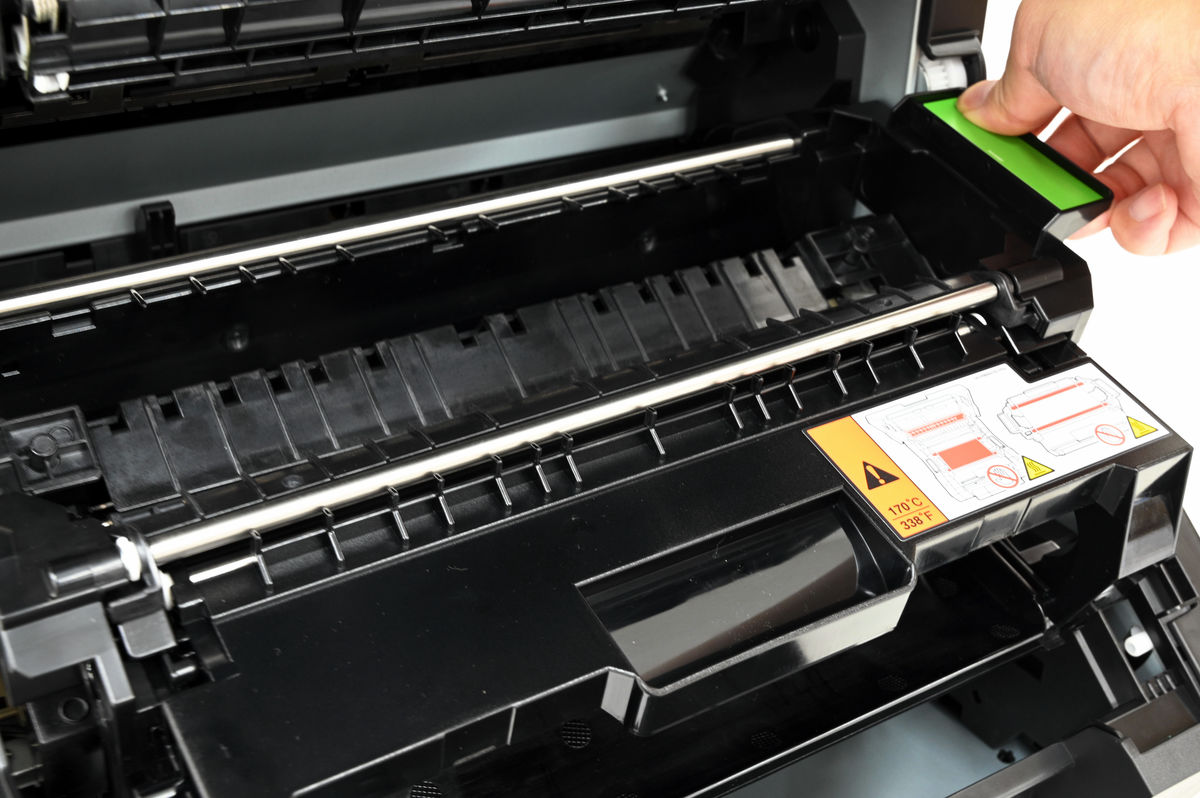
When using a foil printer, set the cartridge in this holder.
In the next article, we will install a 'foil cartridge' that is not used in normal printers.
[to be continued]
Related Posts: