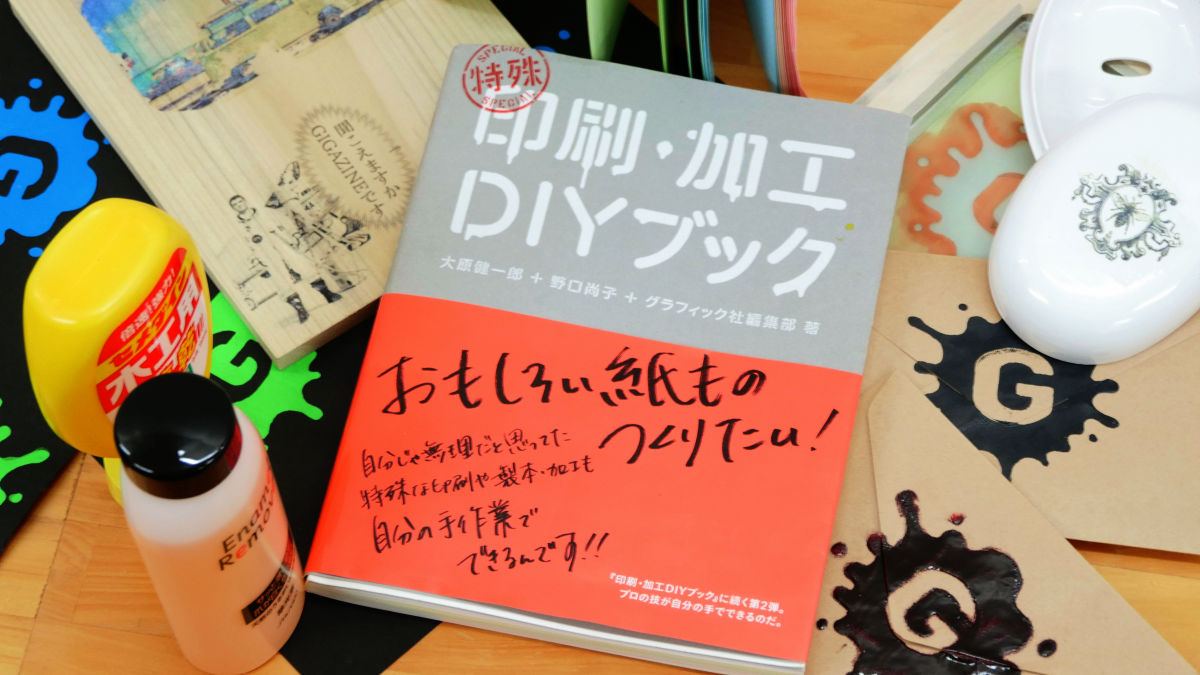
Special printing & ideas which can be done at a house by a fun-bound book I tried various skills in an extraordinary "special printing / processing DIY book"
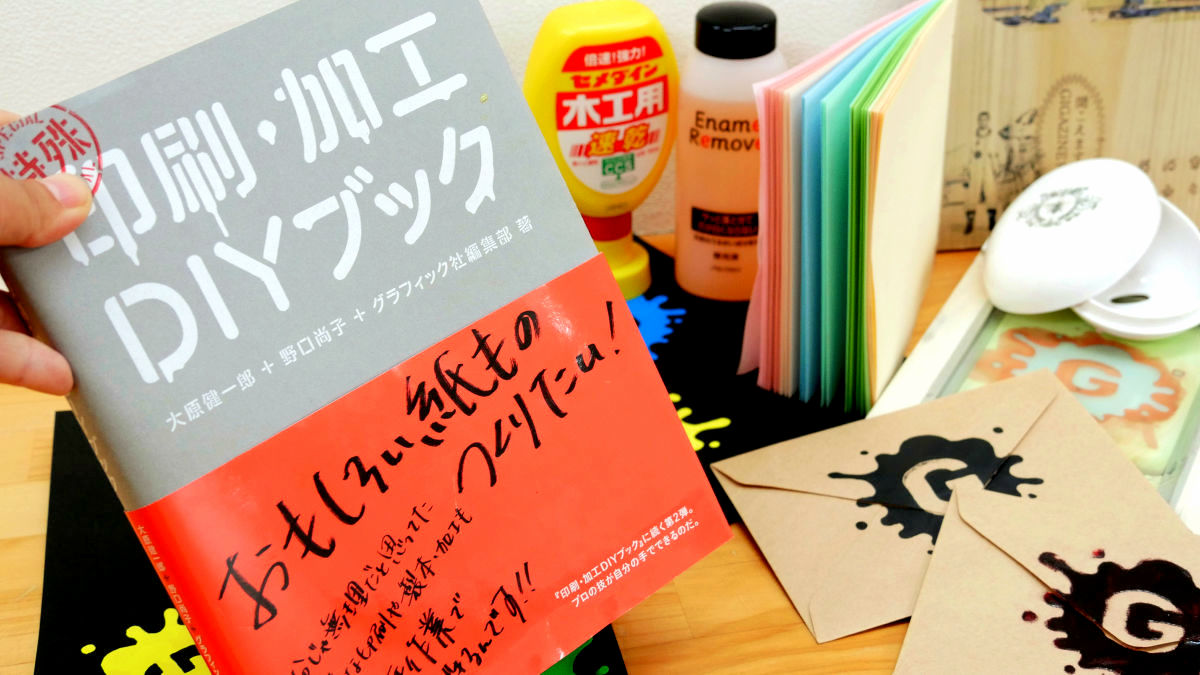
Self-paid publication by asking a printing company is expensive, so it is difficult to make bound books, sometimes it is not enough to ask the company because it prints only a small number. That's why I gathered ideas and methods to make attractive prints at home "Special printing / processing DIY book"is. Since it is said that it is now possible to make a unique book even on a low budget, I have tried various skills that are actually on the book.
Amazon.co.jp: Special printing / processing DIY book: Ohara Kenichiro, Noguchi Naoko, graphic company editor: book
http://www.amazon.co.jp/dp/4766123034
Special printing / processing DIY bookPrinting / processing DIY bookThe second series in the series, followed by a focus on special printing. The size is 23.3 x 18.5 x 1.8 cm.
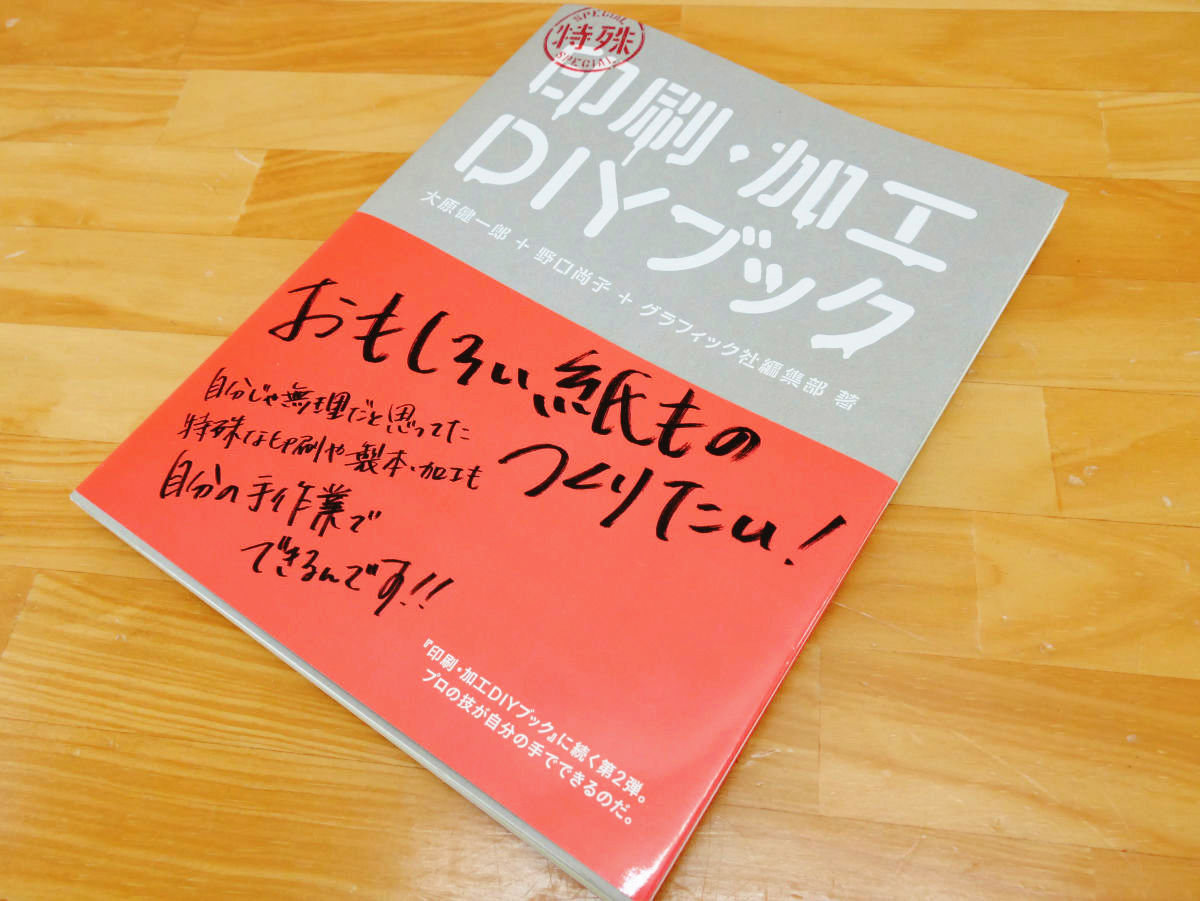
A total of 128 pages.

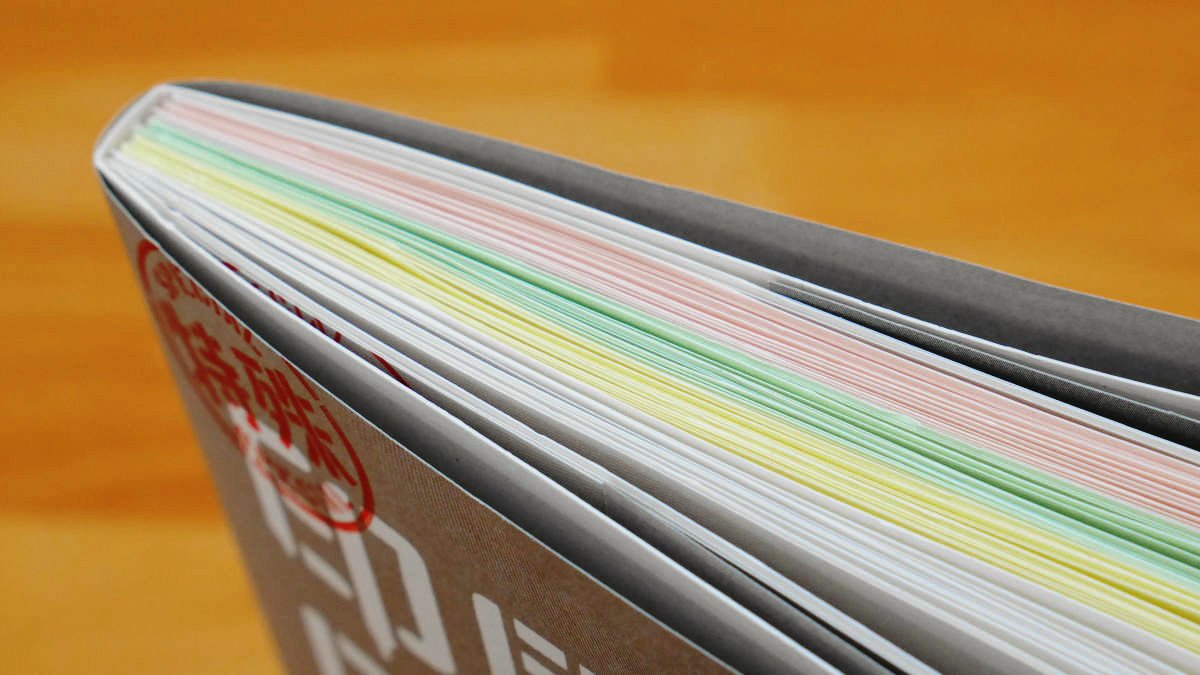
The top cutting is not dared to dare to produce a homemade atmosphere.
This is the table of contents by flicking pages.
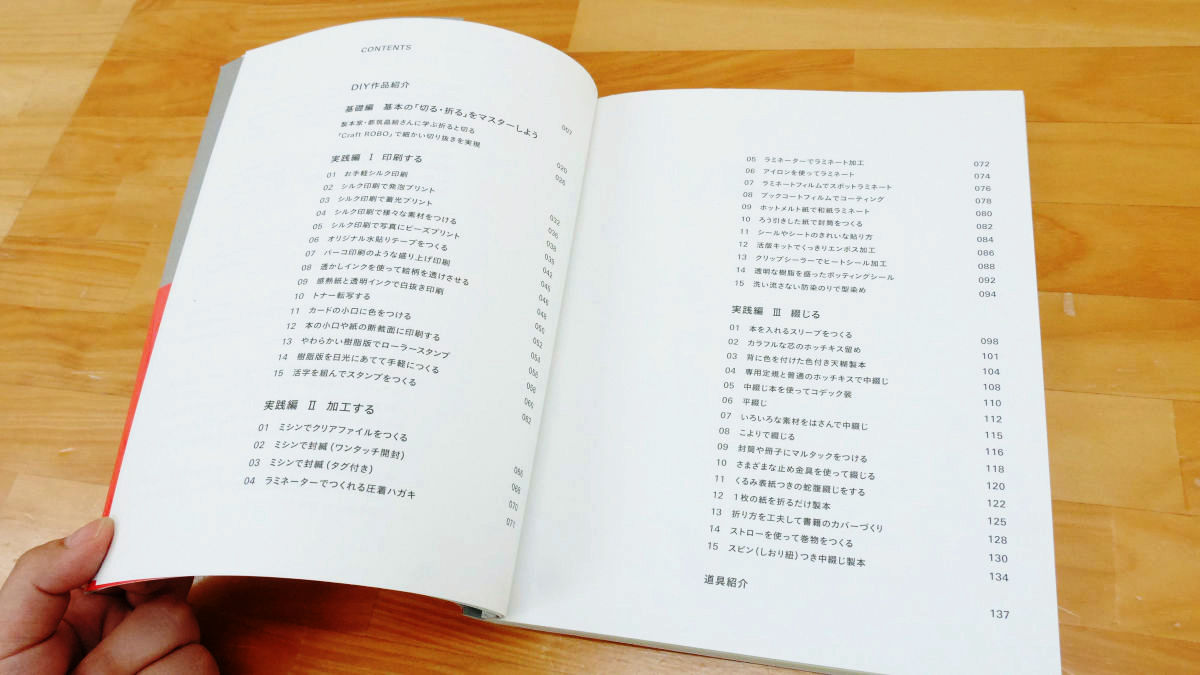
The table of contents has the following feeling.
◆ Master the basics of "basics" "cut / fold"
Learn from the bookmaker · Tsuzuki Akiyo fold to break
"Craft ROBO" realize fine clipping
◆ Practice I Print
01 Easy Silk Printing
02 Foam print with silk printing
03 phosphorescent print with silk printing
04 Applying various materials with silk printing
05 Beads print on photos with silk printing
06 Make original water sticky tape
07 Lift-up printing like a bark print
08 Using a watermark ink to make a picture transparent
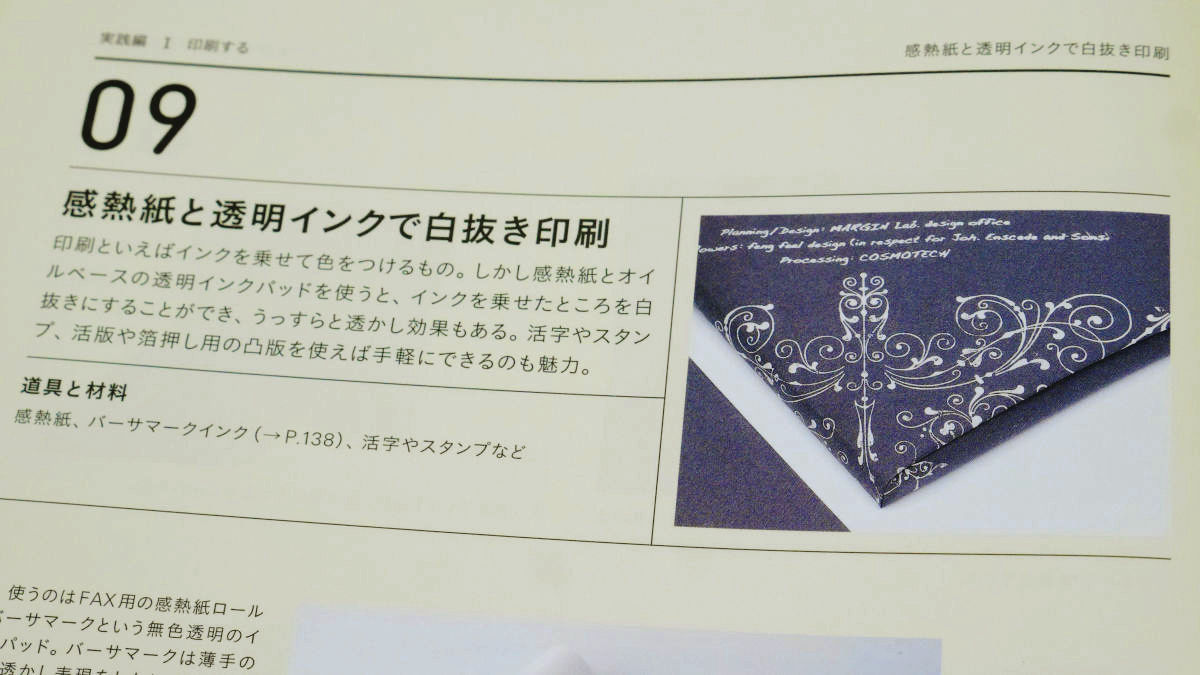
09 White printing with thermal paper and transparent ink
10 Transfer toner
11 Color a small number of cards
Print on twelve small cuts or cut surfaces of paper
13 Roller stamp with soft resin plate
14 Easily create a resin plate against sunlight
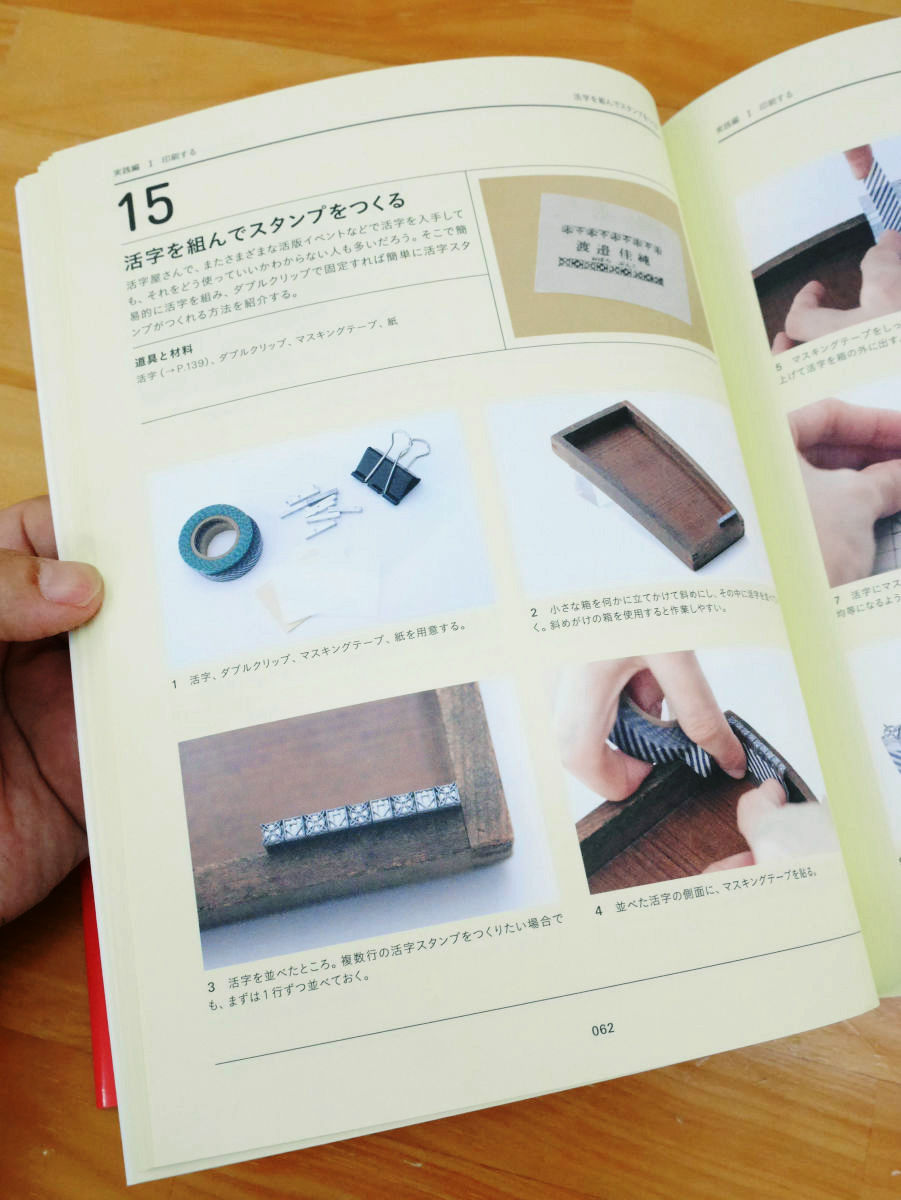
15 Creating stamps with type letters
◆ Practice II Processing
01 Create clear file with sewing machine
02 Sealing with sewing machine (one-touch opening)
03 Sealing with sewing machine (with tag)
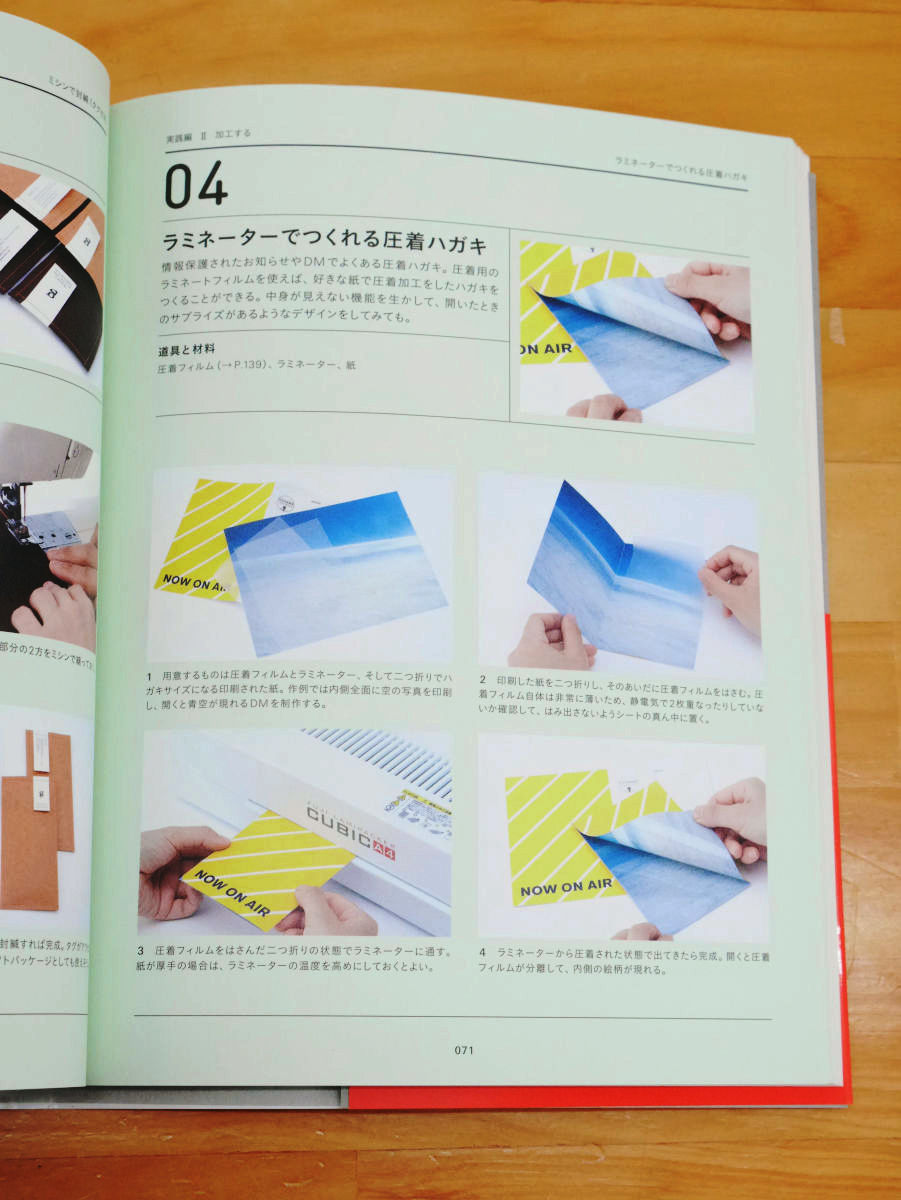
04 Crimping postcard made with laminator
05 Laminated with laminator
06 Laminate using an iron
07 Spot laminate with laminate film
08 Coating with book coat film
09 Washi laminate with hot melt paper
10 Make an envelope with braze paper
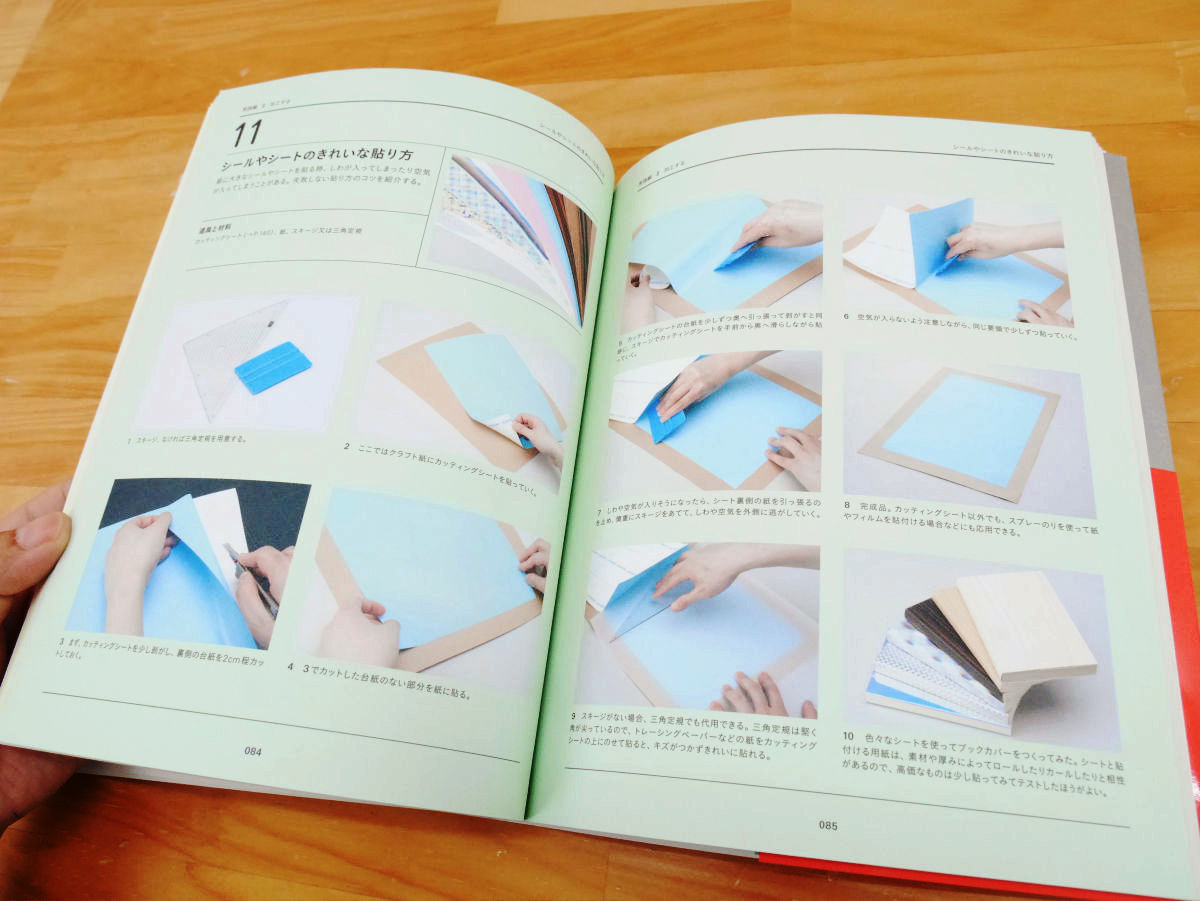
11 How to paste seals and sheets cleanly
12 Embossed sharply with letterpress kit
13 Heat seal processing with clip sealer
14 Potting seal filled with transparent resin
15 Stamination with a resistant stain not washed off
◆ Practice II binding
01 Make a sleep by putting books
02 Stapling of colorful core staple
03 Paper binding with color with a color on the back
04 Saddle stitched with exclusive ruler and ordinary stapler
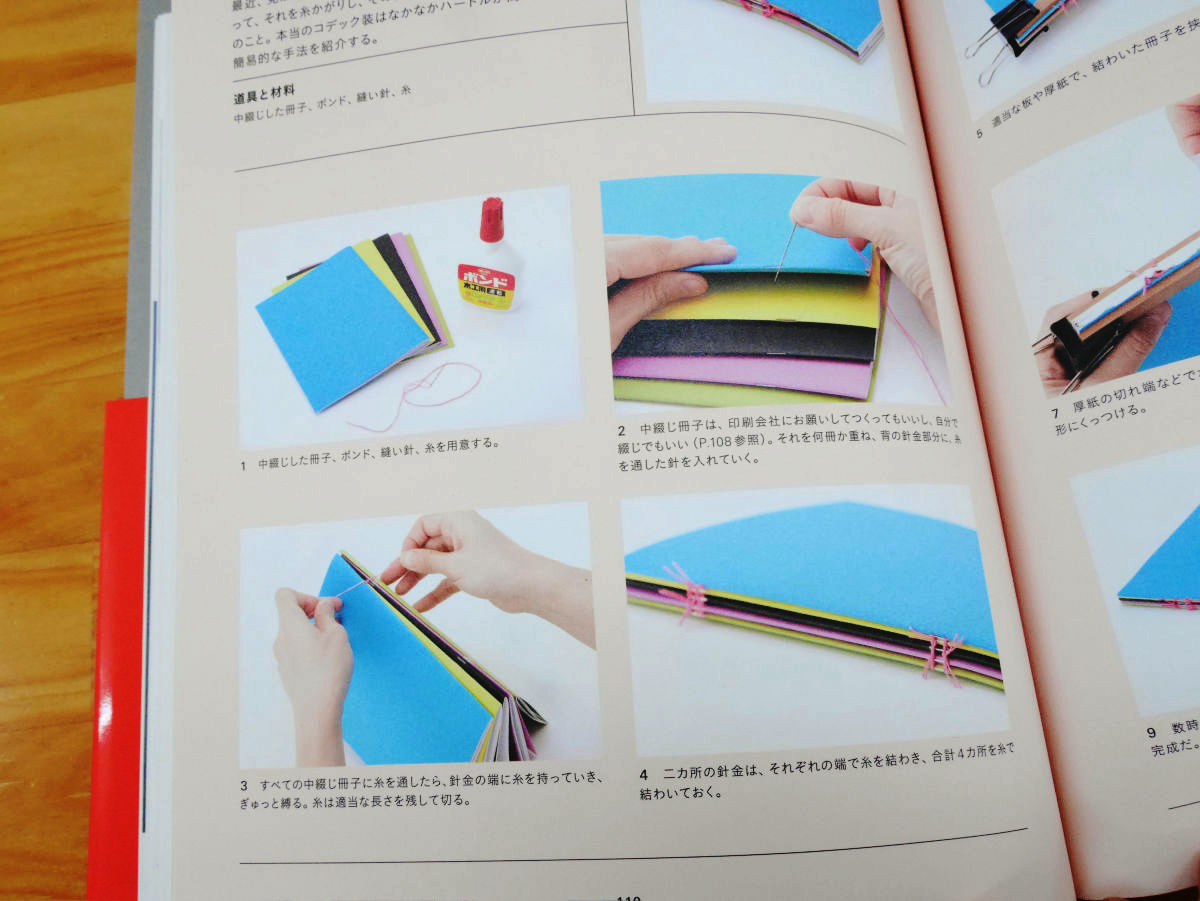
05 Codec using saddle stitch book
06 flat stitching
07 Saddle stitching with various materials in between
Binding at 08 well
09 Attach Martack to envelopes and brochures
10 Bind using various clamps
Binding with walnut cover with bellows
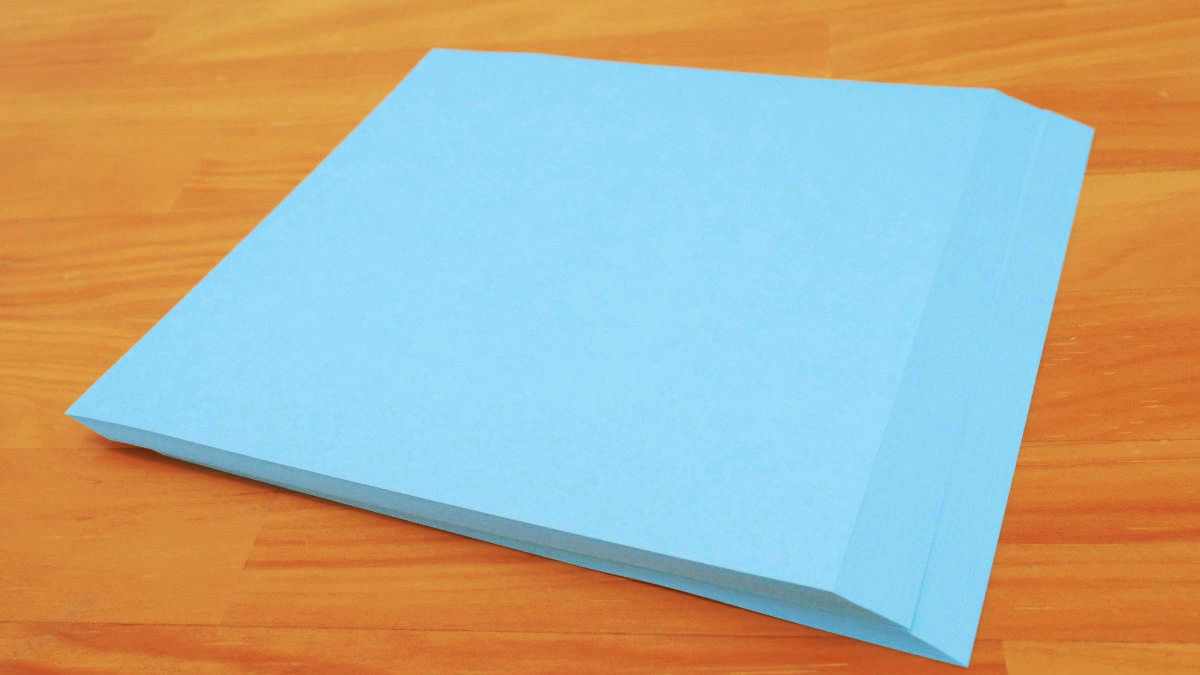
12 Just fold one sheet of paper and bind it
13 Creating a cover for books by devising how to fold
14 Make scrolls with straws
Saddle stitch binding with 15 spin (bookmark string)
◆ Tool introduction
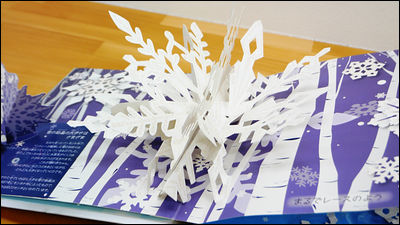
Following the table of contents is DIY work introduction. It is good to refer to the books to make from now on, but it is good to see and enjoy it, a unique work continues.
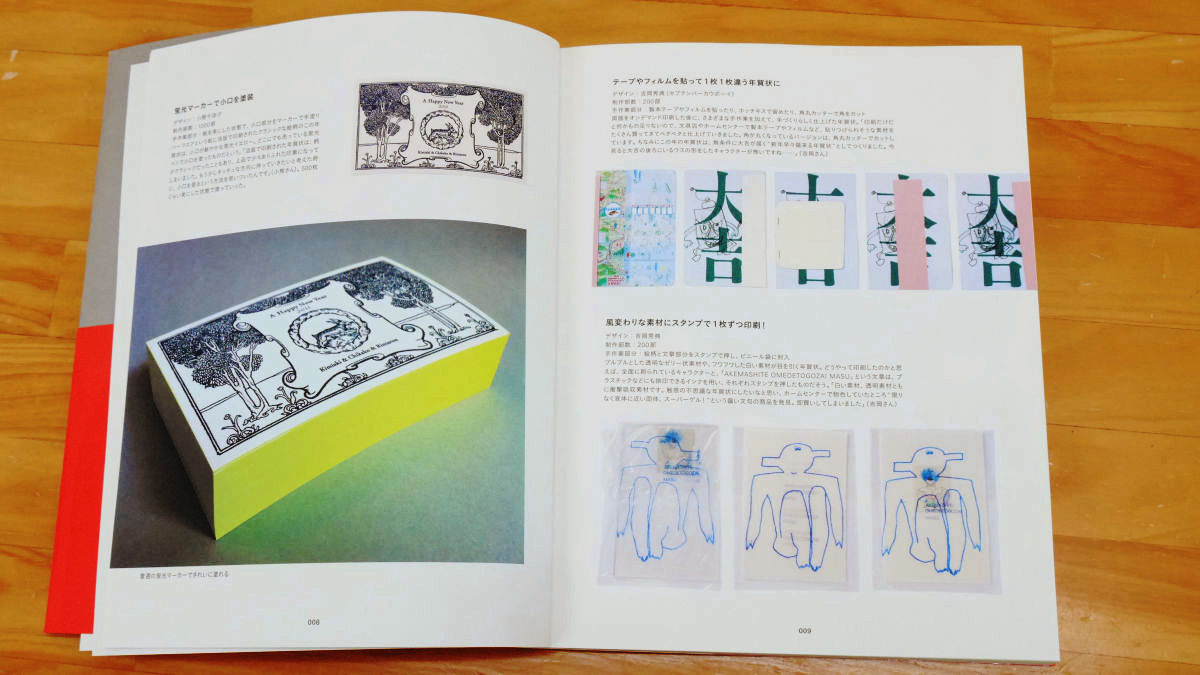
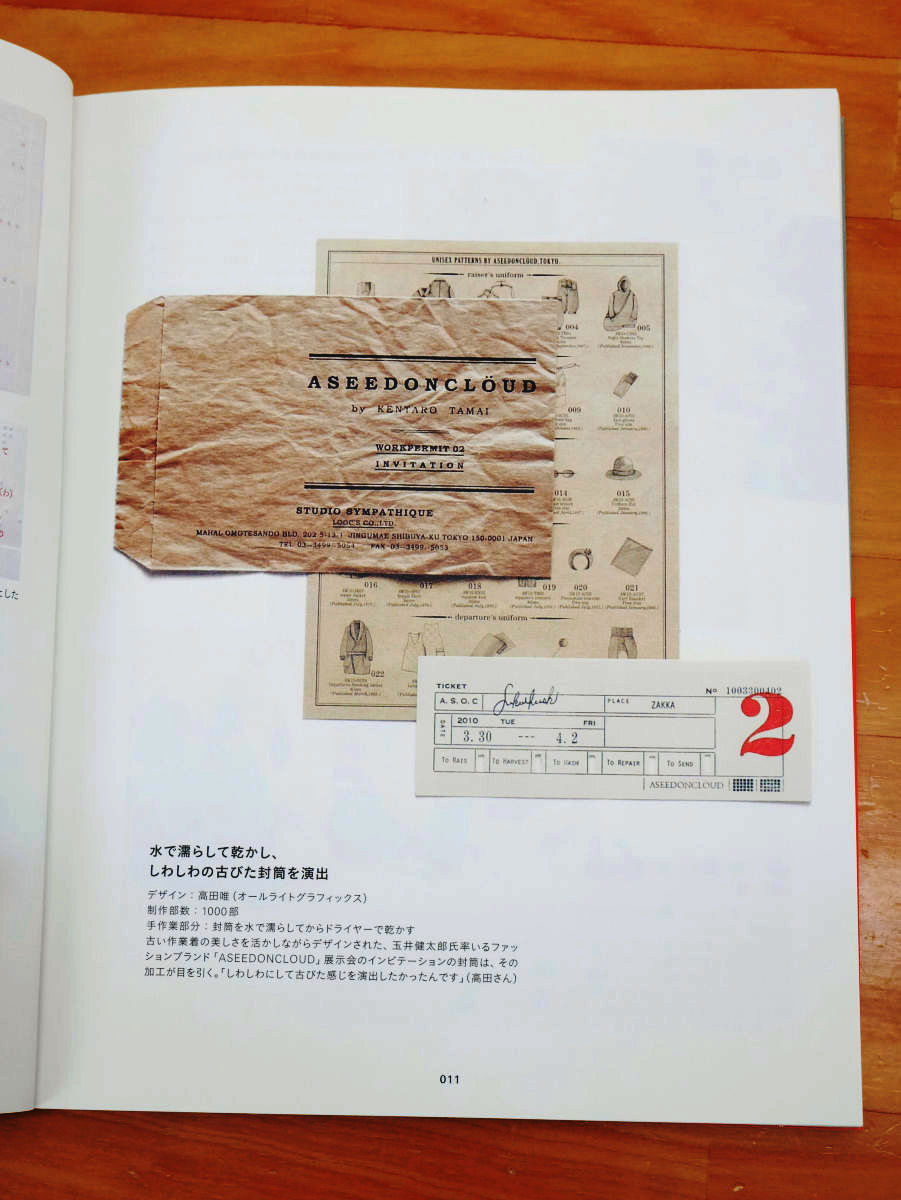
There are lots of examples that stimulate creative motivation, such as an example that you can produce an old envelope just by wetting paper with water and dry it, saddle stitch binding using a lap, and a book that you output to a manuscript paper with a laser printer.
Also included was a clean cutting method of basic bookbinding.

Therefore, from this one that is published in the book this time "Transfer toner"Easy silk printing"Attach various materials by silk printing"Use a watermark ink to make a pattern transparent"Color paste binding with colored backgroundI will try out the method.
◆ Transfer toner
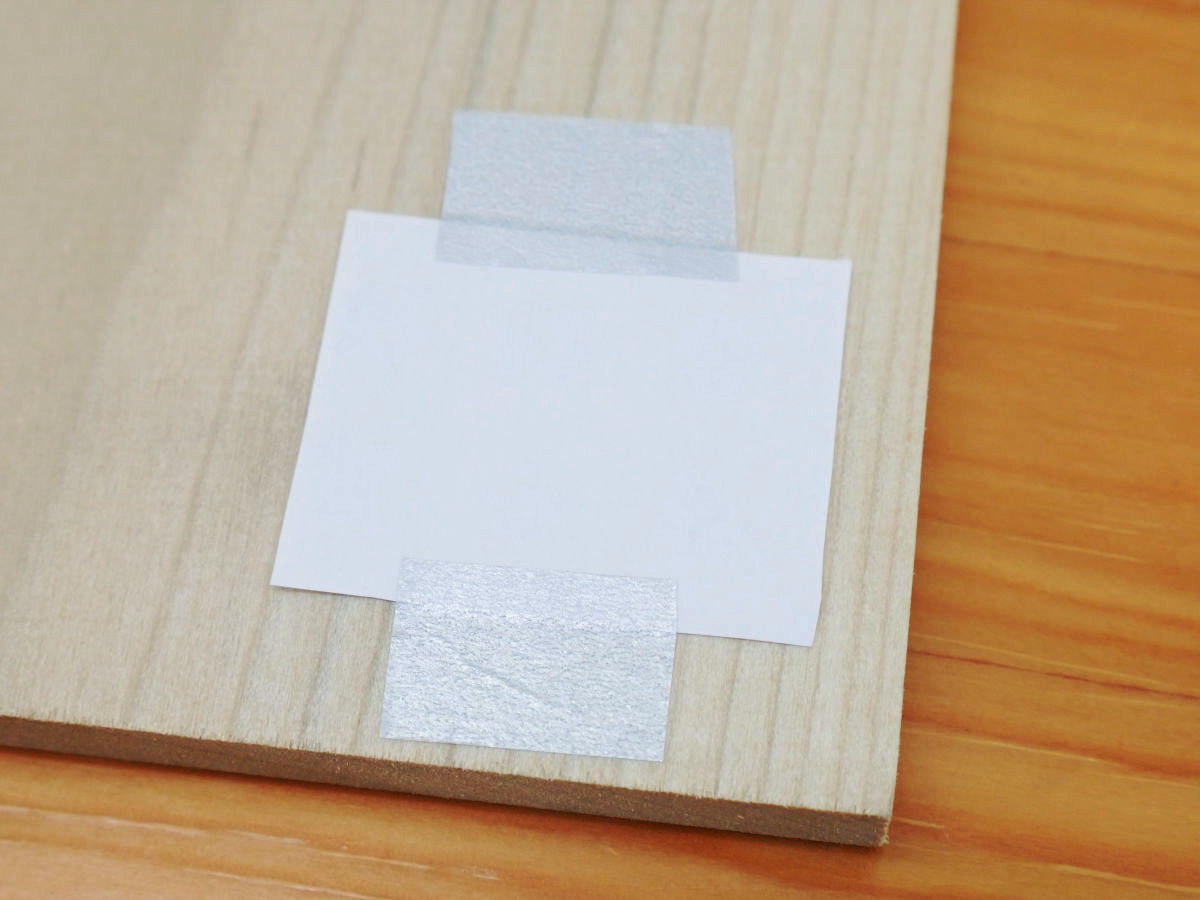
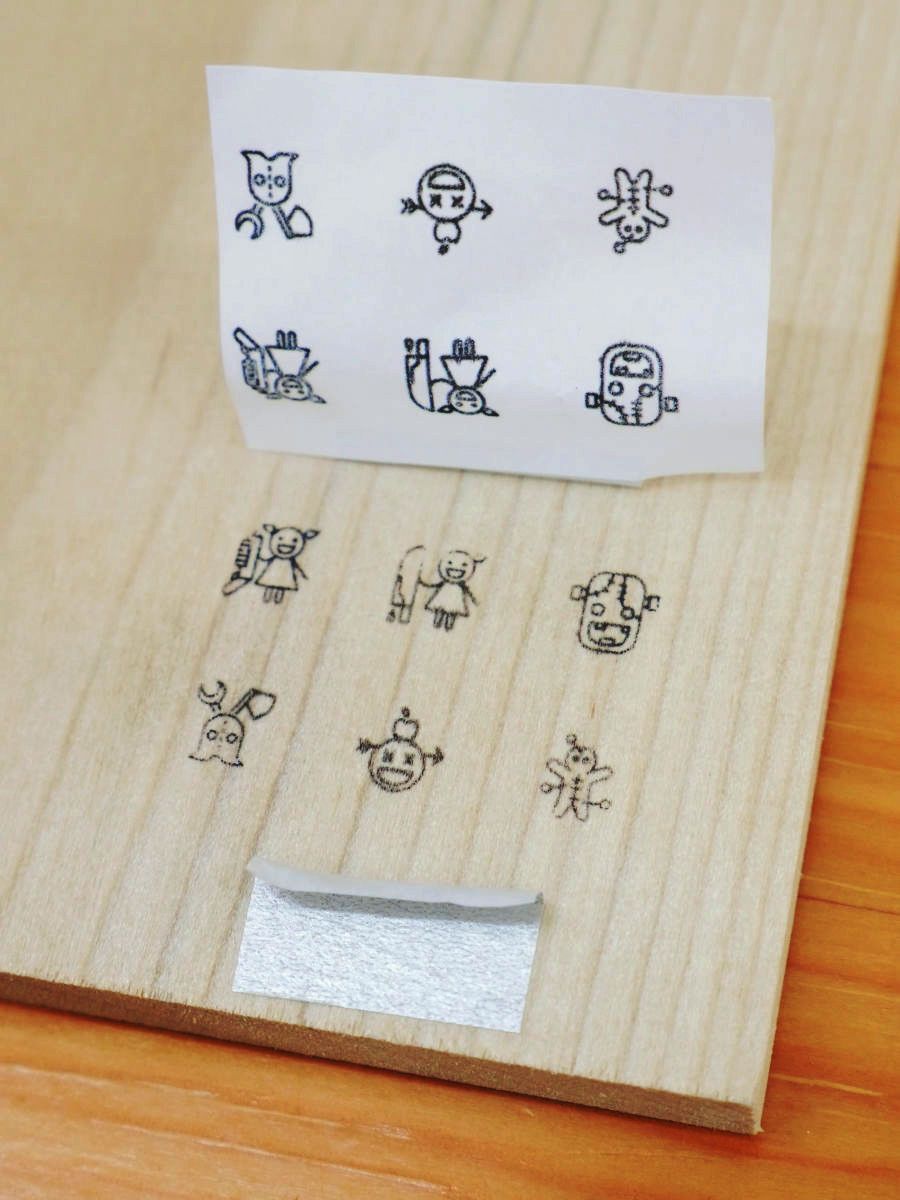
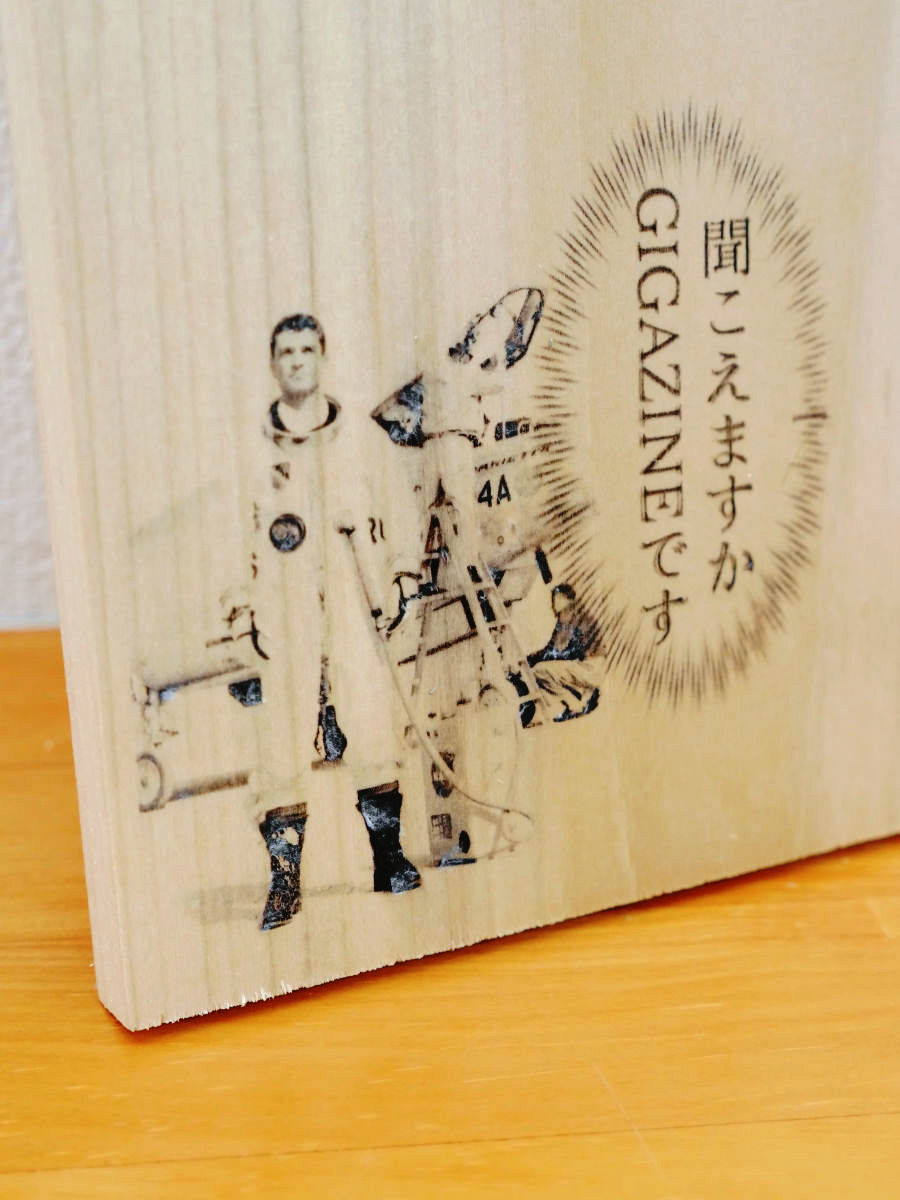
First of all, I challenge the skill technique that you can print your favorite pattern even on three-dimensional objects that can not use printers such as boxes and boards. All you need is a light remover, a masking tape, a copy machine with a toner copy machine, a printed matter output with a laser printer, and a plate for transferring a pattern.

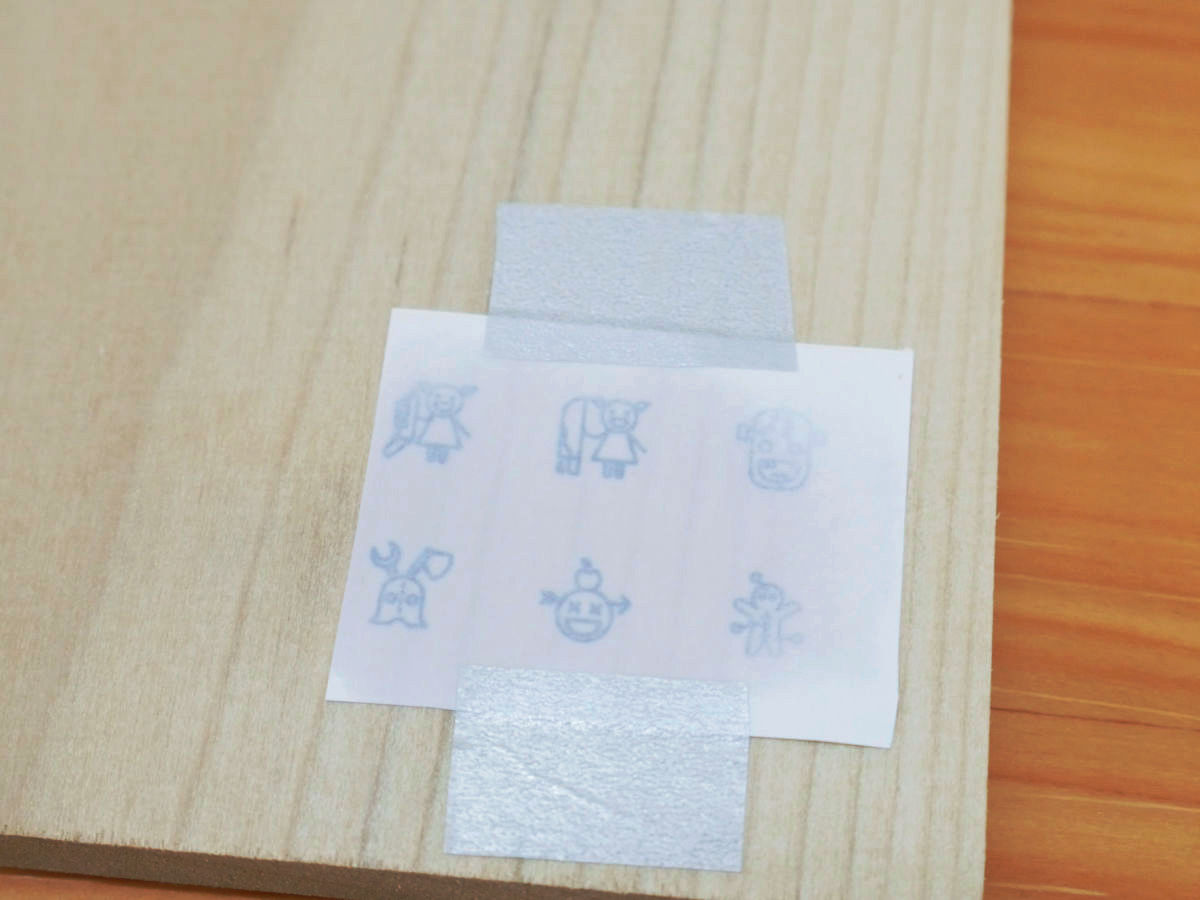
First, paste the printed matter you want to transfer to the board.
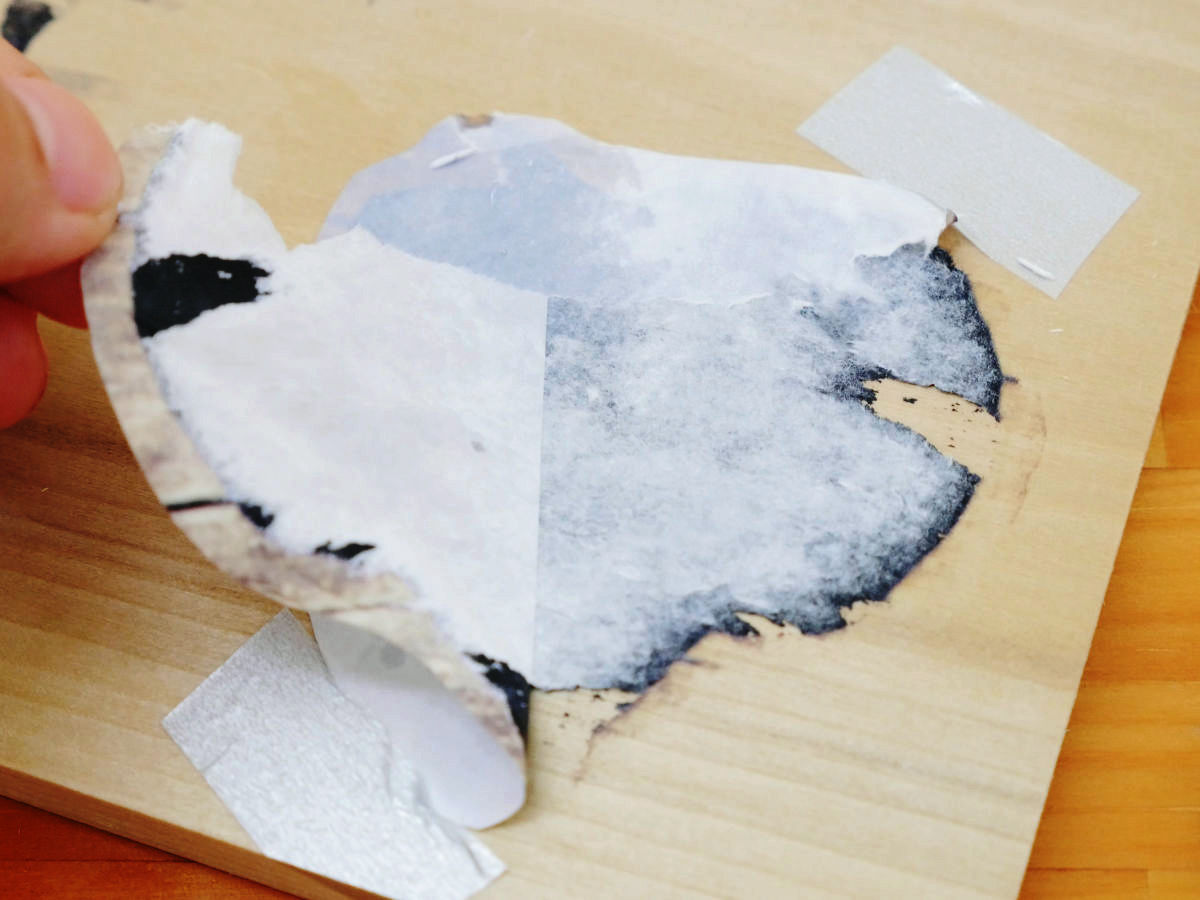
Impregnating the tissue with light removal liquid ......
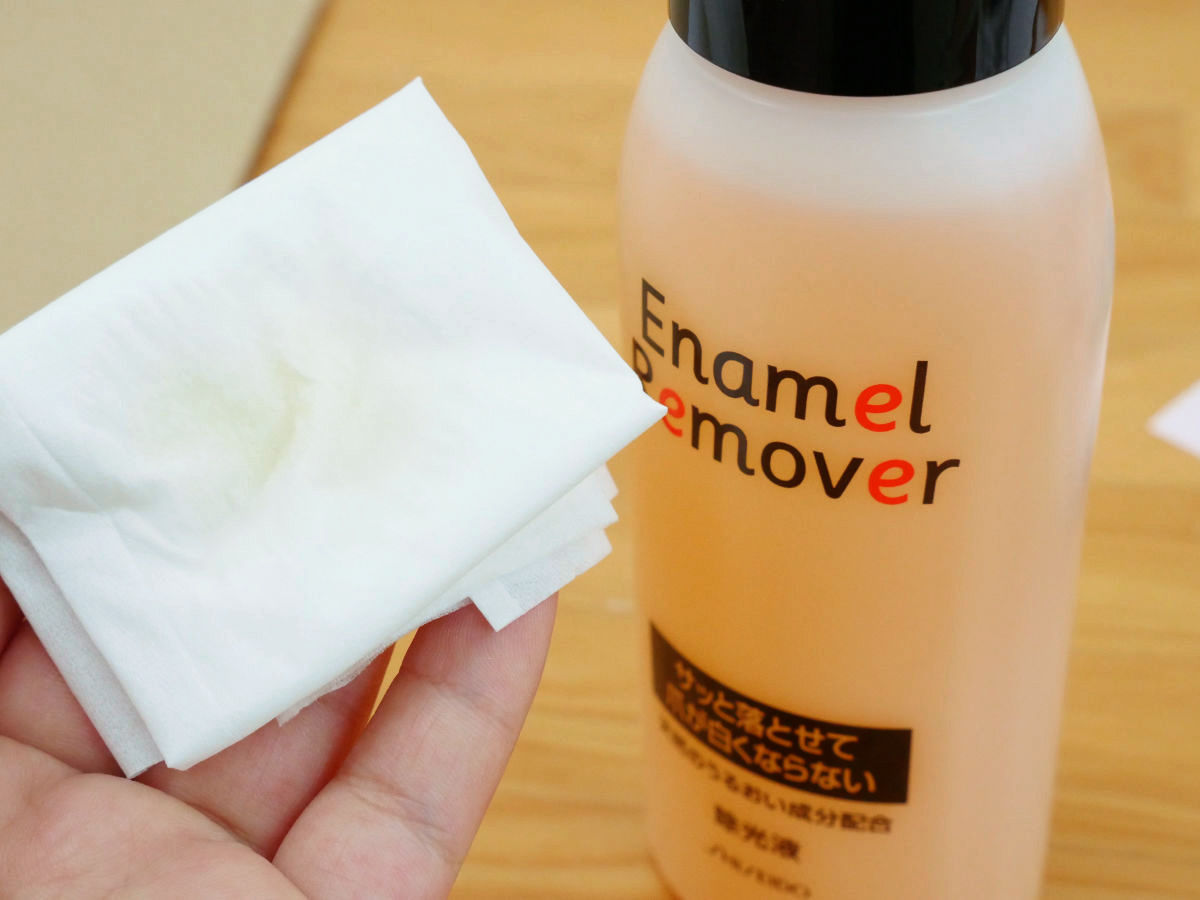
I will put a light removal liquid on the picture paper.
OK if the paper is transparent throughout.
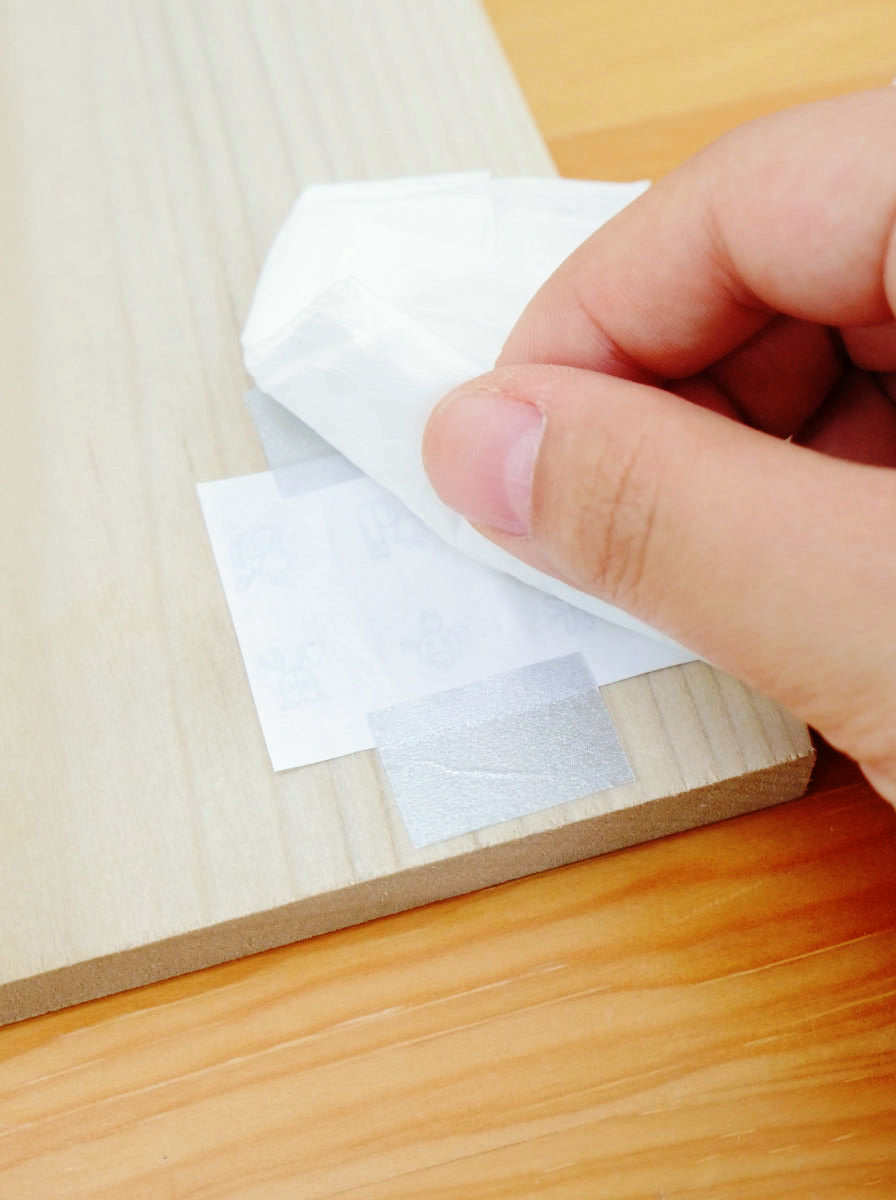
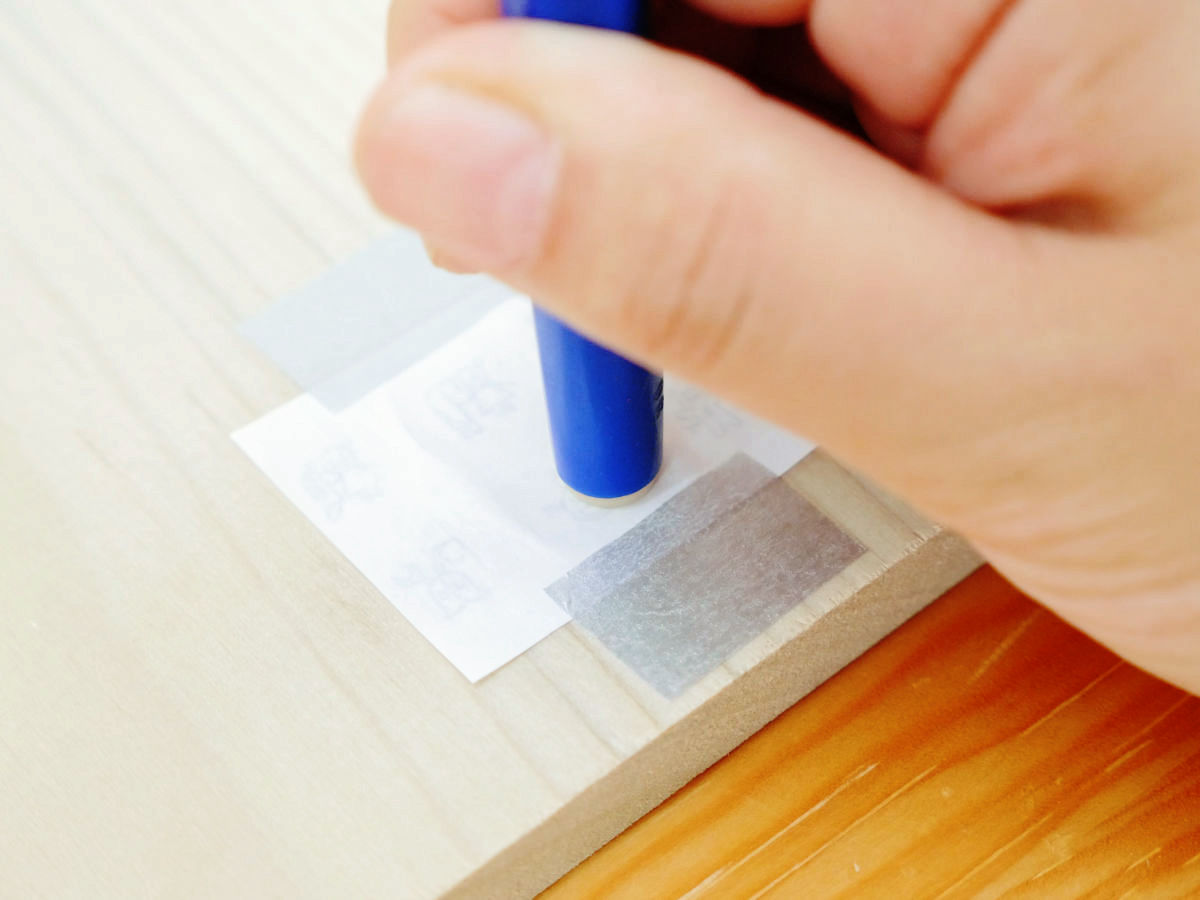
Rub it lightly with a lid of a ballpoint pen or the like to perform transfer. At this time, if the light removal liquid dries out, it is good to moisten it with a light removal liquid additionally.
When peeled off, the picture was transferred to the board.
Although line drawings etc can be transcribed easily more easily, photographs where inks are used are many side by side because the board and paper are stuck together and transfer is difficult. When paper sticks, it is good to peel off with wet with a little water.
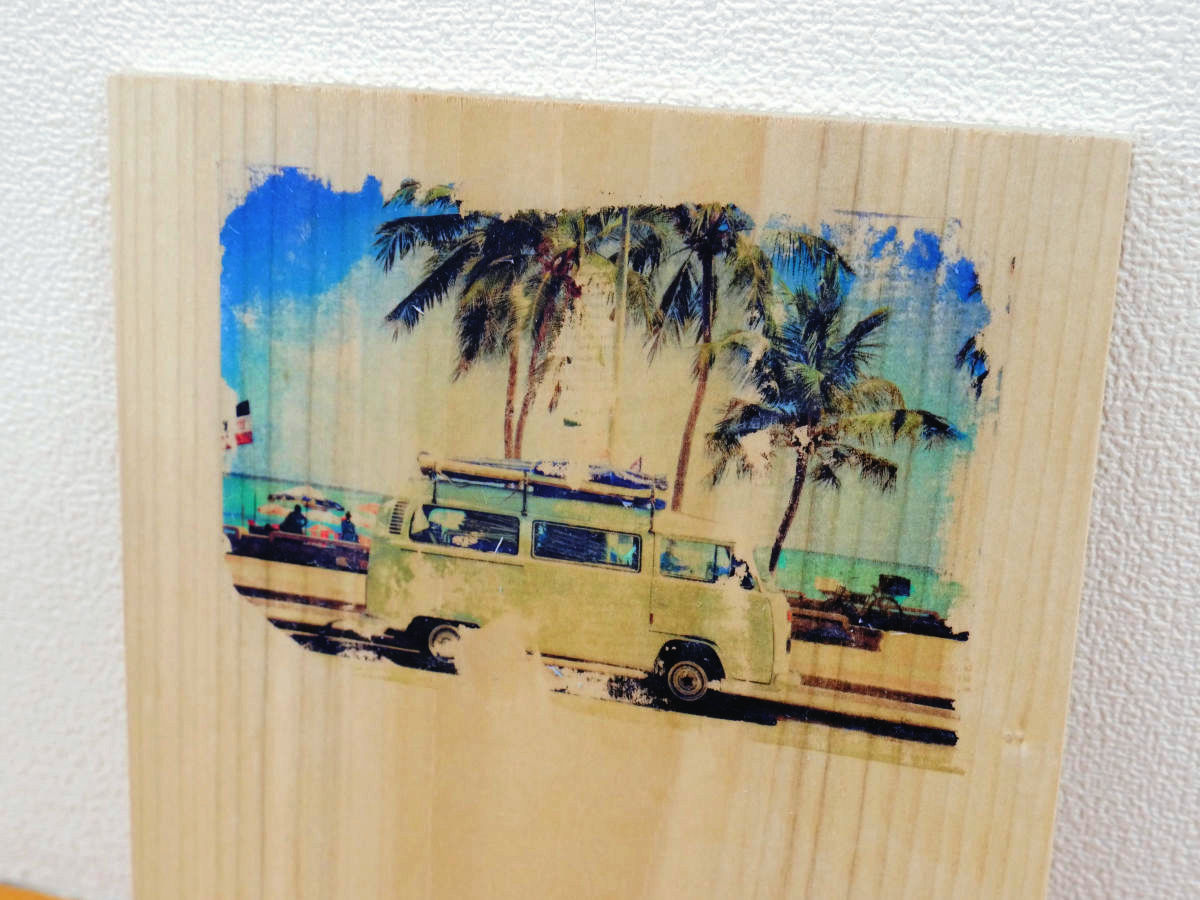
I tried transferring color photographs. Although there was also a part that could not be successfully transferred, this may be good with this atmosphere.
Let's reverse the left and right when using characters etc.
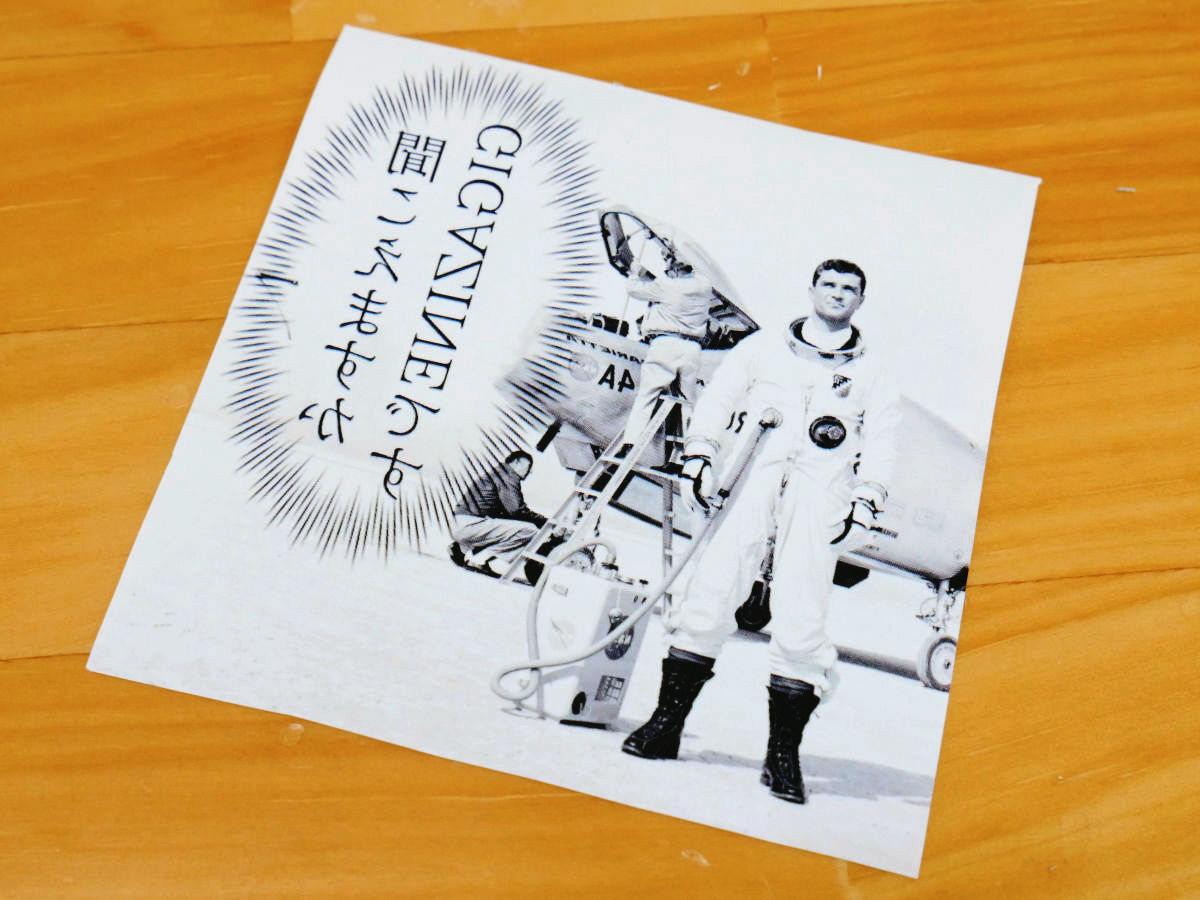
In the case of black-and-white photographs, it was able to transfer relatively cleanly.
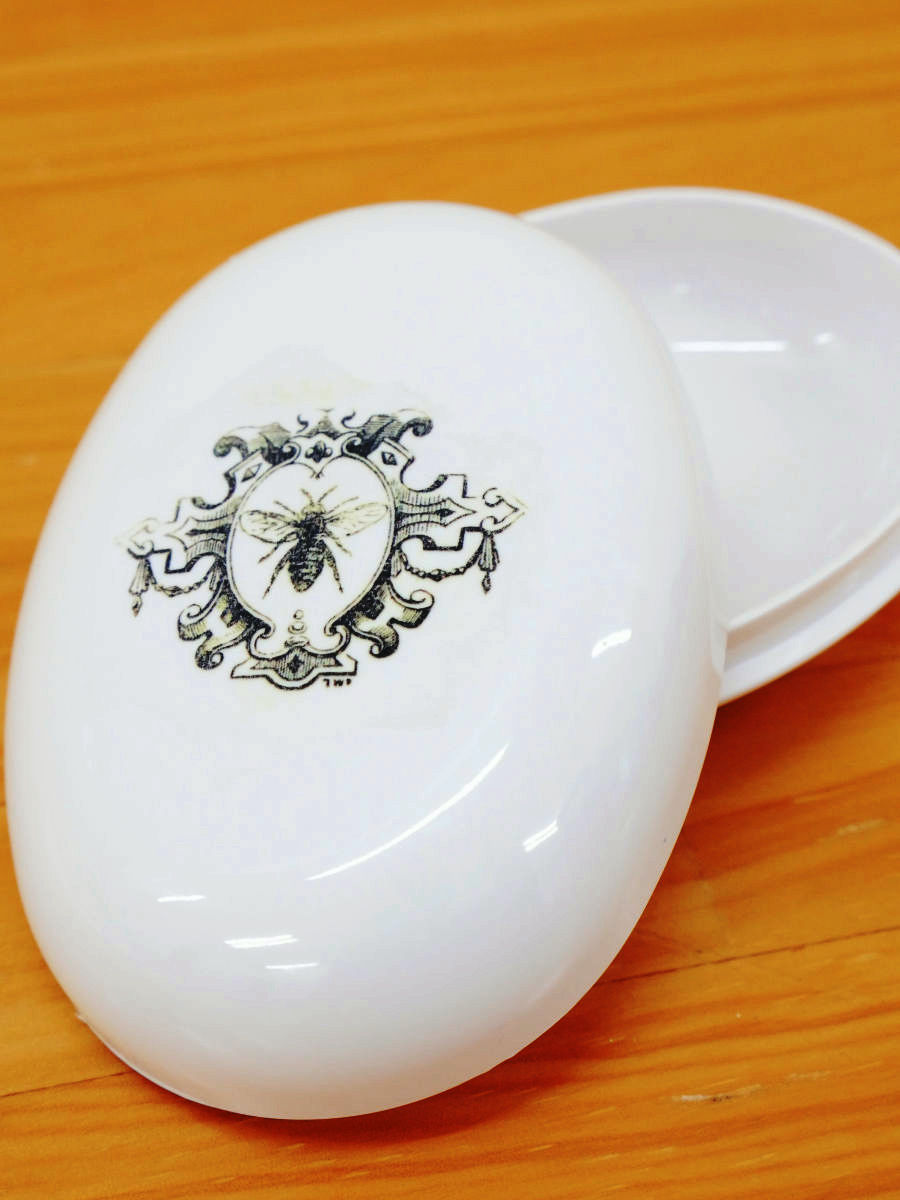
Also try printing on a plastic soap case.

The finish is like this. It is a technique that seems to be quite useful when it is wanted to make original goods at home, because it is easy to transcribe whether it is a plate or a cardboard, whether plastic or not.
◆ Easy silk printing
Then challenge to "easy silk printing" and "attach various materials with silk printing".
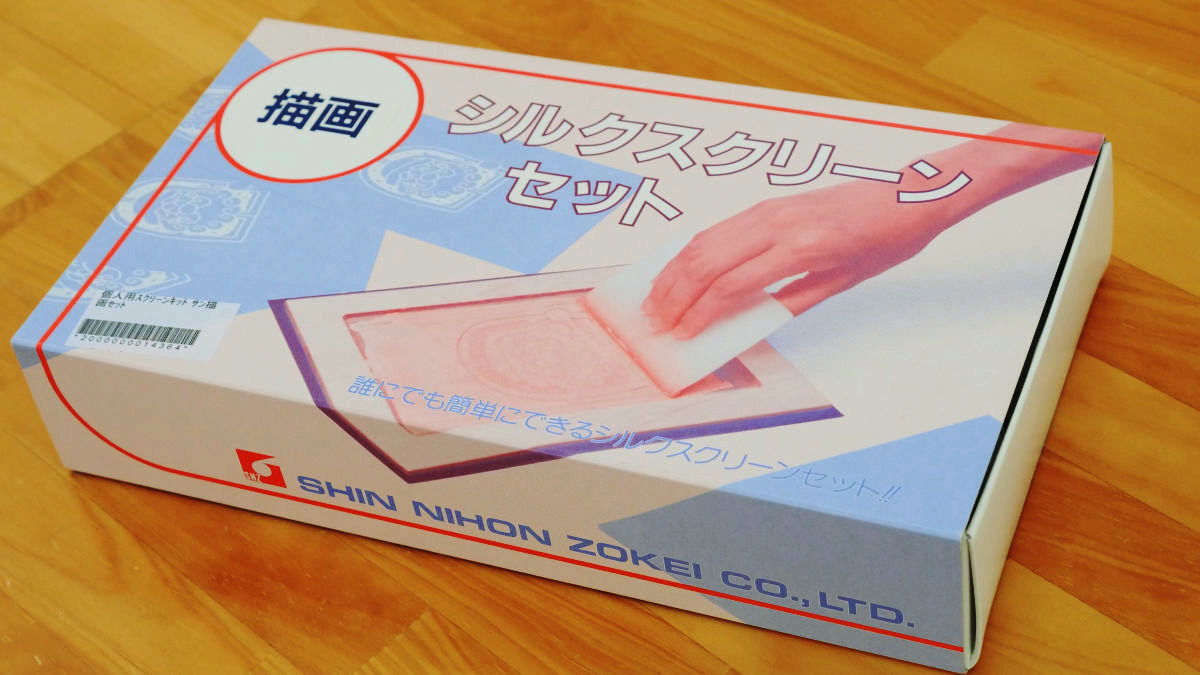
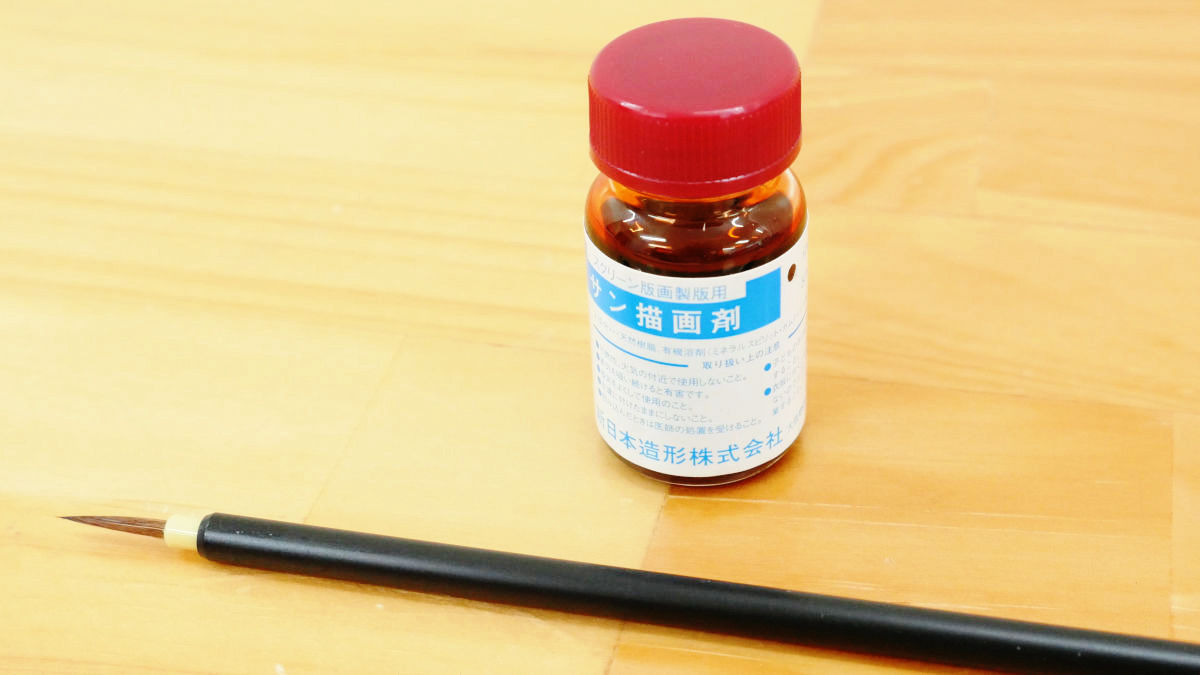
use"Personal screen kit Sun drawing setCan be purchased at Amazon 2630 yen including tax.
Amazon.co.jp: Personal Screen Kit Sun Drawing Set: Toy
http://www.amazon.co.jp/dp/B0020V9K94

Personal screen kit which this arrived Sun drawing set. There were two standard screen sawing screens - paper squeegee squeegee made from resin standard drawing - Sun drawing emulsion - Sun drawing agent - Face brushes - Washing oil for sand drawing - The imprint table was contained.
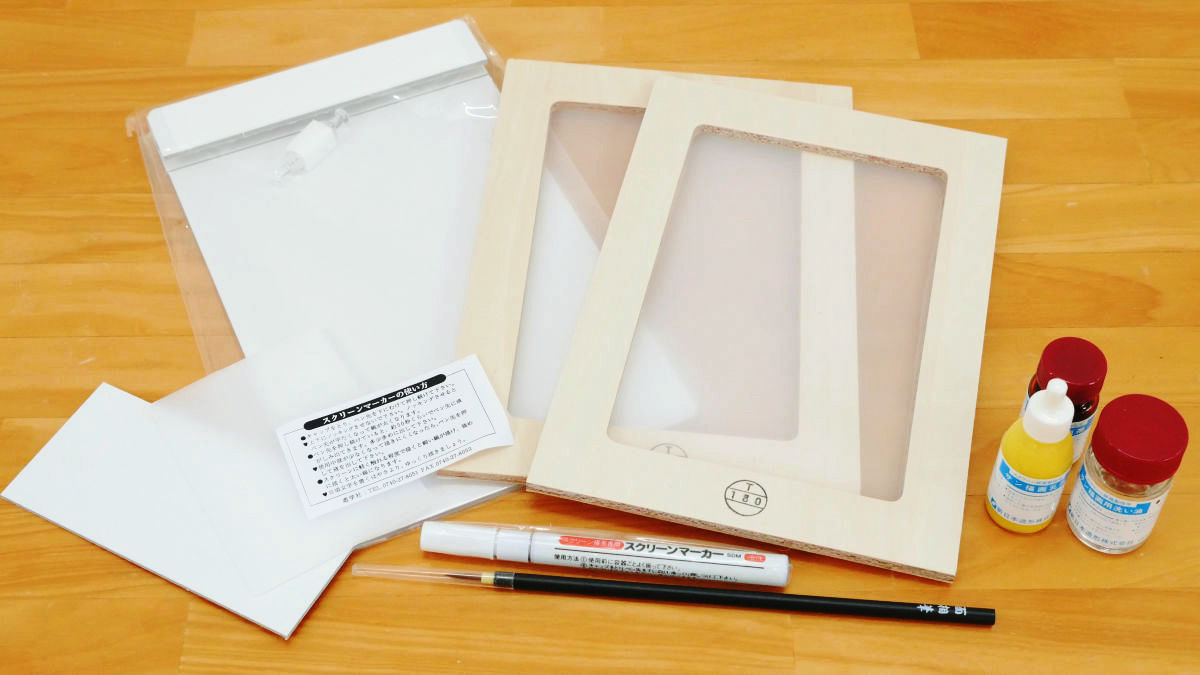
Other preparations include masking tape, pencil, cloth, newspaper, dryer, ink, spatula and paper.
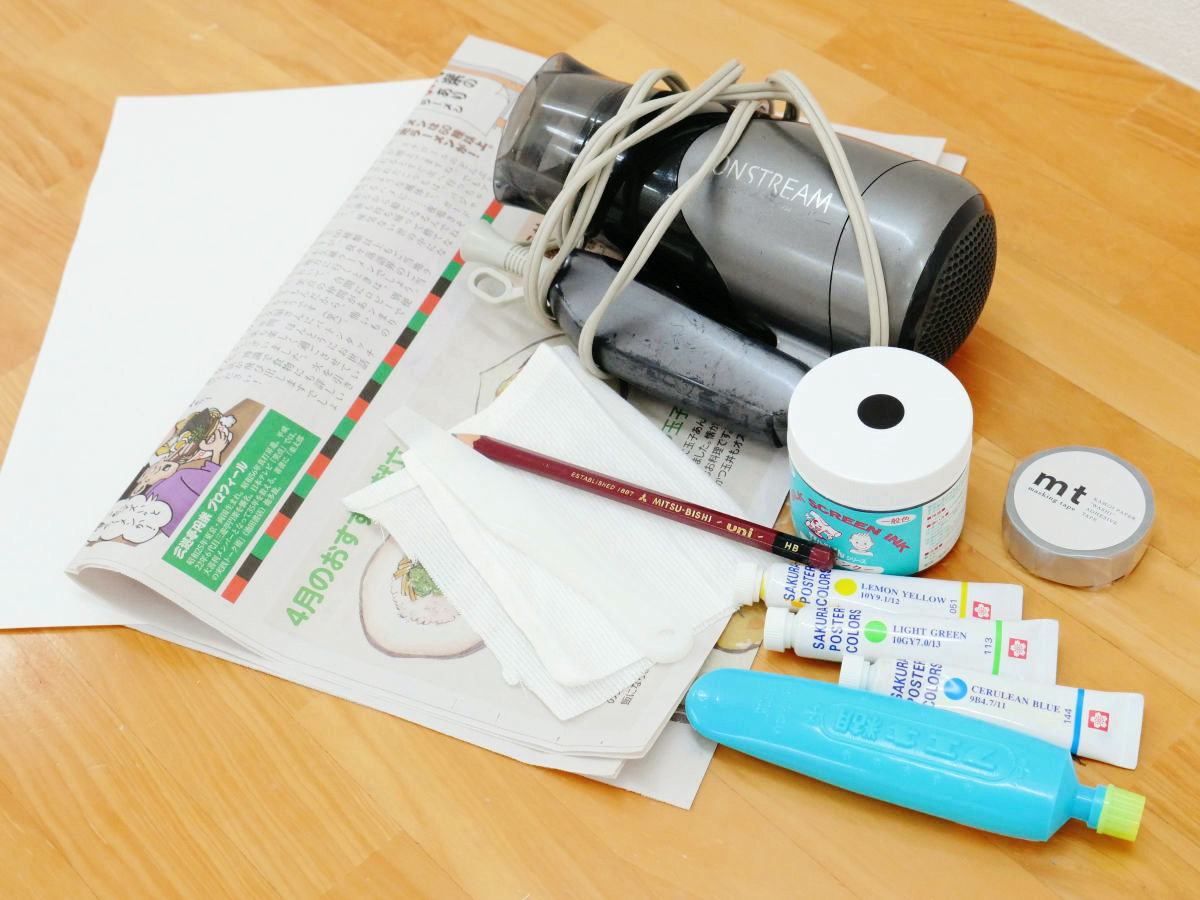
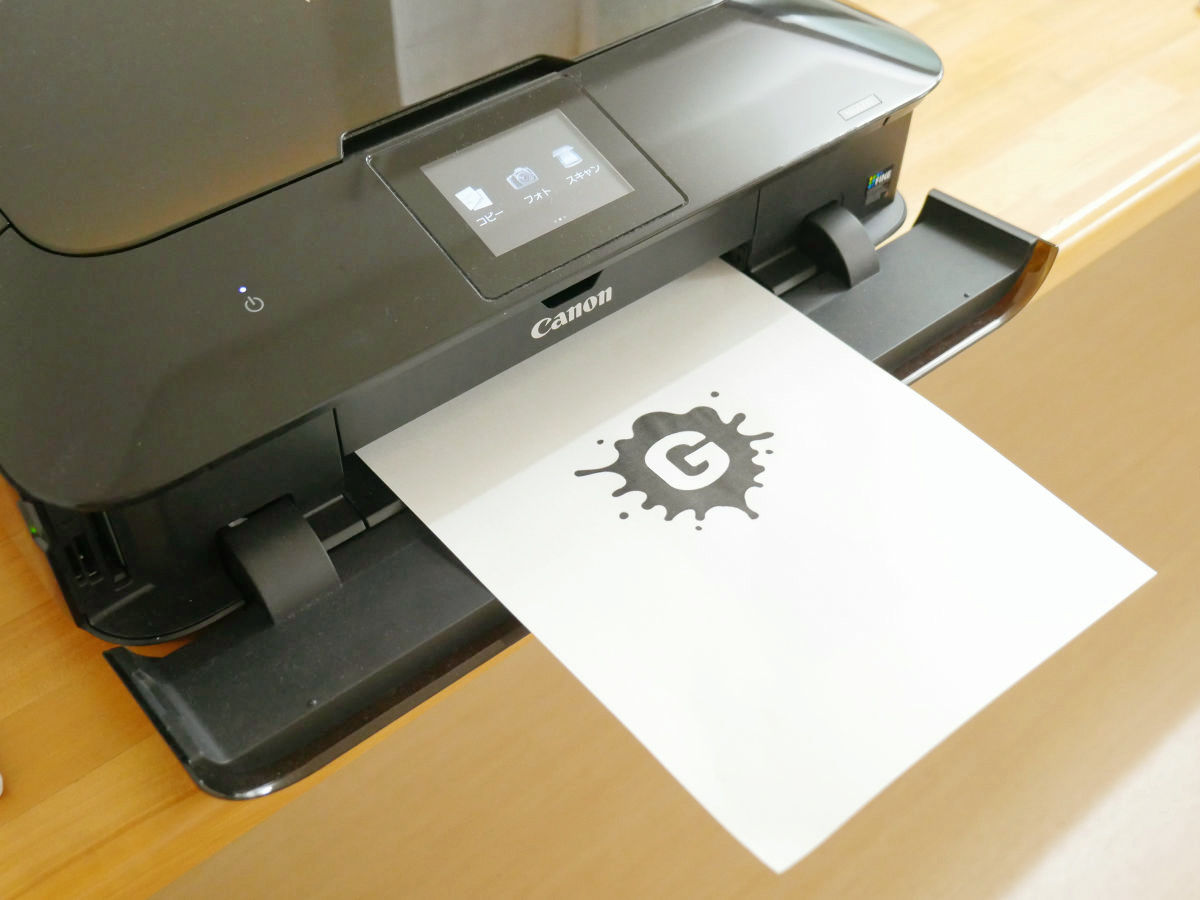
Although silk screen can be done by hand-drawn illustration, this time we output what we made with PC.
First place the screen on the drawing, fix it with tape so that it does not move, trace it with a pencil and copy the underlying picture.
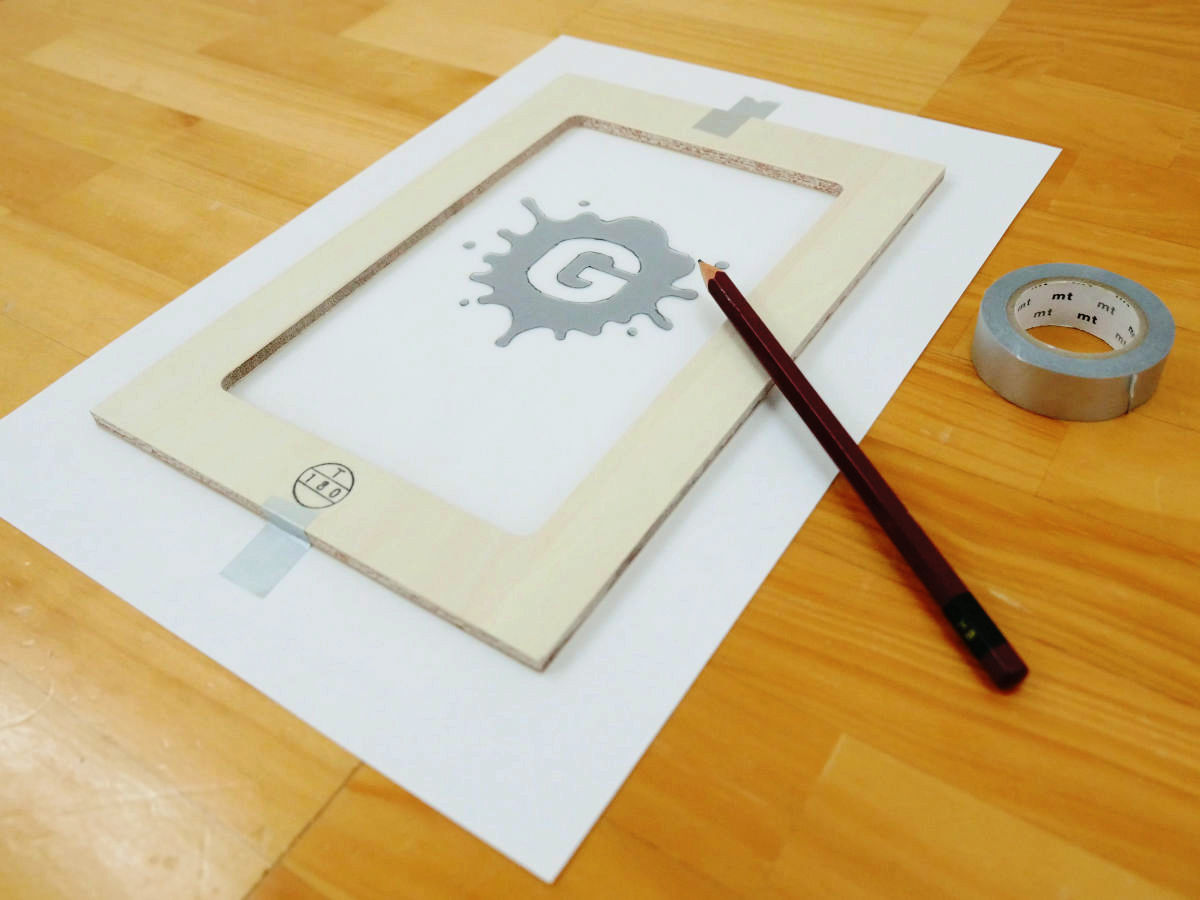
Under the screen you can float the object with thickness of about 5 mm such as chopstick.
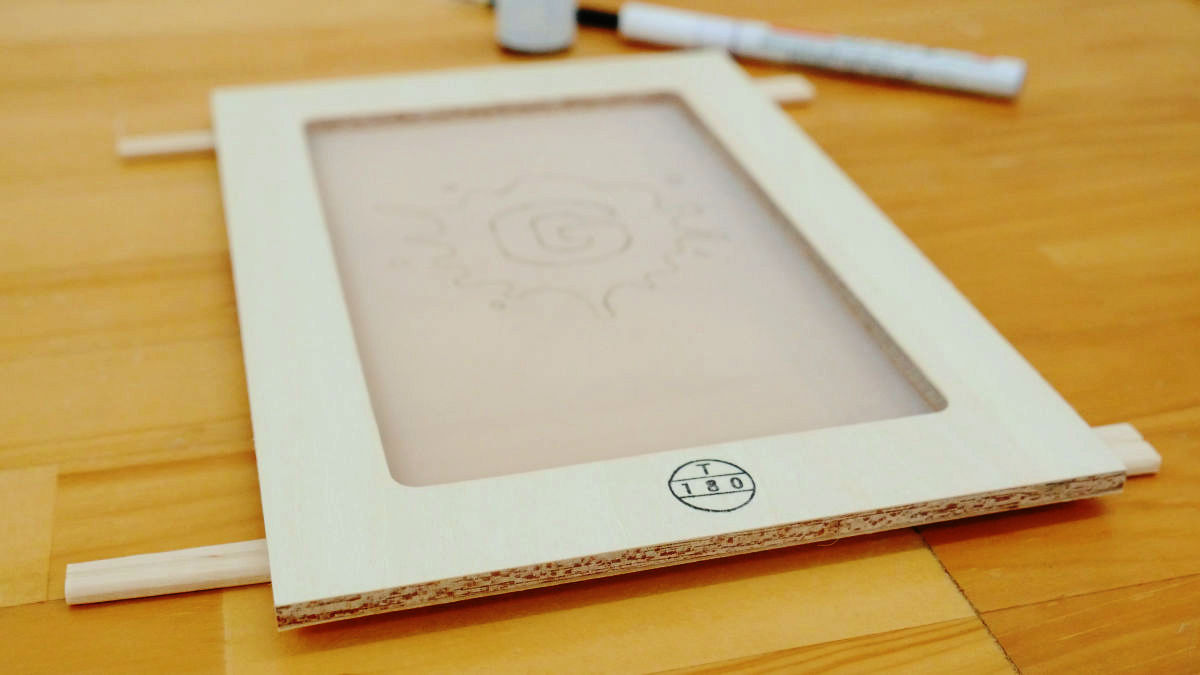
I will draw the underlying picture with the pen type drawing agent attached to it.
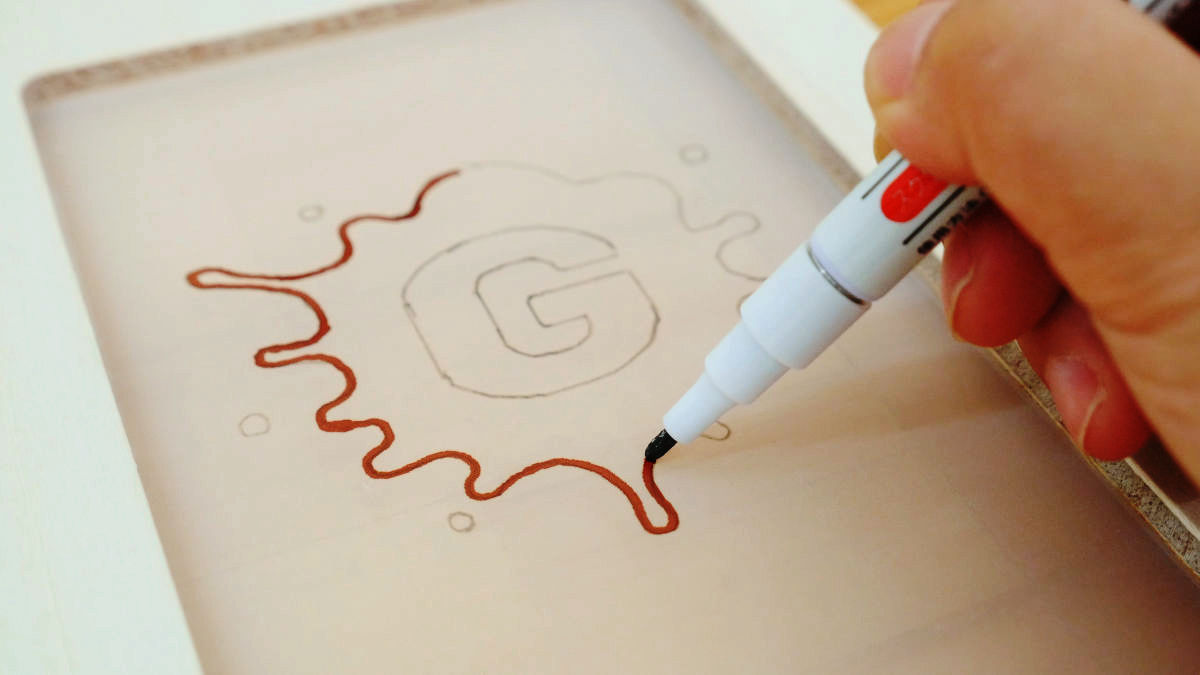
Work fine details with the attached liquid type drawing agent and brush.
If there is a part that is not blocked by light, paint it with a pen and close it completely. Let's do the work carefully here because the figure can not escape cleanly unless it is obstructed.
Dry the picture with a dryer.
When dry, turn the screen over and place the emulsion ......
The point is to hit the attached squeegee at an angle of about 60 degrees, pull slowly from top to bottom and spread uniformly with one time.

When you wipe off the remaining emulsion, dry it with a dryer.
Next, incorporate the washing oil into the brush, scrub the screen and wash off the drawing agent.
Wipe clean the film of the drawing agent with cloth etc ... ....
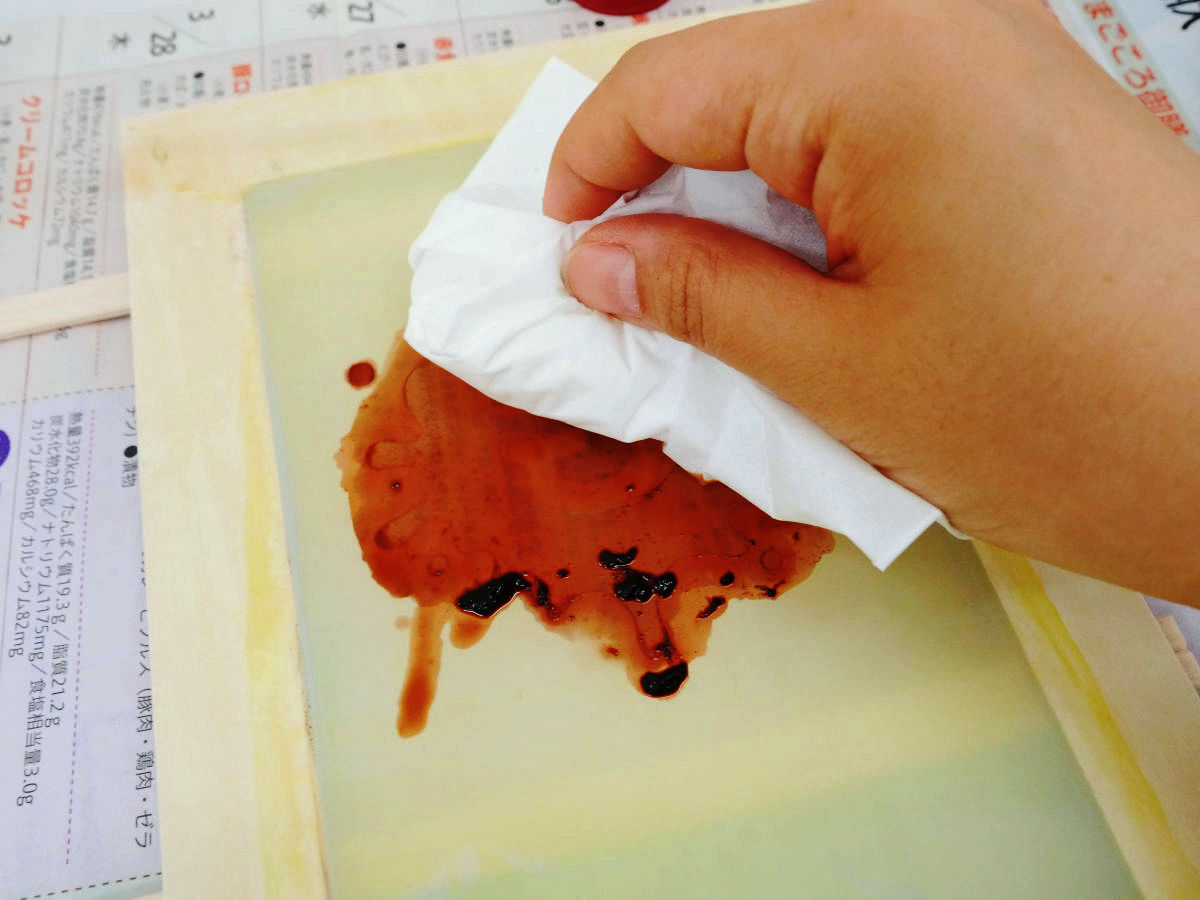
This completes the screen.
Then, it is finally printing work. Place the screen and paper on the attached printing stand and apply the special ink to the top of the screen with the attached spatula.

If you extend the ink with a squeegee ...
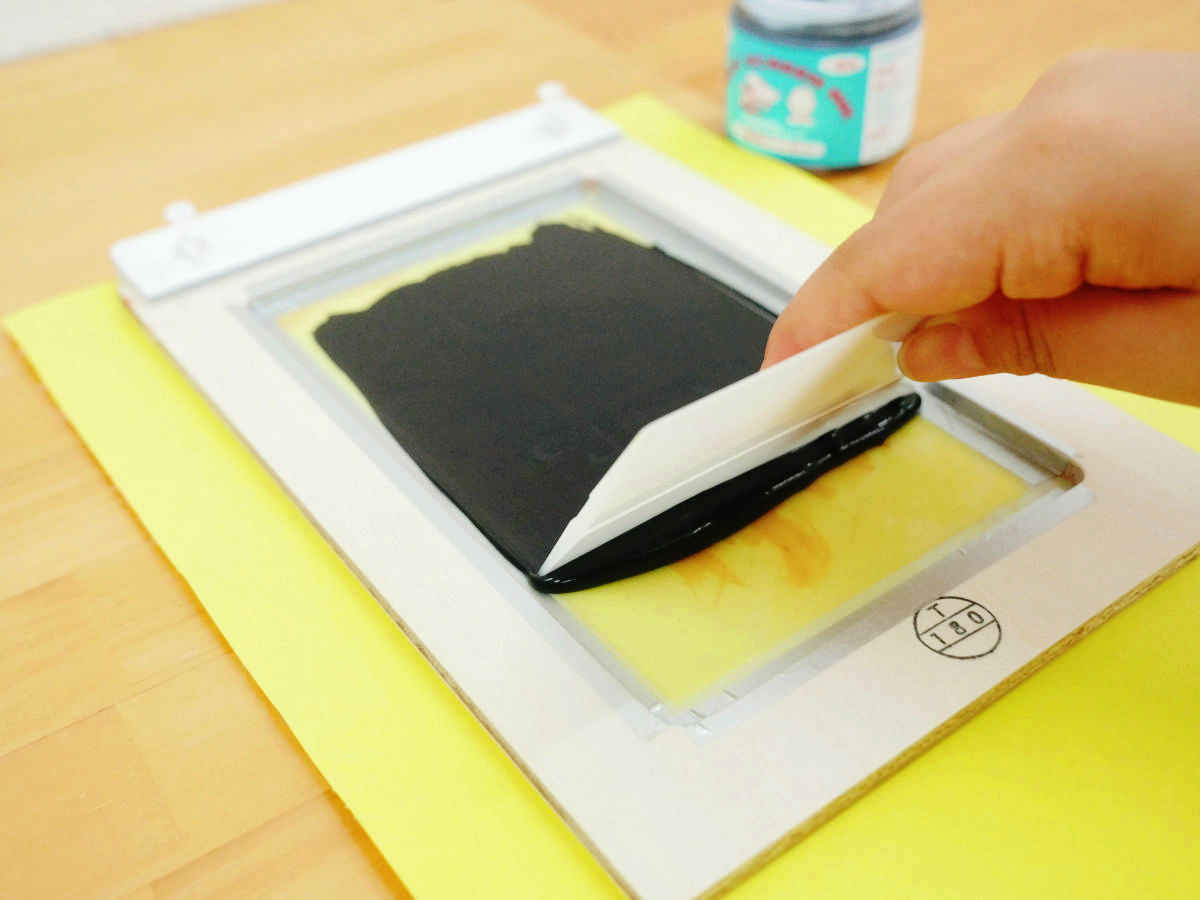
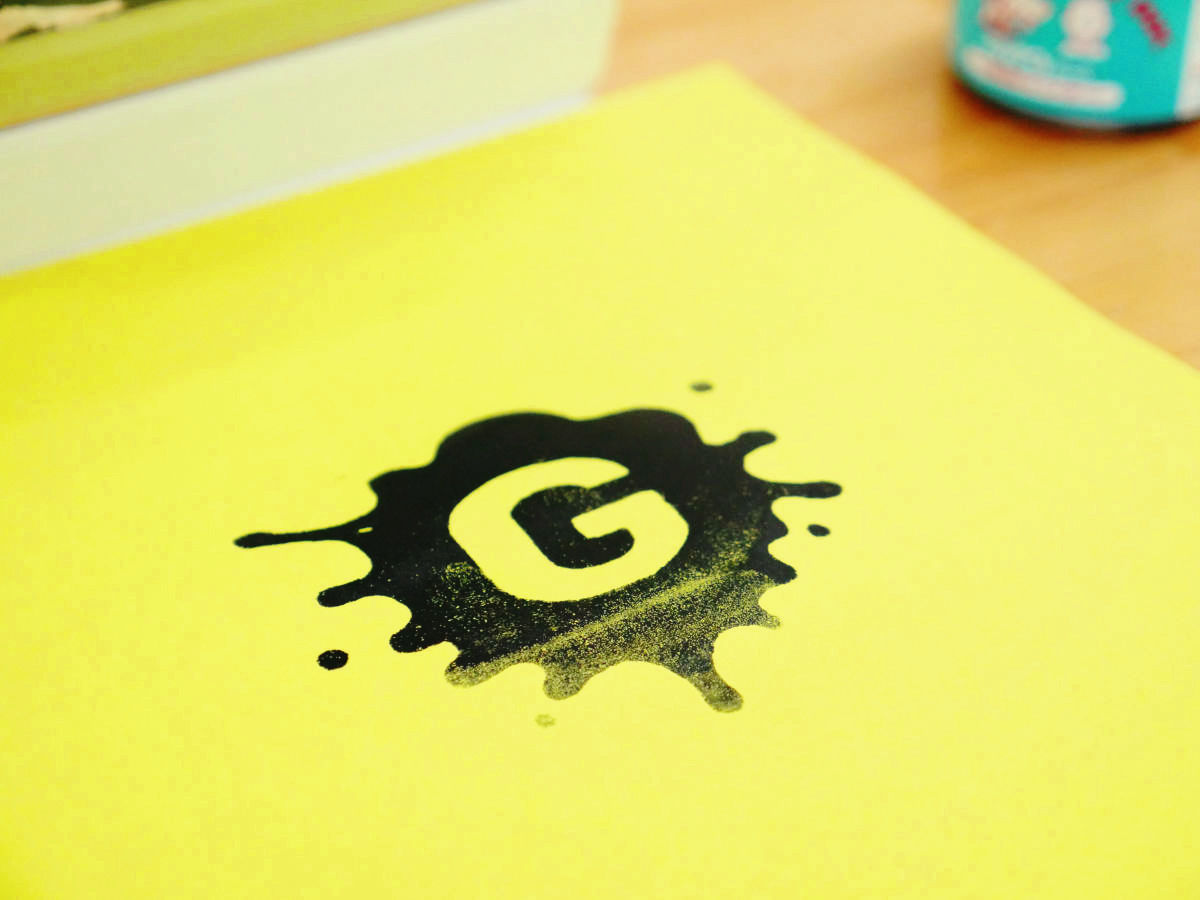
Print completed. This condition makes it possible to print as many patterns of the same pattern.

At first it is somewhat difficult to properly print without knowing the angle of force and the angle of the squeegee.
If you repeat it several times, "When you want to add ink a little, lower the angle of the squeegee" "If you want to thin it, paint the ink somewhat upright squeegee" As you can grab a knack, gradually fail Has become less.
After printing is finished, wash the screen firmly before the ink hardens. Attention is paid as ink cartridges make room for the memorabilia that is made up greatly.
Furthermore, when there is no ink, it is also possible to mix poster colors and watercolors with starch paste.
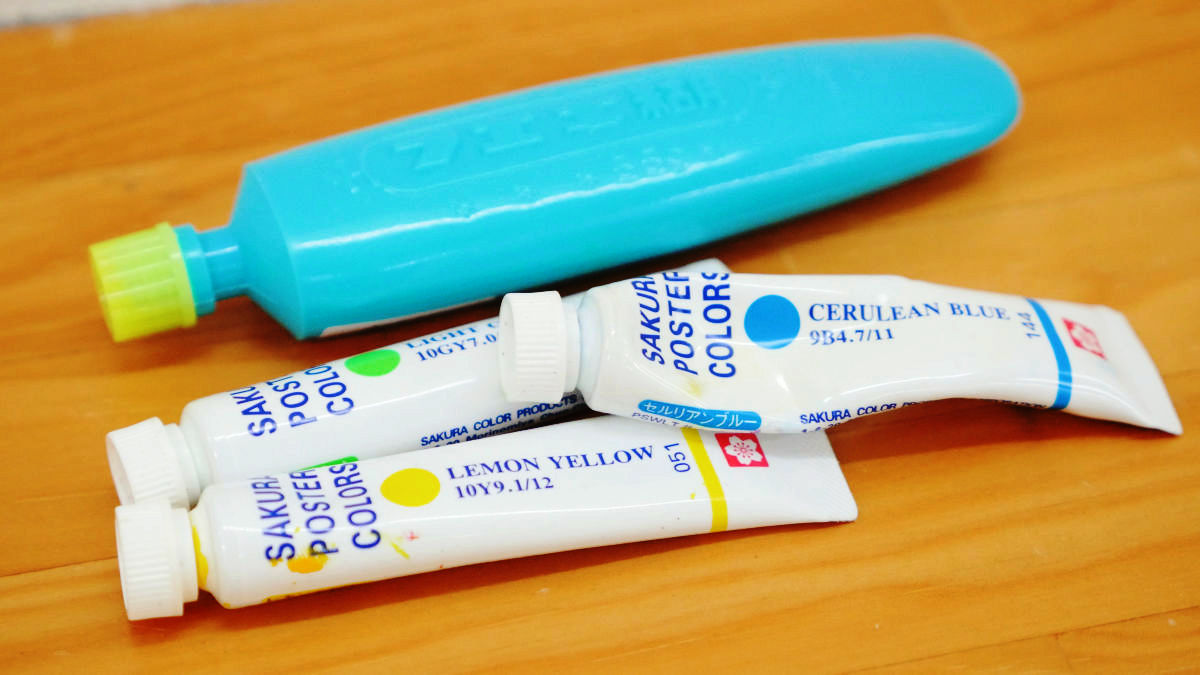
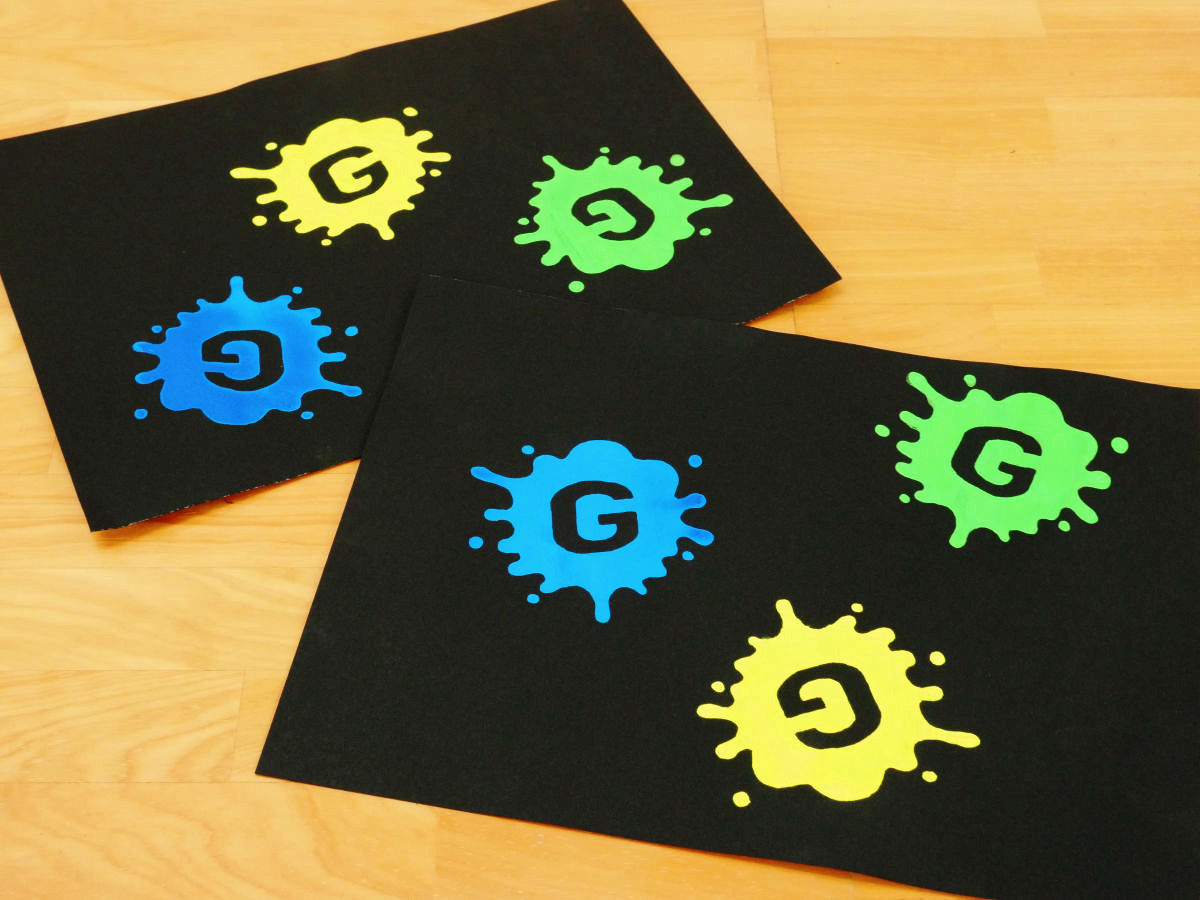
You can perform colorful printing with this kind of feeling.
◆ Attach various materials by silk printing
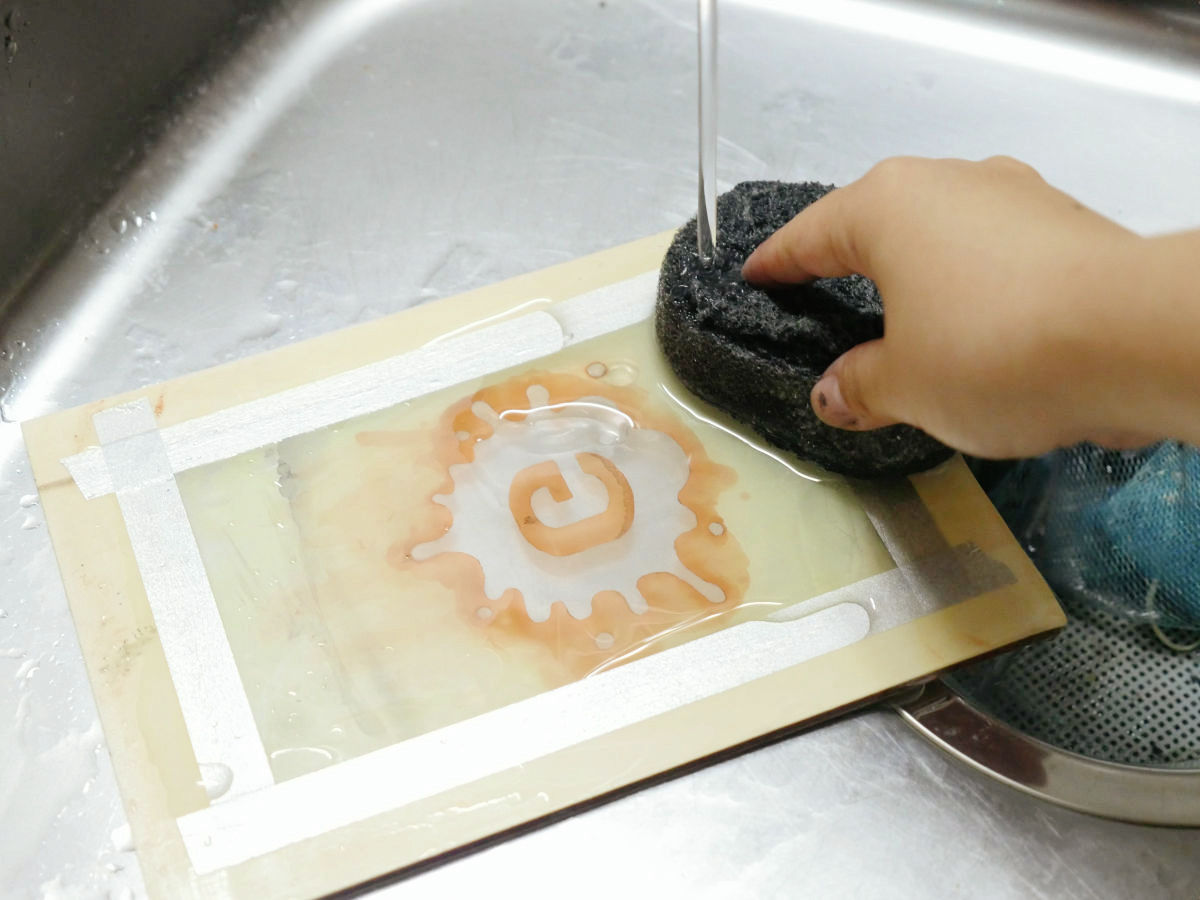
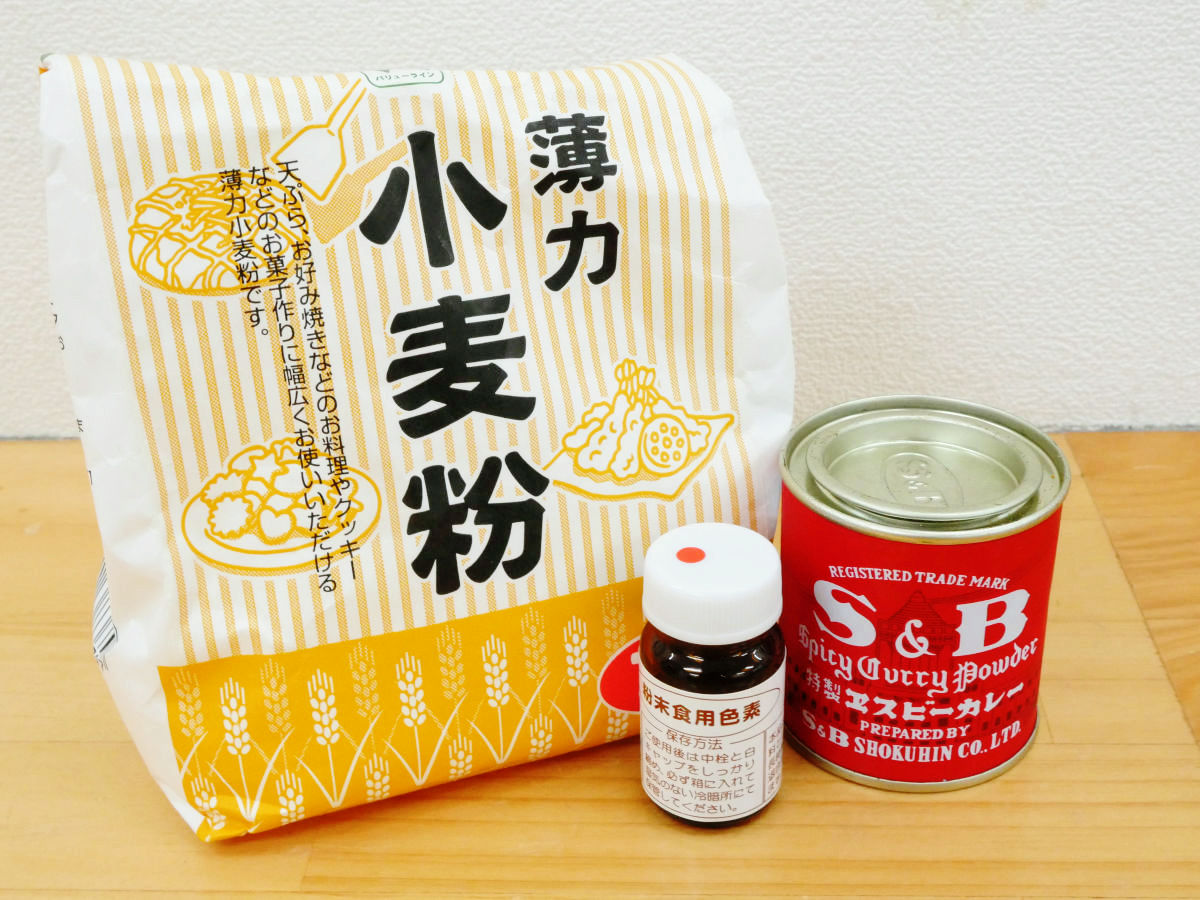
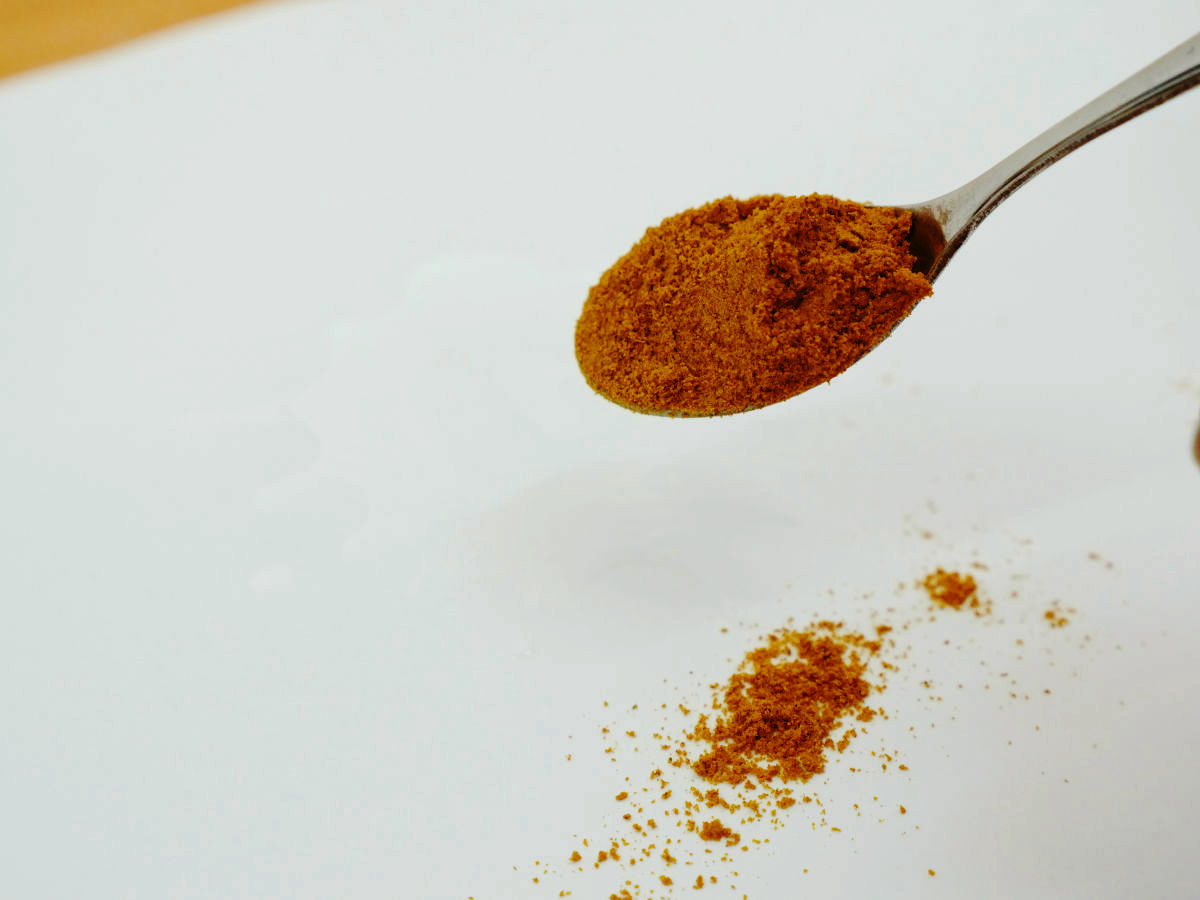
From here on further application. Even if you use the powder in the kitchen, you can print a special print, so try printing with flour, curry powder, or red iron.
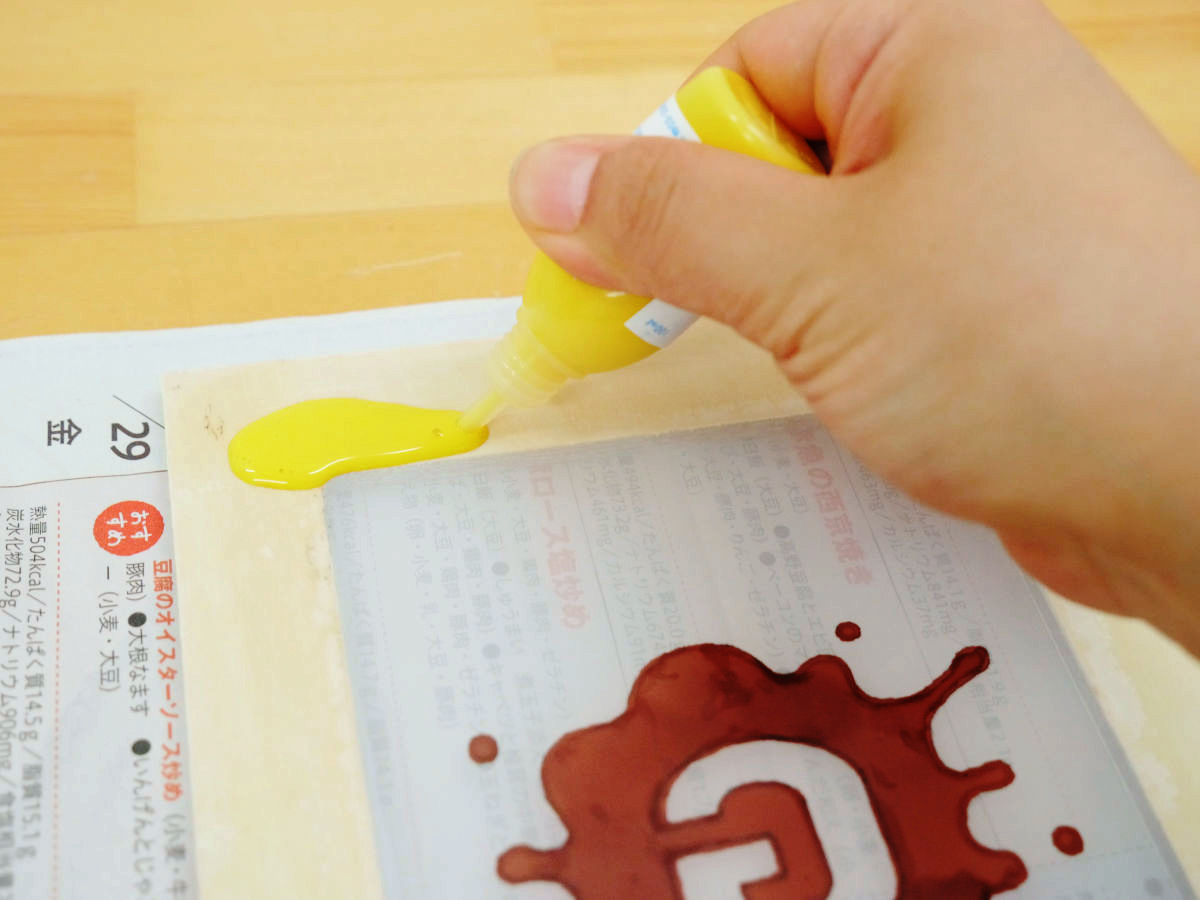
Instead of ink, print using woodworking bonds.
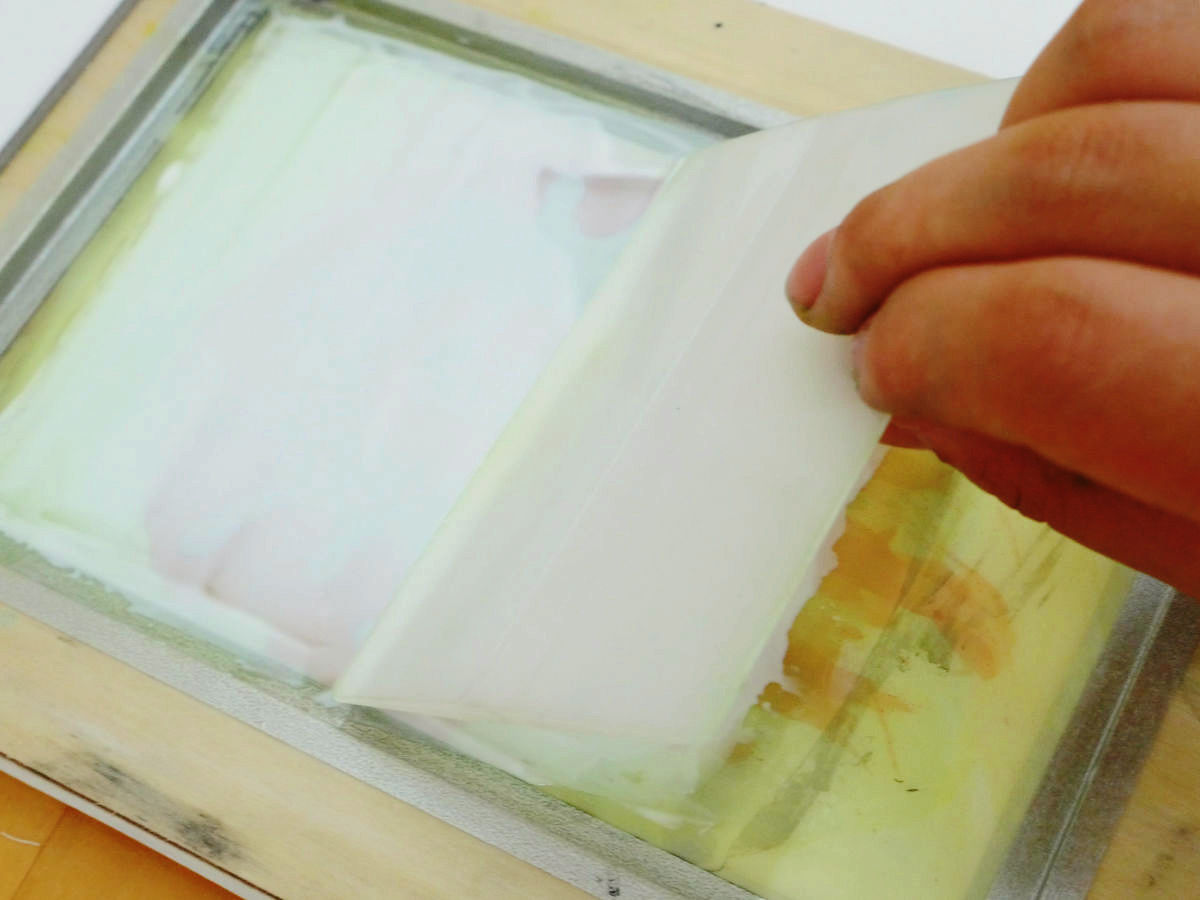
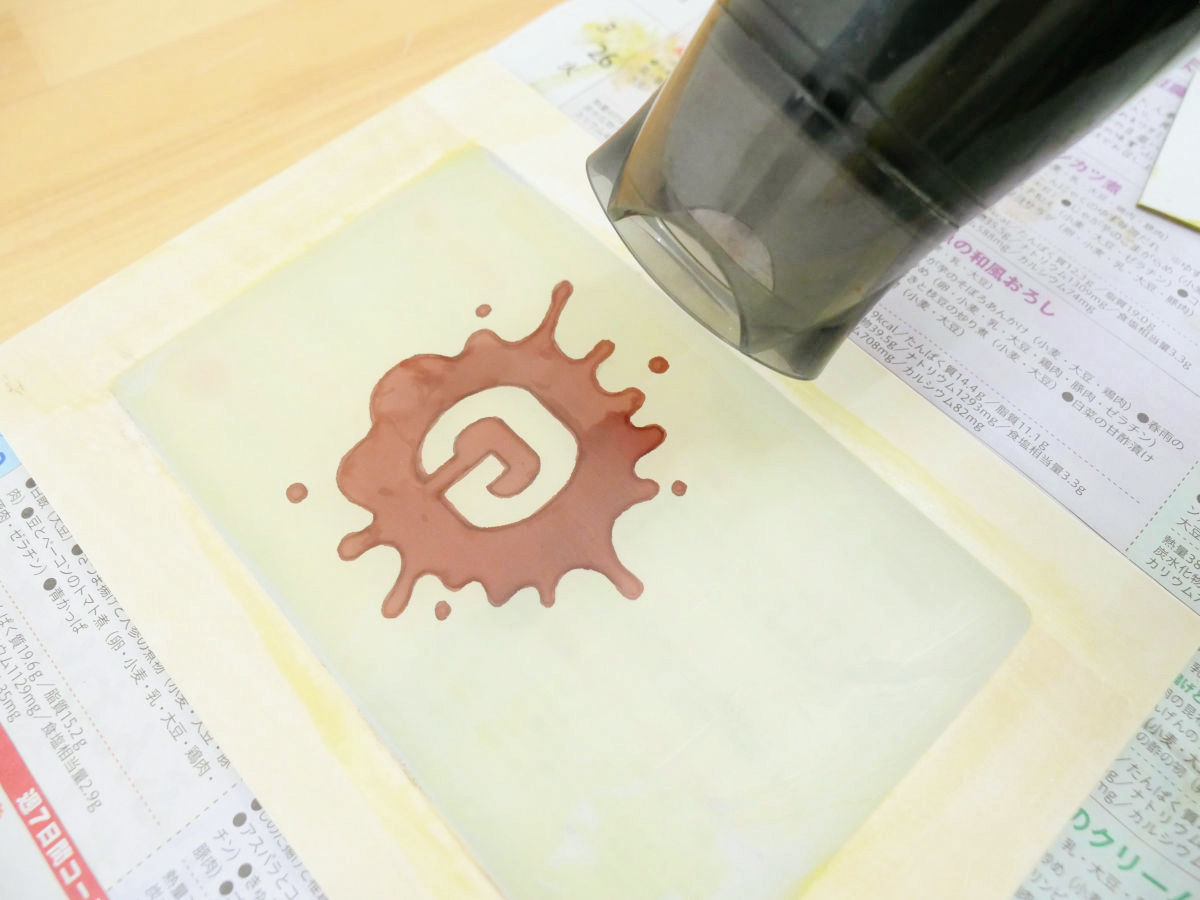
Sprinkle curry powder thoroughly on the design ... ...
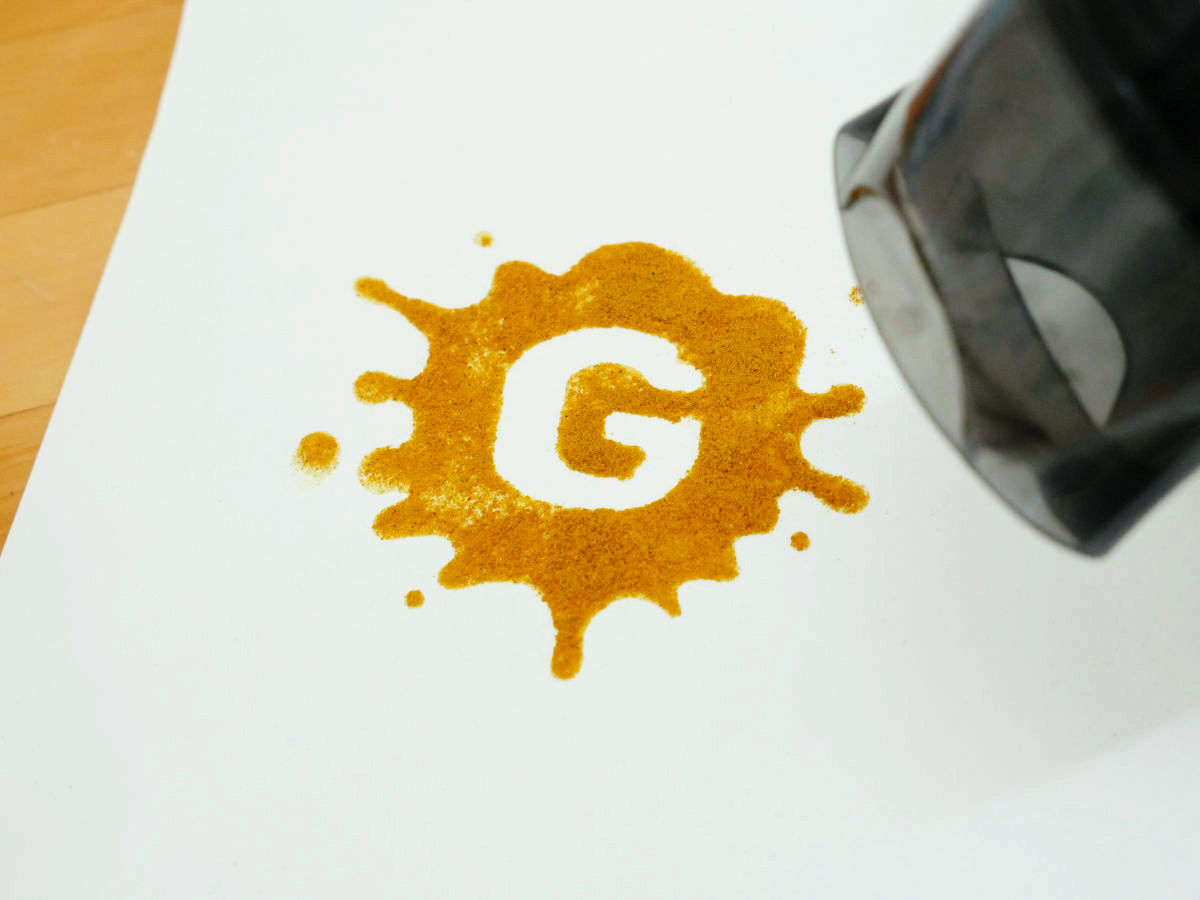
When paying extra powder, a pattern appeared.
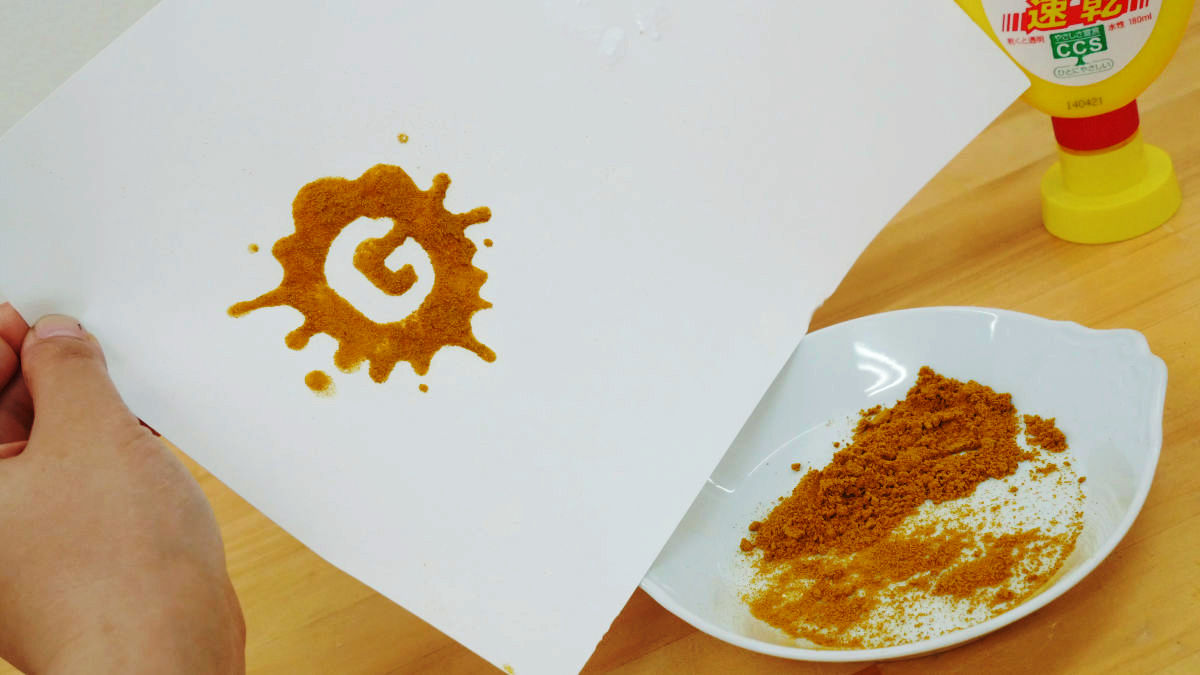
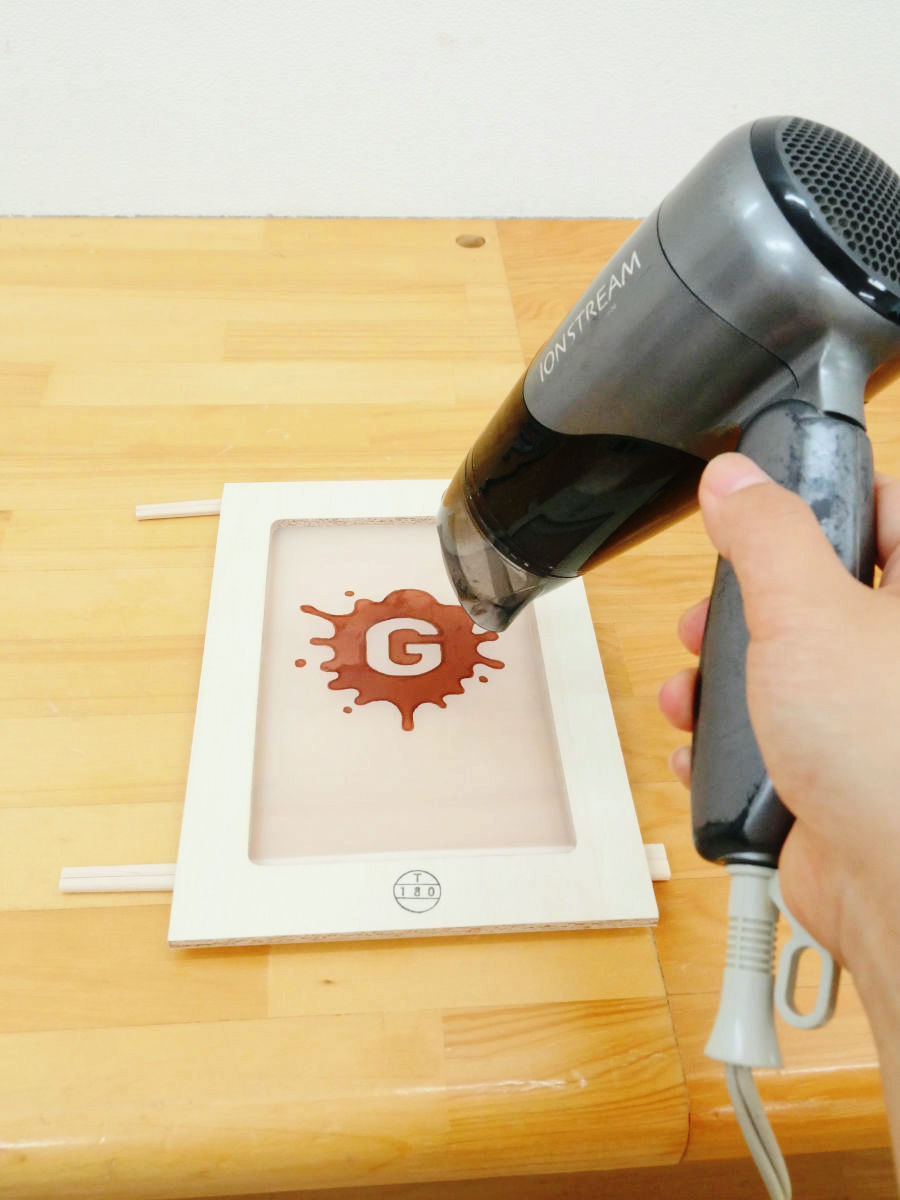
Then dry it with a hair dryer. That is why it becomes a three-dimensional silk screen. When curry powder was used, since the printed matter was a smell of curry, it is a technique I would like to use by all means when making curry doujinshi.
Using wheat flour gives a feeling of Mokomoko which is also unique.
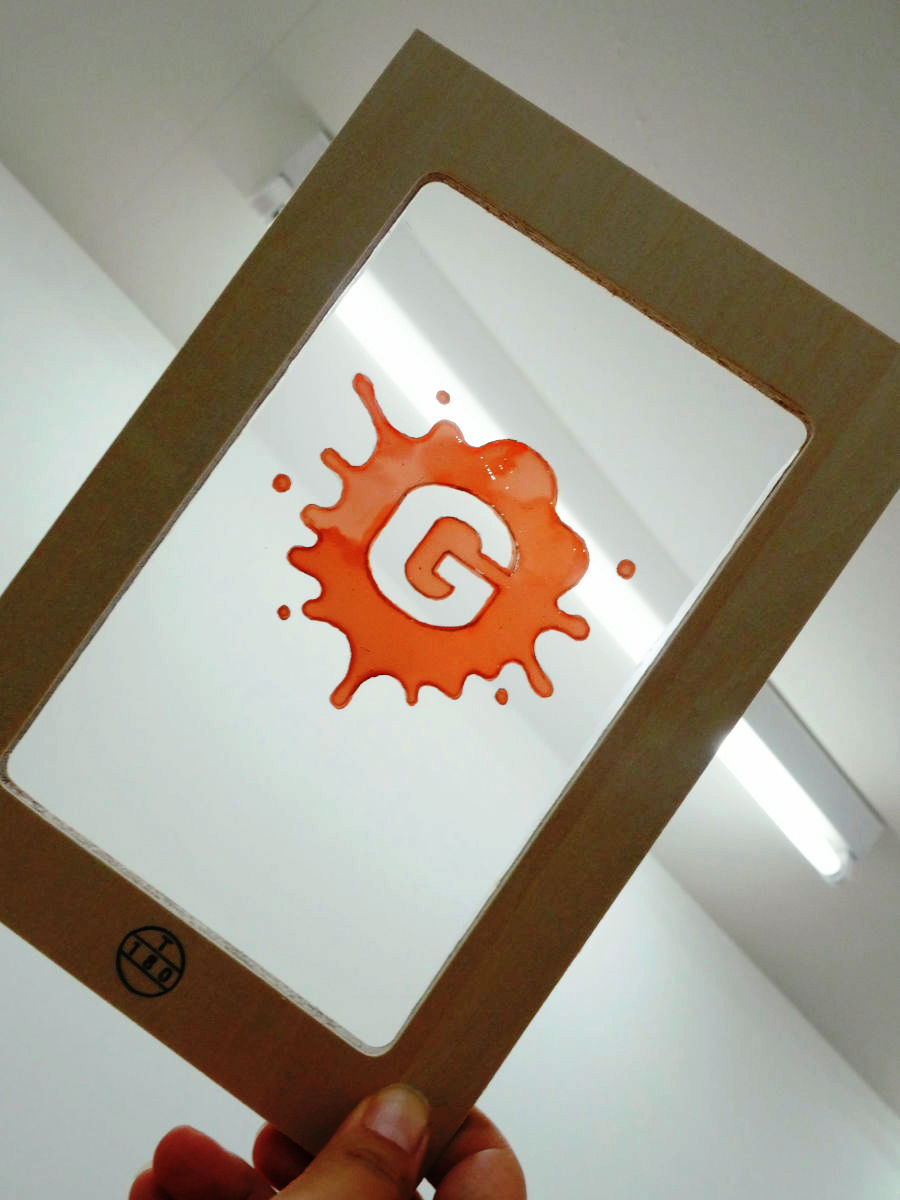
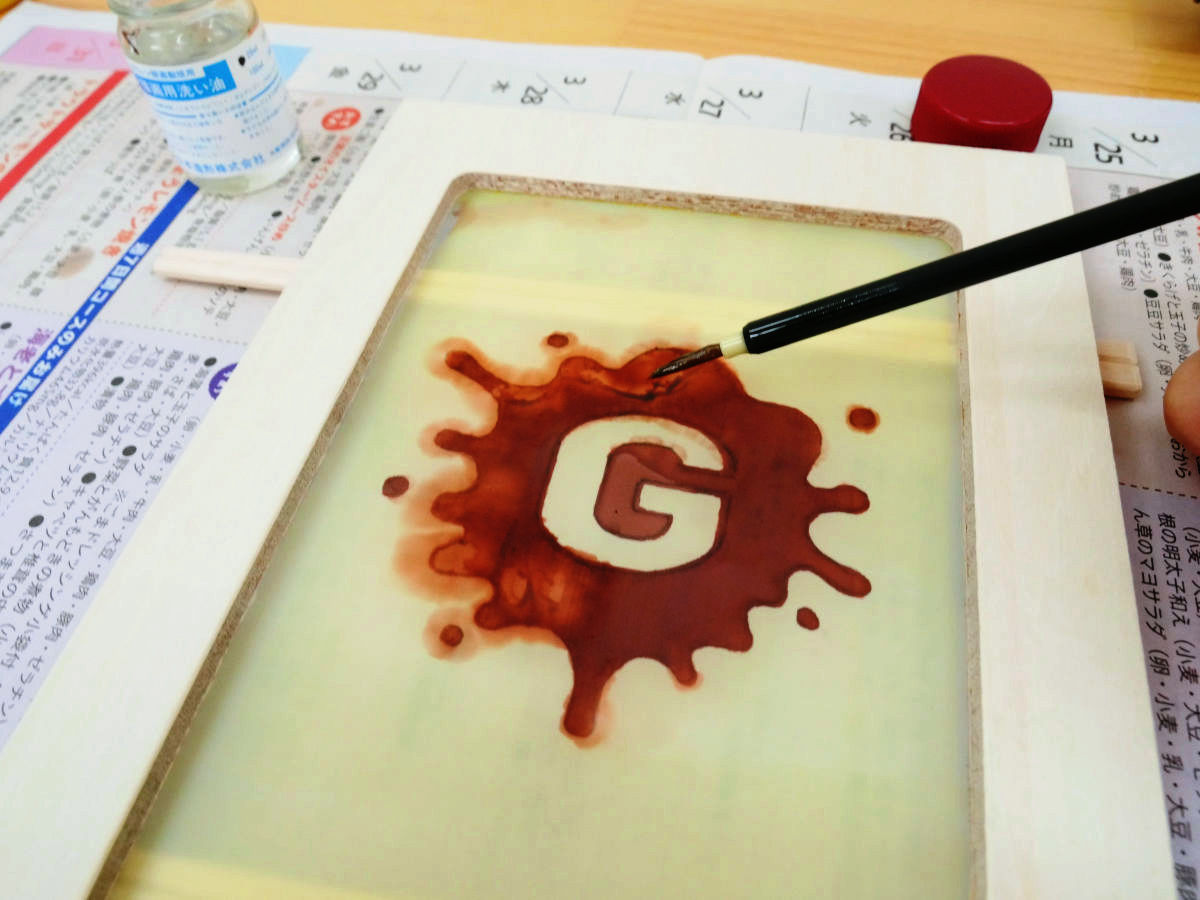
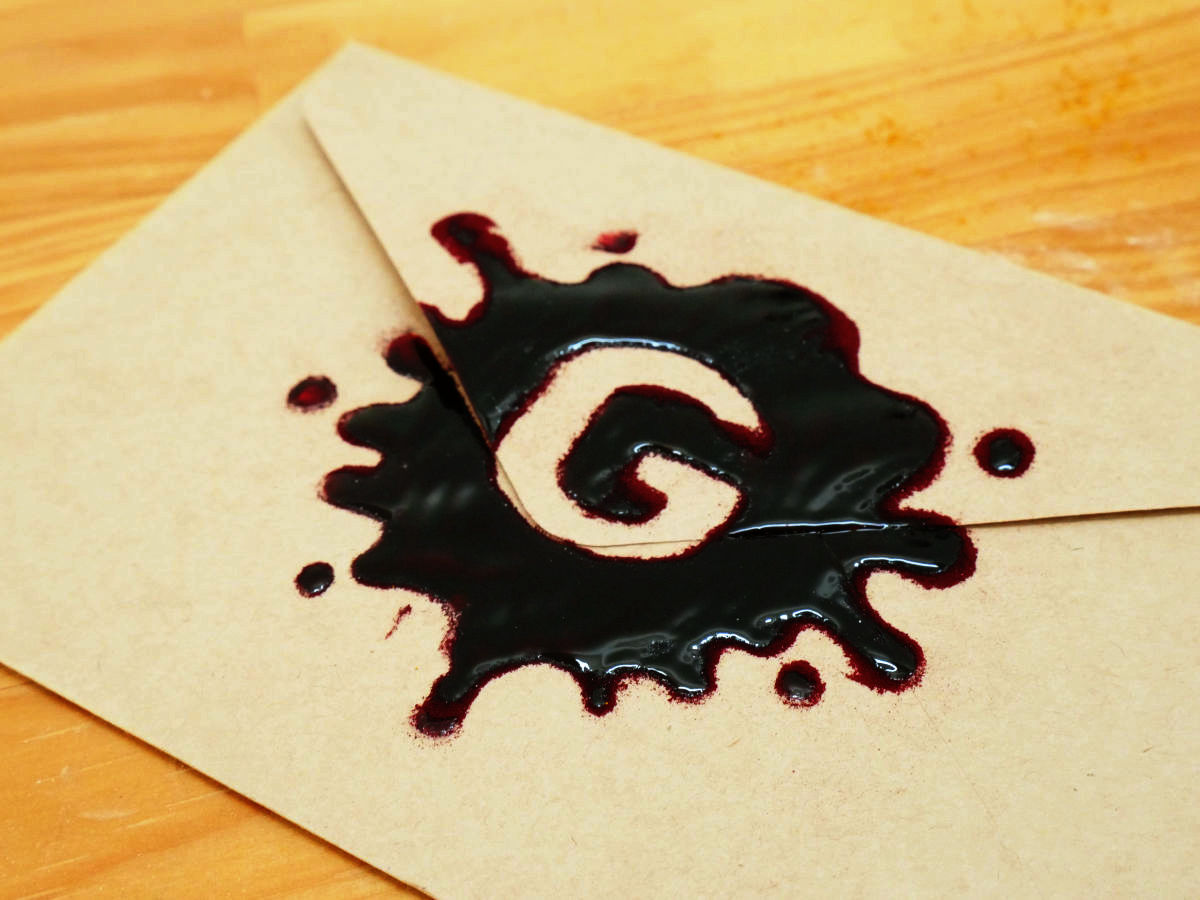
In the case of red iron, it melted into bonds, and a dubious blooddrop-like print was completed.
In addition, it is possible to do foaming printing that Mokomoko as applied version ......
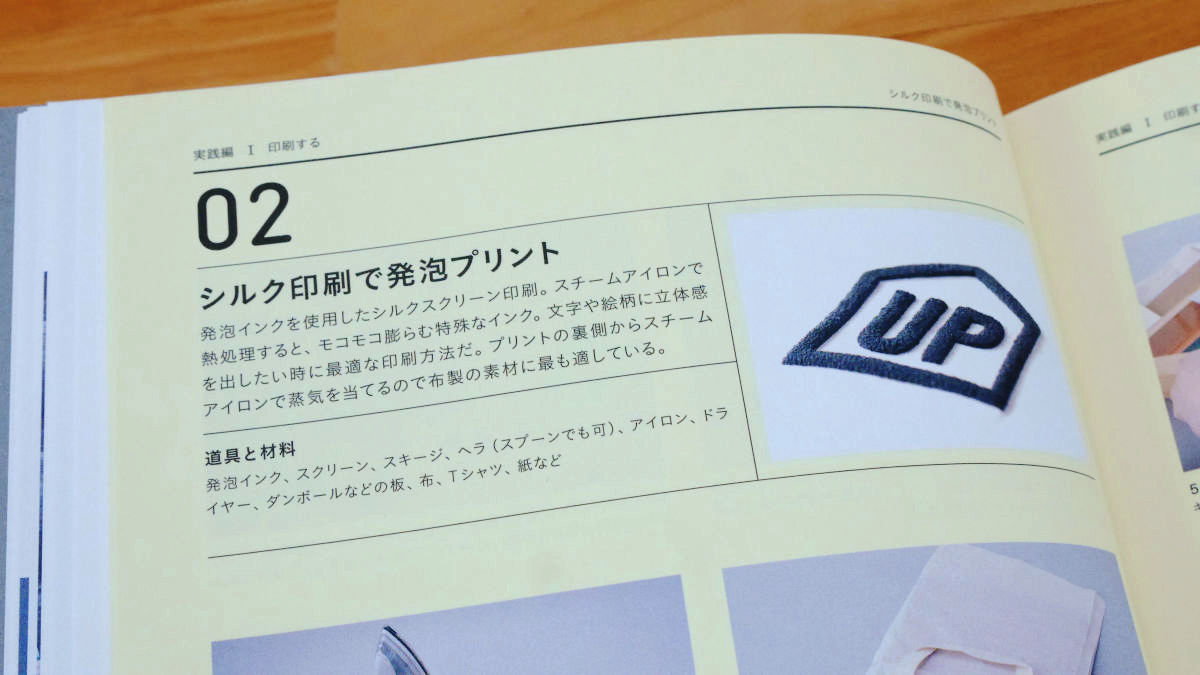
It also describes a special silk screen printing method that glows for a certain time in the dark.

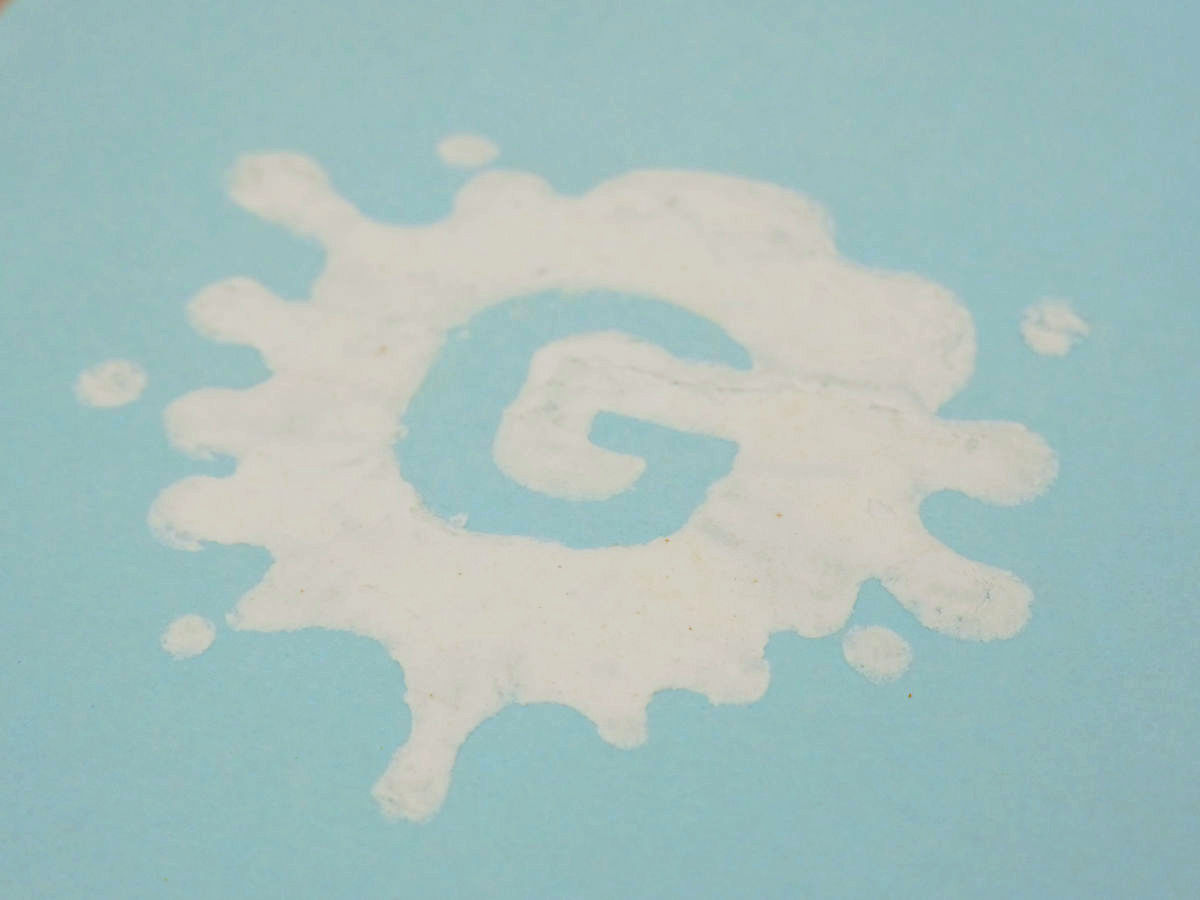
◆ Using a watermark ink to make a pattern transparent
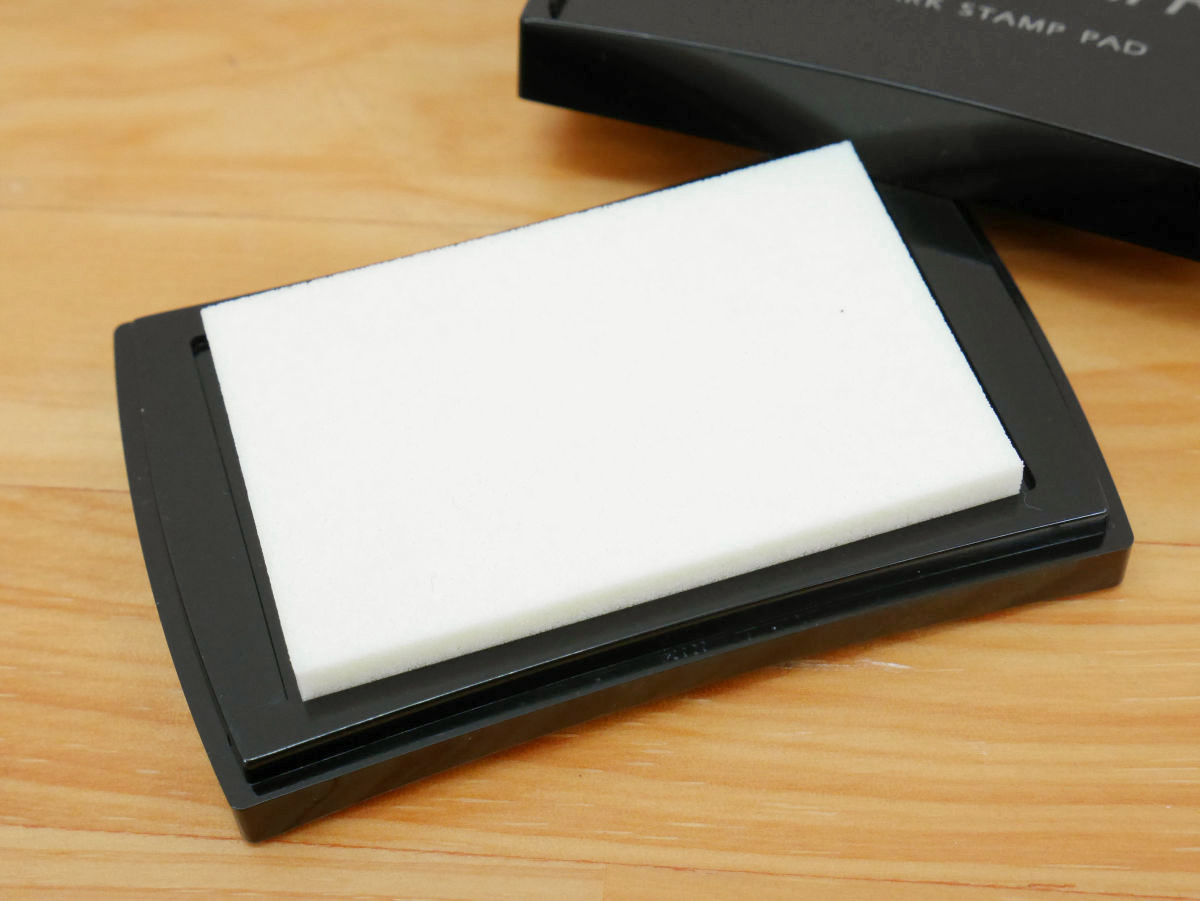
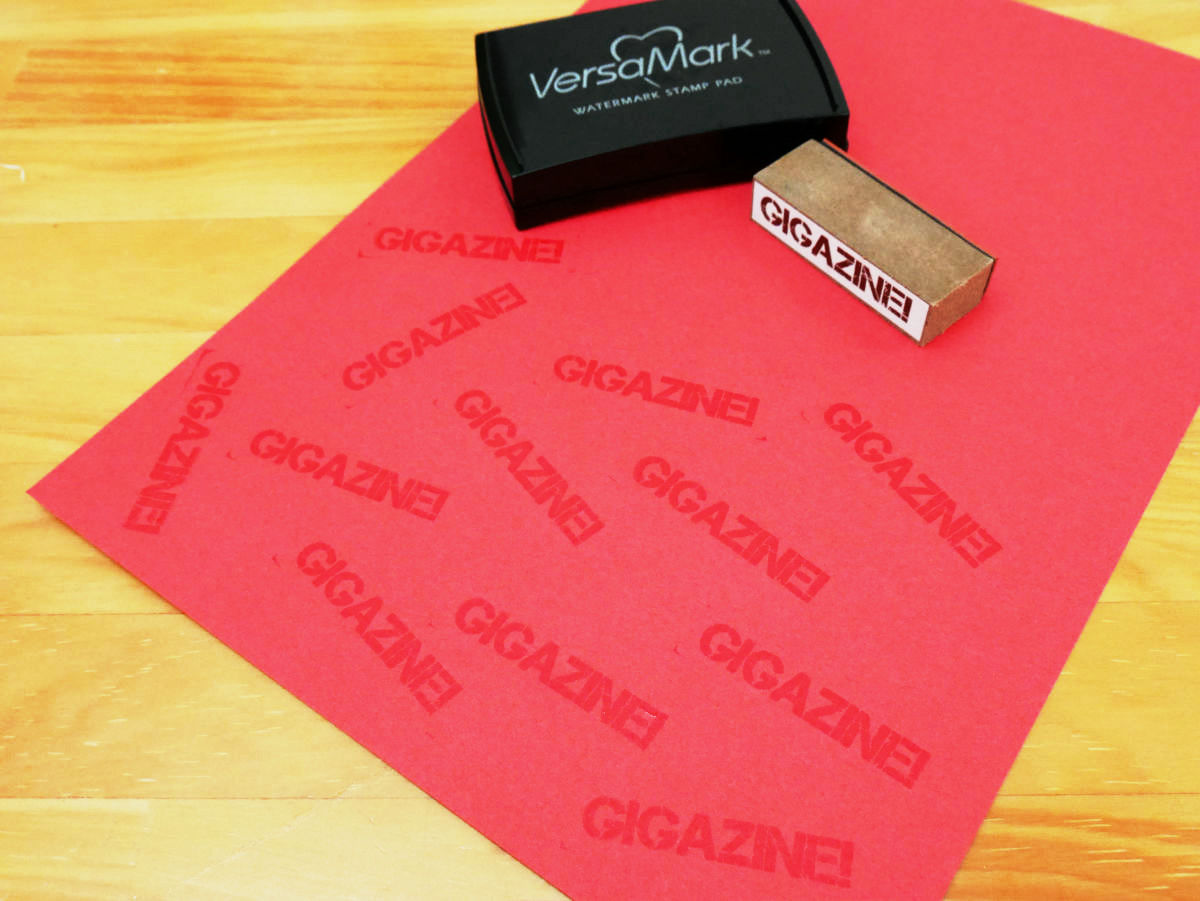
Next is the way to make the picture transparent. I will use Versa Mark ink pad.
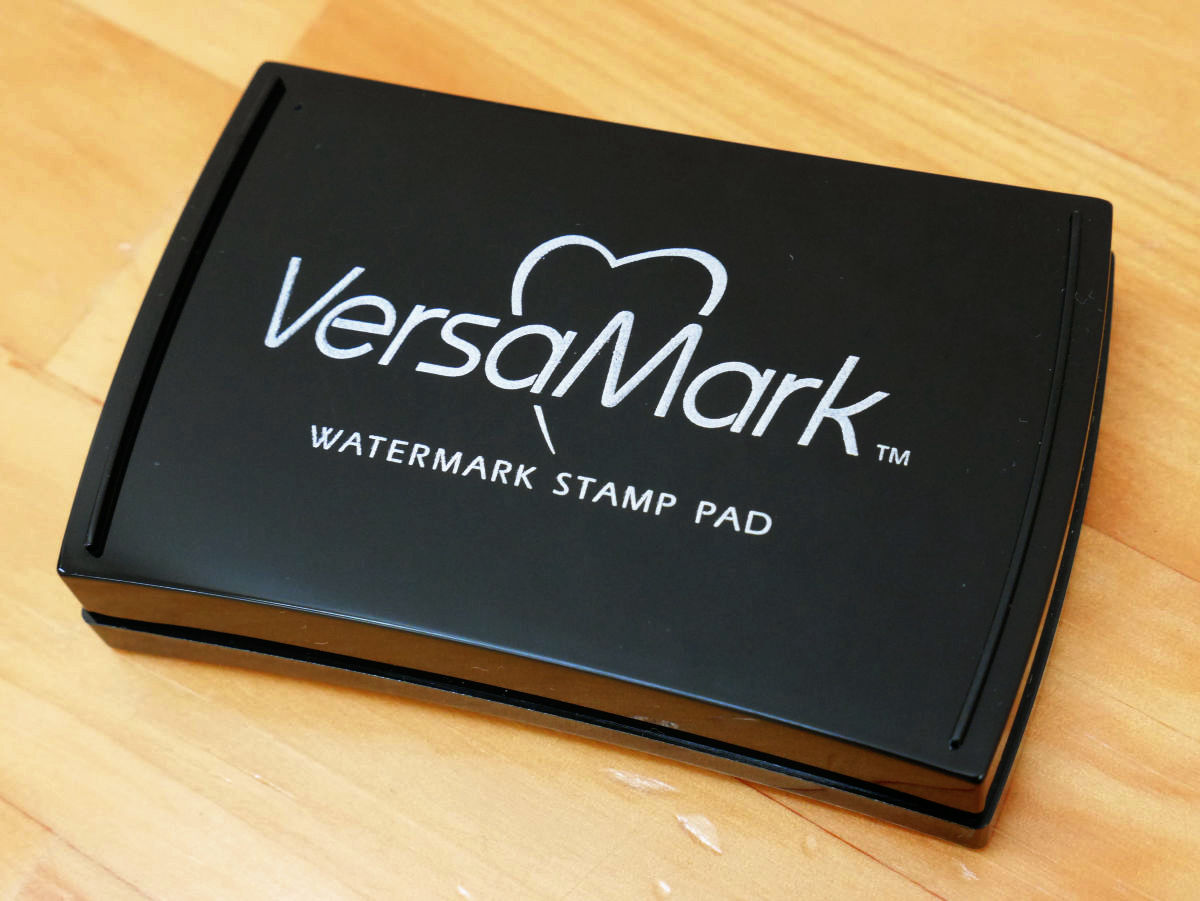
Versa Mark Ink Pad can be purchased at Amazon 693 yen including tax.
Amazon.co.jp: Versa Mark Ink Pad: Toy
http://www.amazon.co.jp/dp/B002DXCGF4

When I open it up, the ink pad is white.
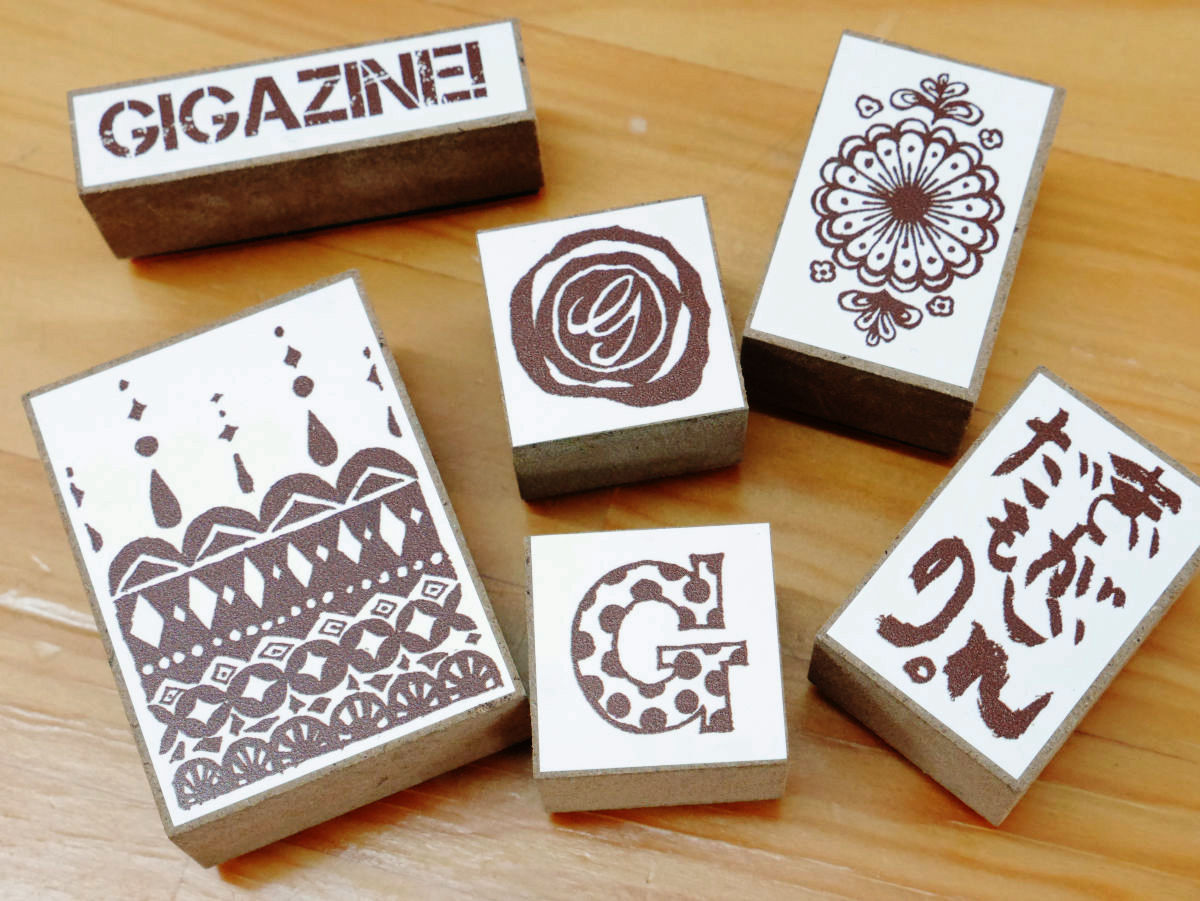
This timeShoot hand-drawn illustrations on a mobile phone, send a photo by e-mail and become a stamp "Stamp shop"I will use the stamp made in.
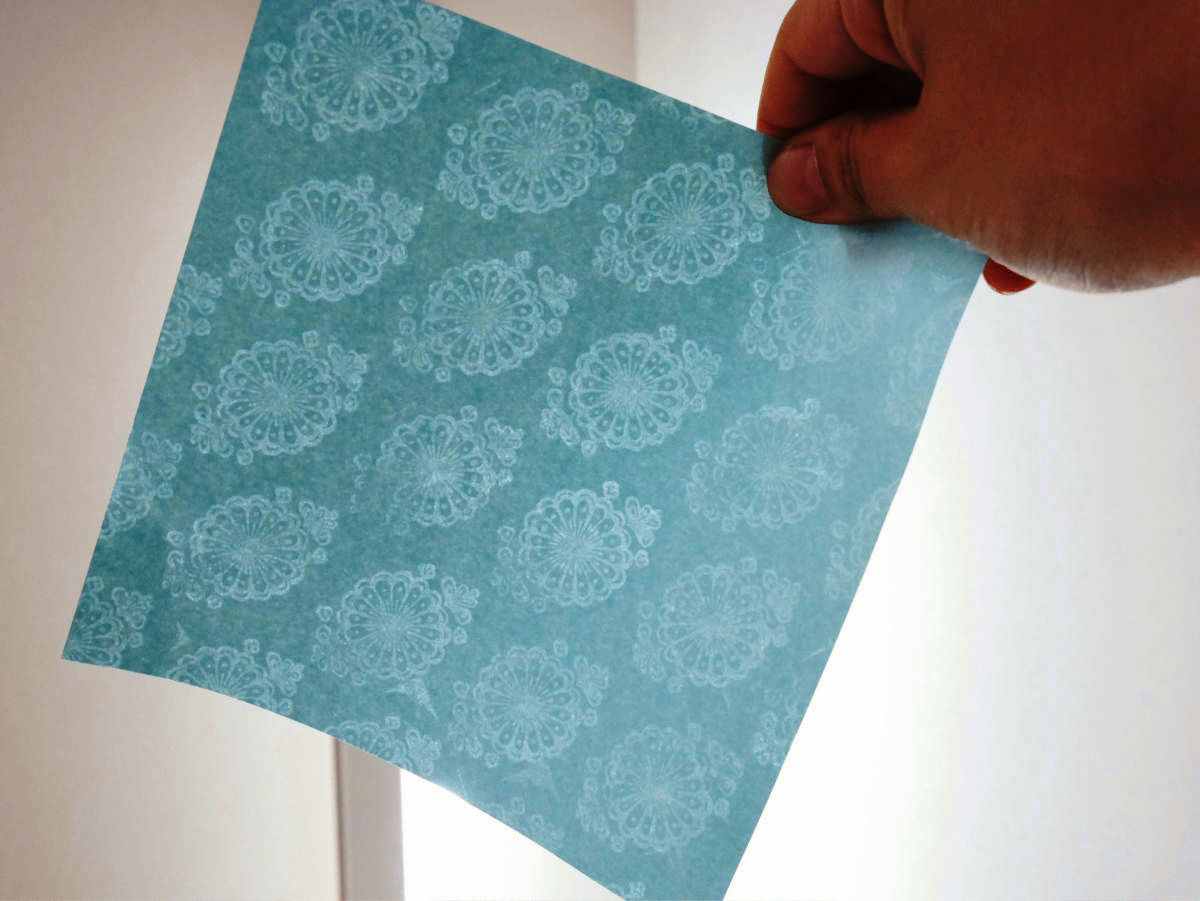
The method is simple, it only pushes the stamp with the ink of Petapeta and Versa Mark on paper.
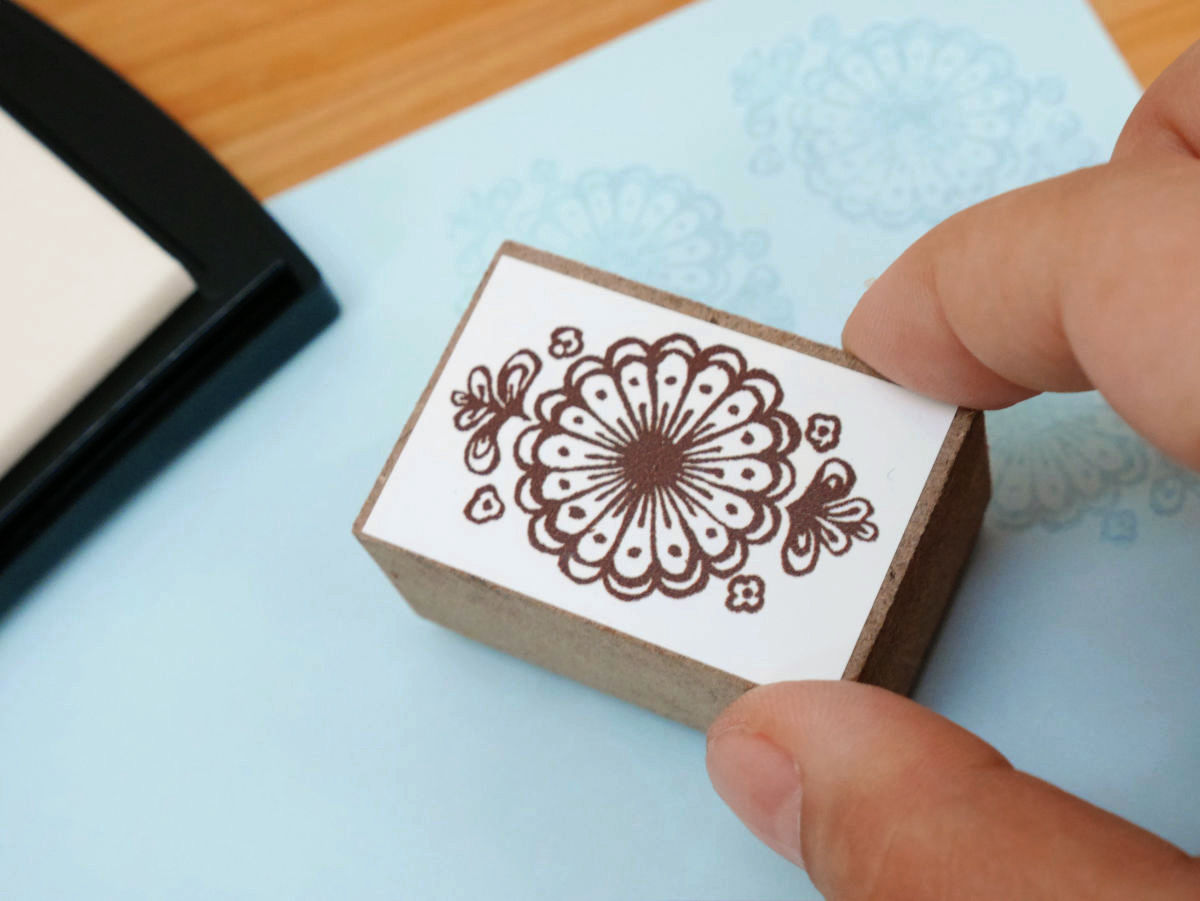
It is completed.
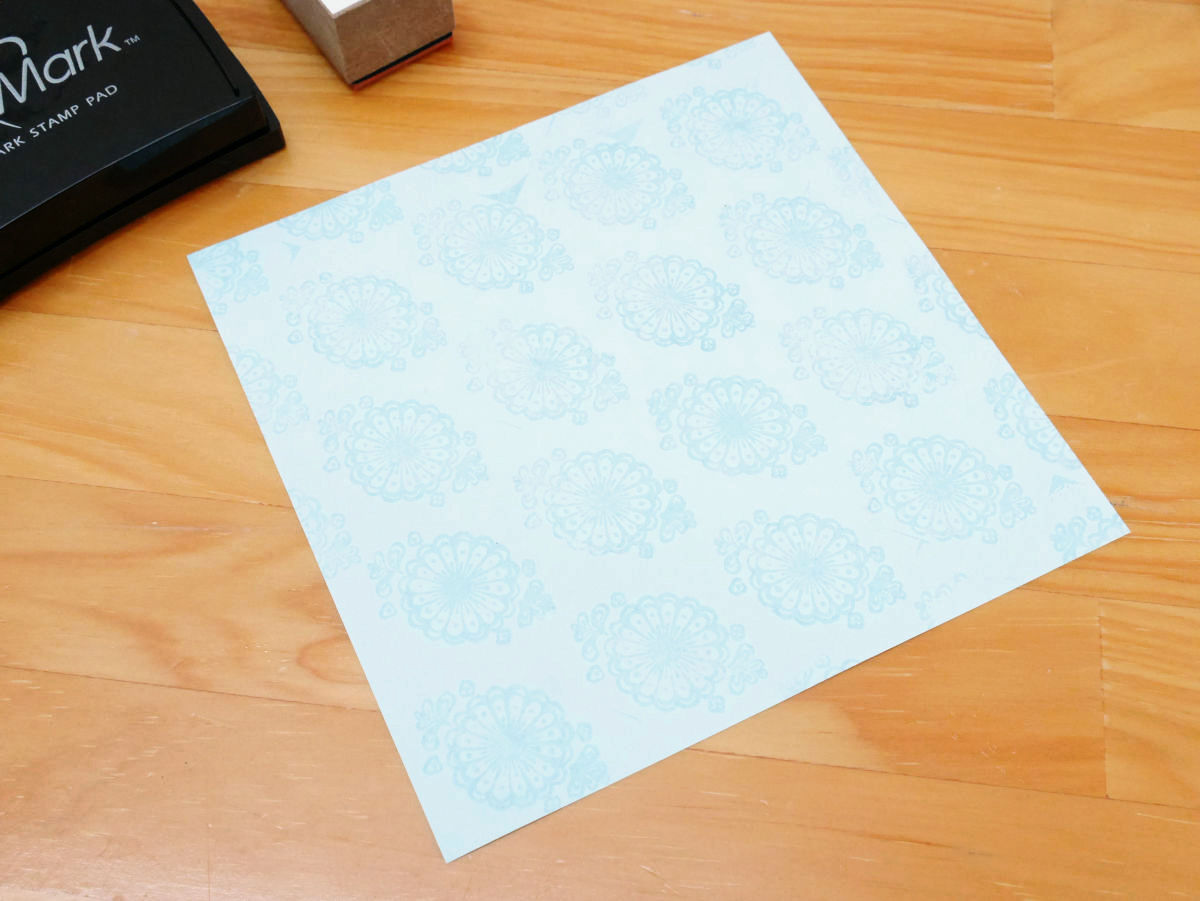
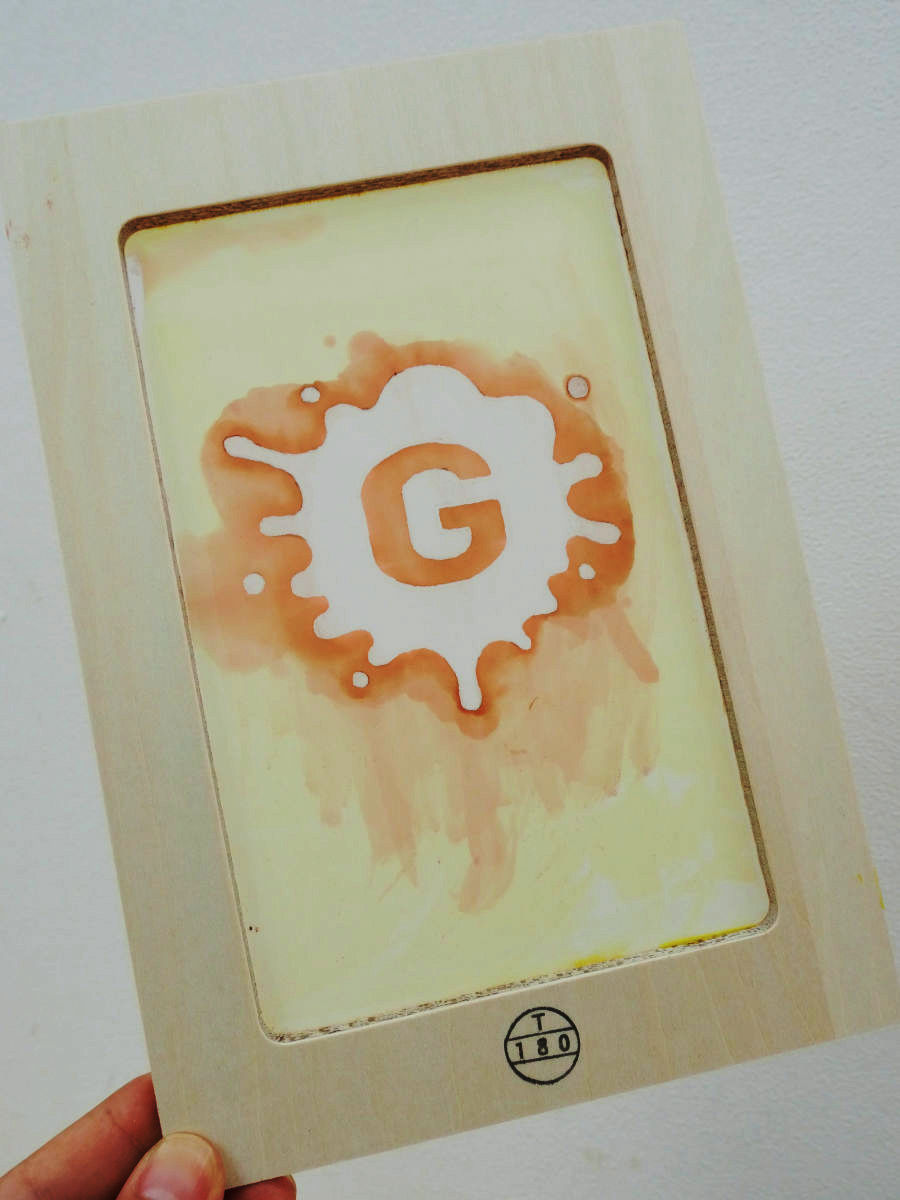
When you hold it over the light, you can see clearly the watermark.
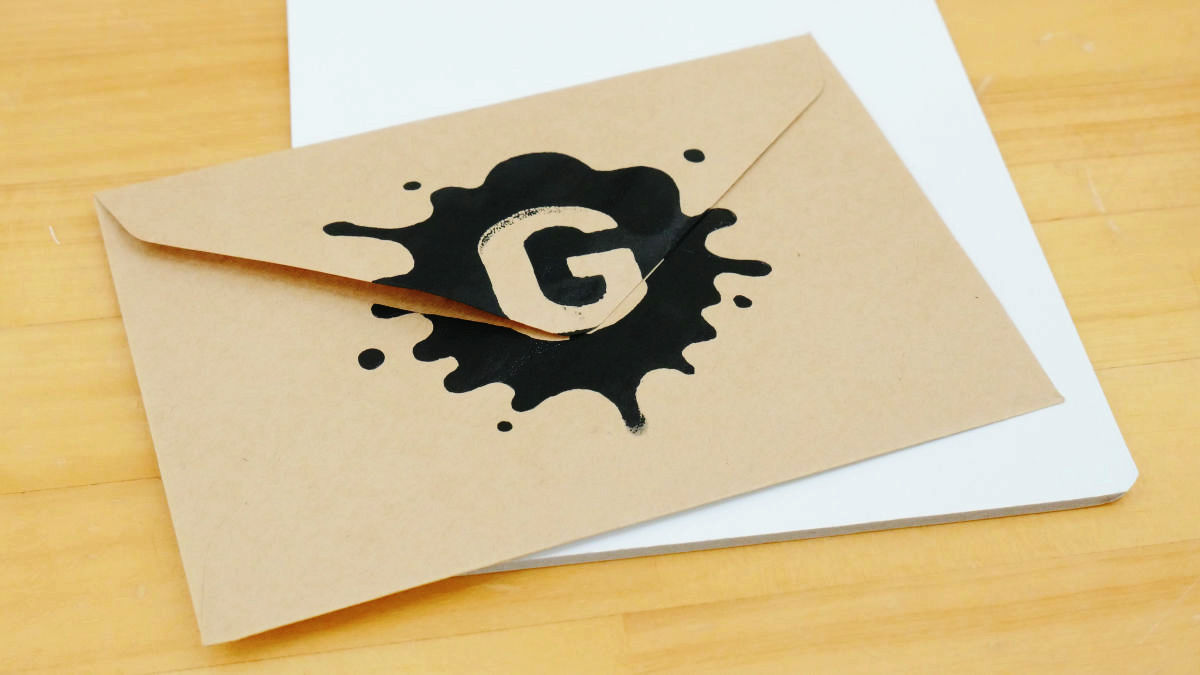
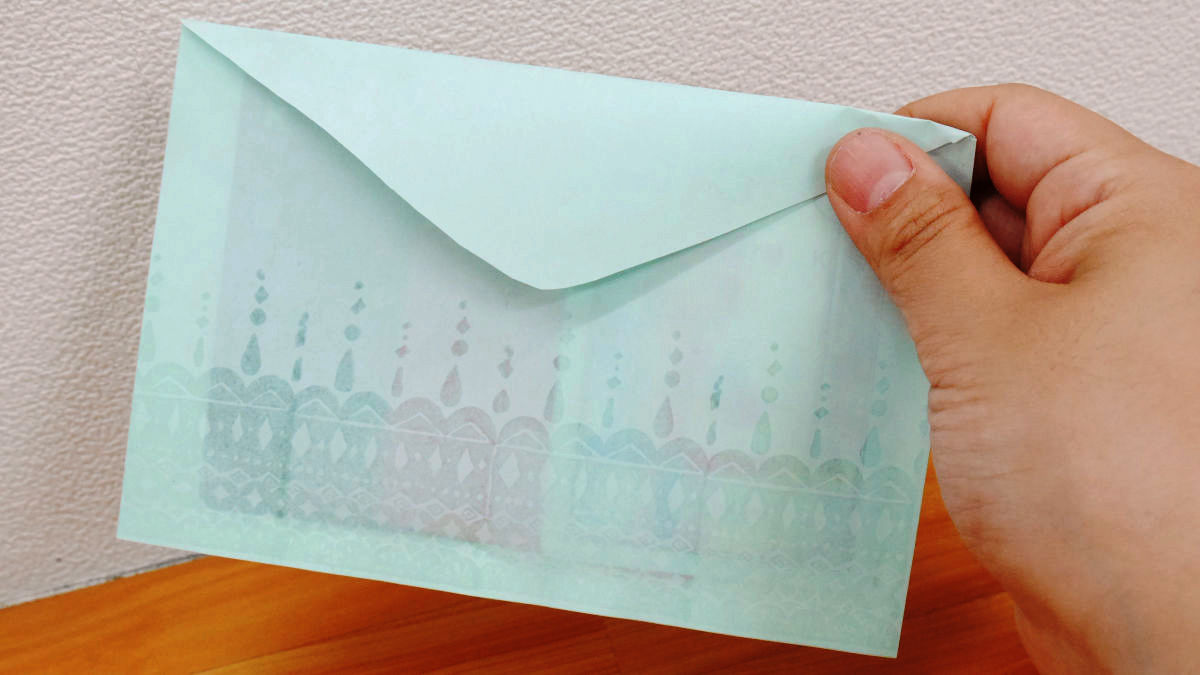
That is how I made an envelope with watermarked paper and wrapped it.
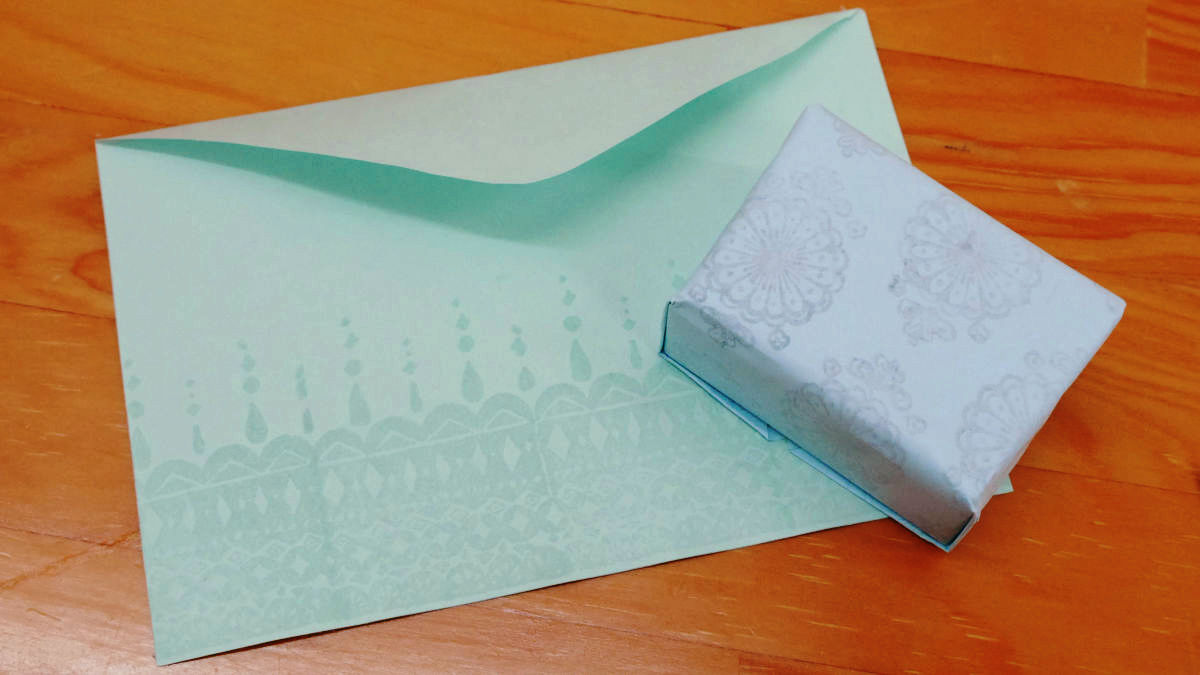
It became a unique finish that the pattern rises up when putting dark colored objects inside. That's why we change the paper with no discrimination into wrapping paper for gifts.
In addition, when you stamped on thick paper, there was not much sense of sheer, the color became darker.
As a further application, there is also a method of discoloring the thermal paper used by FAX by black with iron or laminator, and printing white-out with Versa Mark ink.
How to make "crimp" edges with crimping postcards often found in DM etc with a laminator.
How to stick seals and sheets clean.
"Make a letter and make a stamp".
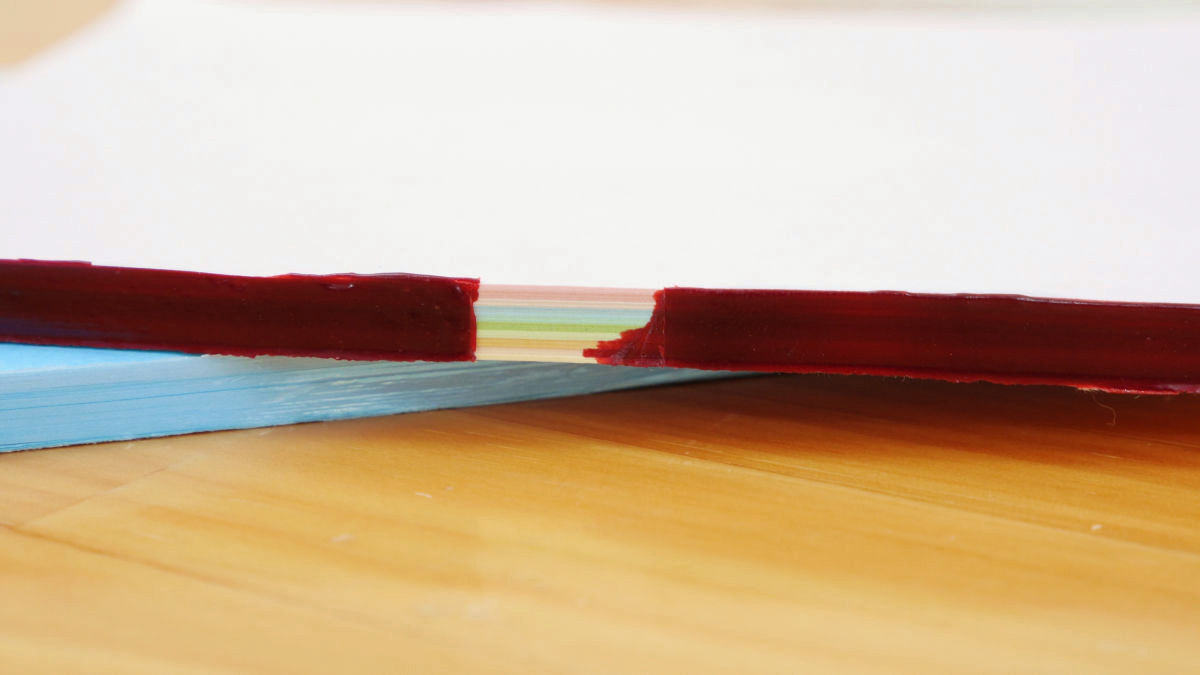
◆ Paper binding with colored background color
From the "binding" edition, challenge pad binding with color on the back.
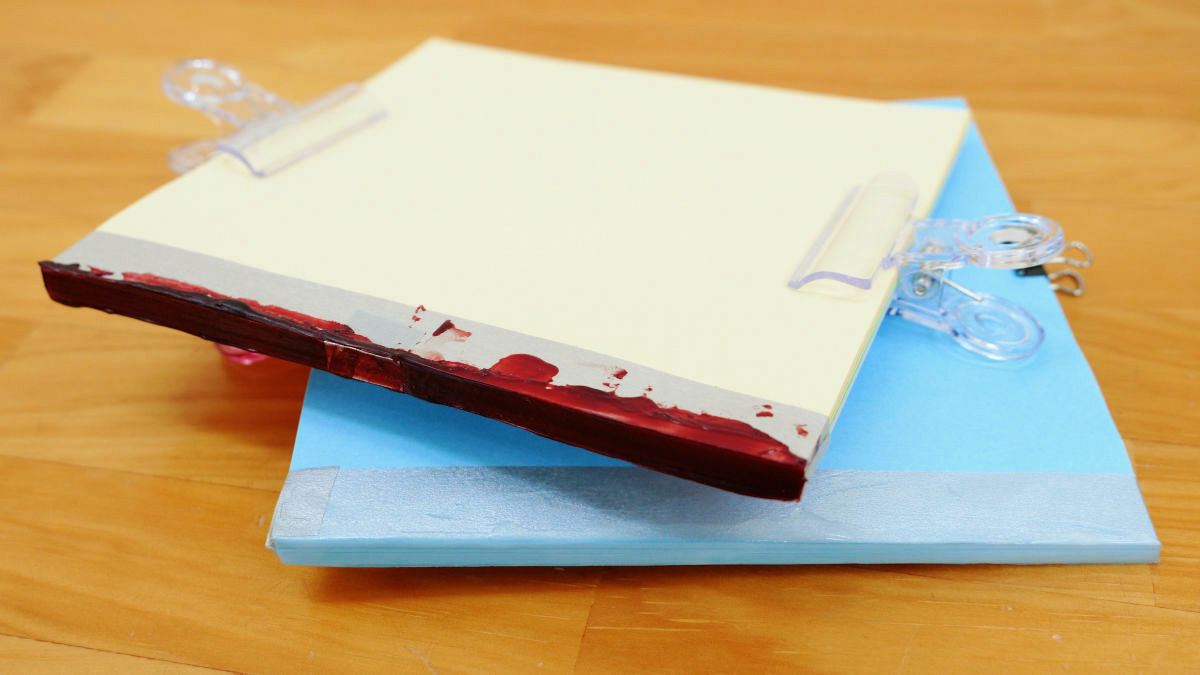
First of all, clip a bundle of paper and fasten it.
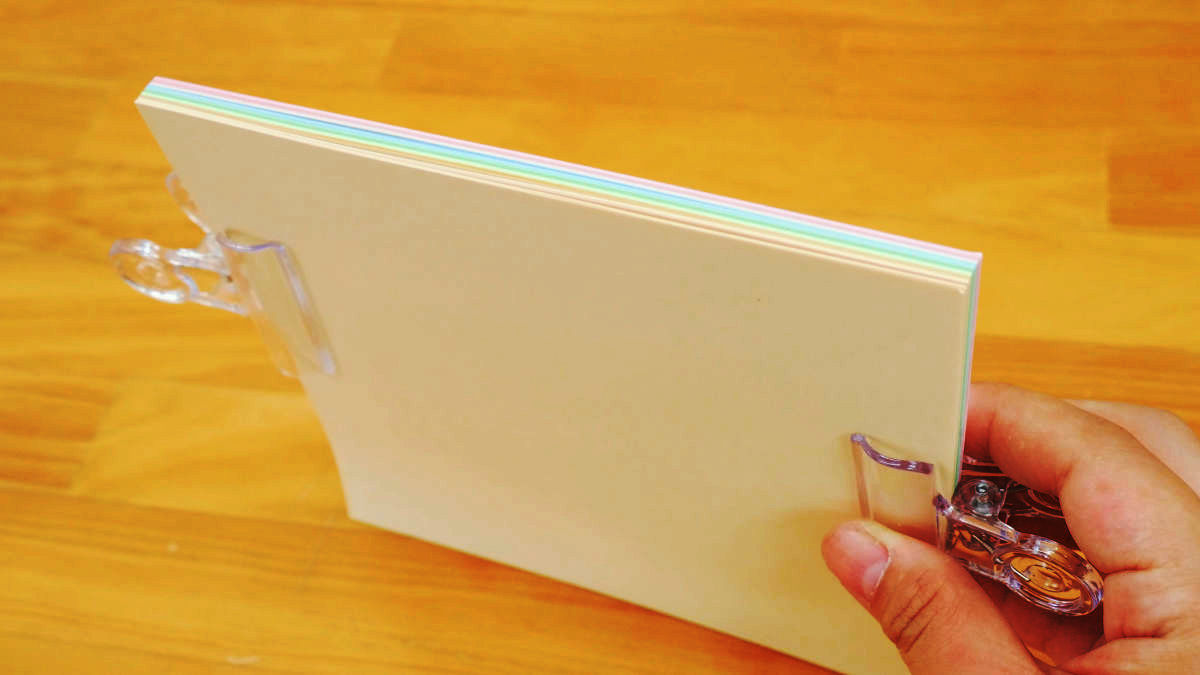
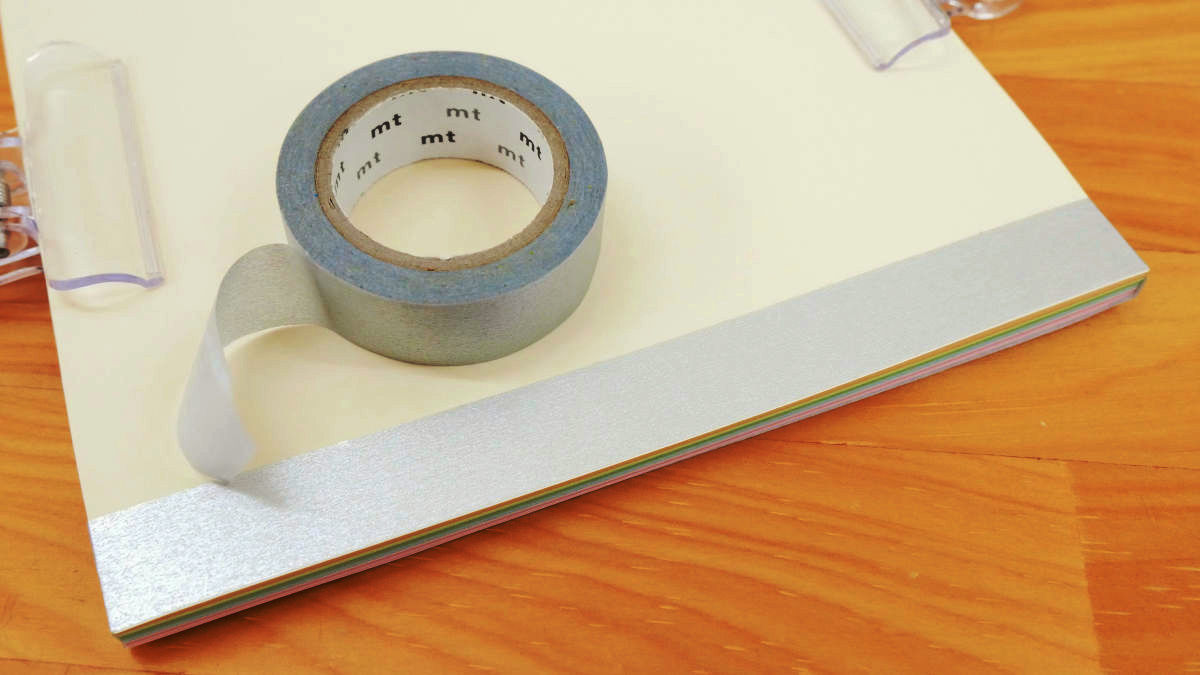
To prevent glue from sticking to unnecessary parts, wind around the lower part of the back with a round of masking tape.
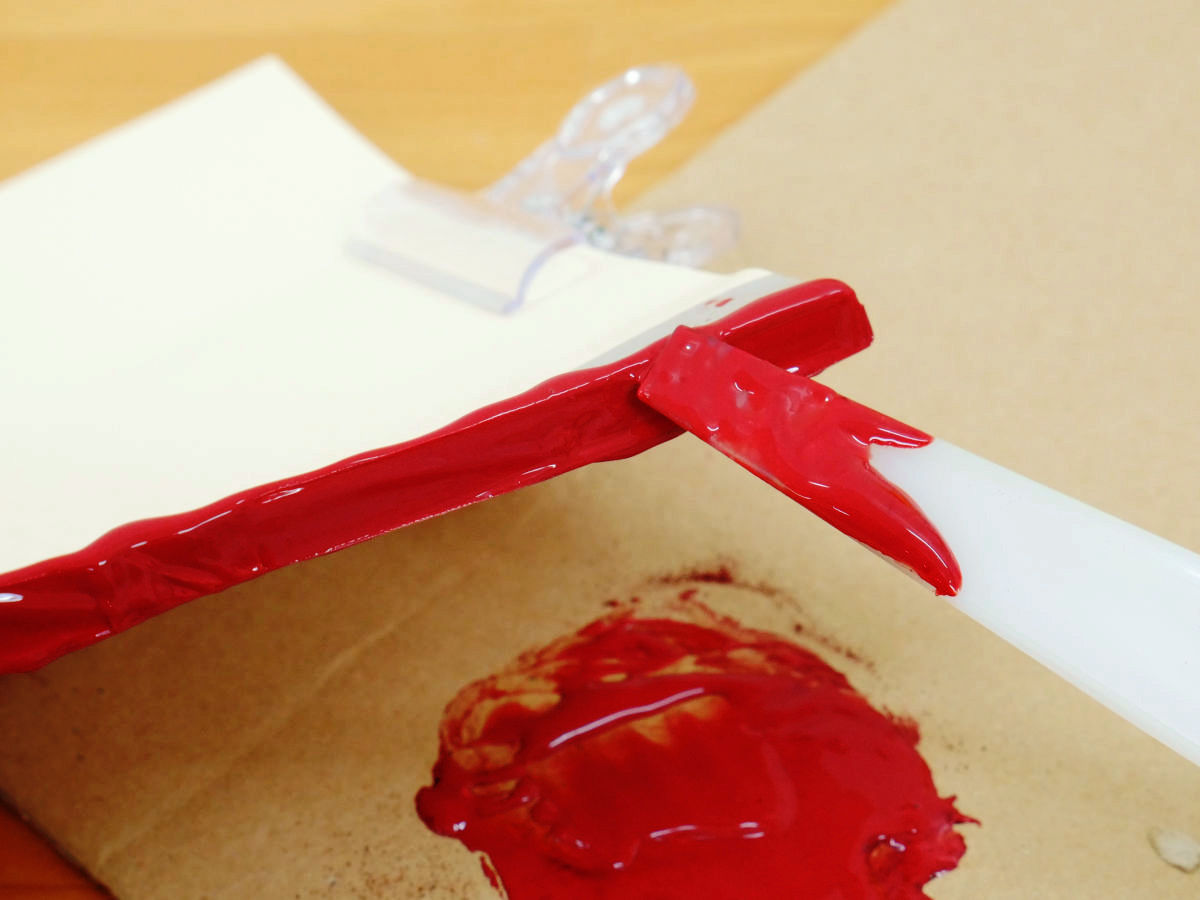
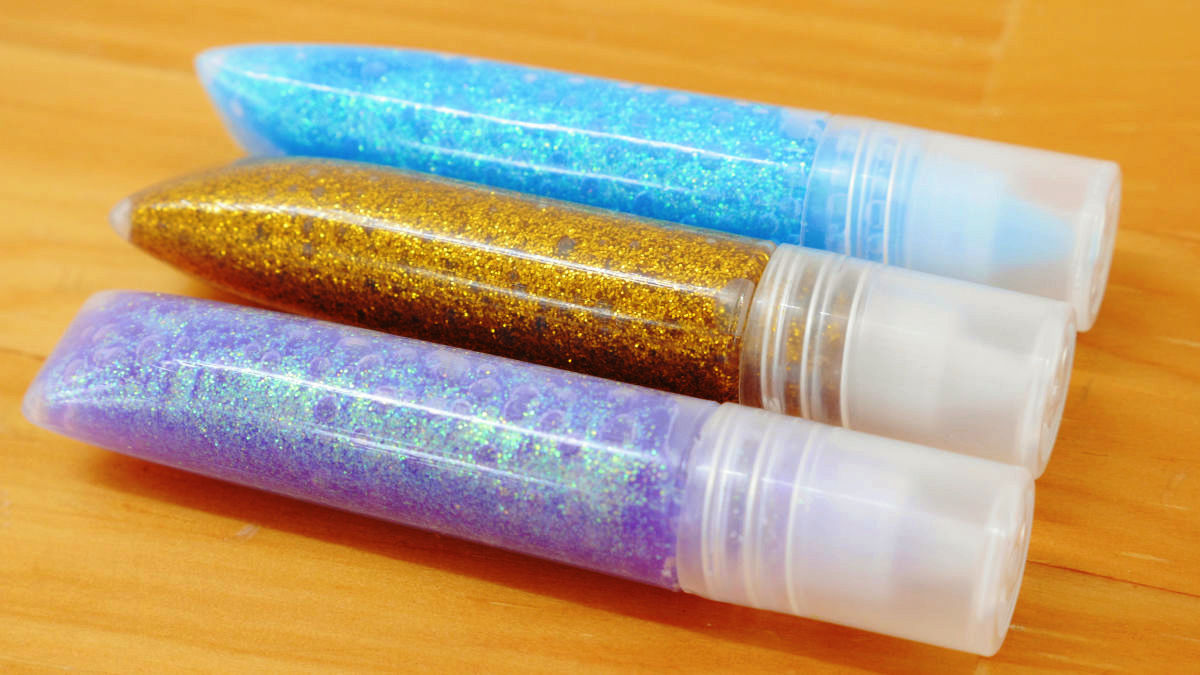
Mix woodworking bond with red pigment and powder pigment ......
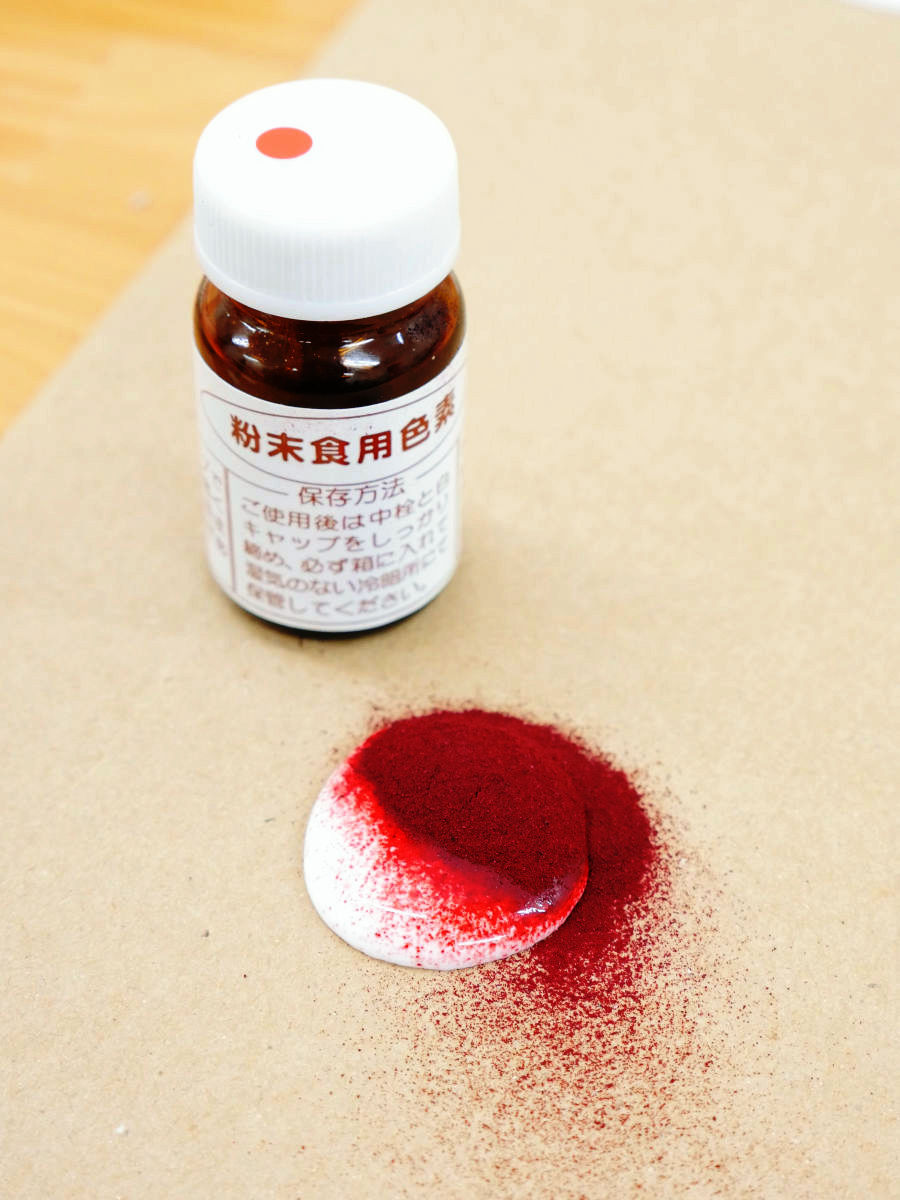
Coloring the bonds on the back of the book.
I will dry for a while.
If the bond dries, peel off the masking tape ......
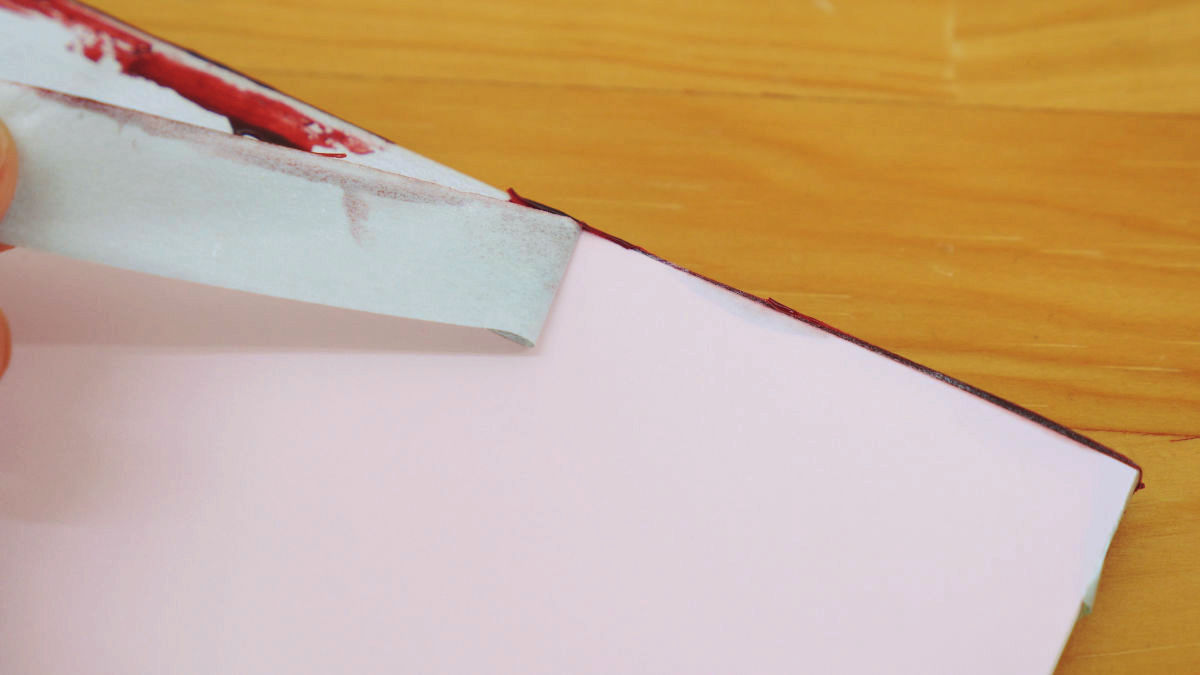
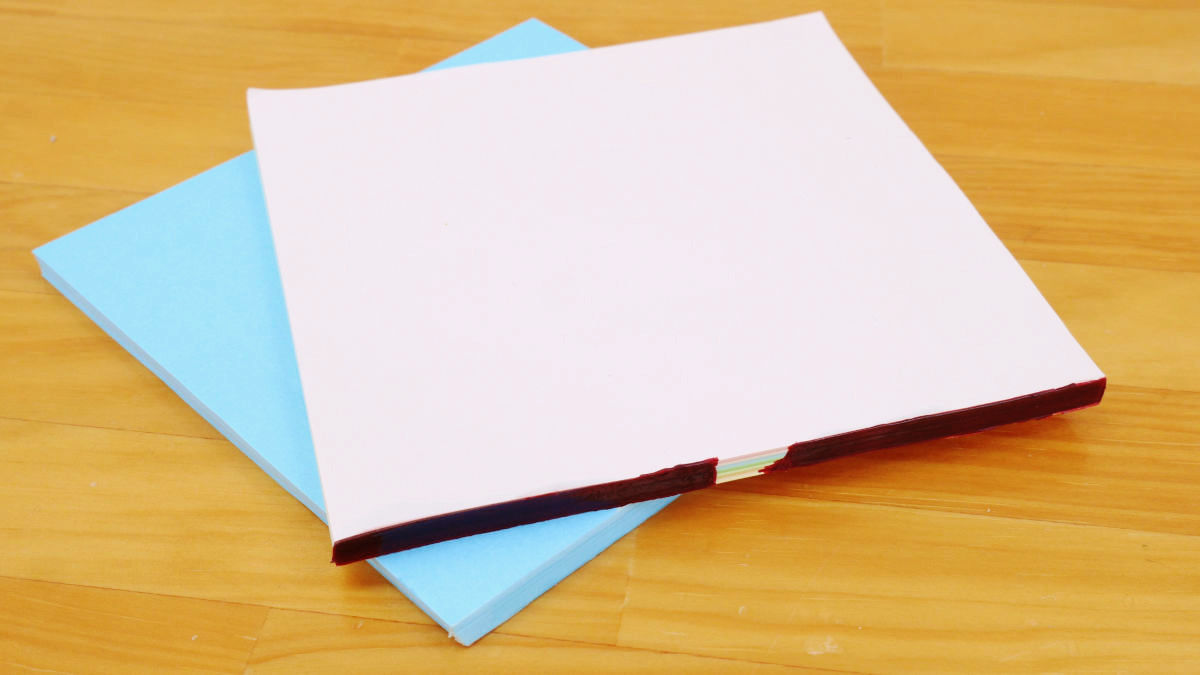
A book is completed like this.
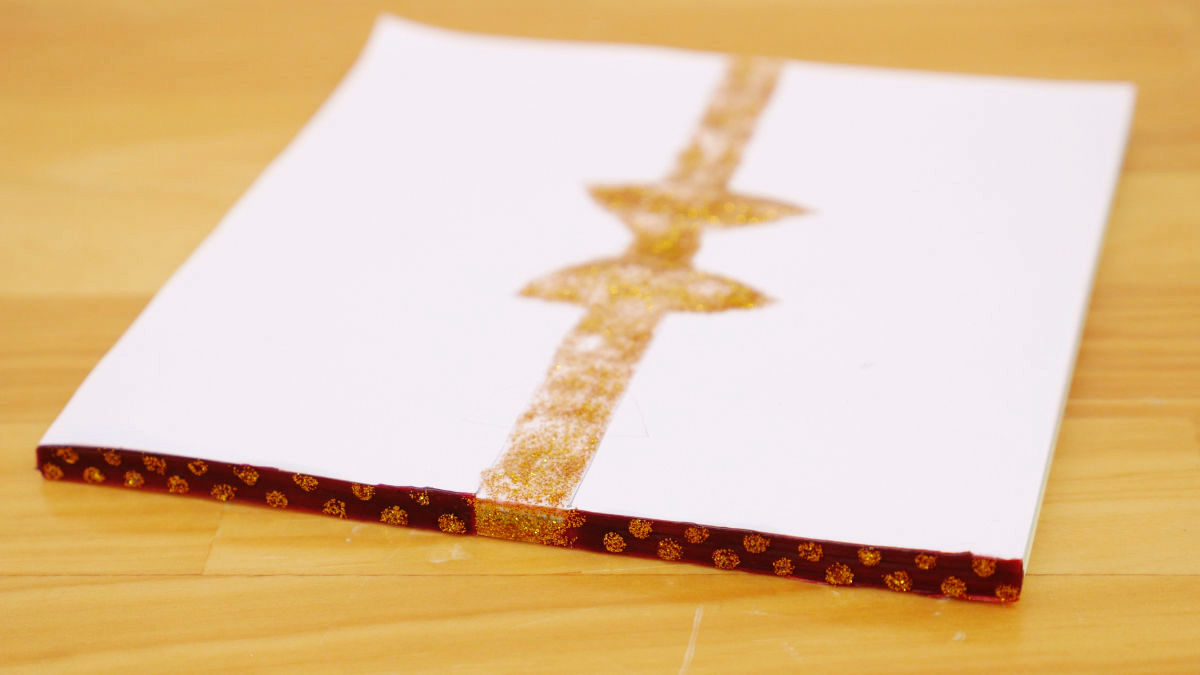
Masking the middle of the back with a masking tape seems to make a book of a different atmosphere, but it seems that the state of affixing the tape was sweet, I mistaken a bit.
Even if you use lamined glue which is sold at stationery stores etc at such time.
Arrange with this feeling.
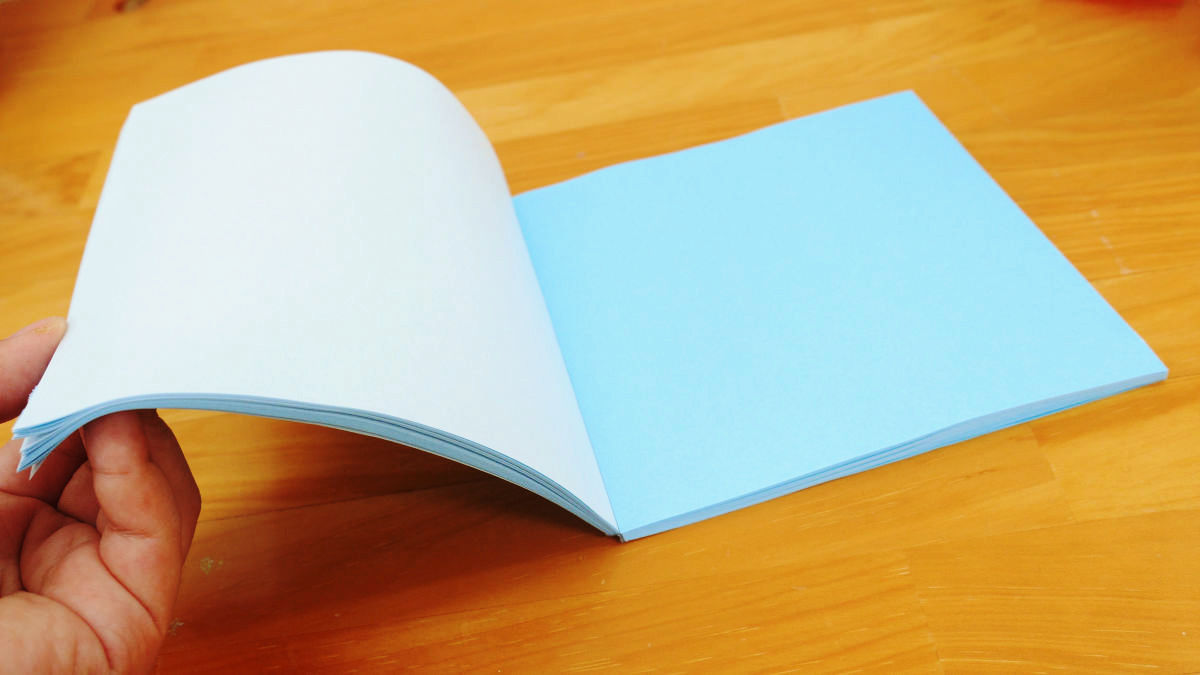
I tried another book as a lamellar book.
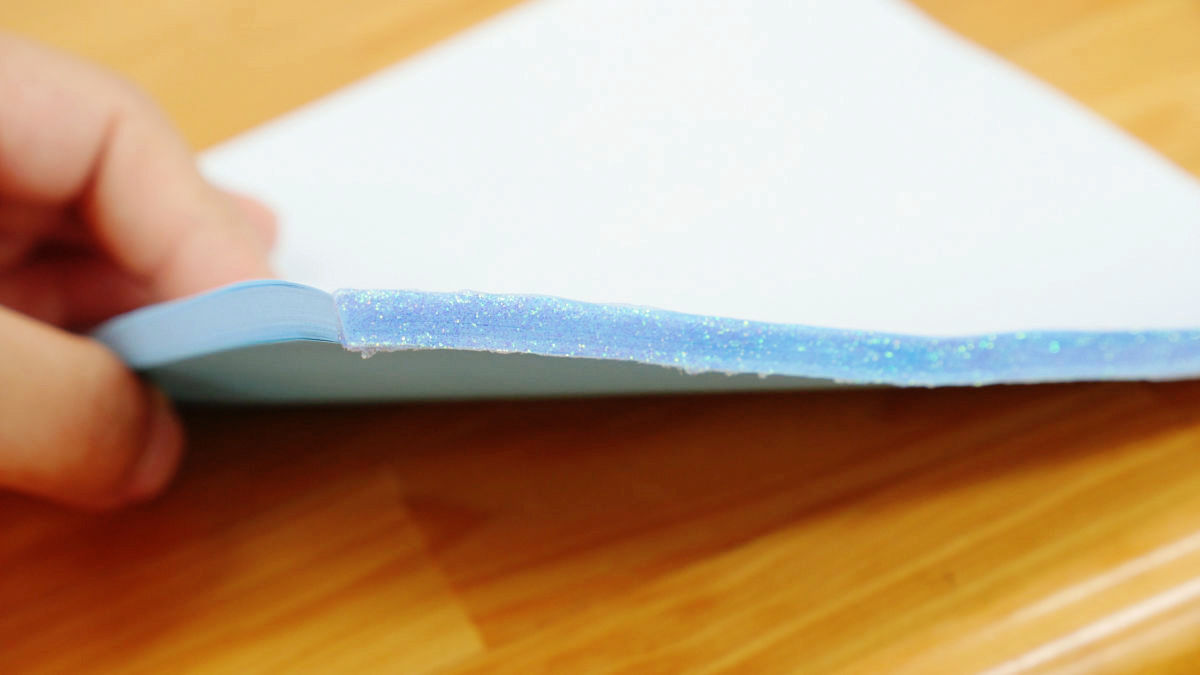
It has become a booklet properly.
You can check the book you created from the following movie.
I tried Challenge Tenpai Binding with DIY - YouTube
"Codec installation using saddle stitch books" and ... ...
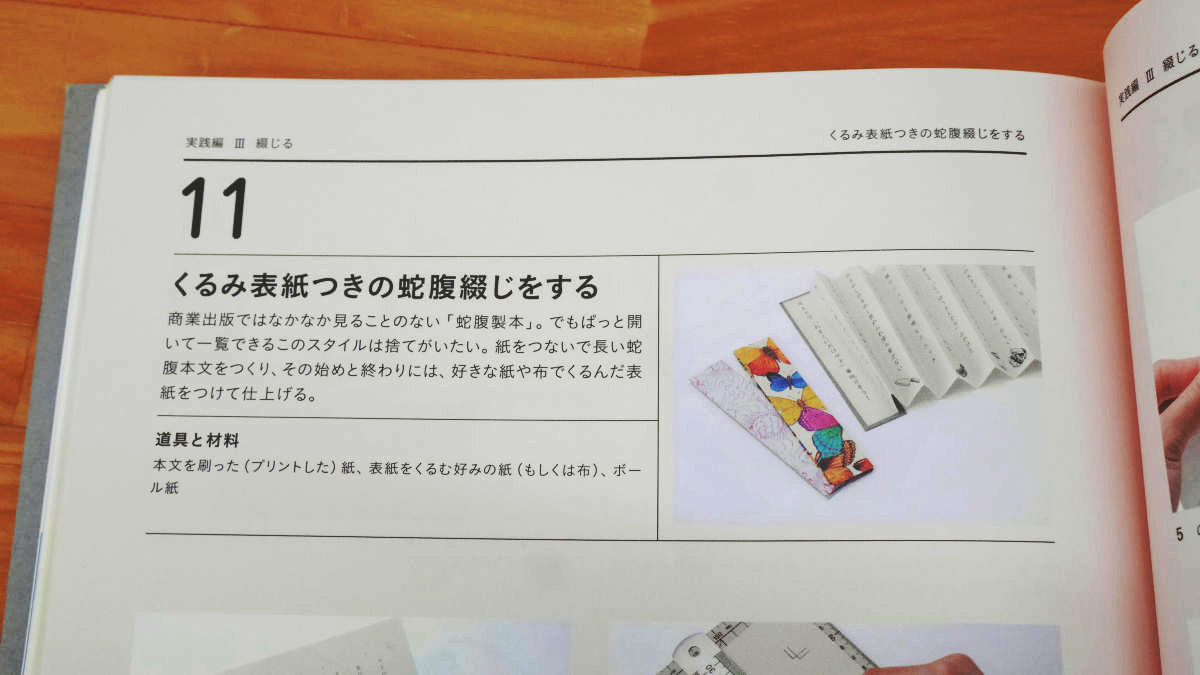
There was also a little strange binding method called "bellows binding with walnut cover".
In addition to this, techniques and methods that can be used such as ideas using sewing machines have become tokoro, and it is easy for beginners to explain the detailed method of making with photographs, thinking "I want to make fancy books and printed materials" If there is a person who has it there is no loss. Even just watching it makes me feel excited and I recommend it for ornamental purposes.
Printing / processing DIY books are sold at Amazon for 2376 yen including tax.
Amazon.co.jp: Special printing / processing DIY book: Ohara Kenichiro, Noguchi Naoko, graphic company editor: book
http://www.amazon.co.jp/dp/4766123034

Related Posts: