I tried DTP with software 'Scribus' which can do high-level book design free of charge

DTP(Desktop Publishing) refers to editing layouts and designs such as books and leaflets on a PC. Editing workAdobe InDesignIt is possible to do with DTP software typified by, but many of the well-known software are charged, and the hurdle feels high. Meanwhile, open source software "Scribus"Although it is free software that anyone can install free of charge, I tried DTP in practice because it allows the tasks required for editing work to a high level.
Scribus - Open Source Desktop Publishing
https://www.scribus.net/
◆ Download and Installation
To download Scribus, please do from "Download" of the following link.
https://sourceforge.net/projects/scribus/
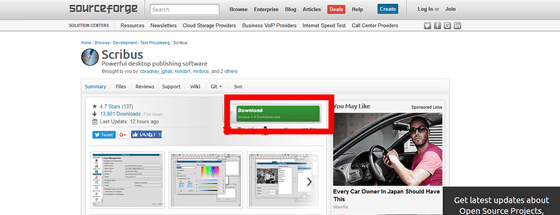
Once the green bar is gathered, download is completed.
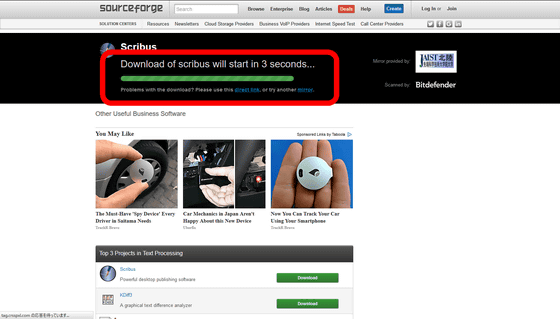
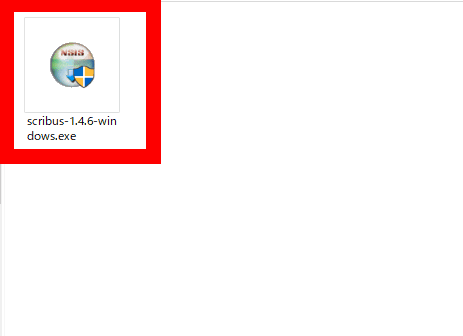
Launch the downloaded installer.
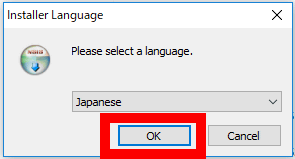
Select "Japanese" from the pull-down menu and click "OK"
The setup wizard opens, so click "Next"
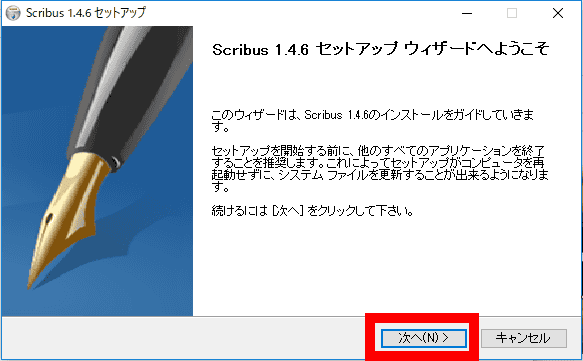
Please check above and click "Next"
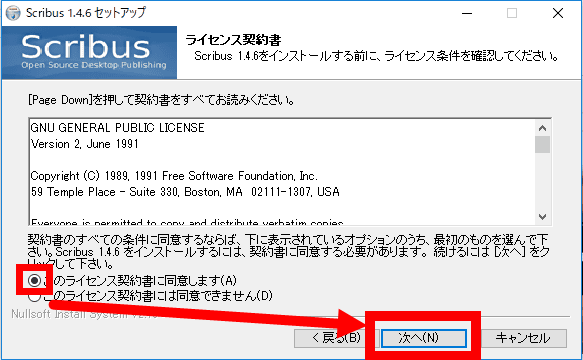
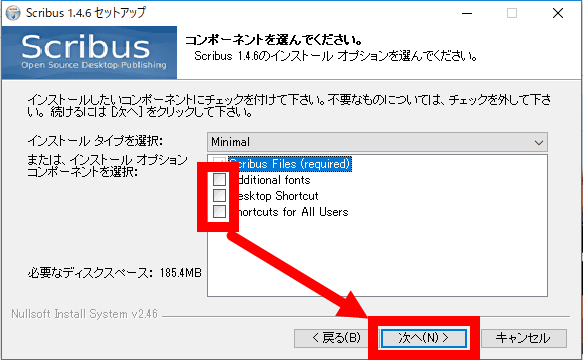
On the installation option selection screen, uncheck all components and click "Next."
Click "Next"
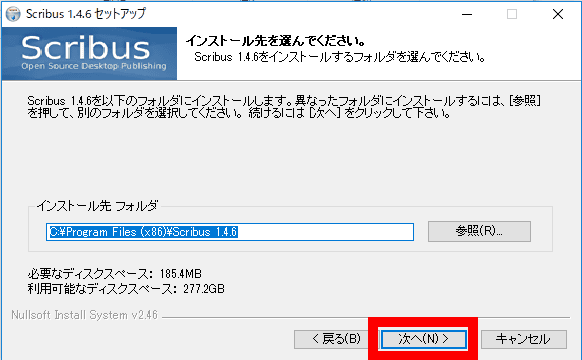
Click "Install" to start installation
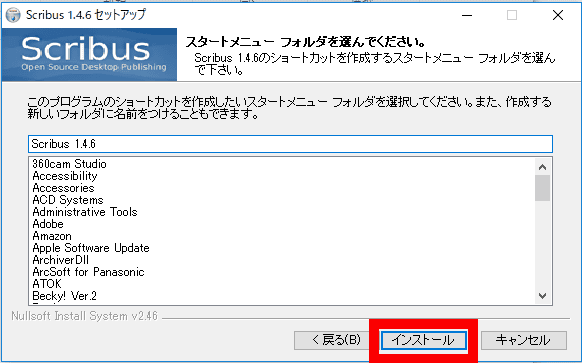
Click "Finish" to finish installing Scribus.
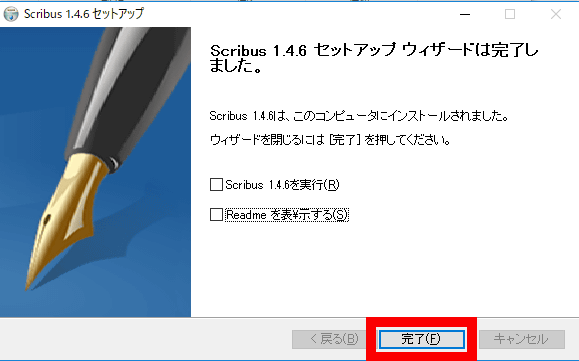
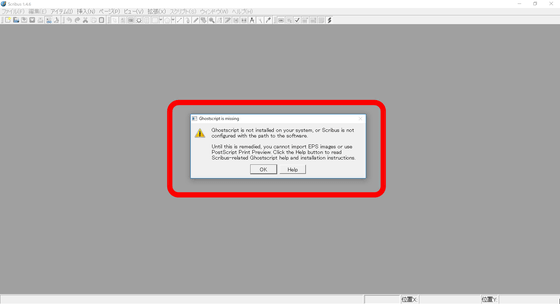
However, if this is the case, an error will be displayed even if you start Scribus.
◆ Installing Ghostscript
In order to use Scribus you need to install interpreter software "Ghostscript". First download from the following link.
Ghostscript: Ghostscript Downloads
https://www.ghostscript.com/download/gsdnld.html
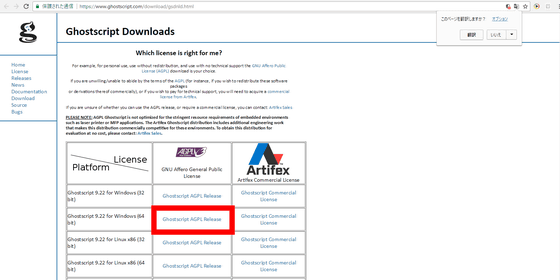
Right-click "Ghostscript AGPL Release" next to "Ghostscript 9.22 for Windows (64 bit)" and save the file to any place such as the desktop.
Launch the downloaded installer
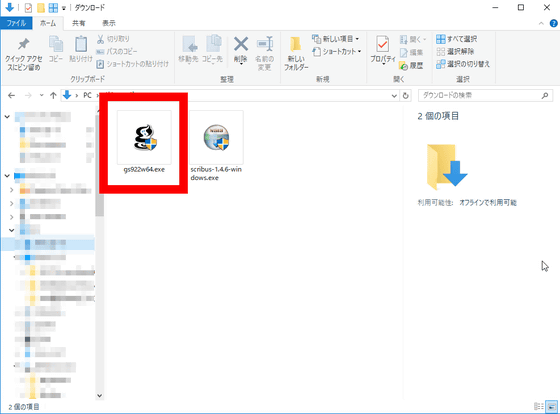
Click "Next" when the setup wizard opens
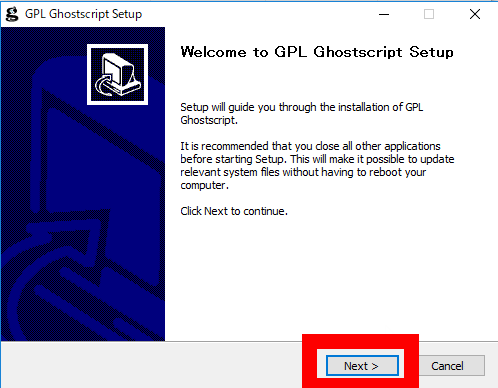
Click "I Agree"
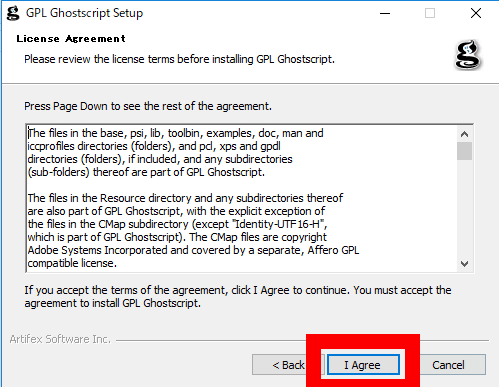
Click "Install"
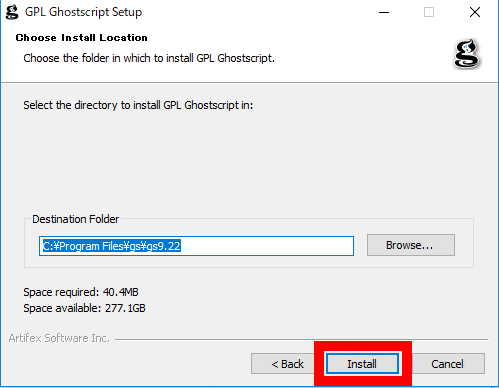
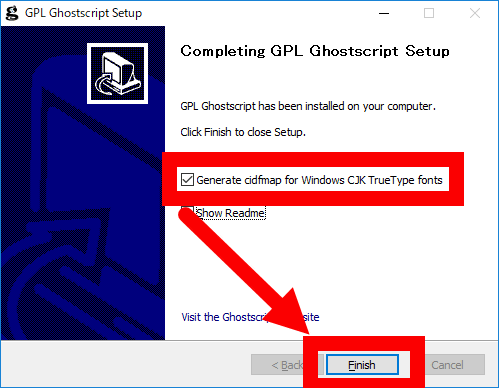
When installation is completed, check "Generate cidfmap for Windows CJK True Type fonts", click "Finish", and close the window.
◆ Starting Scribus
If you reinstall Scribus after installing Ghostscript, no error is displayed and the setting screen of "New Document" is displayed.
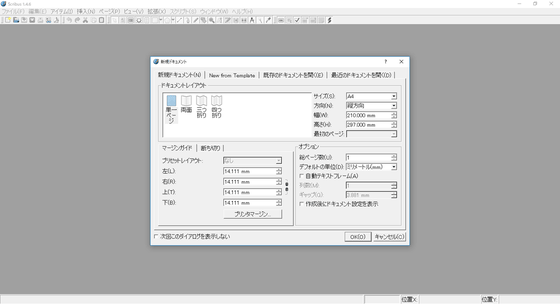
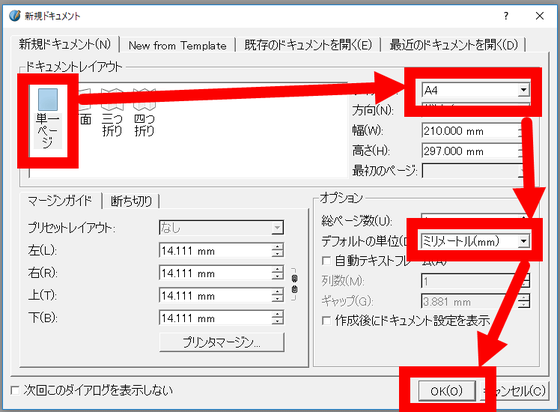
Select "Single Page" from the document layout, change the paper size to "A4", default unit to "mm", and click "OK".
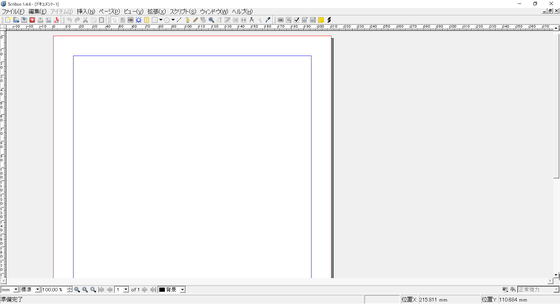
A blank page was born. From here, we will start editing work.
◆ I tried basic editing
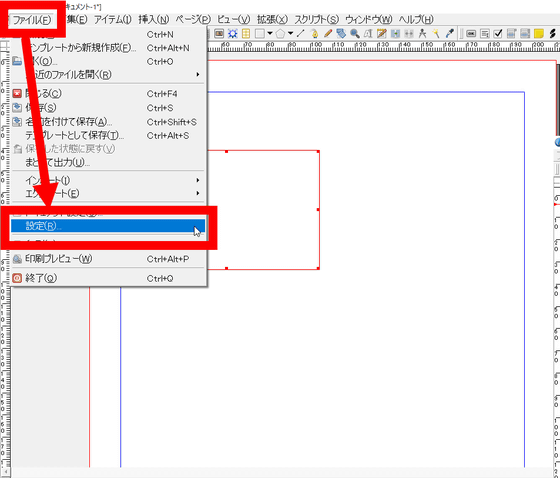
As a basic editing work, I tried to input a document, insert an image, draw a figure. First, we will set the language. Select "Settings" from "File" on the menu bar.
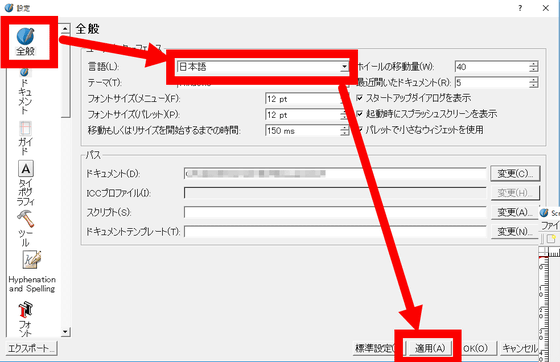
On the "General" tab, set the "language" field to "Japanese" and click "Apply".
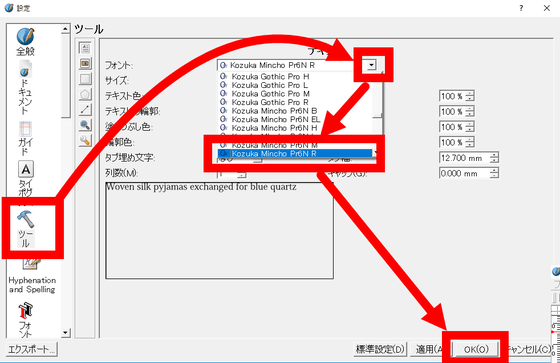
Next, select the basic font from the "Tools" setting page. In this case, you can input Japanese by setting the font to Japanese font, so select "Kozuka Mincho Pr 6 N R" here and click "OK" to complete setting.
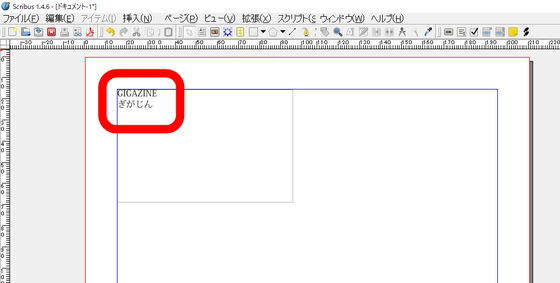
You can now enter Japanese.
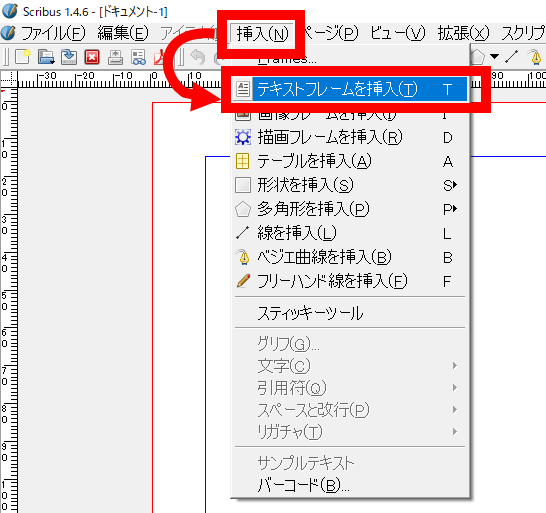
You can create a text frame for entering a document from "Insert Text Frame" in the menu bar "Insert".
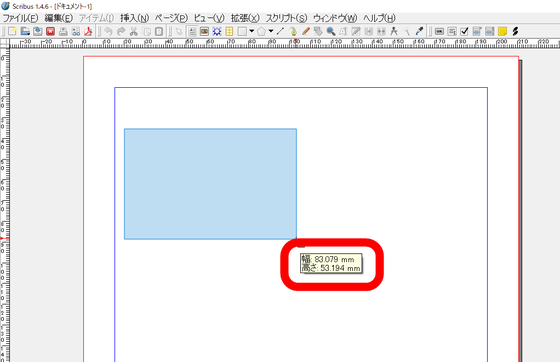
Click and drag to create a frame of the desired size. At this time, it is very convenient to display the width and height of the text frame in millimeters at the bottom right.
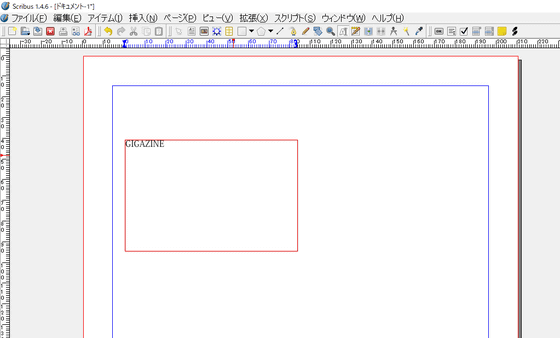
By clicking on the text frame you created you can directly enter the sentences.
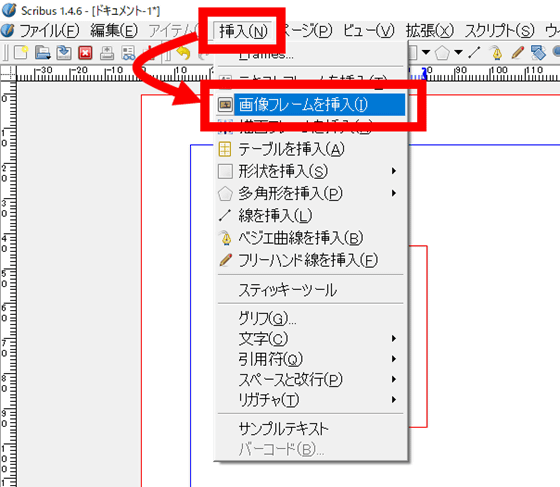
Next, arrange the canvas for inserting the image from "Insert image frame" in the menu bar "Insert".
In the placed image frame, an X mark is displayed. As with text frames, the size can be freely set.
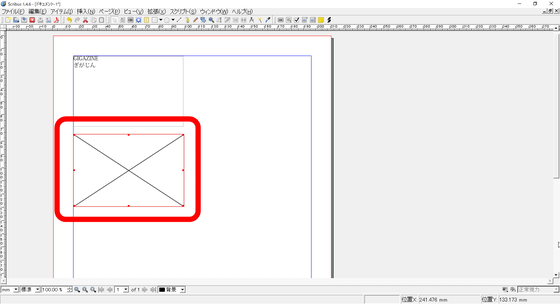
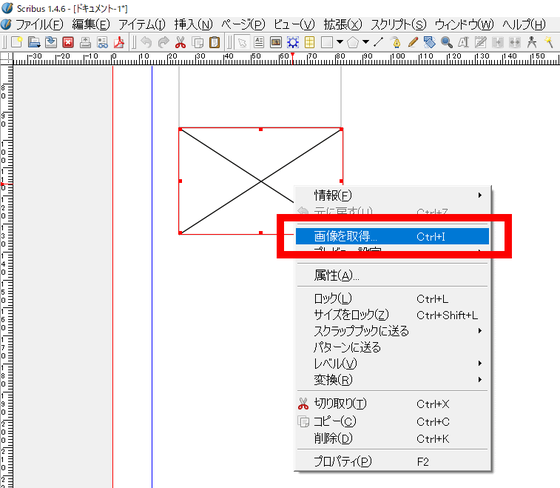
Select an image frame, right click and select "Get images", you can insert an image folder from the PC.
The image was pasted in the frame.
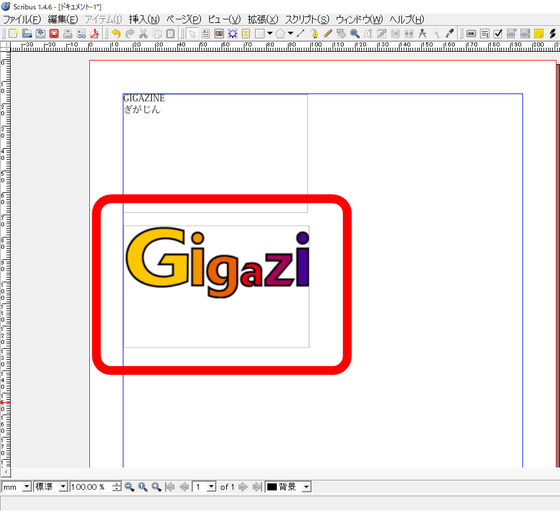
Since the frame is too small and the logo has run out, adjust the width of the frame manually.
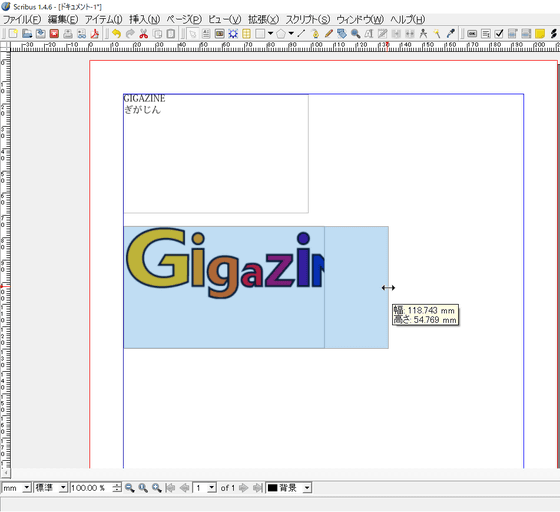
The whole logo is now entered.
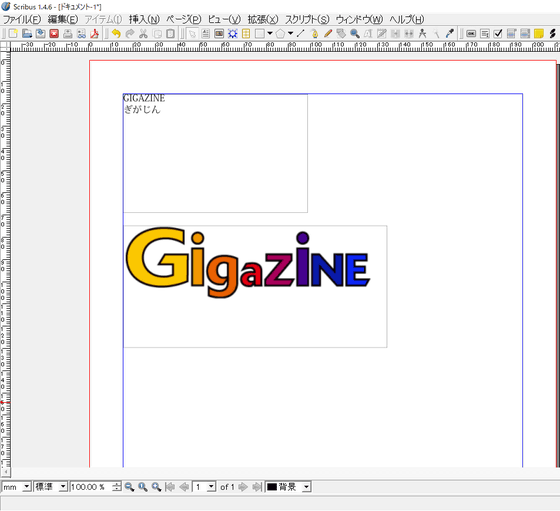
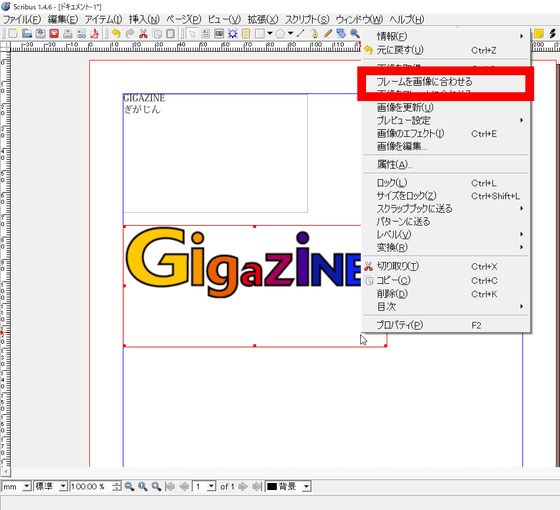
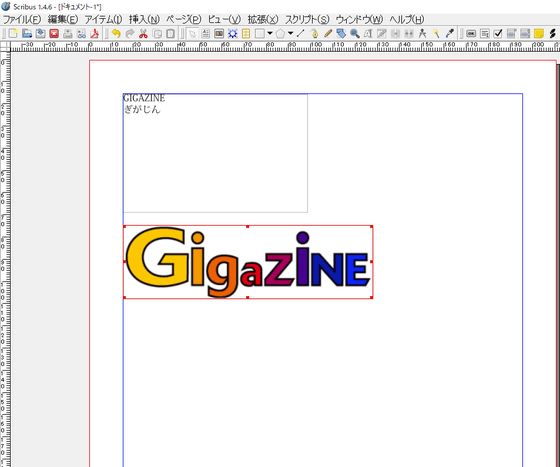
Image frame adjustment can be done automatically. Right-click on the frame and select "Fit frame to image" ... ...
The image frame has become perfect according to the size of the image.
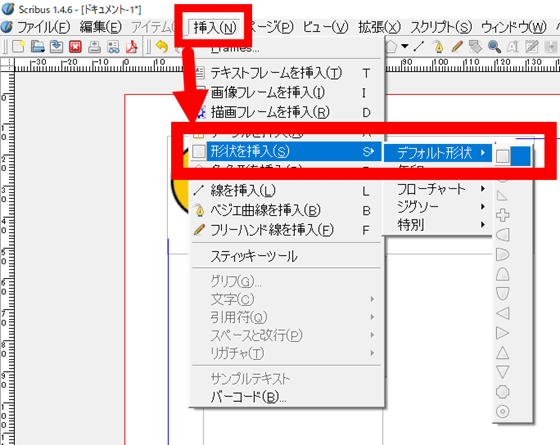
Geometries of various shapes can also be arranged. Select "Insert geometry" from "Insert" in the menu bar. Here we draw a rectangle from the default shape.
The size can be changed by dragging as well as text frames and the like.
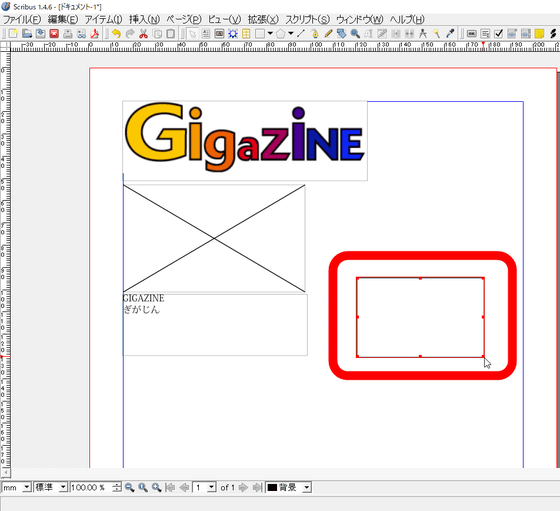
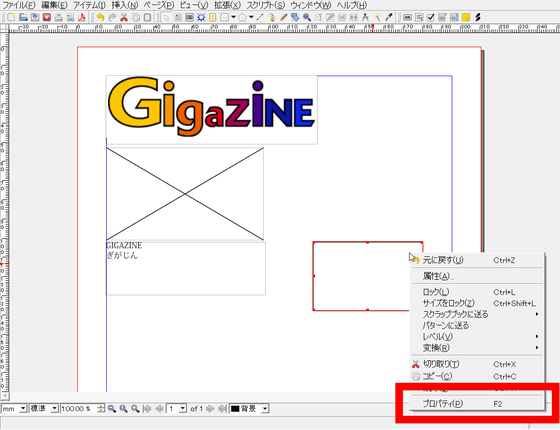
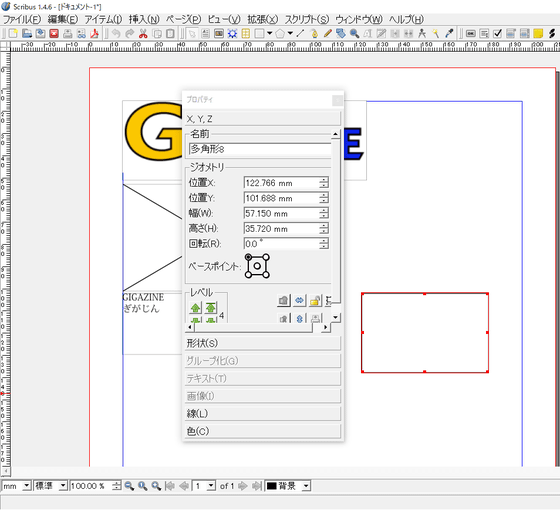
To edit a shape, right click on "Properties" or press F2 on the keyboard to open the window.
Since the "Property" window can do most of editing documents and figures, it will be done here if you want to tweak it in detail.
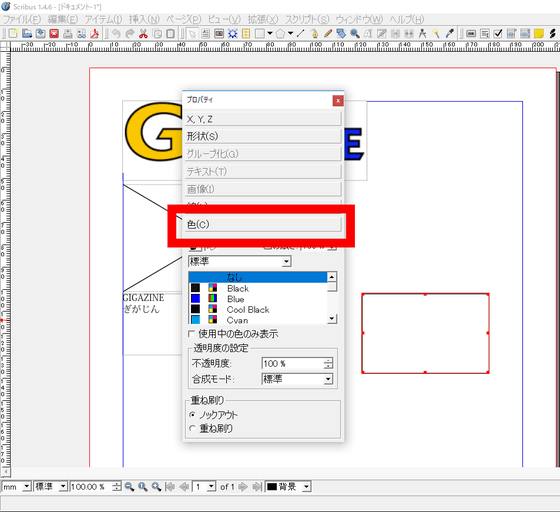
Click the "Color" tab in the Properties window to open the menu.
Click the fountain pen icon "Edit line color properties".
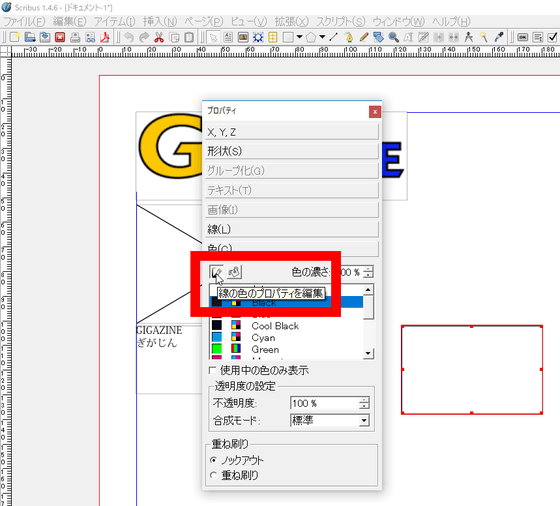
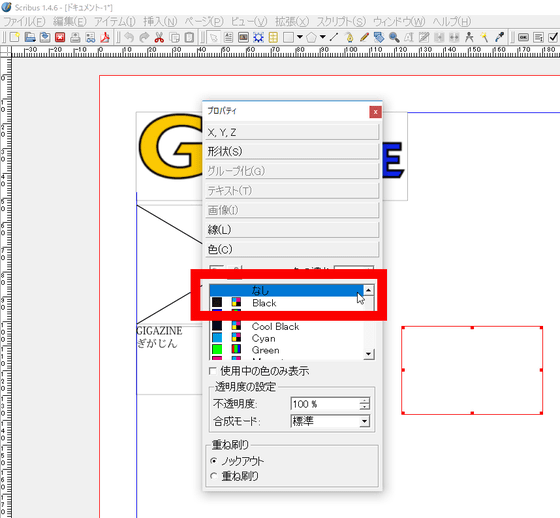
Select "None" for the line color.
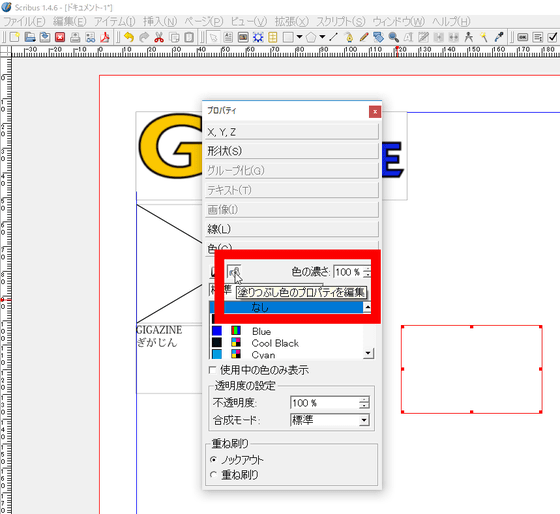
Next, click the bucket icon "Edit Fill Color Properties" to expand the color palette.
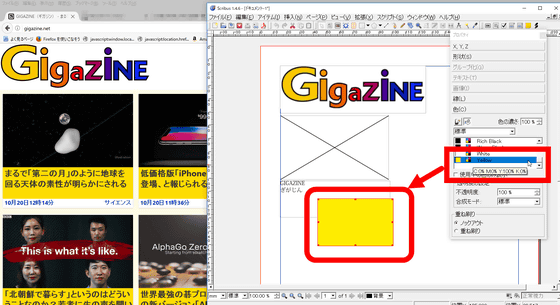
Here, in order to reproduce GIGAZINE style design, change color to "Yellow". The created figure got dyed yellow.
To change the "stacking order" for each object, select "level" from right click. Move the yellow rectangle to "Back to the back", you can make it a beautiful background.
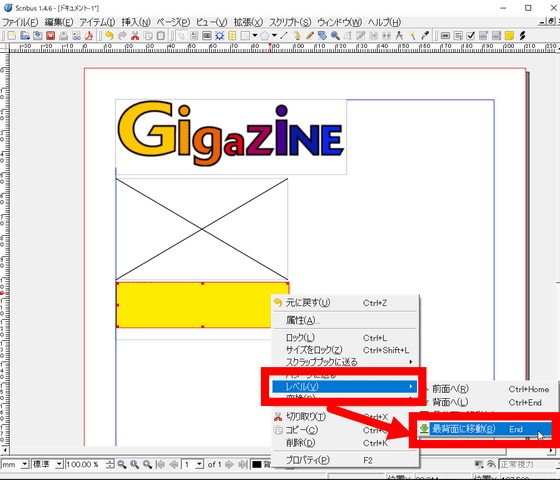
When creating a layout design making full use of the operation so far, I found a useful function unique to DTP software. Copy the object and drag it to the side ... ...
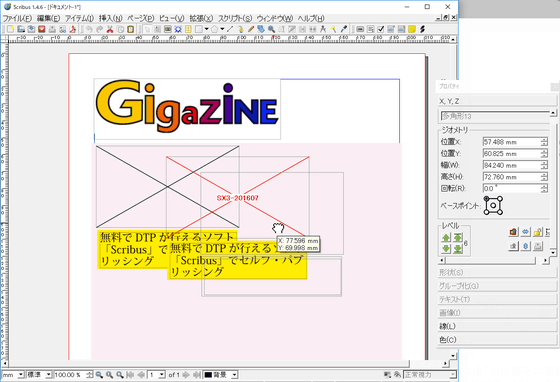
Since I would like to keep it clean, check the "position X" and "position Y" of the object on the left side from "Property".
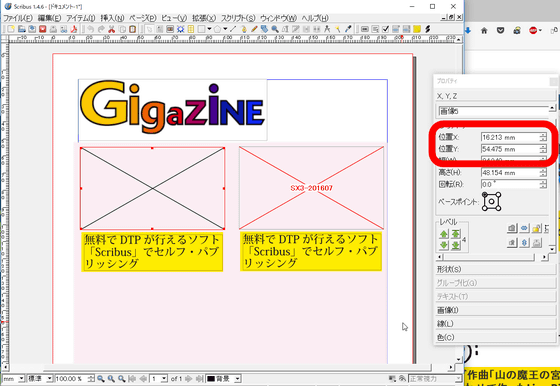
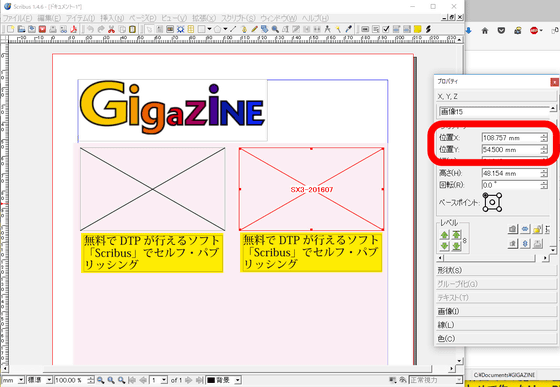
"Position Y" which is the vertical axis was slightly misaligned. You can arrange it cleanly by copying and pasting the numbers here.
You can also change the text color from "Properties". Select "Color and Effect" from the "Text" tab and select a color from the color palette.
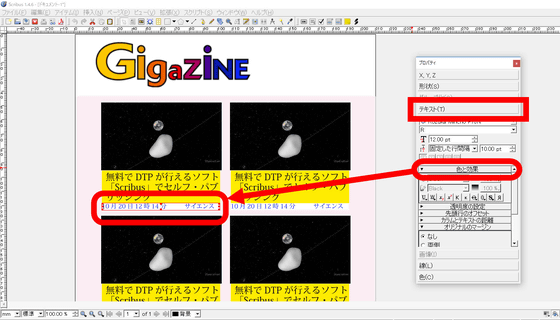
You can freely design your books with editing and ideas with properties, just by inserting text frames, image frames, shapes, and just three basic operations.
◆ Operation of Master Page
As an advantage of using DTP software for layout design, the largest is "Master pageIt can be said that existence of. The master page is like a word processor "Fudder" or "Header", but as far as the title and the number of pages are entered in the footer / header, the master page can operate the whole design in its entirety I will. First, click "master page" from "Edit" menu bar.
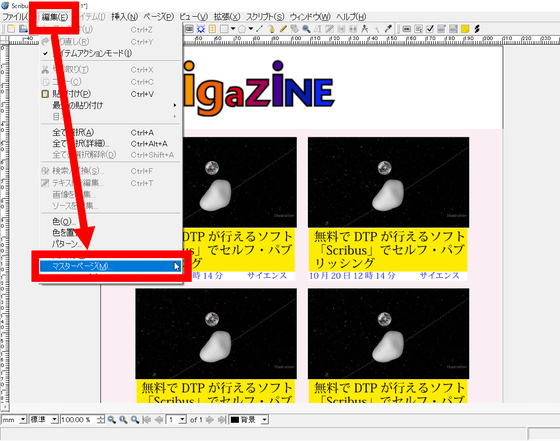
A blank page and a small window were displayed.
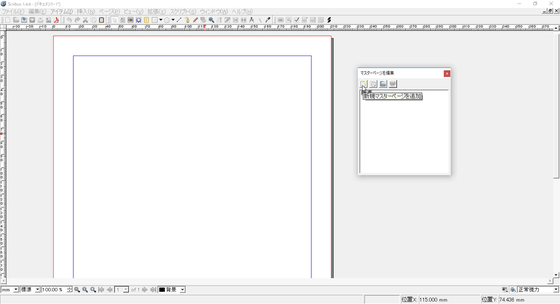
Click "Add New Master Page" from the top left of the window.
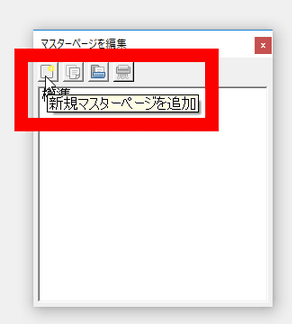
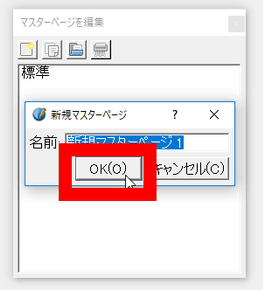
Name it "New master page 1" and click "OK".
After placing the basic layout design on the blank page, press the "Close" button on the window to return to the main page.
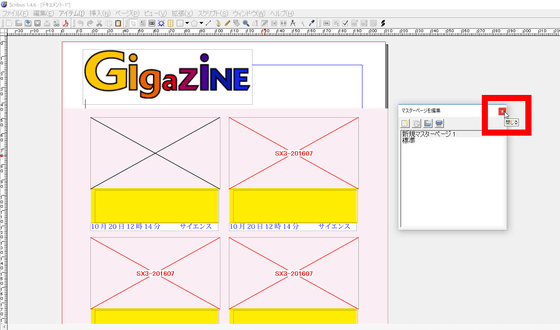
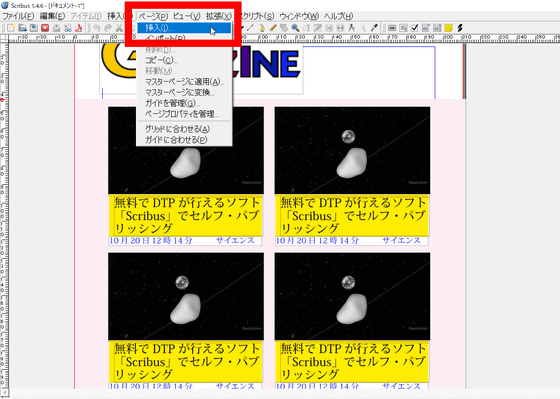
There is no change in the original page by this alone. Click "Insert" from the menu bar "Page".
The "Insert page" window opens, so we will add a new page of 5 pages.
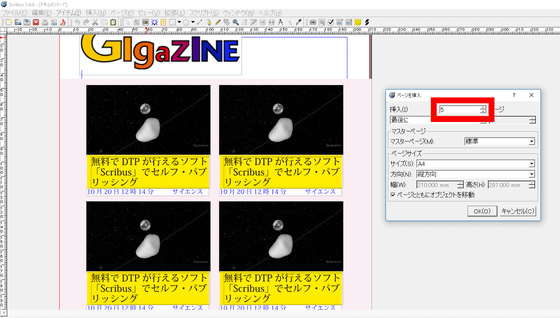
Select "New Master Page 1" created earlier from the "Master Page" in the middle of the window and complete the page addition with "OK".
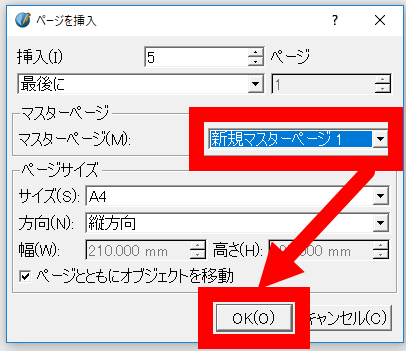
On the page newly added at the bottom of the page, the design of the master page is displayed as it is.
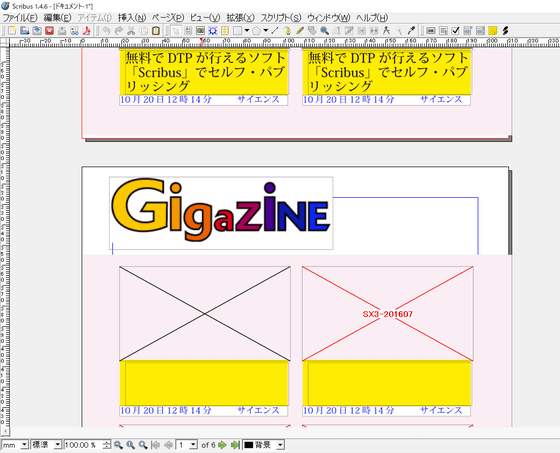
It is similar up to the bottom of the page. As a result, master page operation is indispensable when you want to do the same design over multiple pages. Also, since the application of the master page can be selected like "even page only" or "odd page only", if the book spreads right page is this design, spread facing left page is another design, It is convenient.
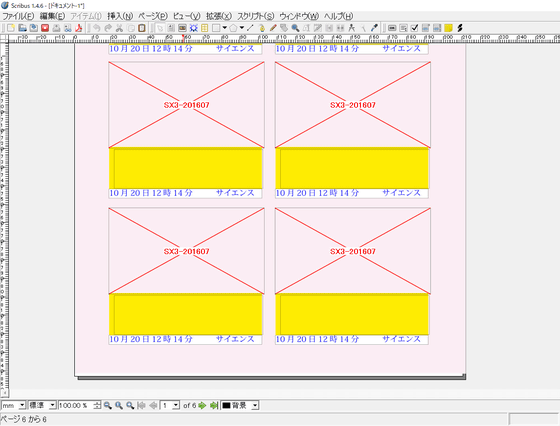
Objects placed on the master page can not be manipulated at all on the body page and can only be used as a background. For that reason, it is slightly inconvenient to create an empty text frame / image frame on the master page and insert the contents of each in the body page, but as a guide of "place the frame here" It is useful to be able to use.
◆ Exporting edited pages
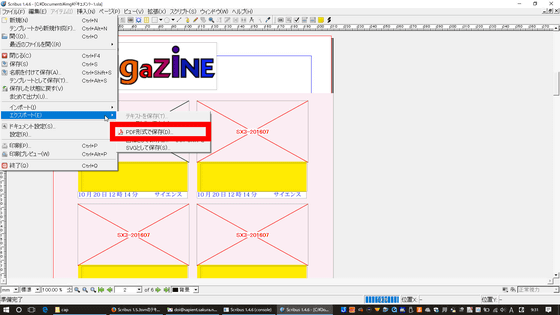
From the "Export" menu of the "File" menu bar, you can export the created book design to a PDF file. When uploading to a printing office, PDF is often used, so if you export it you can also do bookbinding.
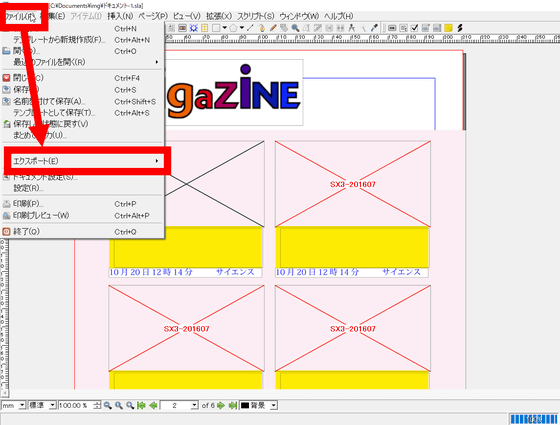
Click "Save as PDF" from "Export".
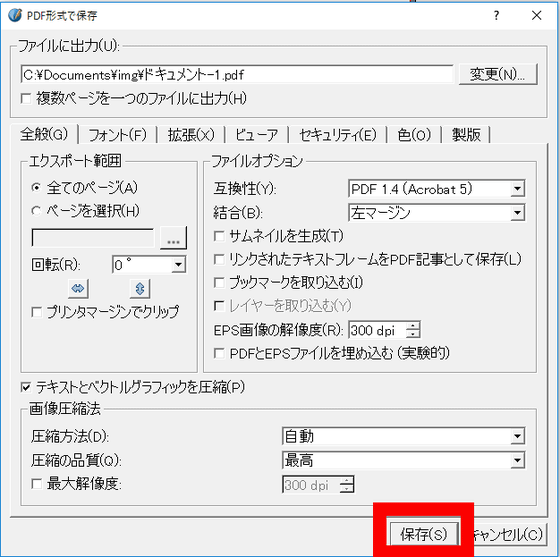
Click "Save" to complete the export.
Although "Scribus" has parts that are hard to understand, there is no problem as a book design, it is not enough to purchase paid items, but I would like to do DTP! Perfect for those who say. Since it is not possible to manipulate the object placed on the master page with the body page, it takes much work if you want to insert several texts / images, but if you use it to create a simple flier or a copy of about 20 pages "Scribus" should show more than enough performance.
Related Posts:
