How to use NS in groupware with Synology's DSM and use calendar · chat · memo · mail · spreadsheet etc. Conclusion
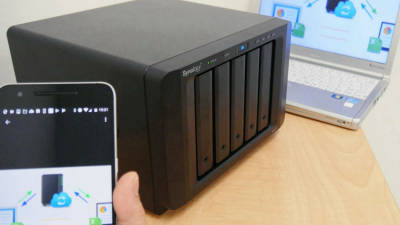
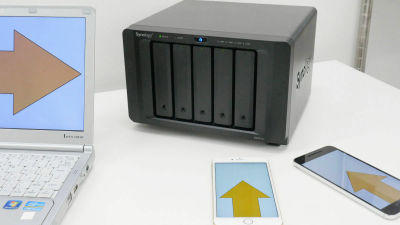
In order to make more effective use of NAS "DS1517 +" that can mount 5 HDDs, we will not only share files as NAS but try to be able to use it as a tool that can be used on various teams.
◆ Using the calendar function
With the calendar function you can create a calendar that you can share with team members and specific members. Also, iPhone and macOS calendar ·ThunderbirdYou can also synchronize.

· Setting up "Calendar"
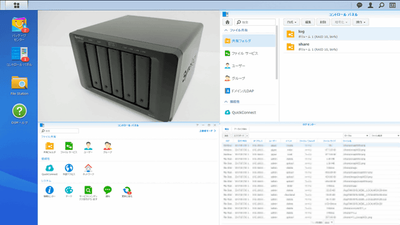
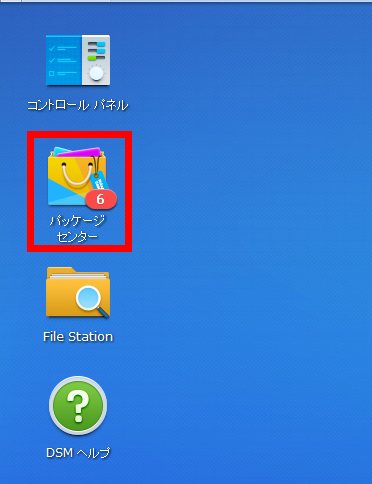
Log in to "DSM" with administrator account and click "Package Center" to open it.
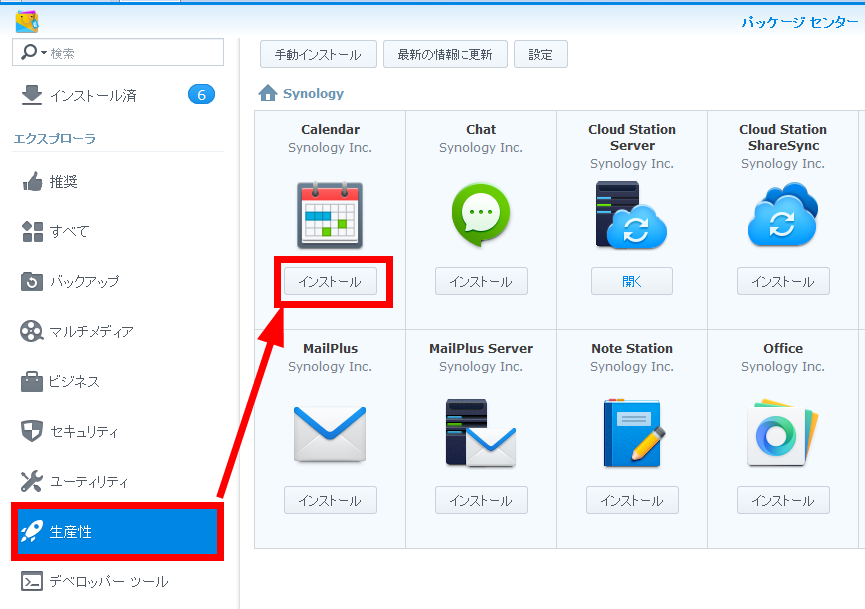
Click "Productivity" in "Explorer" on the left side, and click "Install" button under "Calendar" on the right side to install.
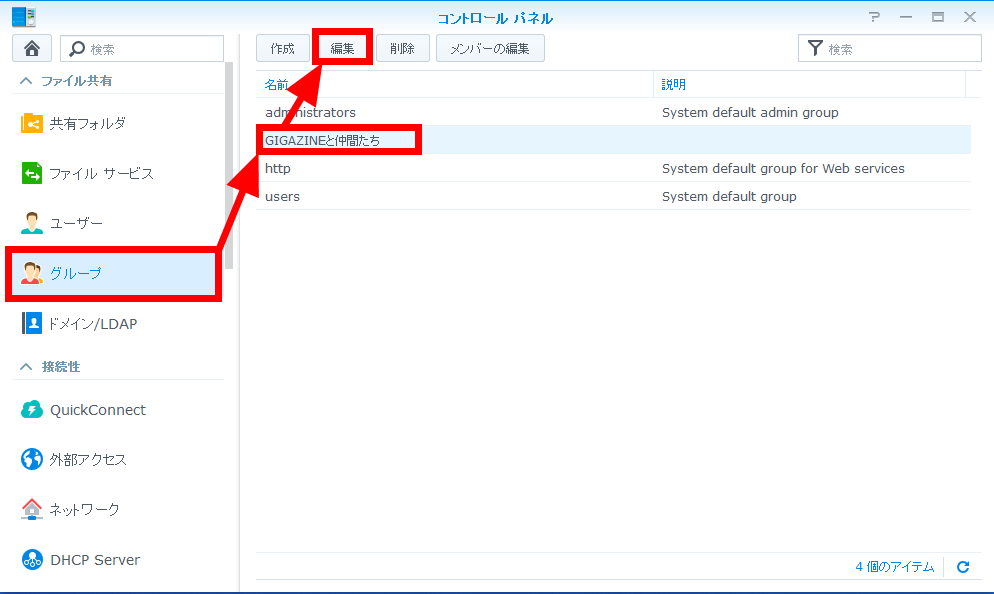
Open "Control Panel", click the group, select "GIGAZINE and Friends", and click the "Edit" button.
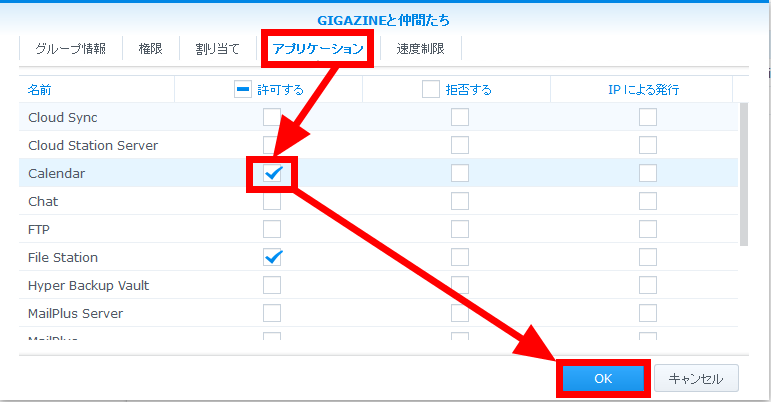
Click the application tab, check "Allow" in "Calendar", and click "OK". This is the installation and configuration of "Calendar" done by the administrator.
· Use "Calendar"
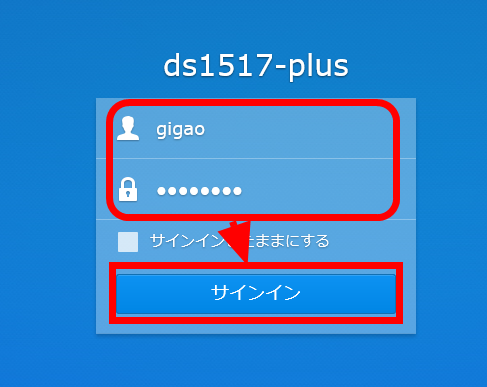
Log in to DSM with gigao.
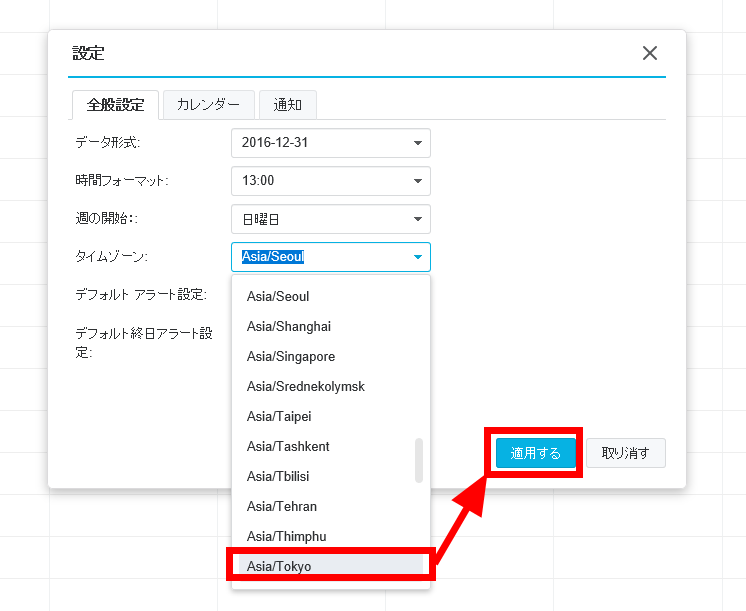
Click the mark on the left gear to open the "Calendar" setting screen.

As the calendar time zone defaults to "Asia / Seoul", change to "Asia / Tokyo" and click "Apply".
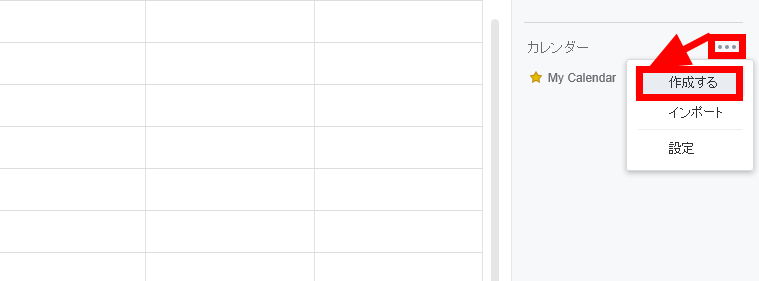
Click "..." on the right side of "Calendar" and click "Create".
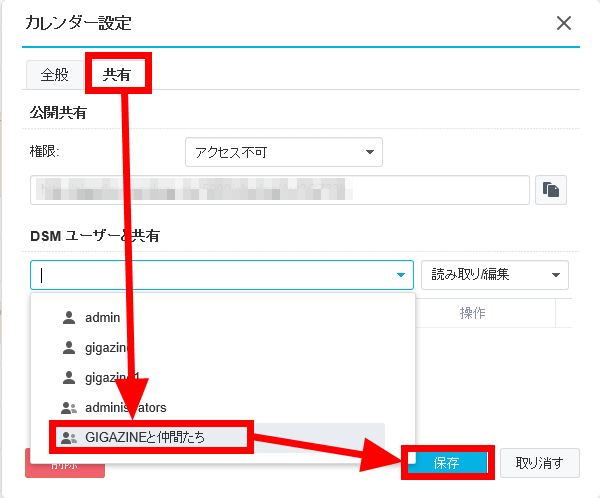
Set "Team Calendar" as the name of "General" tab and click "Sharing" tab.
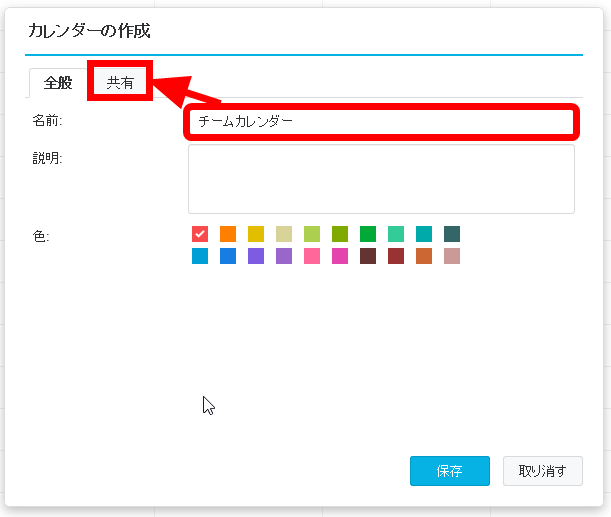
In "Share with DSM users" click "GIGAZINE and friends" and click "Save". Now you can create a calendar that can be shared by teams of users belonging to the same group.
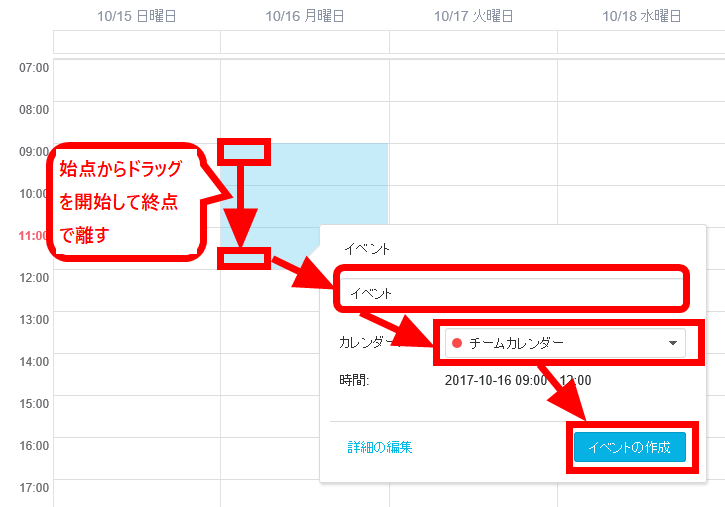
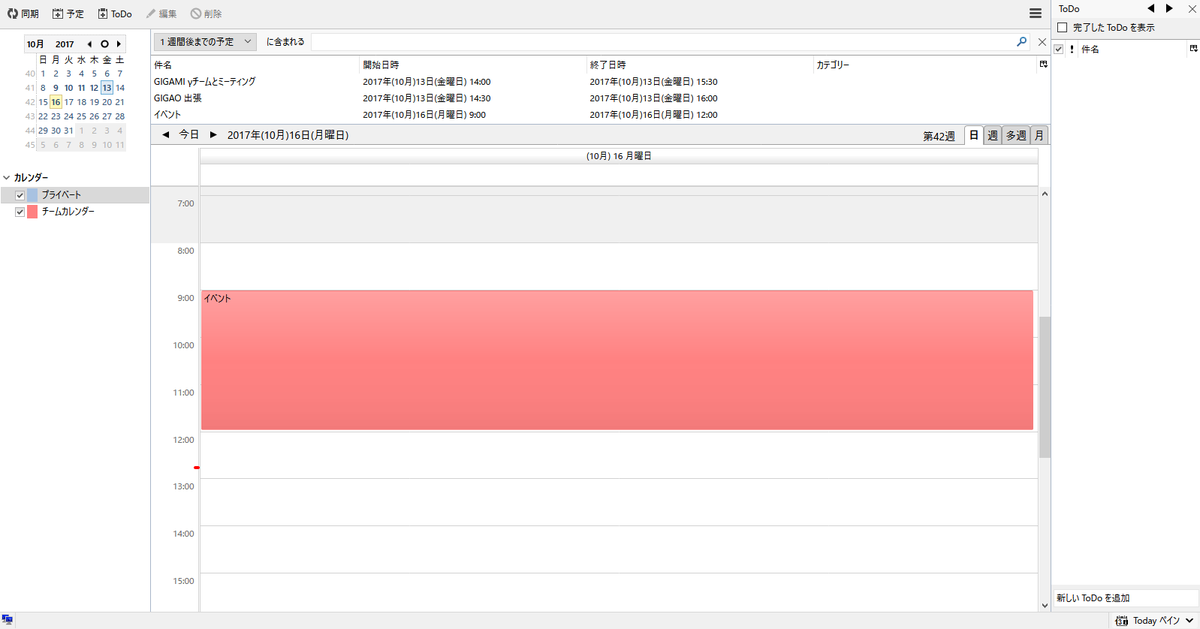
I actually try to register the calendar. Dragging the time you want to specify in the calendar opens the event setting screen. Set "Event" as the event name, select "Team Calendar" as the calendar, and click "Create Event".
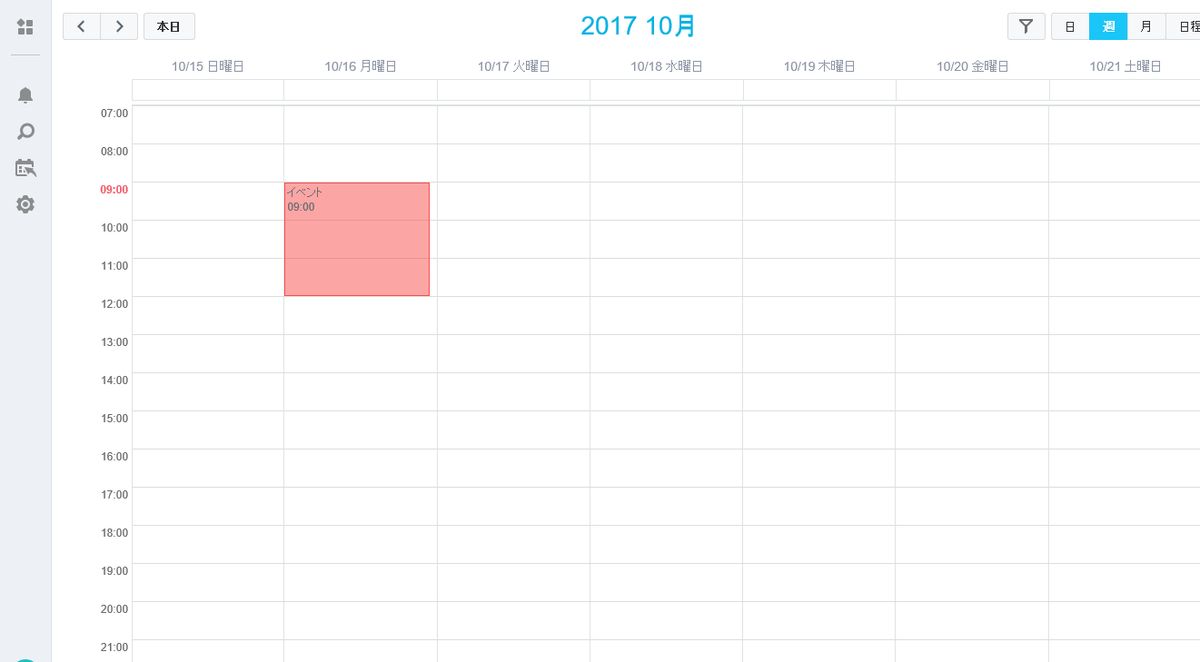
The schedule was registered.
· Use "Calendar" on iPhone
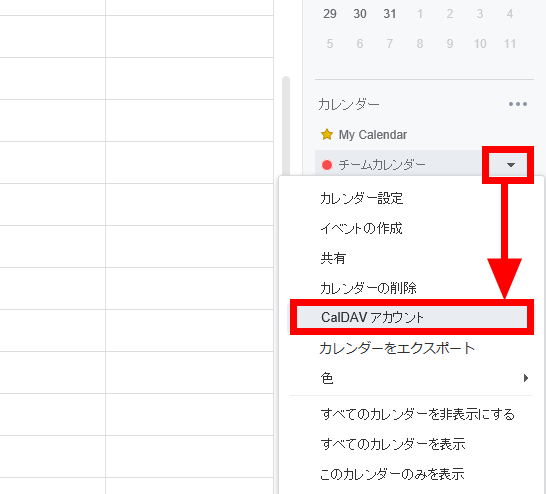
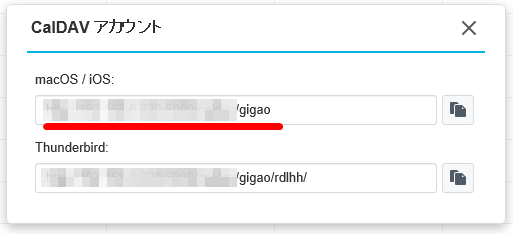
You can display / change "Team Calendar" created on iPhone. First, click the triangle on the right side of "Team Calendar" and click "CalDAV Account".
In order to synchronize with the iPhone, write down the address of "macOS / iOS".
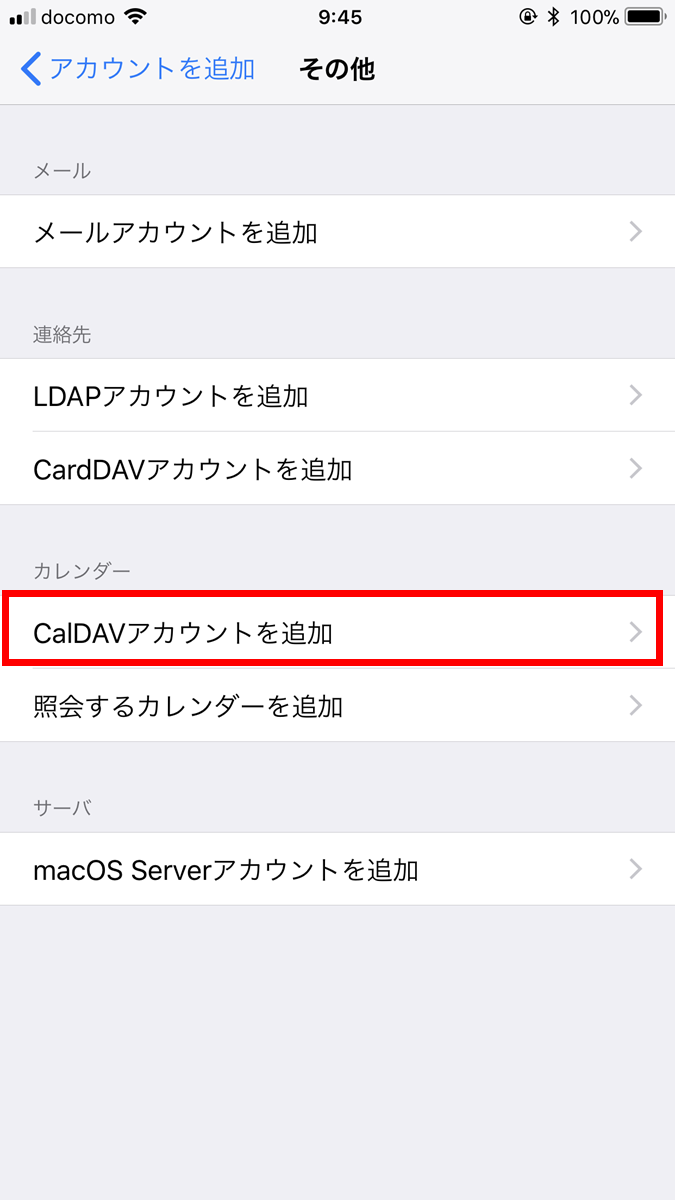
From here, I will set up a CalDAV account using iPhone. Tap "Settings" to "Account and password", "Add account" and "Other".

Tap "Add CalDAV account".
In Server name, enter the server name and user ID / password displayed as "Calendar" before then tap "Next". When entering the server name, the same server name is set in "Description".
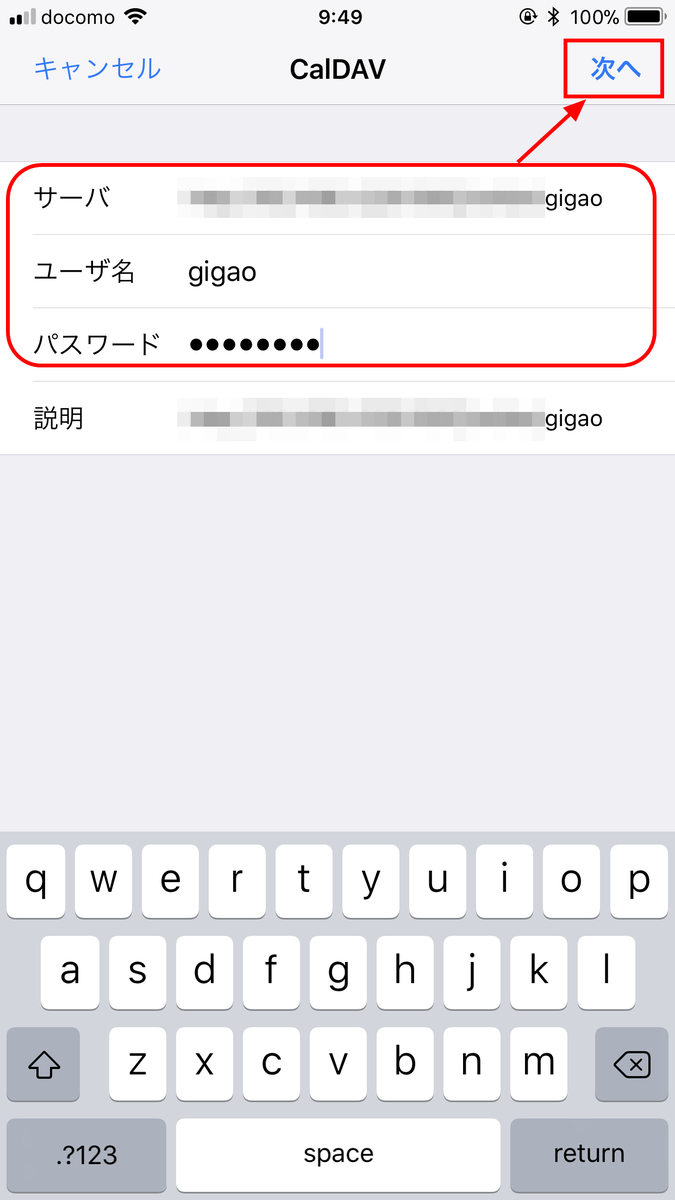
Tap "Save".

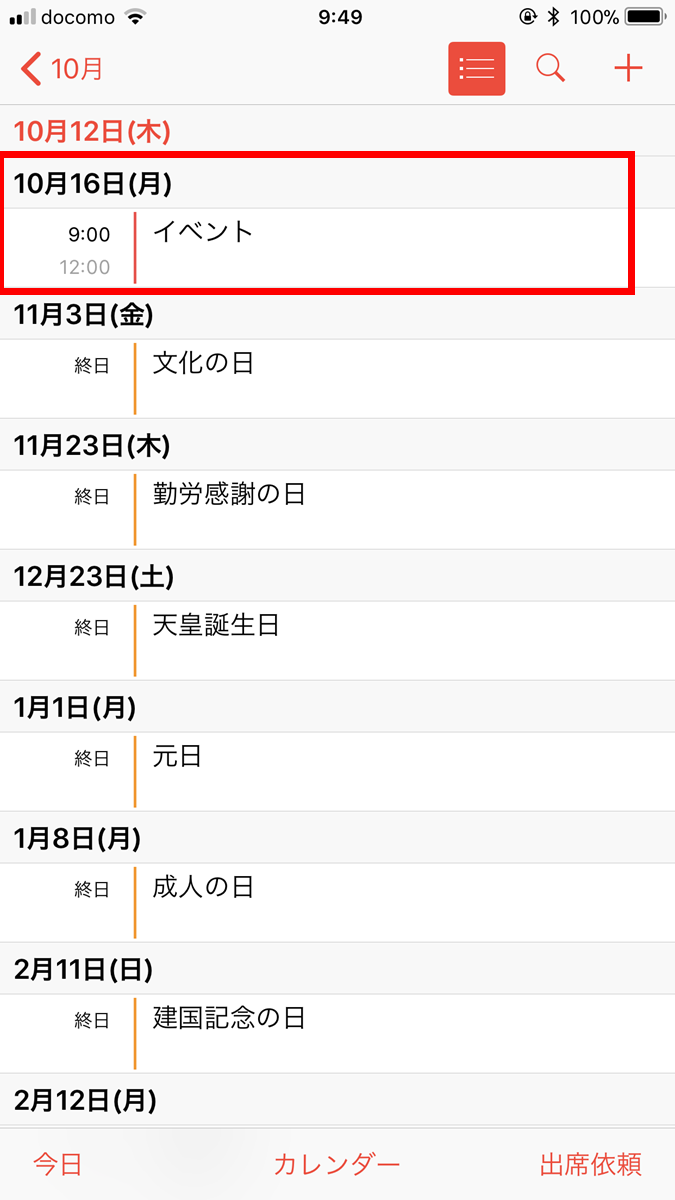
When you open the calendar application on iPhone, the schedule of "team calendar" set in DSM earlier will be displayed.
· Use "Calendar" with Thunderbird
We will be able to display / change "Team Calendar" in Thunderbird. Click the triangle on the right side of "Team Calendar" and click "CalDAV Account".
In order to synchronize with Thunderbird, write down the address of "Thunderbird".

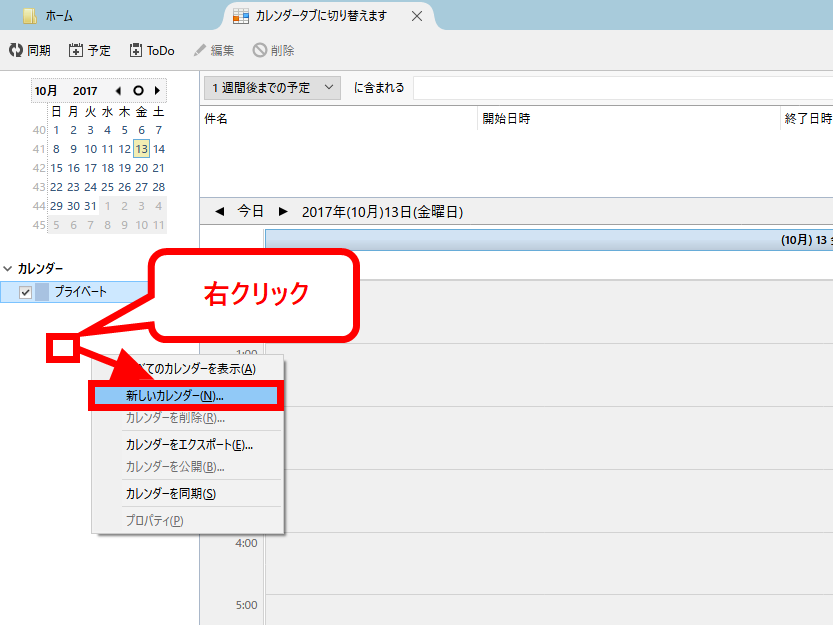
Open "Calendar" with Thunderbird, right click on the calendar column and click "New Calendar".
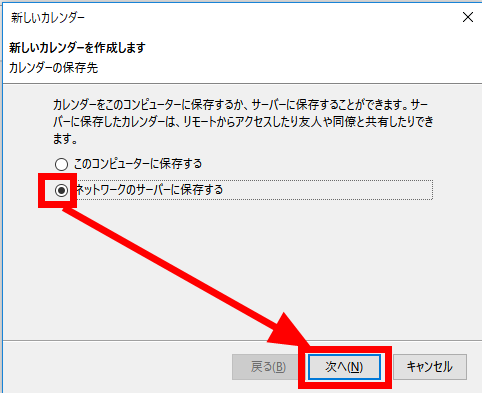
Select "Save to network server" and click "Next" button.
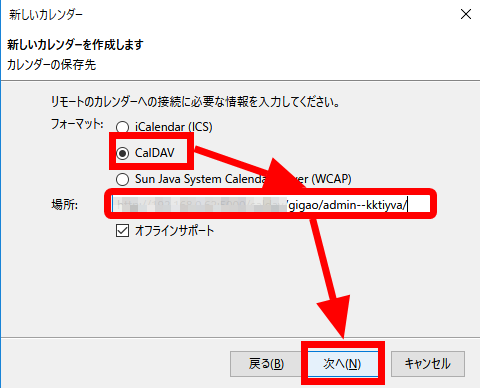
Please select "CalDAV" in format, enter "Thunderbird's address" confirmed earlier in the place, and click "Next" button.
Enter the calendar name, select the calendar color, and click the "Next" button.

Enter the user name and password, click "OK" button, then click "Finish" button.
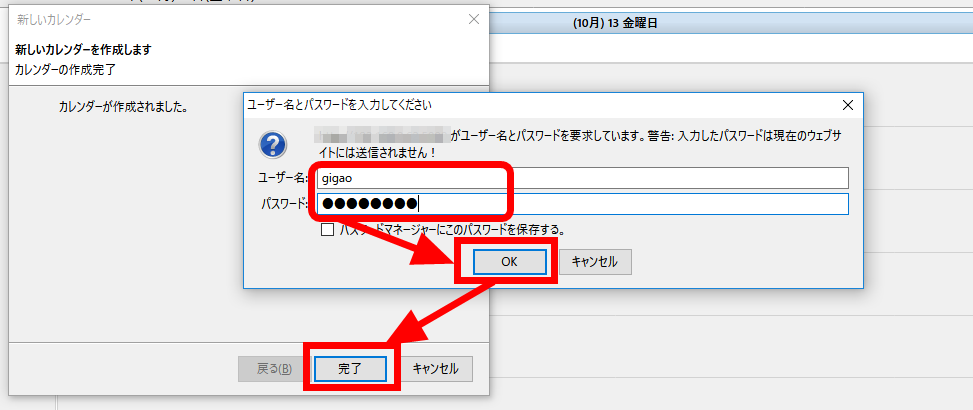
I was able to display "team calendar" at Thunderbird.
◆ Try using the chat function.
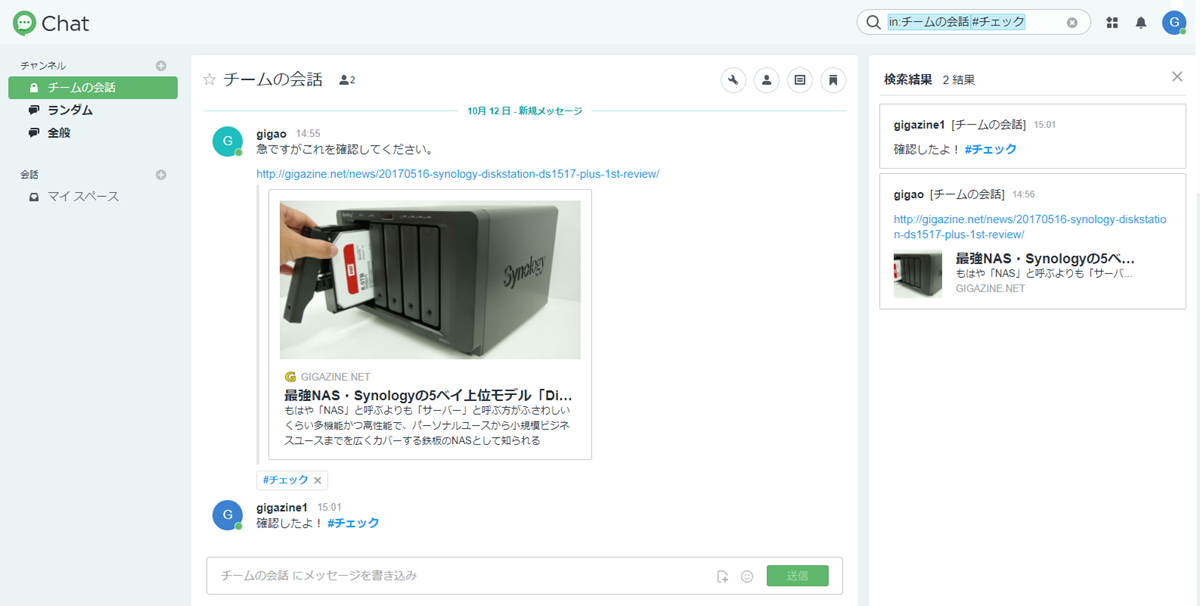
Synology's chat function can send files as well as message interactions within teams and specific members. Also, if you send the URL as a message, there is also a function that displays simple content without accessing the URL. The transmitted message includes "hashtagBecause you can attach, you can quickly find important messages because you can display a list of tagged messages by clicking or searching hash tags even after long conversations.
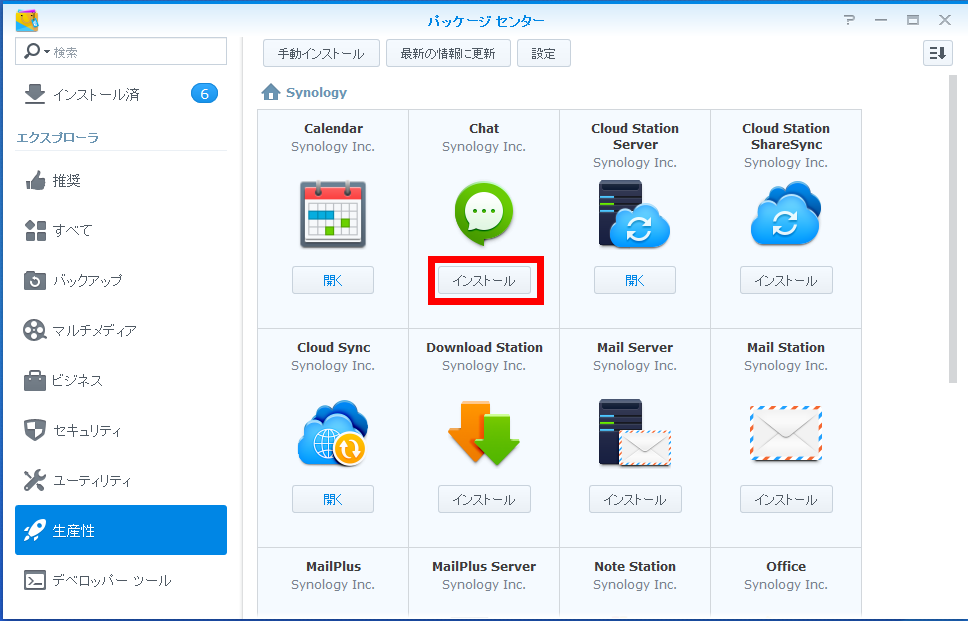
Set up "chat" function. Log in to "DSM" as an administrator account, open it by clicking "Package Center", click "Productivity" in "Explorer" on the left side, and click on "ChatClick on the "Install" button below to install.
Open "Control Panel", click the group, select "GIGAZINE and Friends", and click the "Edit" button.
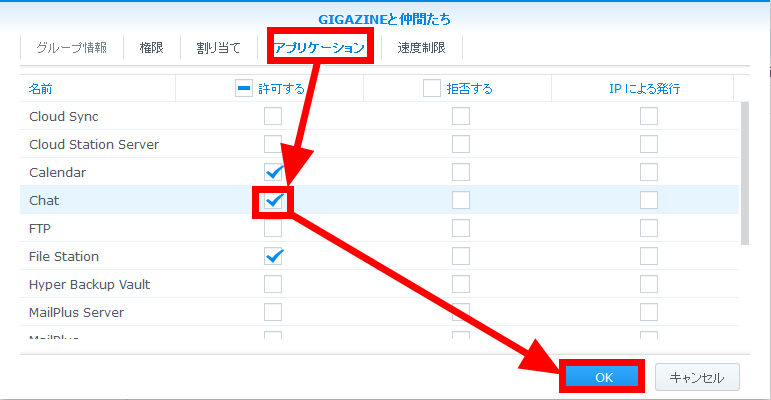
Open the tab of the application, check "Allow" in "Chat", and click "OK". This is the installation and configuration of "Chat" done by the administrator.
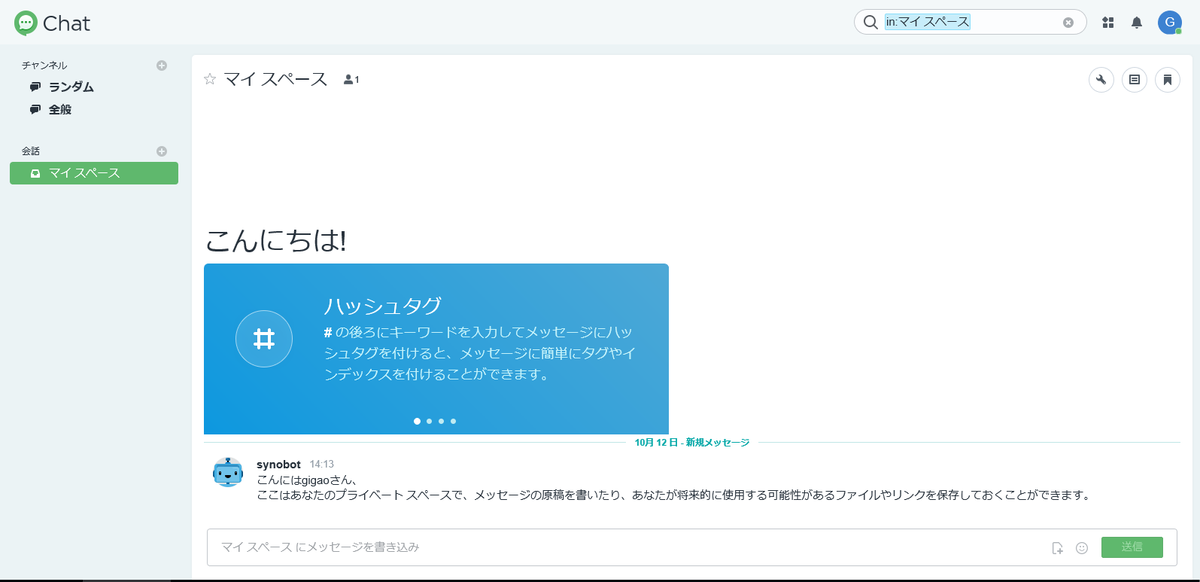
Log in to DSM with gigao and start "Chat". By launching "Chat", there are default "random" and "general" channels and "chat space" for "My Space". "Random", "General" is where all users who can use Chat are automatically registered, and sending a message here will be sent to all users. Also, "My Space" is a space for personal use and it can be used for writing notes etc.
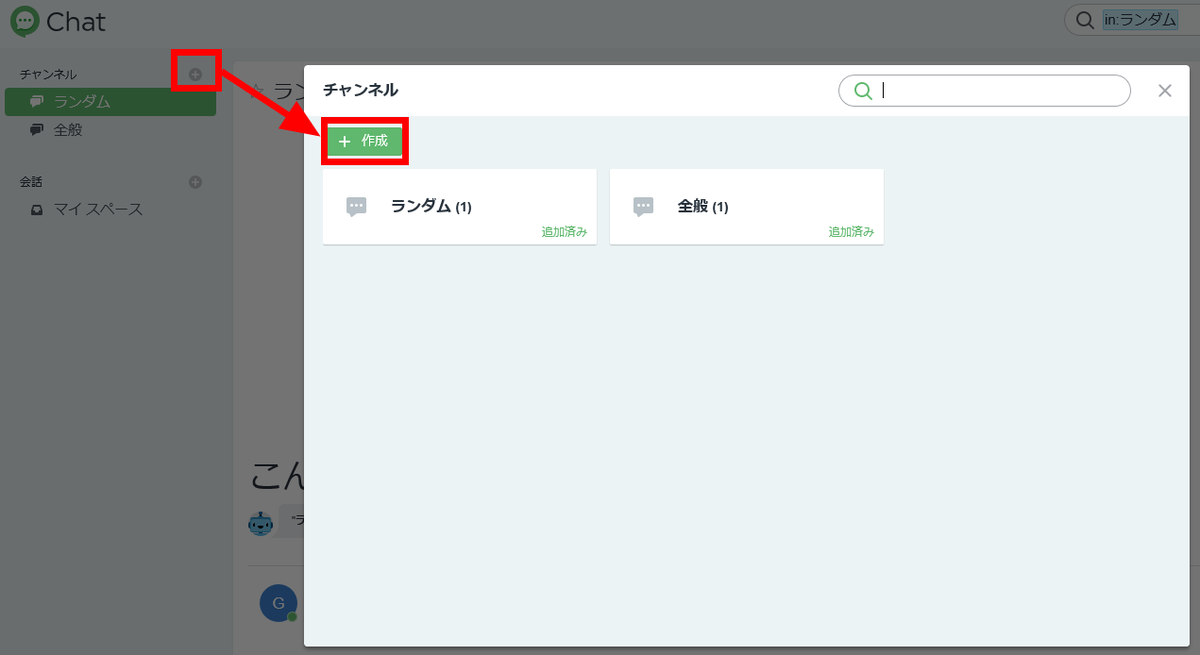
Create a chat space for the team Click the "+" button to the right of "Channel" and click the "Create" button.
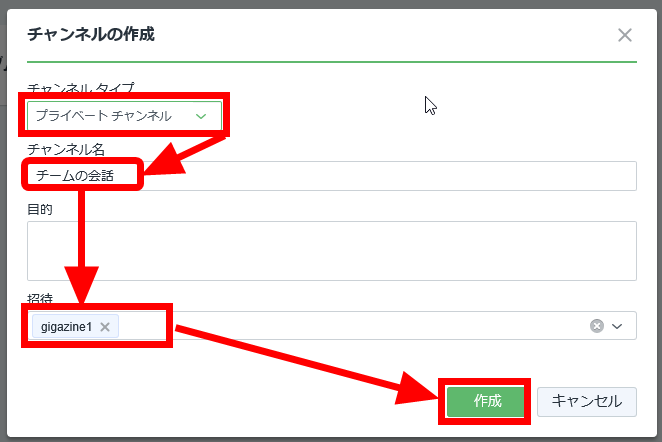
"Channel type" can be selected for "public channel" for all users and "private channel" for specific users, but since you create a team chat space, set "private channel". In "Channel name", select the name of the chat space and the user you want to invite to "Invite" and click the "Create" button. Now you can create a conversation space for the team.
◆ Try using the memo function.
With the "memo" function of DSM, you can manage the contents of "web page" and text as a memo. You can also attach an attachment to the text.

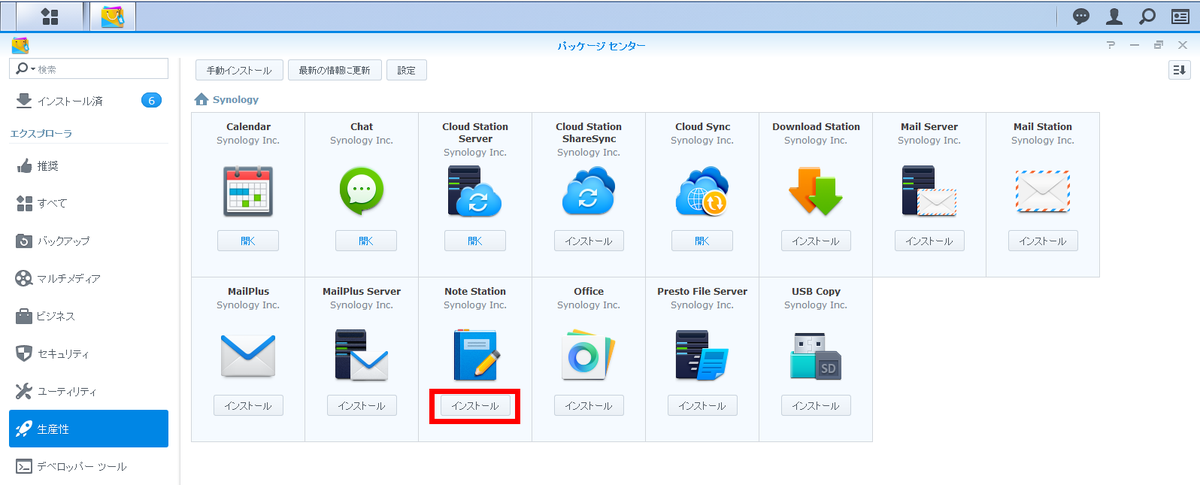
Set up the "memo" function. Log in to "DSM" as an administrator account, open it by clicking "Package Center", click "Productivity" in "Explorer" on the left side, and click on "Note StationClick on the "Install" button below to install.
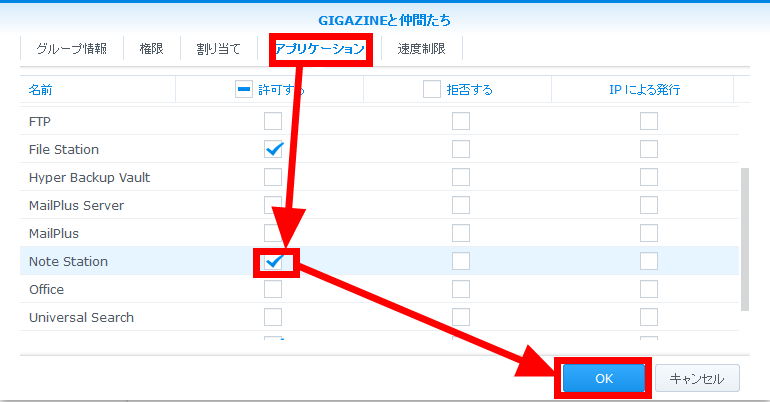
Open "Control Panel", click the group, select "GIGAZINE and Friends", and click the "Edit" button.
Open the application tab, check "Allow" in "Note Station", and click "OK". This is the installation and setting of "Note Station" done by the administrator.
· Automatically save page screenshot to NAS
To take a screenshot of a page, it is convenient to use "Synology Web Clipper" which is an add-on using Chrome.Google ChromeInstall, and "Synology Web ClipperInstall the add-on.
Synology Web Clipper - Chrome Web Store
https://chrome.google.com/webstore/detail/synology-web-clipper/pcfbfimijgibligmbglggnbiobgjgmbk?hl=ja
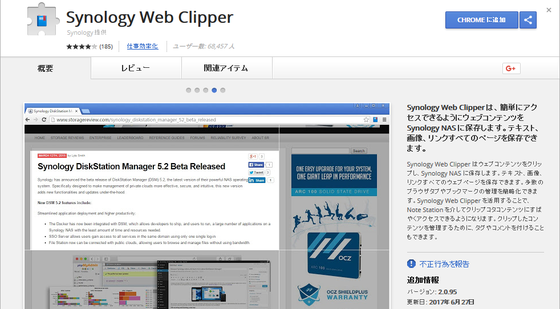
When "Synology Web Clipper" is installed, an icon will appear in the upper right corner of Chrome. Click the icon, enter the DSM "Quick Connect ID" or "IP address" in the top entry field, "user ID" (gigao in this case) as the user name, "user password" in the password, Click the Login button to log in to the Note Station of DSM. Check the HTTPS only when it is set to connect to DSM only by HTTPS.

You can take screenshots at any time after logging in. First, access the web page you want to take a screenshot and click on the "Synology Web Clipper" icon. Set the type of screenshot you want to shoot, save the shot shot you shot, and click the Save button to save the screenshot to the NAS. Also, if you enable "Quick Capture Mode", save the settings here and just click on the "Synology Web Clipper" icon for the next time and take the screenshot with the same setting.
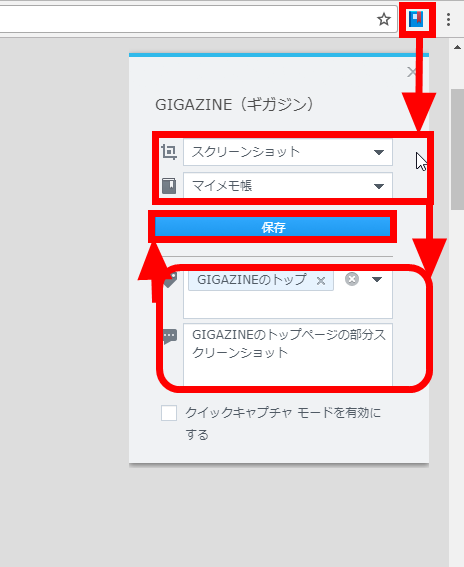
You can choose from 4 types of "Screenshots you want to shoot". If you specify "simplified content", you can convert the contents of the web page into a simple display and save it.
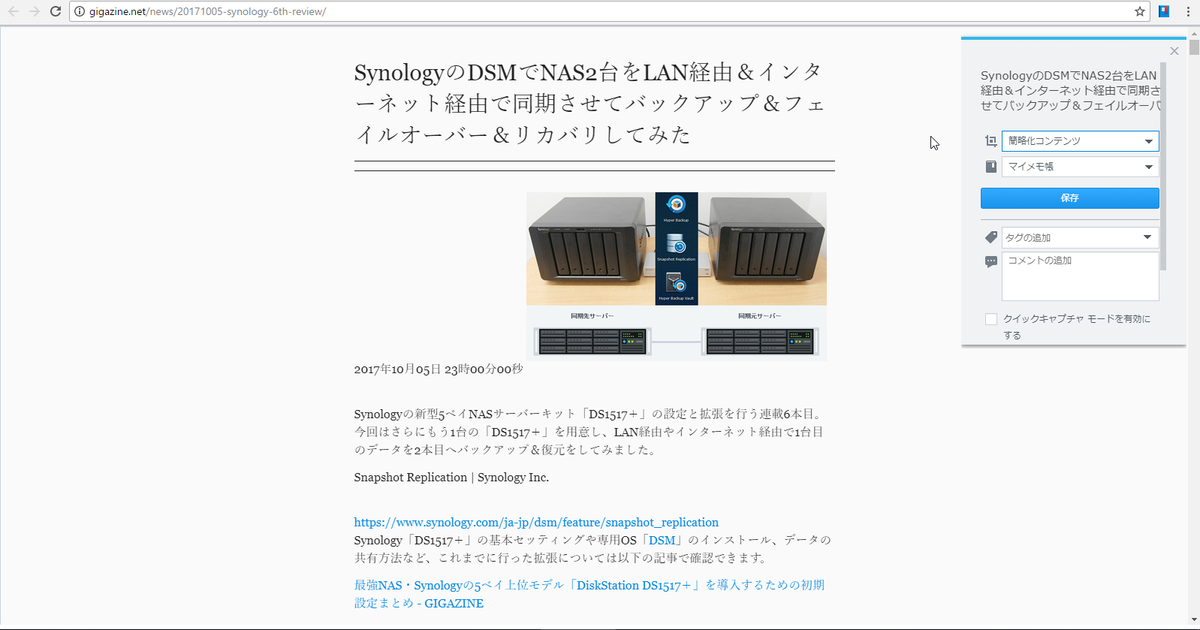
Specify "full content", you can save the web page as it is.

Specifying "Screenshot of entire page" enables you to save the entire Web page being displayed as an image.

By specifying "Screenshot" you can save the specified range of the displayed web page as an image.

"Simplified content" and "full content" are forms that preserve the web page as it is, so you can edit the contents of the screen shot later using "Note Station". Since "Screenshot of whole page" and "Screenshot" saves the Web page as an image, you can not edit the contents of the screen shot, but you can add comments before and after the image.

· Manage notes using Synology Note Station
To use "Note Station", DSM can handle it, but "Synology Note StationYou can use the same functions as DSM, so you will not have to log in to DSM. Also, it can be used even in the offline state, memos saved when offline are automatically saved in DSM "Note Station" when it comes online.
Synology Note Station - Chrome Web Store
https://chrome.google.com/webstore/detail/synology-note-station/cpfefcnbolgjjabocpajaplcgpniphdd?hl=ja
When you start "Synology Note Station" the login screen will be displayed. Enter "QuickConnect ID or DSM IP address" in the top item, "User ID" second, "Password" third, and click the "Login" button. Check the HTTPS only when it is set to connect to DSM only by HTTPS.

When you log in, the contents of the memo saved so far are displayed. Before logging in, I got a screen shot of the web page with "Synology Web Clipper", so the saved screen shot is displayed.

To add a note in "Synology Note Station", you can add "Name not set" by pressing "Create" button and edit it.

◆ Try using the mail function.
As a mail function in DSM, "Mail PlusThere is a Web mail client called "Mail". In "Mail Plus" you can also link the contents of mail with "Calendar", "Chat", "Note Station".
· Setting up "Mail Plus Server"
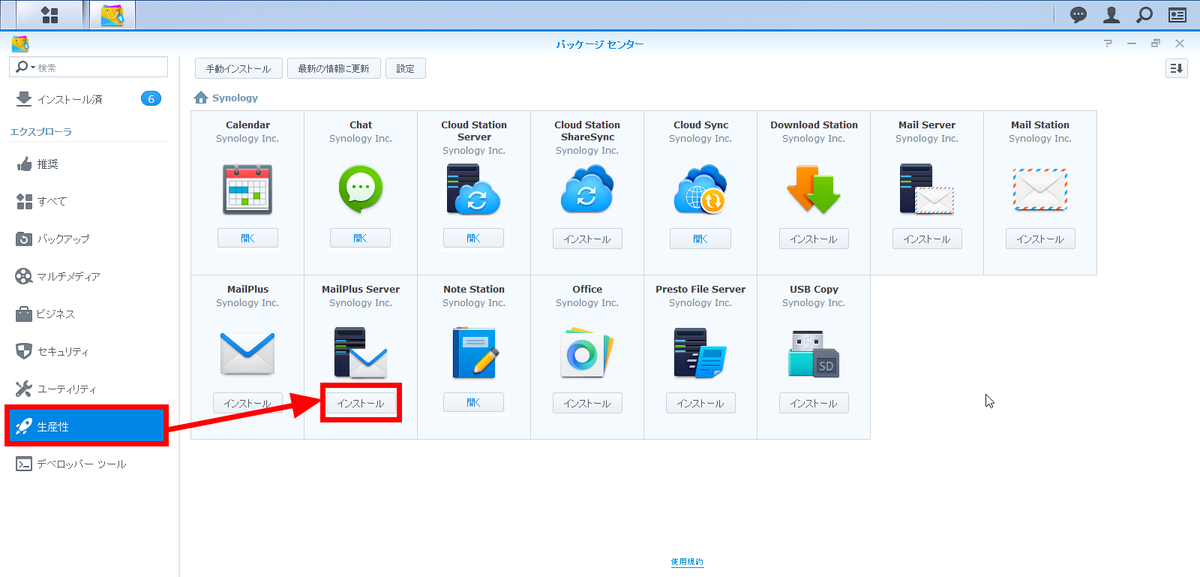
The mail function of DSM can not be used just by installing "Mail Plus". In order to use "Mail Plus", "Mail Plus Server" is required. Therefore, we first build a server for "Mail Plus" in DSM. Log in to DSM with administrator account, open "Package Center", click "Productivity" in "Explorer" on the left side, click "Install" button under "Mail Plus Server" on the right side, I will install it.
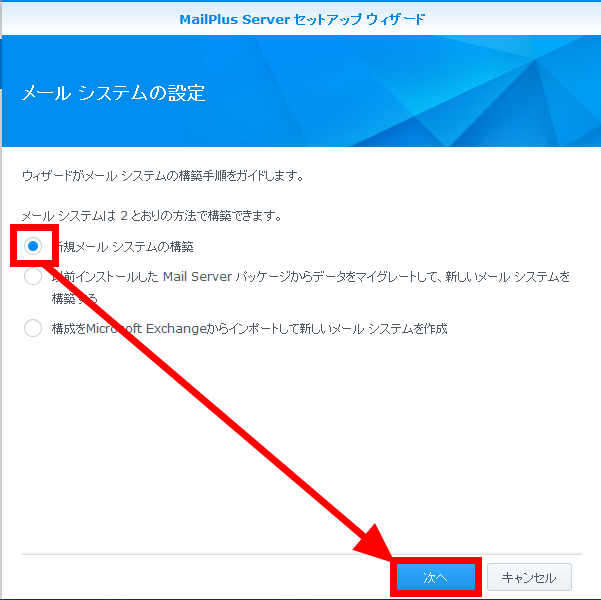
Select "Create a new mail system" and click "Next".
The SMTP setting screen will be displayed. Enter the domain name and host name of the mail address to be used for the test and click "Next".

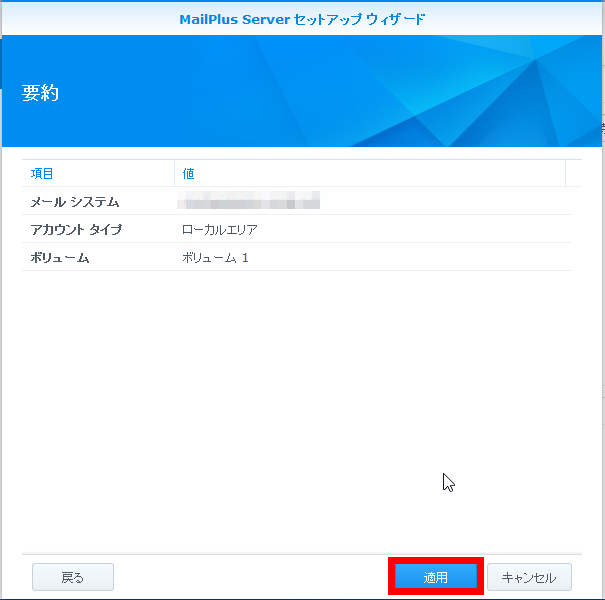
Click "Apply". After applying, "Mail Plus Server" setting screen will be displayed. In the environment of the editorial department, it is set as the environment for testing, so it will not be set any more.
· Setting up "Mail Plus"
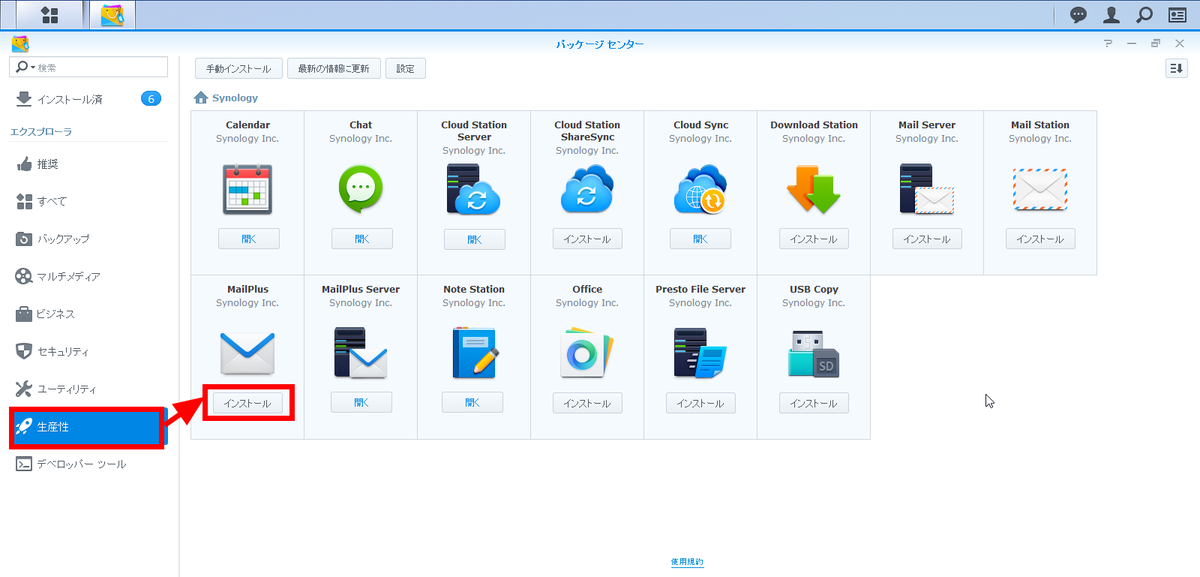
After setting up "Mail Plus Server", set up "Mail Plus". First login to DSM as an administrator, open "Package Center", click "Productivity" in "Explorer" on the left side, click "Install" button under "Mail Plus" on the right side, To do.
Open "Control Panel", click the group, select "GIGAZINE and Friends", and click the "Edit" button.
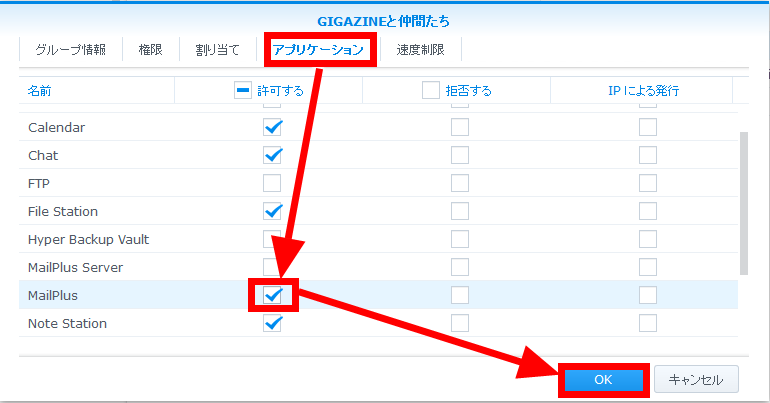
Open the application tab, check "Allow" in "Mail Plus", and click "OK". This is the installation and setting of "Mail Plus" done by the administrator.
· Use "Mail Plus"
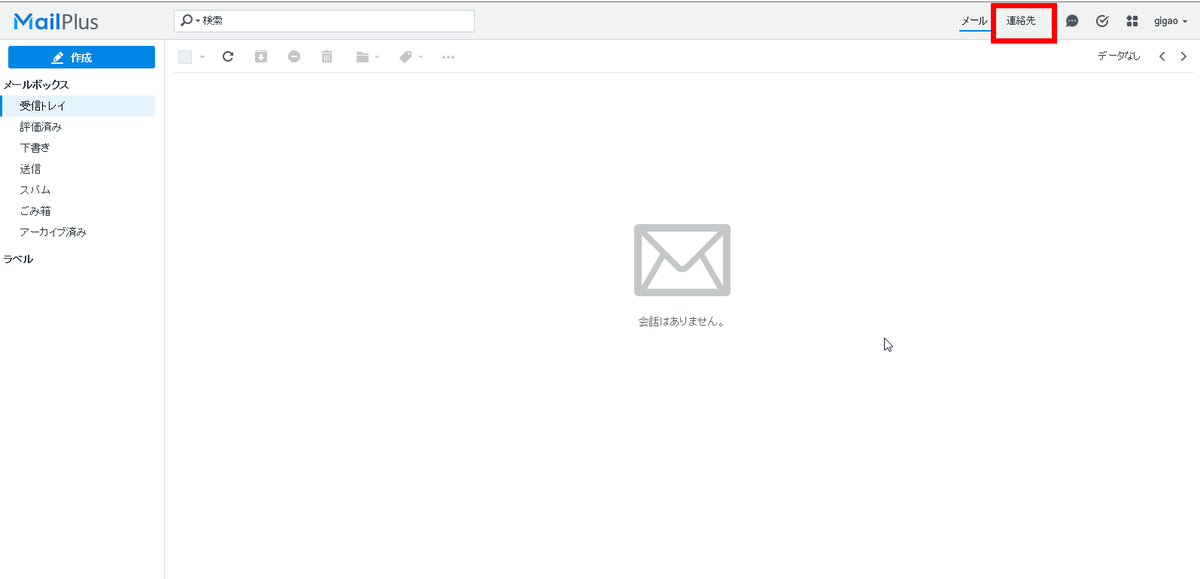
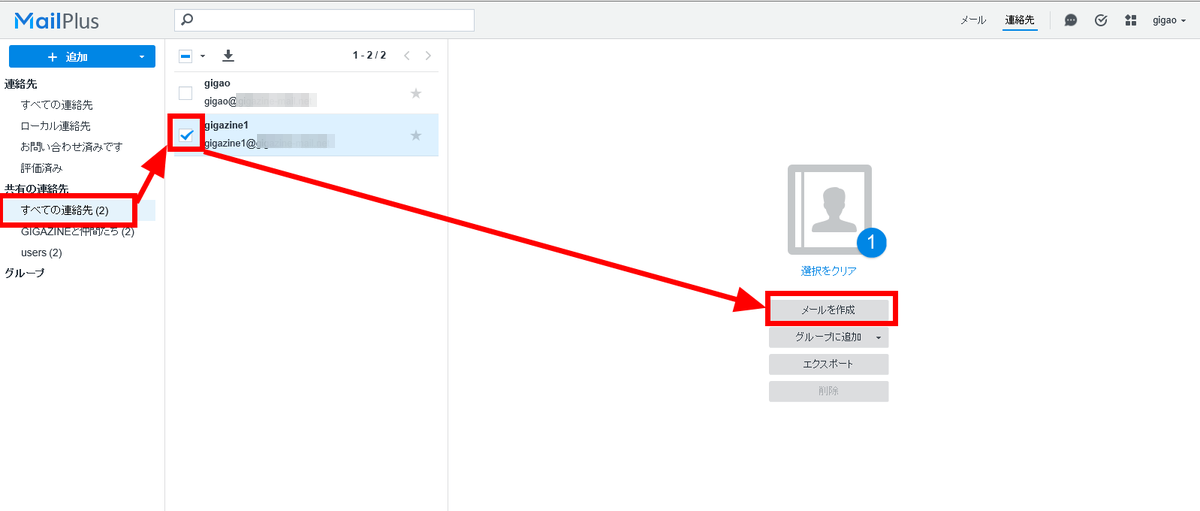
Log in to DSM with gigao and start "Mail Plus". To try sending mail to gigazine 1 which is a team member, click the "contact" button.
Click "All contacts", check gigazine 1, and click "Create mail".
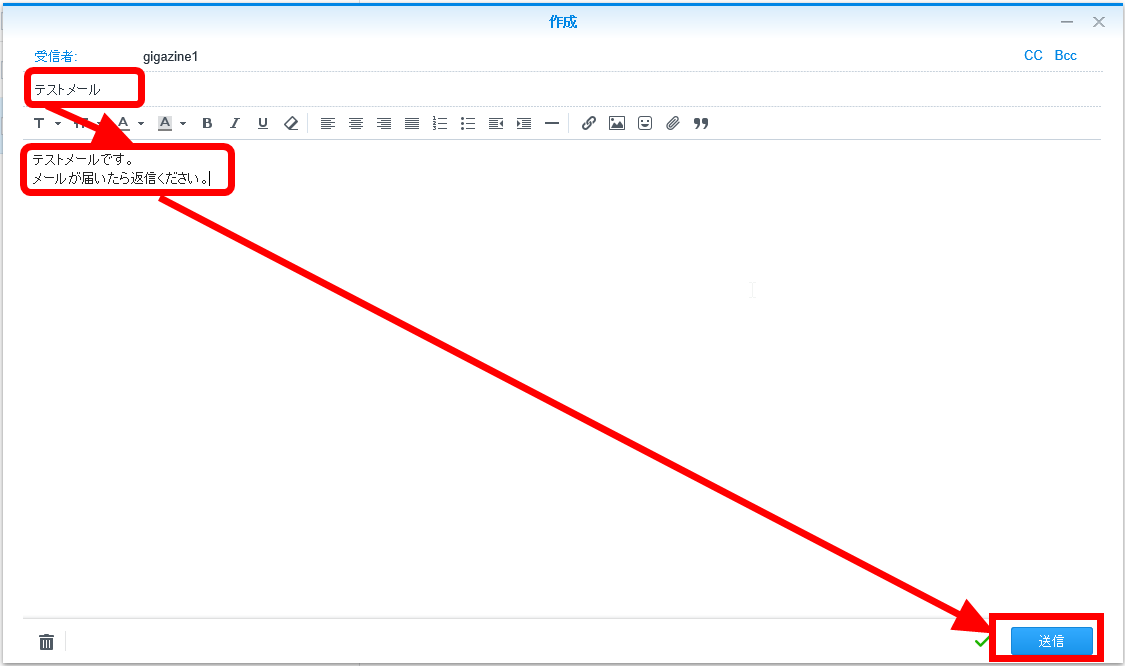
Create a test text and click the "Send" button to send the mail.
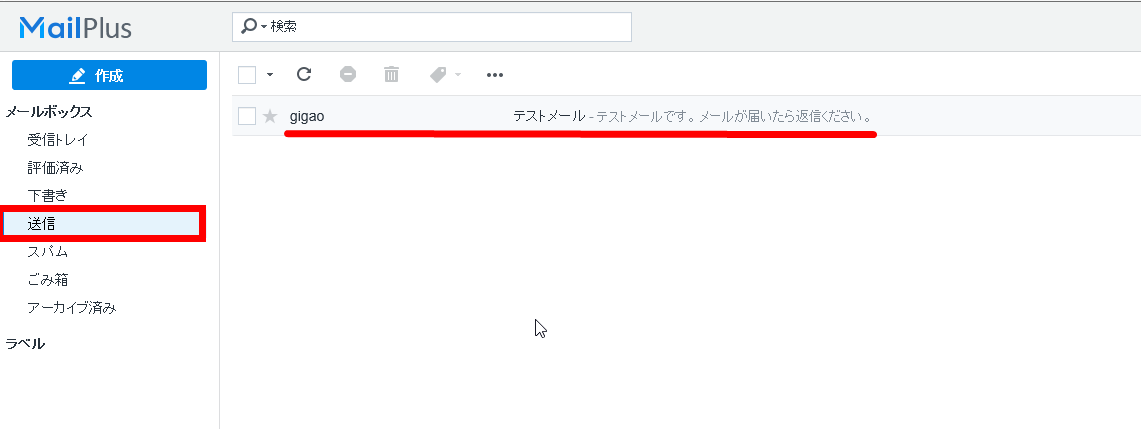
When you check the send box, the sent mail is saved.
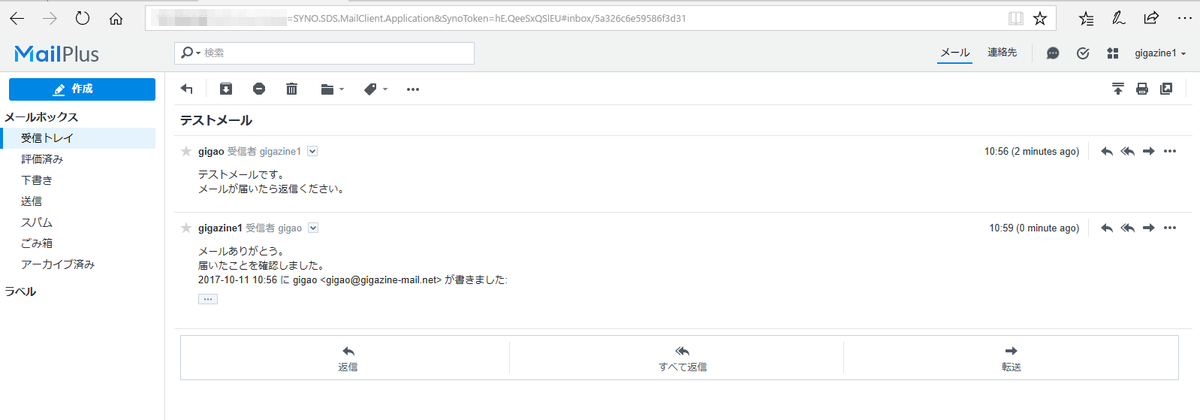
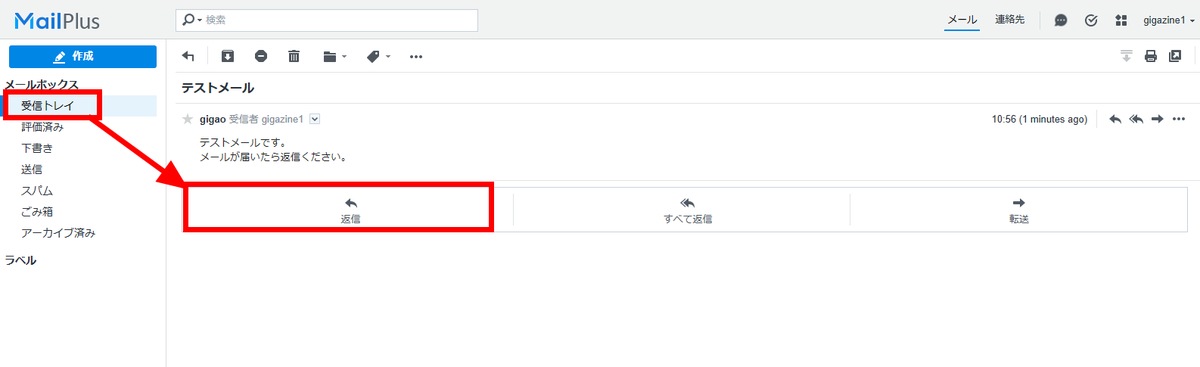
Next log in to DSM with gigazine 1 and start "Mail Plus". You can confirm that gigao is able to receive mail sent. I will reply to this mail next time. Click the "Reply" button.
Since the reply form addressed to gigao is displayed, please click "send button" after entering the message body.
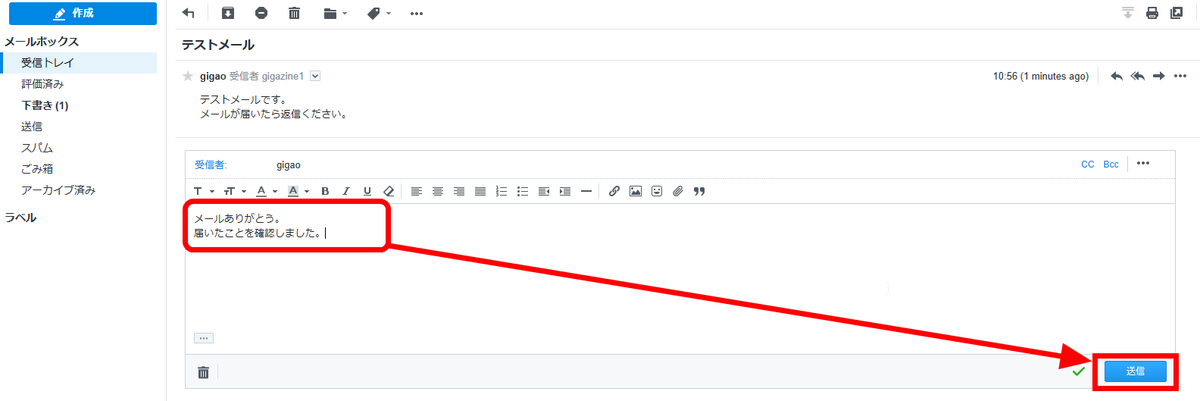
By checking "Mail Plus" with gigao, you can check that you received the reply mail.

· Using "Mail Plus" iOS application
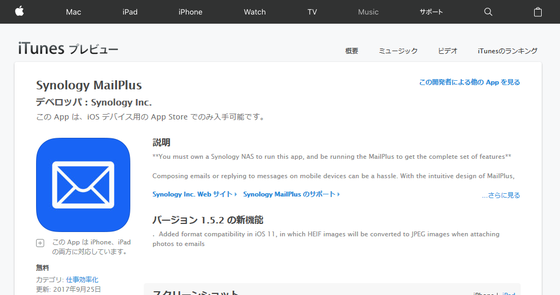
"Mail Plus" has an iOS application that you can use for free. To use it install the following applications.
Synology MailPlus on the App Store
https://itunes.apple.com/jp/app/synology-mailplus/id967913737?mt=8
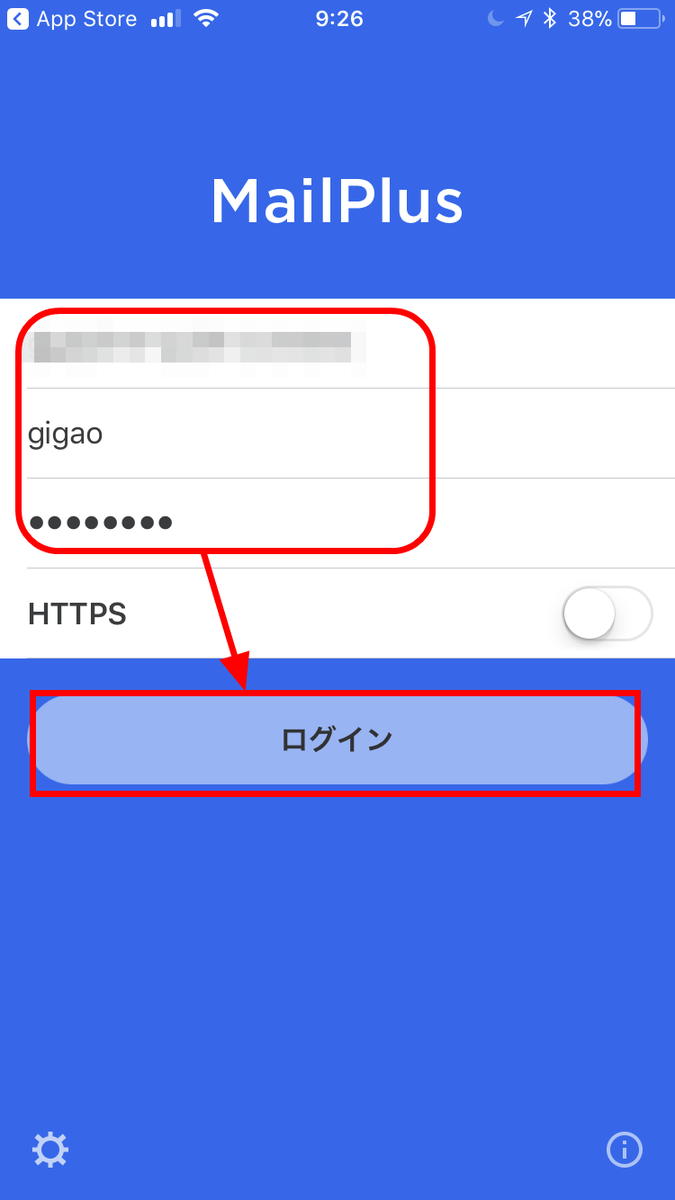
Start "Synology MailPlus", enter the DSM's IP address or QuickConnect ID at the top, the user ID second and then the password, and tap the "Login" button. Check the HTTPS only when it is set to connect to DSM only by HTTPS.
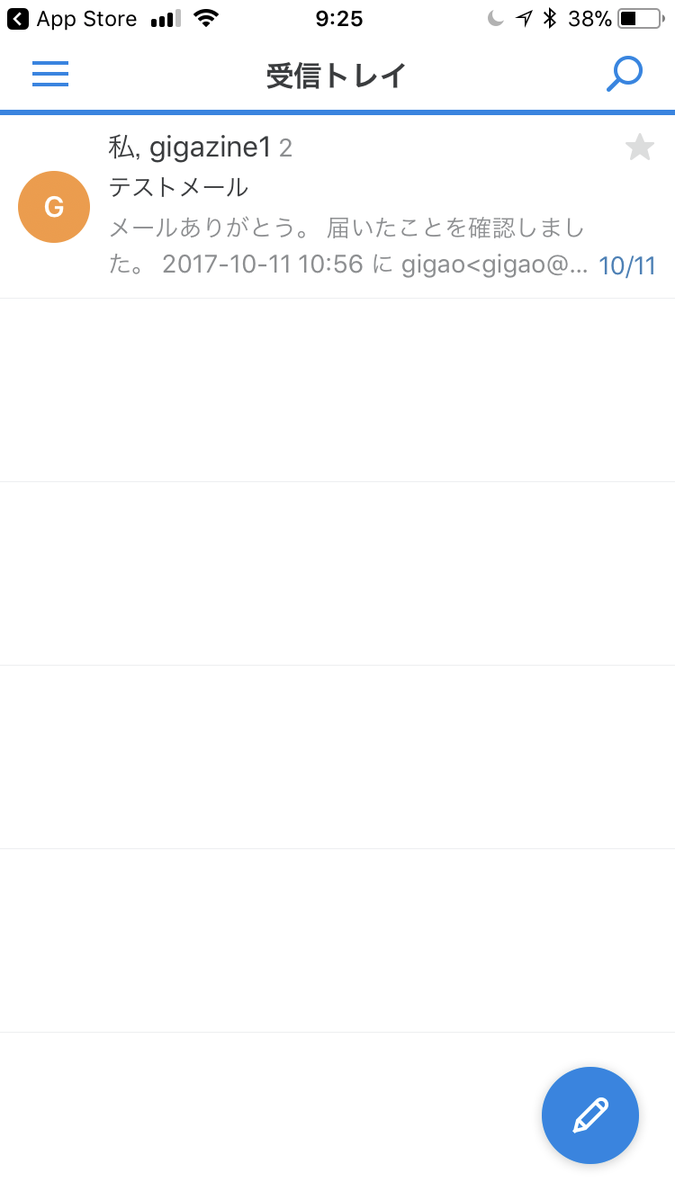
When logging in with "Synology MailPlus", you can confirm that the mail you sent and received is displayed.
· Use "Mail Plus" on Android
"Mail Plus" can also be used on Android. To use it install the following applications.
Synology MailPlus - Android application on Google Play
https://play.google.com/store/apps/details?id=com.synology.dsmail&hl=ja
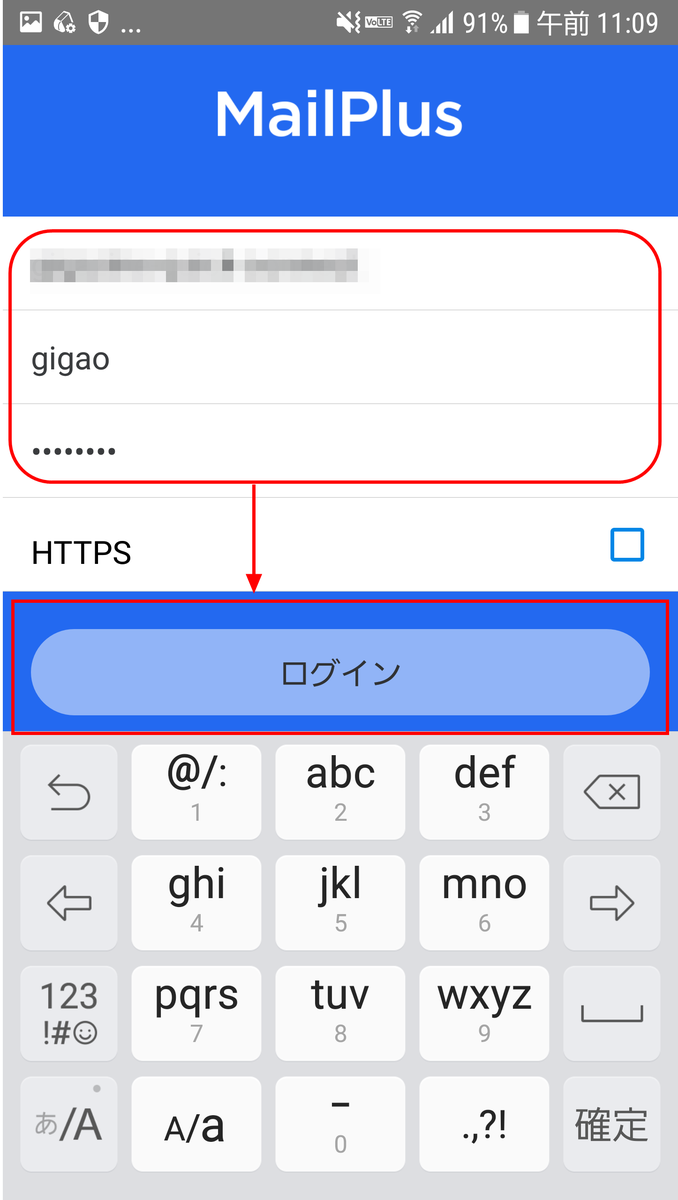
Start "Synology MailPlus", enter the DSM's IP address or QuickConnect ID at the top, the user ID second and then the password, and tap the "Login" button. Check the HTTPS only when it is set to connect to DSM only by HTTPS.
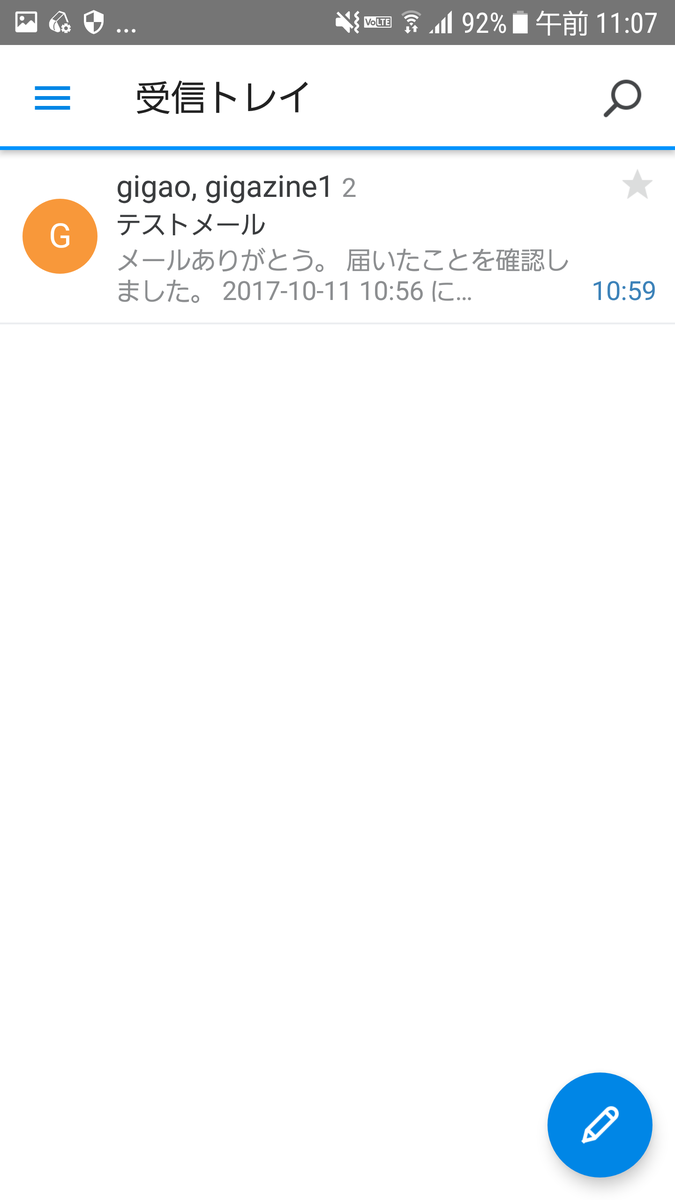
When logging in with "Synology MailPlus", you can confirm that the mail you sent and received is displayed.
· About "Mail Plus" license
With DSM, you can use five Mail Plus accounts (mail addresses) for free on one NAS. If you use more than 6 accounts, you need to purchase a license. You can purchase packs of 5 licenses or 20 licenses for actual purchase. Although the license period is unlimited, licenses can only be used with activated devices, so you can not move to a different NAS. If it is inevitable due to the return of equipment etc., it seems to be able to deal with it.
MailPlus License Pack | Synology Inc.
https://www.synology.com/ja-jp/products/MailPlus_License
You can purchase "Mail Plus" license by e-trend etc.
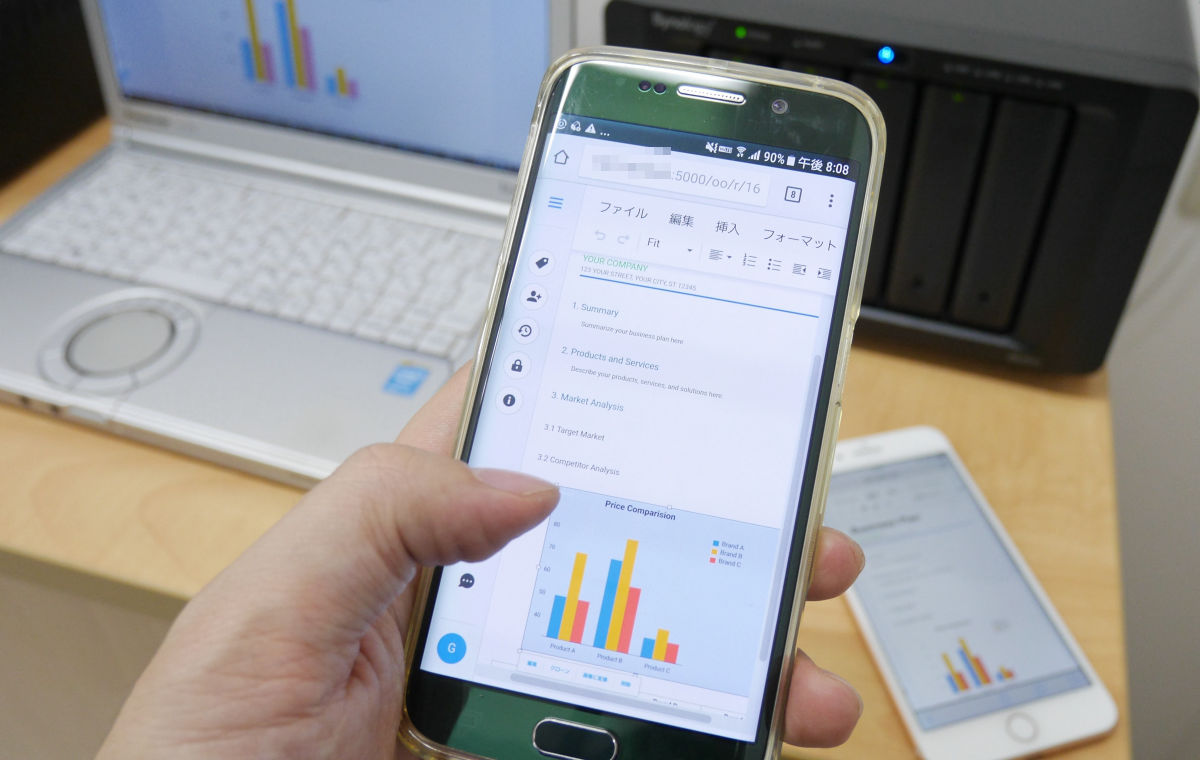
◆ Using "Office Features"
DSM provides document tools and spreadsheets. People who do not have an Office environment can also use document tools and spreadsheets by accessing DSM.
· Set up "Office"
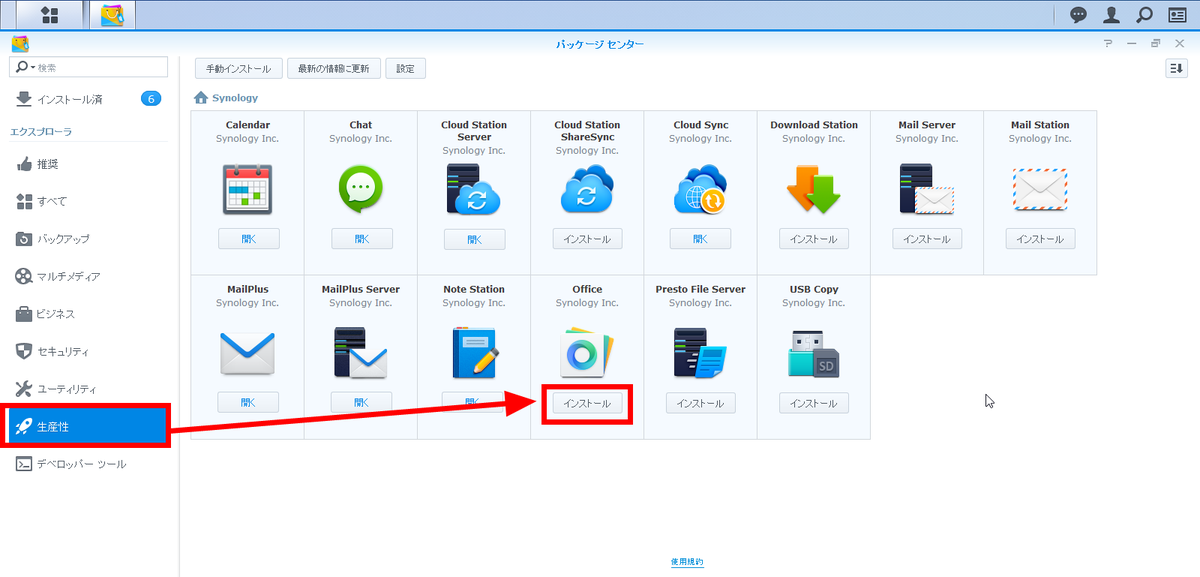
Set up "Office features". Log in to "DSM" as an administrator account, open it by clicking "Package Center", click "Productivity" in "Explorer" on the left side, and click on "OfficeClick on the "Install" button below to install.
Open "Control Panel", click the group, select "GIGAZINE and Friends", and click the "Edit" button.
Open the tab of the application, check "Allow" in "Office" and click "OK" (here we are also going to user gigazine 1 to set the same settings as collaborators). This is the installation and configuration of "Office" done by the administrator.

· Try using "Document"
Log in to DSM with gigao and start "Office". Click the "+" button and click "Document".

"Document" opens, so you can create a document file from here using a Google document.

· Try using "spreadsheet"
Log in to DSM with gigao and start "Office". Click the "+" button and click "Spreadsheet".
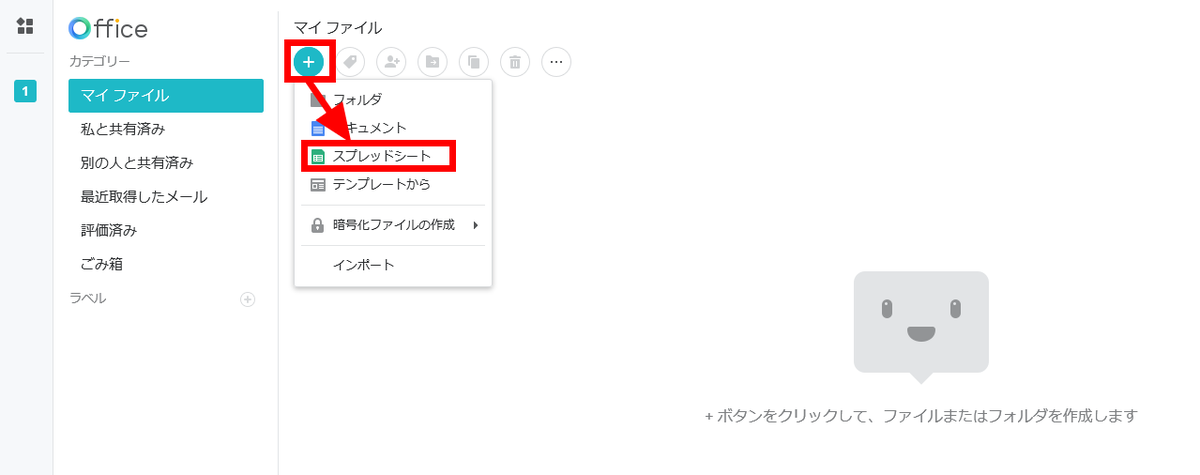
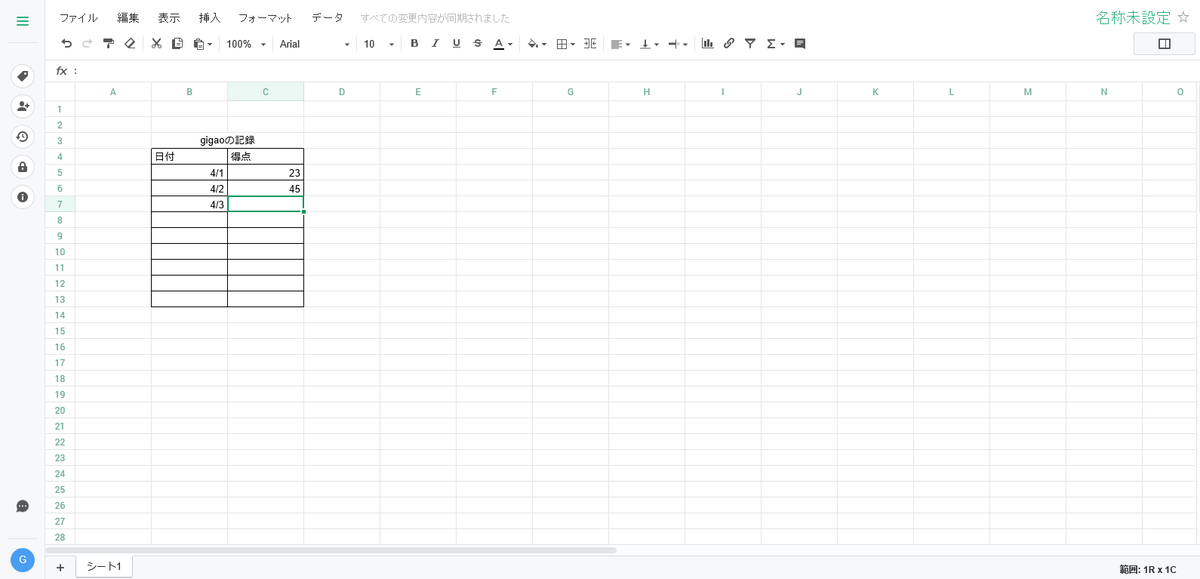
"Spreadsheet" opens so you can create a file from here using the Google spreadsheet.
Collaborate with "Office"
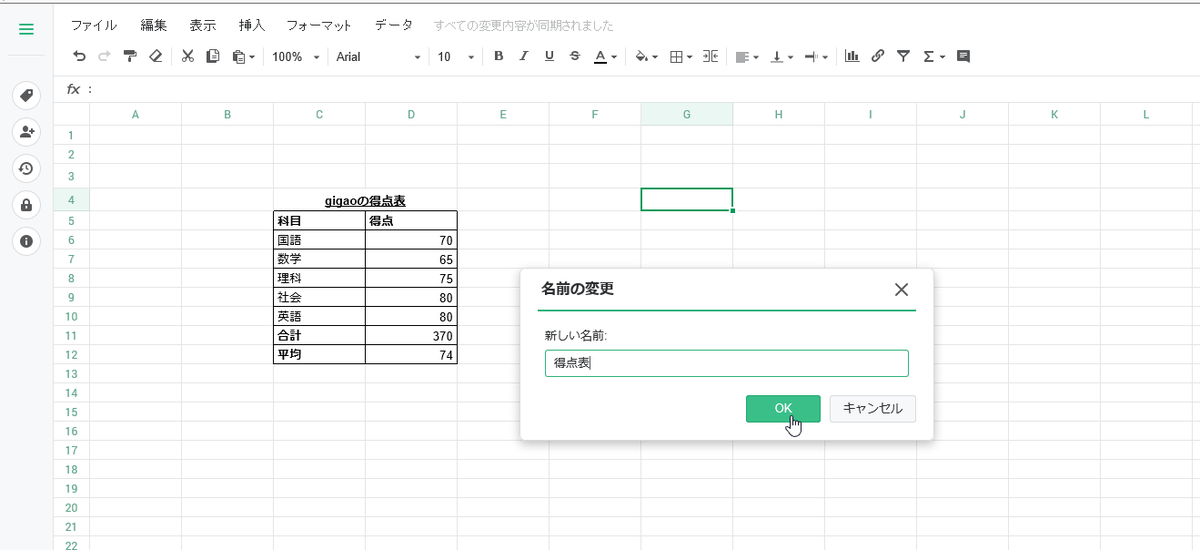
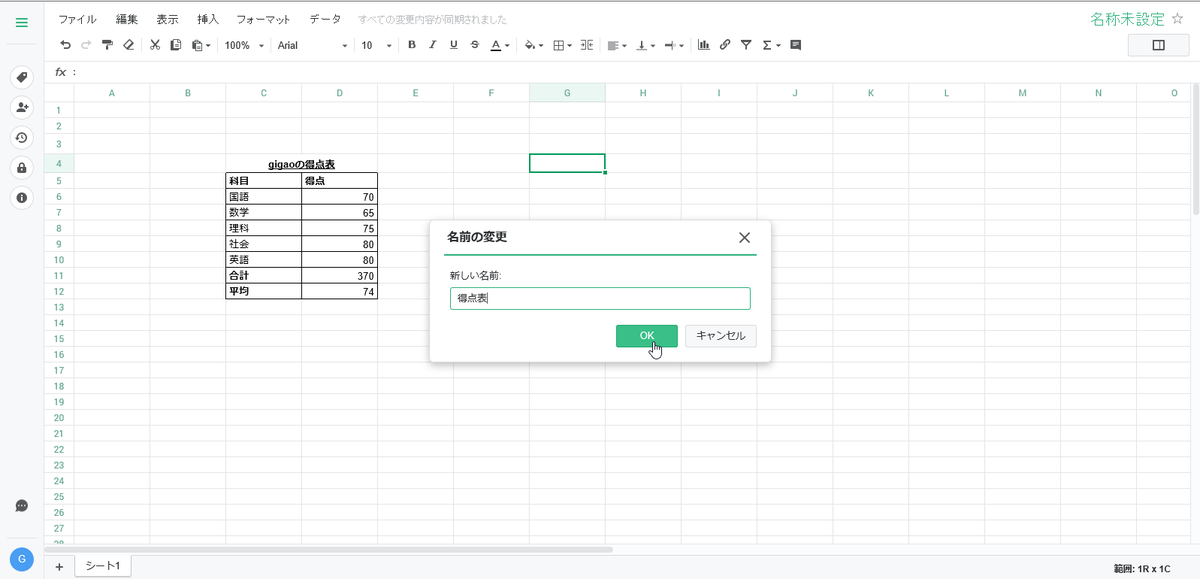
You can collaborate on both "Document" and "Spreadsheet", but here we will collaborate on "Spreadsheet". First of all, gigao creates a file called "scorecard".
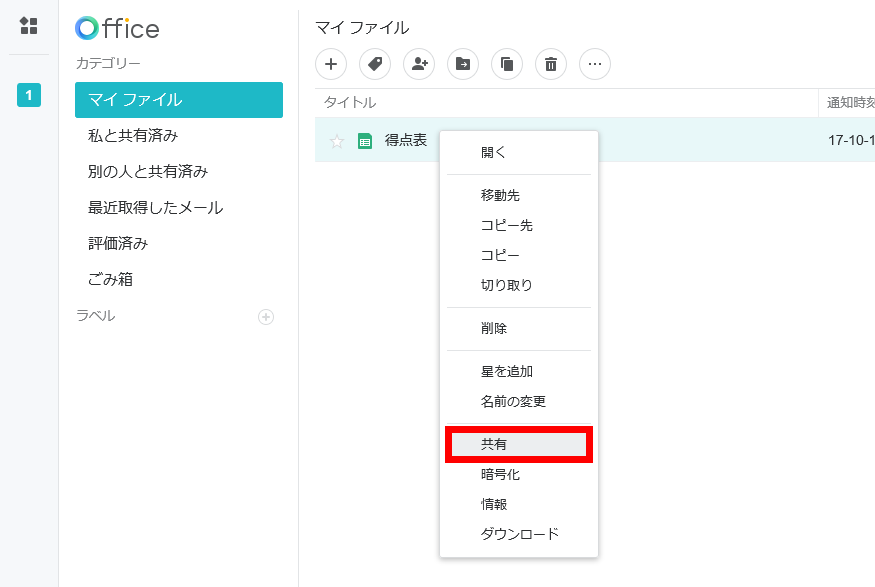
Right-click the score file file and click "Share".
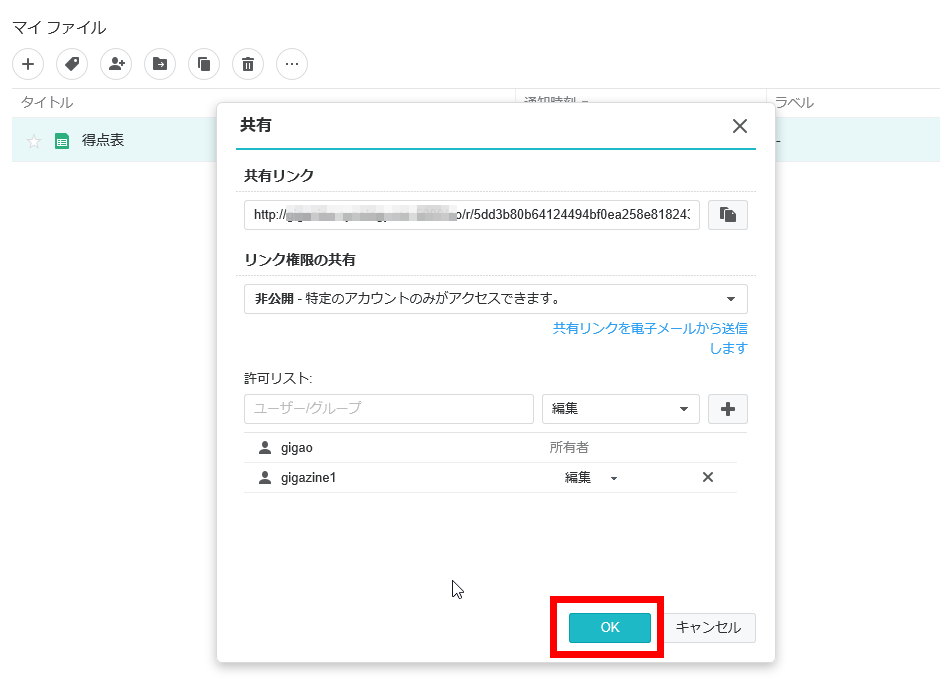
Enter the member name to collaborate on the permission list and click the "+" button.

Since gigazine 1 is added to the permission list, click the "OK" button.
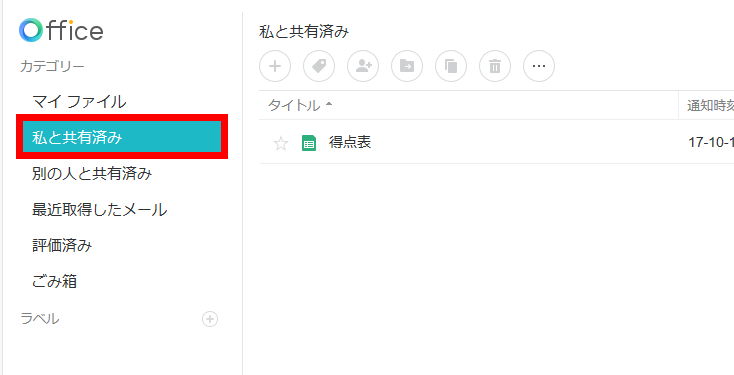
When you start "Office" with gigazine 1 and click "Share with me", the file of the scoring table that gigao was editing is displayed. When you open the file you can edit from the continuation of the scorecard created by gigao.
Related Posts: