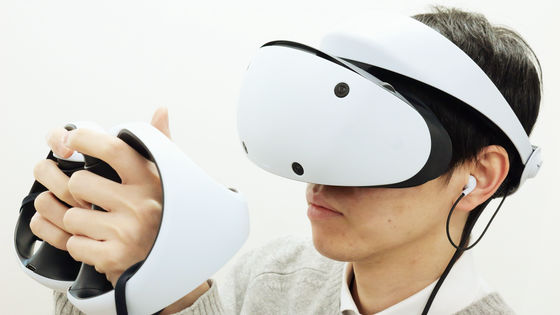
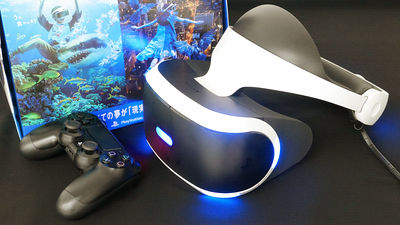
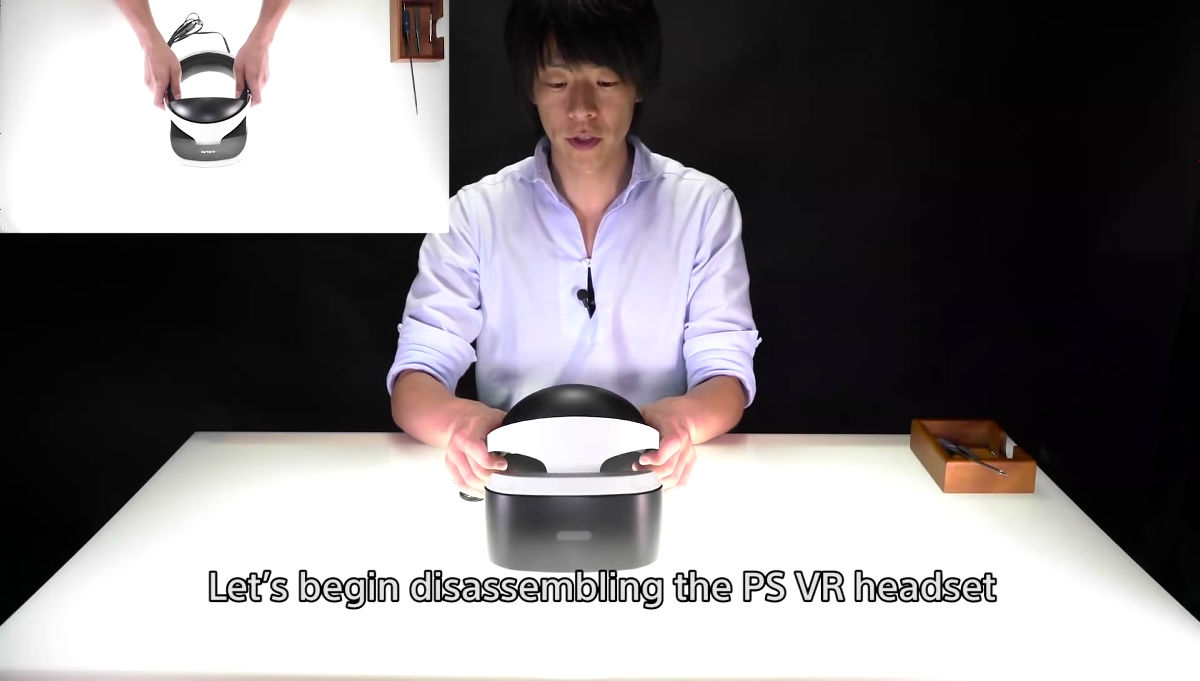
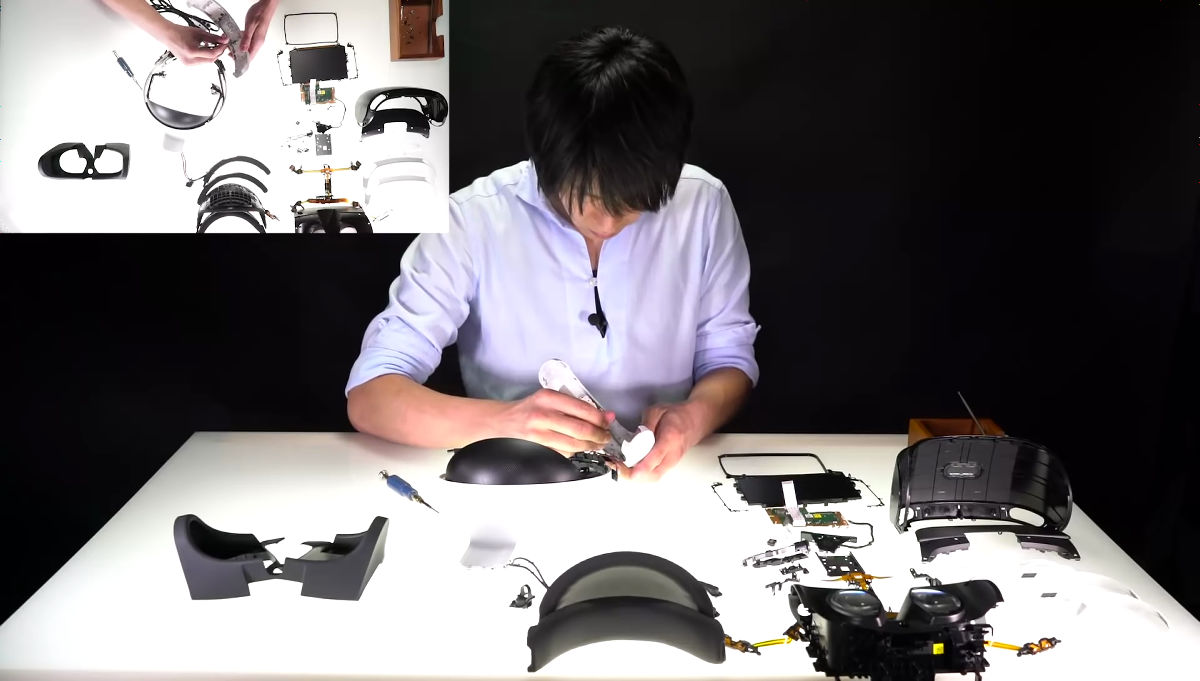
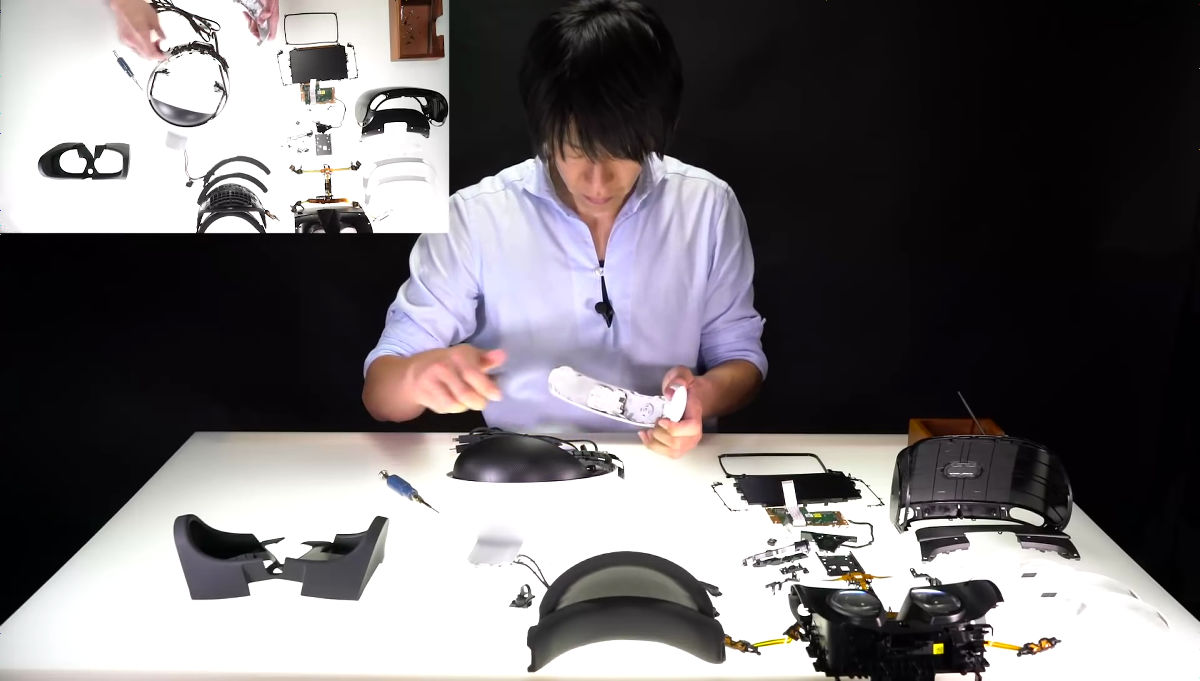
A person in Sony disassembling "PS VR" by himself, the structure of a device that leads to the virtual space looks like this
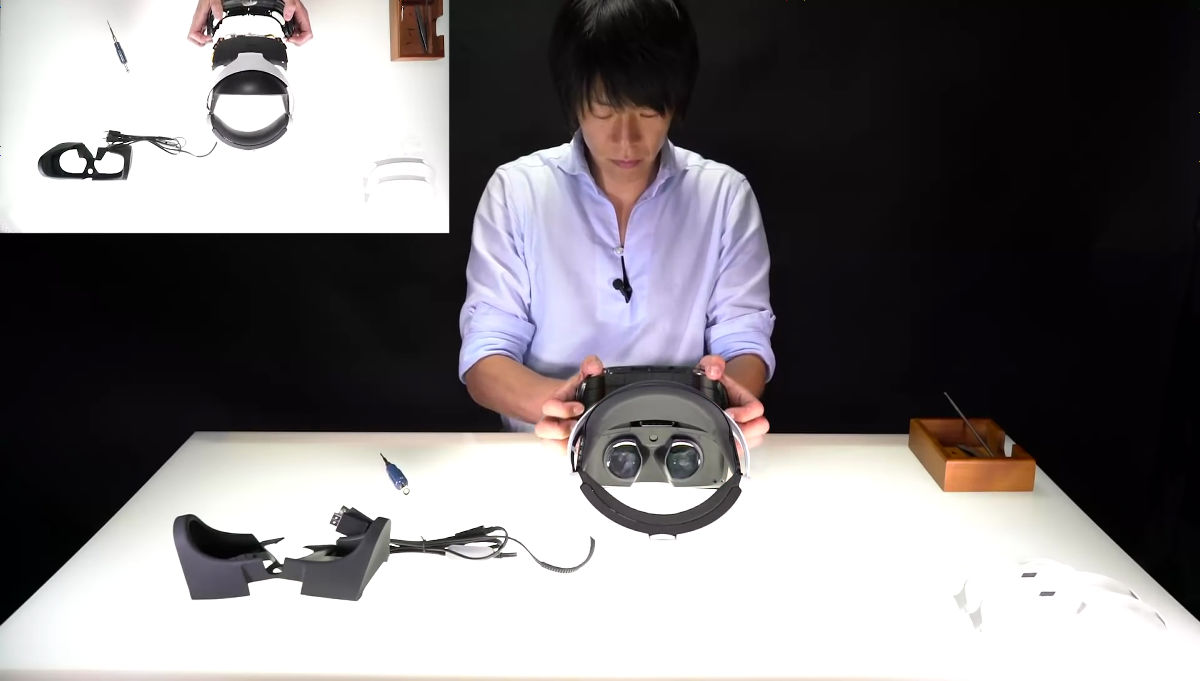
VR headset that can enjoy 360 degree games and images in virtual space "PlayStation VR(PS VR) is finally released on Thursday, October 13, 2016. Mr. Takashi Araki, who was involved in the development of PS VR at Sony Interactive Entertainment (SIE), decomposed the PS VR himself and its structure became clear.
Video: Watch a Hardware Designer Teardown Sony's PSVR | WIRED
https://www.wired.com/2016/10/psvr-teardown-video/
The appearance of disassembling PS VR can be checked from the following movie.
PlayStation VR Headset Teardown by Sony (PSVR) - YouTube
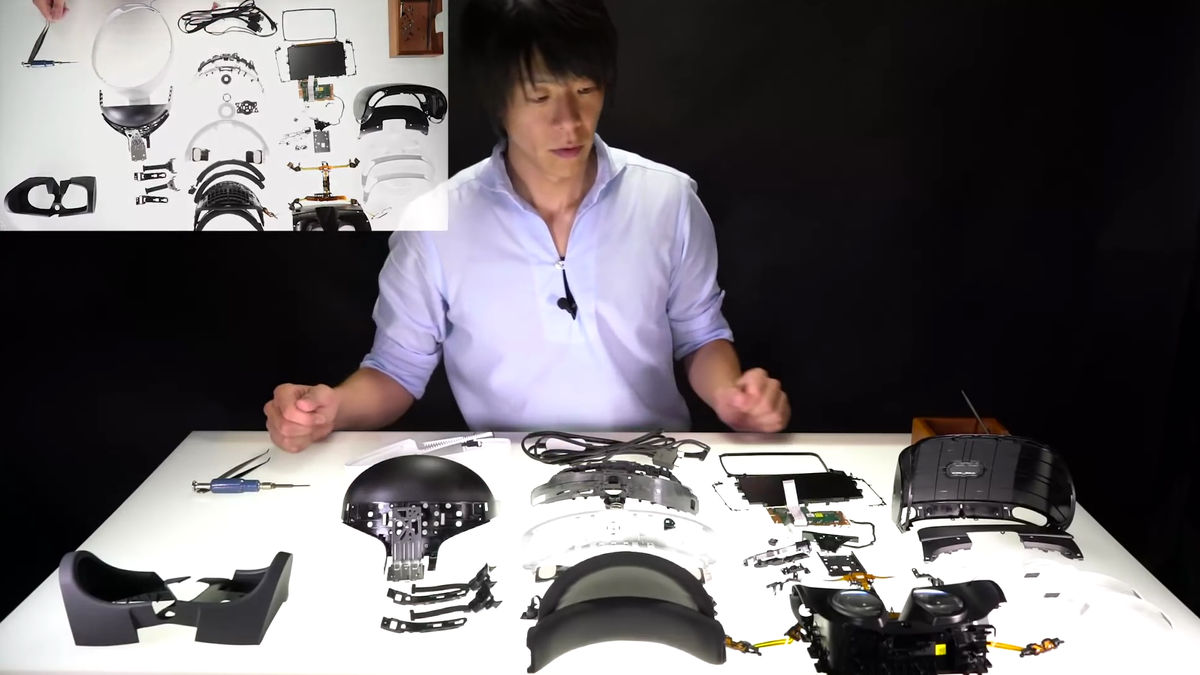
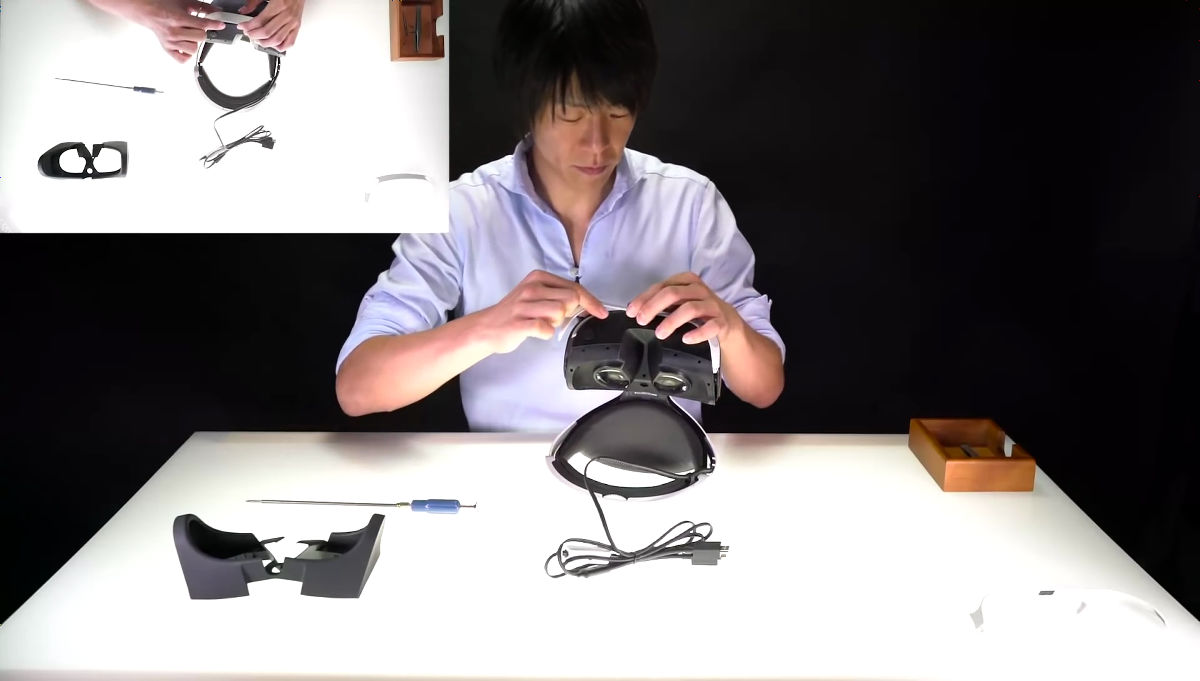
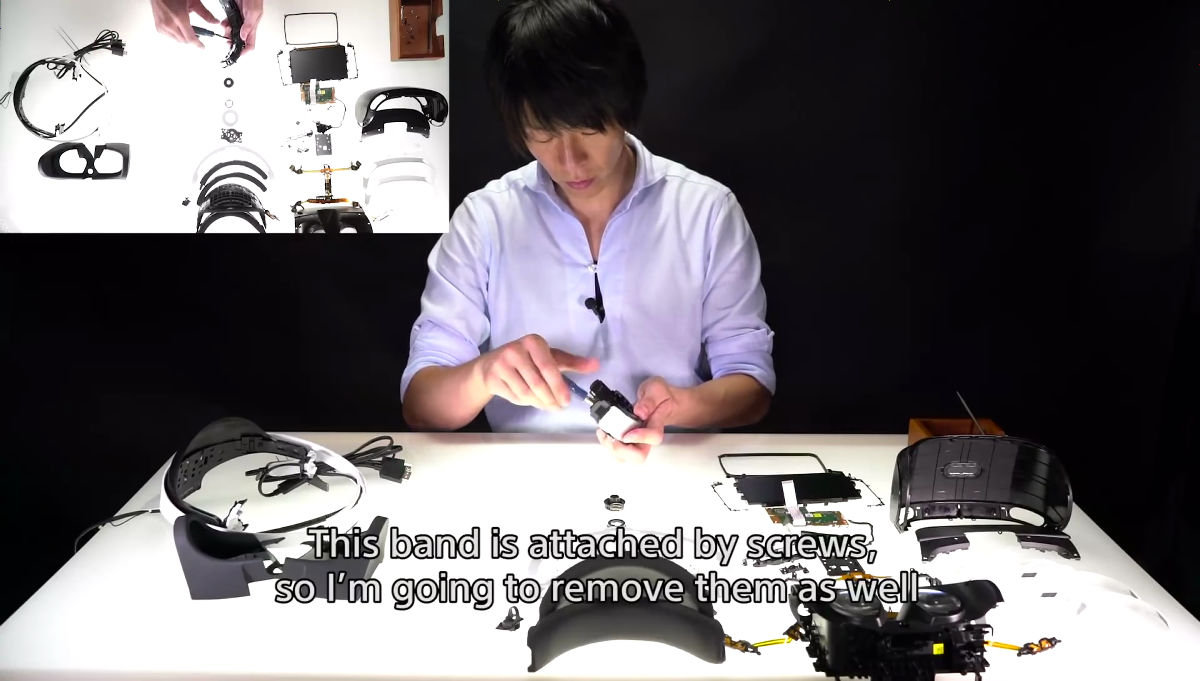
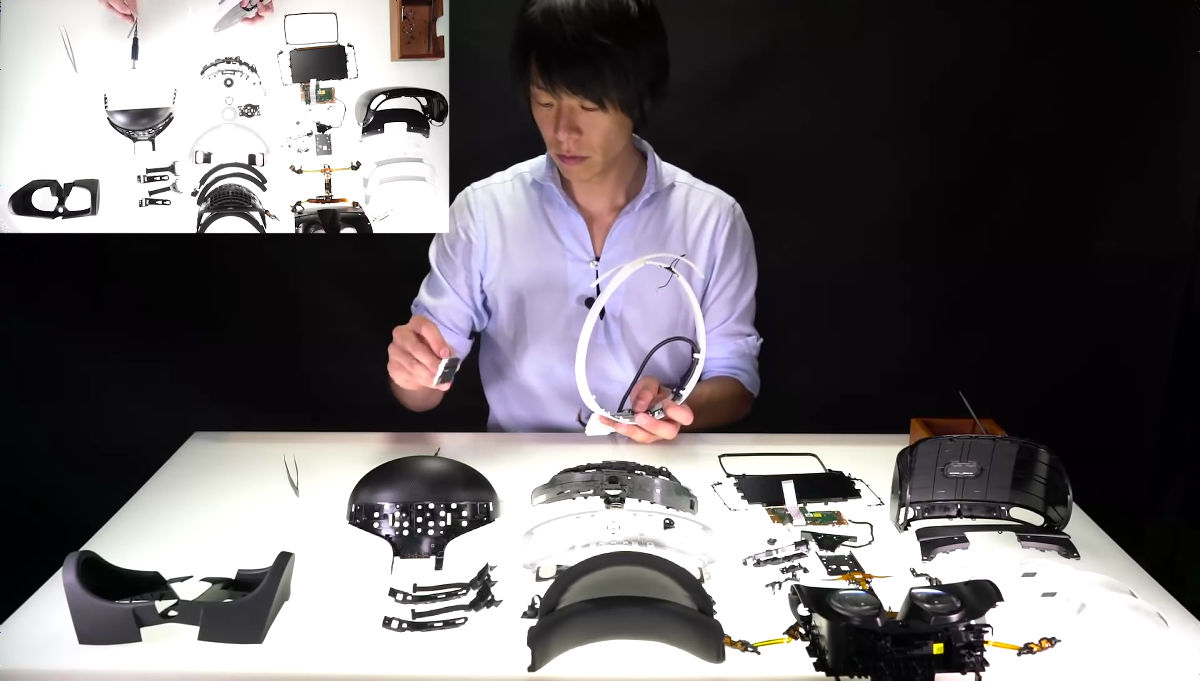
Mr. Takashi Araki of SIE to disassemble PS VR.
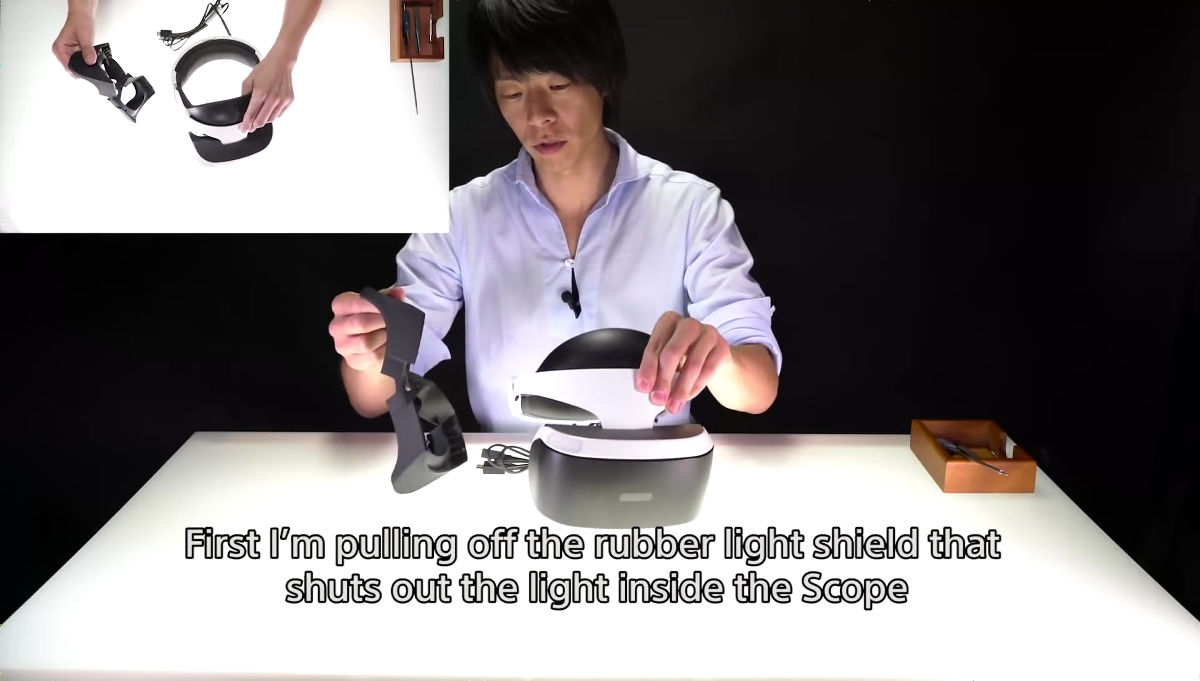
First remove the rubber shading parts by hand. It is said that users can also remove this.
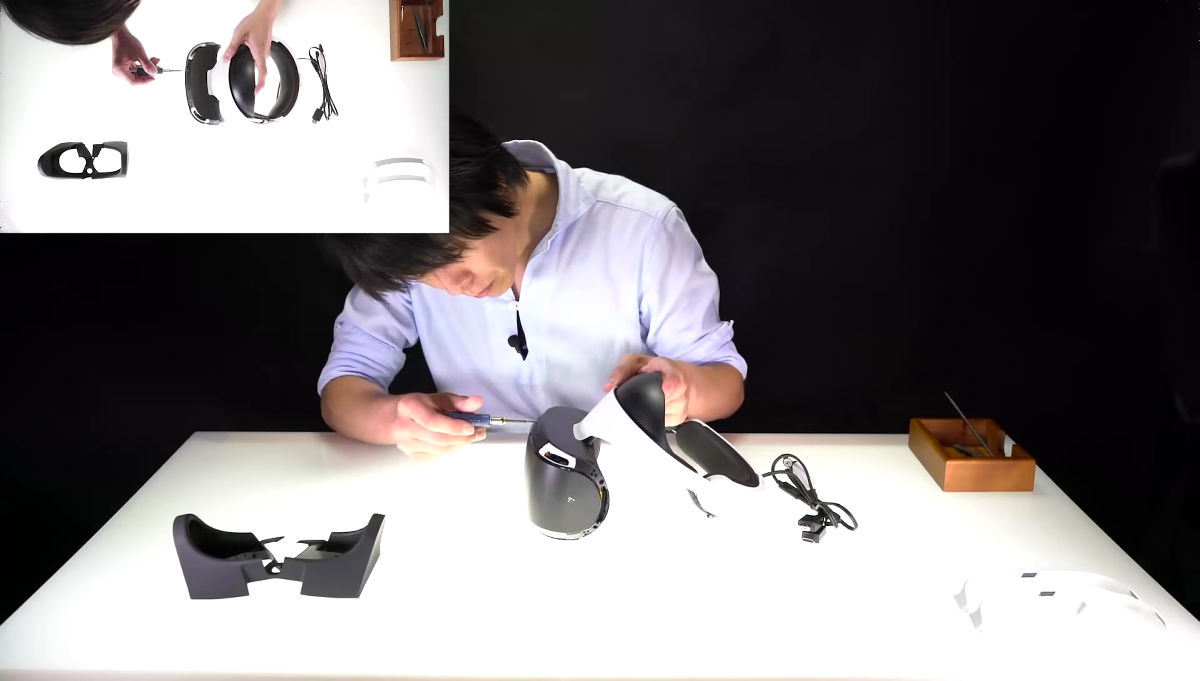
Next, remove the screw inside the PS VR body ... ...
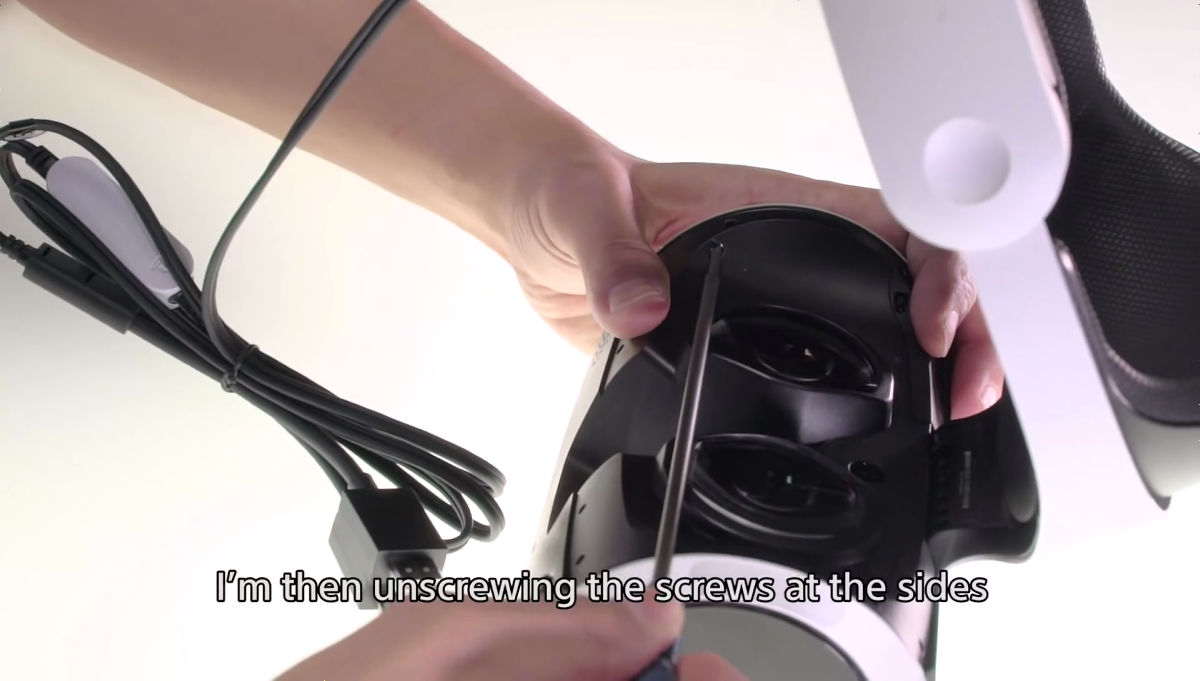
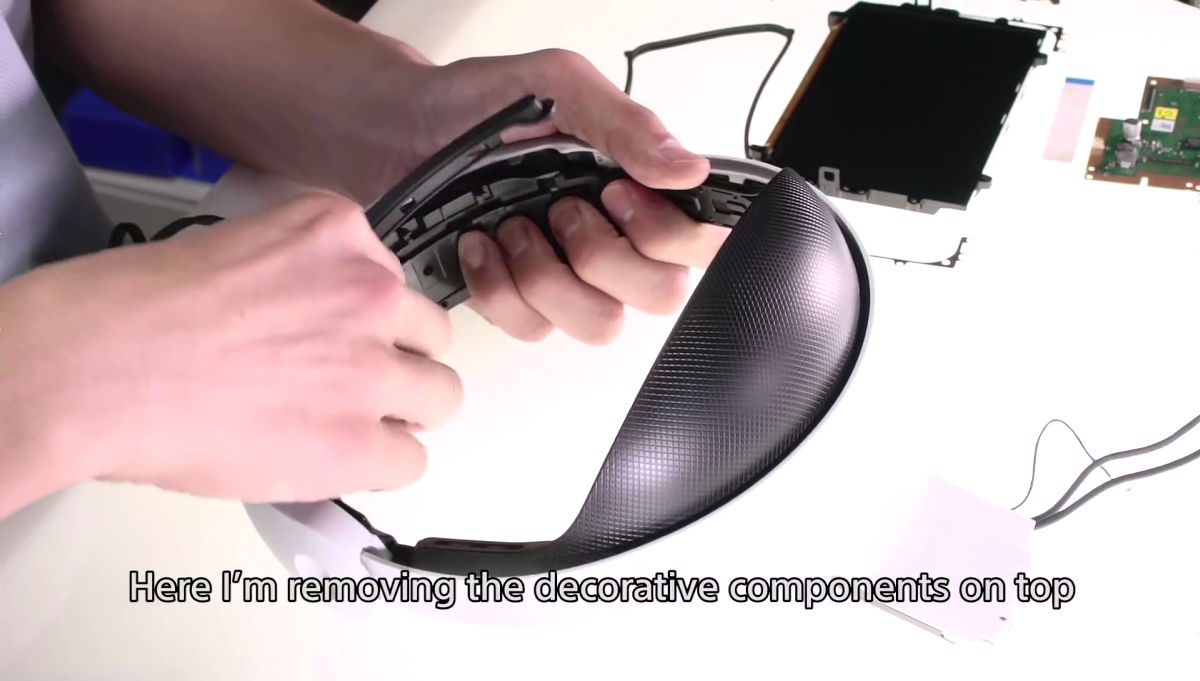
Similarly, you can remove the white decorative part by removing the screws on the bottom side.
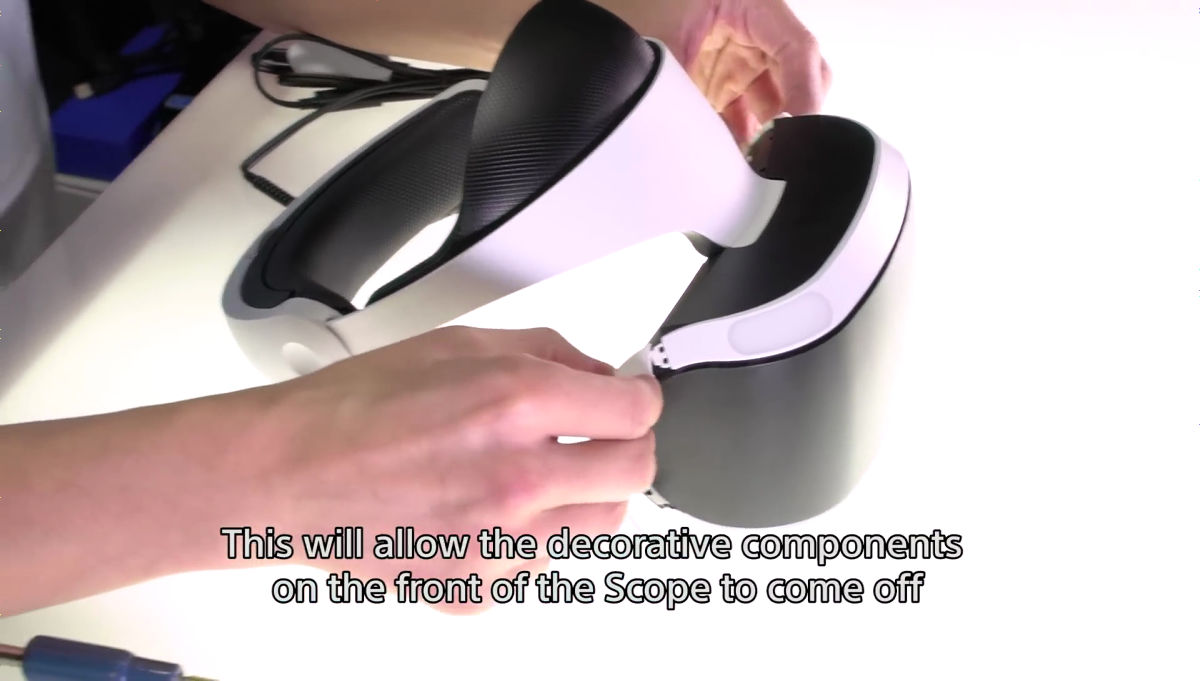
Remaining white decorative parts are taped and removed as peeling off.
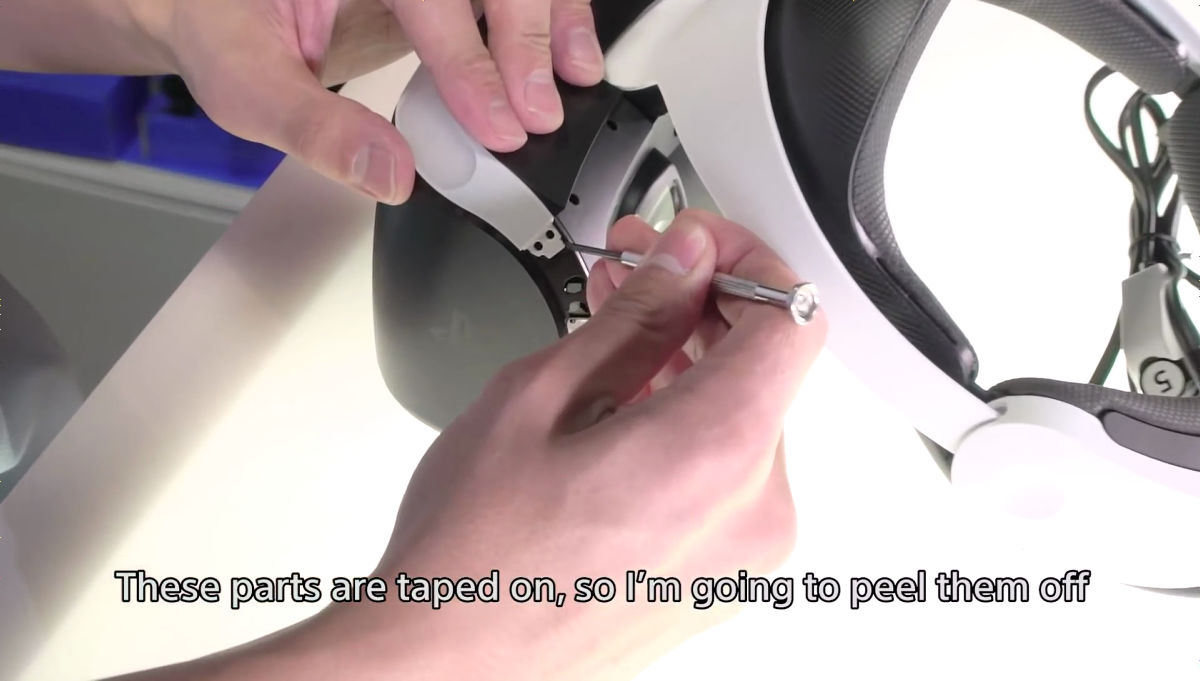
Removing the top and bottom decorative parts ......
It is possible to access the screws on the front cover. Remove this screw with a screwdriver.
Reflector that prevents uneven lighting of LED can be removed by hand.
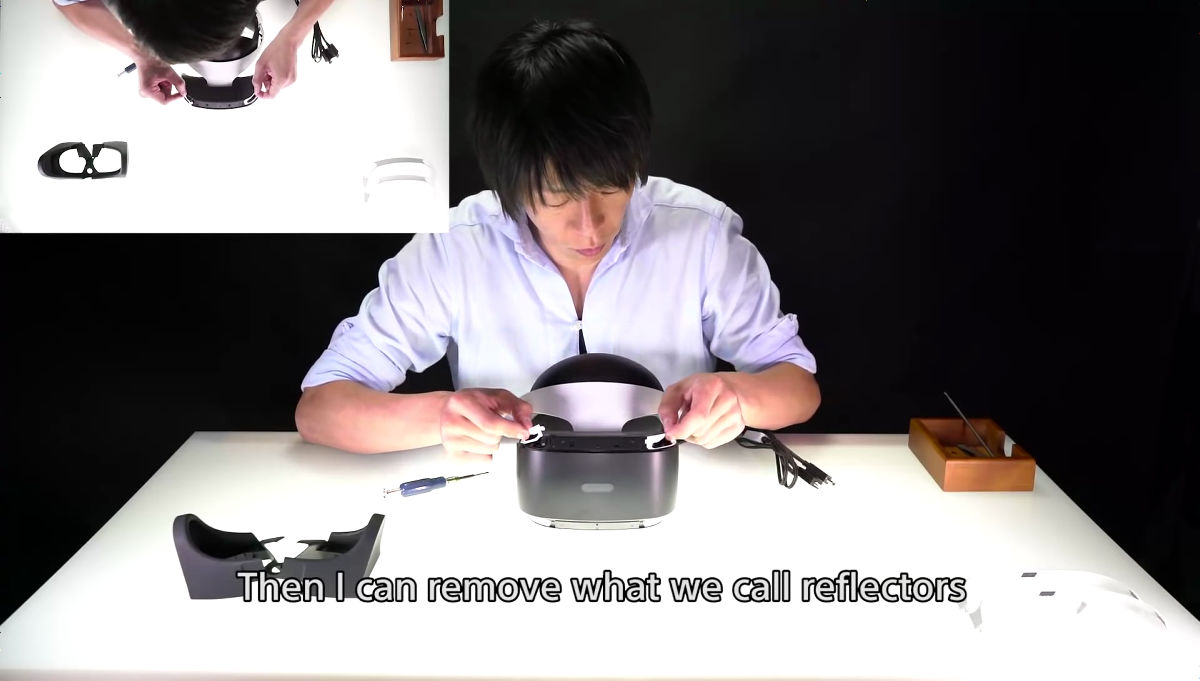
You can now remove the front cover with the cap.
Next is the removal of the top cover visible on the board.
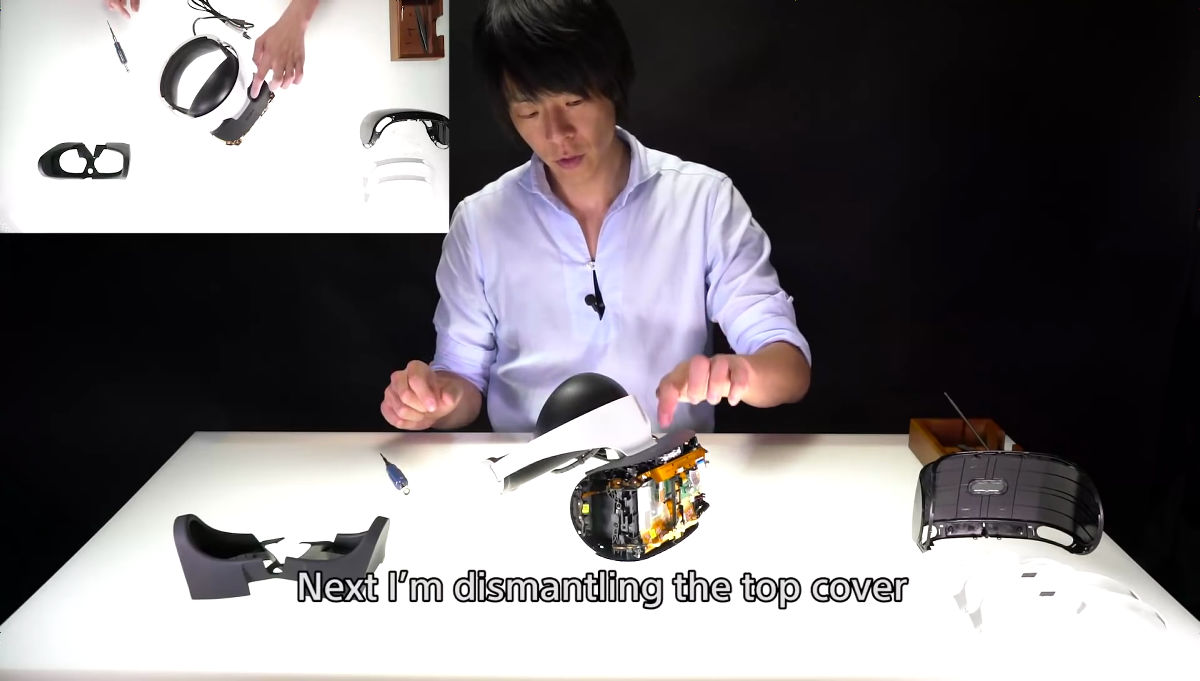
Remove the screw attached to the back side of the cover ......
Lift and remove the top cover.
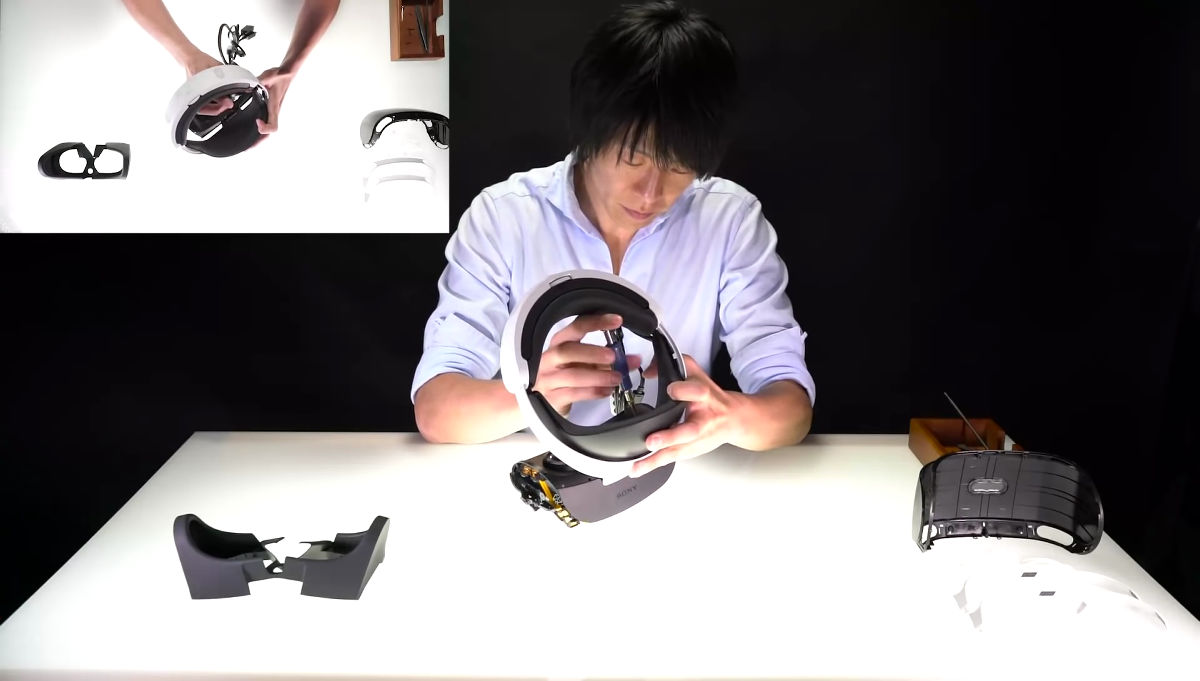
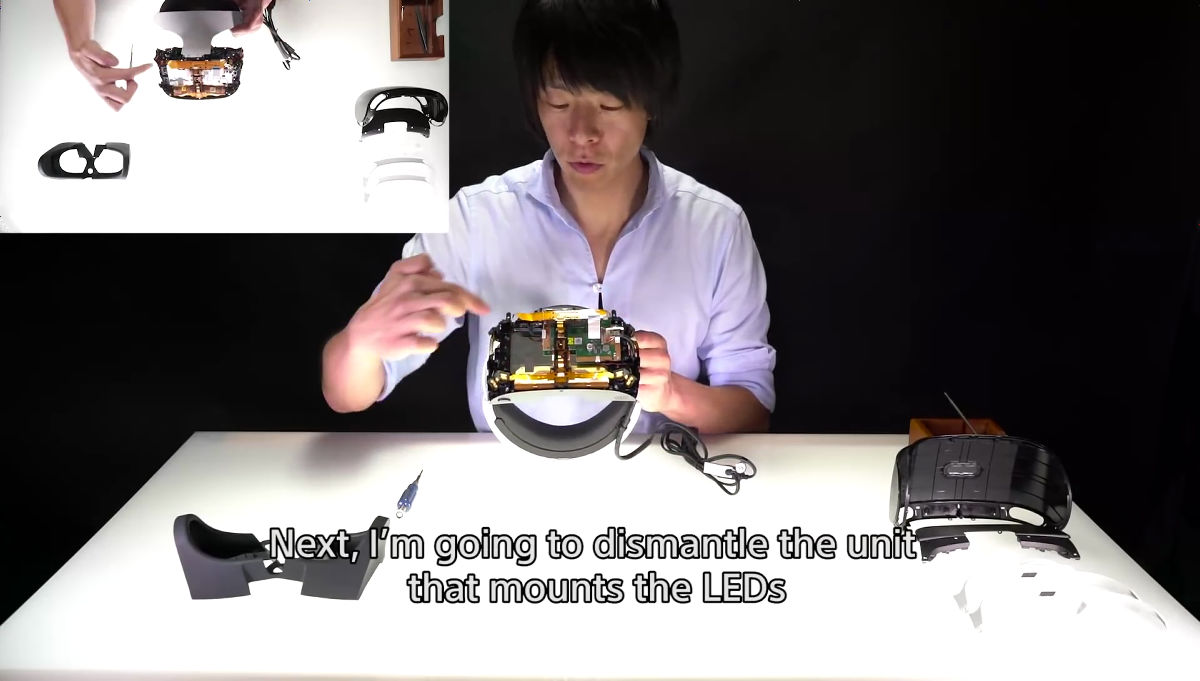
Next is the disassembly of the unit on which the LED is mounted. A unit like Mr. Araki's yellow tape is a unit.
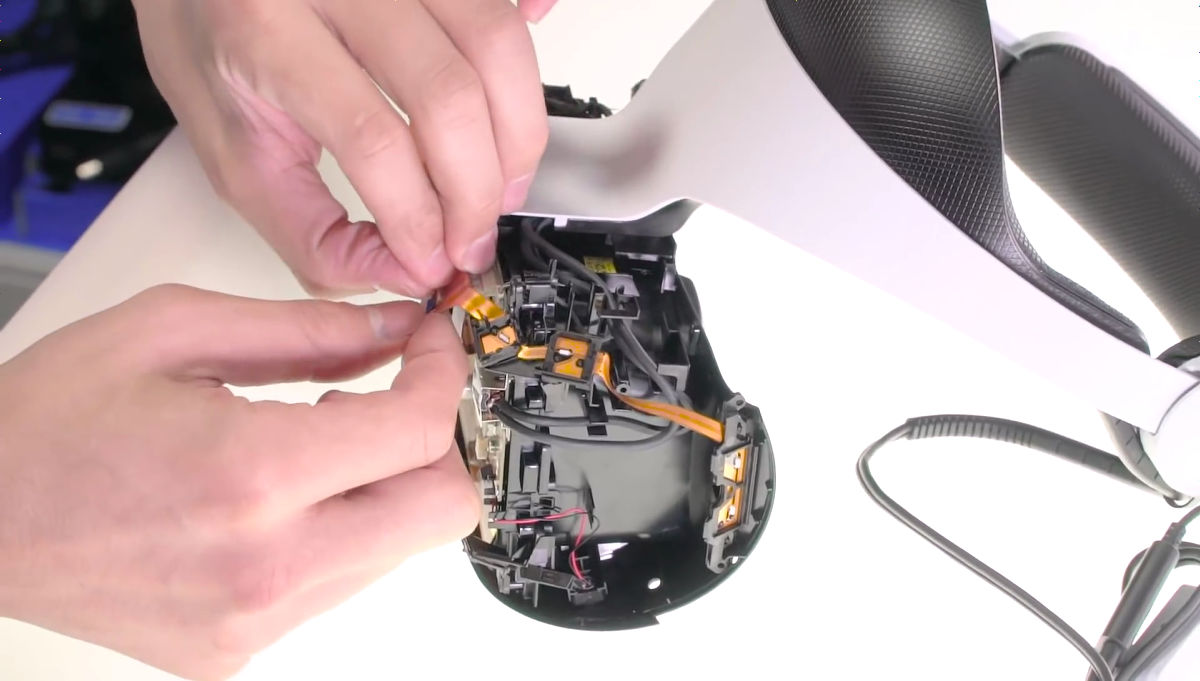
Remove the connected connector ...
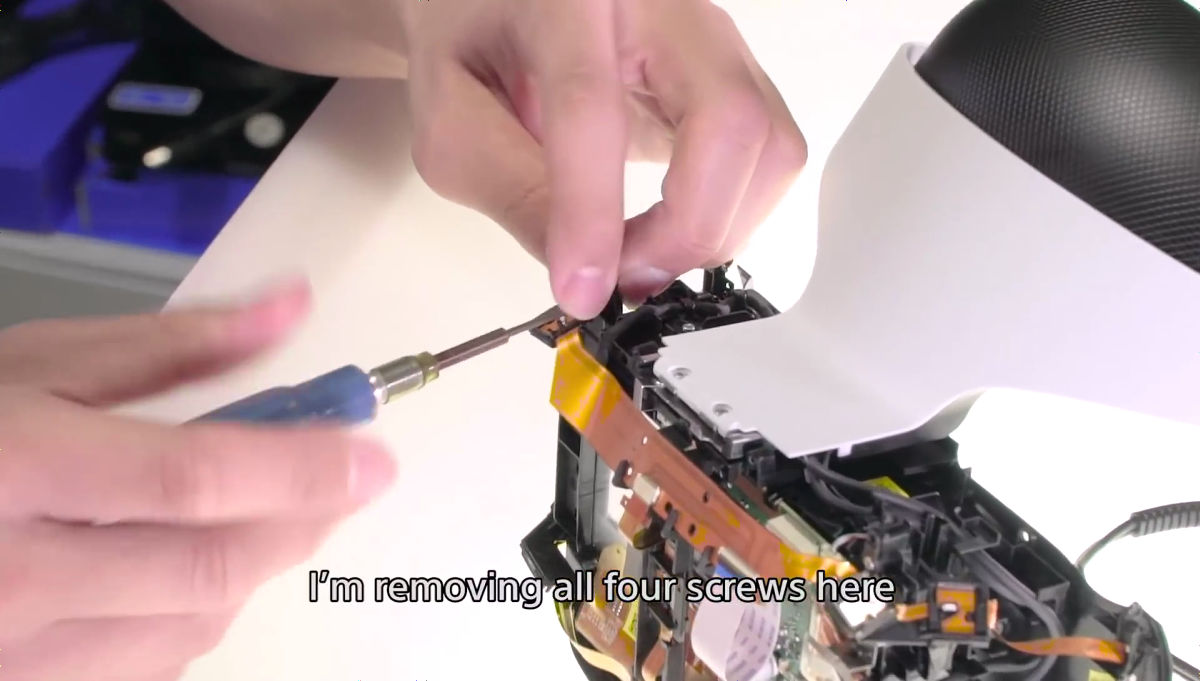
Remove the screws attached to the four places.
You can now remove the unit part by hand.
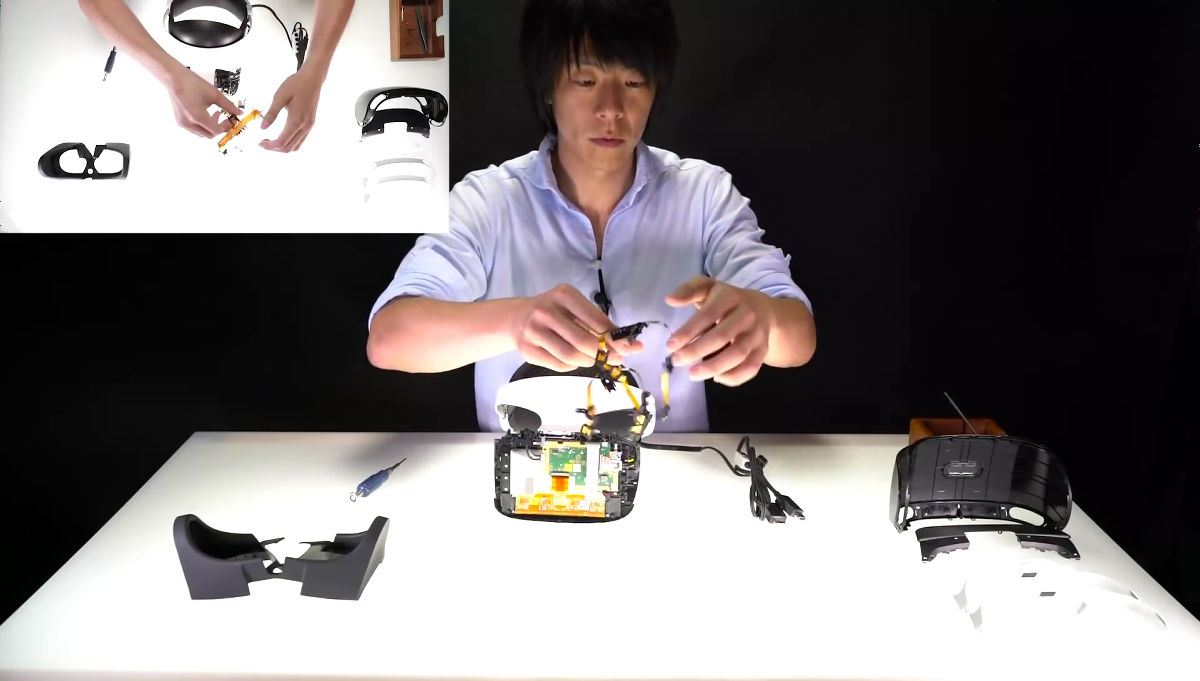
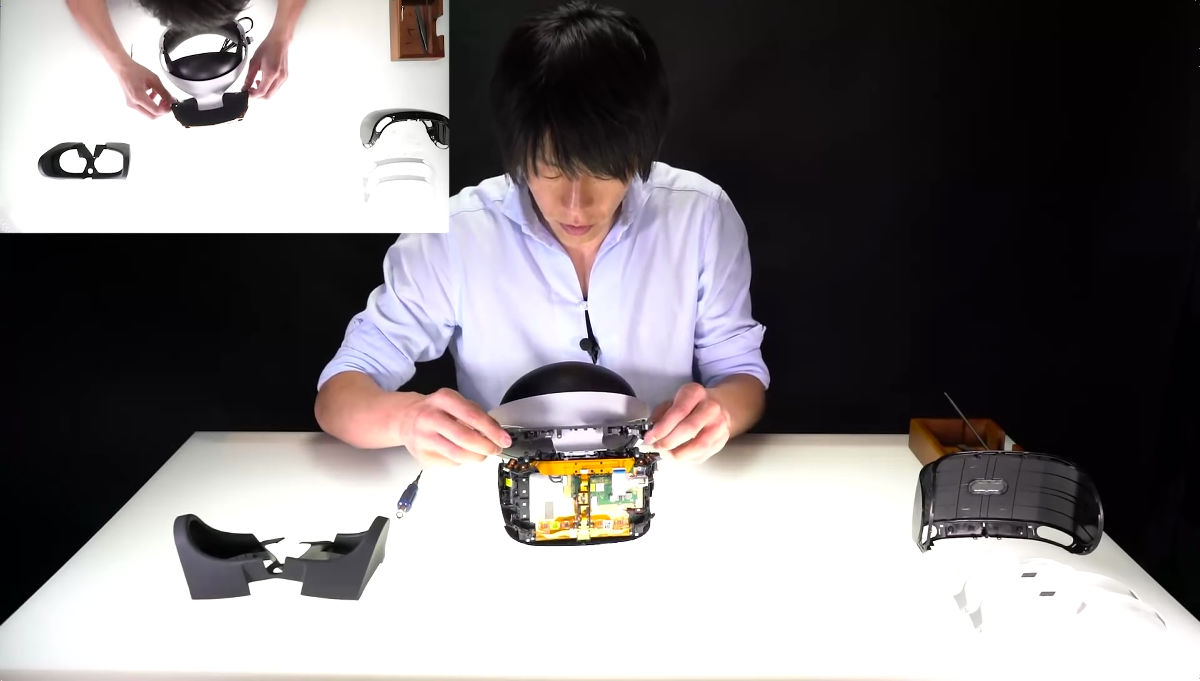
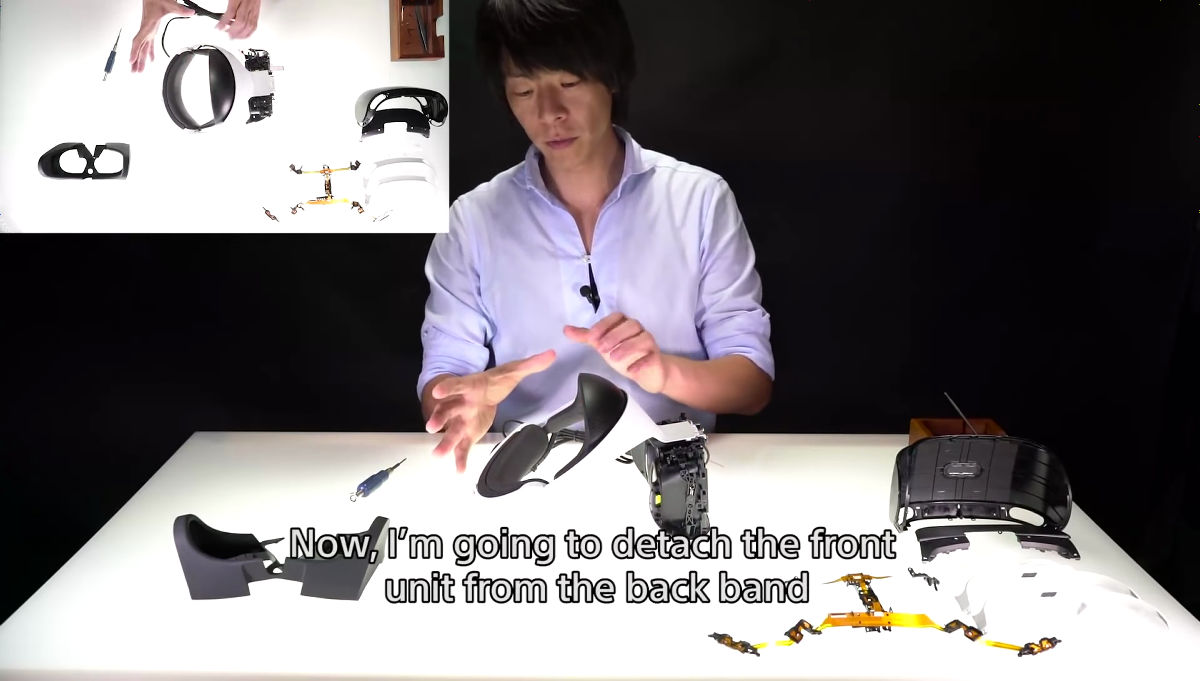
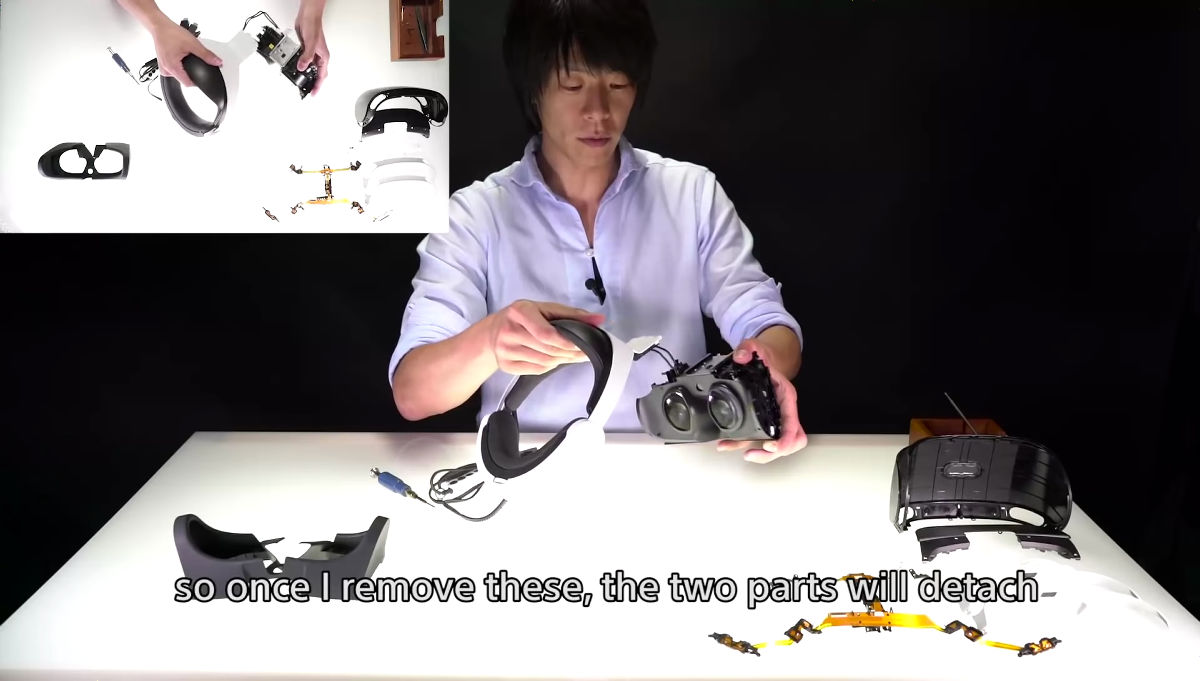
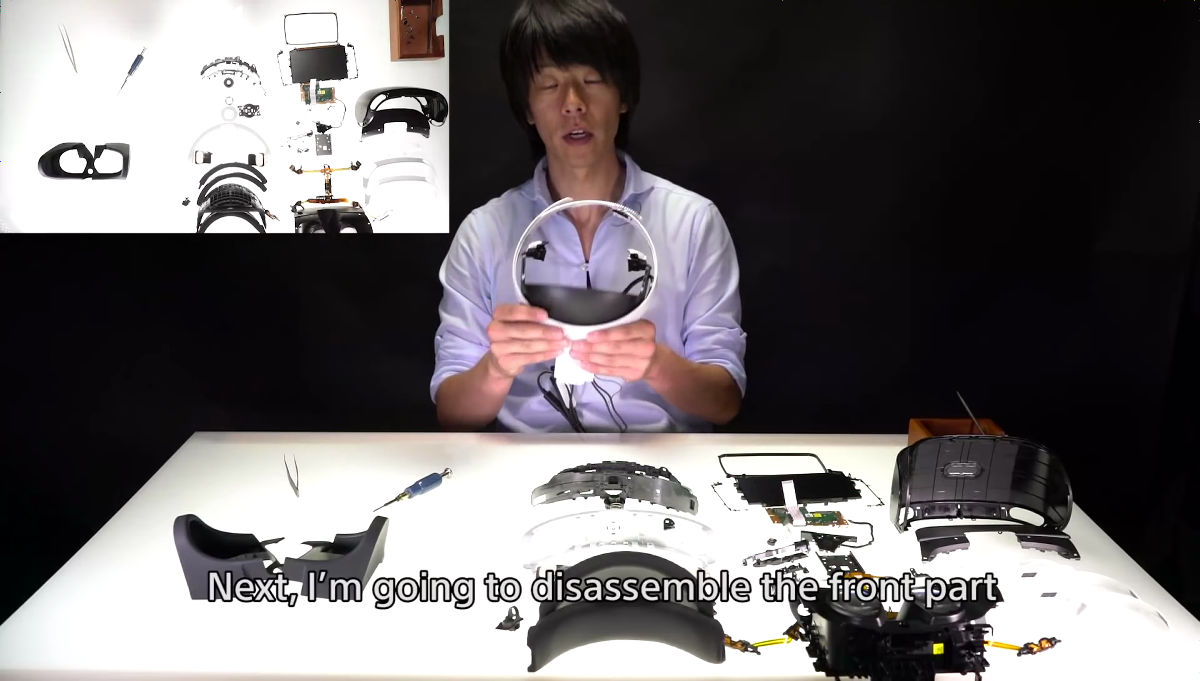
Next we will separate the front unit and the backband.
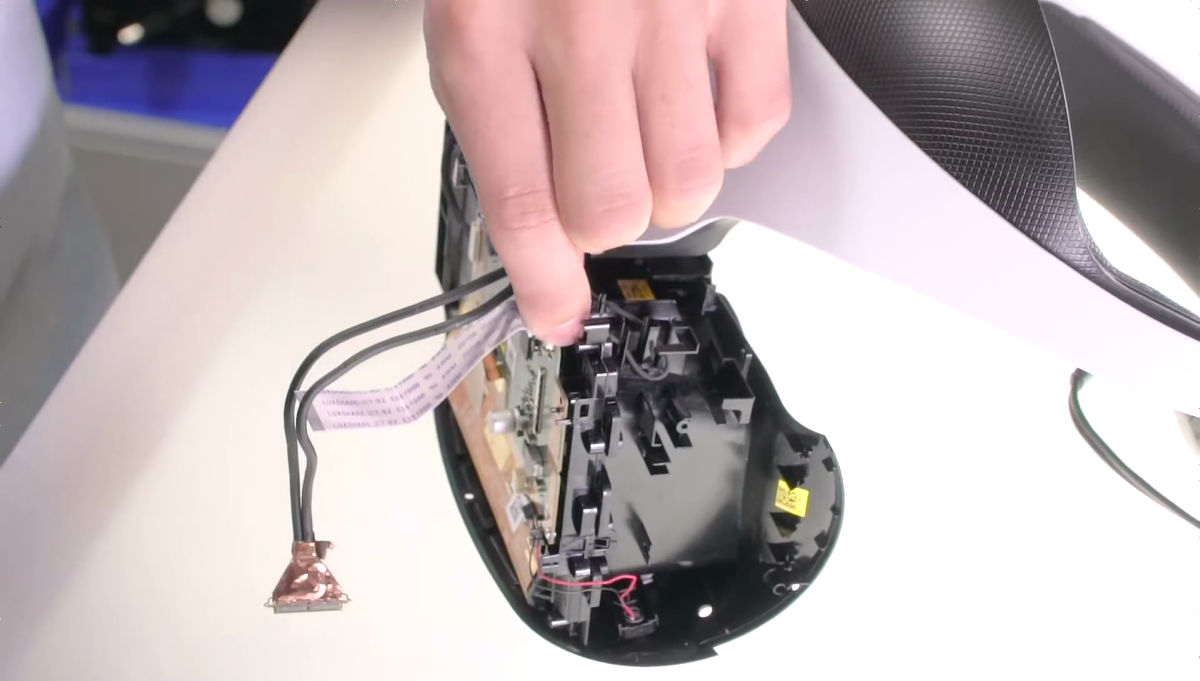
Removing the connector ... ....
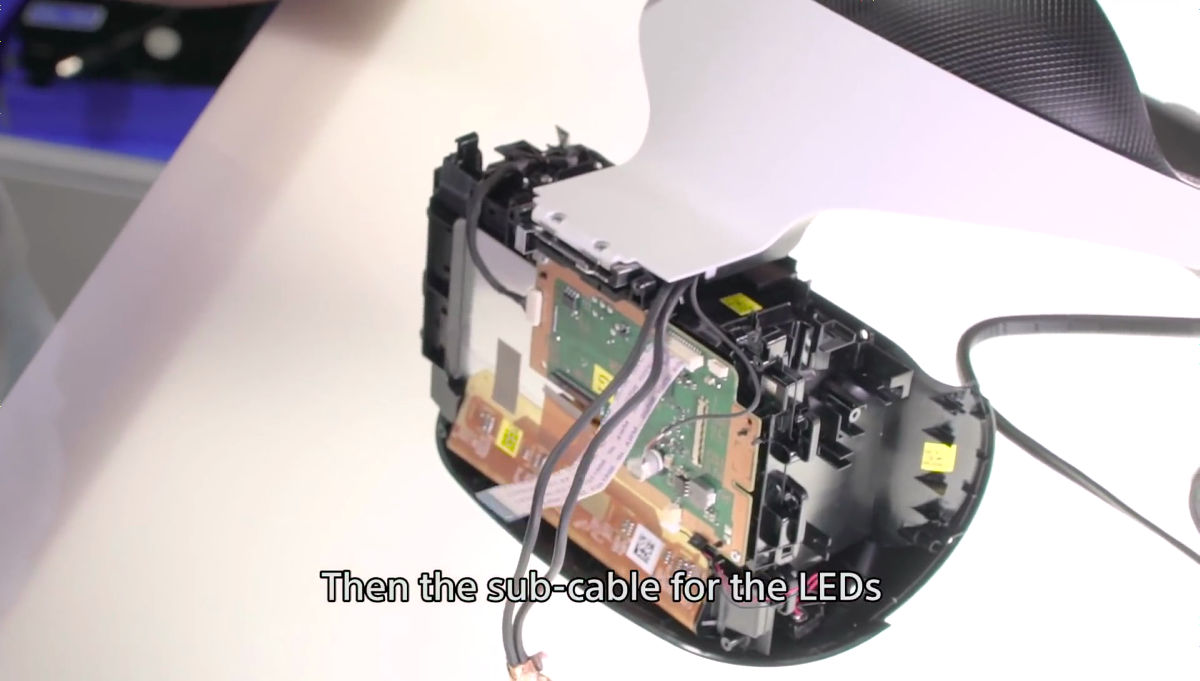
Allow the cable for the LED to be removed.
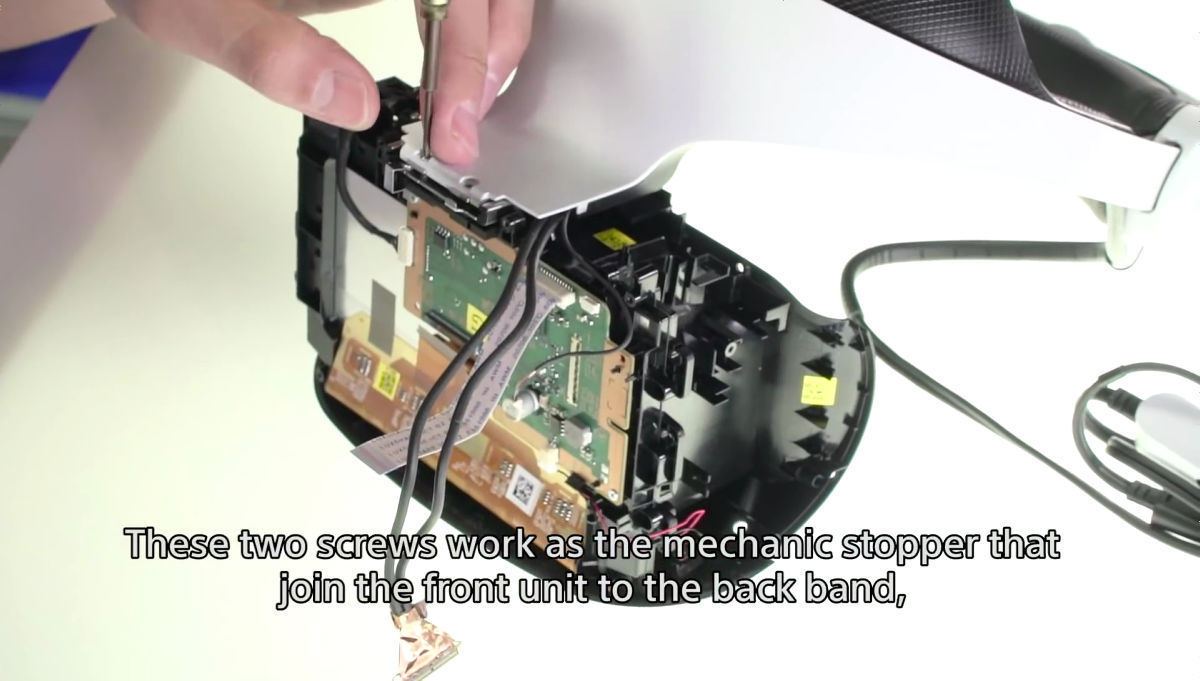
Removing the screw connecting the front unit and the backband ......
The front unit and the back band were separated.
Next is the unit with IR sensor and motion sensor installed.
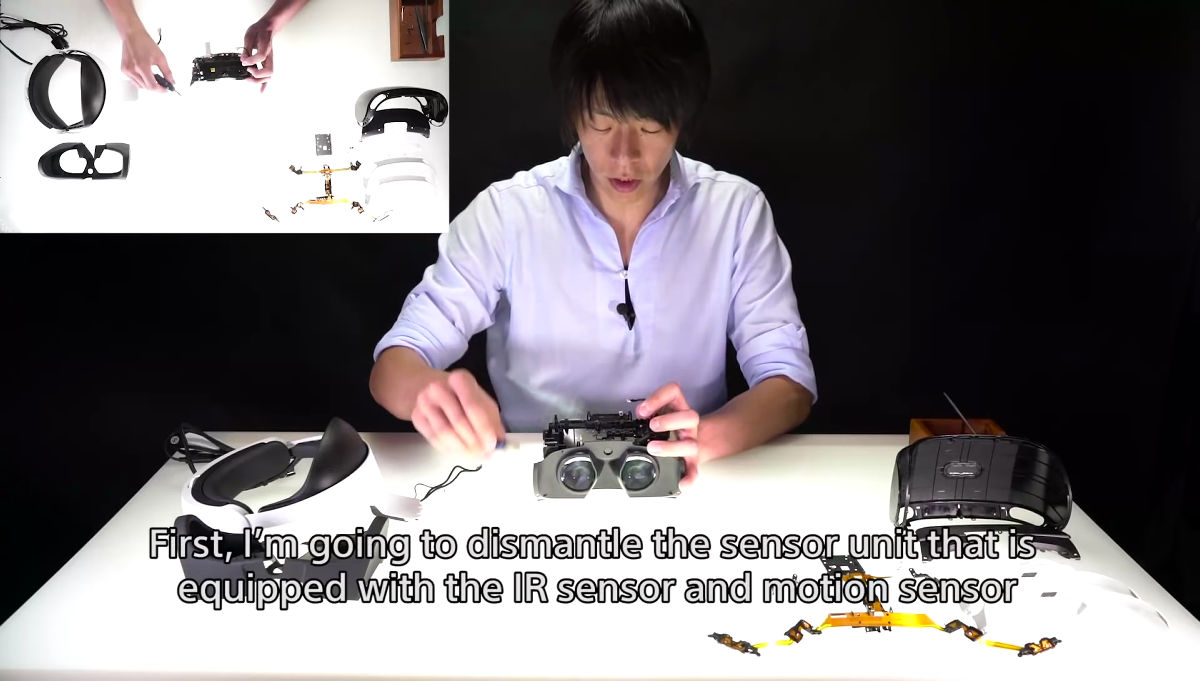
Since the IR sensor and the motion sensor are only attached with one screw, you can remove it only by removing the screw.

Next is the removal of parts related to the lever on the side.
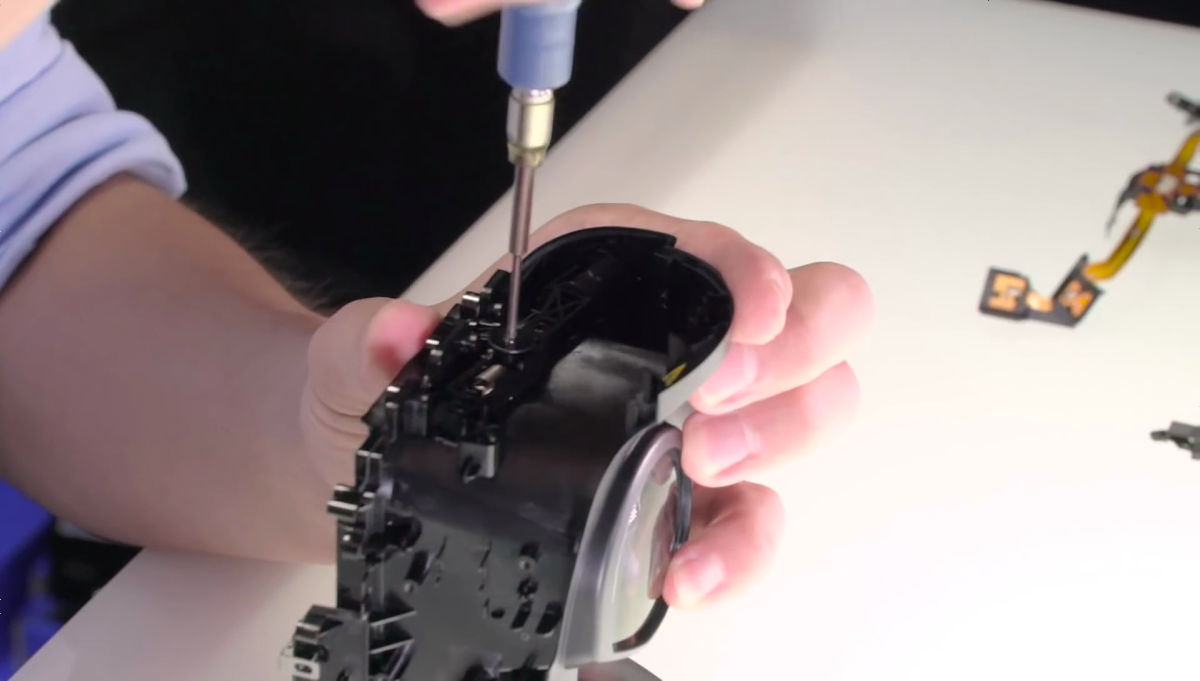
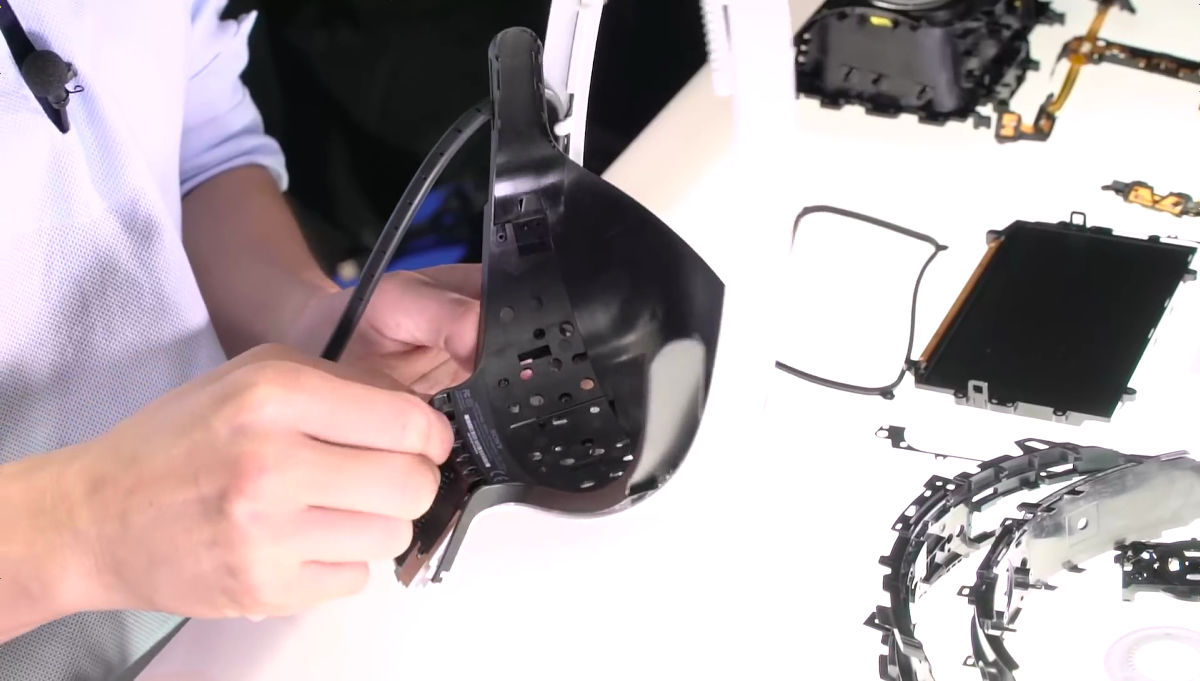
After removing all parts related to the lever, the next is a base and a microphone unit. If you remove the connector connected to the panel, you can remove the board just by removing the screw afterwards.
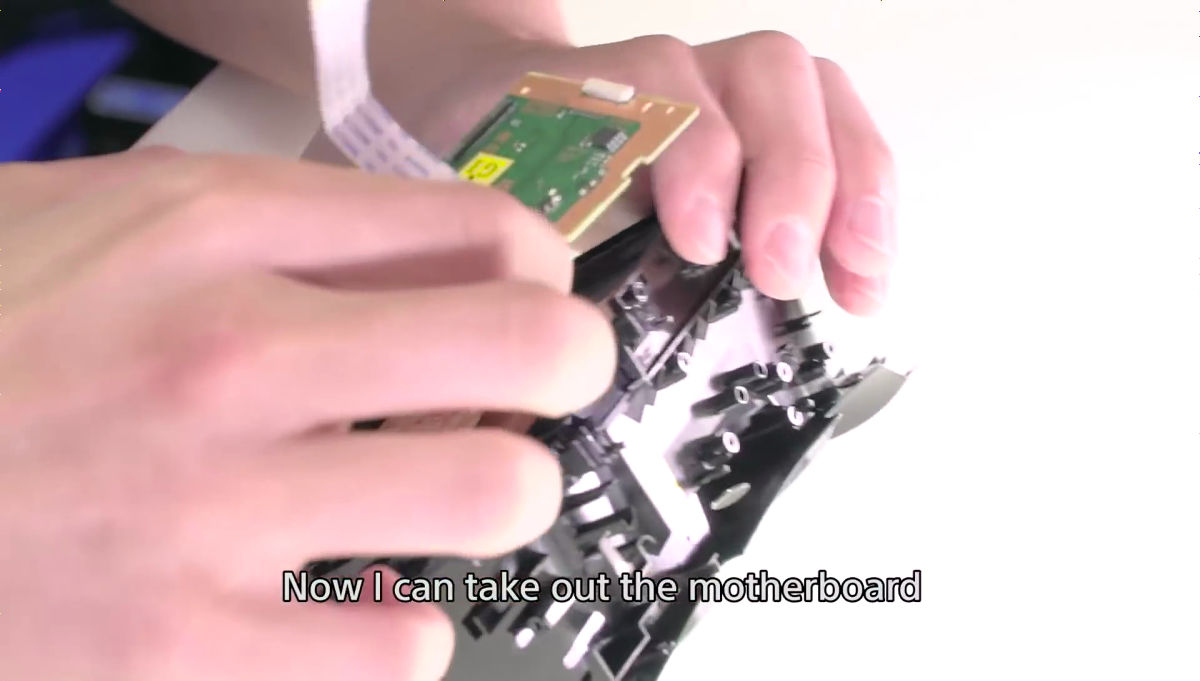
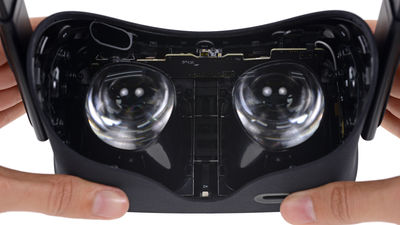
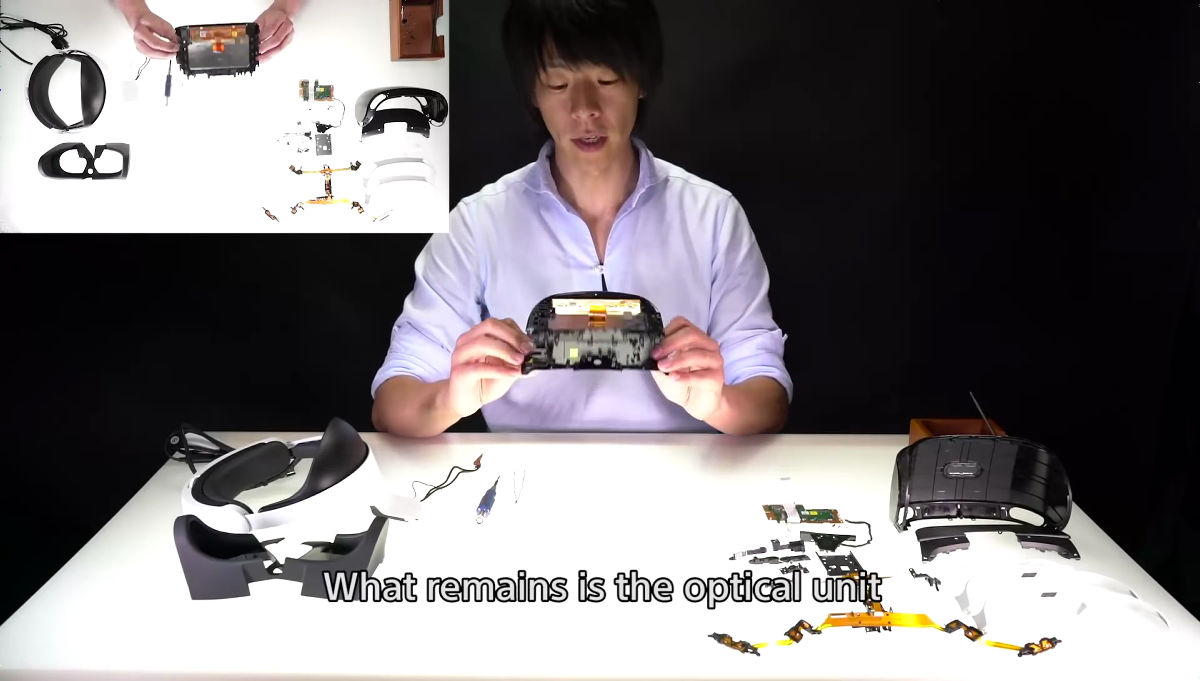
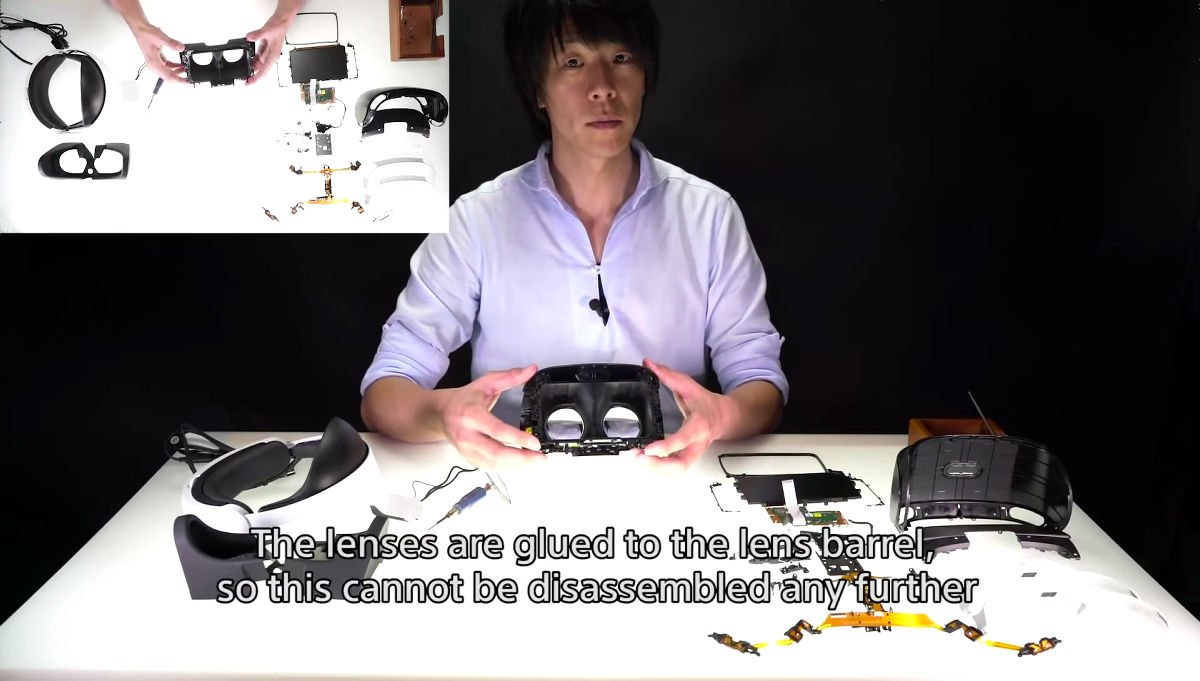
Only the unit of the optics system remains when removing the foundation.
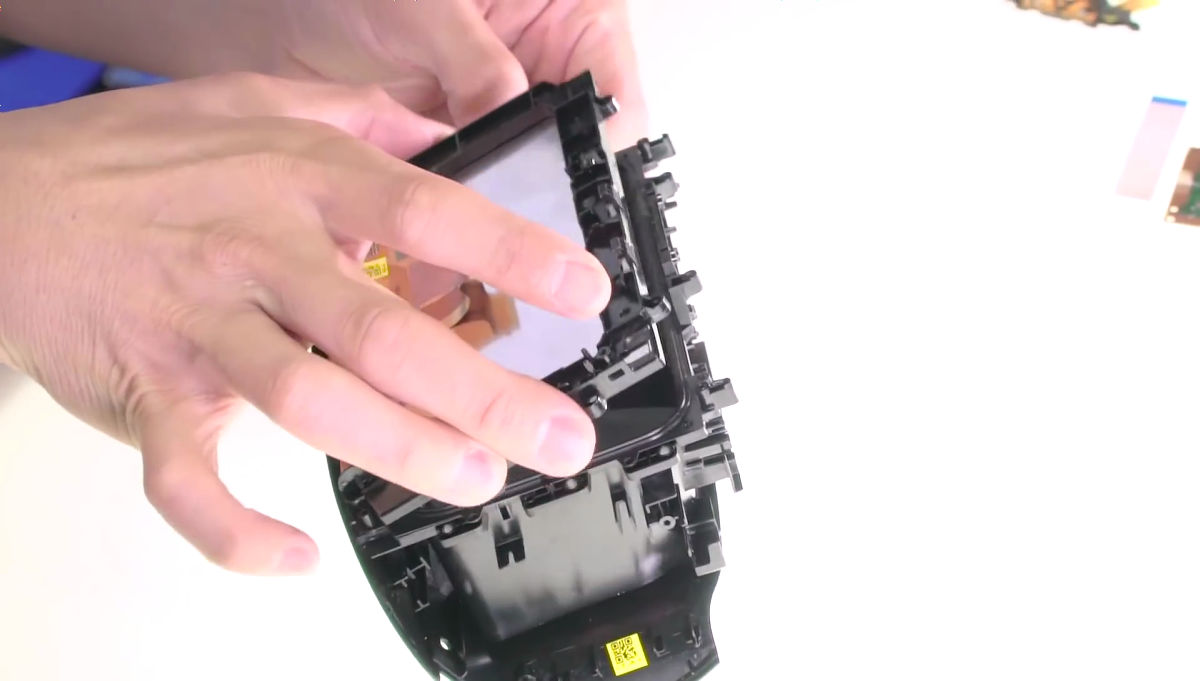
First off the panel ... ...
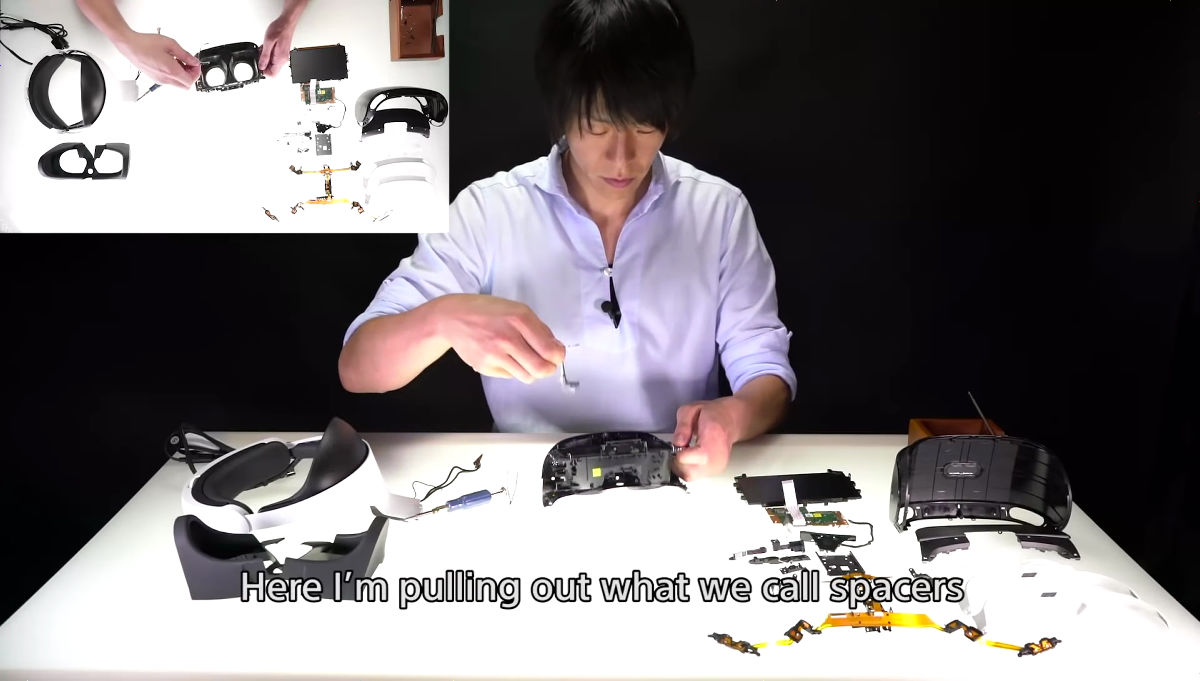
Remove the part called the spacer (right hand).
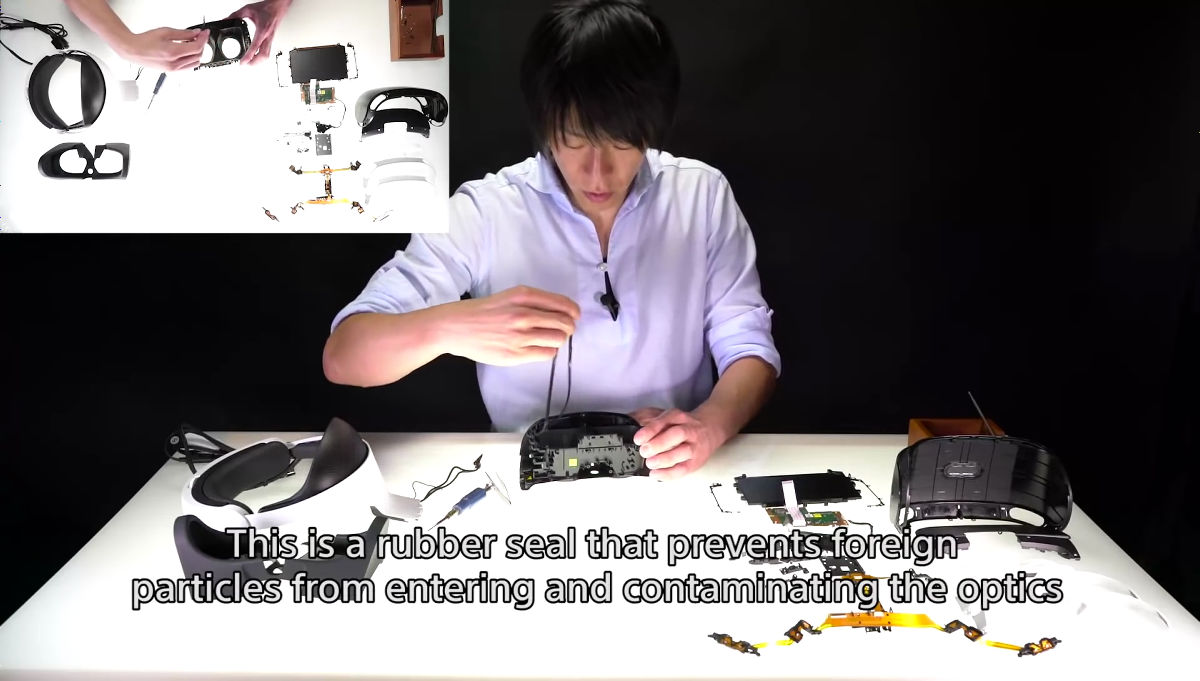
Peel and peel off the packing parts to prevent contamination.
Since the lens is bonded to the main body, decomposition of the front part is completed with this.
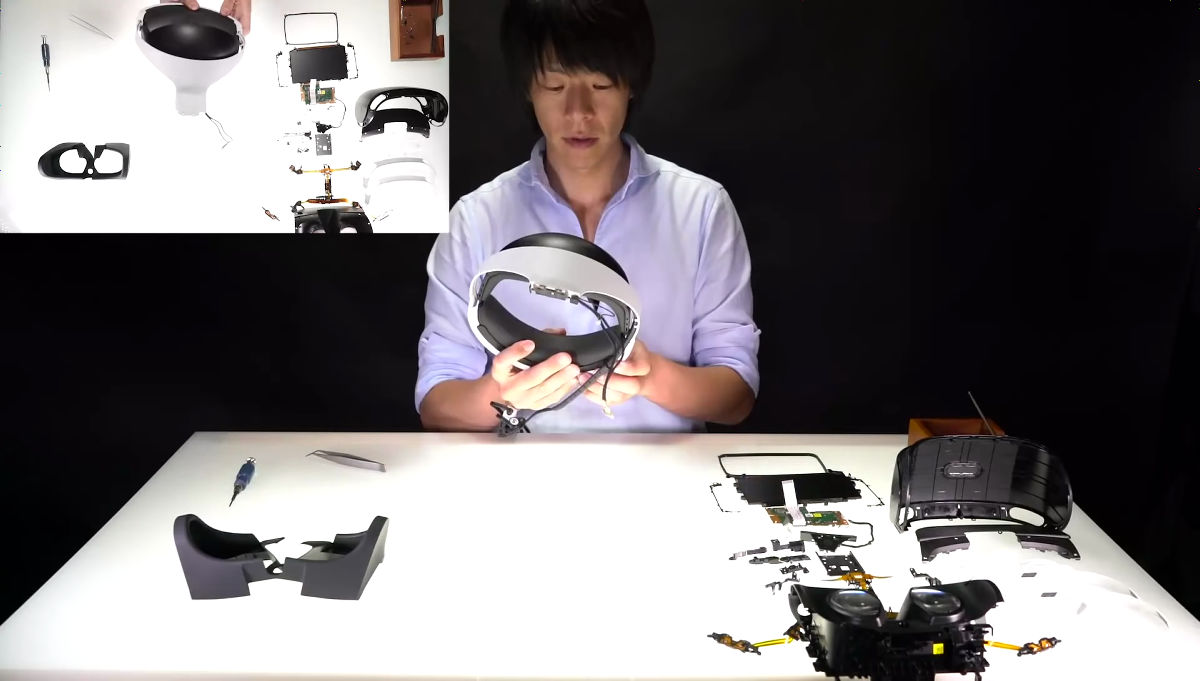
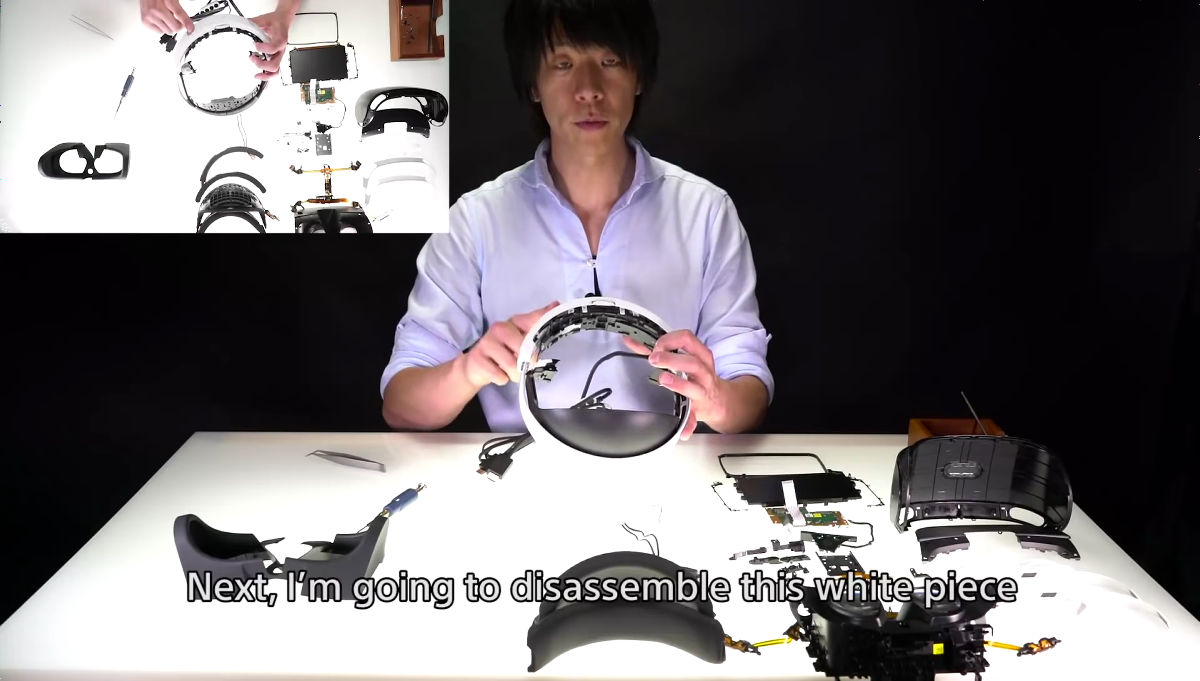
Next is the decomposition of the backband
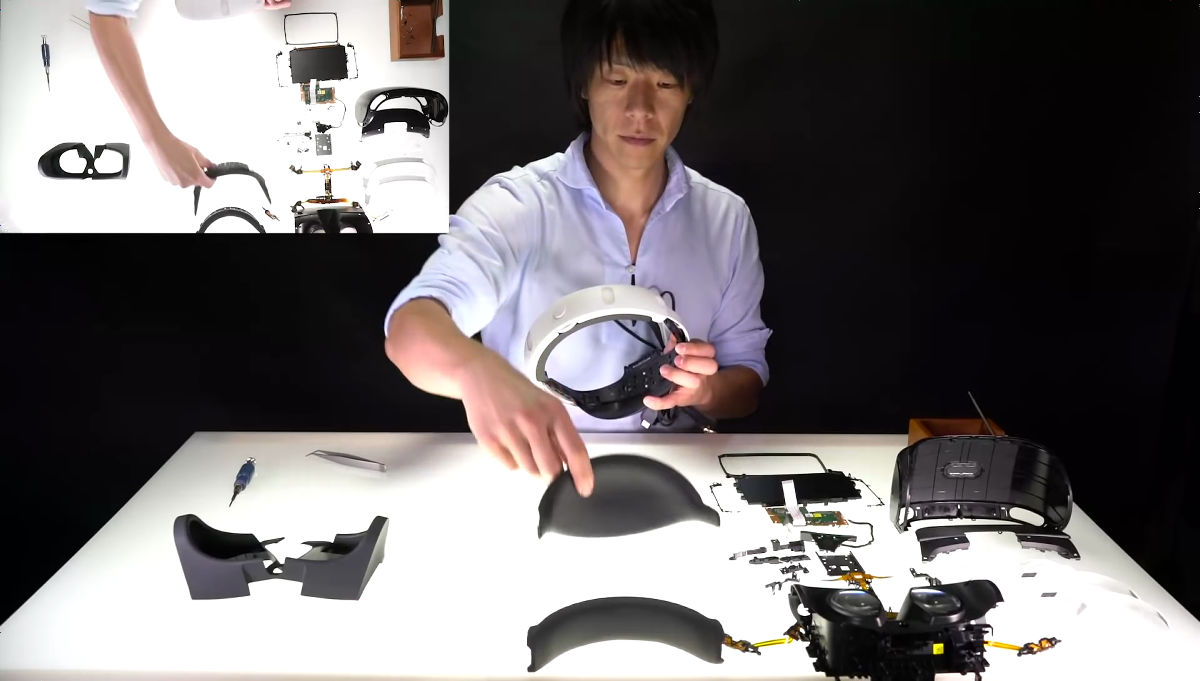
Remove the cushion part stuck in the patching structure with crackle.
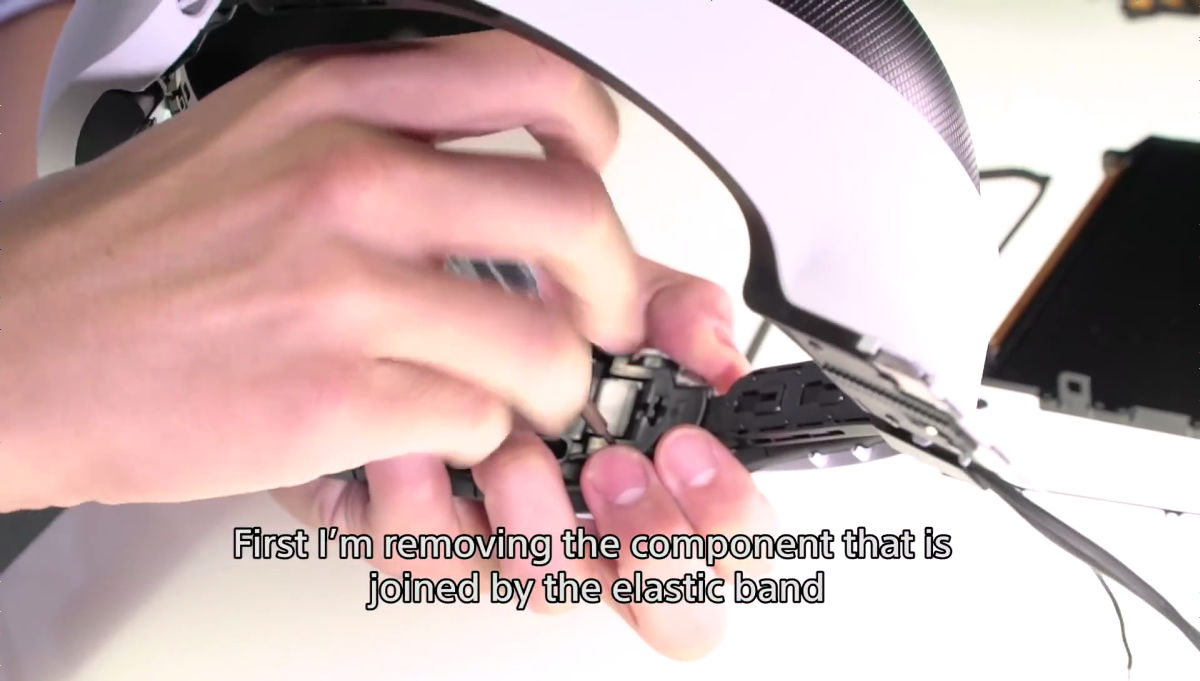
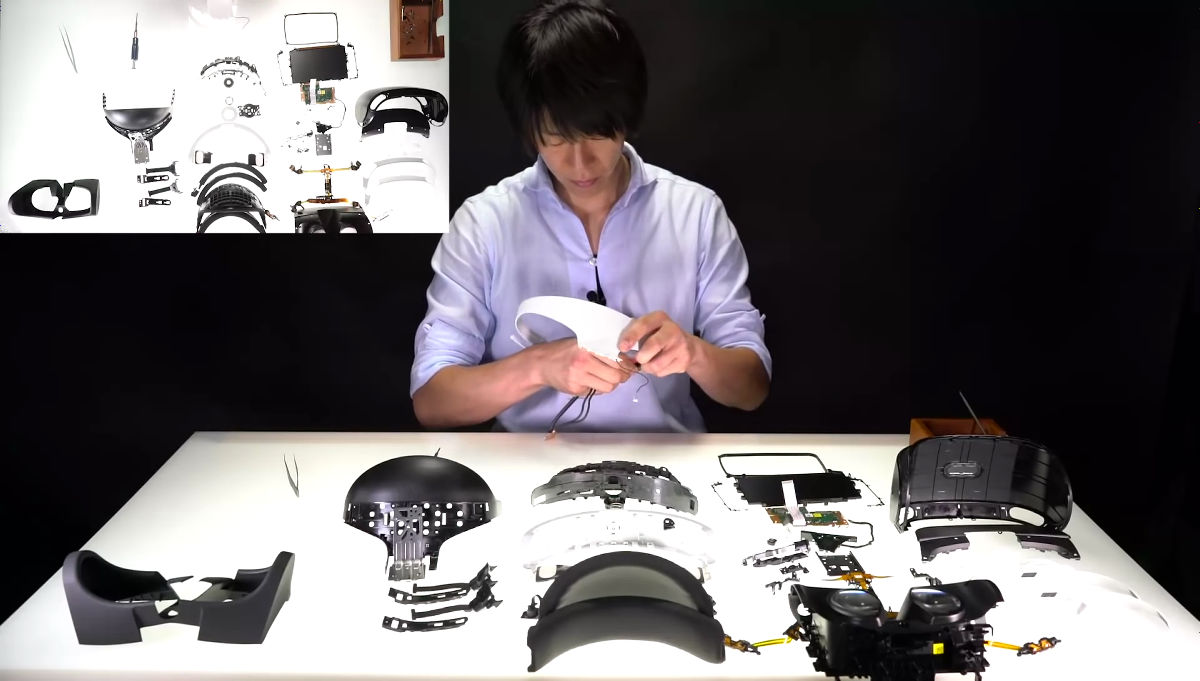
Disassemble the back of the backband after removing the cushion. Disassemble parts fastened with rubber band with a screwdriver.
Removing upper and lower decorative parts ......
Now we can decompose the white part.
The white part will become removable by hand when all screws that are fastened are removed.
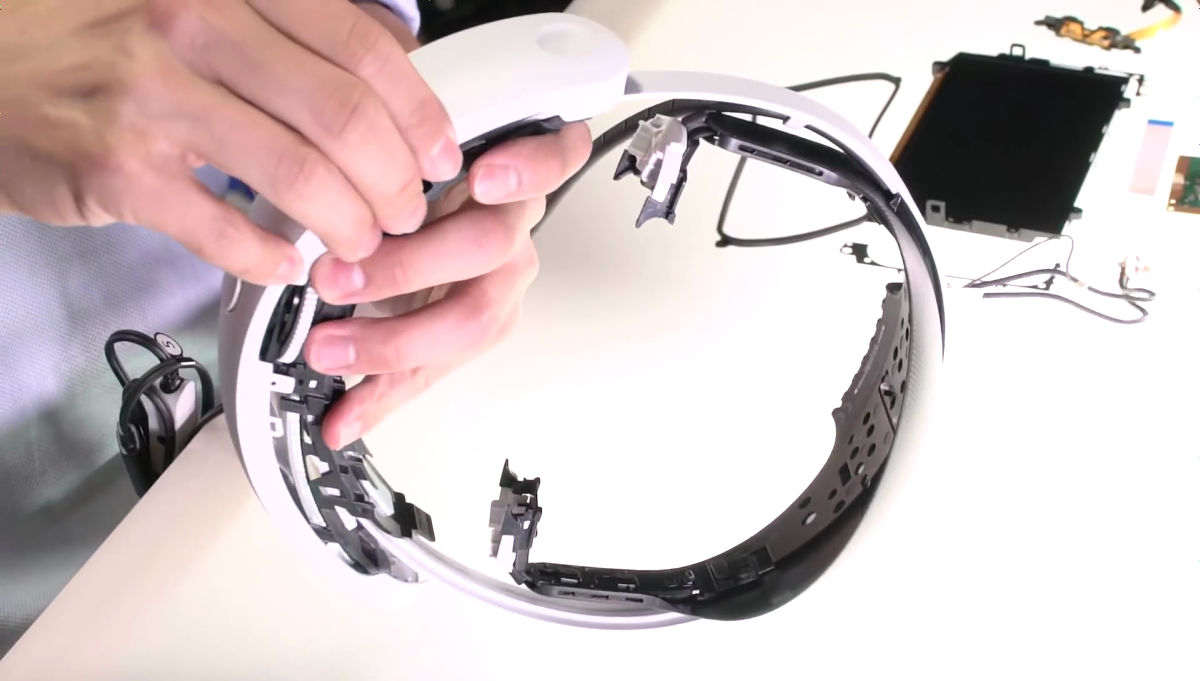
Since the white part is connected by a cable, if it is detached with tweezers it is OK.
With this you can remove the white part.
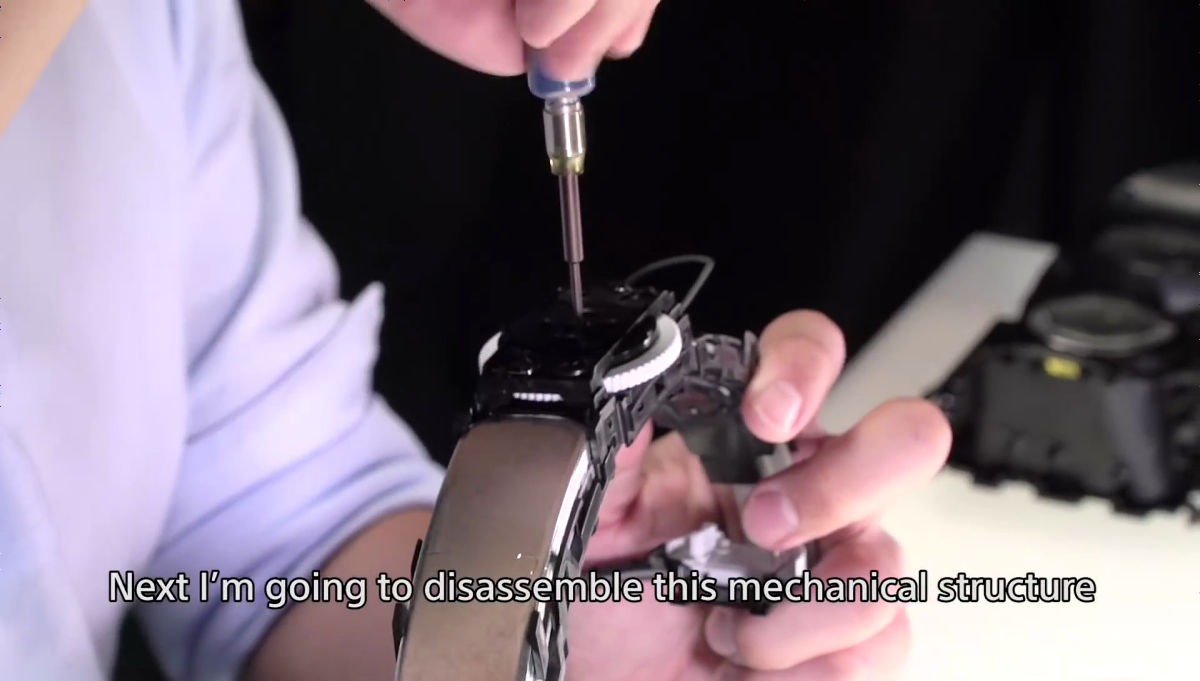
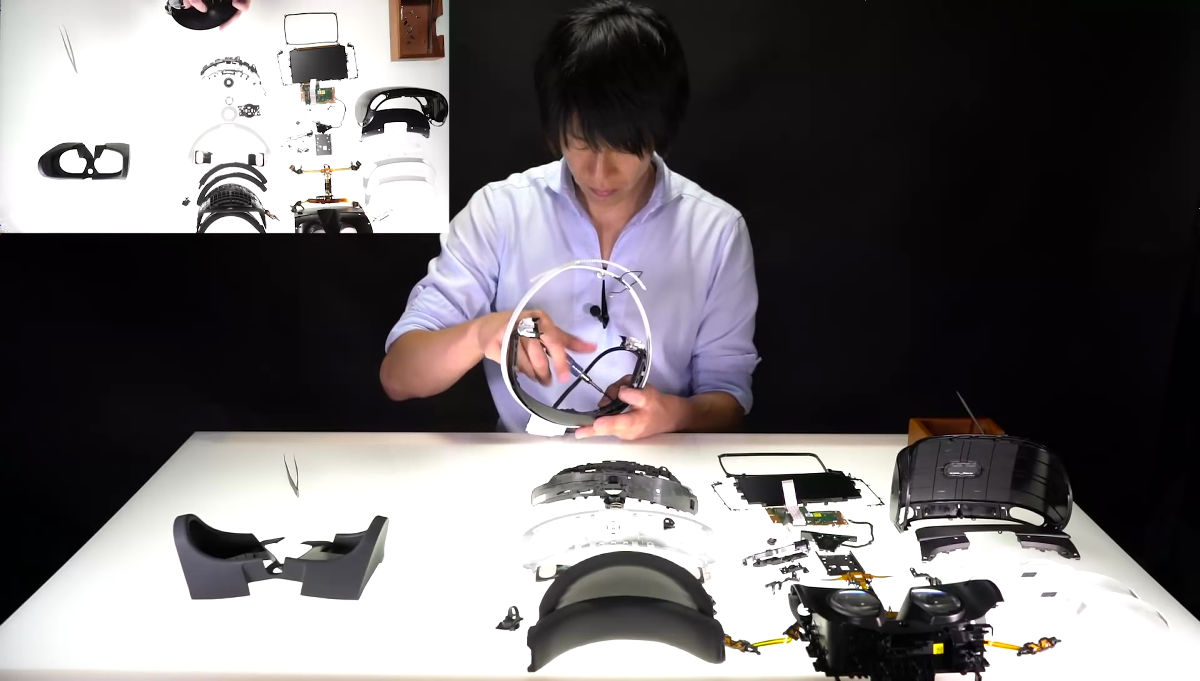
Next it breaks down the mechanical structure embedded in the back of the band.
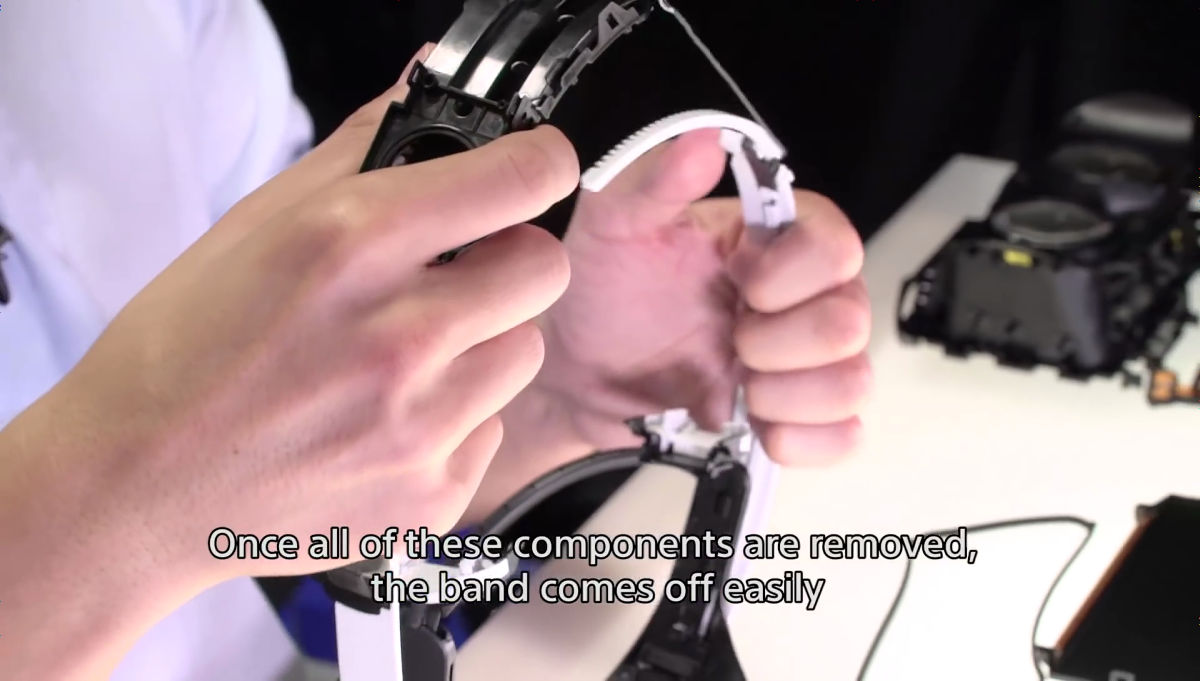
Removing the dial and spring ... ....
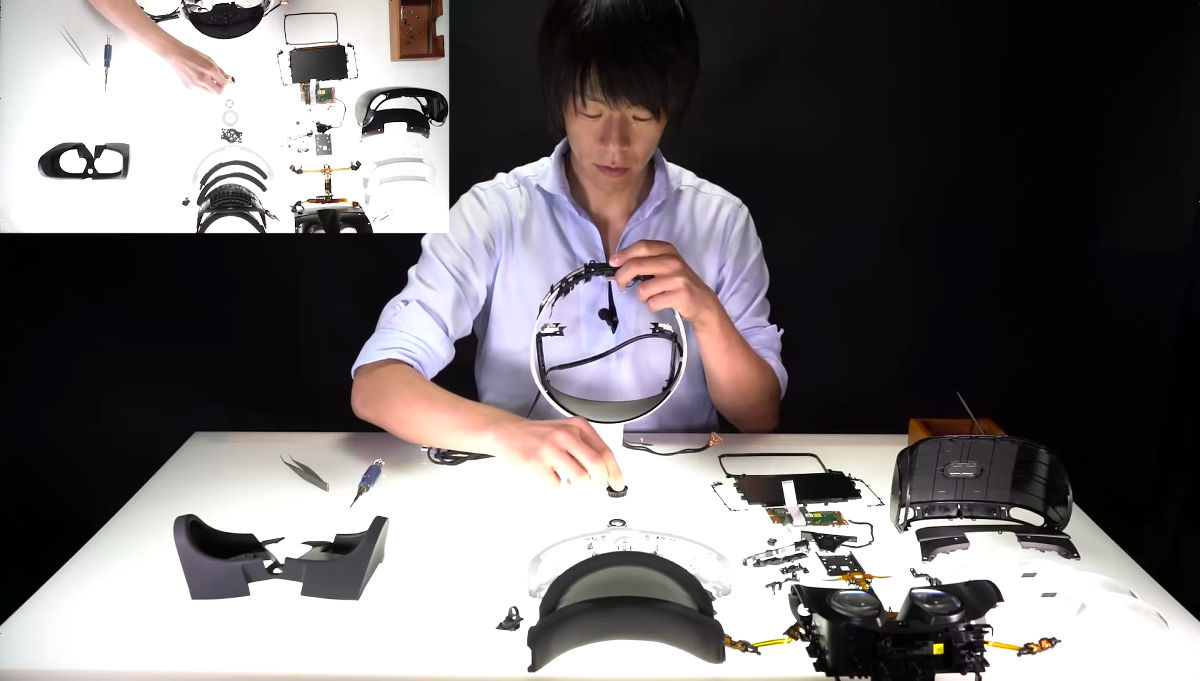
The band will be able to be removed with a throu.
Disassemble the removed band by removing the screw with a screwdriver.
Removing the rear band LED unit.
Next is the decomposition of the front part of the band
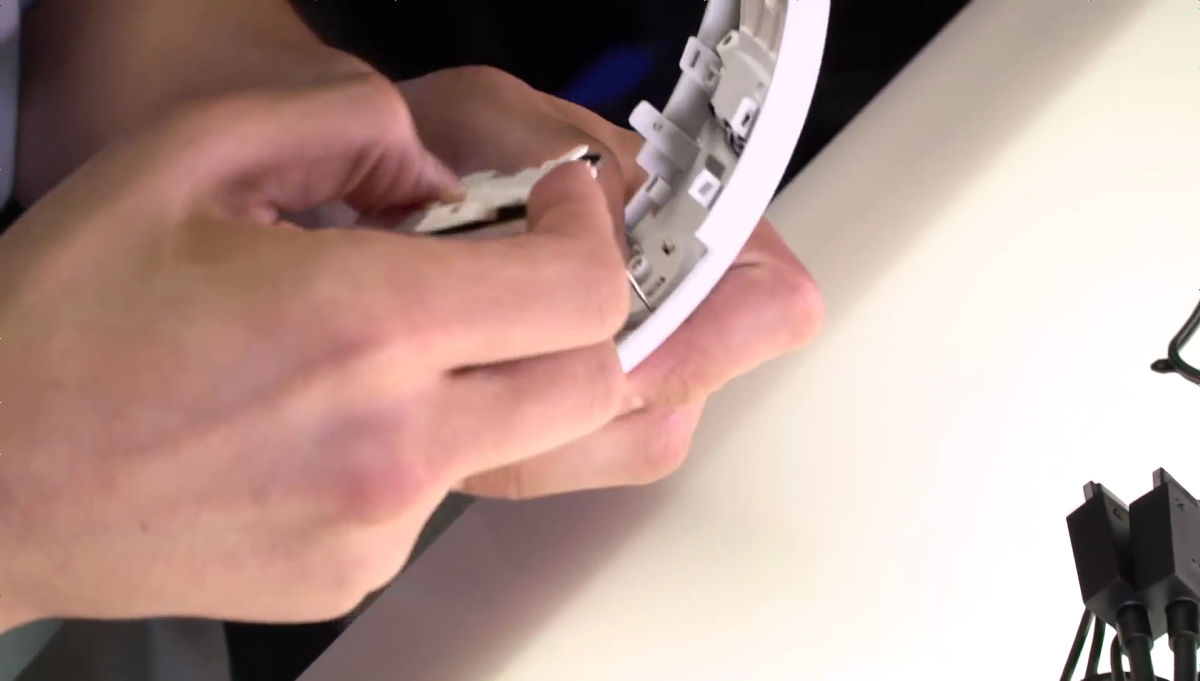
Remove each part with a screwdriver.
Taking all the screws will allow you to remove the black cover by hand.
If you remove the slider sheet metal that was buried under the black cover by hand ......
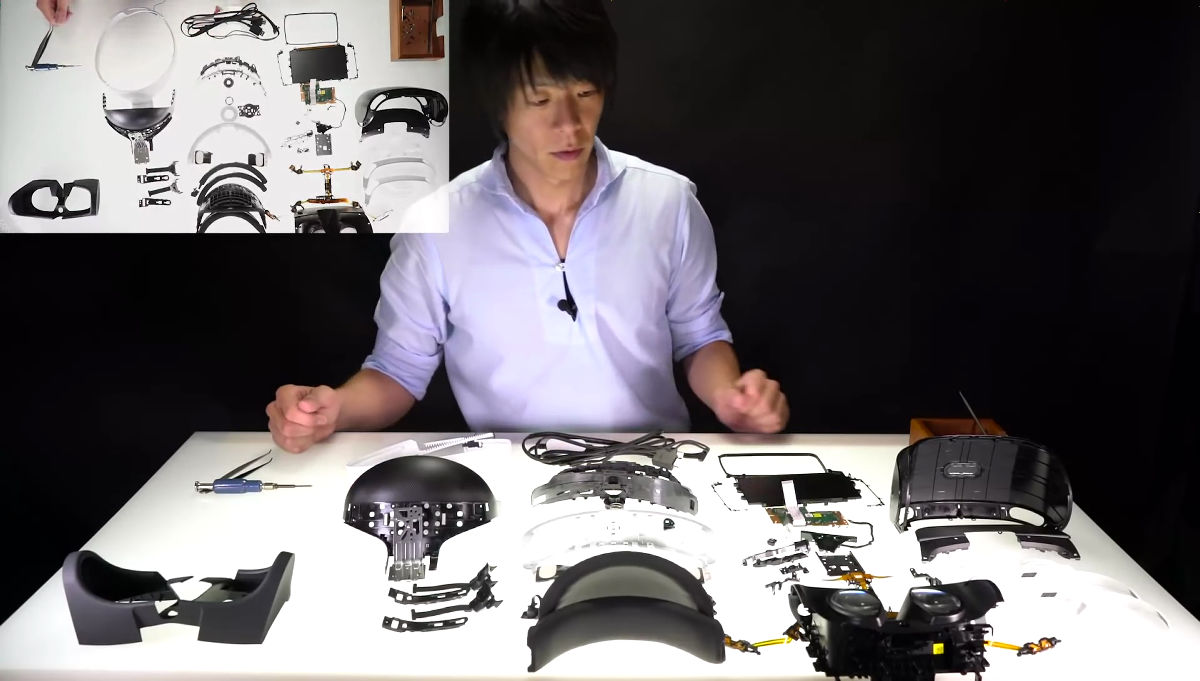
You will be able to remove the remaining cable last.
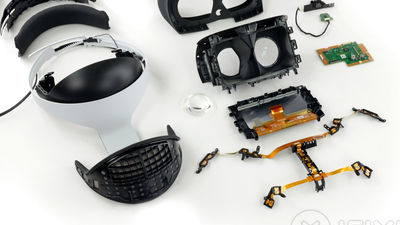
This completes all disassembly.
Related Posts: