Disassemble "PS VR" apart, how much is repair difficulty?
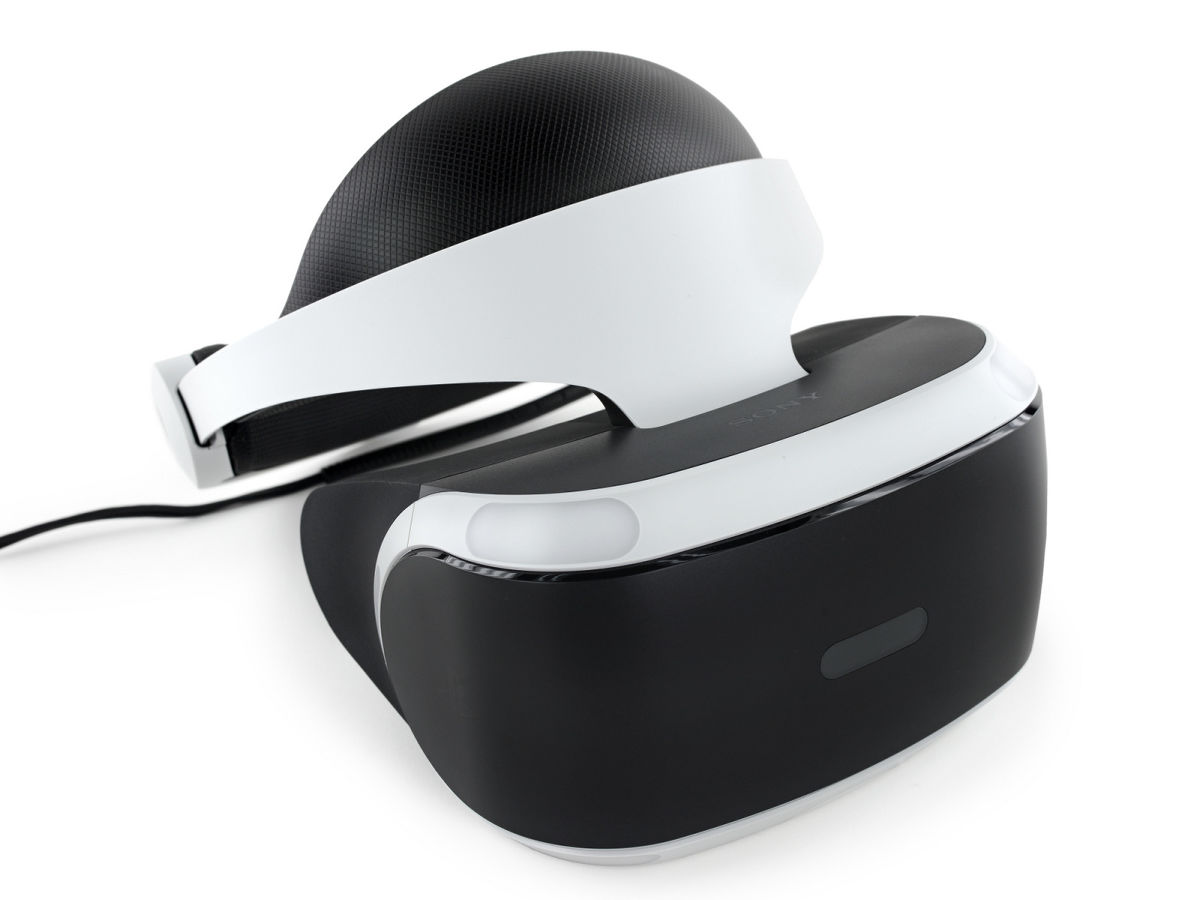
A VR headset that allows you to enjoy virtual space simply by connecting to PlayStation 4PlayStation VR(PS VR) "was released on October 13, 2016, but the article is still out of stock Even though it is out of stock popularity has gained popularity. I valued PS VR, disassembling the latest gadget immediately after release iFixit is disassembled, we disclose the contents and repair difficulty that is anxious.
PlayStation VR Teardown - iFixit
https://www.ifixit.com/Teardown/PlayStation+VR+Teardown/69341
PS VR to be decomposed.
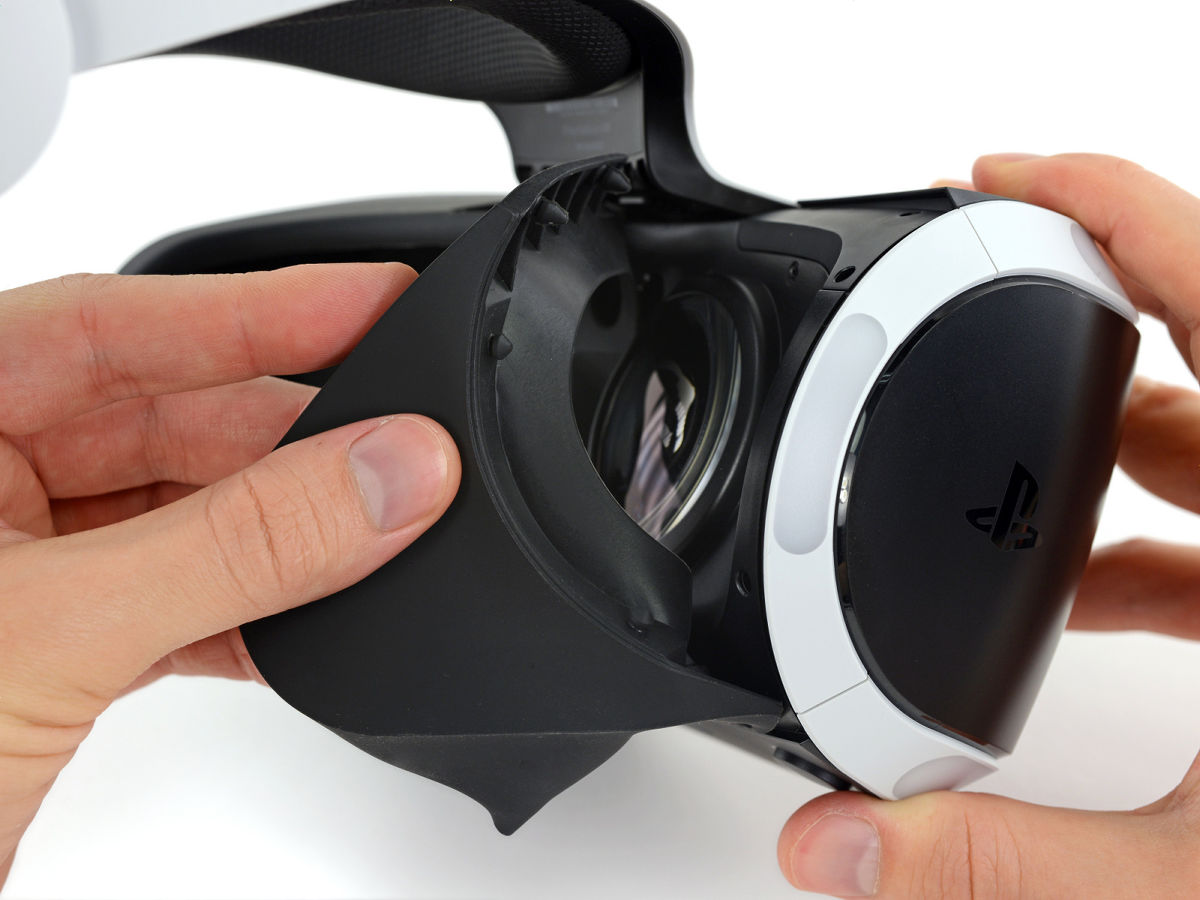
First of all, we will remove it from rubber shading parts attached inside the goggle part. It is said that users can also remove light shielding parts.
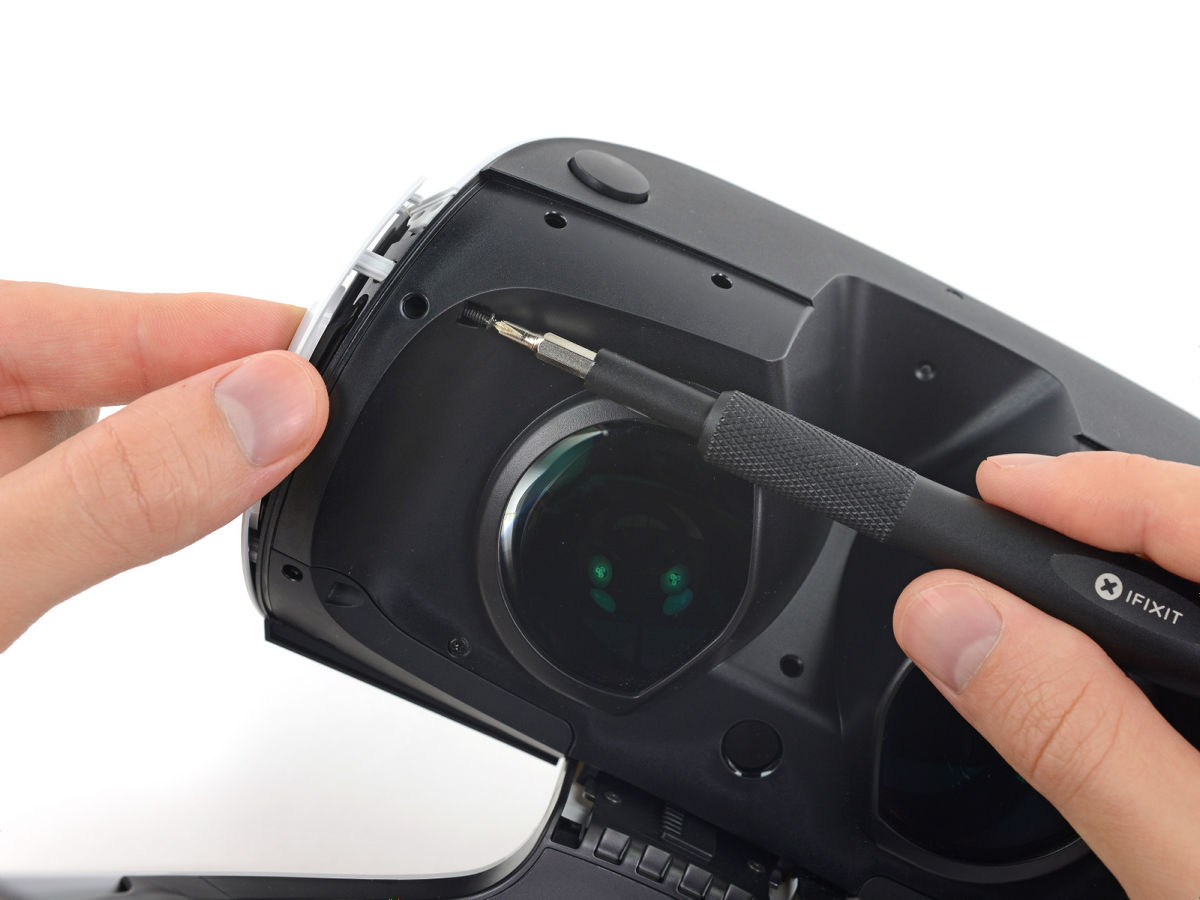
Next, remove the JIS standard screws on the inside with a screwdriver.
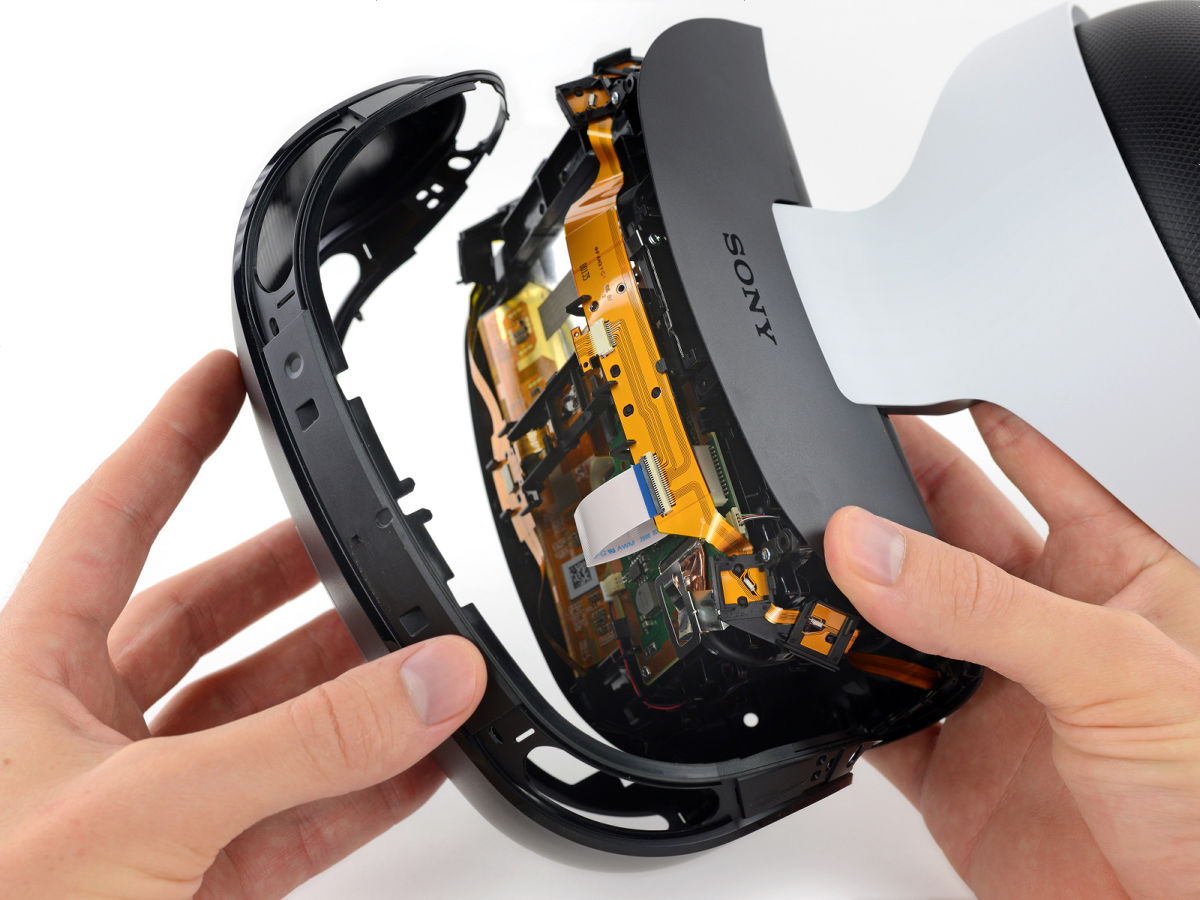
Pick up and remove the white decorative part around the goggle part with luck and ...

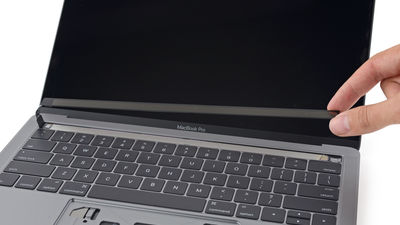
When the decorative part was removed, the inside of the PS VR became fully visible as the front panel disengaged.
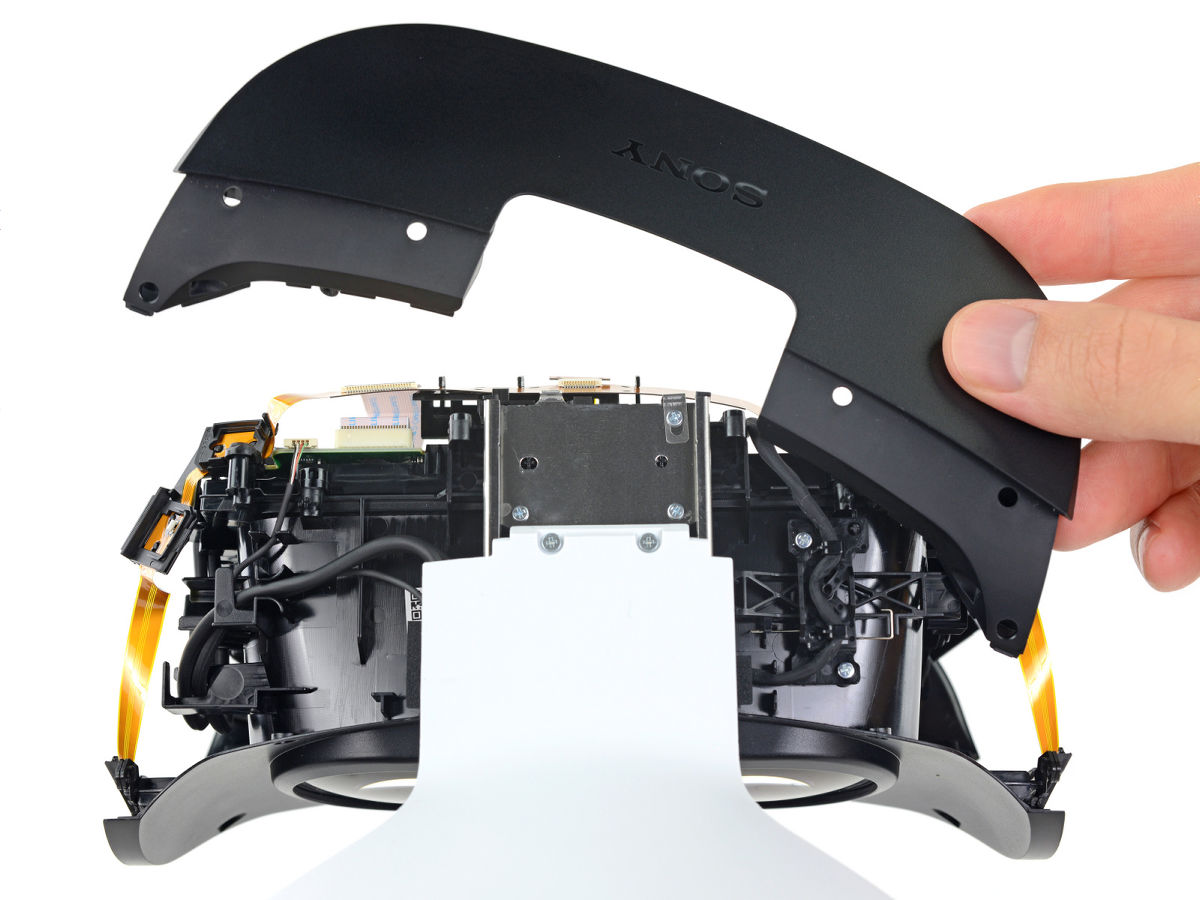
After removing the top panel on the top by hand ... ...
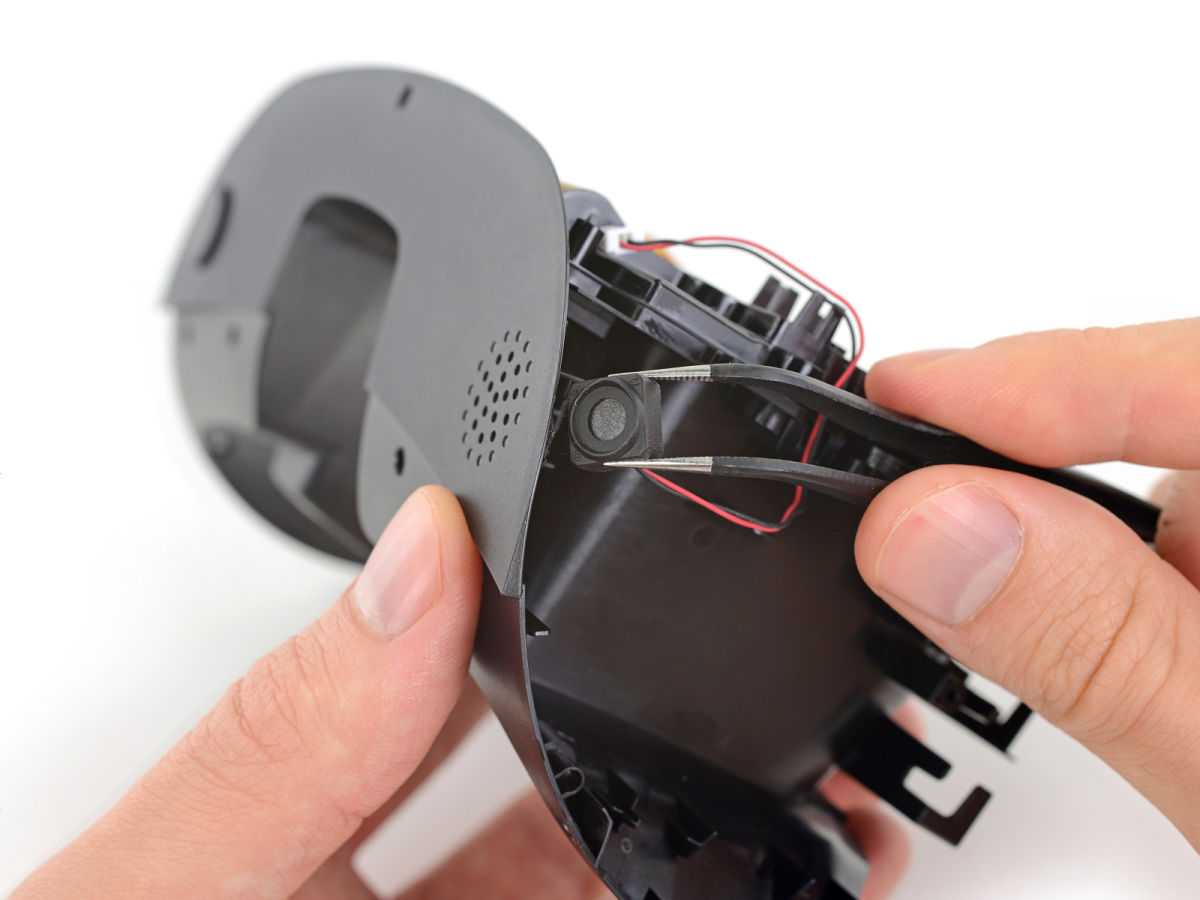
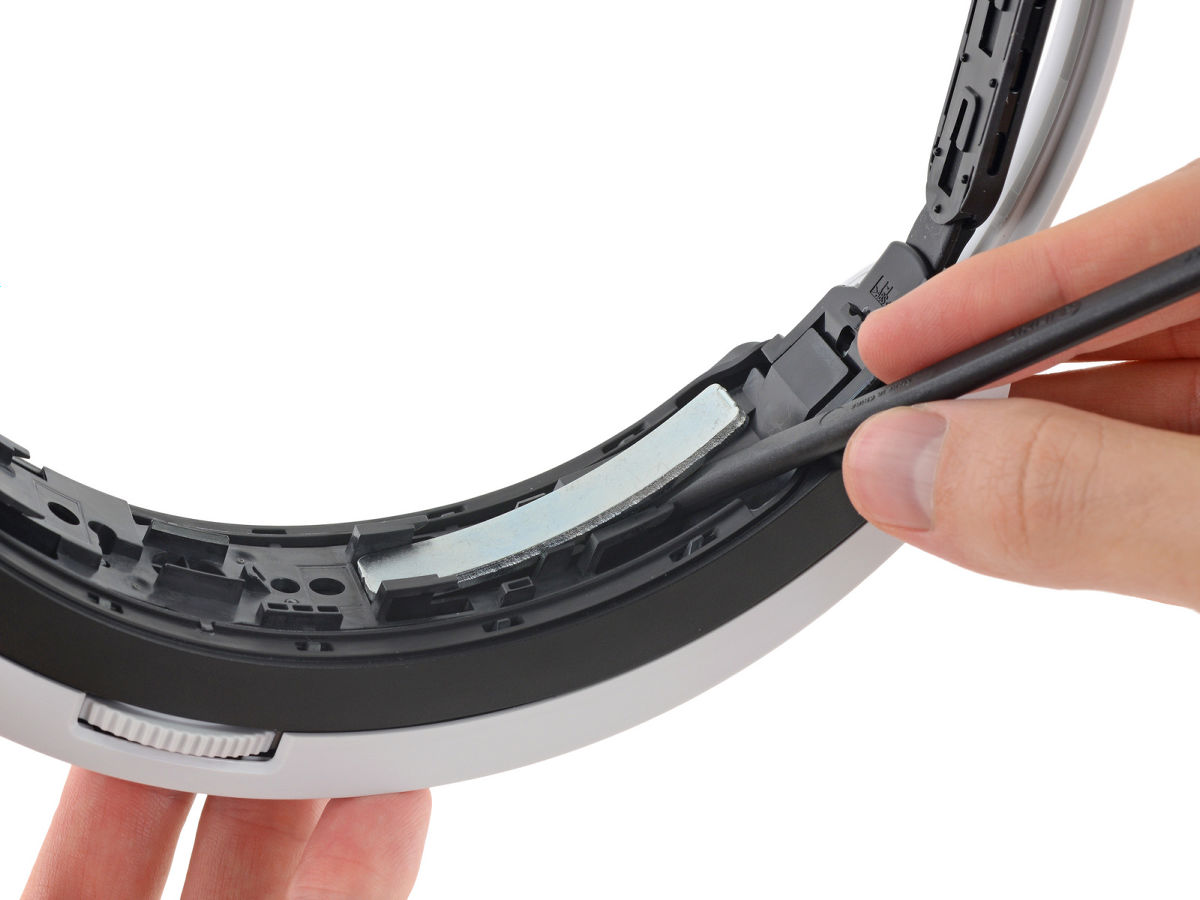
Using tweezers remove the LED attached to the goggle part. However, there are seven LEDs in all in the goggle part, all of which are connected by units, so it is necessary to be careful.
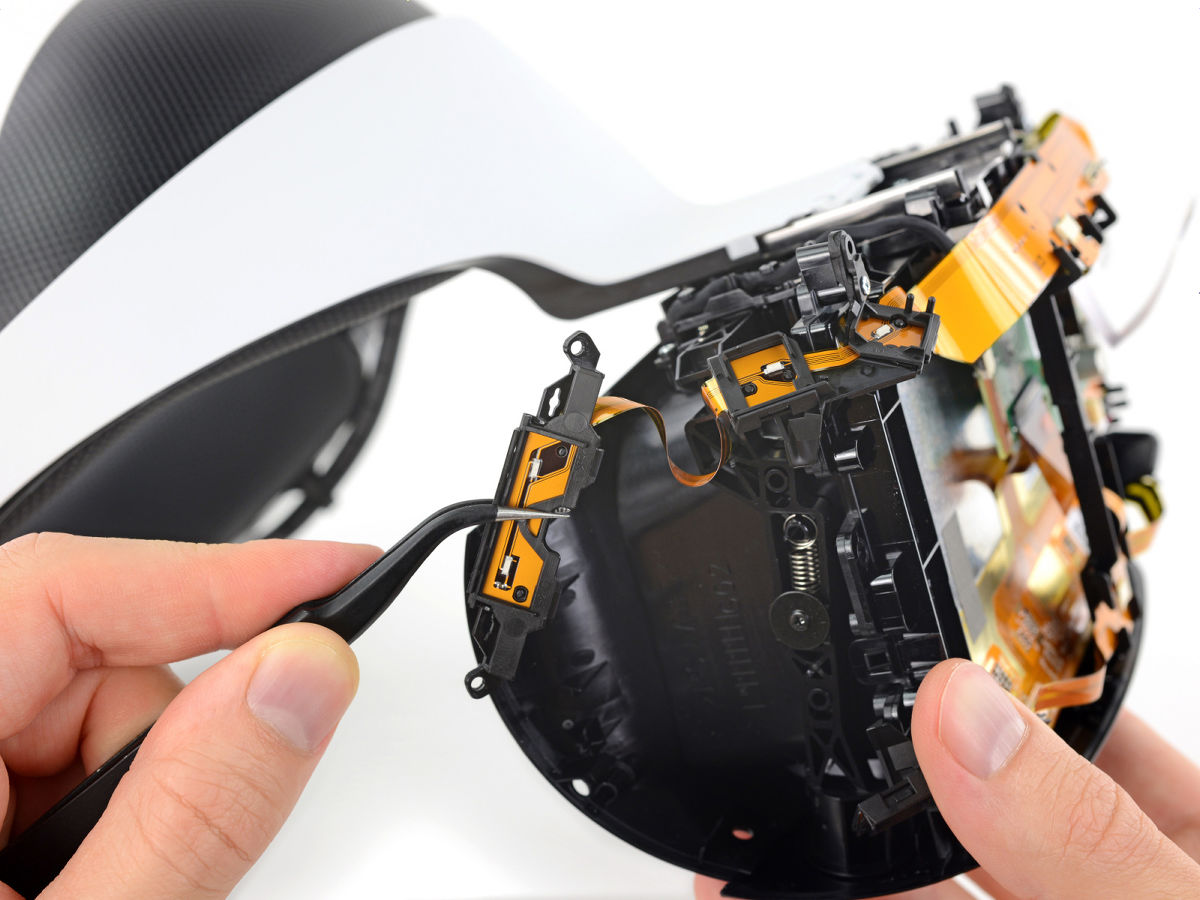
The unit carrying the LED was disconnected. This LED is used to track the movement of PS VR.
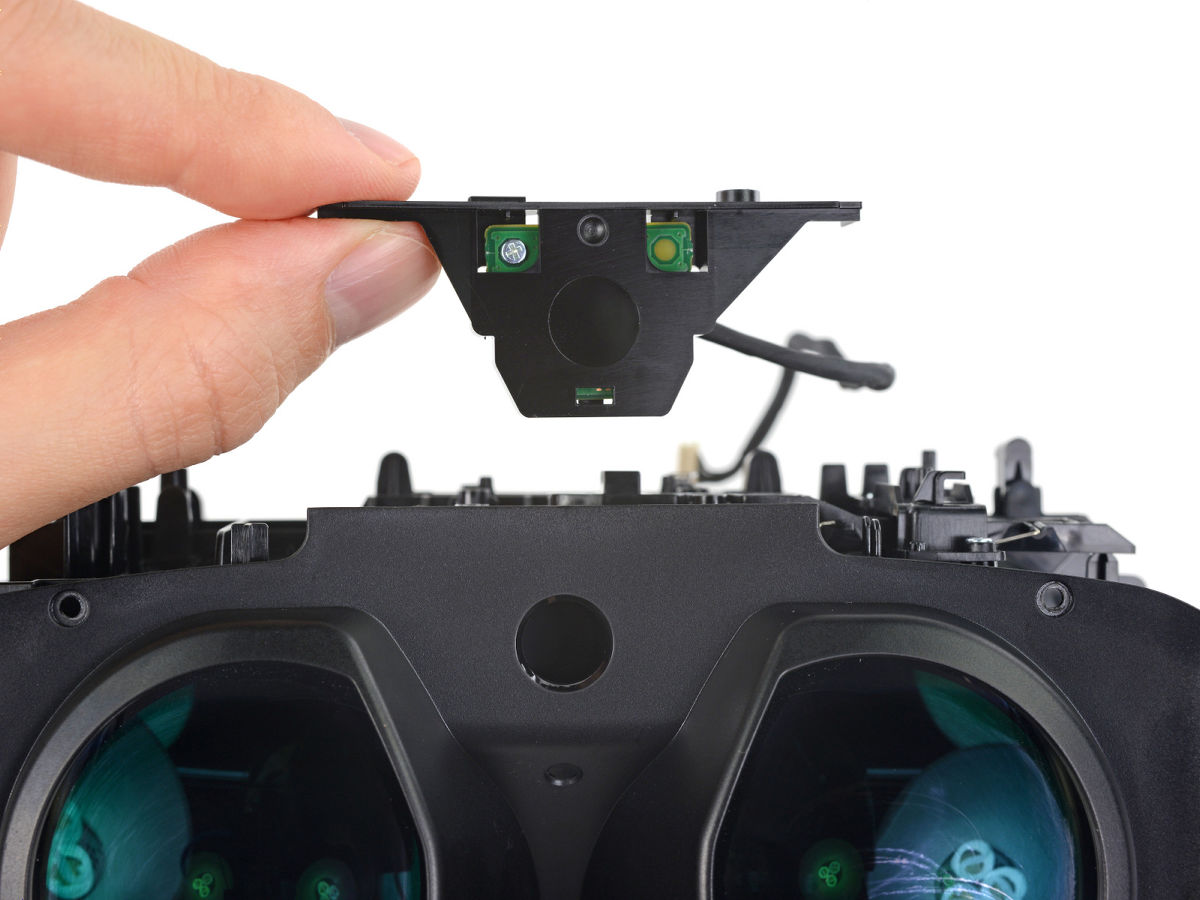
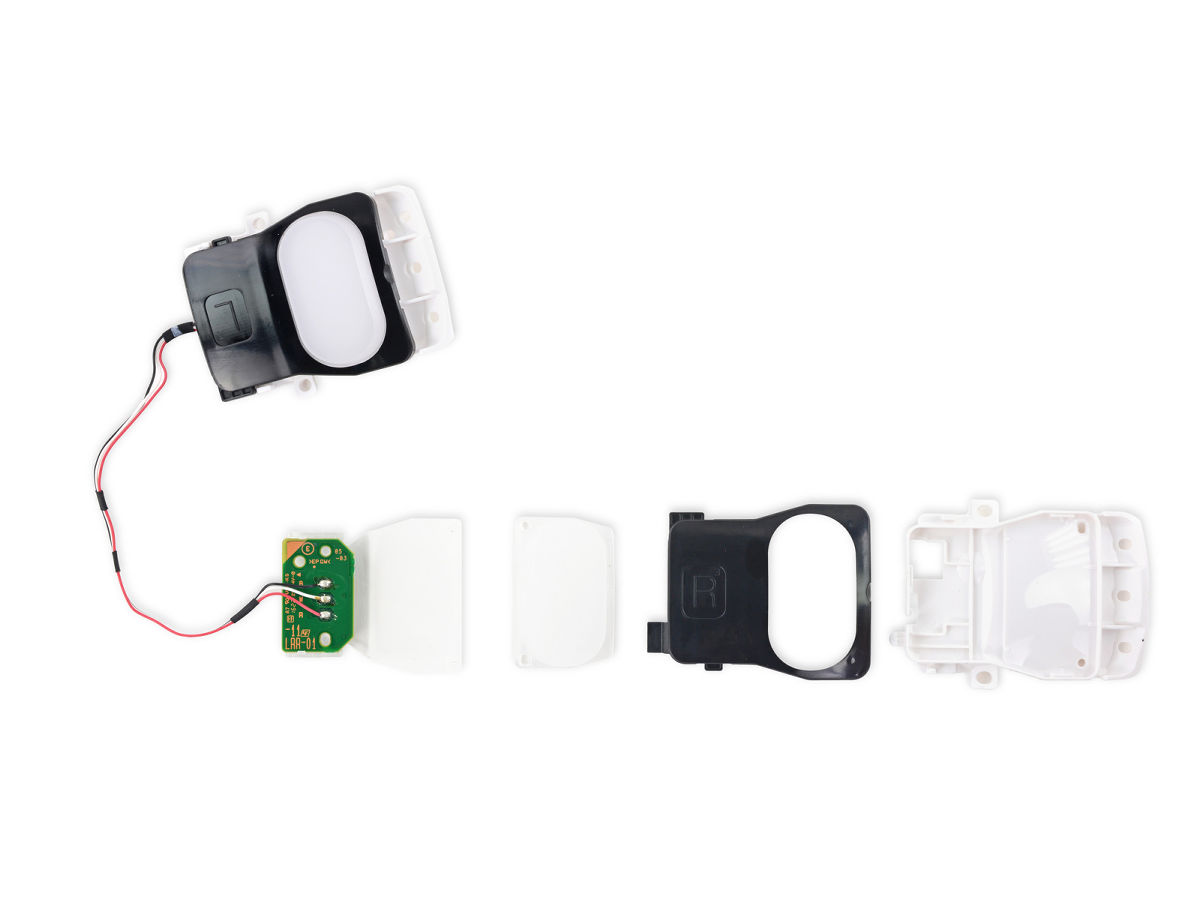
This is the unit removed.

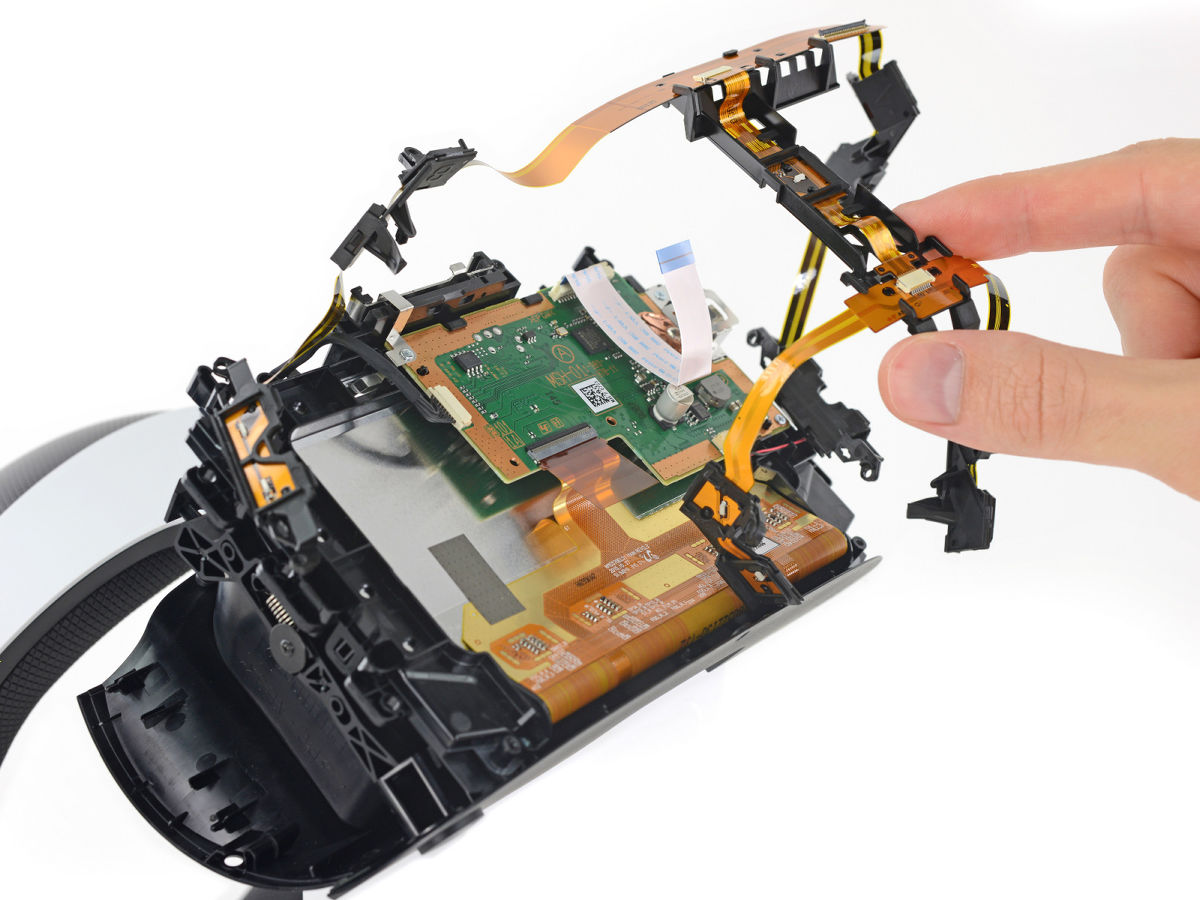
Because the headband and the goggle part are connected by two cables ......
Remove these two cables from the board by hand.
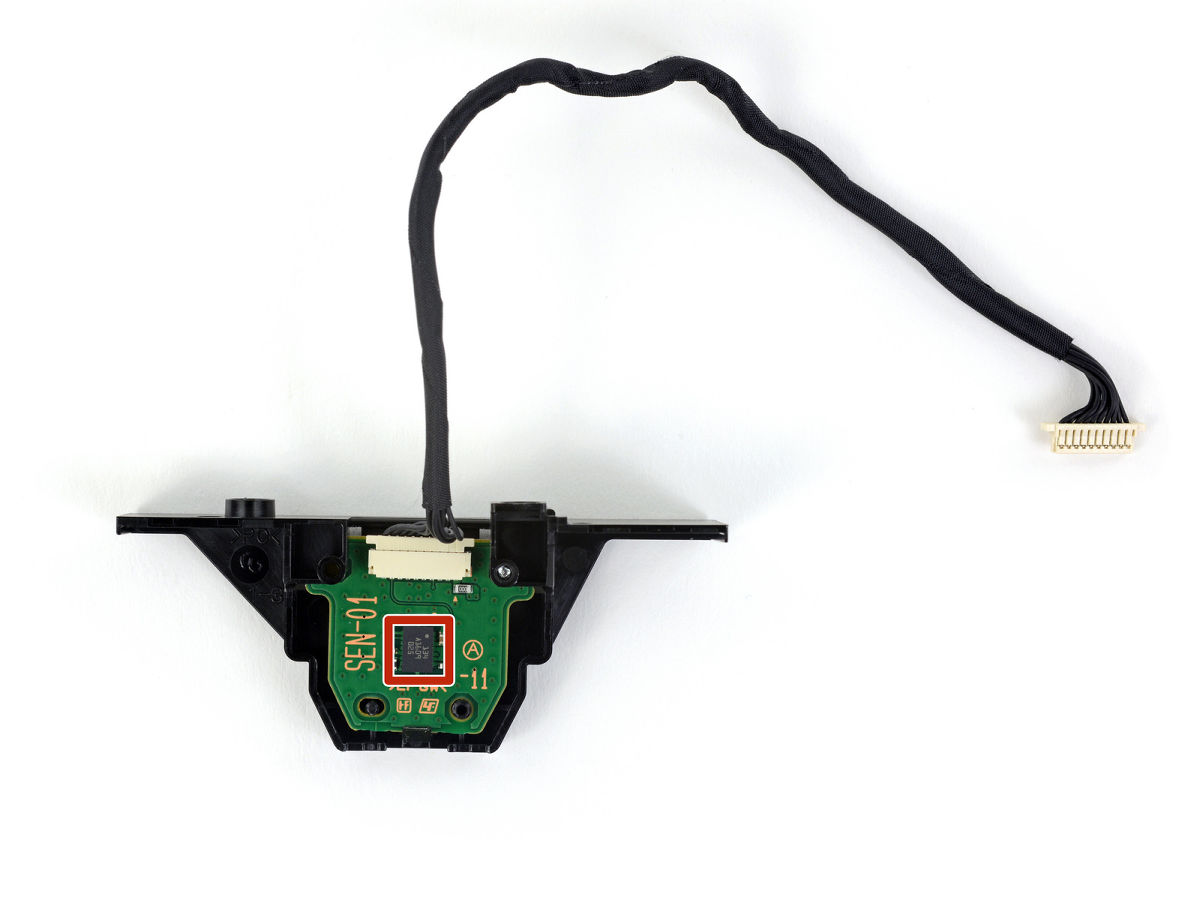
A mystery part attached to goggles.
Mysterious parts include Bosch's inertial measurement device (IMU) that detects angular velocity and acceleration(PDF)BMI 055It was attached.
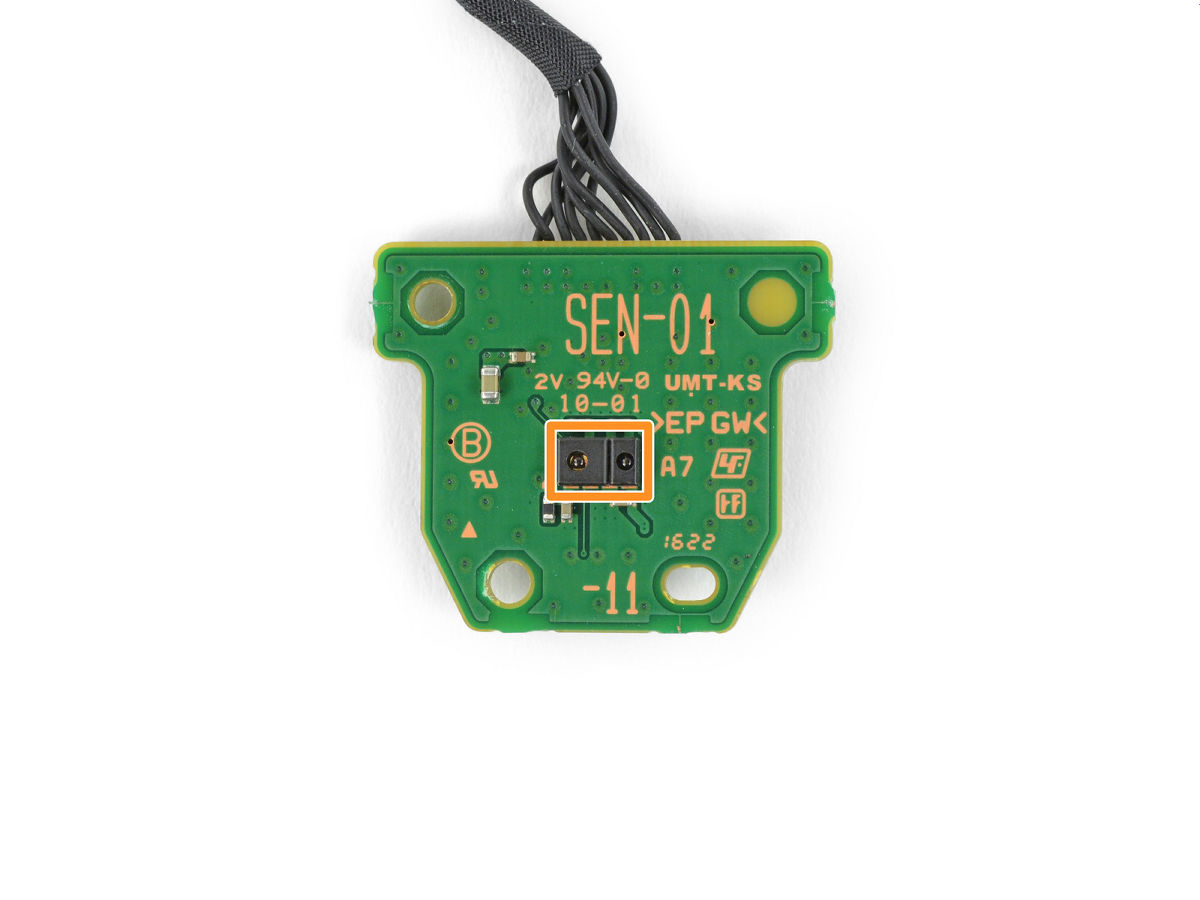
The opposite side to which BMI 055 is attached is equipped with an infrared range finder composed of an emitter and a receiver.
Then remove the motherboard by hand.
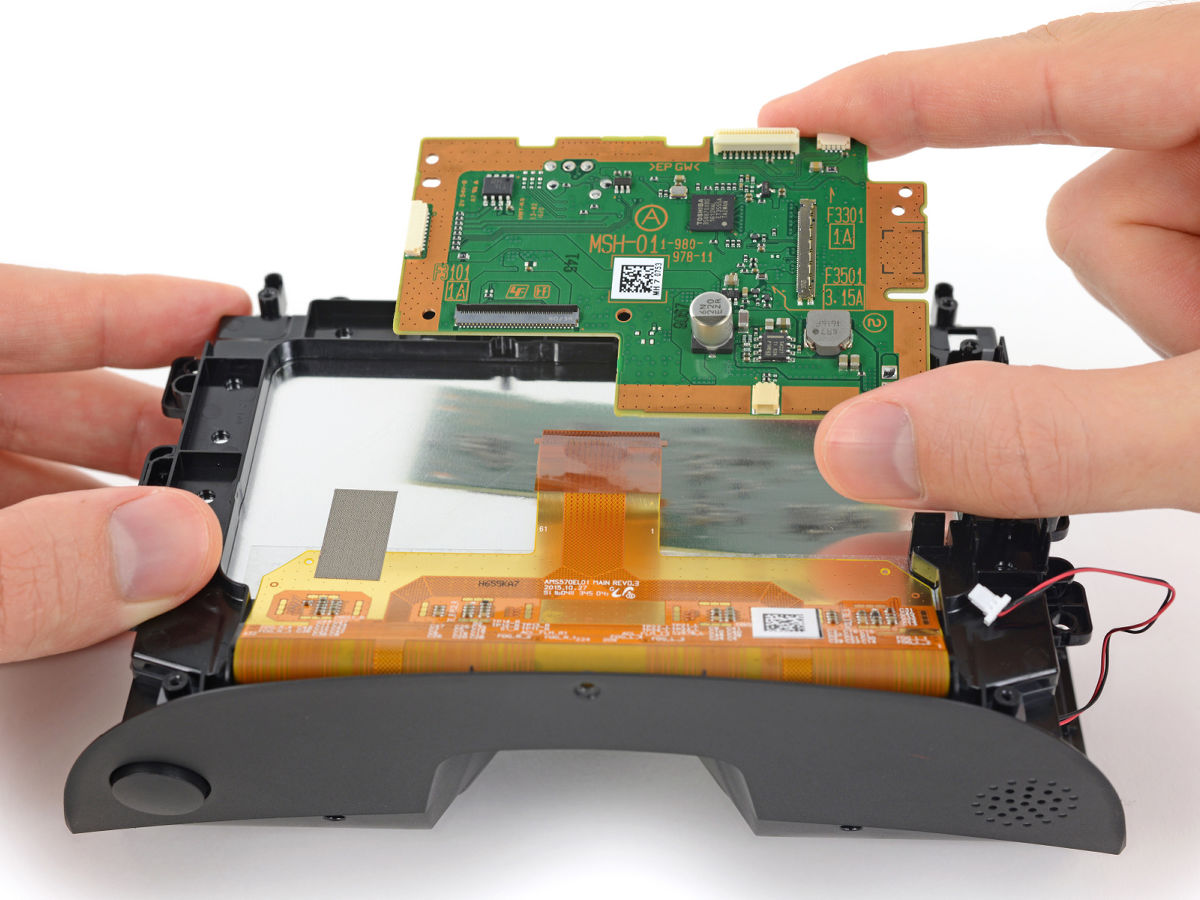
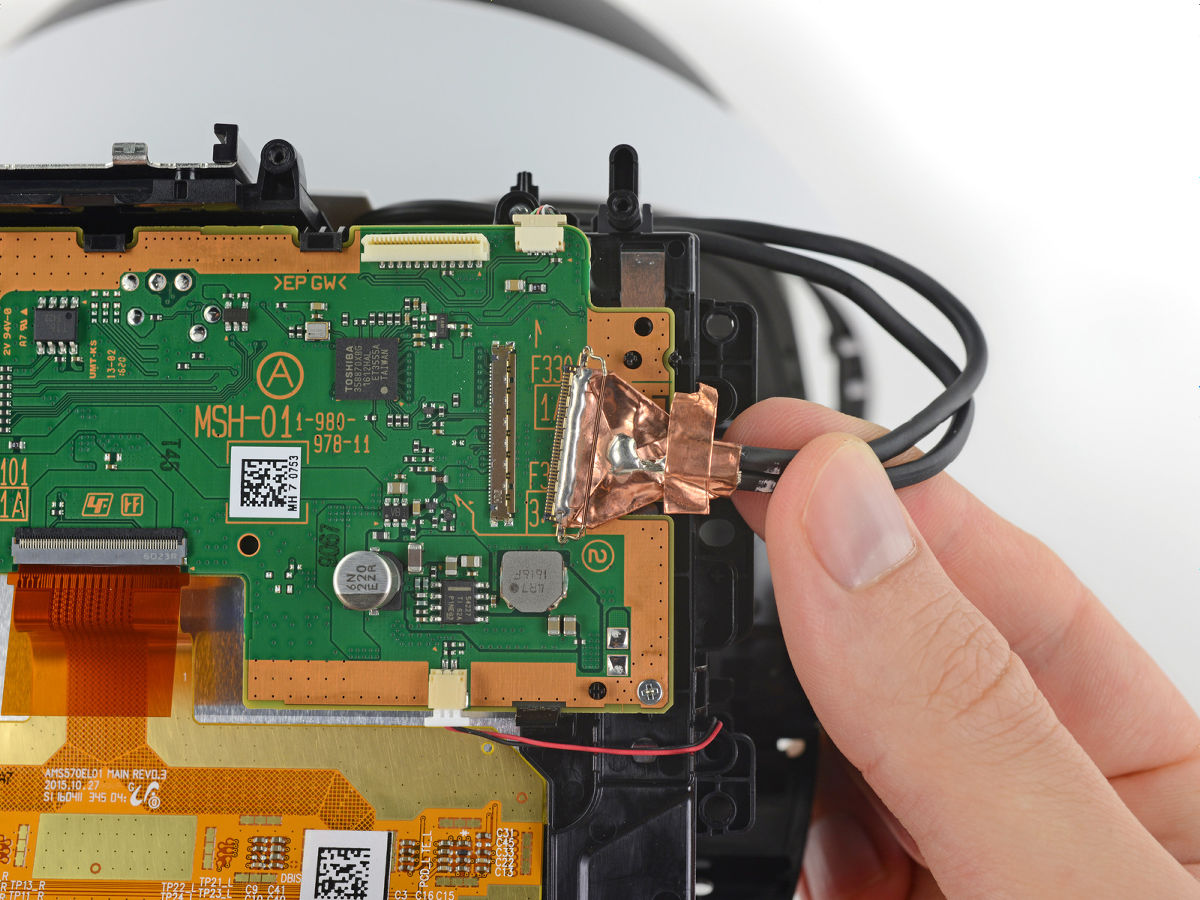
Toshiba's interface bridge "TC 358870 XBGEquipped with.

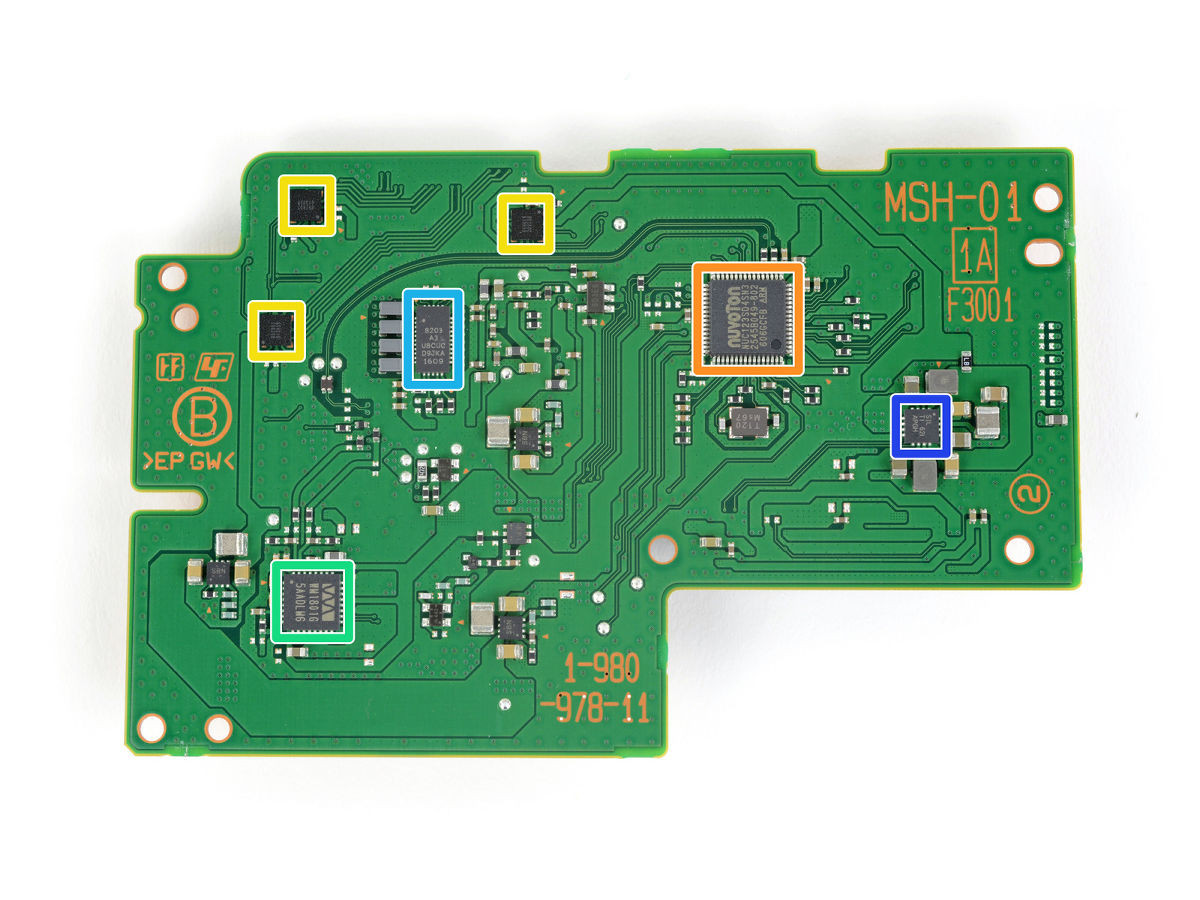
On the back side are ROHM RGB LED driver "BD 2802 (yellow)" × 3, Wolfson audio controller "WM 1801 G (green)" × 1, Nuvoton's microcomputer "NUC123SD4SN3(Orange) "× 1, Texas Instruments's power supply module for organic displays" S1L 621 APGH (blue) "× 1.
Remove the microphone with tweezers ...
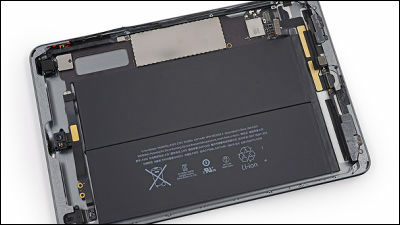
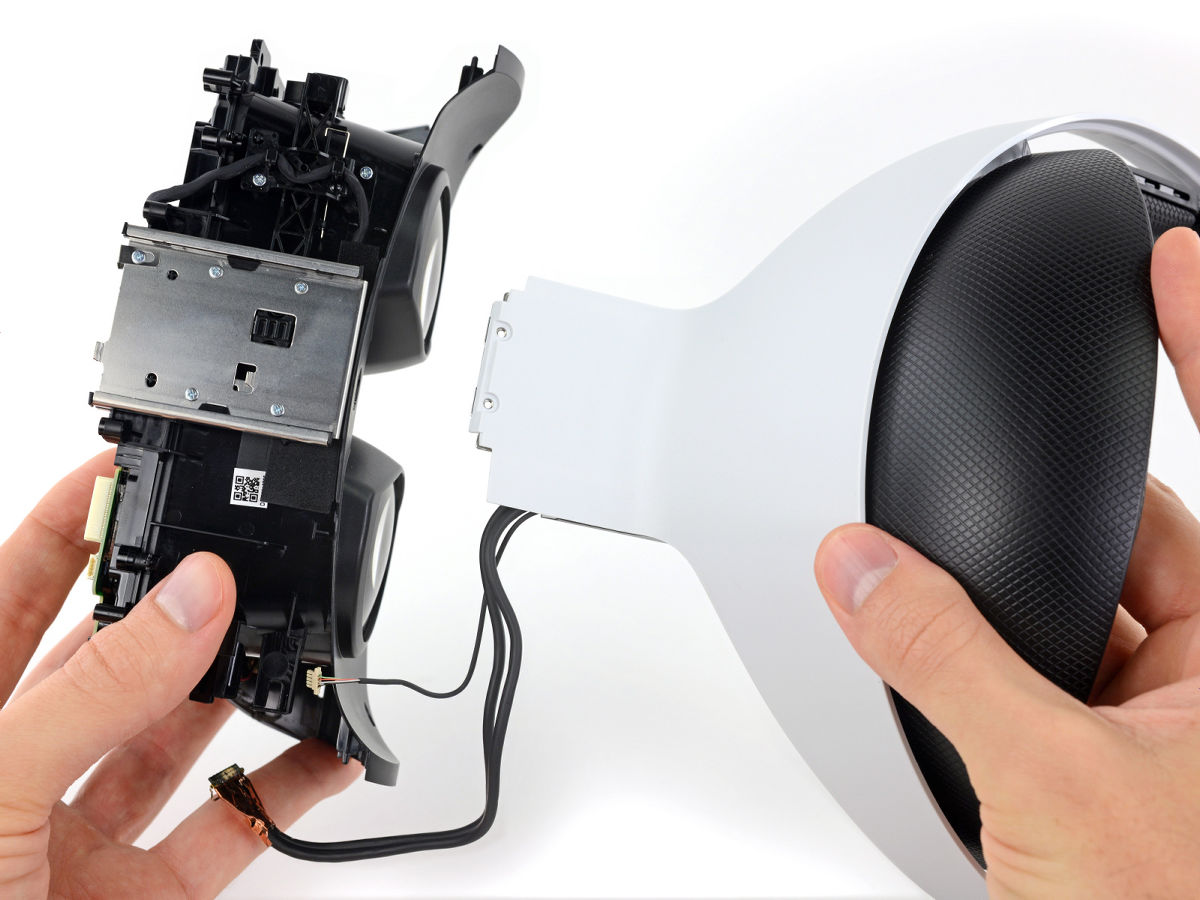
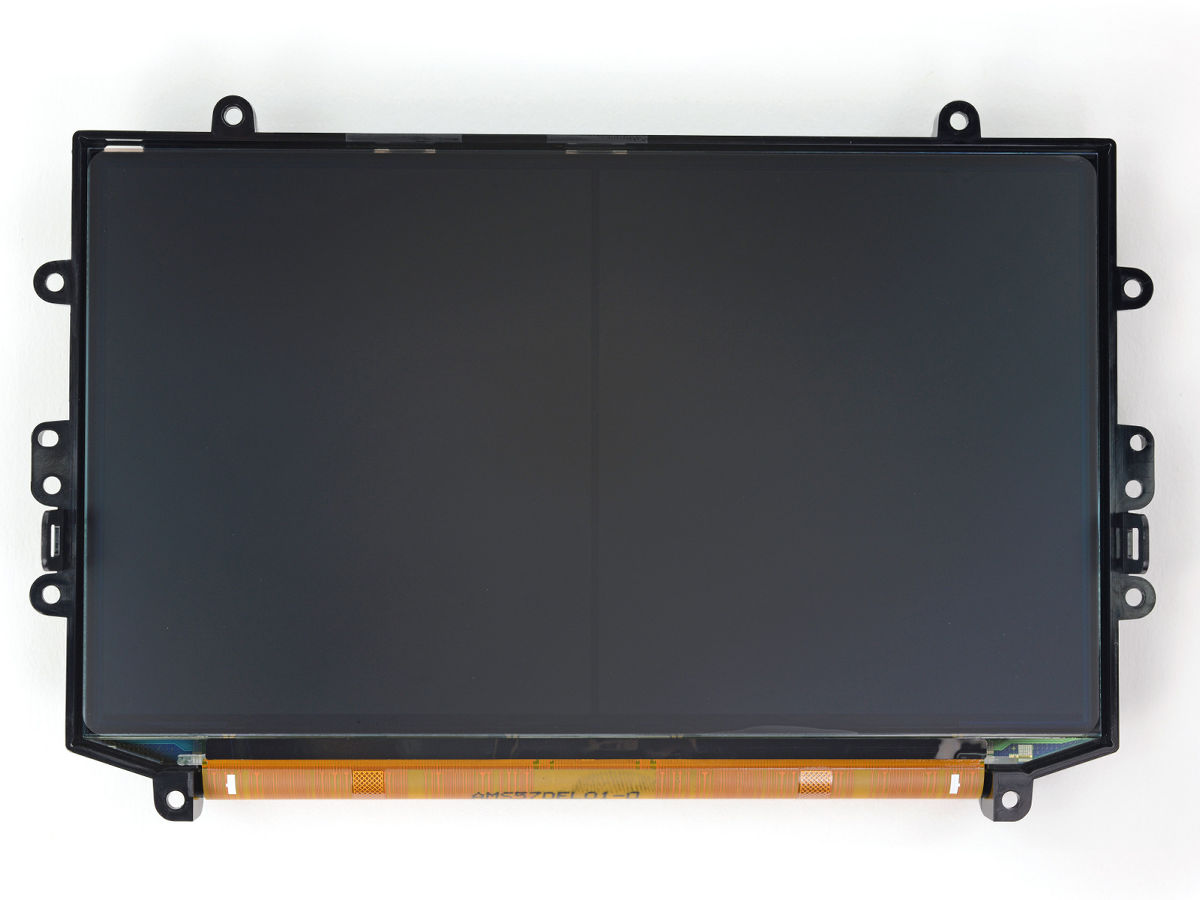
Remove the fasteners and remove the display. The display was stopped not only with fasteners but also with screws.
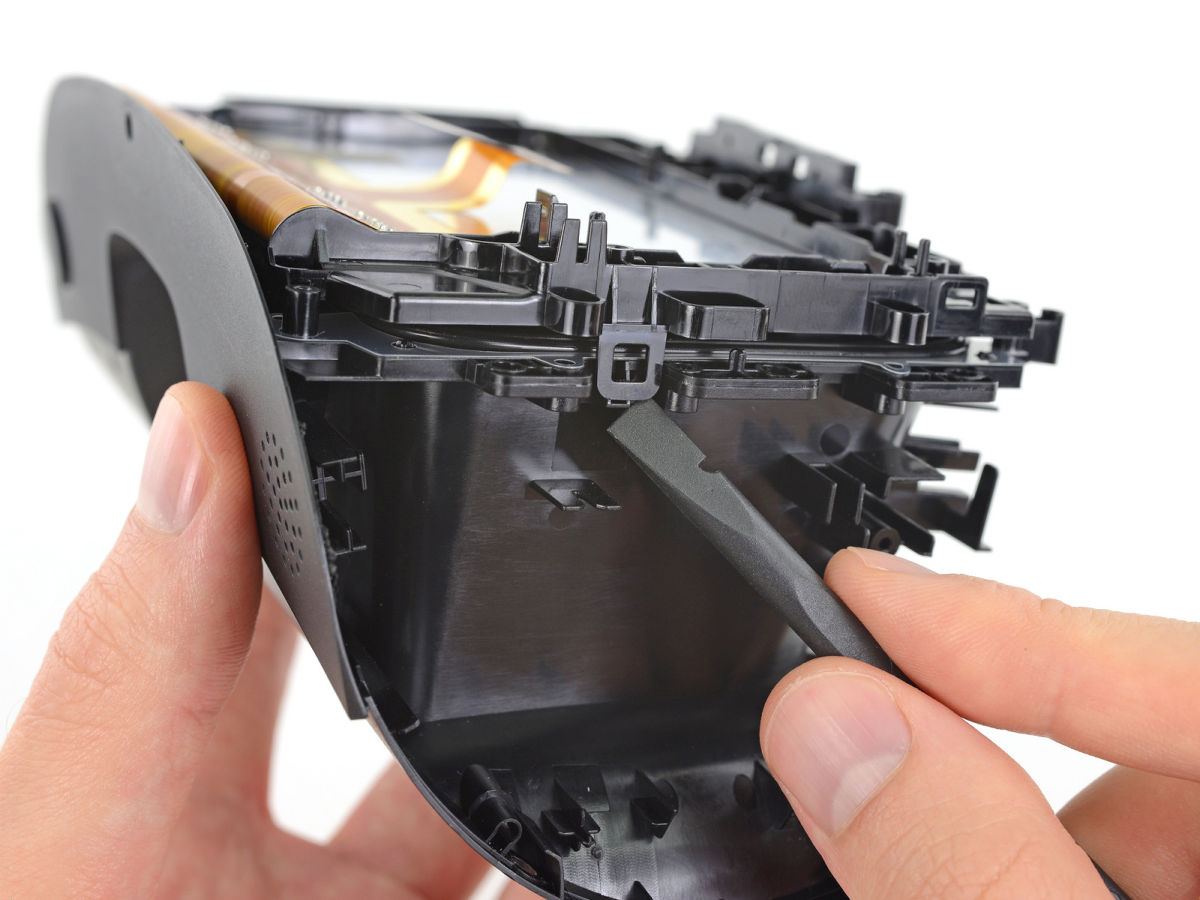
The goggles part and the display were separated by this.
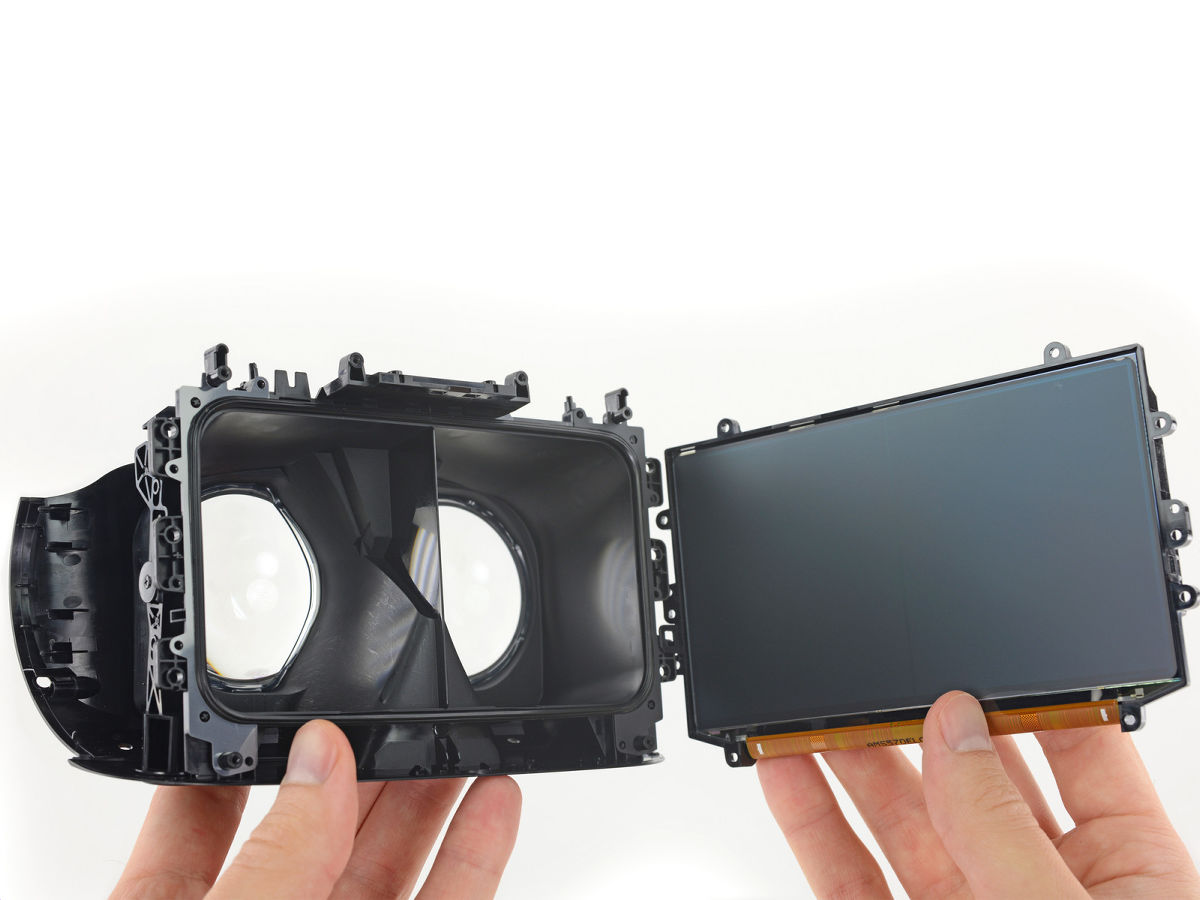
The display is Samsung's organic EL display. Oculus 's Rift and HTC' s Vive uses two displays, whereas PSVR is an interesting point though it is a single display.
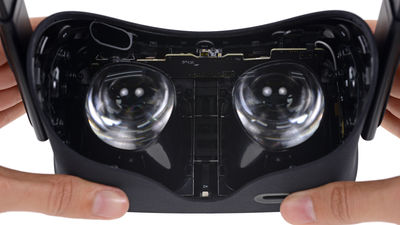
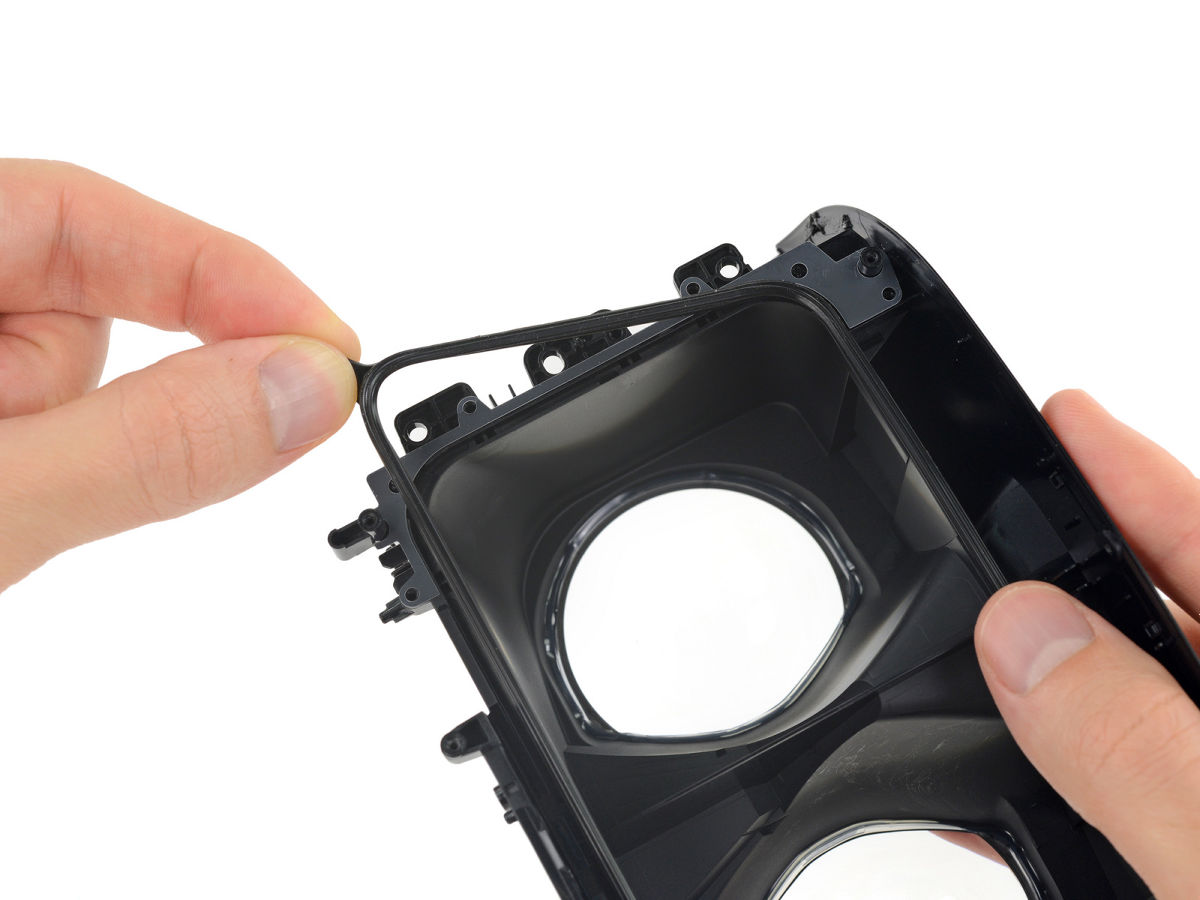
Remove the rubber frame stretched over the contact surface between the lens and the display ......
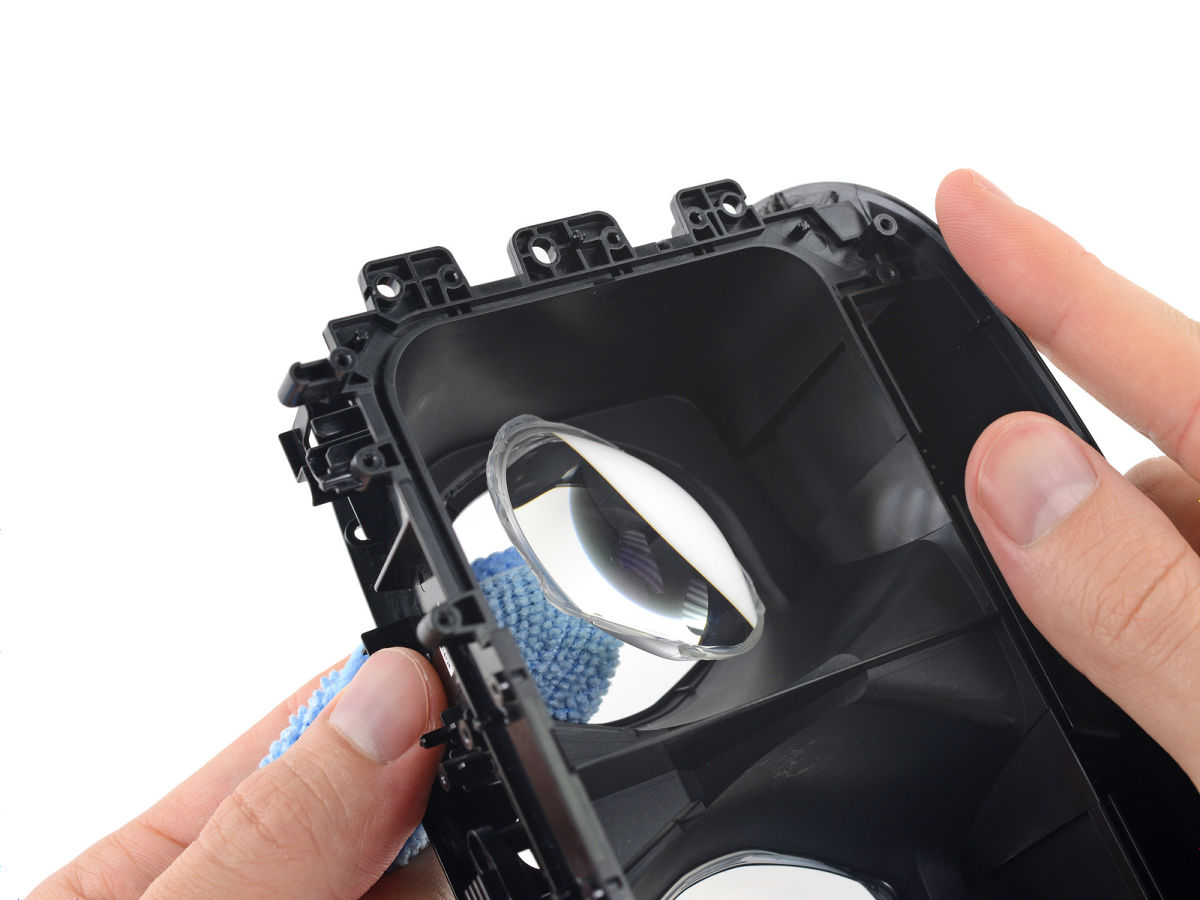
Extrude the lens by pushing it out. Since the lenses were bonded with bonds, it was necessary to add heat to remove them.
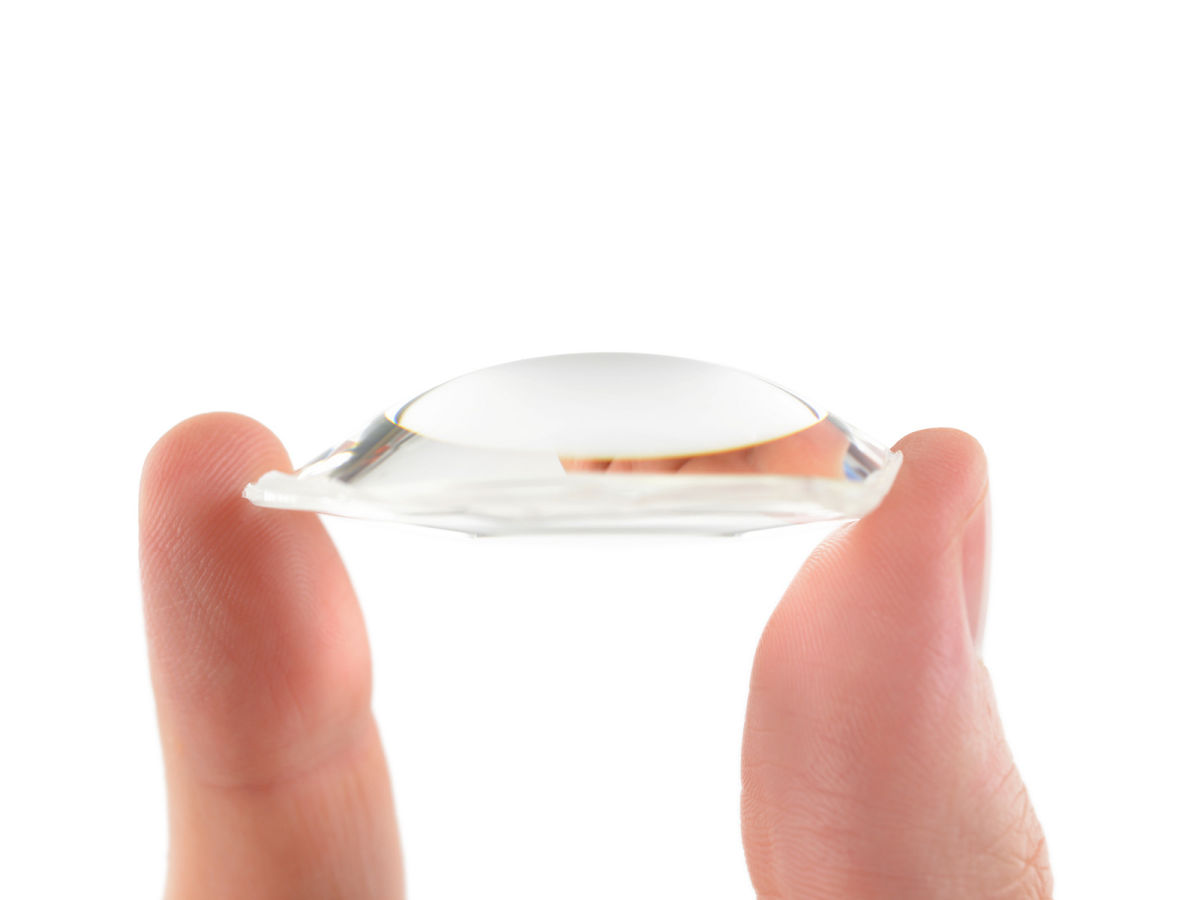
Dome lens with a thickness of 14 mm. It is thicker than Fresnel type lenses installed in Rift and Vive. This completes the disassembly of the goggle part.
It is the headband that decomposes next to the goggles. The cushion attached to the head band is easily detachable by hand, as no adhesive or screw is used at all.

The goggle on which the lenses and the display are mounted inevitably becomes heavy, so PS VR daringly makes the rear headband a little heavy and maintains the balance of the whole. The clip that is mounted to keep balance is only attached with a small amount of adhesive, so it is easy to remove.
LEDs are also mounted on the headband.

There are two LEDs in total at the rear of the headband. By attaching this LED to the back of the headband, you can track even if the player points backwards.
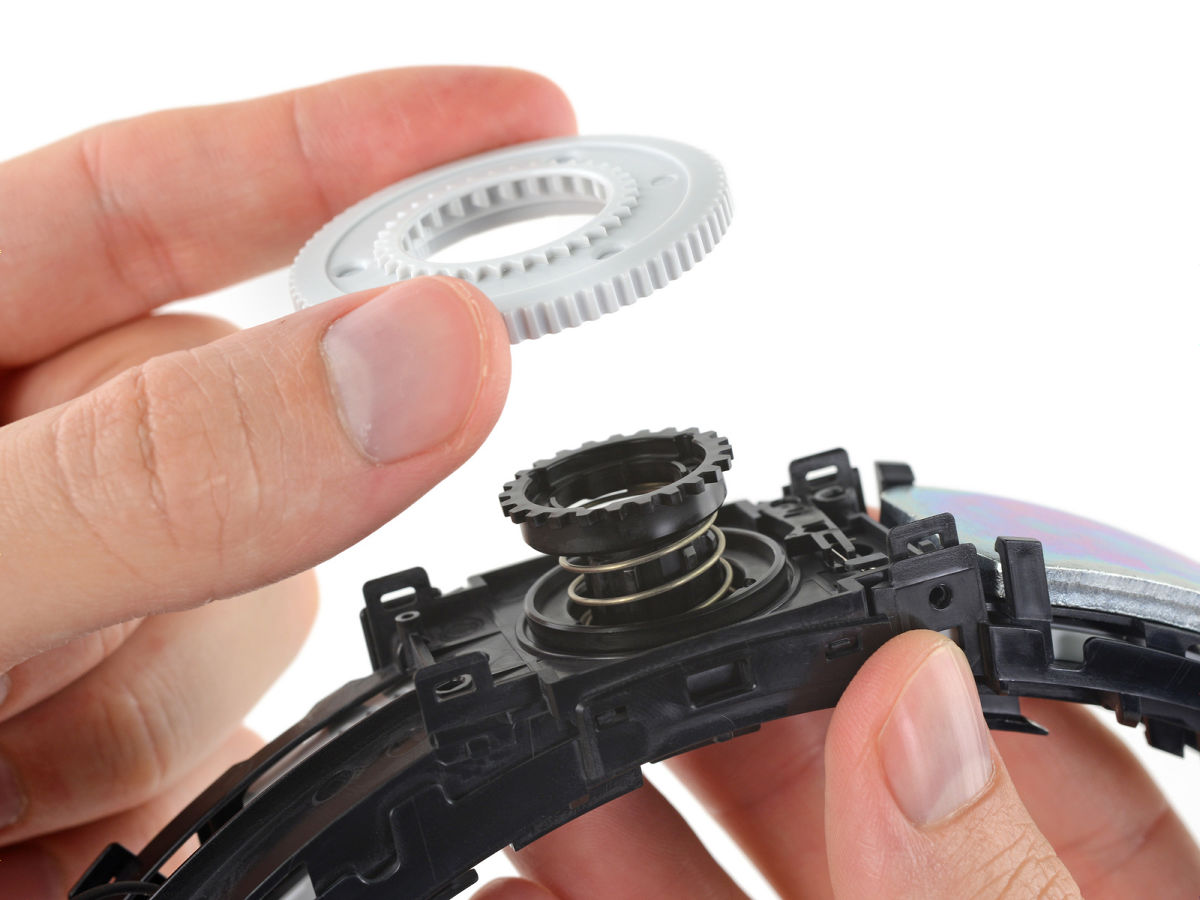
Dial parts for tightening the head band are separated with a screwdriver.
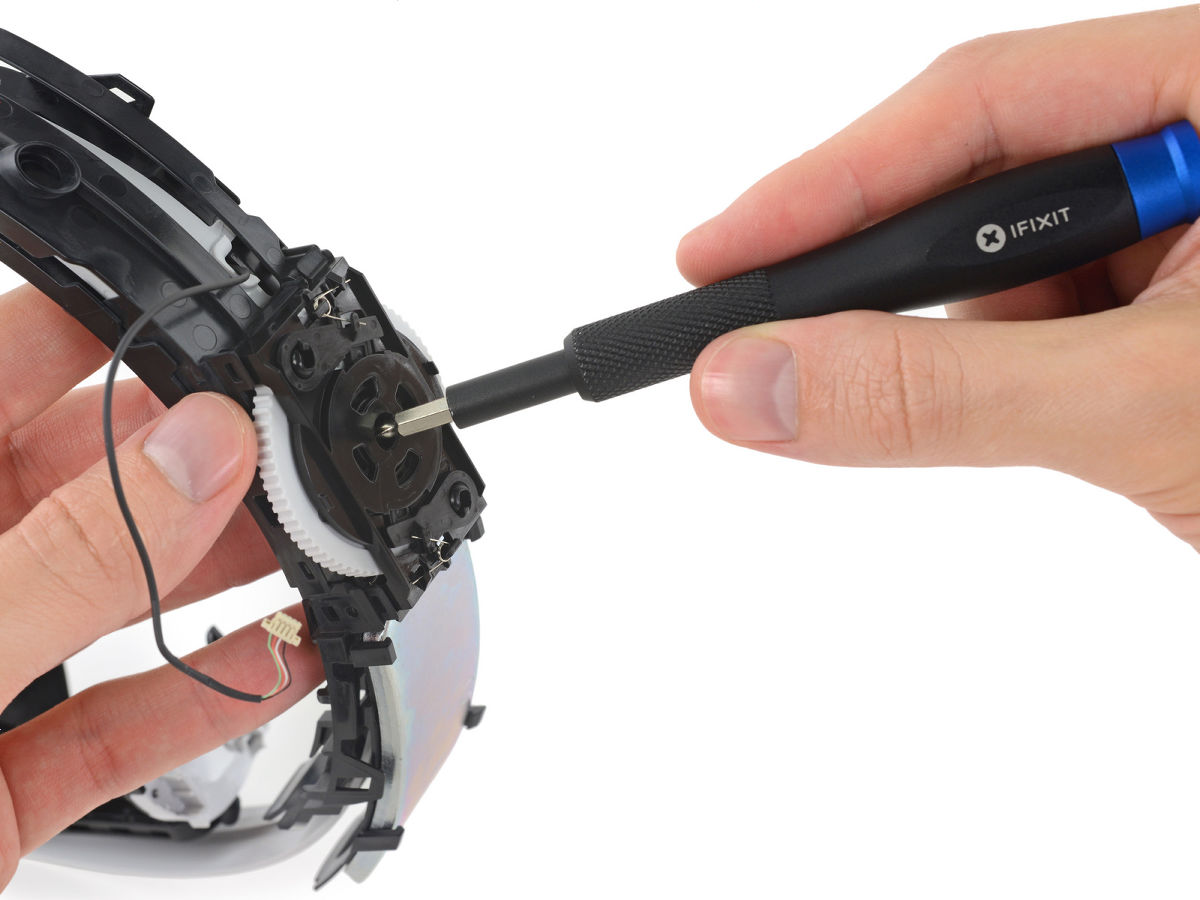
The dial part was fixed with a spring. The decomposition of PS VR is over.
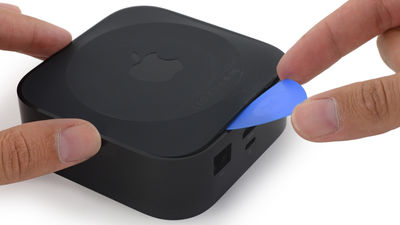
The last one that I remained was the enclosed processor unit.

If you remove the screw on the bottom side, the cover will come off the cover. What is visible under the cover is a metal plate that will protect the motherboard.
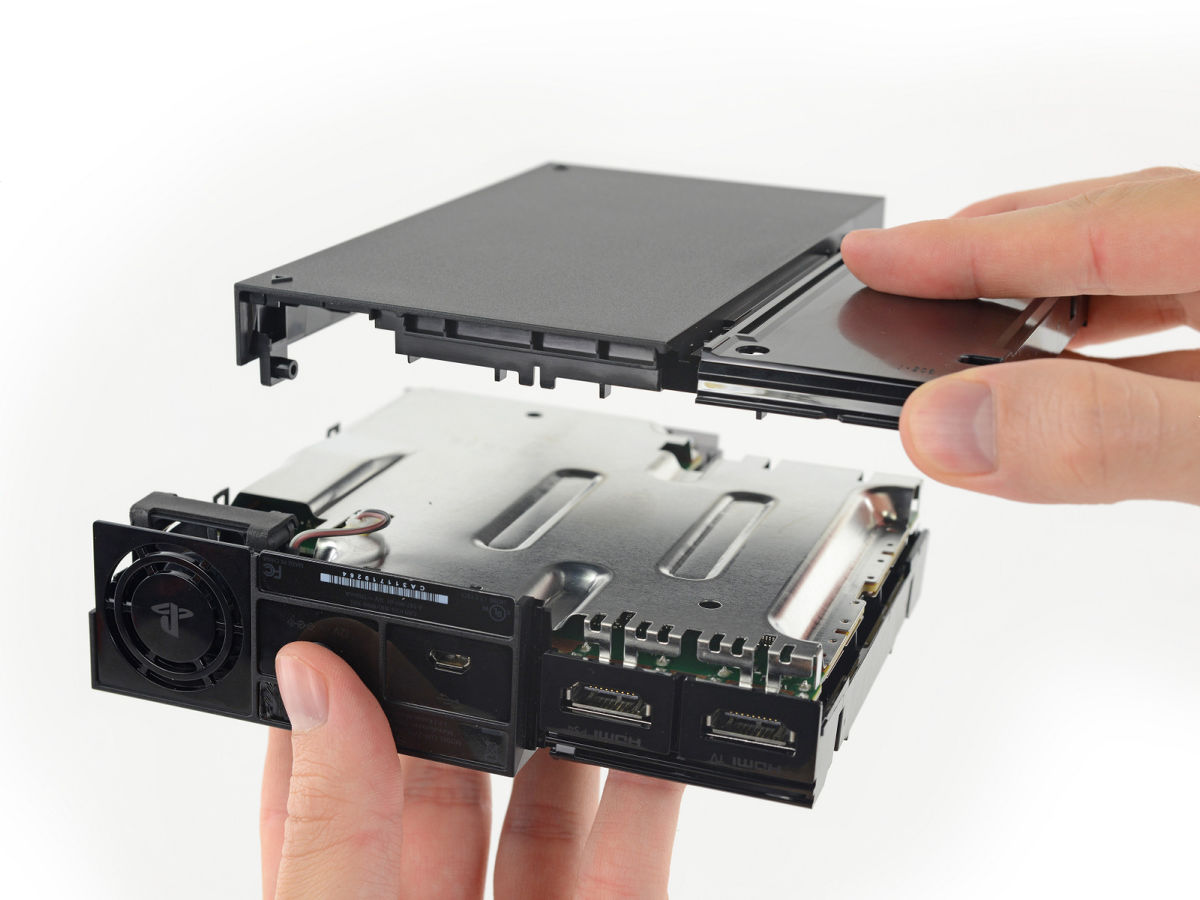
A fan was built in the back of the logo of PlayStation.

Motherboard appearance after removing the metal plate.
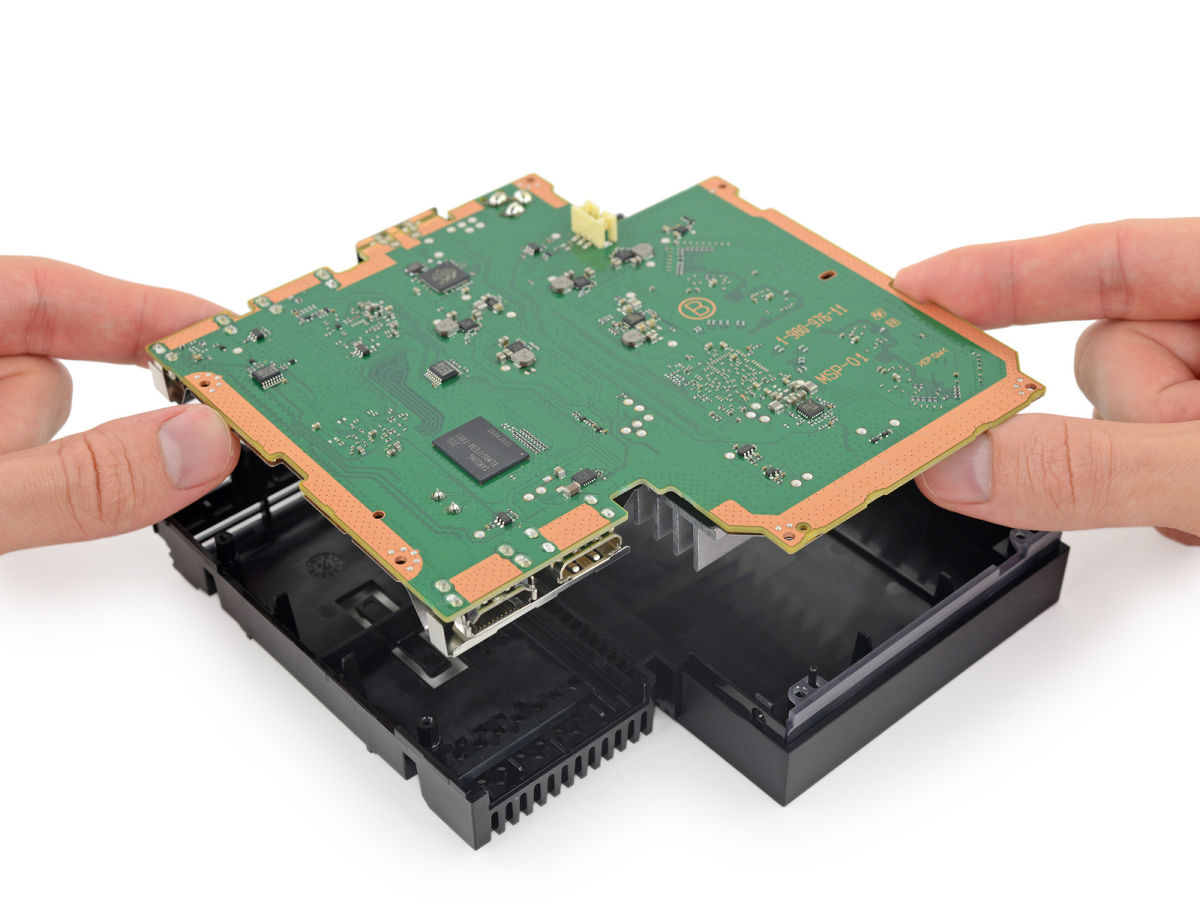
I removed the plate on the back side of the motherboard and saw the chip.
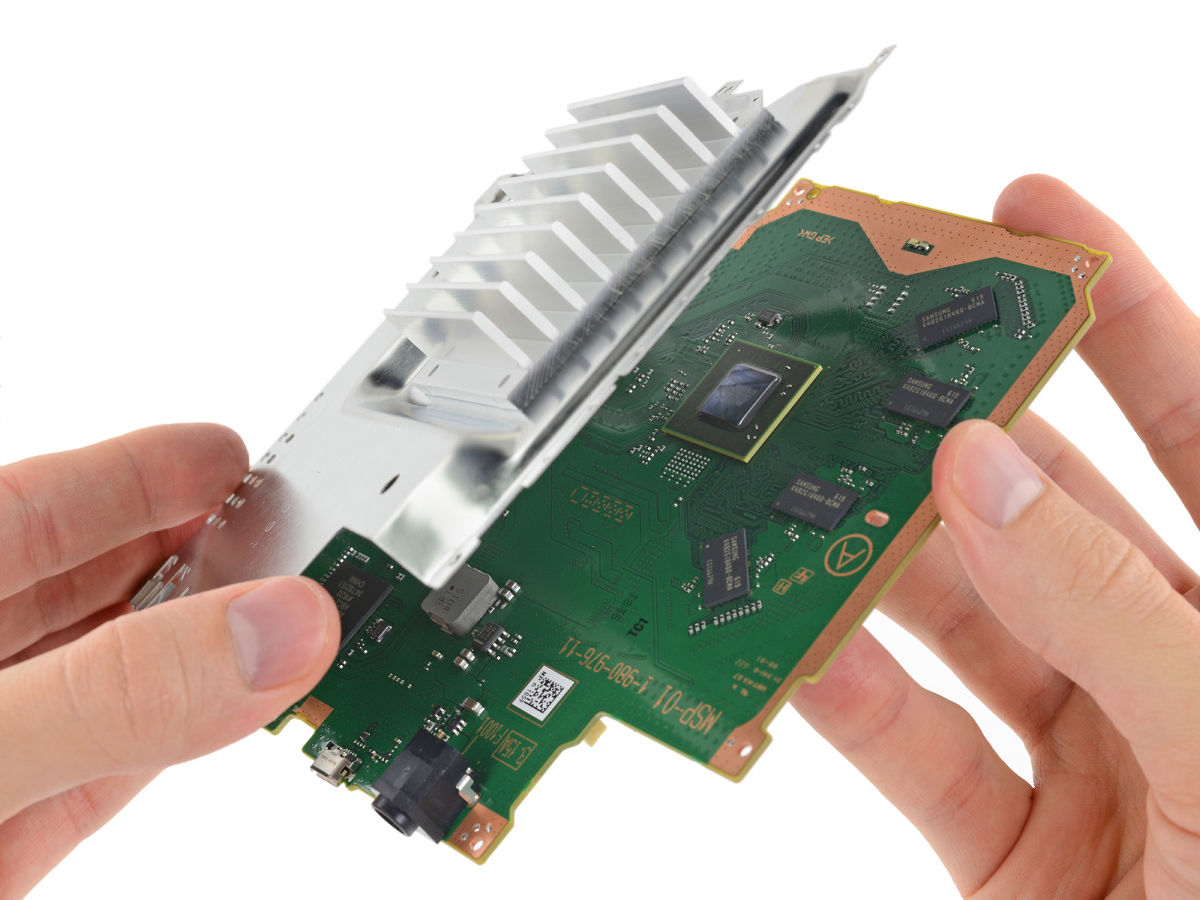
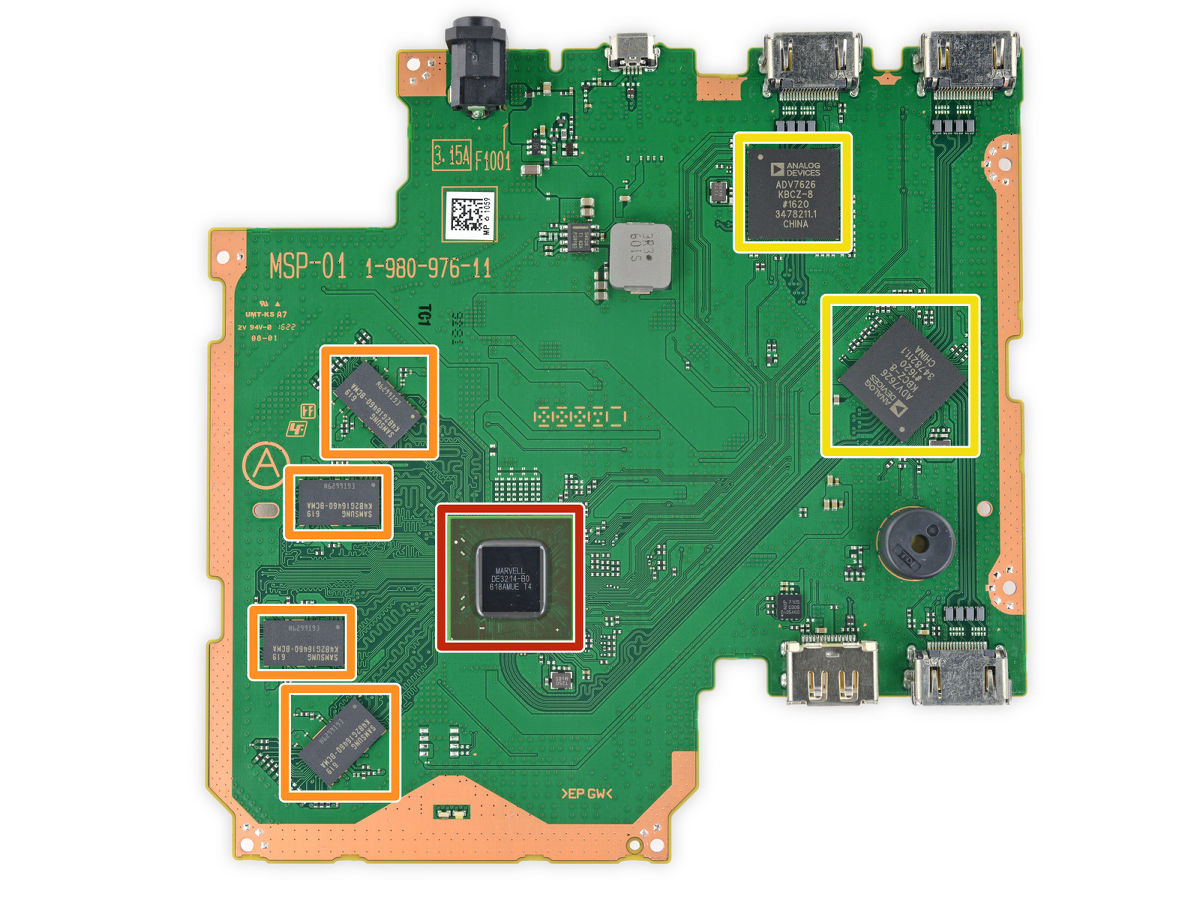
The processor unit had 256 MB of memory from Samsung's DDR3 SDRAM "K4B 2 G 1646 Q-BCMA× 4, Armada 1500 Pro 4K series SoC made by Marvell "DE 3214 - B 0(Red) "× 1, HDMI 2: 2 crosspoint transceiver"ADV7626× 2.
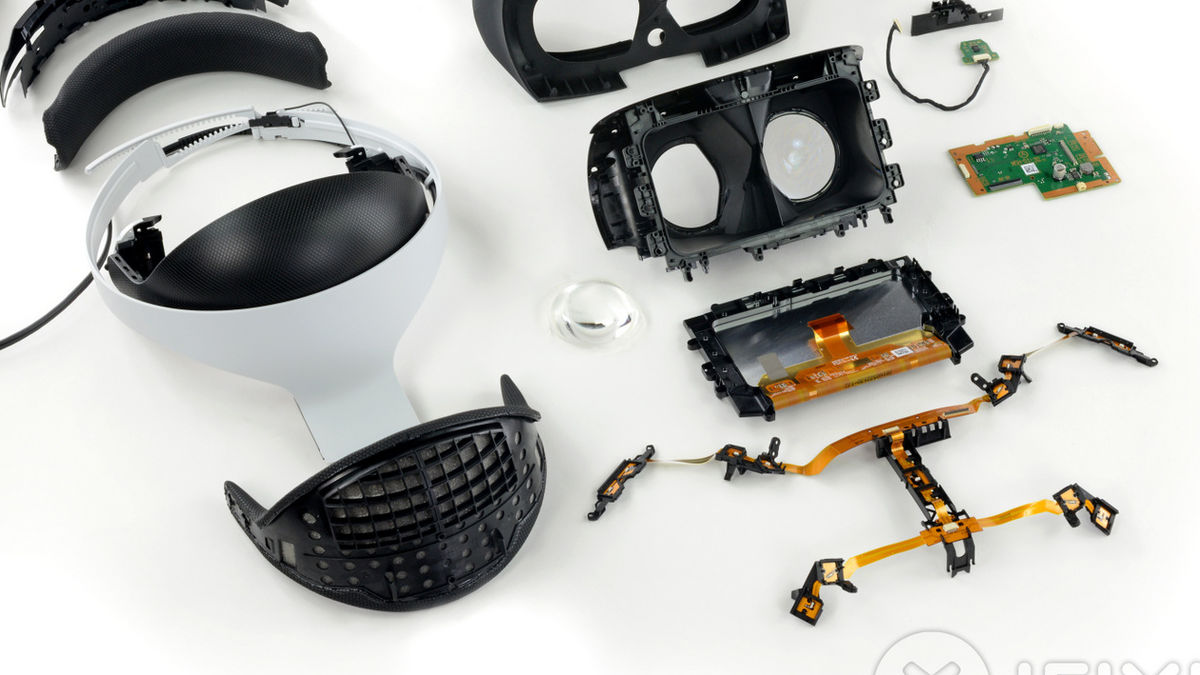
It is like this when all the disassembled parts are arranged side by side.
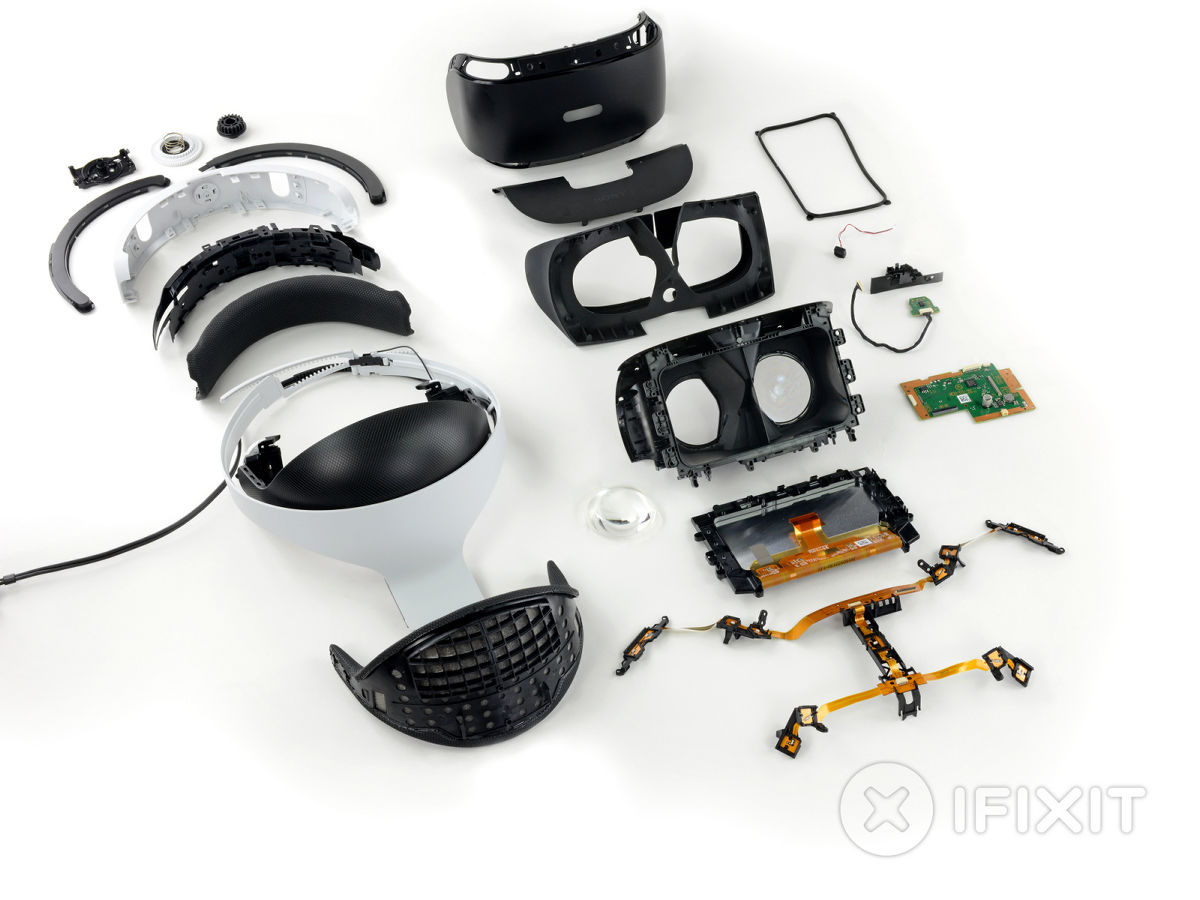
The repair difficulty of PS VR by iFixit was "8". The closer to 10 the closer the repair difficulty is to the lower, the PS VR comes into a category that is relatively easy to repair among various hardware. The difficulty of "8" was mentioned as being able to disassemble with almost one road, that there are many parts that can be removed without a screwdriver, and standard JIS standard screws are used.
Related Posts: