"Pixate" which allows you to create prototypes of applications easily by dragging and dropping them free of charge
When creating applications, web services, etc. for mobile, it is important to check how applications and services are actually finished on smartphone screen. Also, if you create an application with multiple people, or when designers and engineers are working in a division of labor, you will be able to work more by sharing prototypes that you can imagine what the service will look like. Software that can make prototypes of such applications and services easily and free is called "Pixate"It is possible to see where and what parts to place with eyes by manipulating with fingers.
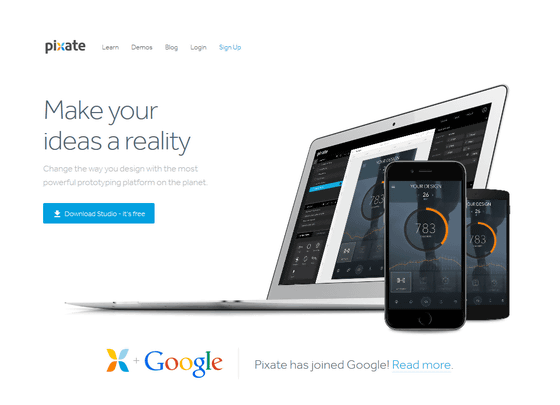
Pixate
http://www.pixate.com/
◆ Install Pixate
Access the above link and click "Download Studio - it's free".
Click "OK".
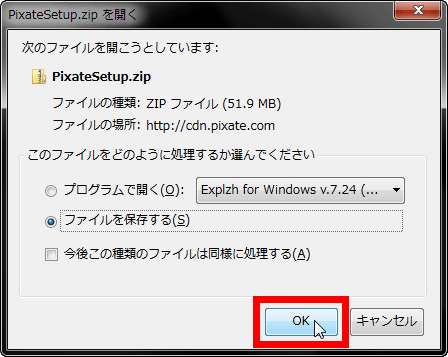
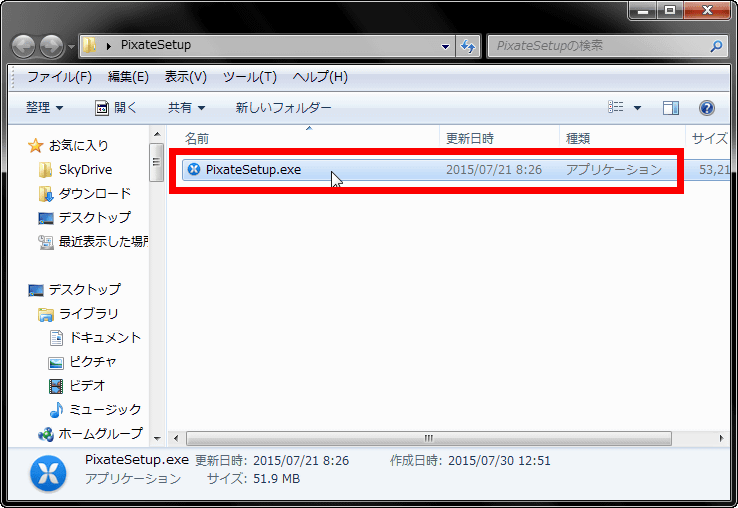
Download the downloaded "PixateSetup.zip"ExplzhUnzip with tools such as.

Then click "PixateSetup.exe" in the folder.
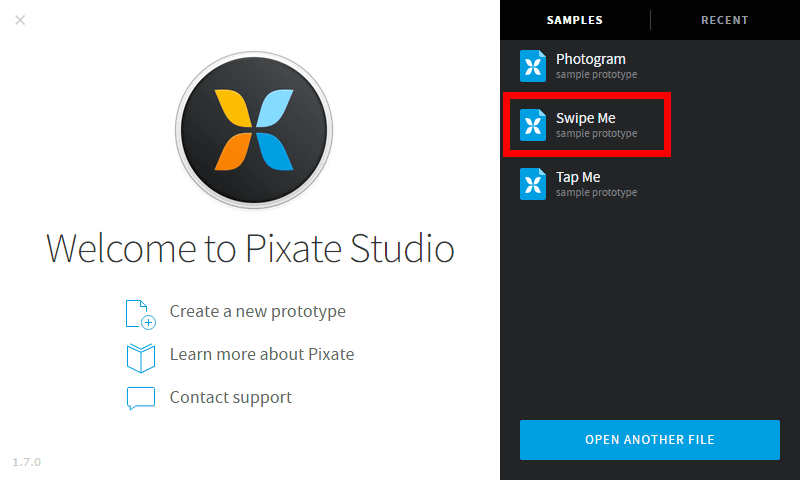
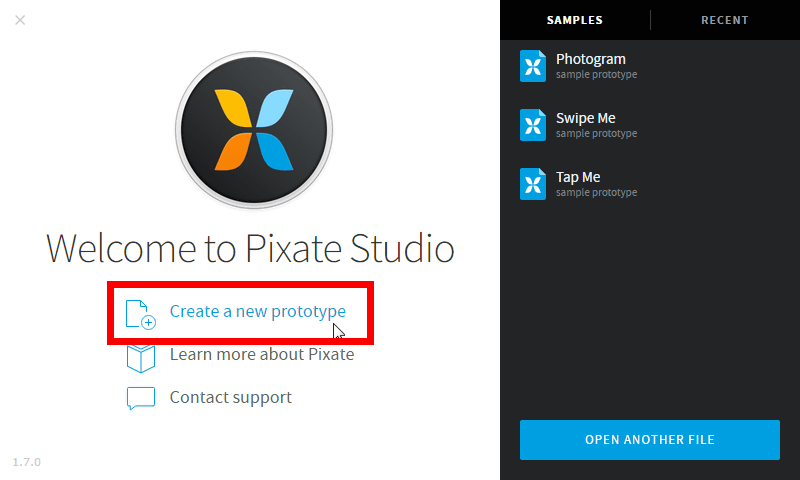
Then "Pixate Studio" started. To see what you can create with Pixate Studio, first click "Swipe Me" from the "SAMPLES" on the right of the screen.
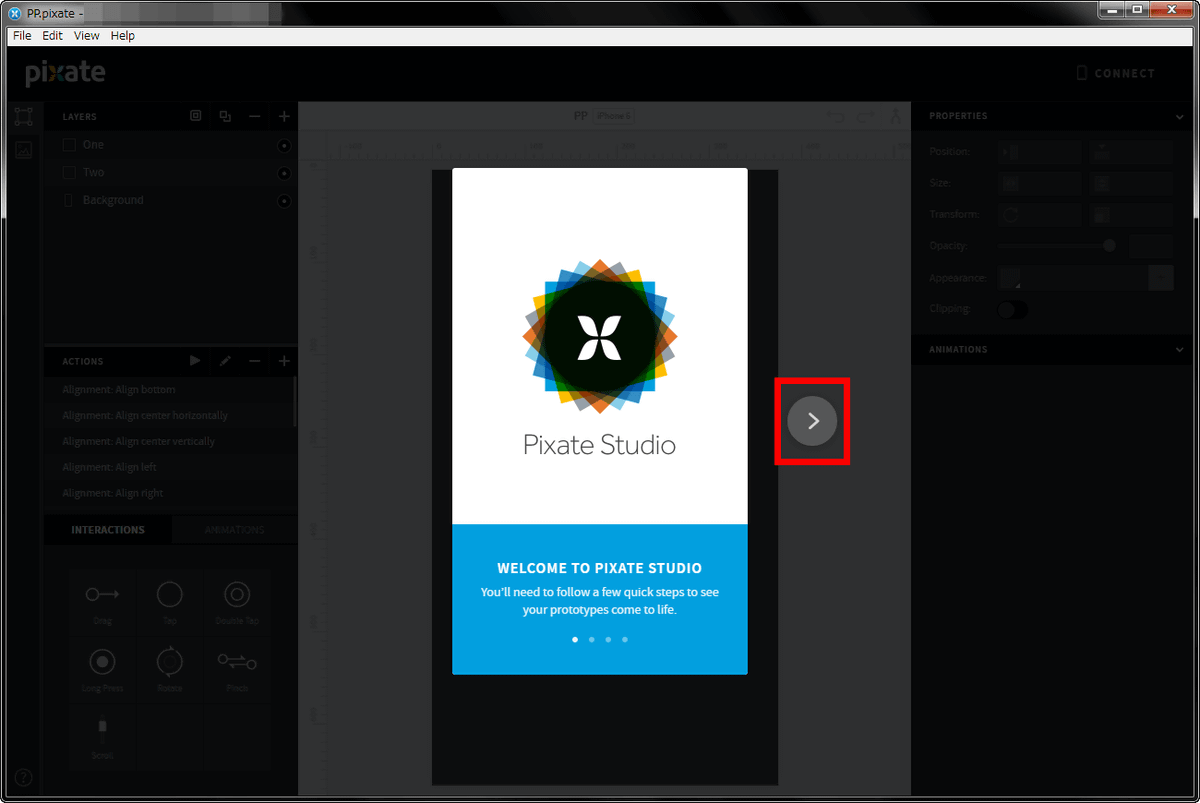
At the first startup, the tutorial starts at this timing so click on the red frame icon to proceed ......
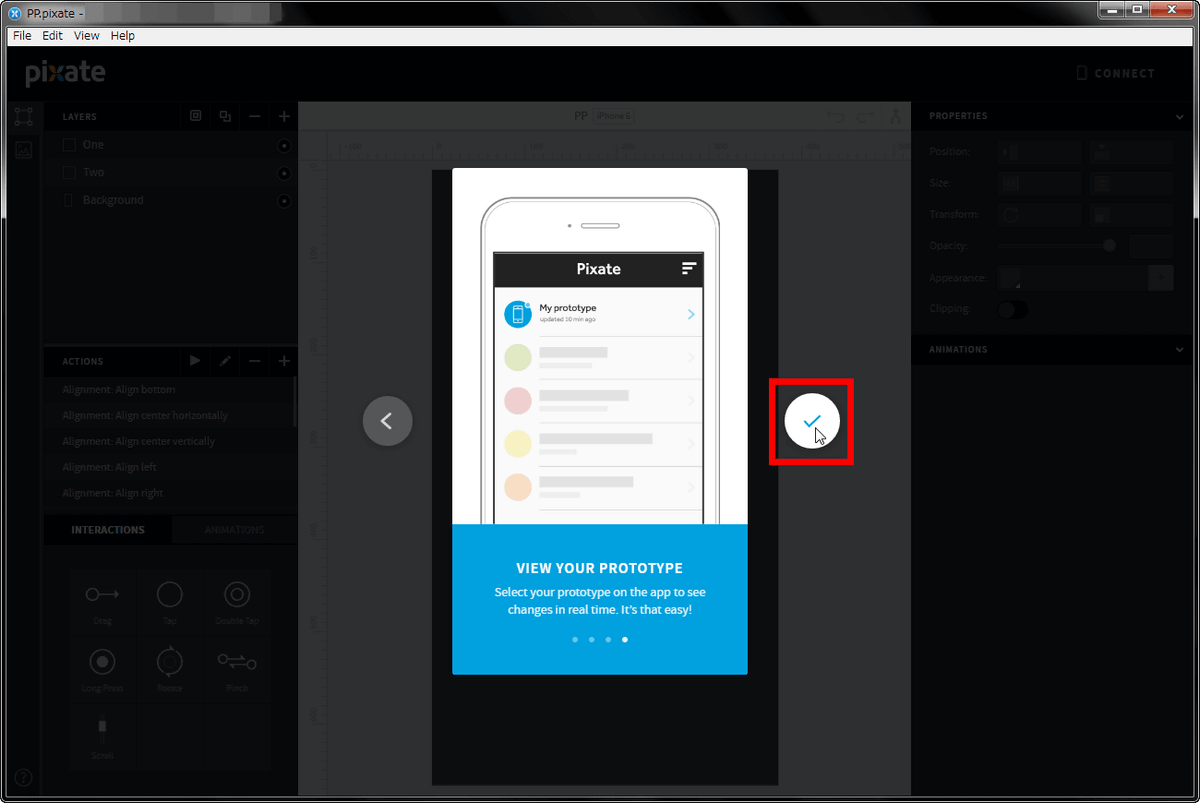
Click the check icon at the end.
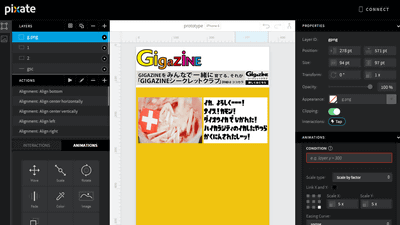
This is Pixate, and in the middle of the screen is a sample application made with Pixate Studio. It is mock-up for confirming design and movement to the last, so you need to be careful in that respect.
To see how the sample actually moves on the screen of the smartphone, click "CONNECT" at the upper right of the screen.

Then click "i".

Then the QR code will appear in the red frame, so from here it will be the turn of the Pixate app.

The special application of "Pixate" is released from both iOS and Android, and it can be installed from the following.
Pixate for iPhone, iPod touch, iPad currently on the iTunes App Store
https://itunes.apple.com/jp/app/pixate/id883304734
Pixate - Android Apps on Google Play
https://play.google.com/store/apps/details?id=com.pixate.pixate
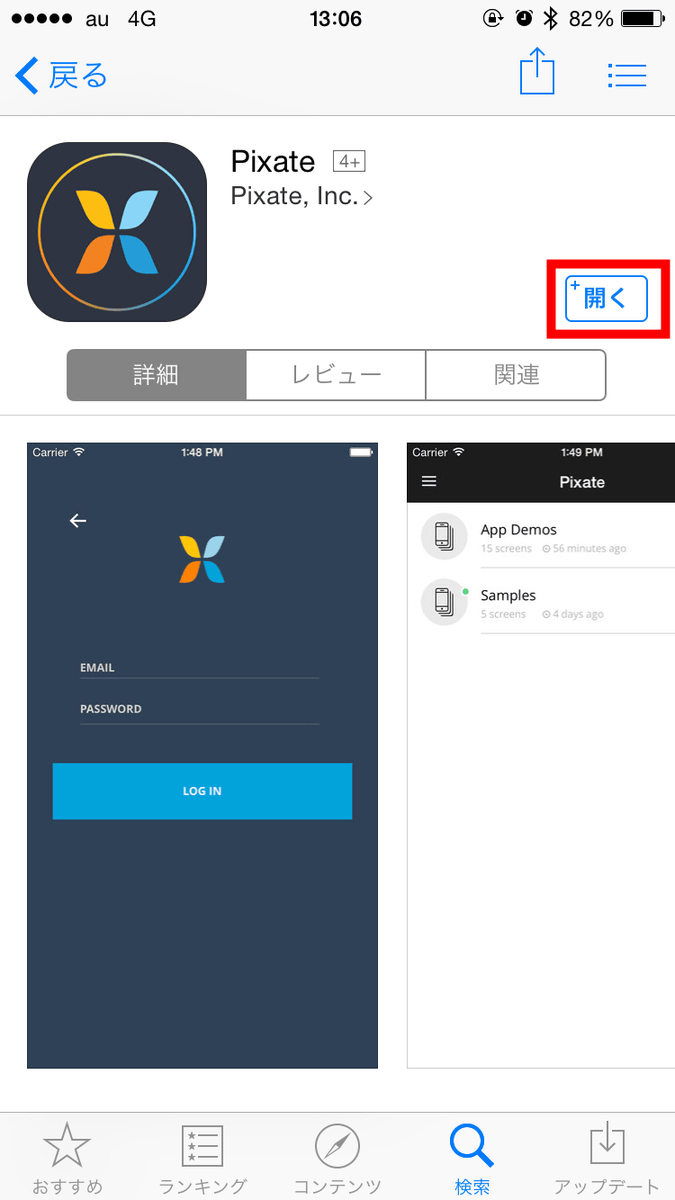
This time I will install the iOS application. Go to the link above and tap "Get".

Tap "Install".

Tap "Open".
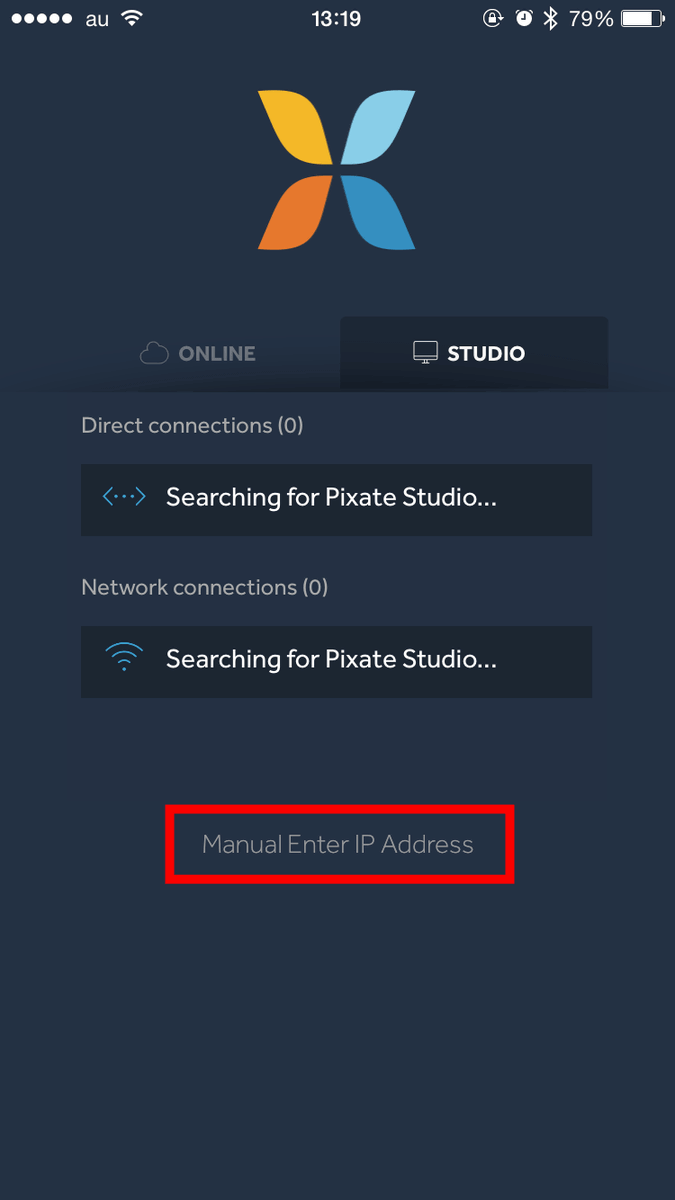
When the application starts up, tap "Manual Enter IP Address" in the "STUDIO" tab.
Tap "Scan QR code".

Since the camera image of the smartphone is displayed in the red frame part, the QR code is scanned.

When switching to this screen ......
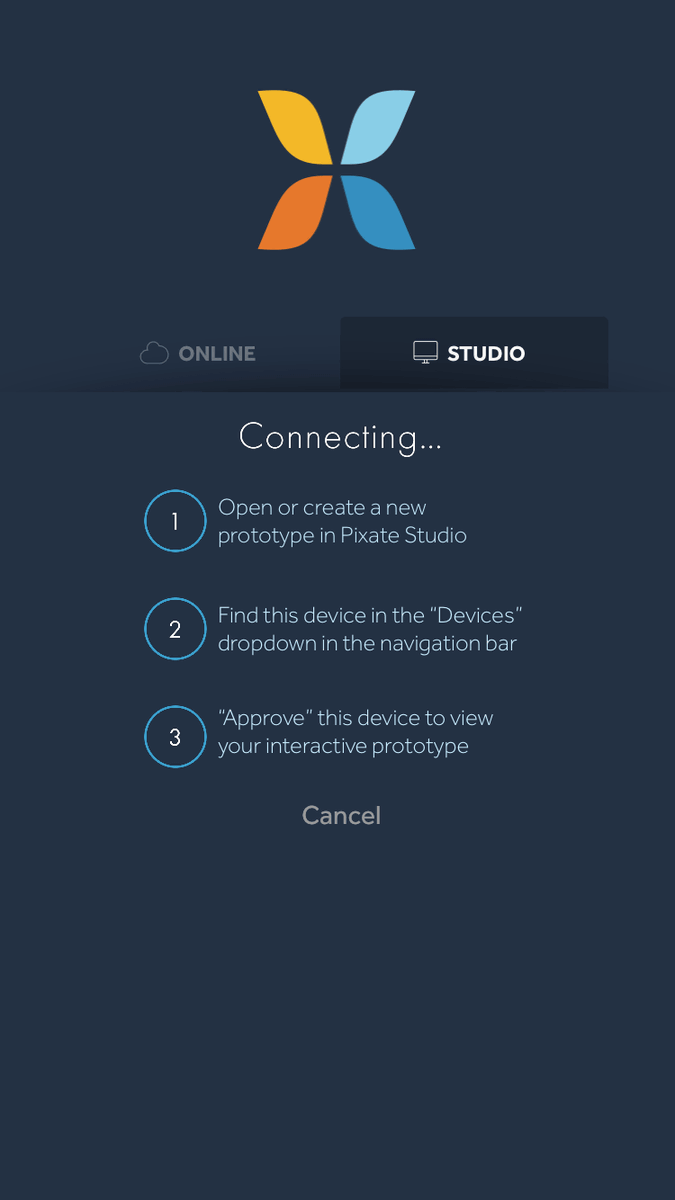
On the PC side click the check button of the red frame part.

Once the smartphone icon turns green, the connection is complete.

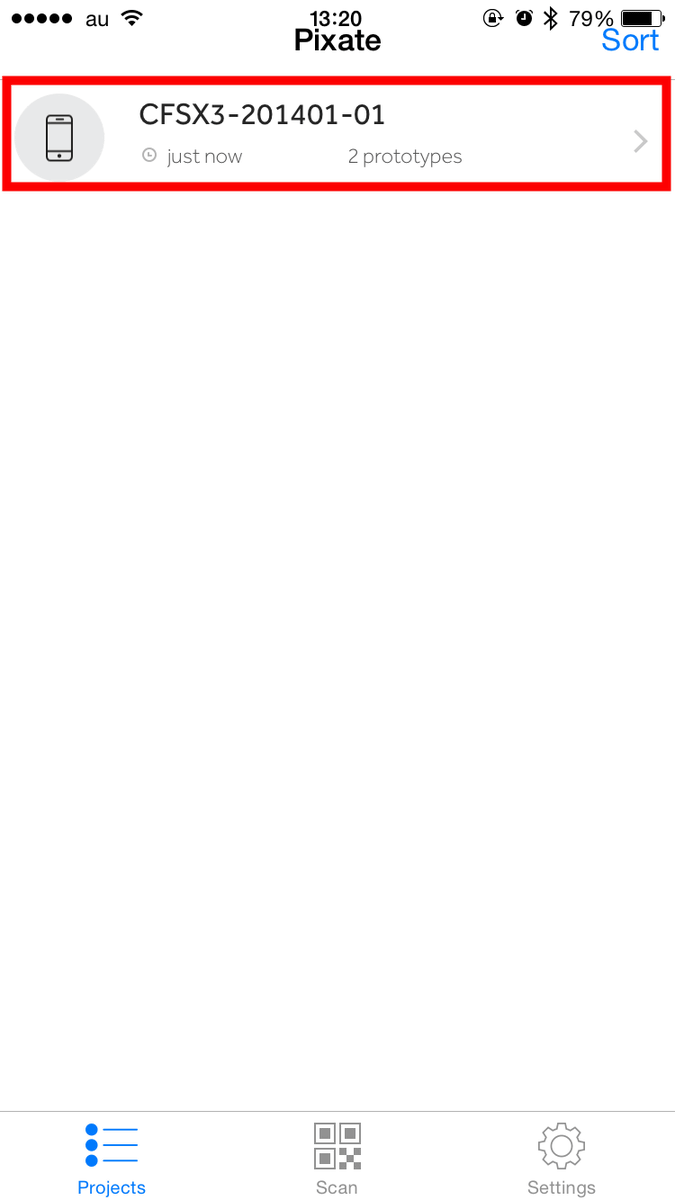
When the connection is completed, the screen switches, so tap the name of the PC to connect with the smartphone.
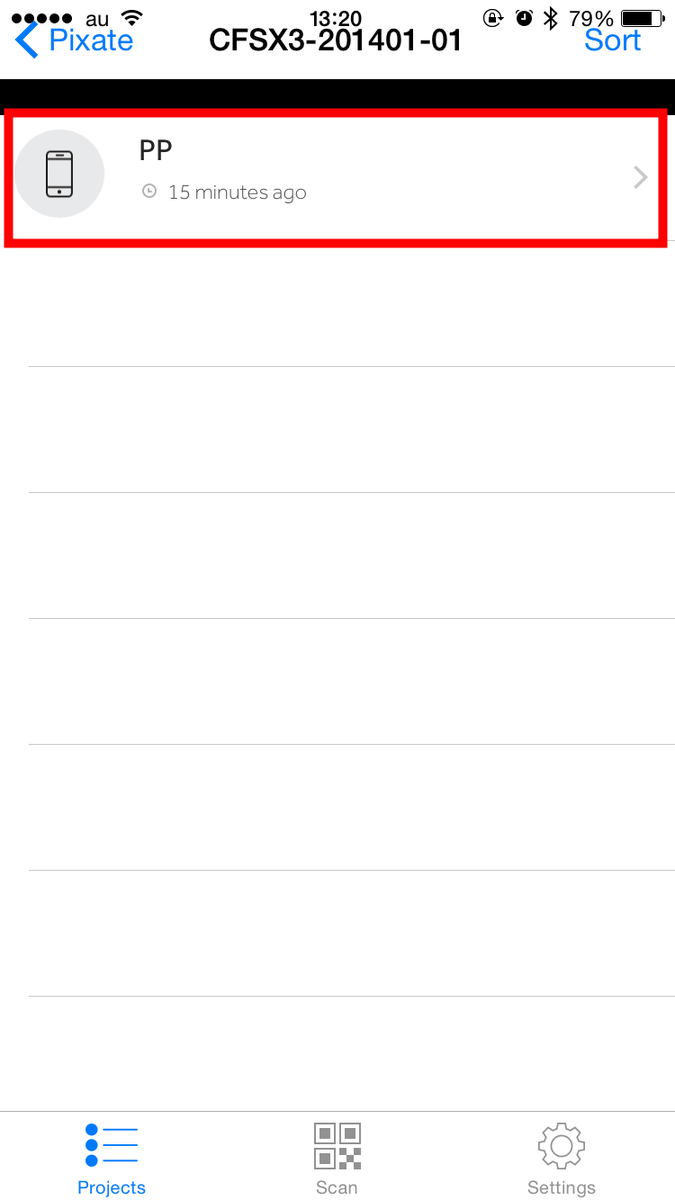
Then tap the project to display.
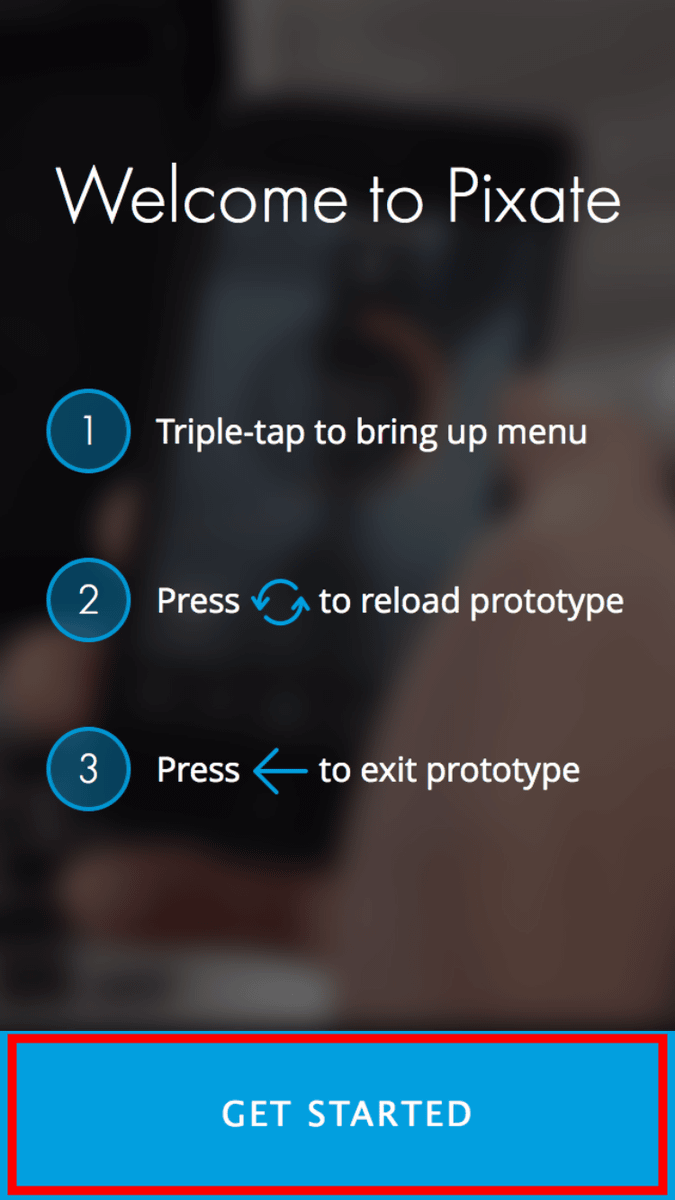
Tap "GET STARTED".
Then this screen was displayed.
If you look at the following movie, you can see how it will feel when you run the prototype created with Pixate Studio with the application.
When you move content created with Pixate Studio with the Pixate application, it looks like this - YouTube
◆ I tried using Pixate Studio
When I saw the sample and found what I could make, I actually tried using Pixate Studio.
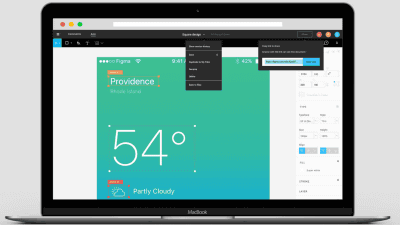
To create a new prototype, click "Create a new prototype" on the start screen.
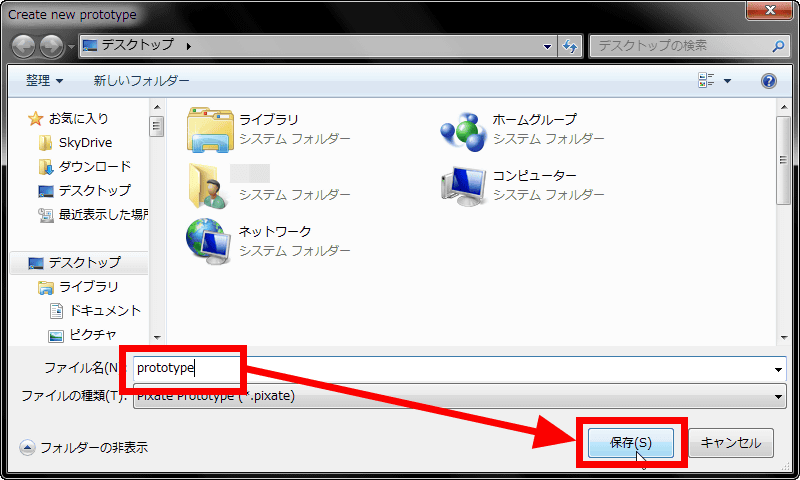
Enter the file name and click "Save".
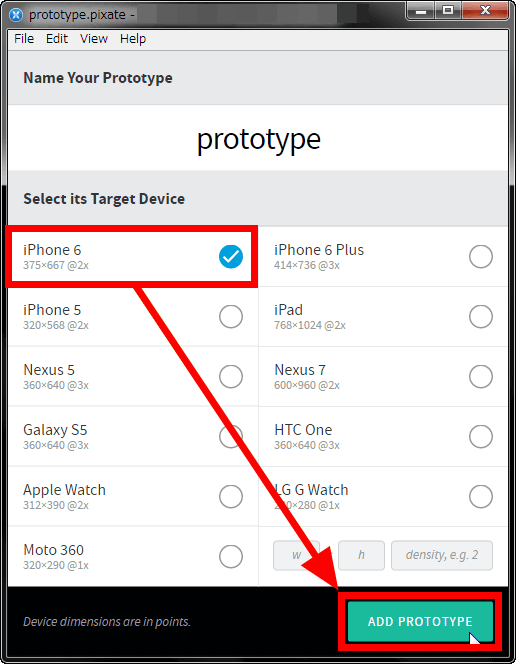
Next, choose what type of terminal the prototype you made targeted. Select "iPhone 6" this time and click "ADD PROTOTYPE".
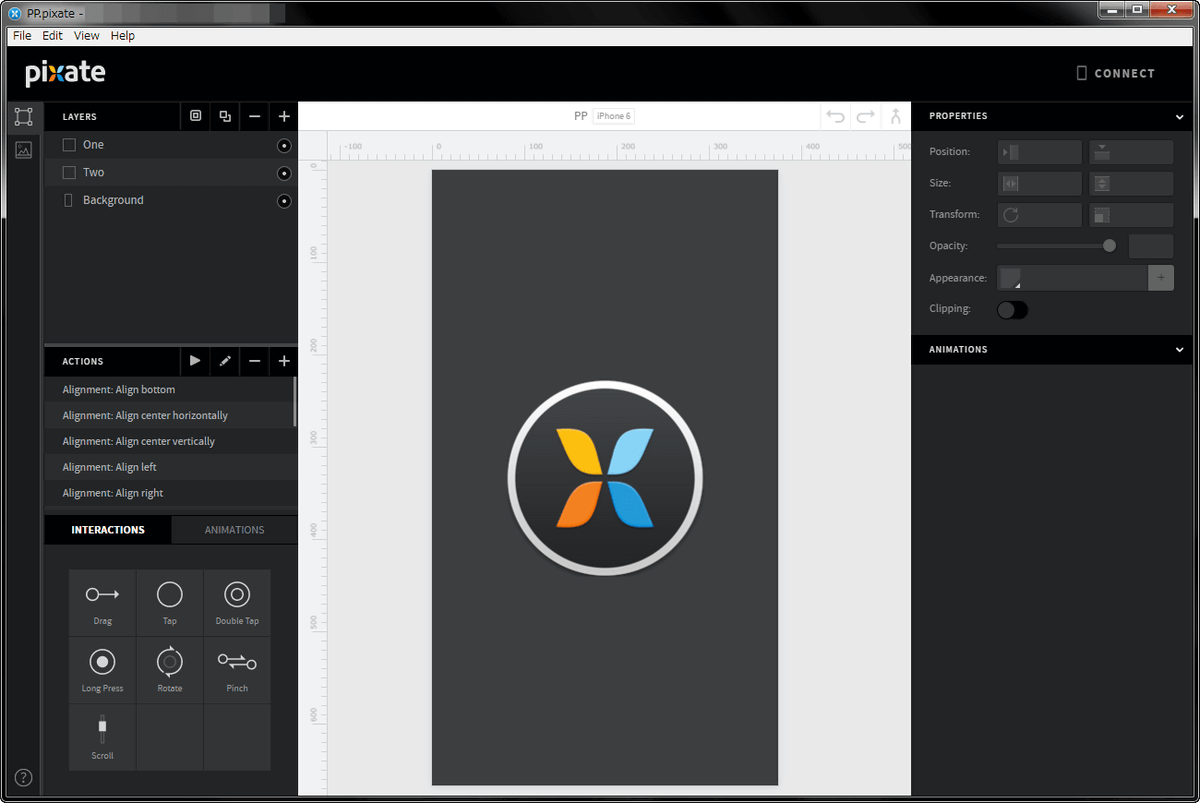
This is Pixate Studio. The prototype is displayed in the part of the screen that says "Getting Started".
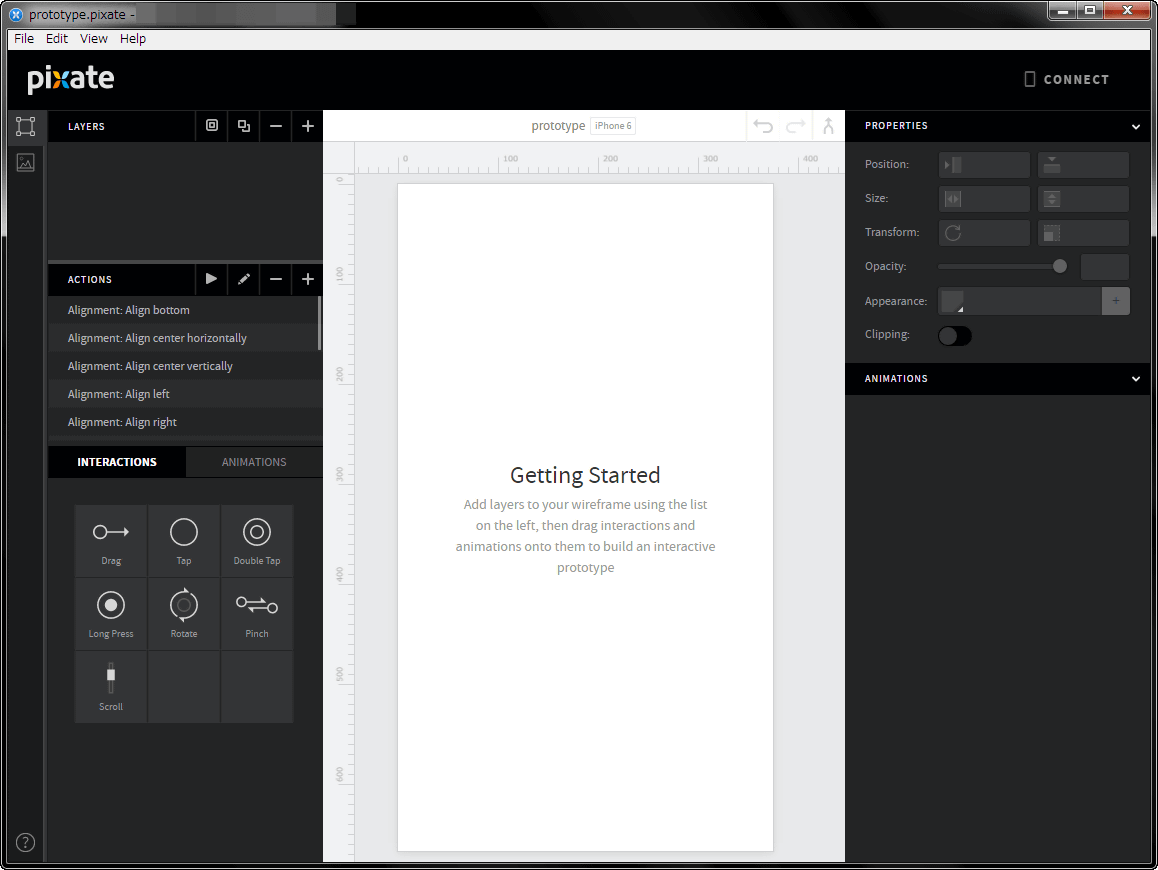
In the upper left of the screen is "LAYERS (Layer)", elements such as buttons and images that make up the prototype are added from here.

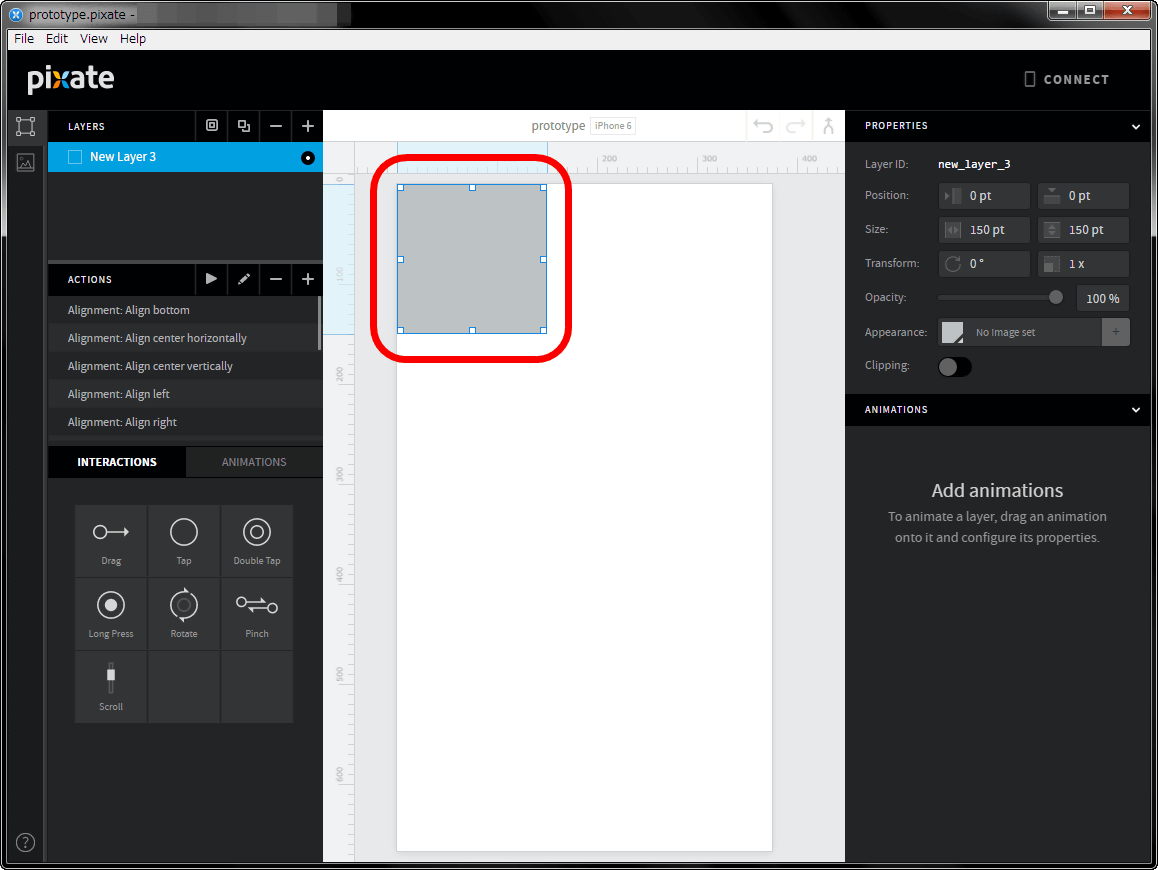
First add a layer by clicking "+" in the red frame part.

The layer added is the red frame part.
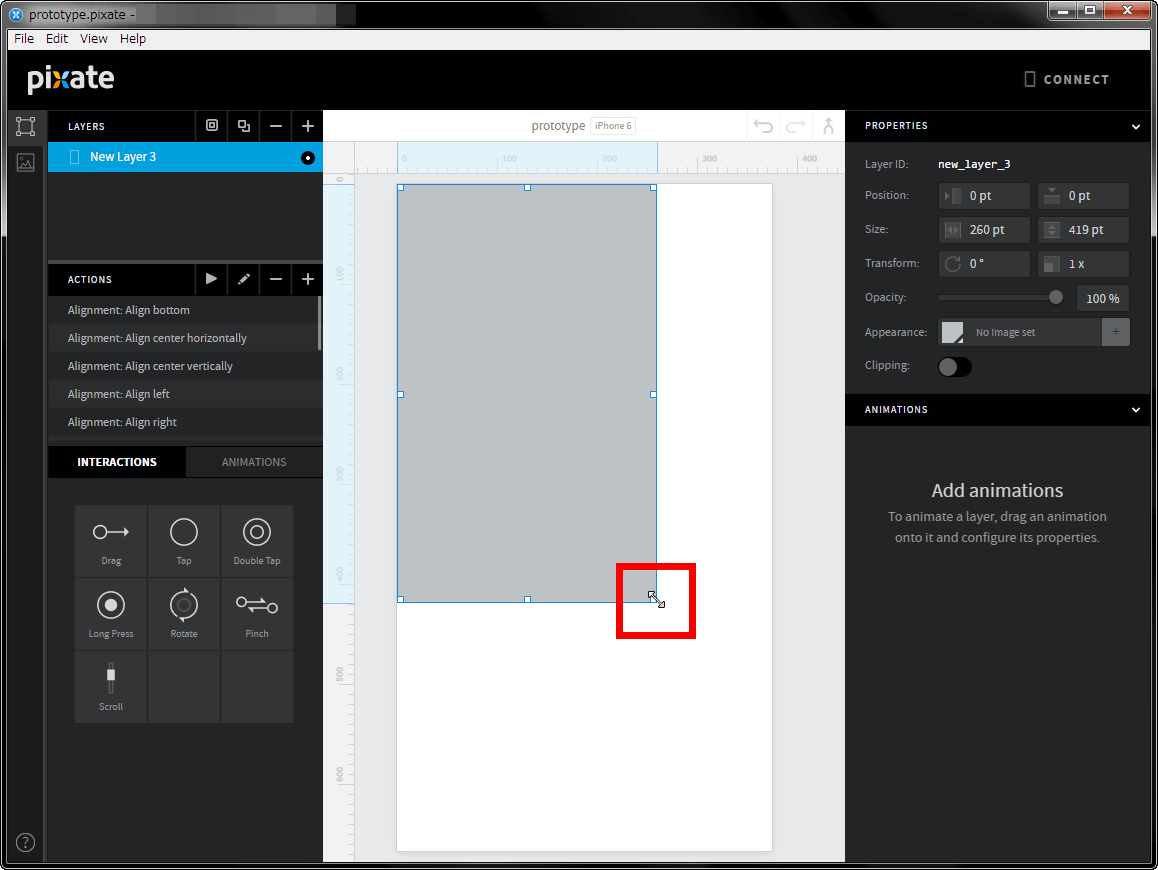
It can be scaled freely by drag & drop.
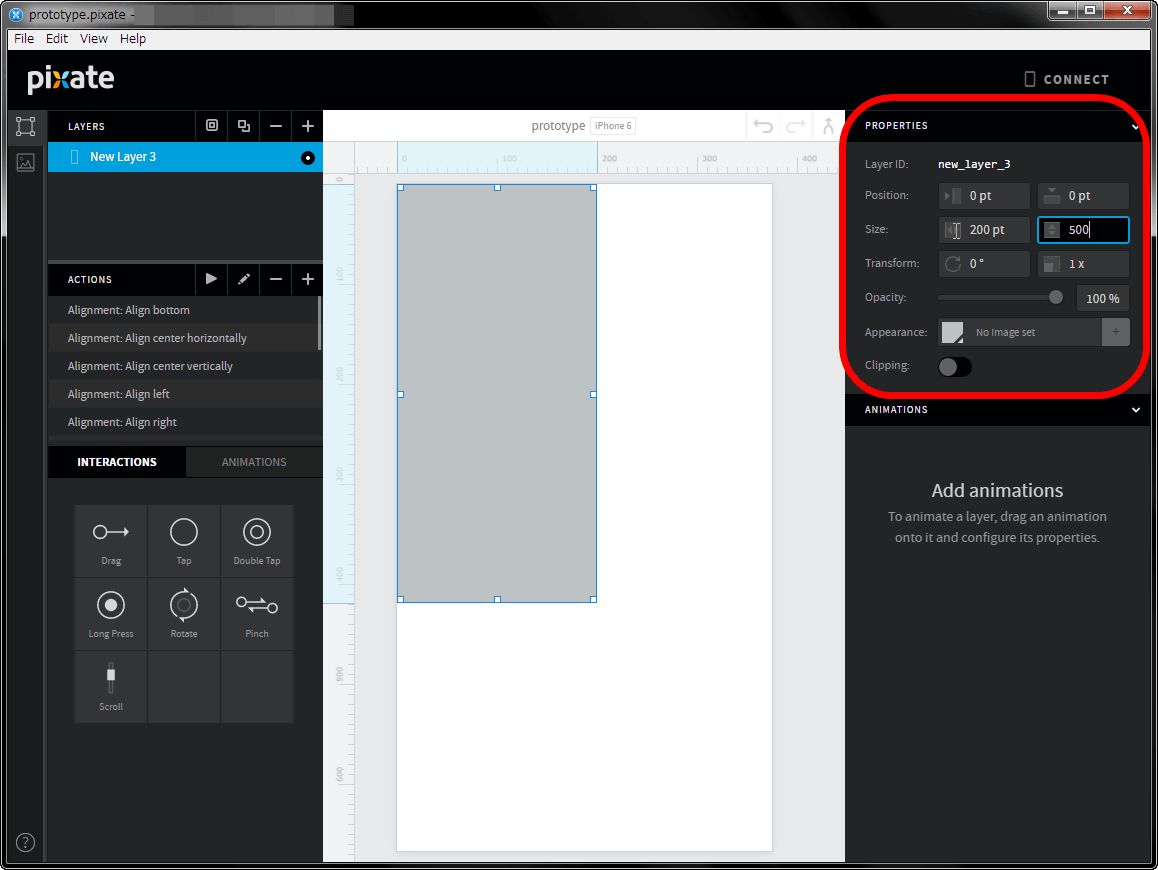
In addition, you can change the size and arrangement of the layer in numerical values and change the color from "PROPERTIES (property)" in the upper right of the screen.
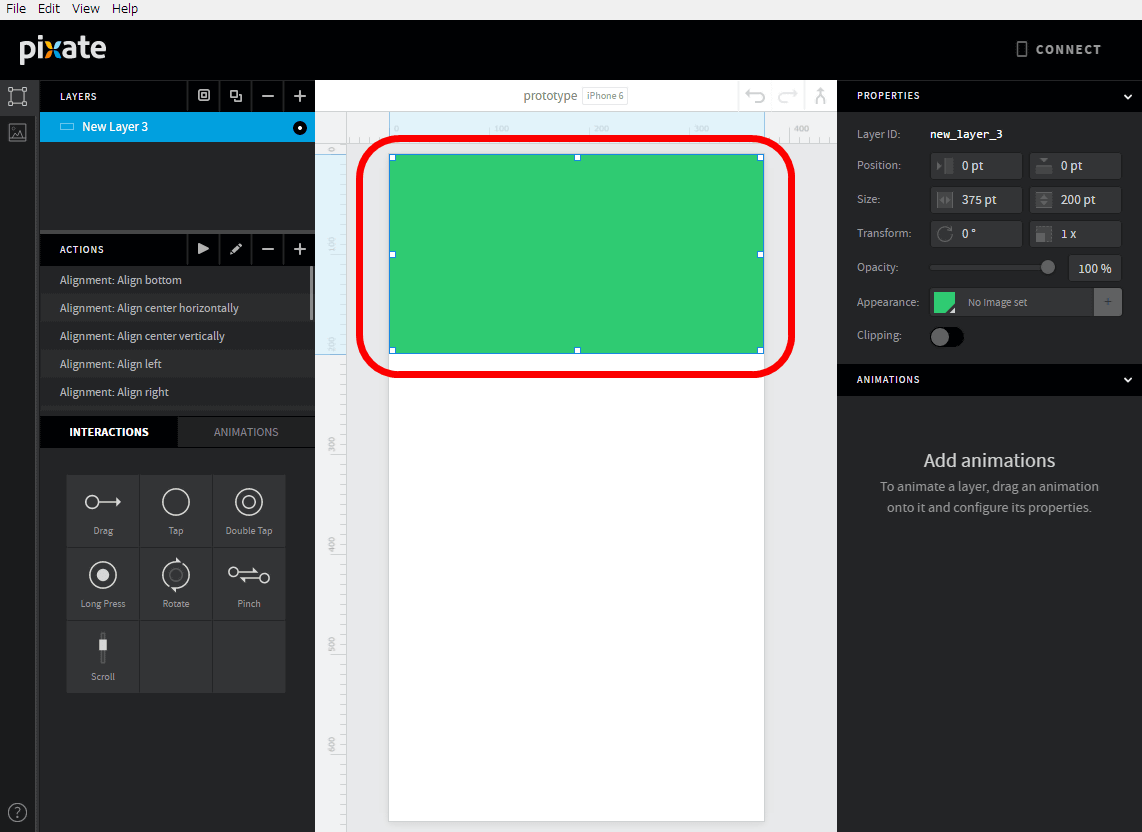
If you click the red frame part and select a color ... ....

You can color different layers.
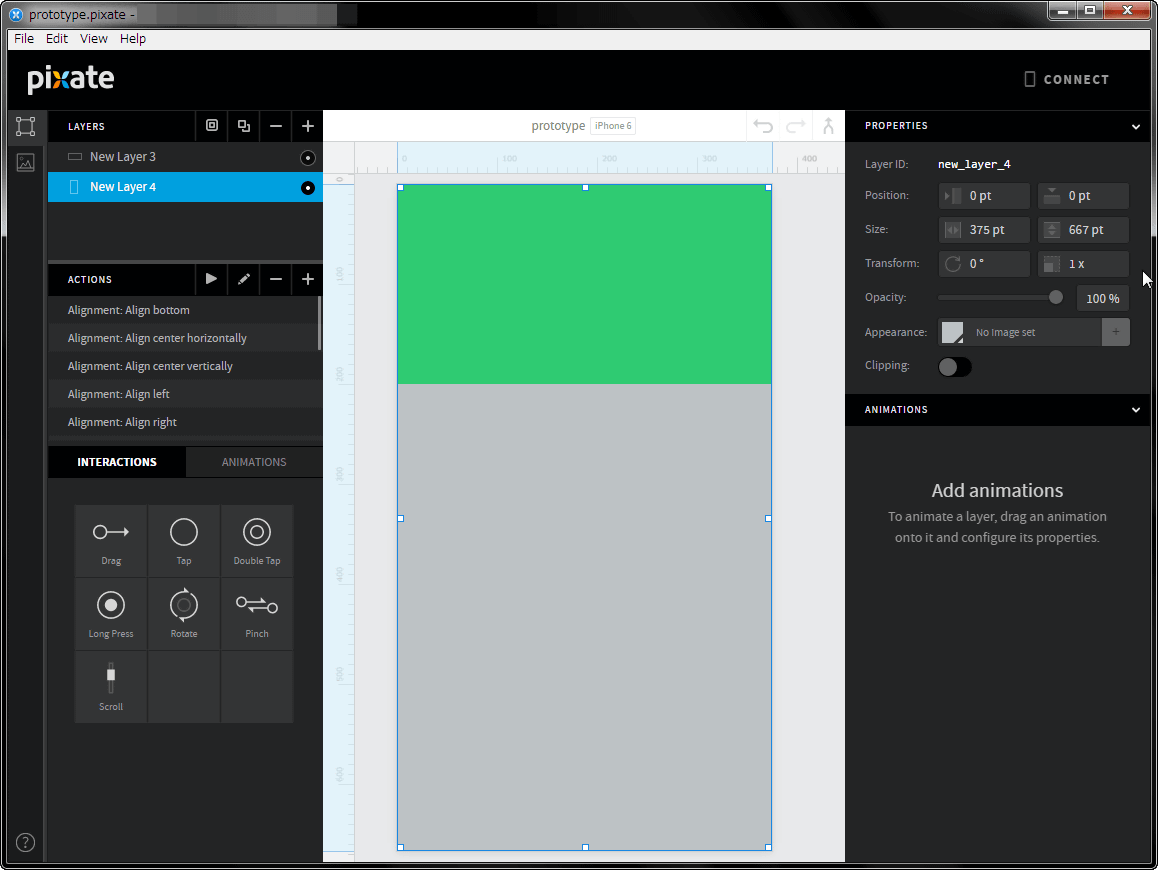
Multiple layers can be created, and what is displayed above will be displayed on the front of the display screen.

In the following cases, the green "New Layer 3" and the gray "New Layer 4" are arranged, and the green "New Layer 3" is displayed over the entire surface than "New Layer 4".
To paste an image on a layer, click the red frame on the upper left of the screen and click "+".

Then select the image you want to use and click "Open".
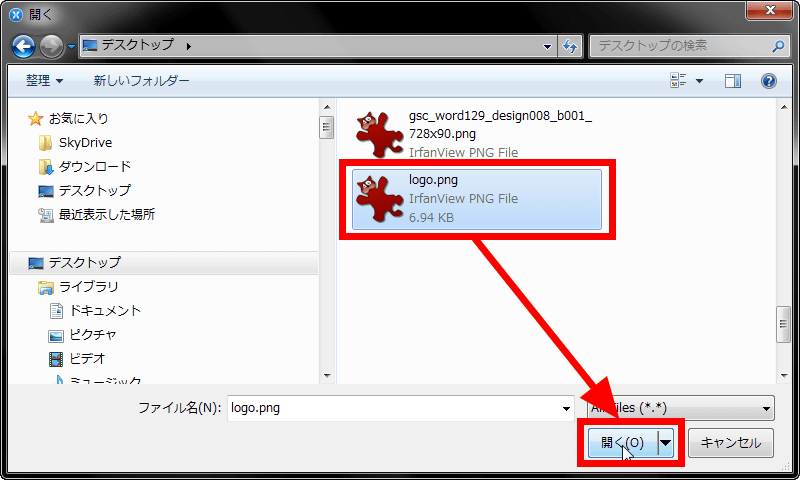
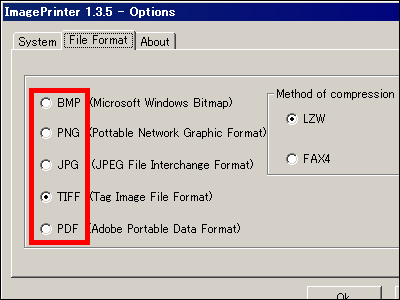
Pixate Studio can use JPG, PNG, TIFF format files up to 5 MB in size.

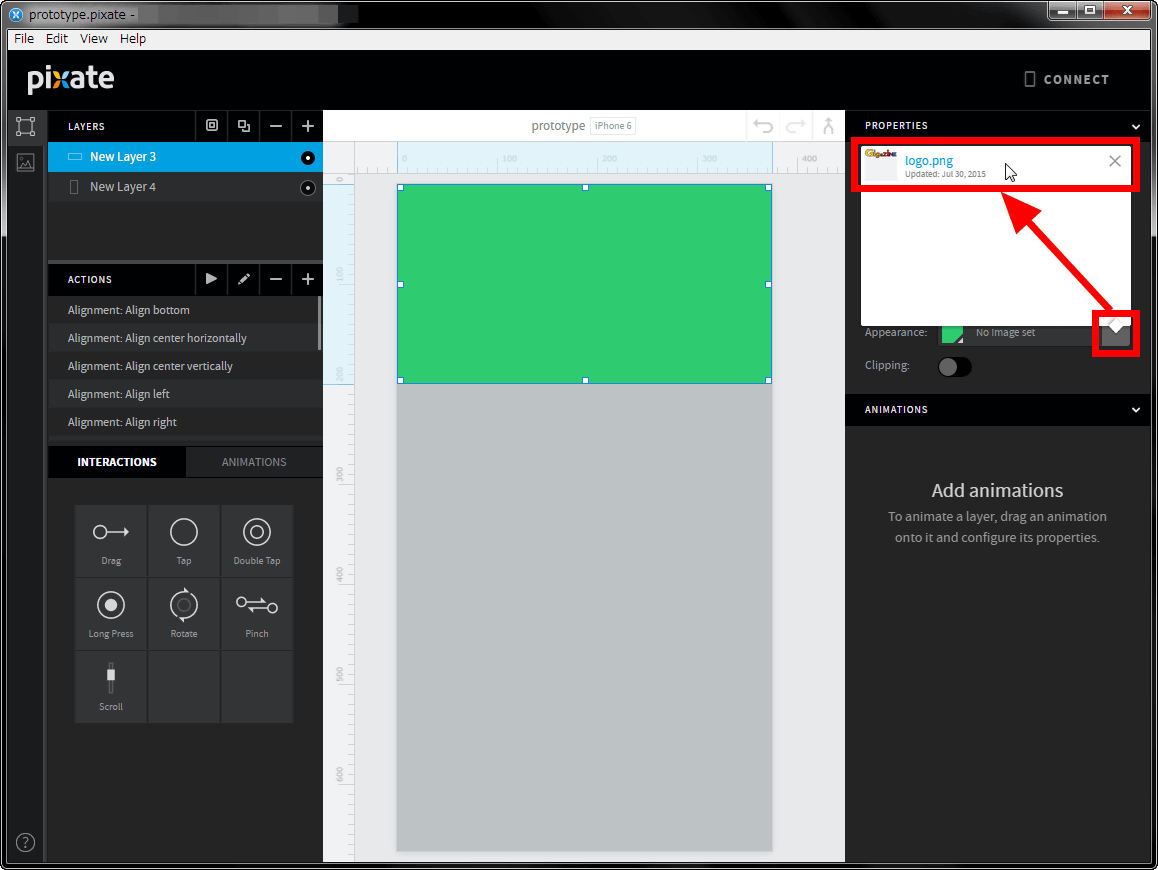
After adding the image you want to use, select the layer to paste the image, click the red frame part of the property, click the image.
Then the selected image is pasted on the layer.
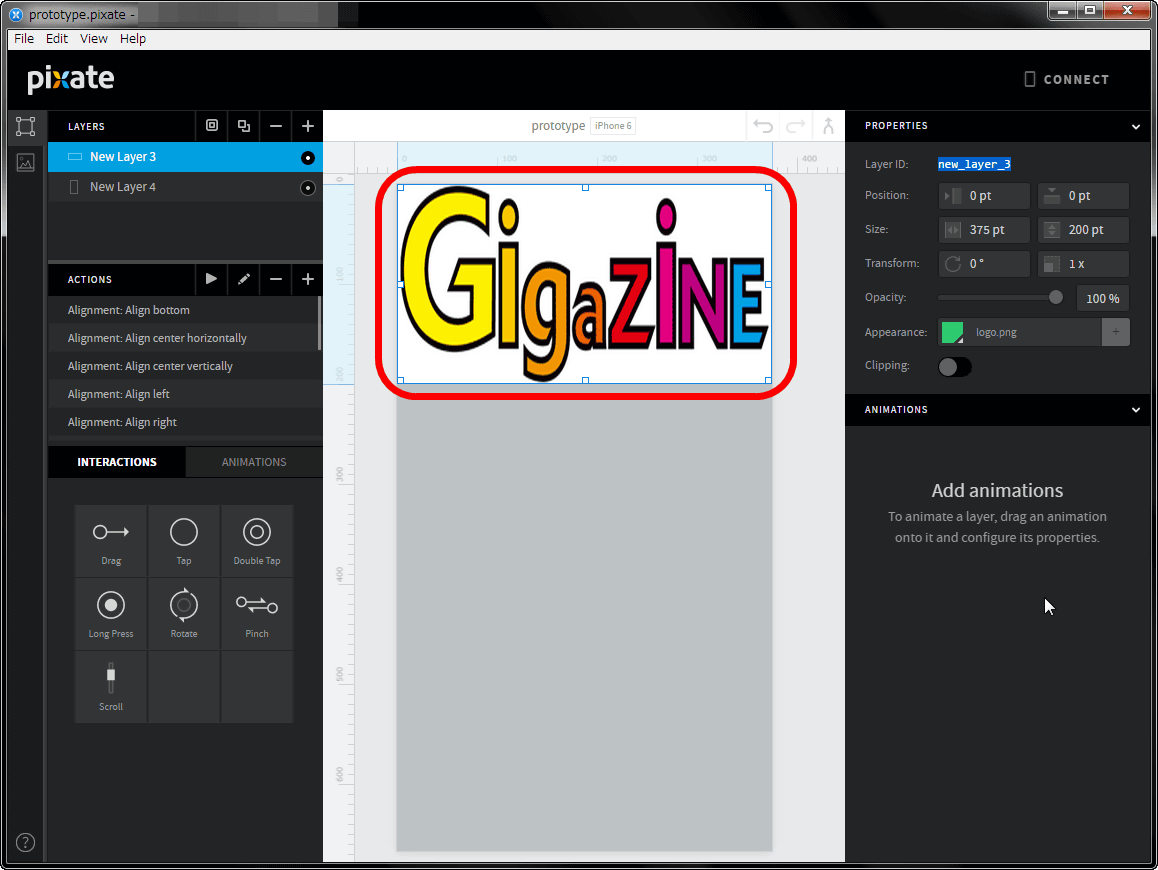
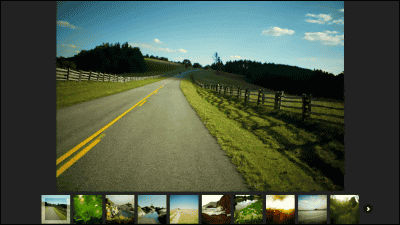
When you add images and layers like this, it looks like this. A prototype that I have seen somewhere is completed.

"ACTIONS" at the bottom of the layer is useful when arranging each element.

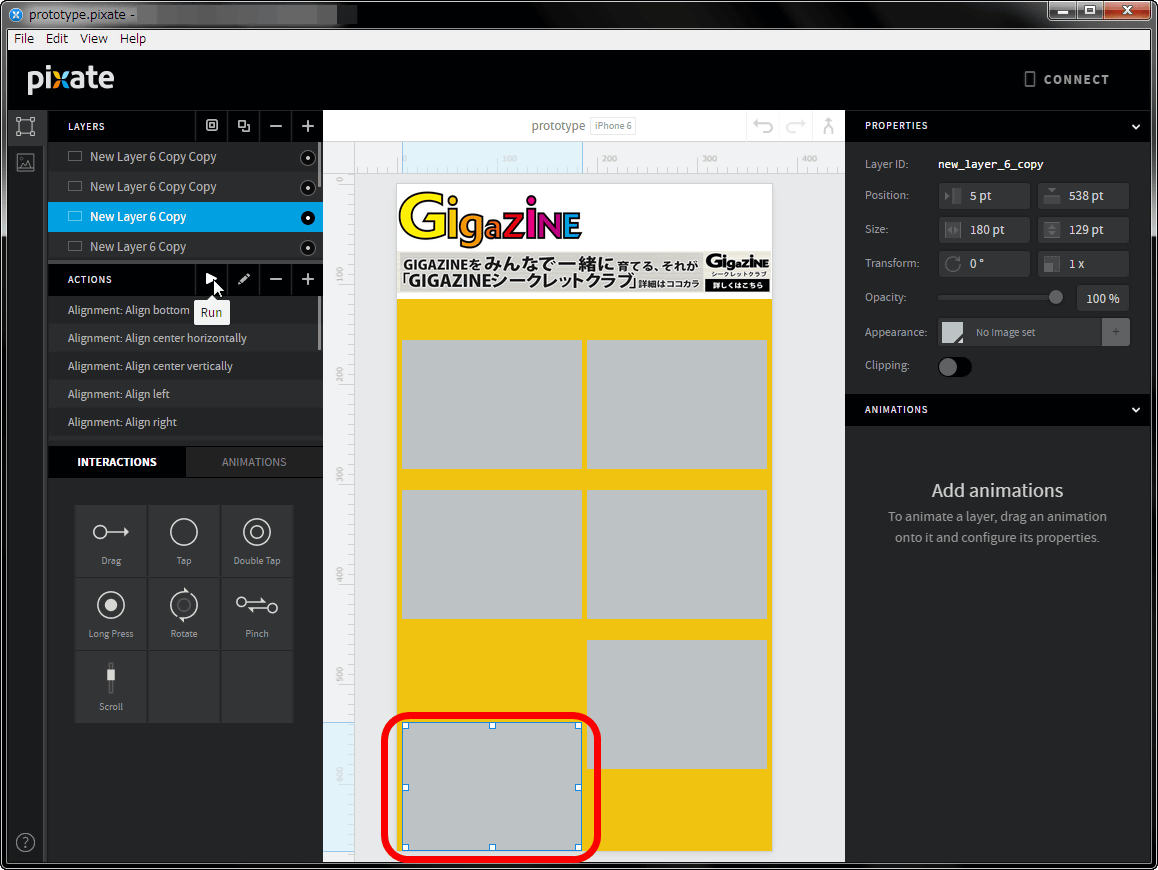
Select a layer, select "Alignment: Align bottom" from the action and click "Run" ... ...
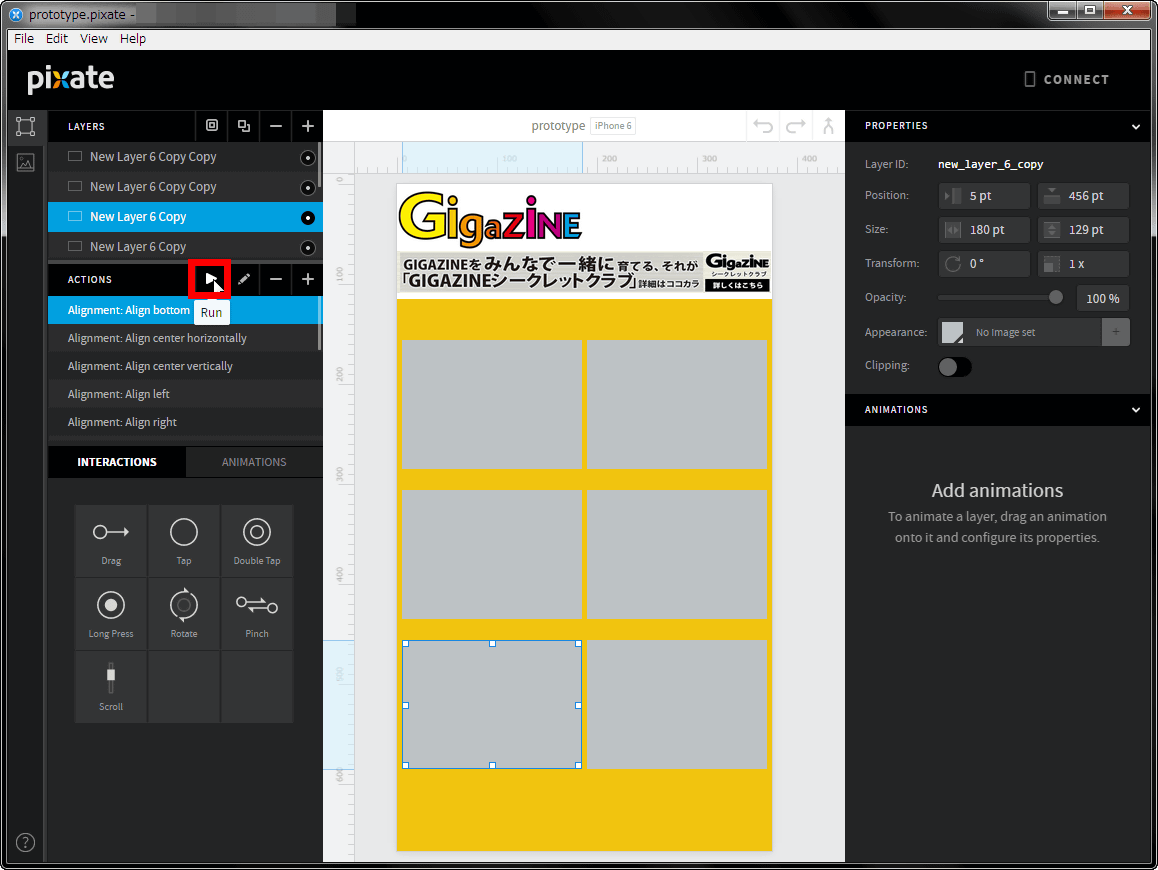
Each layer can be arranged automatically. If you use actions, you can easily "arrange in the center" and add templates.
Furthermore, if you want to add actions etc. to each layer, "INTERACTIONS / ANIMATIONS" at the bottom of the action.

Drag and drop what you want to use to the layer.
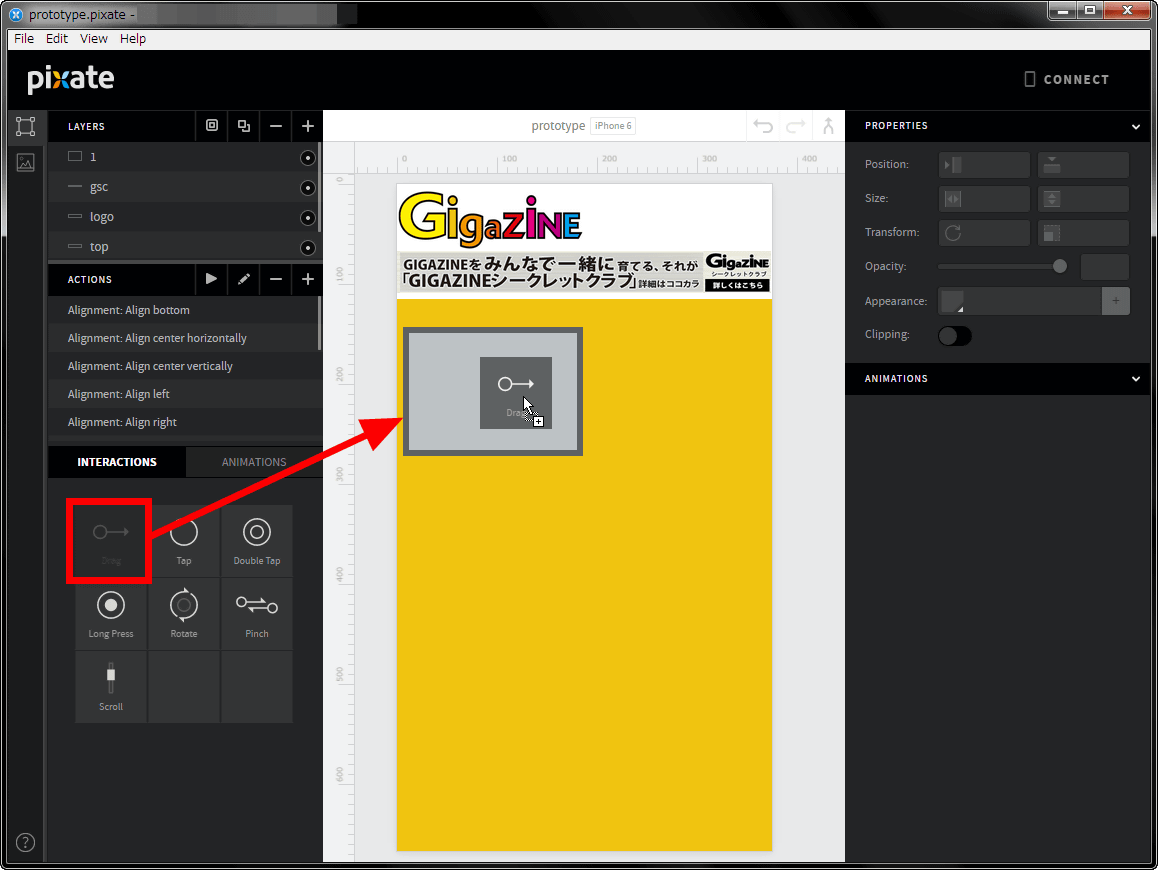
When I tried adding "Drag" to the layer, "Drag" was displayed on the property.

If you add "Drag" to the layer, it will be able to move that layer also in the prototype. Although it is hard to understand if it is only on the PC side, if you move the prototype on the smartphone side, you can move the layer to which you added "Drag" freely, but you can not move layers that you do not add from the initial position.
Difference between layer with "Drag" added and layer not added - YouTube
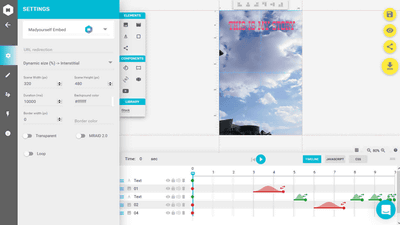
Furthermore, if you add "INTERACTIONS / ANIMATIONS" to the layer, you will be able to set the behavior more precisely from "ANIMATIONS" in the red frame on the bottom right of the screen.
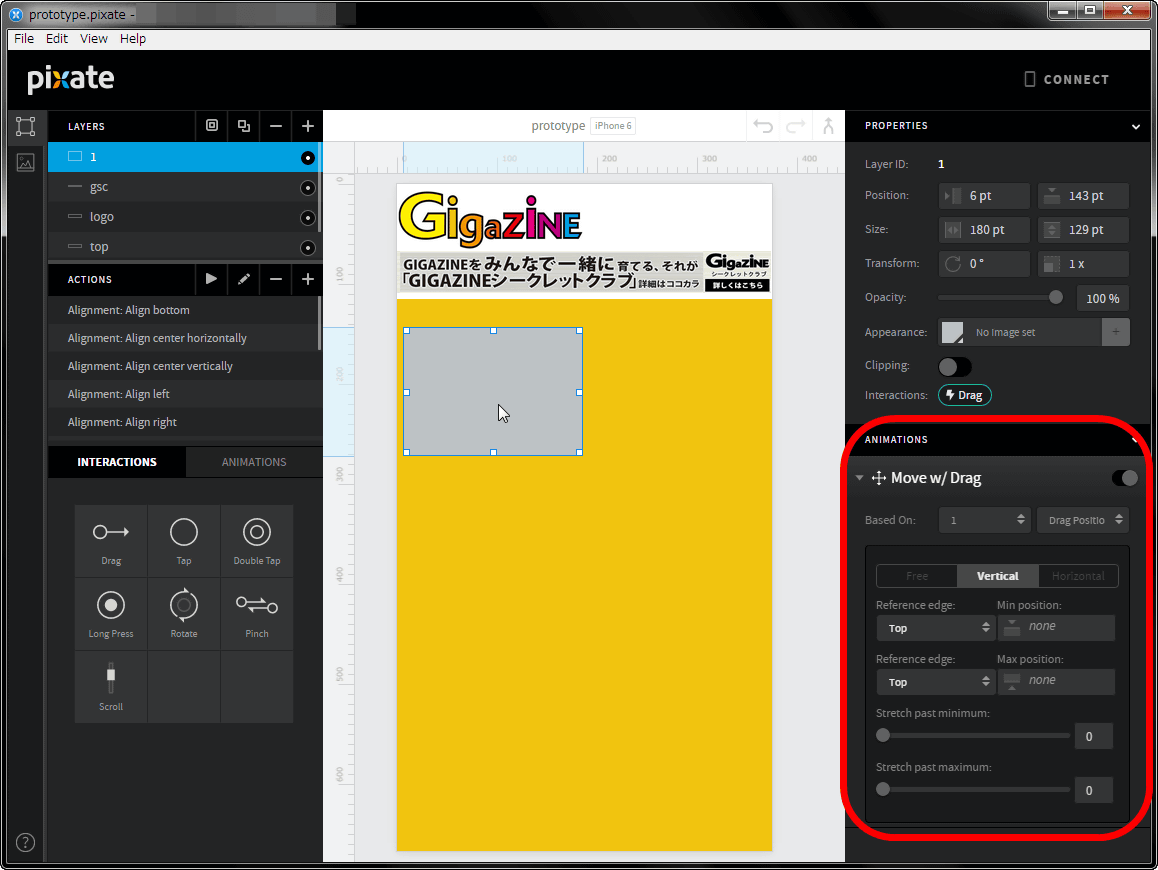
For example, "Drag" is in the initial state "Free", but clicking "Vertical" ... ...

The layer can only move vertically.
Layers can only move vertically - YouTube
If you want to invalidate the added "INTERACTIONS / ANIMATIONS", select the effect you want to disable from "ANIMATIONS" and click on the red frame part OK.

That's why I tried adding various things.

Looking at the smartphone screen like this.

You can try changing the layout of the content or try moving the icon's motion image.
Tinkered with the prototype I created - YouTube
If you click "view" → "Developer" → "Toggle Developer Tools" in the menu ... ...

You can also switch to developer mode.

It is a Pixate that seems to be variously usable, but since there are multiple movie tutorials published on the following page, check it if you have something you do not understand.
Video Tutorials | Pixate
http://www.pixate.com/education/video-tutorials/

A lot of examples of Pixate are stocked on the following page. You can also actually see how the prototype moves with the mobile application.
Demos | Pixate
http://www.pixate.com/education/demos/

Pixate is software that can be used without charge & registration, but if you want to share prototype you created with multiple people, you need to become a paid member for 5 dollars a month (about 620 yen).
Related Posts:
in Video, Software, Smartphone, Review, Posted by logu_ii