I tried using 'JPEGmini' and 'JPEGmini Pro' that can reduce the size of the JPEG file to about 1/12 at maximum

When uploading photos to SNS or online storage, or attaching them to an email and sending them to someone, we want to keep the file size as small as possible, but on the other hand, we also want to avoid degrading the image quality. JPEGmini is software for Windows and Mac that reduces the size of JPEG files to meet such demands. There are several versions, including a trial version with limited functions, a paid version with no functional restrictions, and a pro version with expanded functions. rice field.
JPEGmini - Your Photos on a Diet!
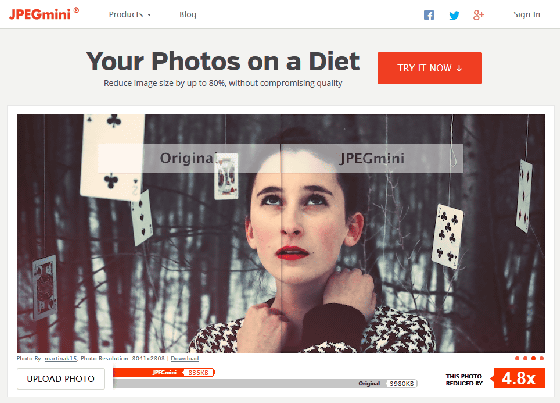
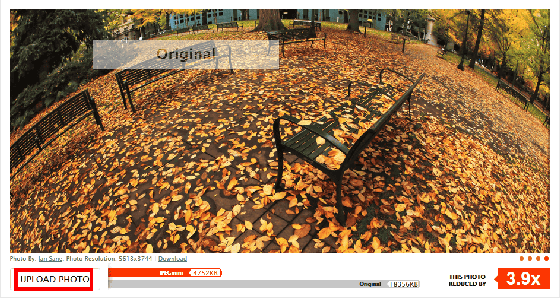
JPEGmini is software that you install and use, but you can check the power of file size reduction on the official website. Click 'UPLOAD PHOTO' at the bottom left of the image displayed on the top page.
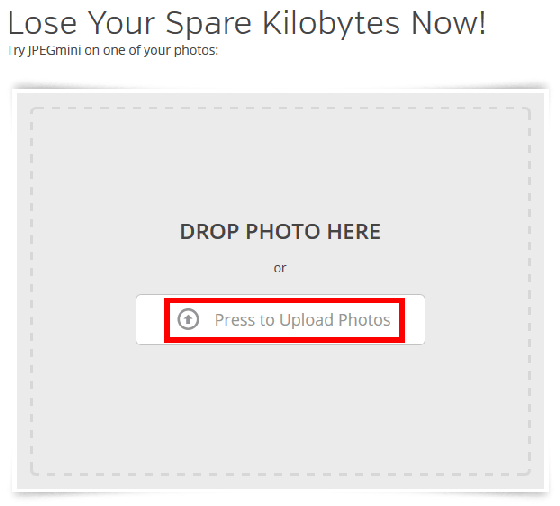
Drag and drop the JPEG file you want to try into the gray frame, or click 'Press to Upload Photos' to select the file.
File upload and processing are done ......
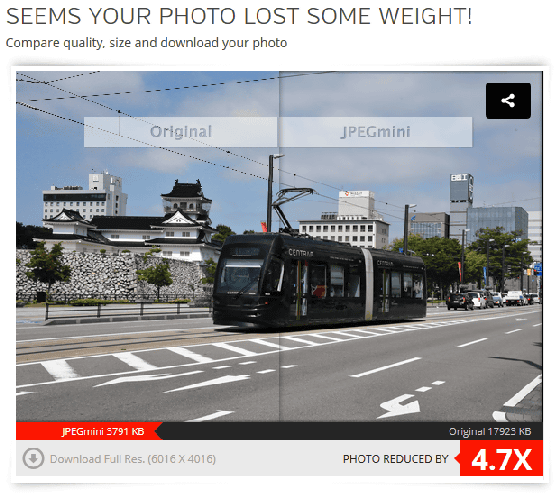
You can see the results. In this screen, the left side is the original, the right side is the photo processed by JPEGmini, and the border part can be moved left and right by dragging. For this file, the original is 17MB (17923KB) and 3791KB after JPEGmini processing. The original actually consumes 4.7 times the capacity.
◆Installing JPEGmini
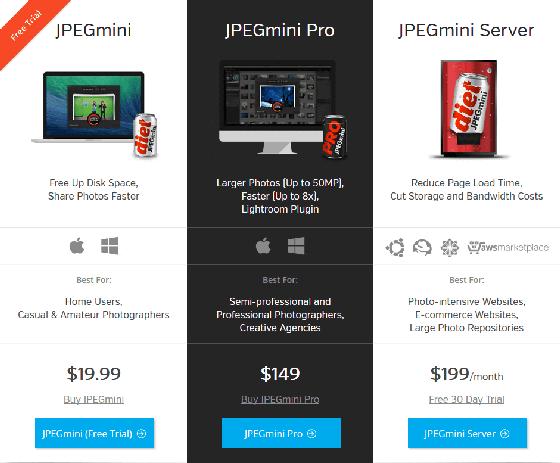
There are three types of JPEGmini: 'JPEGmini' for home users, 'JPEGmini Pro' for professional photographers, semi-professionals and creators, and 'JPEGmini Server' for sites with many photos and commercial sites. Unmarked 'JPEGmini' has a free version with limited functions for trial, so I will use this first.
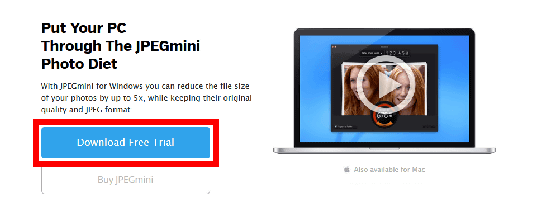
Click 'Download Free Trial' on the following page.
JPEGmini | Download the Free Windows App
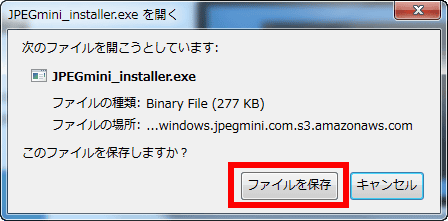
Click 'Save File'
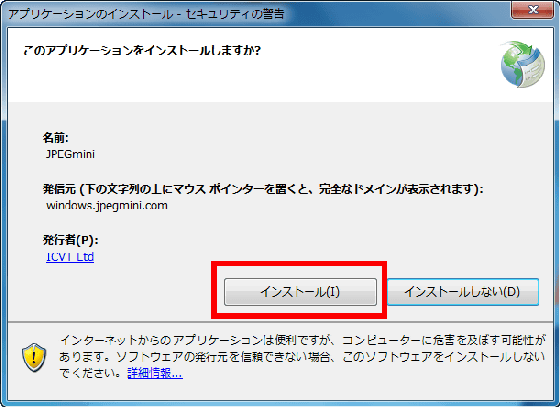
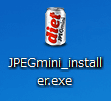
Since the file with the icon like ' JPEGmini_installer.exe ' like canned juice is the installer, start it.
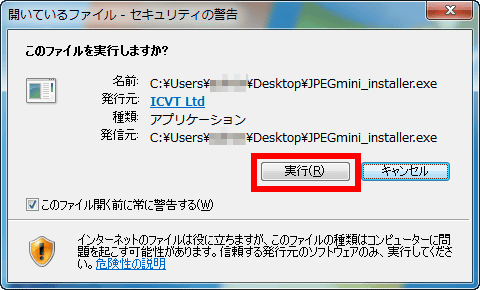
Click 'Run'
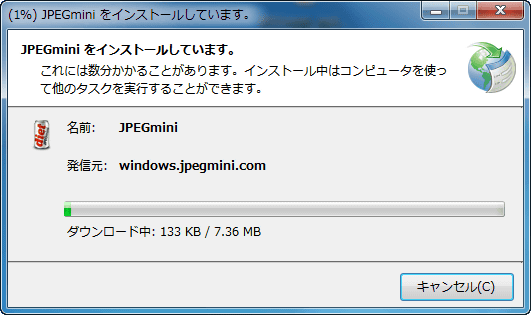
The file will then download and install
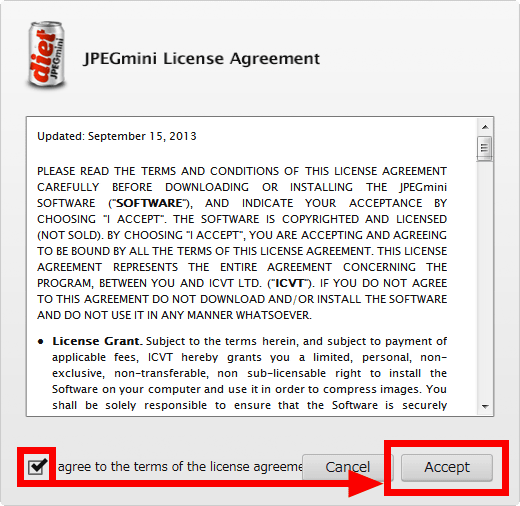
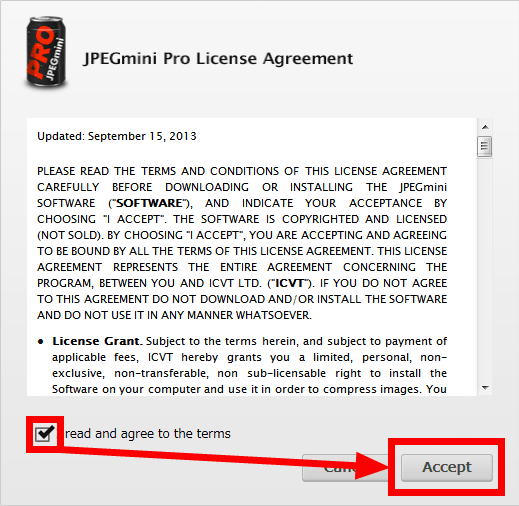
Check the checkbox at the bottom left and click 'Accept'
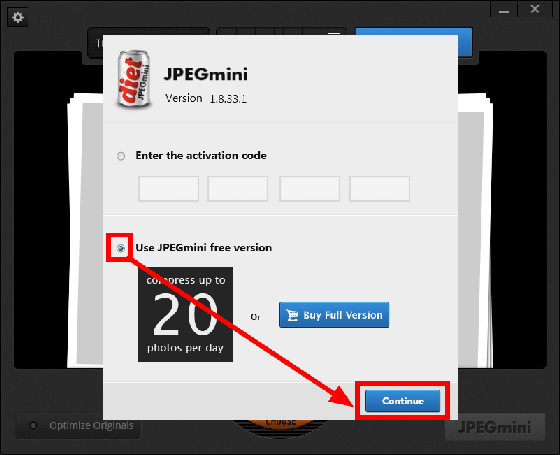
I will try using it, so check 'Use JPEGmini free version' and click 'Continue'. There is a limit of 20 files per day.
◆ JPEGmini settings
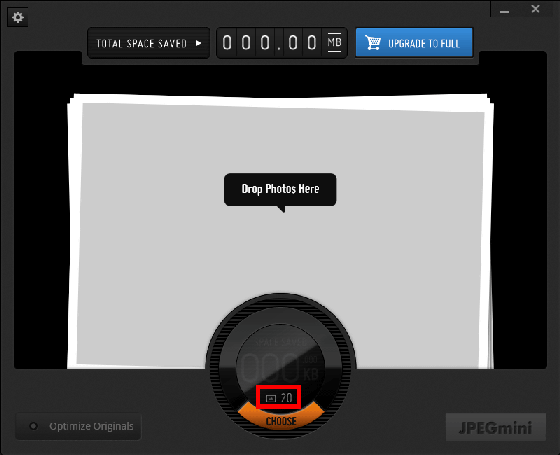
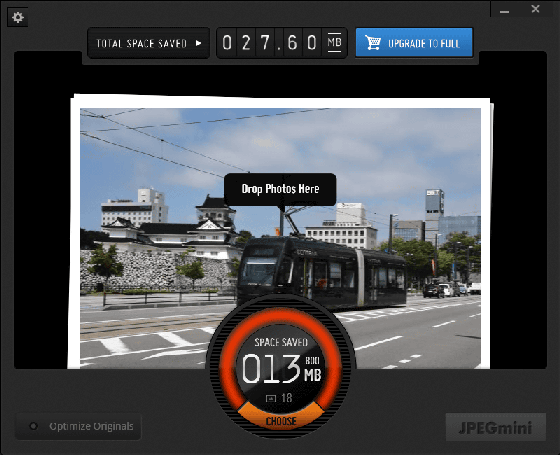
The main screen looks something like this, and the remaining number that can be used in a day is displayed at the bottom of the screen.
Click the place where 'Optimize Originals' is written in the lower left to open the option setting screen.
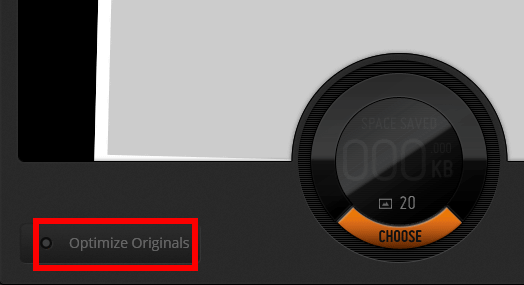
By default, 'Optimize Originals' above is checked. In this state, the original file that was dragged and dropped will be optimized as is. In addition, a warning is issued when overwriting. If 'Send anonymous usage information' at the bottom is checked, anonymous usage information will be sent, so if you are interested, uncheck it and click 'Apply'.
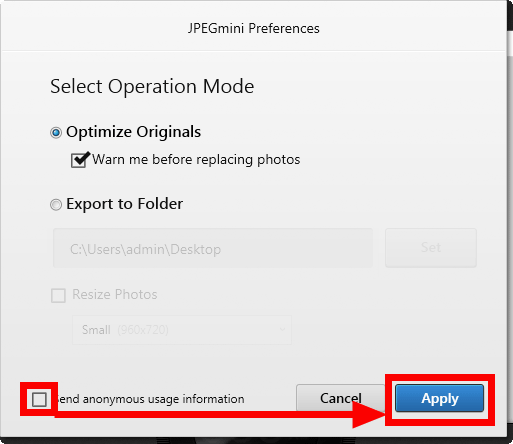
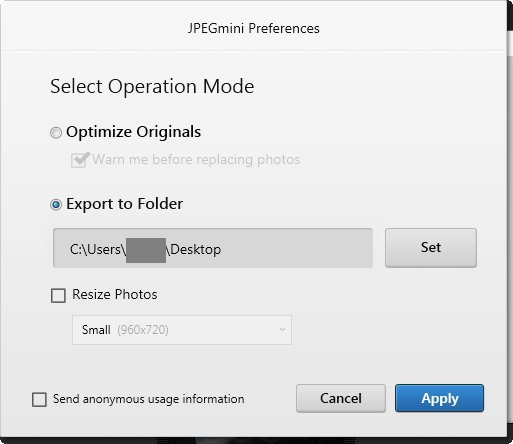
If you select 'Export to Folder' below, the optimized file will be output to the specified folder. If you have trouble losing the original file, choose this option.
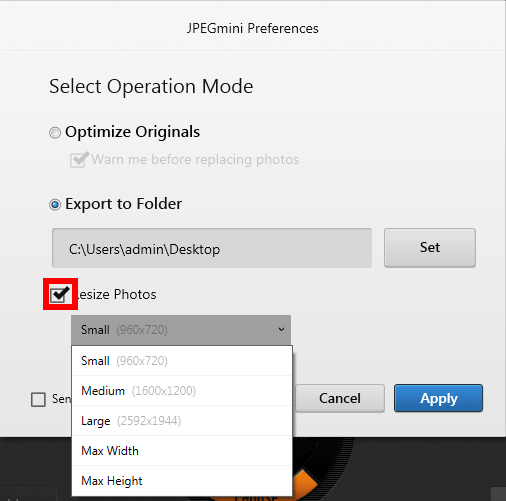
Also, if you check Resize Photos, the vertical and horizontal sizes will be resized when optimizing the file size. There are five types to choose from: 'Small (960 x 720)', 'Medium (1600 x 1200)', 'Large (2592 x 1944)', 'Max Width' and 'Max Height'.
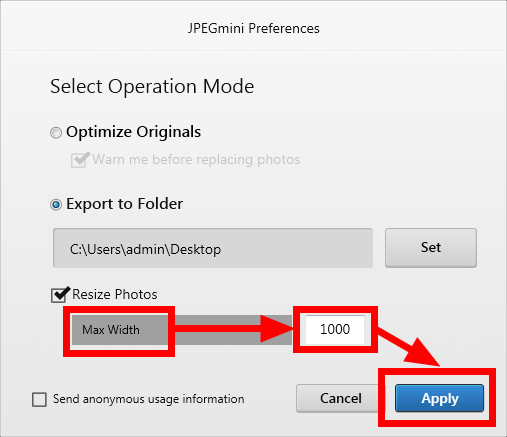
For 'Max Width' and 'Max Height', enter the maximum horizontal or vertical size after selecting and click 'Apply'. It seems that Small, Medium, and Large are forcibly reduced to that resolution, but in reality it is reduced while maintaining the aspect so that it fits in that size. For example, when an image of 1200 pixels x 800 pixels was reduced with 'Small', it was output as 960 pixels x 640 pixels (hereinafter px notation).
◆Try using JPEGmini
So, I will actually use JPEGmini. The target is a photo of this tram, which I tried with the browser version earlier. The file uploaded in the article is simply reduced to 560px in width (1200px in width after clicking), and the original photo has a width of 6016px.

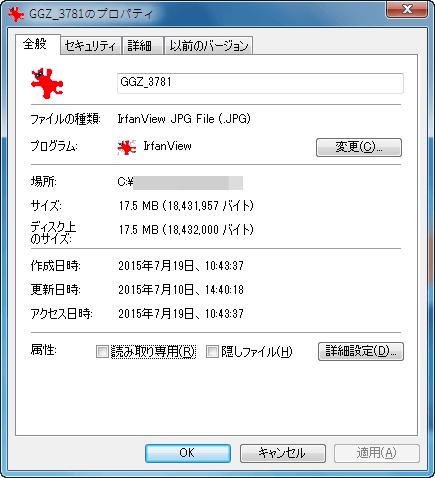
File size is 17.5MB. With this, I can't even upload it to SNS etc ... ....
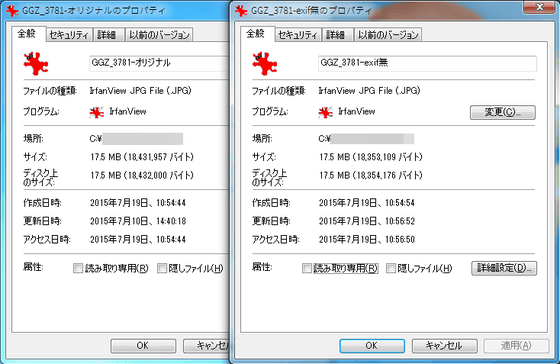
You can also reduce the file size a little by deleting the metadata, so I tried using
Therefore, when using JPEGmini, the file size decreased by 13 MB.
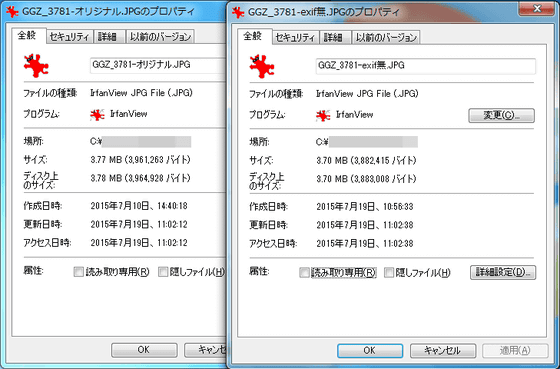
Both the original as it was shot and the version with the previous metadata removed greatly reduced the file size. JPEGmini does not delete metadata , so if you want to erase metadata, you need to use another software again.
The appearance of the photo itself looks something like this, just like before, it is simply reduced for posting the article.

If you cut out only a part, it will look like this. This is before processing.

This is after processing. People who print may be concerned about subtle deterioration, but it seems difficult to notice the difference as far as looking at the photos on a PC or smartphone.

By the way, the size of the original 4.7 times after JPEGmini processing was the same as the browser version, so when I checked it, it was shrunk to exactly the same file size.
◆Try using JPEGmini Pro
JPEGmini is $ 19.99 (about 2480 yen) in the regular version without functional restrictions, but JPEGmini Pro is $ 149 (about 18,484 yen) and the digits are different. After all, I decided to actually try it to see how much power it would get when it became a Pro.
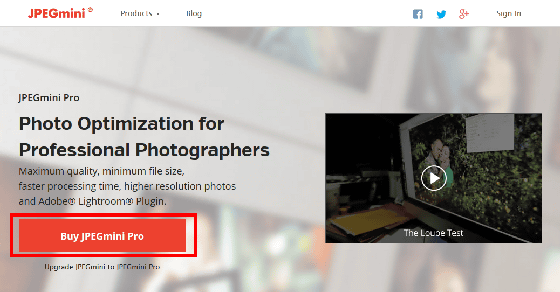
Click 'Buy JPEGmini Pro' on the following page.
JPEGmini Pro | Photo optimization for professional photographers
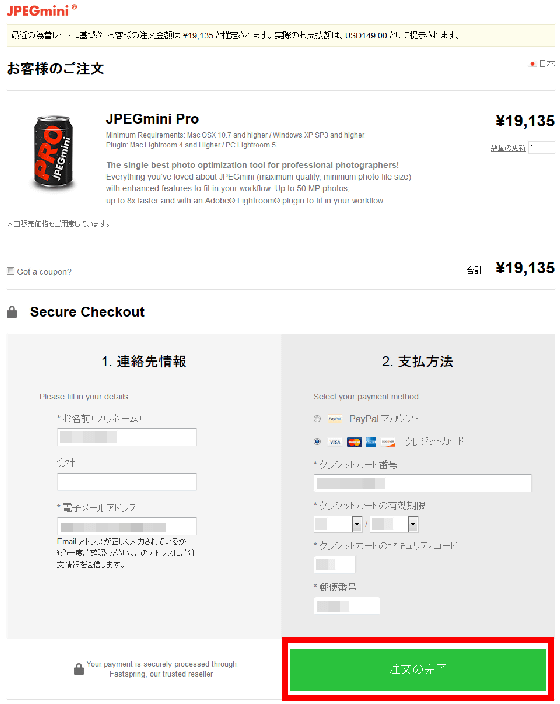
Enter the necessary information on the purchase information input screen and click 'Complete order'.
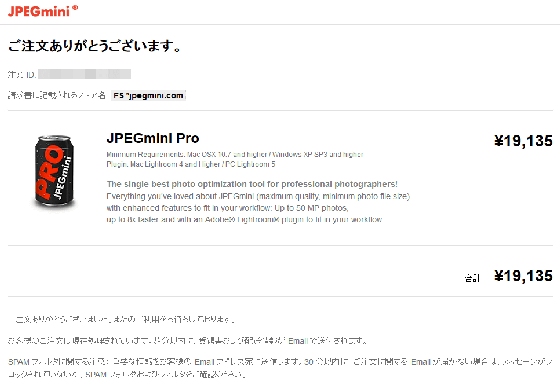
If there is no mistake in the input contents, the purchase is completed.
Within 10 minutes, you will receive an email with the subject 'Your JPEGmini Pro Delivery Information' to the registered email address.
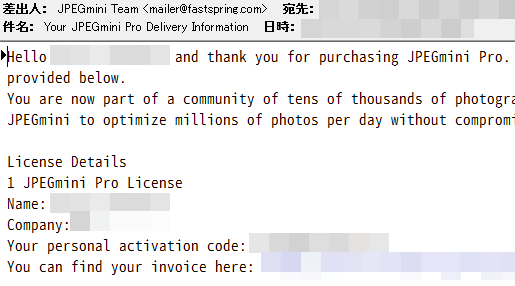
Download the Pro installer from the URL in the email and install it. The procedure is exactly the same as JPEGmini.
The only difference is the icon. If you check it and click 'Accept', here is the procedure only for Pro.
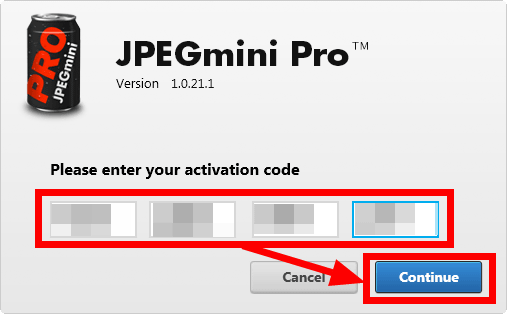
Enter the activation code sent by email and click 'Continue'.
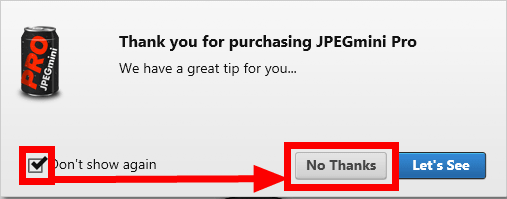
Check the checkbox and click 'No Thanks'.
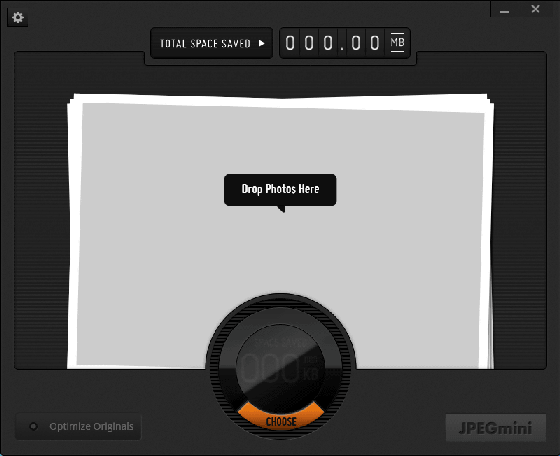
Appearance such as basic screen and setting screen is exactly the same as JPEGmini.
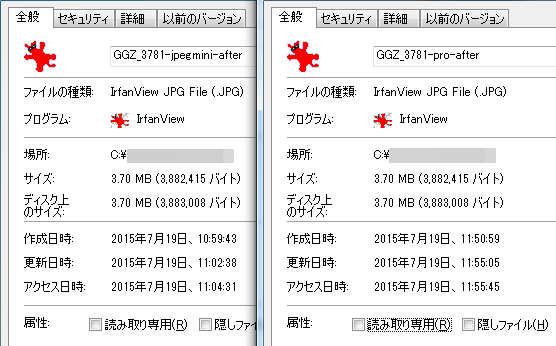
Furthermore, the file optimization part actually works exactly the same. This file property, left is optimized with JPEGmini (previously mentioned), right is optimized with JPEGmini Pro. Matches in 1-byte units. In other words, it does not mean that the file size can be made smaller than the normal version.
The difference between the Pro and the regular version is that 'the regular version can only handle photos up to 28 megapixels, but the Pro can handle up to 50 megapixels', 'the Pro is 8 times faster than the regular version', and 'there is a Lightroom plug-in'. 3 points. I wanted to test whether it is really 8 times faster, but the trial version of JPEGmini can only use 20 images per day, so I tried 10 images and there was no noticeable difference.
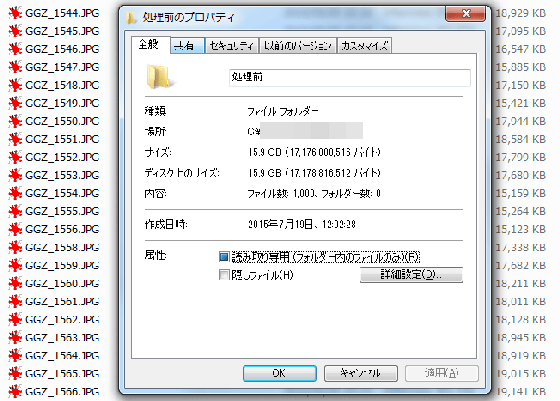
So, I tried how long it takes to process 1000 sheets. Each photo is over 15MB, and 1000 photos are 15.9GB.
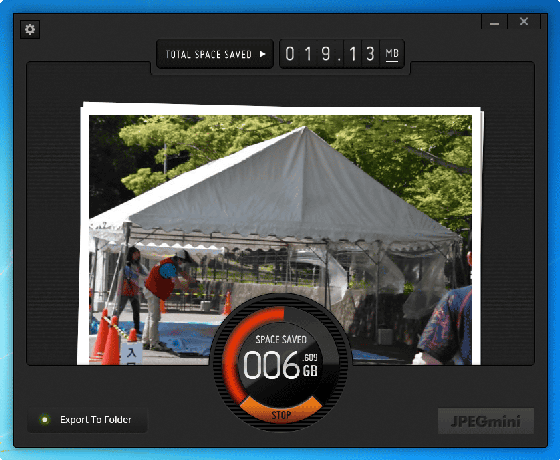
Processing progresses steadily, but it seems that it is difficult to process 1000 photos, which is difficult even to move from the SD card to the PC.
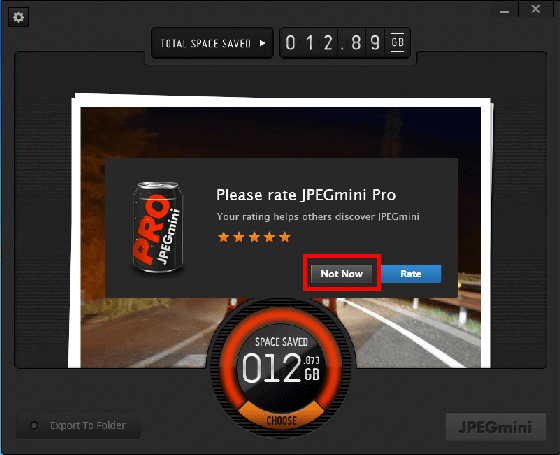
It took 17 minutes to complete the process. Finally, a dialog asking for 'Please rate JPEGmini Pro' evaluation was displayed, so click 'Not Now'. Even though I purchased it, a dialogue will appear at this timing...
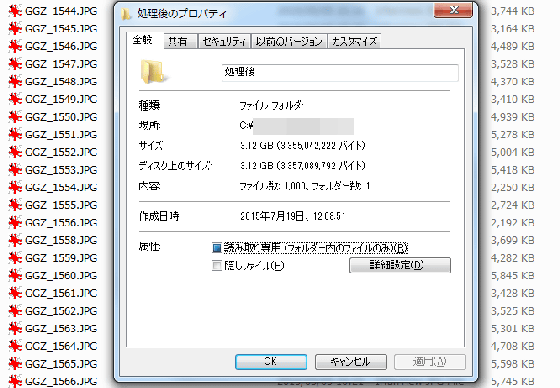
The folder after processing is thus significantly slimmed down to 3.12GB for 1000 sheets. Each photo is about 2MB to 6MB.
In conclusion, if you only plan to process up to 20 sheets a day, you can just use the official site or the trial version. Even if that is not the case, if you do not plan to use the 'Lightroom plug-in' that automatically optimizes the file size of JPEGmini when exporting files from Adobe's photo editing software Lightroom , use JPEGmini first. It is better to start from where you try. Buy Pro when you're unsatisfied with the speed and when you need a Lightroom plugin.
Related Posts:
in Review, Software, Web Service, Posted by logc_nt
