`` Bzzt! Image Editor '' review that lets you compress and rotate and resize images for free with a single drag and drop

“Bzzt! Image Editor” is free software that allows you to easily compress, resize, rotate, and change file formats by dragging and dropping. I actually used it to see what it feels like.
Bzzt! Image Editor-SingularLabs
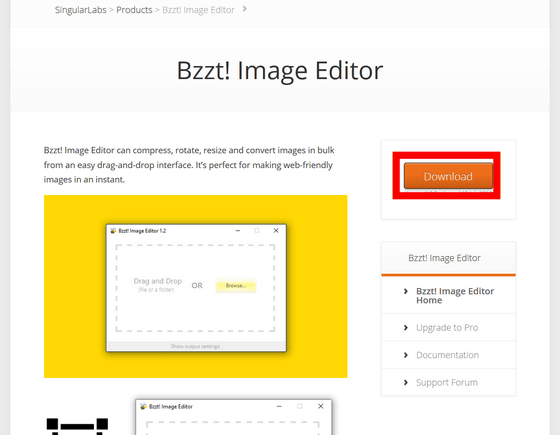
Access the official page and click “Download”.
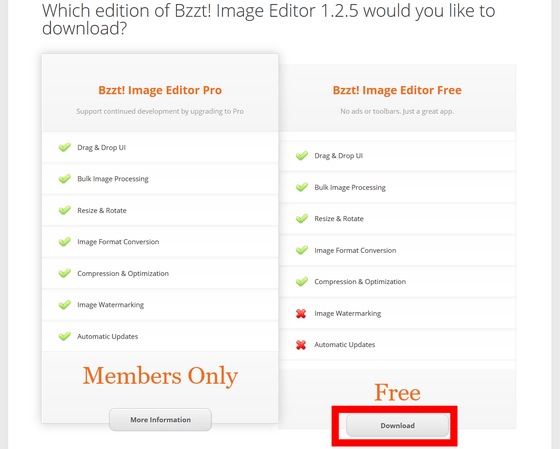
The only difference between the paid version of “Pro” and the free version of “Free” is the ability to add a watermark to the image and automatic update. This time we will use the free version of Free. Click “Download” at the bottom of Free.
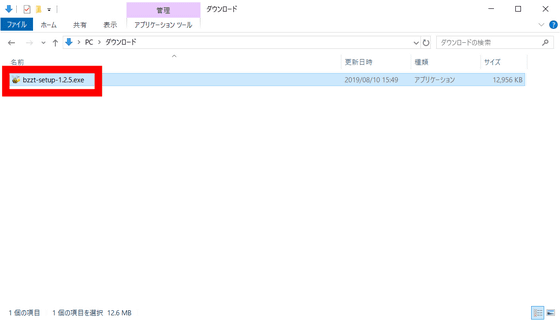
Double-click the downloaded “bzzt-setup-1.2.5.exe” to launch it.
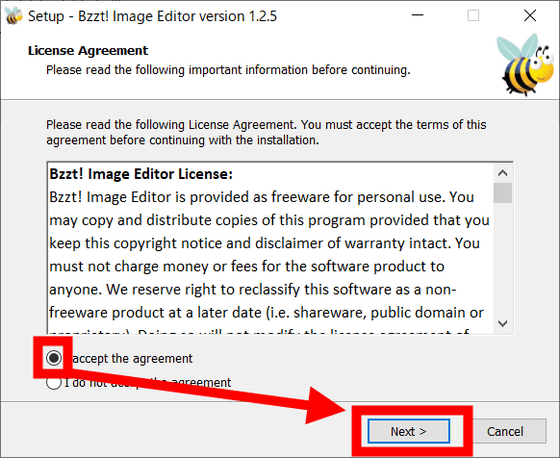
Configure the installation settings. First, to accept the software license agreement, check 'I accept the agreement' and click 'Next'.
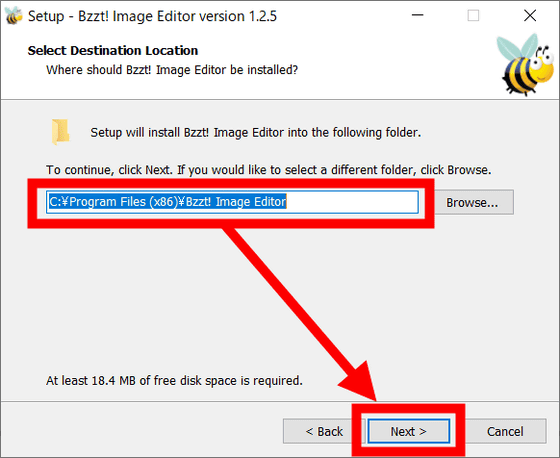
Specify the installation destination and click 'Next'
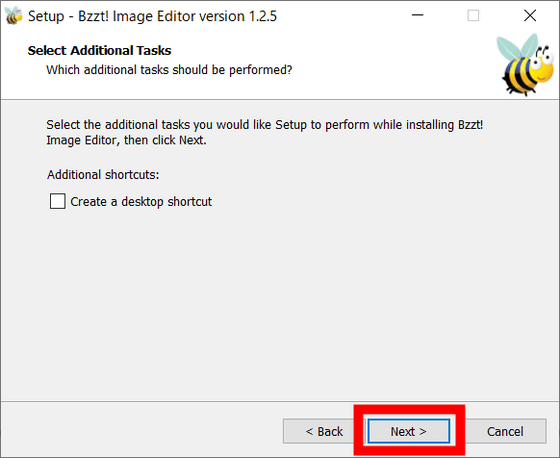
You will be asked if you want to create a shortcut on the desktop. This time, no shortcut will be created on the desktop, so click “Next” with the check box blank.
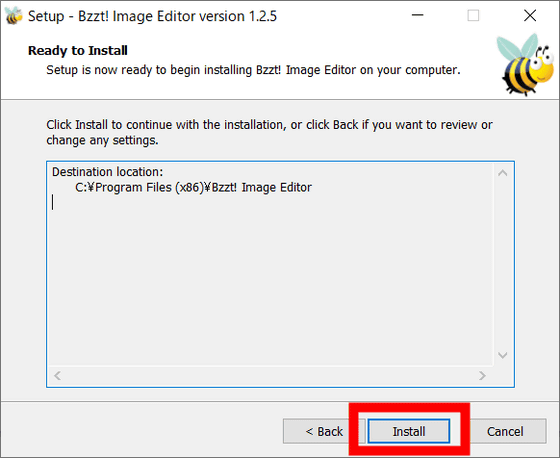
Click “Install” to start installation automatically.
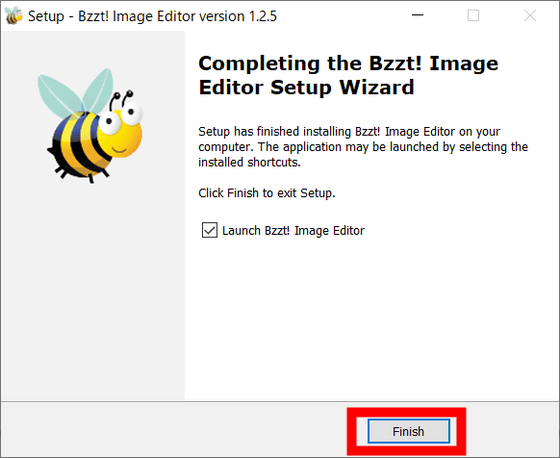
When finished, click “Finish” to complete the installation. The software will start up automatically.
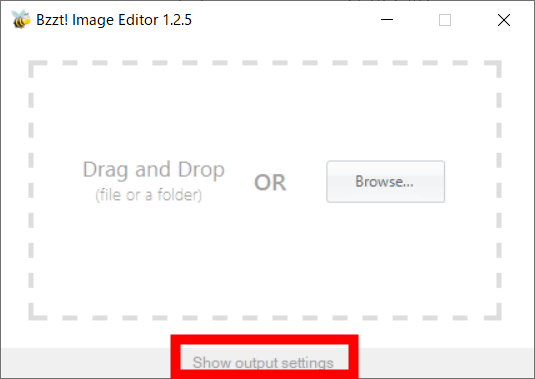
The main window of Bzzt! Image Editor is super simple. Click 'Show output settings' at the bottom to change the initial settings.
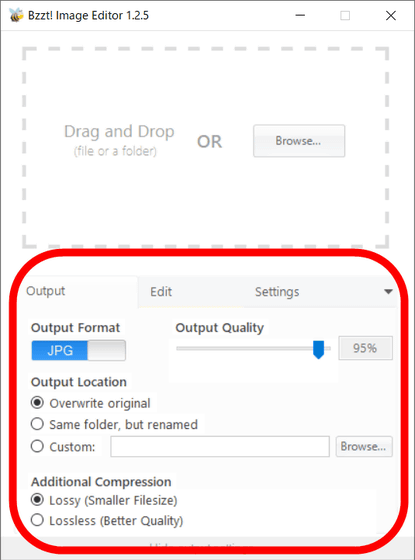
The setting screen is displayed at the bottom of the main window. In the 'Output' tab, you can change the output file settings. “Output Format” allows you to select the output file format as JPG / PNG. In 'Output Location', select 'Overwrite original (overwrite original file)', 'Same folder, but renamed (renamed to the same folder and generate)', 'Custom (create in specified folder)' You can select the generation destination. “Output Quality” and “Additional Compression” allow you to select the quality of the converted file.
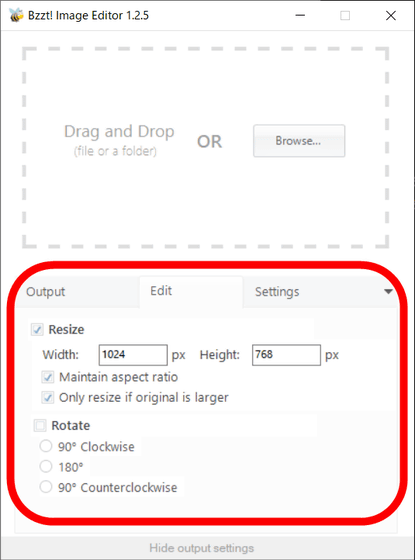
'Edit' allows you to change or rotate the image size when converting files.
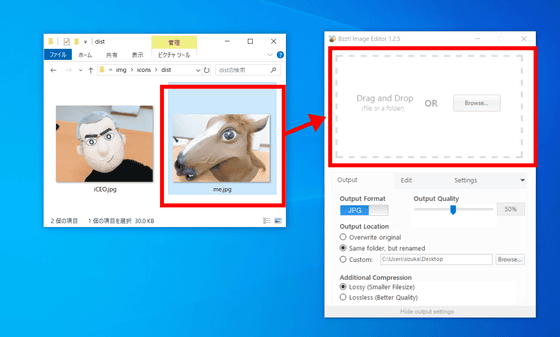
To convert an image with Bzzt! Image Editor, simply drag and drop the image file into the dotted line marked “Drag and Drop”. This time, JPG file was converted with “Output Quality: 50%” and “Lossless” settings.
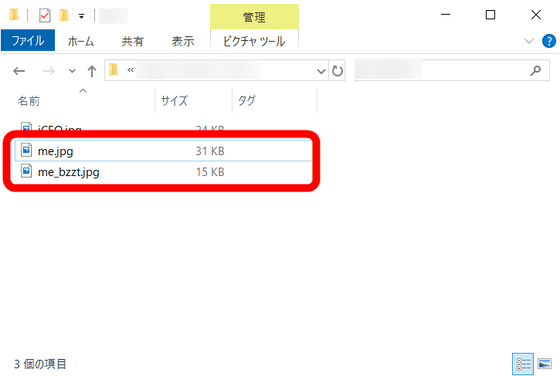
The converted file is about half the size.
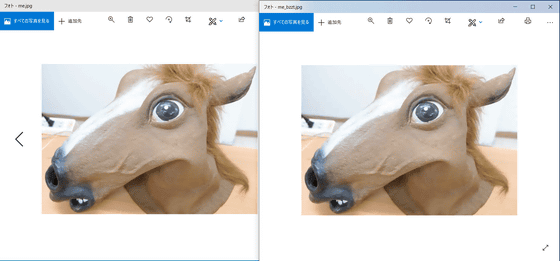
It looks like this when arranged before conversion (left) and after conversion (right), and the visual difference is not visible.
You can also change the image size from “Edit” → “Resize”.

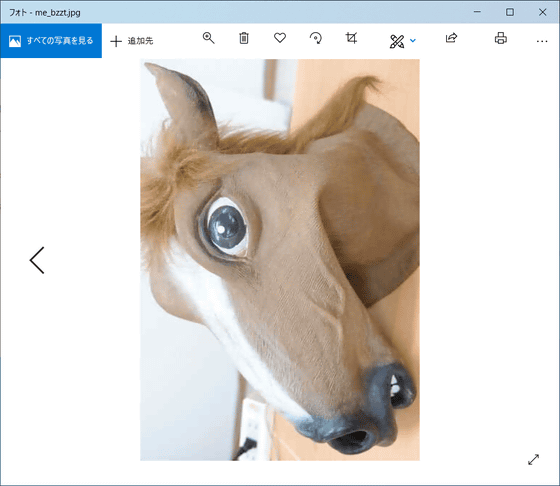
It was also possible to rotate the image quickly.
Related Posts:

