I tried using the browser, extension function, and application version of "WorkFlowy" which makes it possible to manage tasks and outlines with the sense of a folder for free
There are many services and apps that manage tasks, schedules, ToDo lists etc, but among other things, it is simple to use, it is as simple as creating a file in a folder, from task creation to management It is "WorkFlowy"is. This time I used the free plan of the browser version of WorkFlowy, and also used the extension function and the application for iOS / Androd together.
WorkFlowy - Organize your brain.
https://workflowy.com/
◆ Browser version
· Account creation
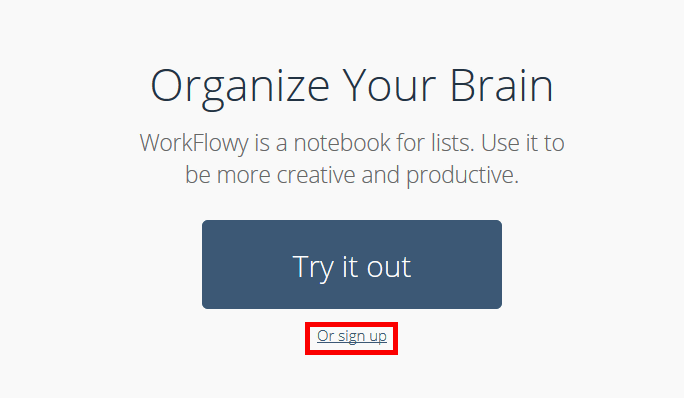
To use the browser version of WorkFlowy Open the above URL and click "Or sign up".
After entering "E-mail" "Confirmation e-mail" "Password", click "Get Started". Account creation is completed with this.

·basic operation
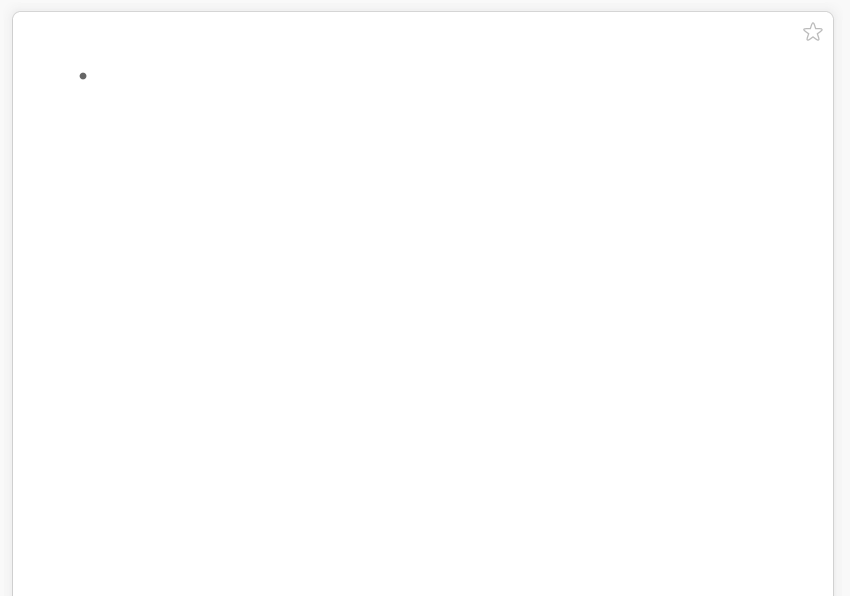
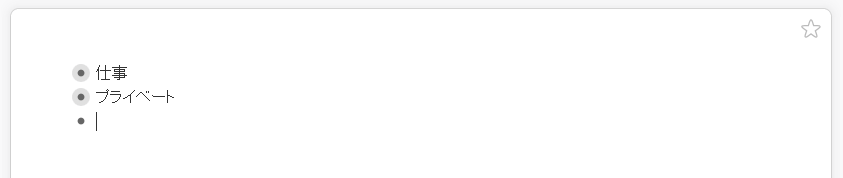
When registering is completed by clicking "Get Started" at the end of account creation, a blank note with only one bullet point is displayed.
Move the cursor to the right side of the bullet point and input "work".

Enter "work" and press "Enter", another bullet point is created below, so enter "private".

When you click the bullet point where you entered "work"

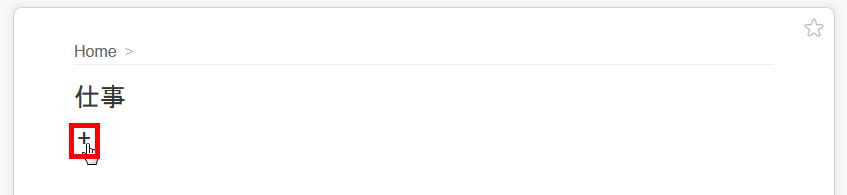
"Work" is displayed large. WorkFlowy can create lists in tree form, which is so to speak, only the "work" tree is displayed. If you click "+" directly under "Job" ...
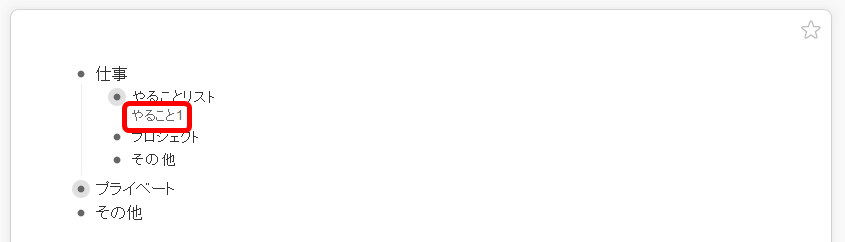
Bullet points are added, and you can add items to the created "work".
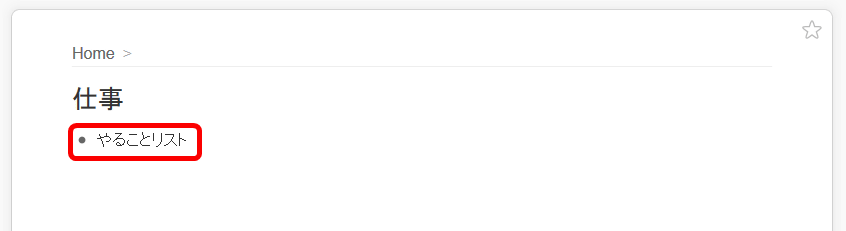
In other words, create related items in the work and click the bullet point of the added 'do it list' ... ...
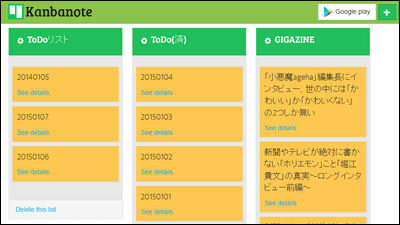
You can create a tree from the "doing list" below. You can make lists more and more with feeling like increasing the hierarchy. Create a bullet point for each date ......
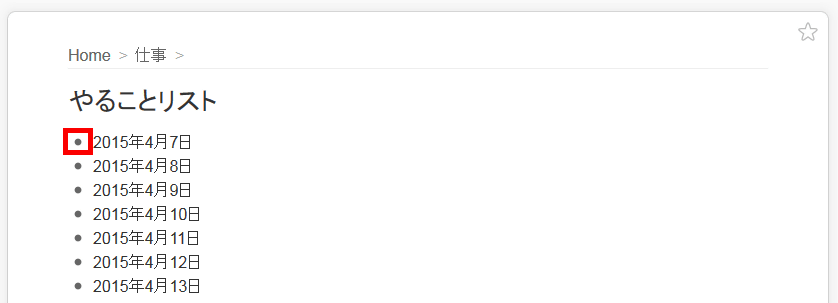
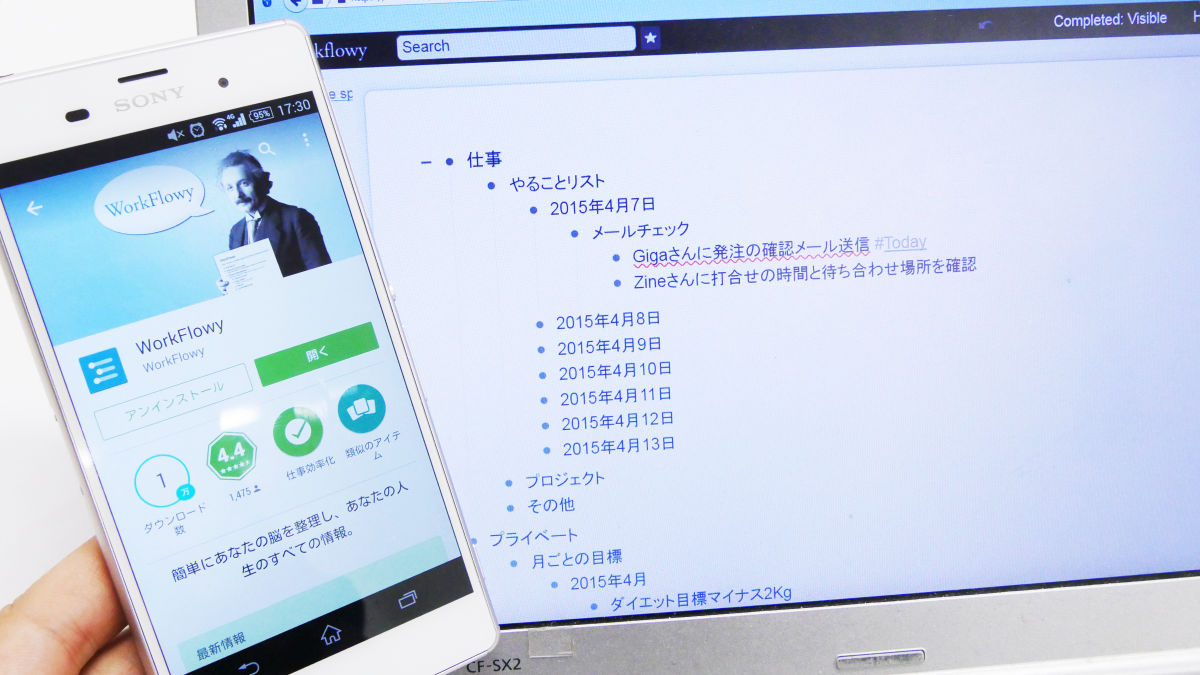
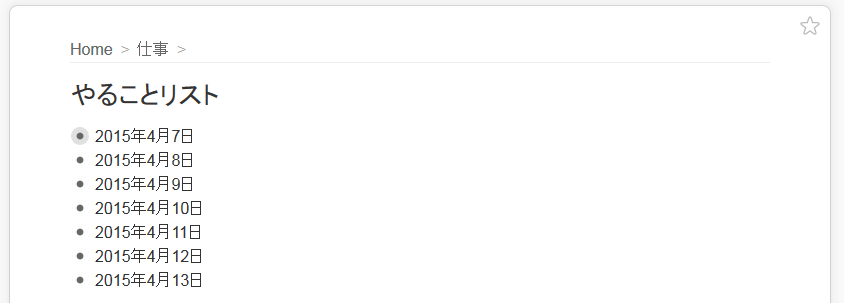
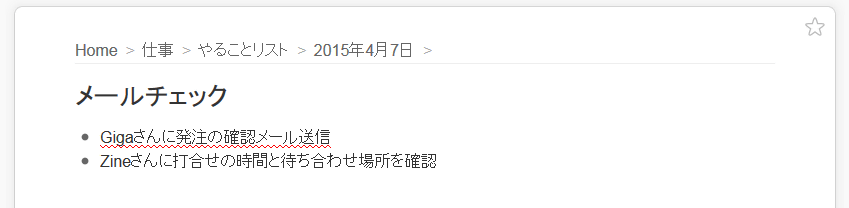
I made a "mail check" in "April 7, 2015" and created concrete work to do with "mail check". At the top of the note is "Home" "Job" "Doing things list" "April 7, 2015" side by side, this is the same as the folder in the PC, "Work" in "Home" There is a feeling that "work list" is included in "work". If you click on "doing things list" on a trial ... ...
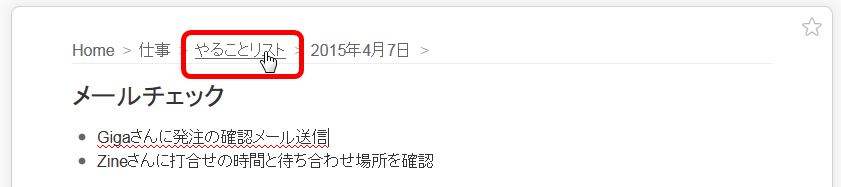
It displays the items created below under "doing list".
I tried to create various items by repeating the above work. Because it displays all on one note in tree form, it is easy to see, there is no need for complicated operations to use. You can manage notes, ToDo lists, schedules, etc. in batch.
· Expand tree, fold
From here, we will list the various operations used in WorkFlowy. First, to collapse the displayed tree, click "-" attached to the left side of the bullet point.
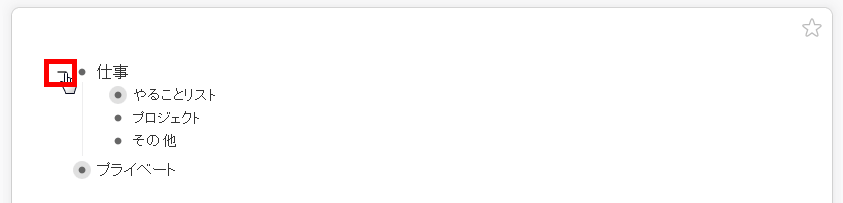
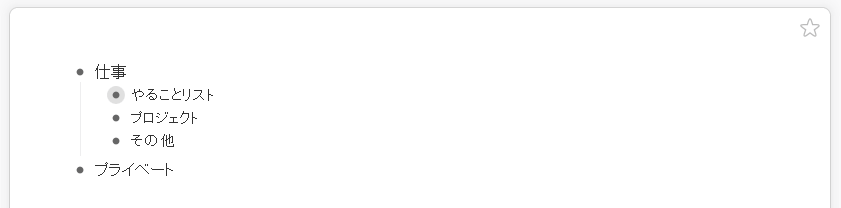
Then you can fold open trees. Conversely, when you click "+" ... ...

You can open the closed tree and check its contents.
· Creating memos
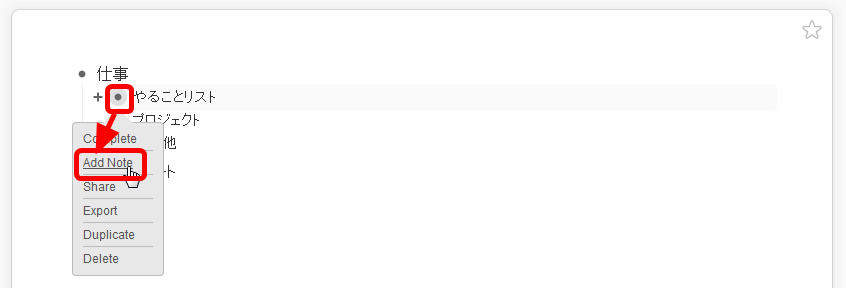
To add a note to the created item Move the mouse cursor to the bullet point and click "Add Note".
Since the text cursor is displayed under the item of the selected bullet point, you can create a memo by entering characters as it is.
· Zoom function
I touched a little on the explanation of the basic operation, but clicking the bullet point ... ...

There is also a zoom function that displays only the item of the clicked point. Zoom is an image that "magnifies", but in WorkFlowy it's like focusing on one item.
· Tag function
If you enter "# ~" or "@ ~" in the input item name, you can use it as a tag as it is. For example, let's add "#Today" to multiple items.
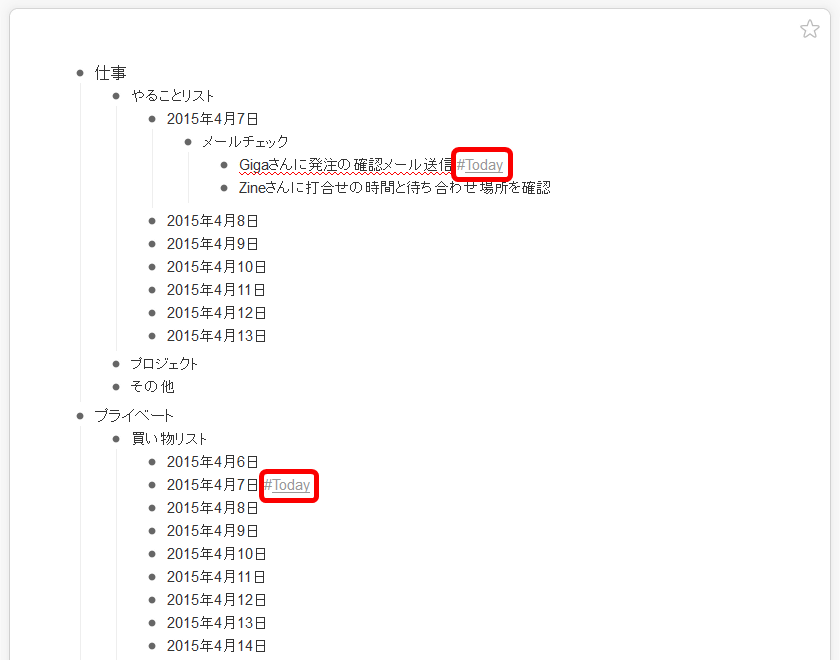
Clicking on the added tag ......
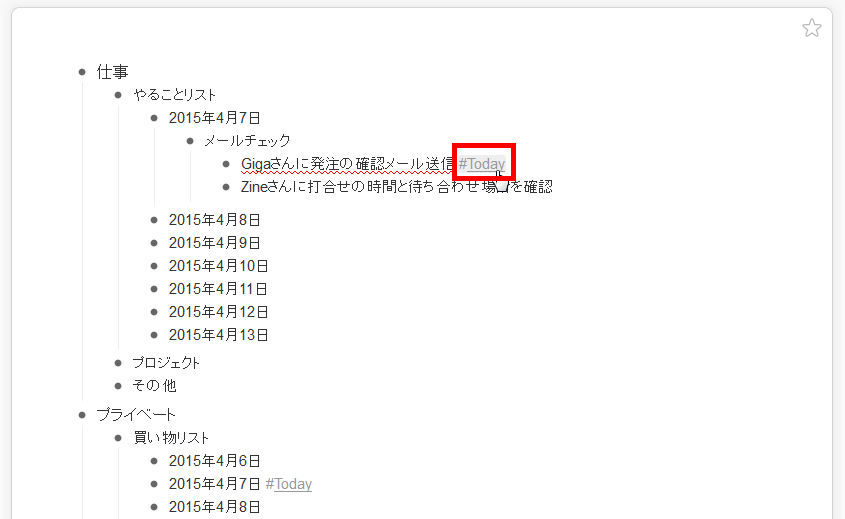
It displays only the items with the tag you clicked on. It seems to be useful when searching for multiple items from among many made.

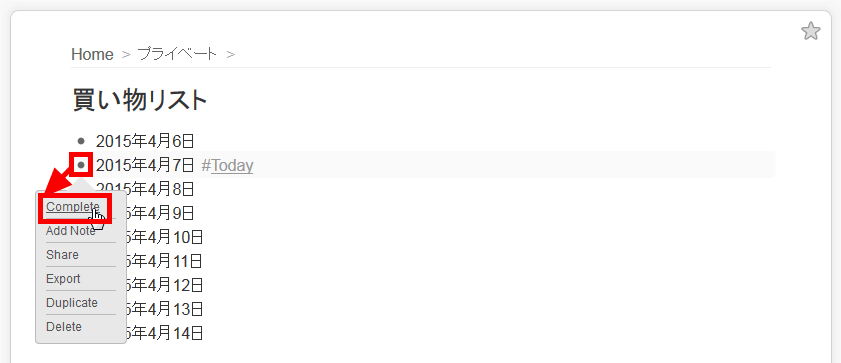
· Task completion
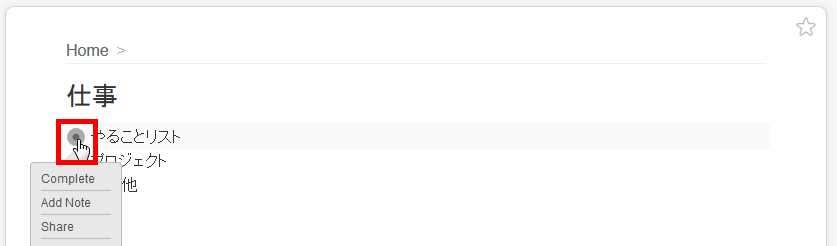
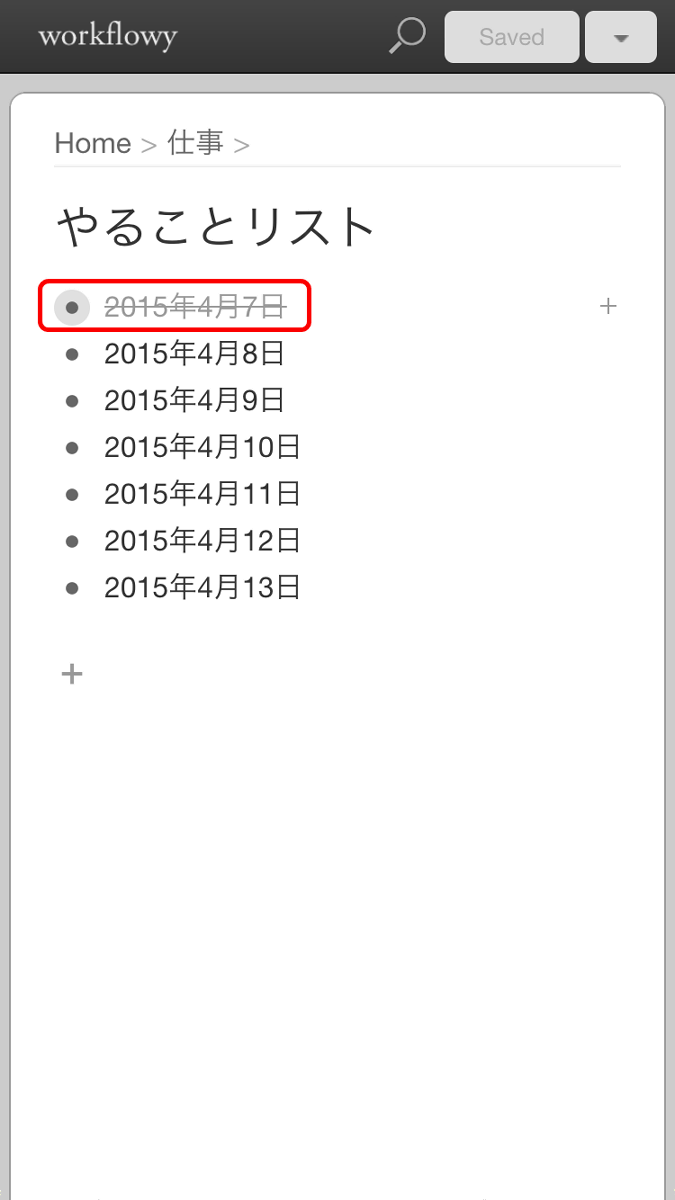
The completed item can be marked as "completed task." Move the cursor to the bullet point and click "Complete".
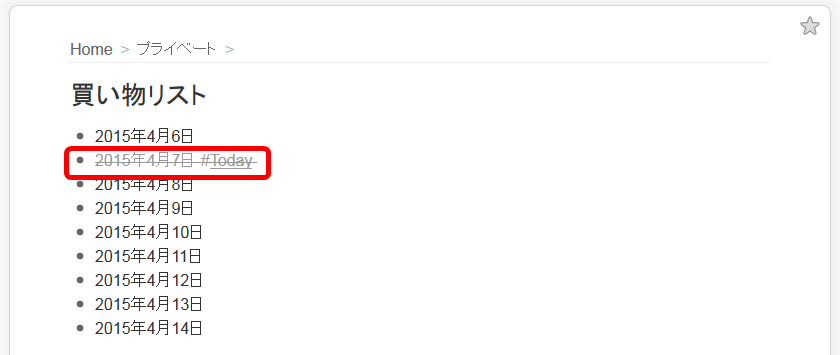
Horizontal lines were added to the item name. If you complete the completed task marked as completed, more control will be done.
·share
If you want to share the created list with others, click "Share" from the menu displayed at the bullet point.

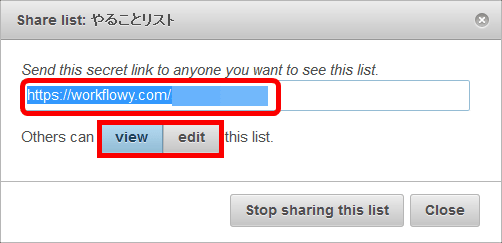
A new window will be launched and click "Share" as it is.
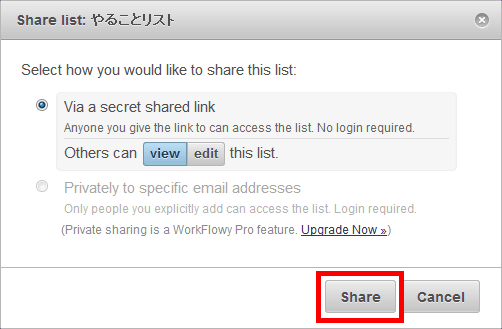
If you send the displayed URL to people you want to share, you can share tasks with those who do not have a WorkFlowy account. If you click "view" under the displayed URL, the sharer can view only, if you select "edit" the sharer can edit as well as browse.
· Search
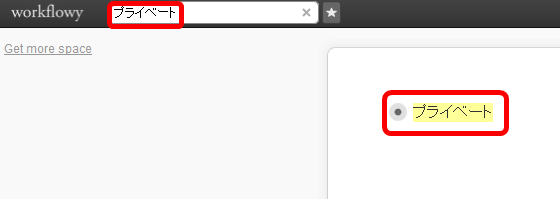
Use the search box at the top of the note to display only specific ones among the created tasks and items.
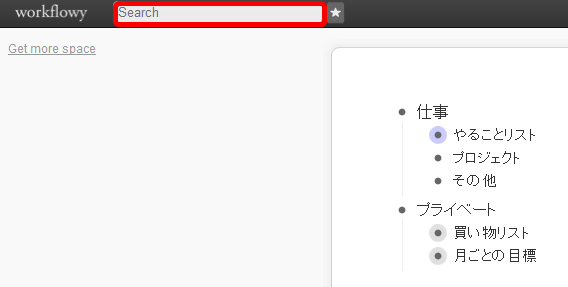
When you enter a word in the search box, it displays the item containing that word.
· Move items
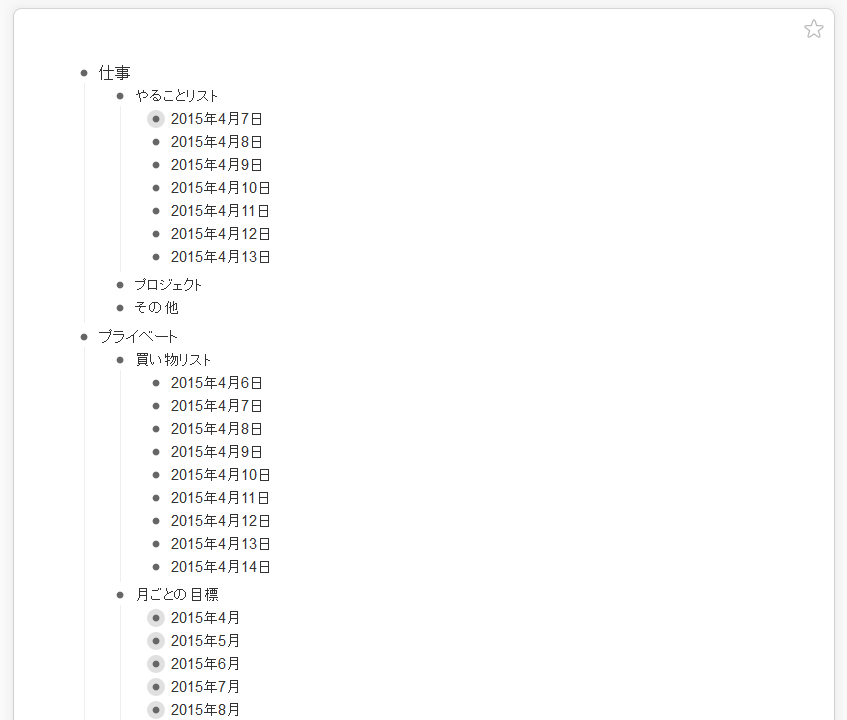
Items created in Workflowy can be moved in notes.
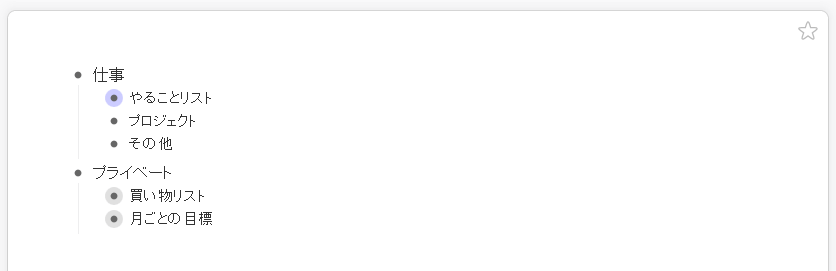
For example, while clicking "Monthly Goal" ......
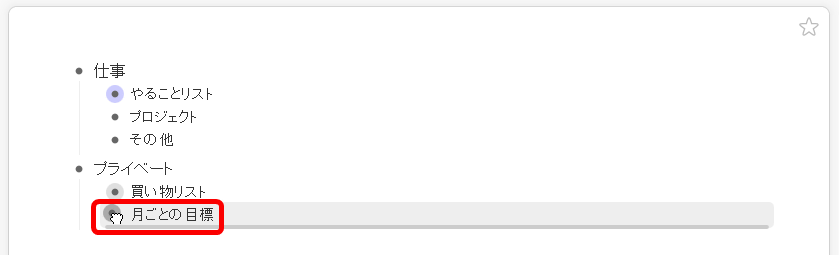
Move it just under "work" and drop it ... ...
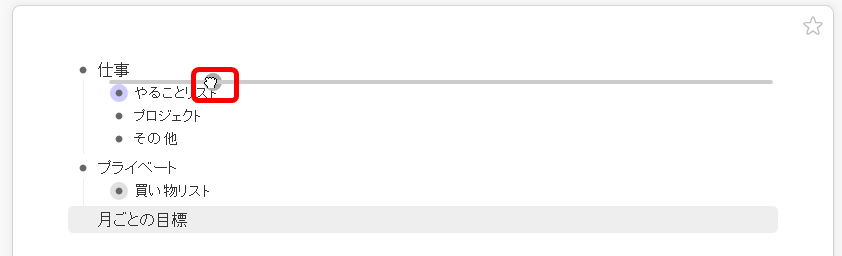
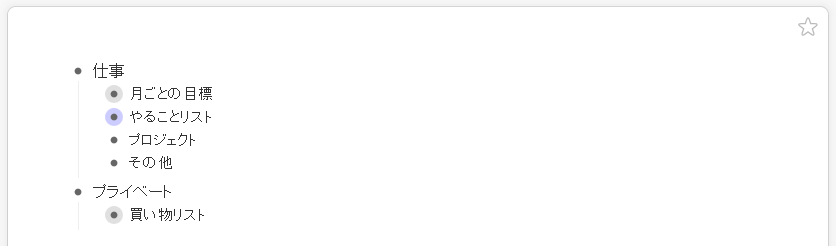
"Monthly Goal" moved directly under "Work".
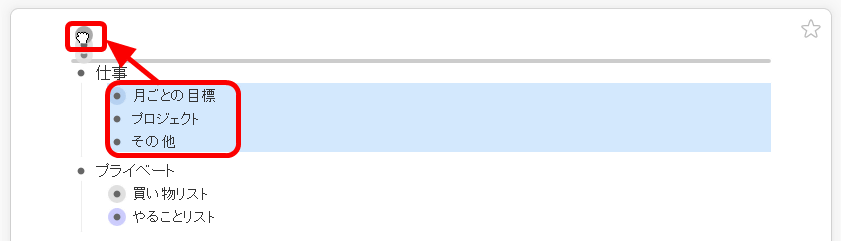
To move multiple items at once, select the area with the mouse cursor ......
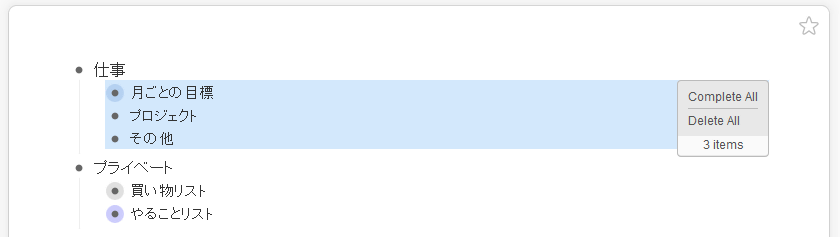
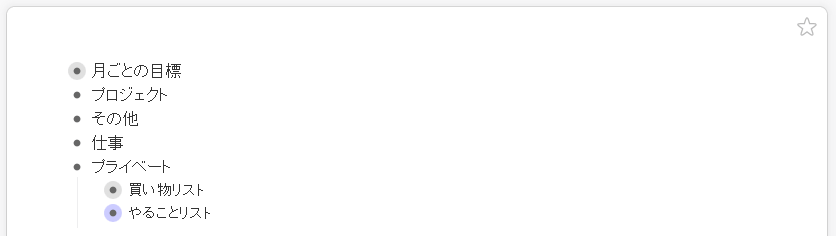
Drag and drop it where you want to move.
Movement of multiple items is also fun.
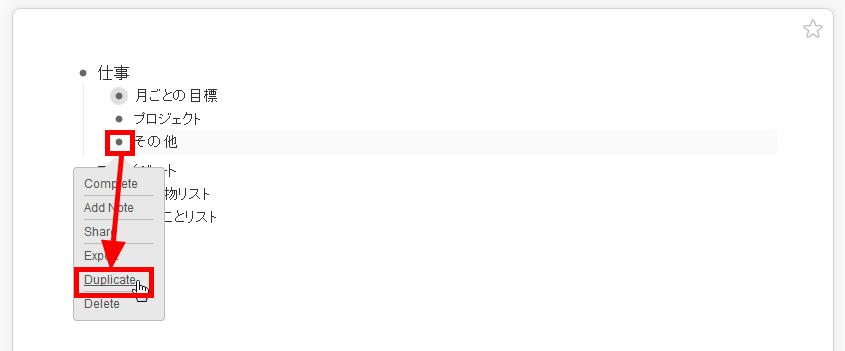
· Replication
To duplicate the created item, click "Duplicate" from the bullet point menu.
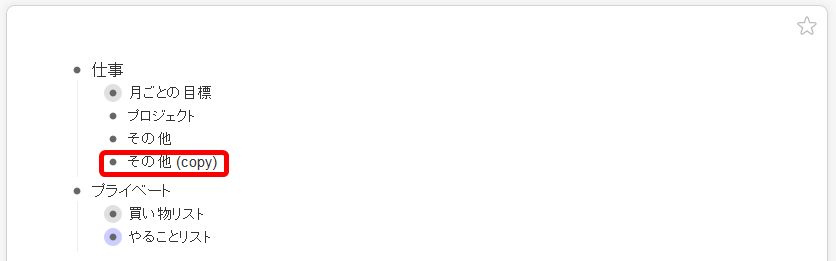
It is possible to make a copy just below the selected item.
· Export & Import
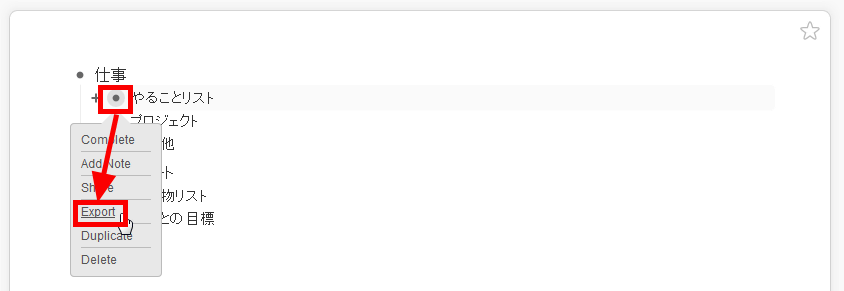
WorkFlowy has the function of exporting and importing items and notes created. To export, click "Export" from the bullet point menu.
You can export all the selected items below. Export is "Formatted" which shapes into the shape of a step ... ...

"Plain text" of text data ...
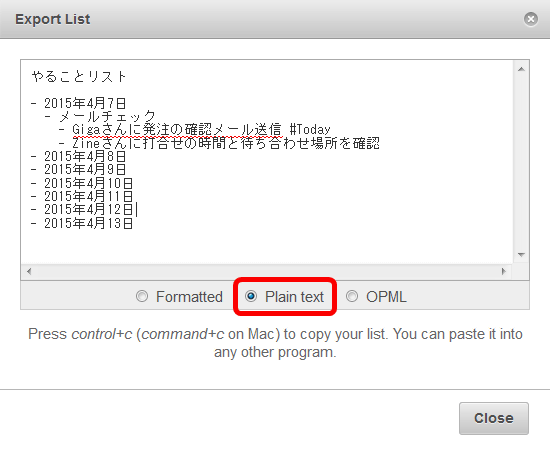
You can choose from three formats "OPML".

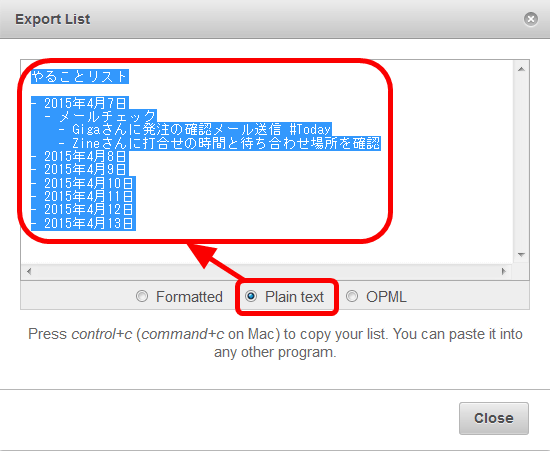
For this time, I will choose "Plain text" and export it as text data. Check the "Plain text" and copy the text.
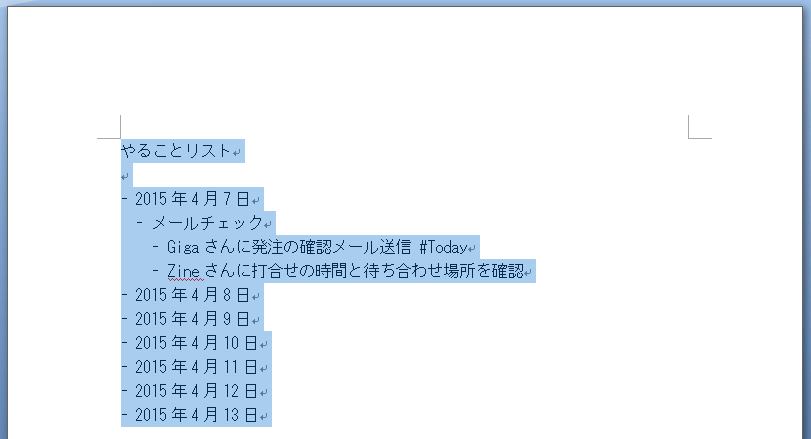
Pasting the copied text into a Microsoft Word document looks something like this, in particular the display will not collapse.

You can also import text into WorkFlowy. Copy the text just copied from WorkFlowy to Microsoft Word ... ...
Paste it anywhere in the WorkFlowy notebook.
Then you can paste it with a feeling like the image below. It is convenient to be able to import without breaking the structure of the text.

◆ Shortcut key
There is a shortcut key in WorkFlowy, so there is not much so far, so if you keep it in mind, it will be a lot of work.
Lower the hierarchy:"Tab"
Raise hierarchy:"Shift + Tab"
Zoom in:"Alt + →"
Zoom out:"Alt + ←"
Deployment · folding:'Ctrl + Space'
Movement:"Alt + Shift + ↑ or ↓"
Add notes:"Shift + Enter"
Complete the task:'Ctrl + Enter'
Delete:'Ctrl + Shift + Backspace'
Undo:'Ctrl + Z'
Hide completed task · Display:'Ctrl + O'
Bold:'Ctrl + B'
Italic:'Ctrl + I'
Search:"Esc"
That's how to use the browser version of WorkFlowy. By using shortcut keys, work speeds up dramatically, and you can manage various tasks and notes on just one note at once. Since we are using a free plan this time, the number of items that can be created in one month is limited to a maximum of 250 items, but even 250 pieces are enough to satisfy WorkFlowy. By upgrading to a toll plan of 49 dollars a year (about 5900 yen), the number of items that can be created becomes unlimited, the functions are enhanced, such as automatically backing up notes to Dropbox.
◆ Chrome extension
WorkFlowy also has extensions to Chrome, so installing it obviously will not have to open the WorkFlowy page in a browser.
WorkFlowy - Chrome Web Store
https://chrome.google.com/webstore/detail/workflowy/koegeopamaoljbmhnfjbclbocehhgmkm
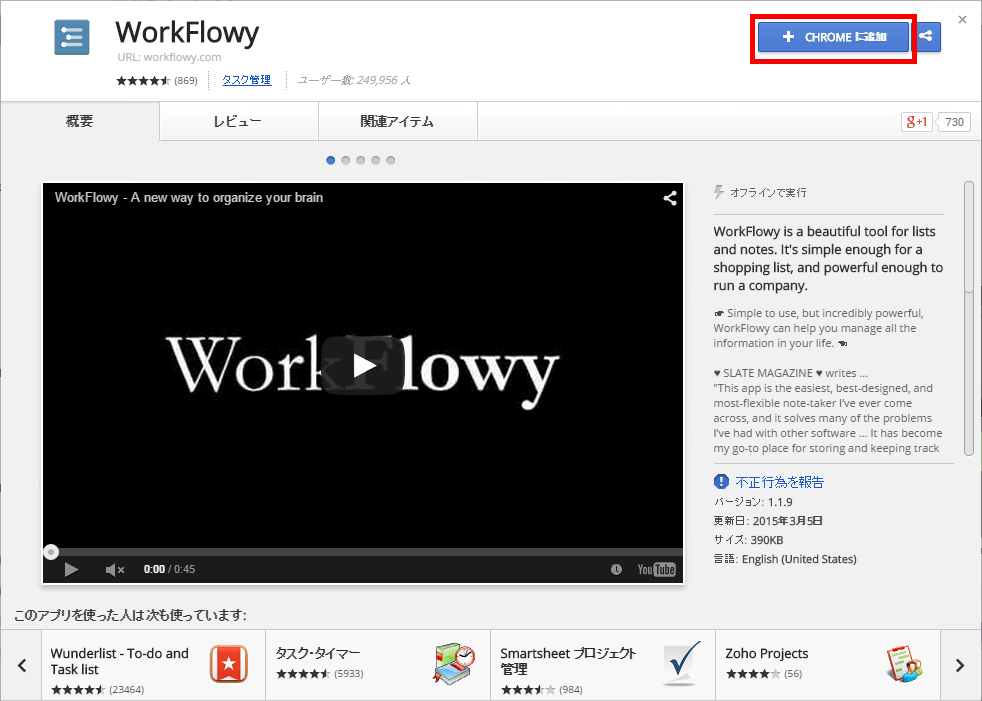
Open the above URL in Chrome and click on "Add to CHROME".
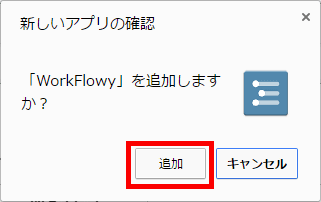
Click "Add".
When the following screen is displayed, addition of WorkFlowy is completed.
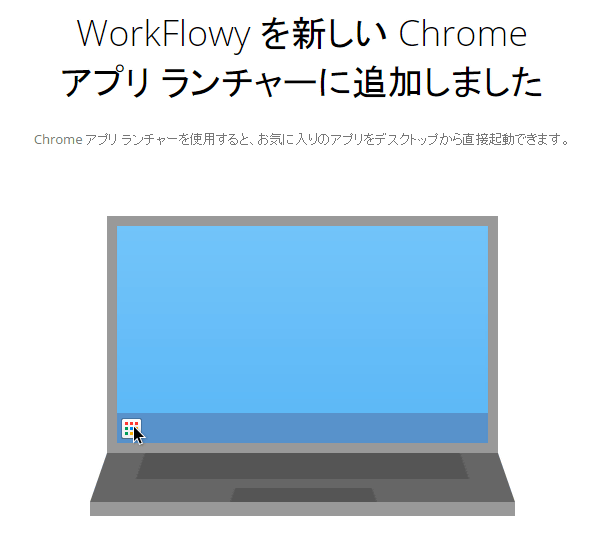
Since the shot cut called "Chrome App Launcher" is created on the home screen, it starts up.
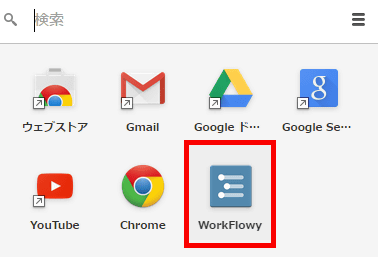
Click "WrokFlowy" from the displayed applications.
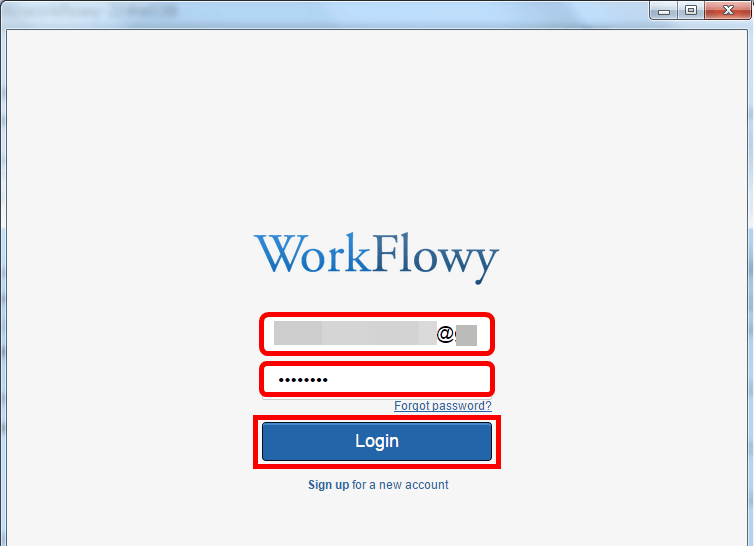
Enter "E-mail" "Password" and click "Login".
The Chrome extension WorkFlowy was displayed. Even with the extension function, you can use the same function as the browser version, so you can save the trouble of displaying the WorkFlowy page from the browser all the way.

◆ iOS version
WorkFlowy has fewer features than the browser version, but the application is published for iOS and Android.
WorkFlowy for iPhone, iPod touch, iPad currently on the iTunes App Store
https://itunes.apple.com/jp/app/workflowy/id551139514
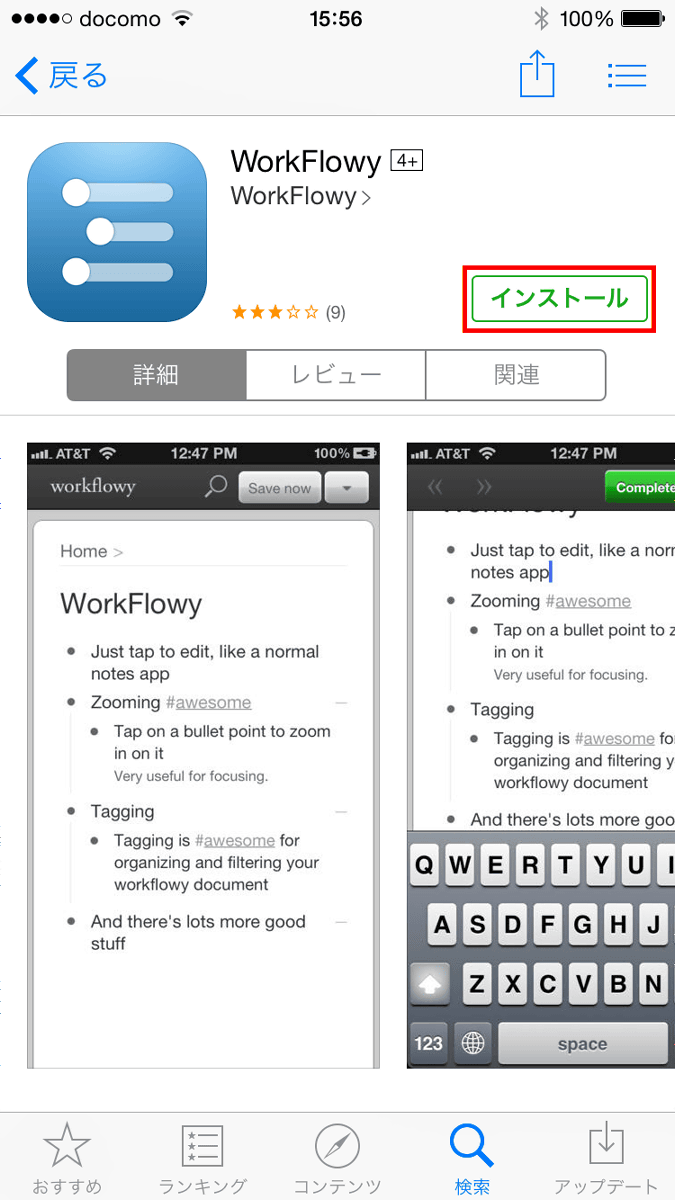
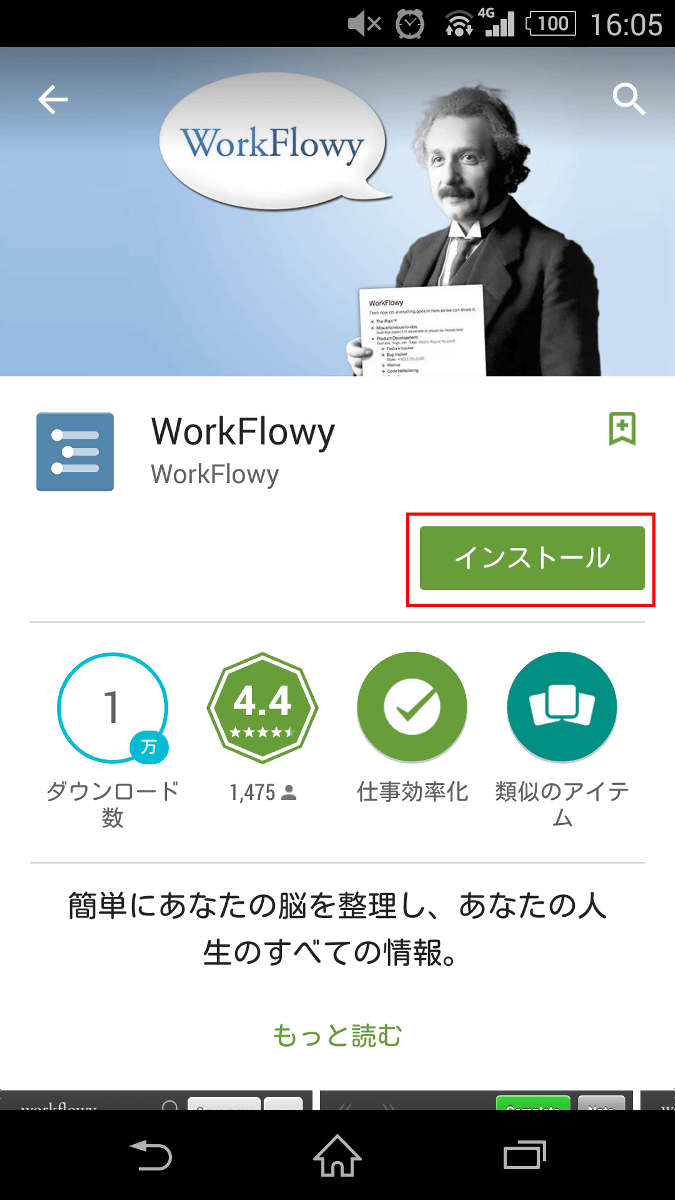
Open the above URL and tap "Install".
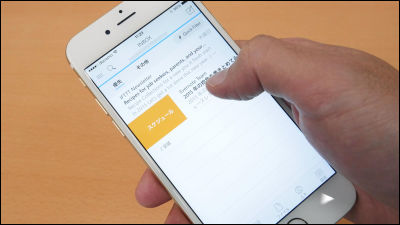
After installation, tap the icon created on the home screen and start it.
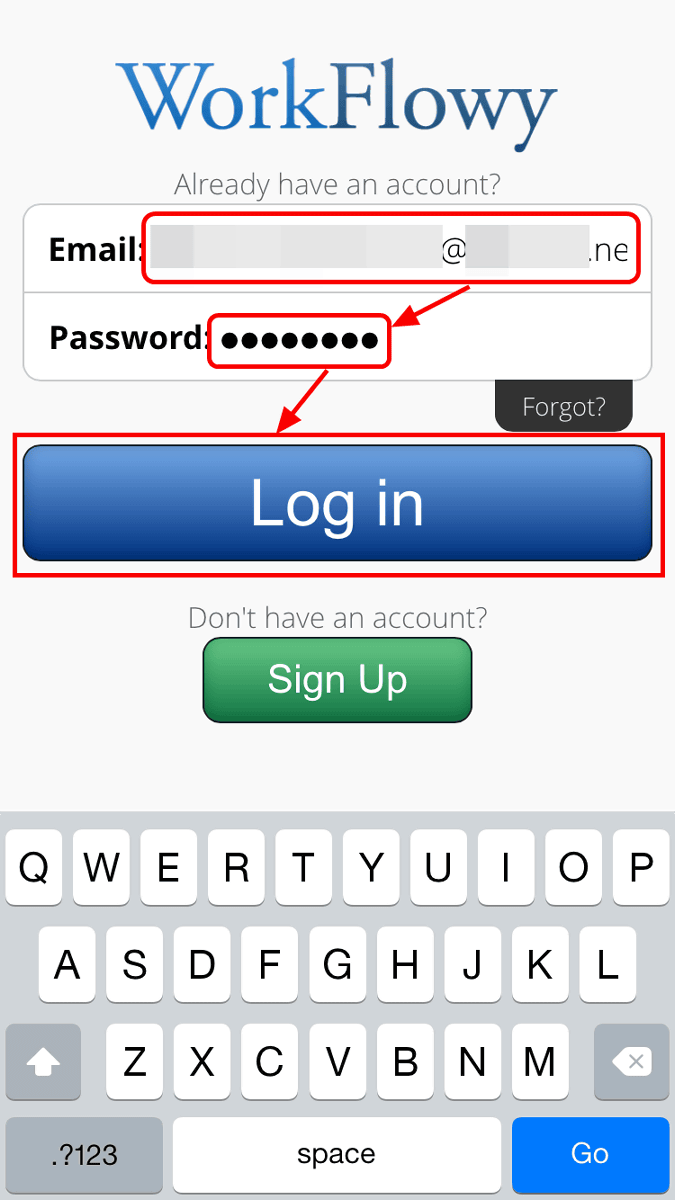
Enter "E-mail" and "Password" registered in the browser version and tap "Log in".
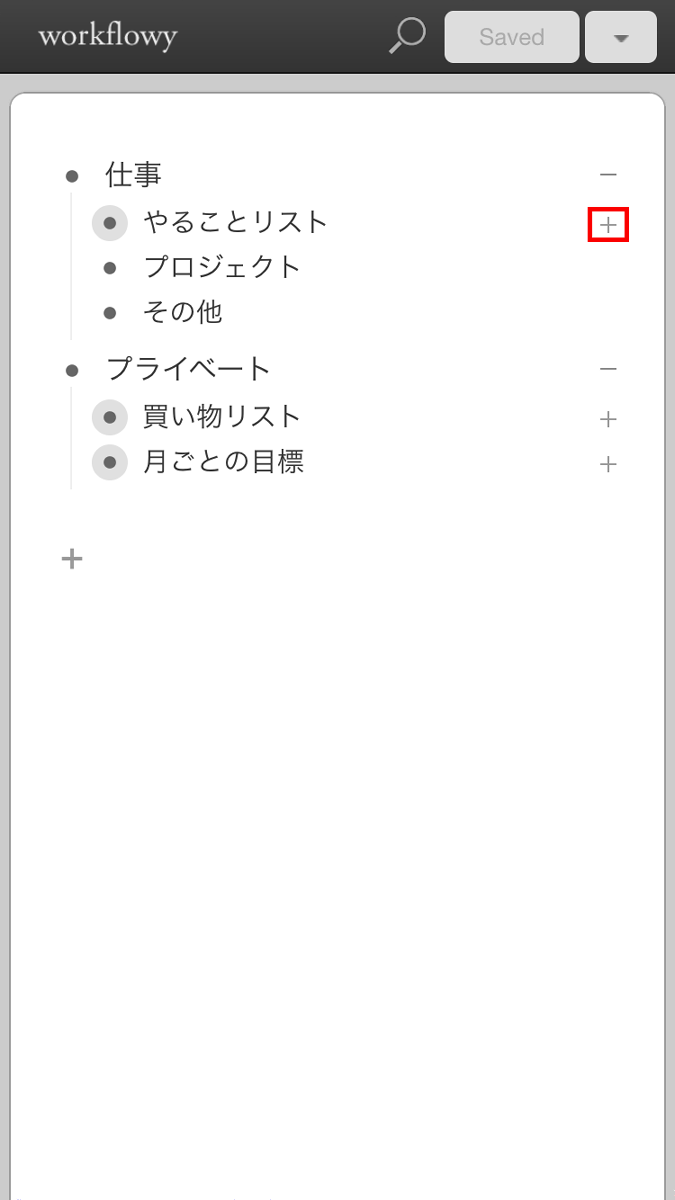
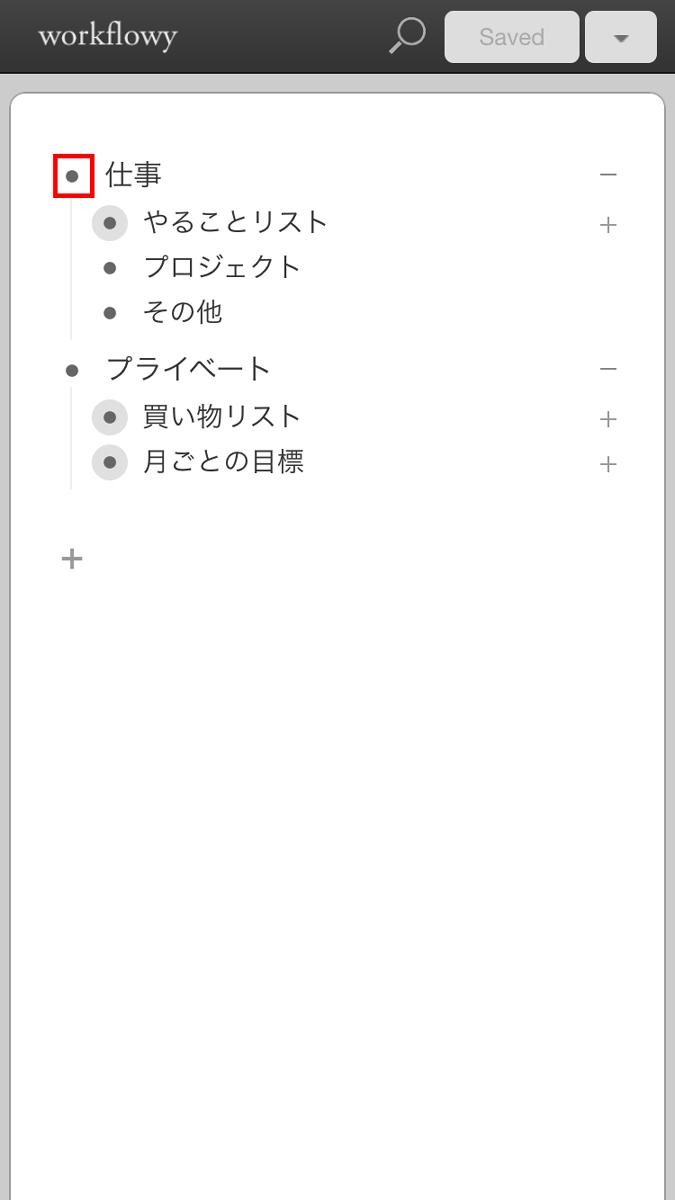
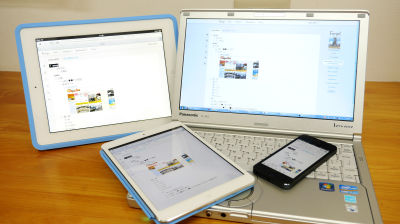
This is the screen of WorkFlowy for iOS, the browser version and the UI are almost the same. Tap the "+" displayed on the right side of the item ......
Expand the contents of items. Tap "-" ... ...
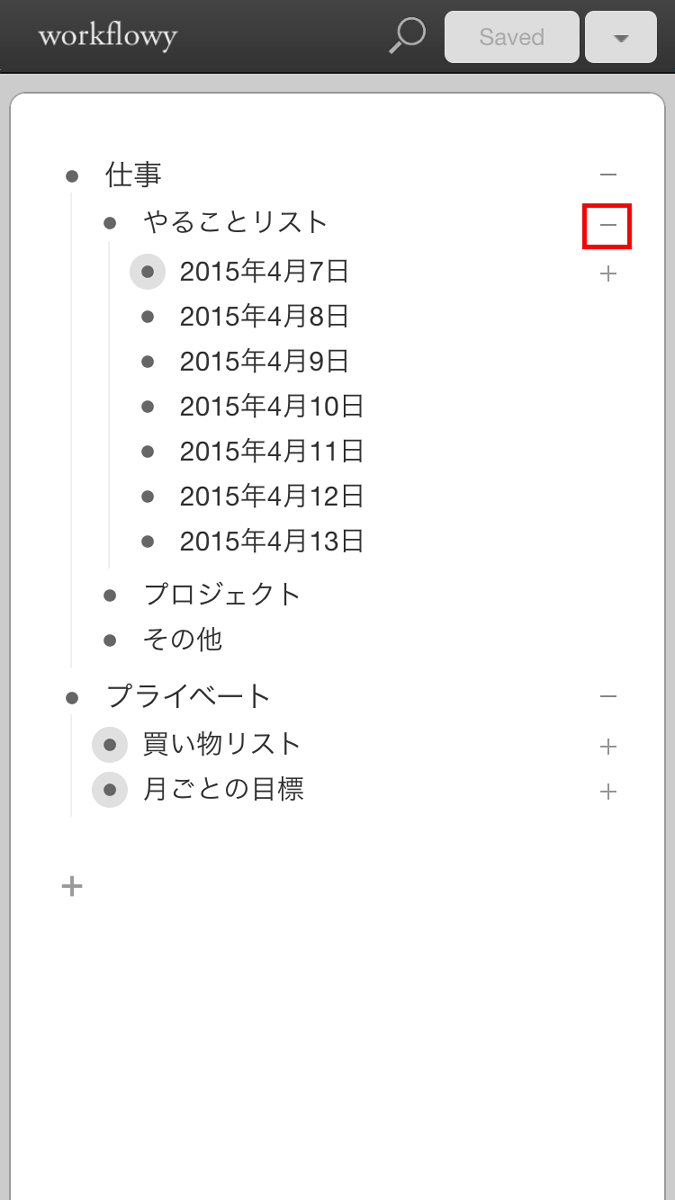
It folds open items. Next, tap the bullet point and try the zoom function.
I could also use the zoom function properly. Tap "Home" displayed at the top of the note ... ...
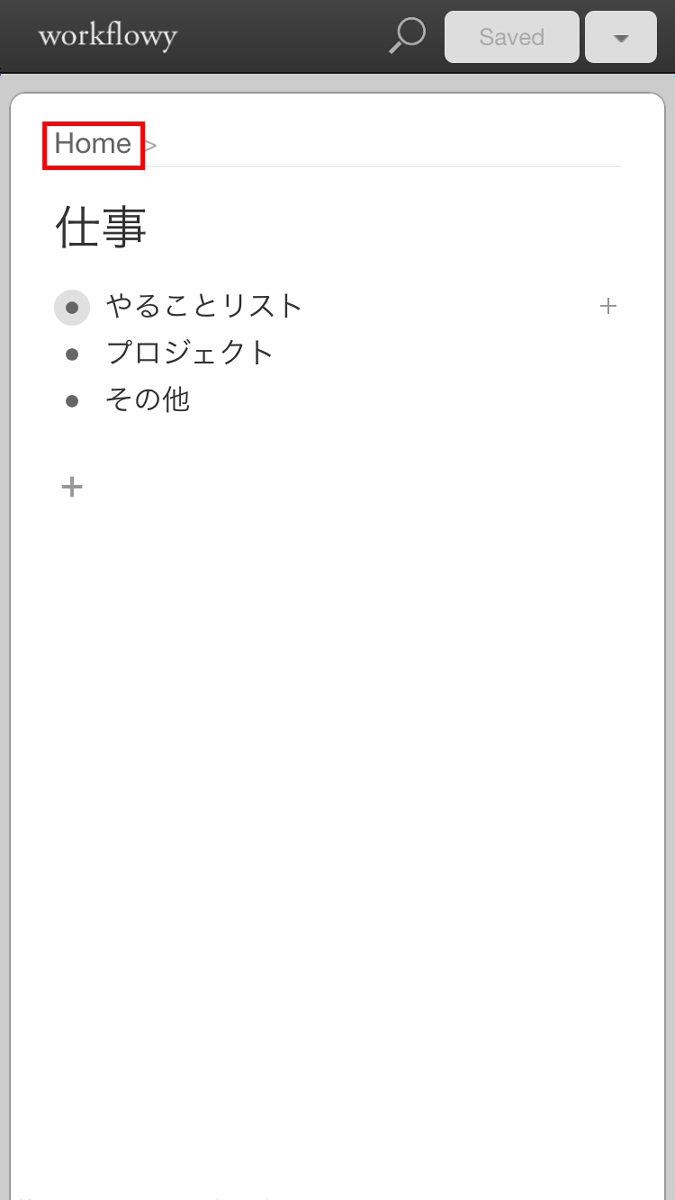
You will return to the home screen.
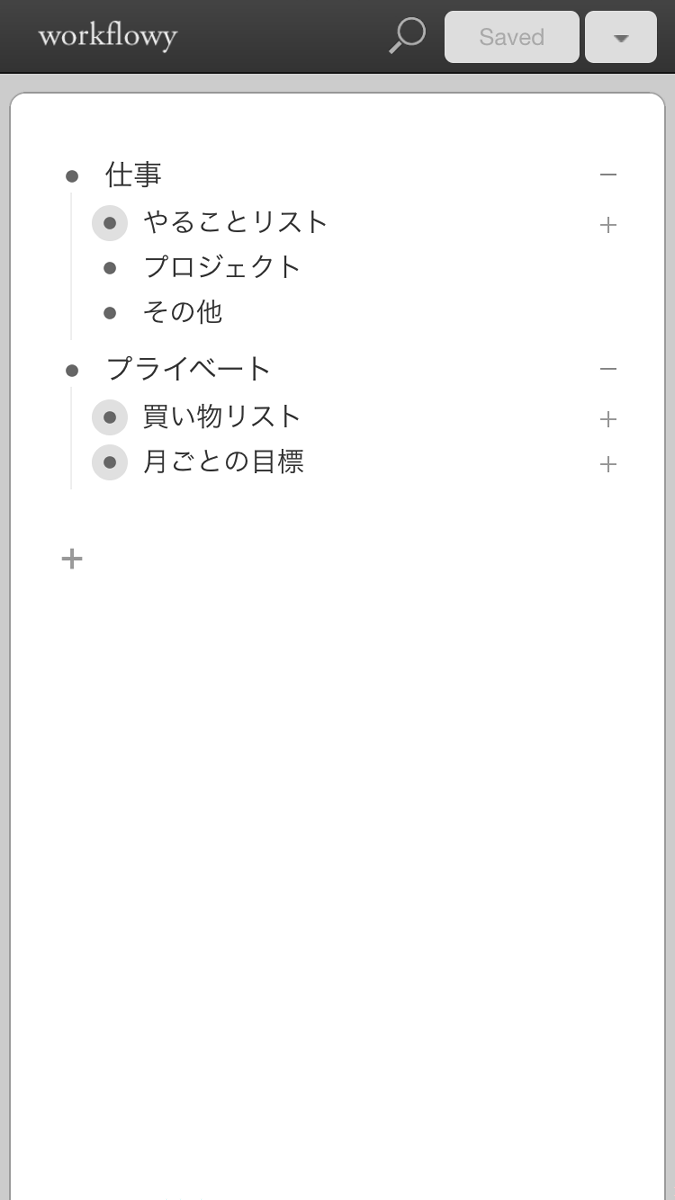
You can add items and edit text.

Tap the text and tap "Complete" in the upper right corner of the screen ... ...
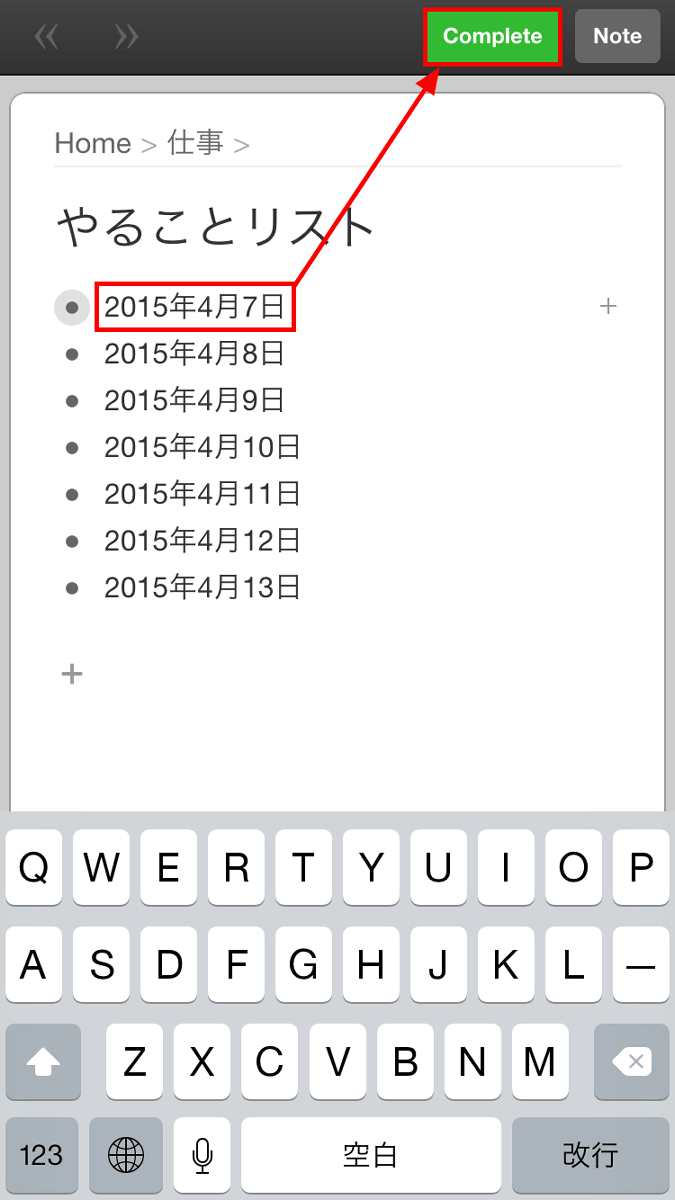
Task completion processing can also be done.
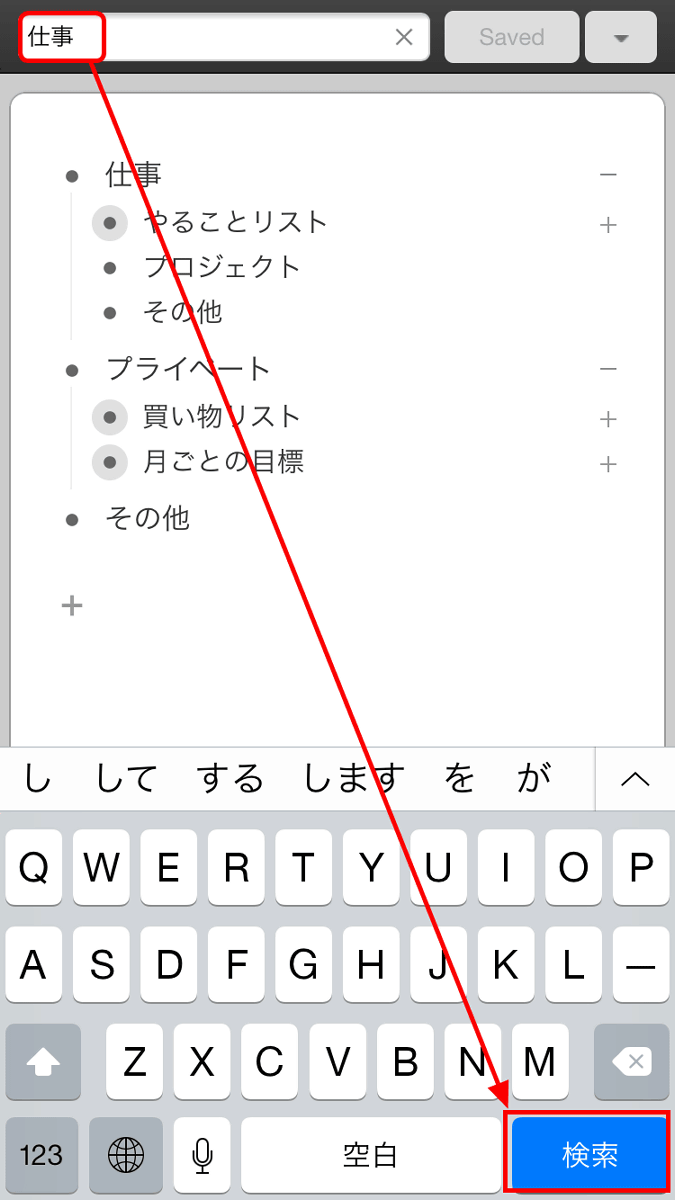
Enter a word in the search window and click "Search" at the end.
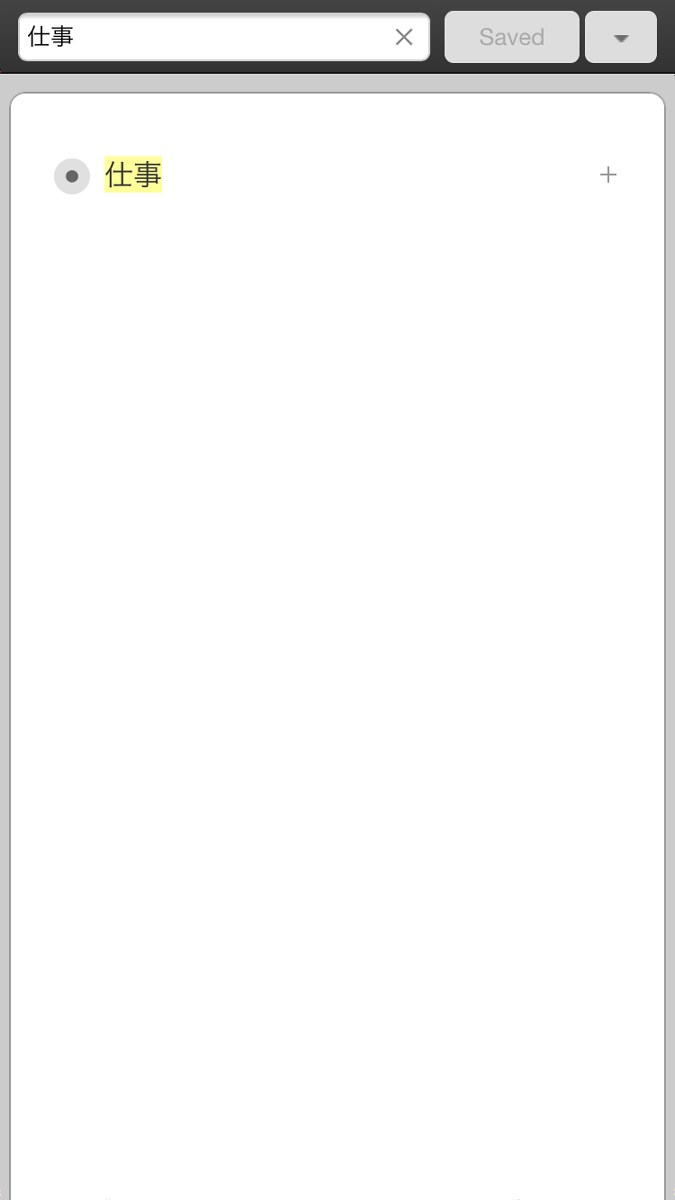
Search function can also be used properly.
◆ Android version
Next to iOS, install and use WorkFlowy for Android.
WorkFlowy - Android application on Google Play
https://play.google.com/store/apps/details?id=com.workflowy.android
Open the above URL and tap "Install".
Tap "I agree".

Tap on the created icon to start up.
Tap 'Login'.
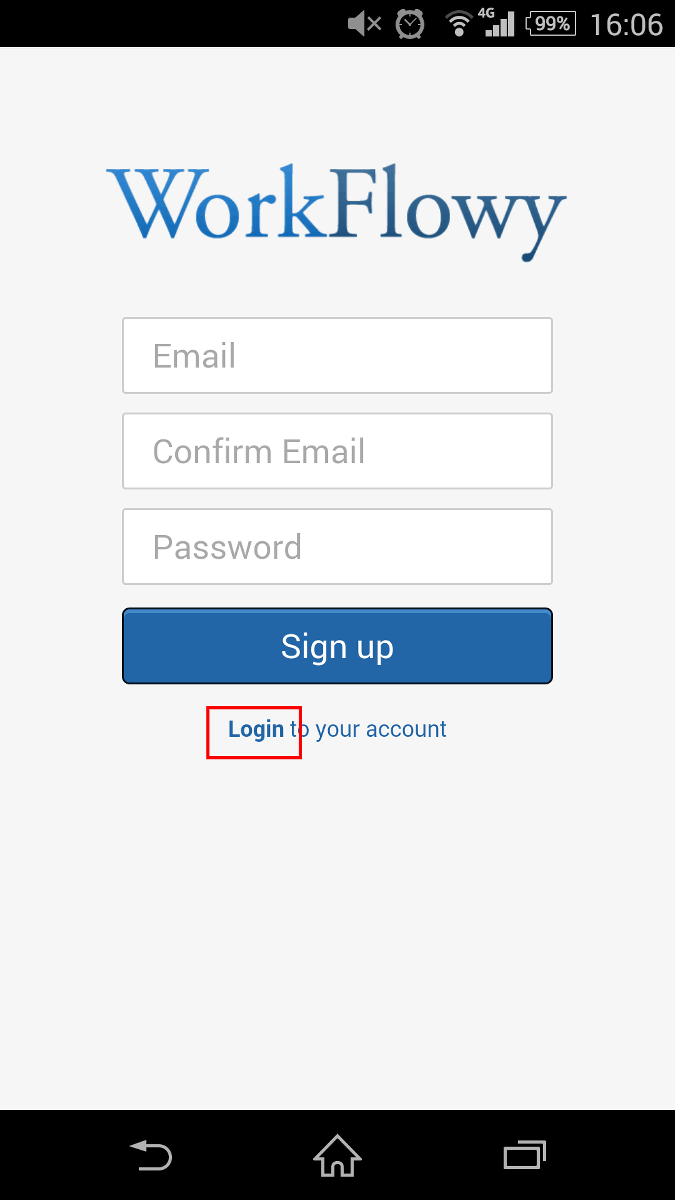
Enter "E-mail" and "Password" registered in the browser version and tap "Login".

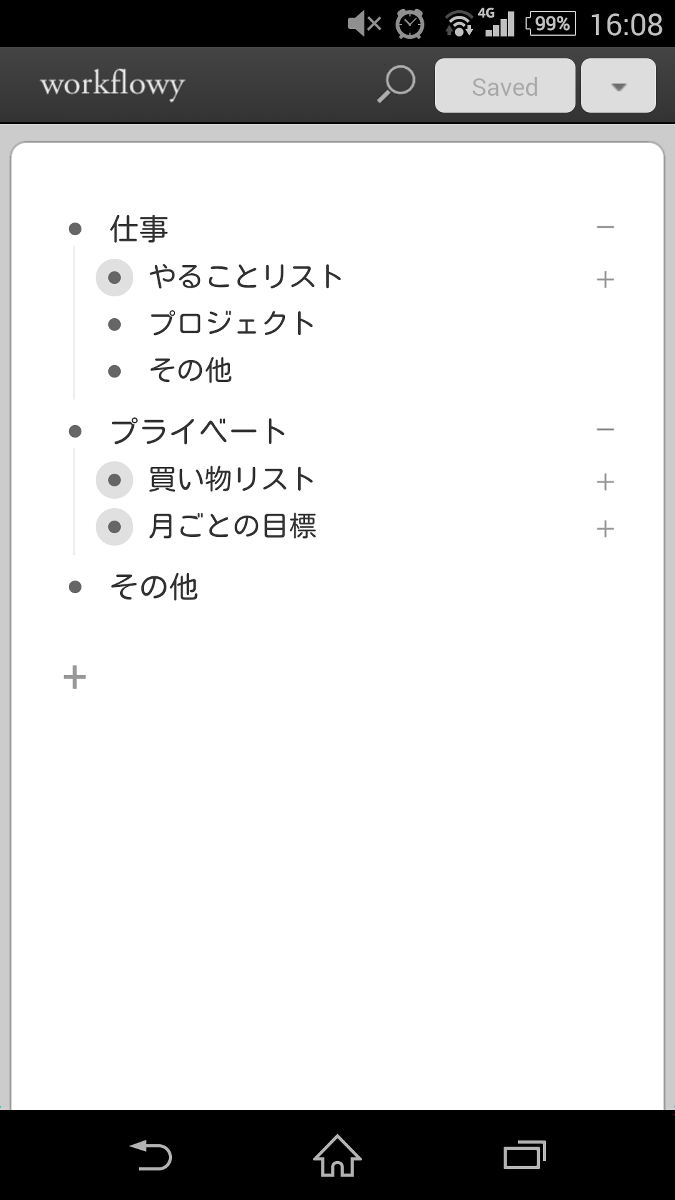
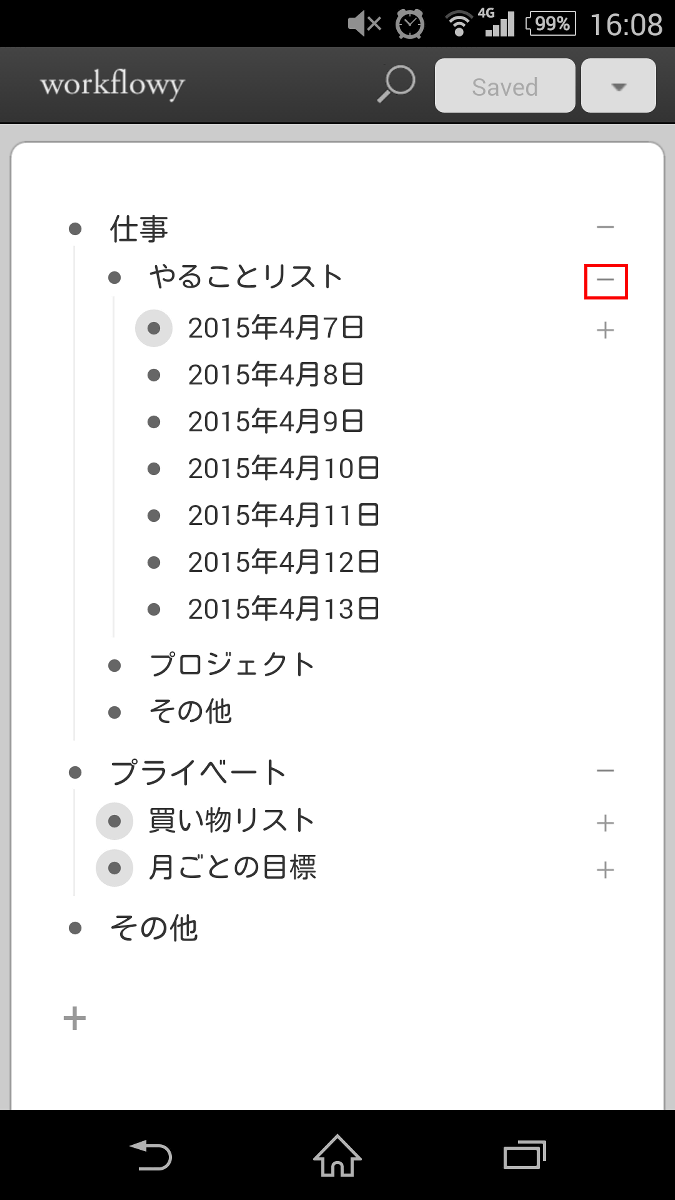
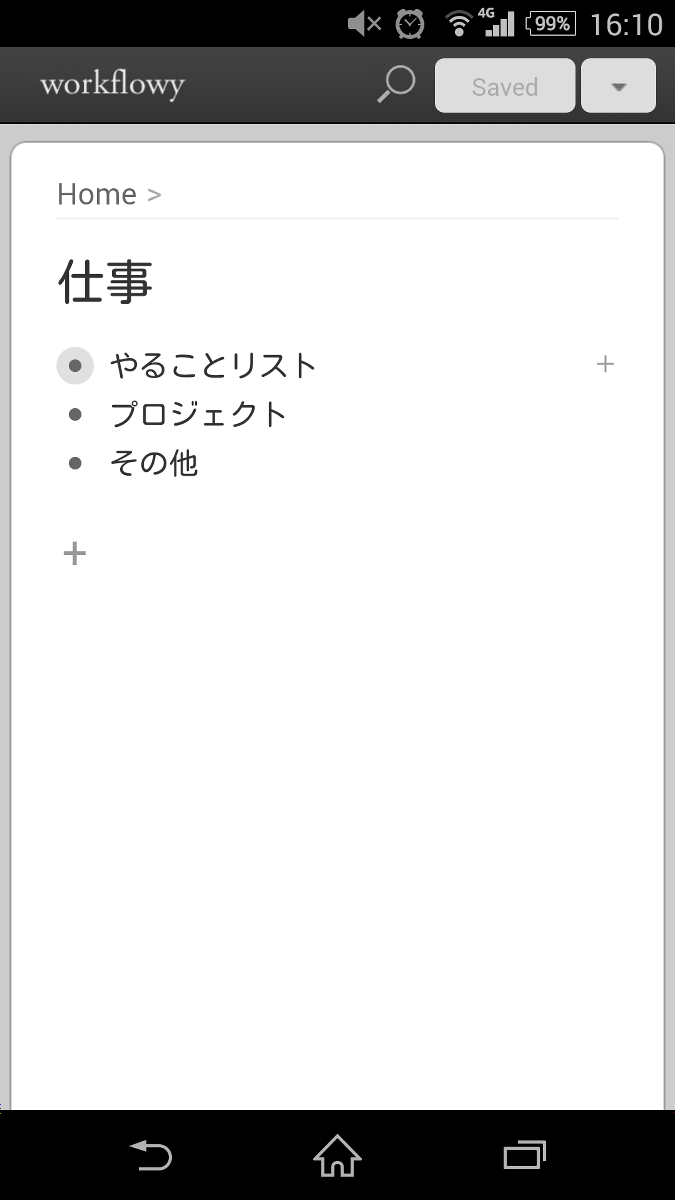
This is Home screen of WorkFlowy for Android.
Expansion of items ......
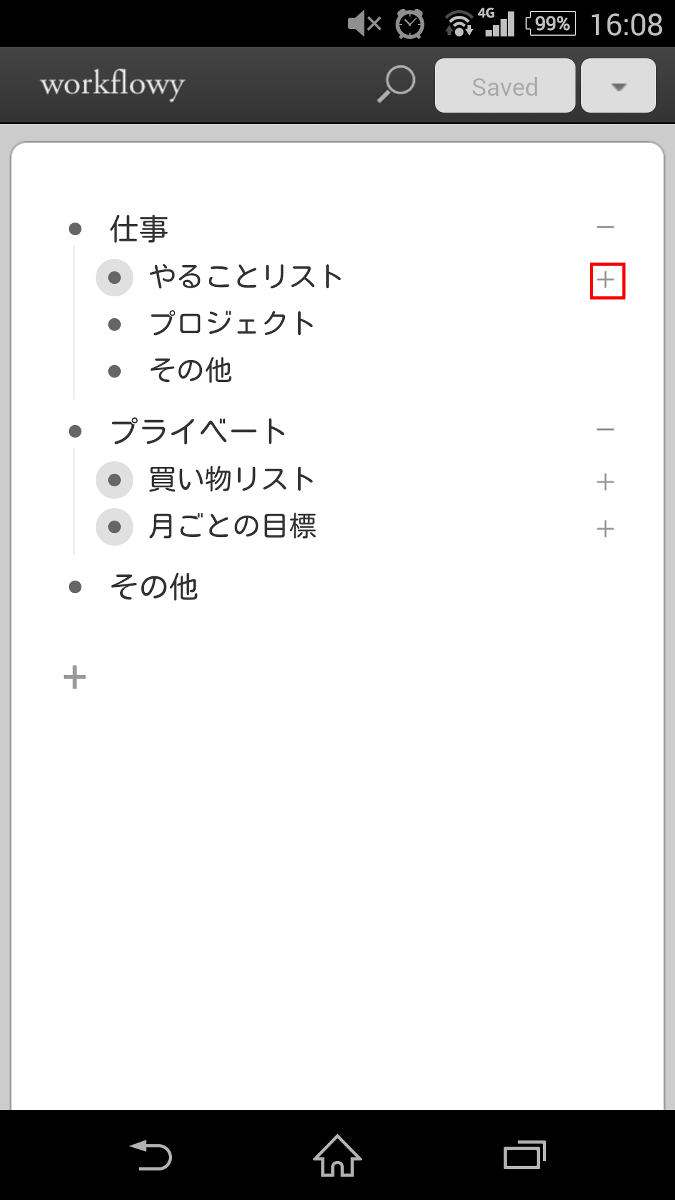
You can also operate the folding and tapping operation with just a tap.
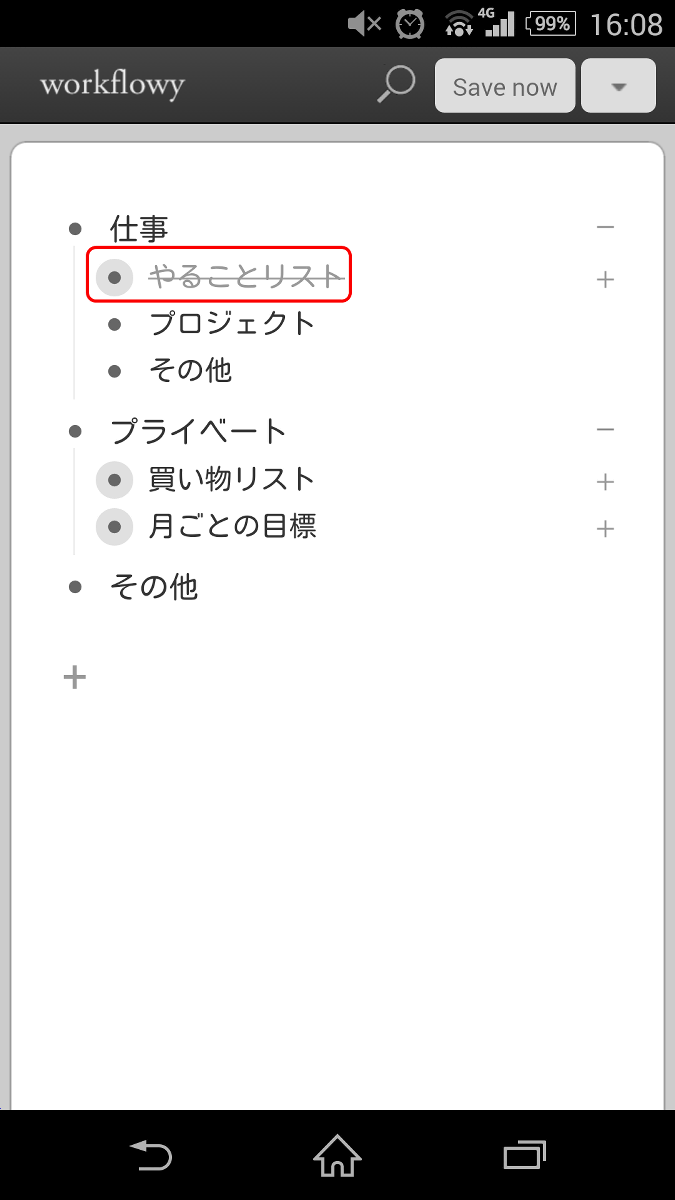
Tap the item name and tap "Complete" ......
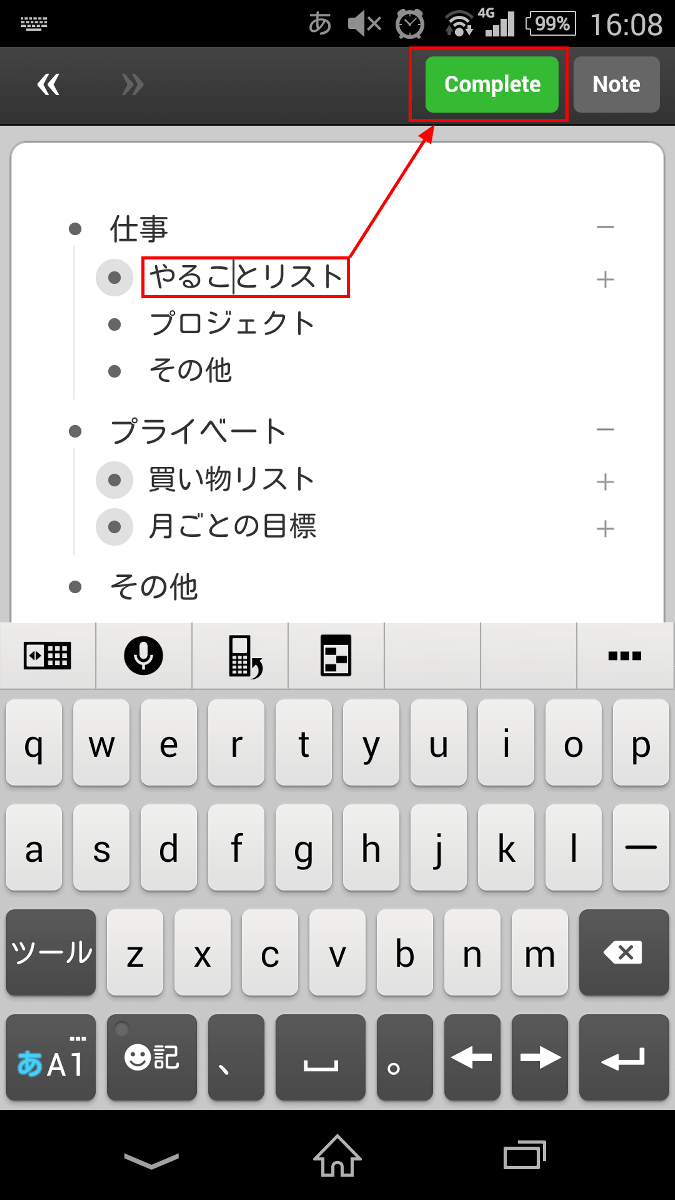
It is also possible to include a mark of task completion.
From the bullet point ... ....
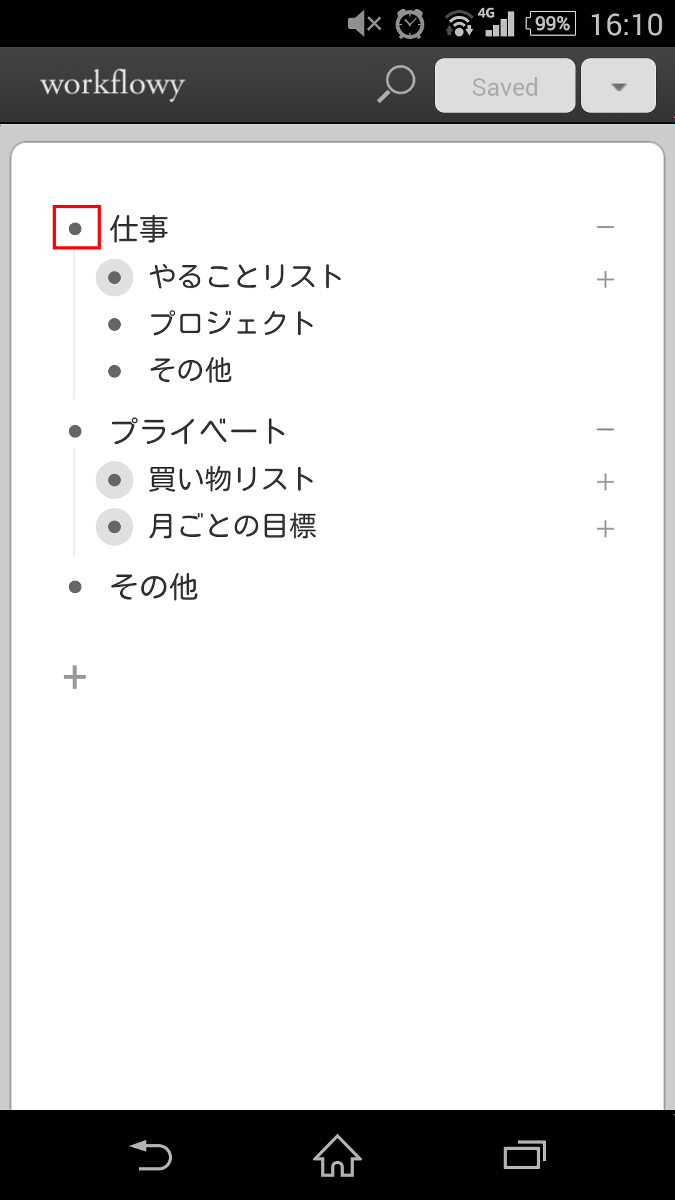
Also equipped with zoom function.
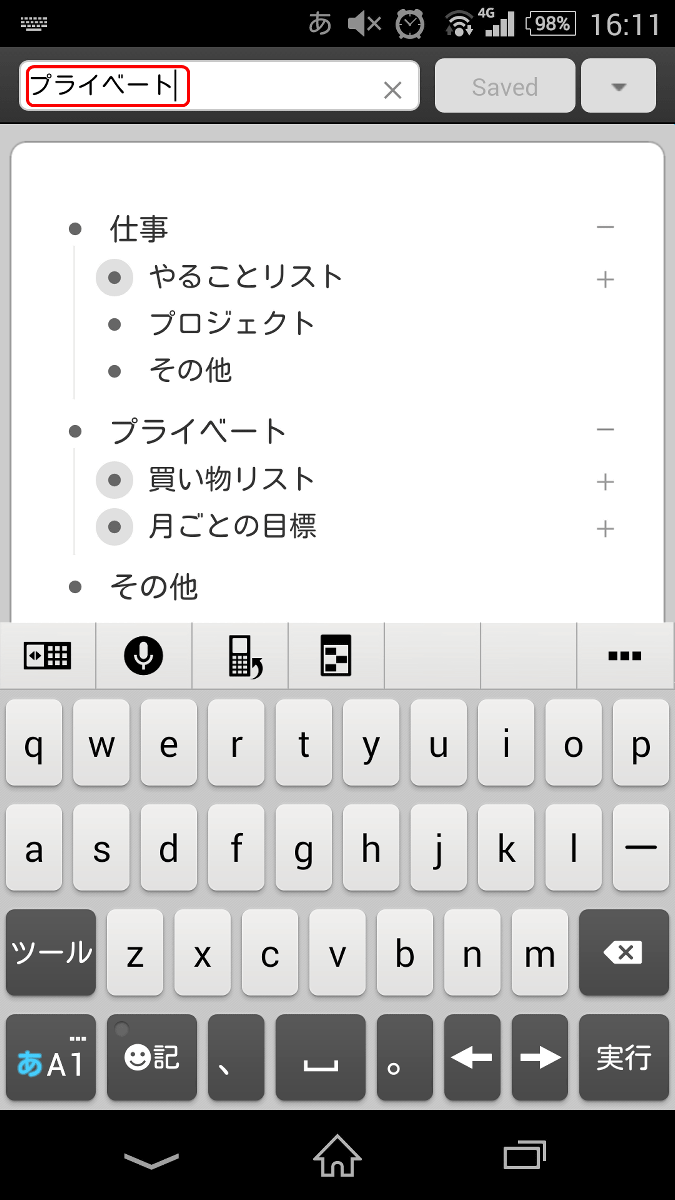
It is also possible to search for specific words. I tried using iOS version and Android version WorkFlowy, but there was not any difference in functions that can be used by both sides.
Related Posts:


in Software, Web Service, Review, Posted by darkhorse_log