Quad Cotter "Phantom 2 Vision +" First pilot photography review that can be used immediately after installing the original camera from the beginning

By installing multiple propellers and an autonomous control system inside, stable flight is made possible,Close to the active volcano erupting and shoot videoOr,Aerial view of the city of Beijing from aboveFor example, one of the models representing multi-copiers that enables images that could not be achieved conventionallyDJIof"PHANTOM 2"is. In GIGAZINE, install PHOTOOM 2 with GoPro HERO 3 and a brushless gimbal that suppresses shakingAerial photograph reportAlthough it was previously published, DJI set gimbals and cameras from the beginning, and equipped with a kit that can send images to the smartphone at hand as standardPhantom 2 Vision +Released. I decided to get tested by getting the real machine as soon as "This is nothing".
Phantom 2 Vision + - Easy, high-performance aerial photography multi-copter | DJI
http://www.dji.com/ja/product/phantom-2-vision-plus
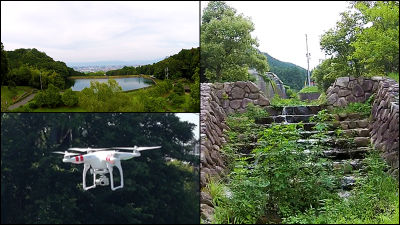
Here is the movie you set up and test shot. In the second half, the figure of a cat who came close to Phantom 2 was also reflected.
Test photography of "Phantom 2 Vision +" - YouTube
Package of Phantom 2 Vision + delivered to the editorial department.
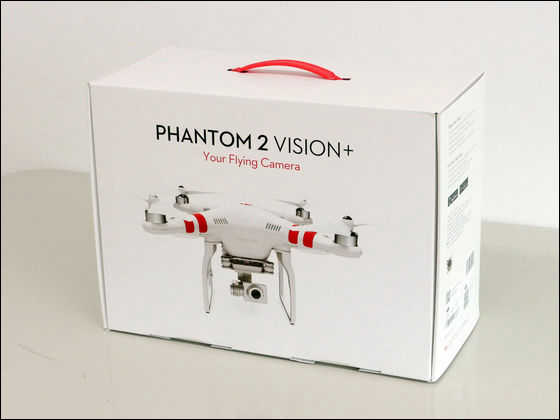
I will open it quickly.
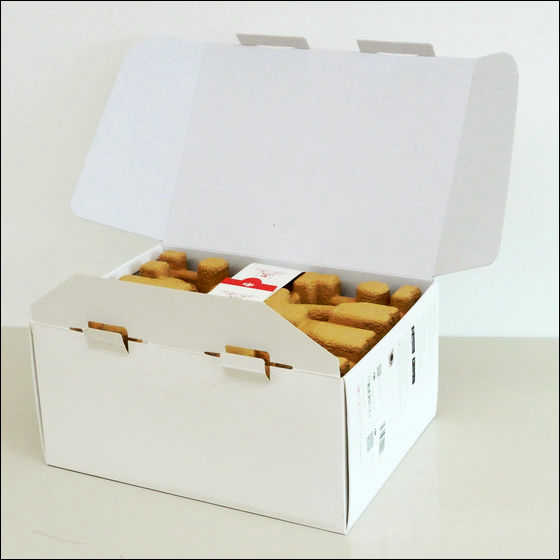
I took out the contents like this. All parts including the main body, paper madePulp mold cushioning buffer materialIt is wrapped in.
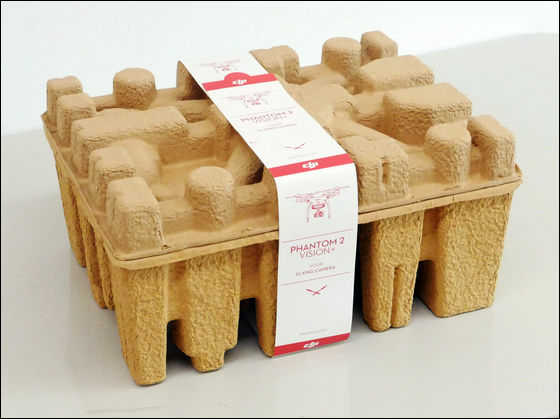
A moment of pounding to open with opening the perforation.
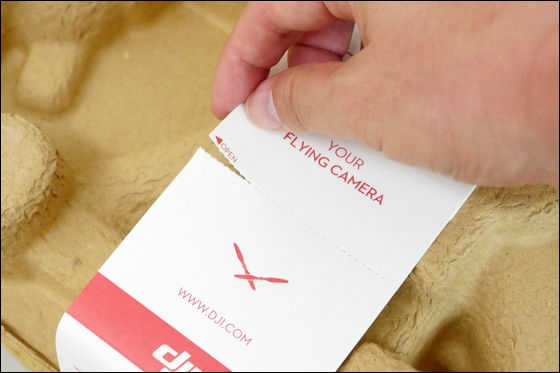
Phantom 2 Vision + appeared. Since the propeller is not installed yet at this stage, it looks like I do not feel the quad co-op.

It looks like this when arranging the contents. From the top left, the propo for maneuvering (remote control), the main body of Phantom 2 Vision +, the propeller, and the parts in front of the remote control are holders for attaching the smartphone to the remote control. Arranged in front of you are a small box containing manuals from the left, a range extender that expands the range to communicate images captured with Phantom 2 Vision + camera, and 4 remote batteries, battery assembly It has become a driver for.
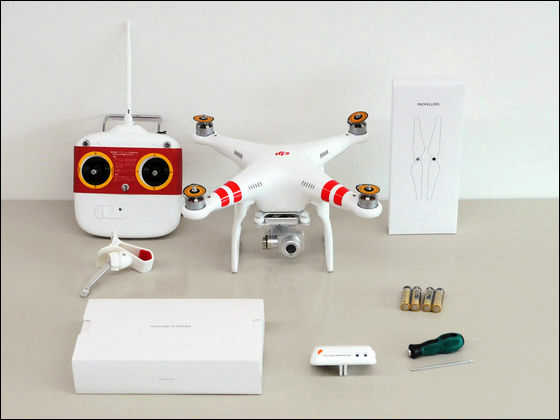
First of all, the body of Phantom 2 Vision +. Looks likePhantom 2 I reviewed earlierAlthough it is almost the same, a camera set in the triaxial gimbal that suppresses shaking is installed between the two landing gears.

Part of the camera smaller than GoPro. The body of Phantom 2 Vision + is mounted with a damper made of rubber and has a structure to suppress vibration.

I saw the camera from the left side. Slots for microSD card can be seen on the silver foundation part. In addition, when purchasing 4GB microSD card was bundled.

View from the rear of the aircraft. You can also see the Mini-USB terminal on the base part.

And looking from the right side of the aircraft like this. The part that glows dull silvery is a brushless motor that is responsible for the movement of the camera.

The camera has a built-in 1 / 2.3 inch 14 Megapixel sensor with a resolution of up to 4384 × 3288 pixels. It is possible to shoot 1080 / 30p, and the viewing angle is 110 degree / 85 degree camera with specifications. Simple comparison by the number of pixels, specification exceeding GoPro's 12 megapixel.

Cameras and gimbals are guarded by plastic "gimbal fasteners" and lens caps so you need to pull and remove them like this before the flight.

The camera part where the fastening tool and the lens cap have come off and it is in use. The movement of the axis of the gimbal was very smooth.
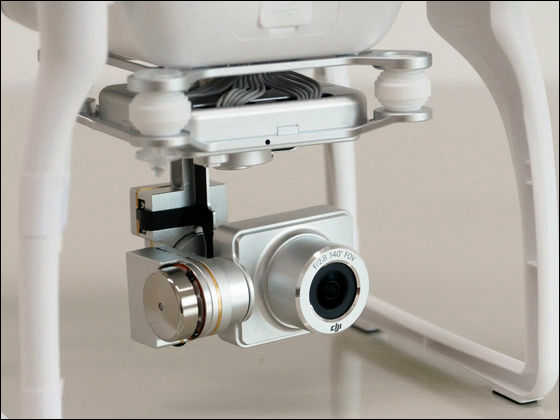
Mount part to be combined with the aircraft at 4 places. The rubber damper seems to suppress the shaking effectively by the touch feeling "Punyupu".

Install the propeller by screwing directly on the shaft of the motor mounted on the tip of the arm. There are two types of screws, "positive screw" and "reverse screw" depending on the direction of rotation of the propeller, and it is made to distinguish by the color of the top of the propeller. The propeller with the black cap reflected in the photograph is a reverse screw type and it is OK if it aligns the direction of the arrow indicated on the base of the wing and the arm.

"Smart Flight Battery" built into the main unit is a type of 5200 mAh / 11.1 V, and it is possible to flight about 20 to 30 minutes while shooting a camera.

I will keep the remaining boxes one after another. "ACCESSORIES" containing wrenches for removing propeller and screws, "CHARGER" containing charger, and "MANUAL" box containing manuals.

Many of these manuals were in "MANUAL". The leaflet of the red cover is "Quick Start Manual", and the flow from setup to flight and return is concisely summarized. From the top left, the "PHANTOM Pilot Training Guide" which illustrated the flight from the beginner to the advanced was published one by one in Japanese and English, one in Japanese and English in the user manual, the number of points acquired by purchasing parts According to the information leaflet of "DJI Reward Club" which can get various gifts, the quick start guide on the front and the blue and pink stickers are set in front.

The "CHARGER" box contained the Mini-USB cable used for connecting the Phantom 2 Vision + to the PC and charging the range extender, the charger for the smart flight battery and the outlet.

Charge the battery firmly here so that the situation of batteries will not occur during flight.

Preparing the remote control next while charging. At opening, a paper band written with lever operation etc. is applied, but this can be removed at any time.

Put four AA batteries included in the package and be ready.

"Phantom 2 Vision +" which the camera is set from the beginning also includes a mobile holder for attaching smartphones to the remote control unit and a holder for the range extender. First install the holder for the range extender. Set the holder's pedestal to the silver handle of the remote control.

Looking from the back, it looks like this. It is designed to fix and attach the back cover to the pedestal with the groove cut.

Screw thread like this.

After that, align the mount of the range extender with the pedestal, tighten the fixing lock screws, and the installation is completed.

A mobile holder that wears a smartphone is also attached to the handle. Align the grooves ......

Fix with screws in the same way.

When attaching smartphone and range extender to remote control it became like this.

After installing the fully charged battery, preparation of the main part is completed for the time being.

First turn on the remote control ... ....

Next, turn on the machine.

Before the flight, we will calibrate the compass to sense movement of the aircraft.Previous articleIt is the same as the one described in the above, so the details are omitted here.

And finally turn on the range extender and connect with the smartphone via Wi - Fi, the preparation is OK.

I went out for a test flight at once. The choice this time is the riverbed of the Yodogawa spreading a wide flat land.

A movie taken while skipping for a while is here. You can see that there is less shaking and a stable image is contained. Thanks to the wide-angle lens, the ground shield's shot is quite impressive.
I tried test shooting with "Phantom 2 Vision +" - YouTube
Phantom 2 Vision + is on sale at 148,500 yen (tax included, free shipping) at Amazon's DJI official shop. Although the conventional Phantom 2 is 75,000 yen, in addition to the difference between the camera and the gimbal, it seems to be said that it is said to be an attractive set when considering the convenience that is set from the beginning.
Amazon.co.jp: DJI Phantom 2 Vision + (3 axis full HD camera included) P2V +: Camera · Video
http://www.amazon.co.jp/dp/B00L067CXQ
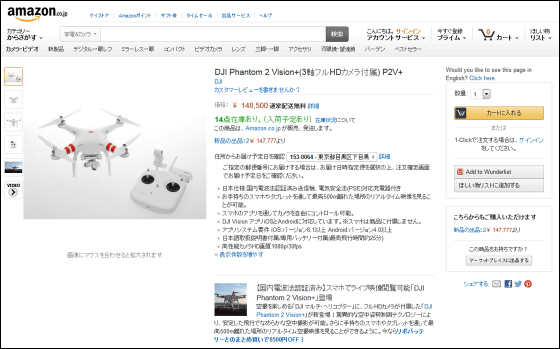
· Continued
Reviewing "DJI Phantom 2 Vision +" skipping and shooting various things Review - GIGAZINE
Related Posts:


