DJI's latest drones "Phantom 4" came up and soon Photo Review
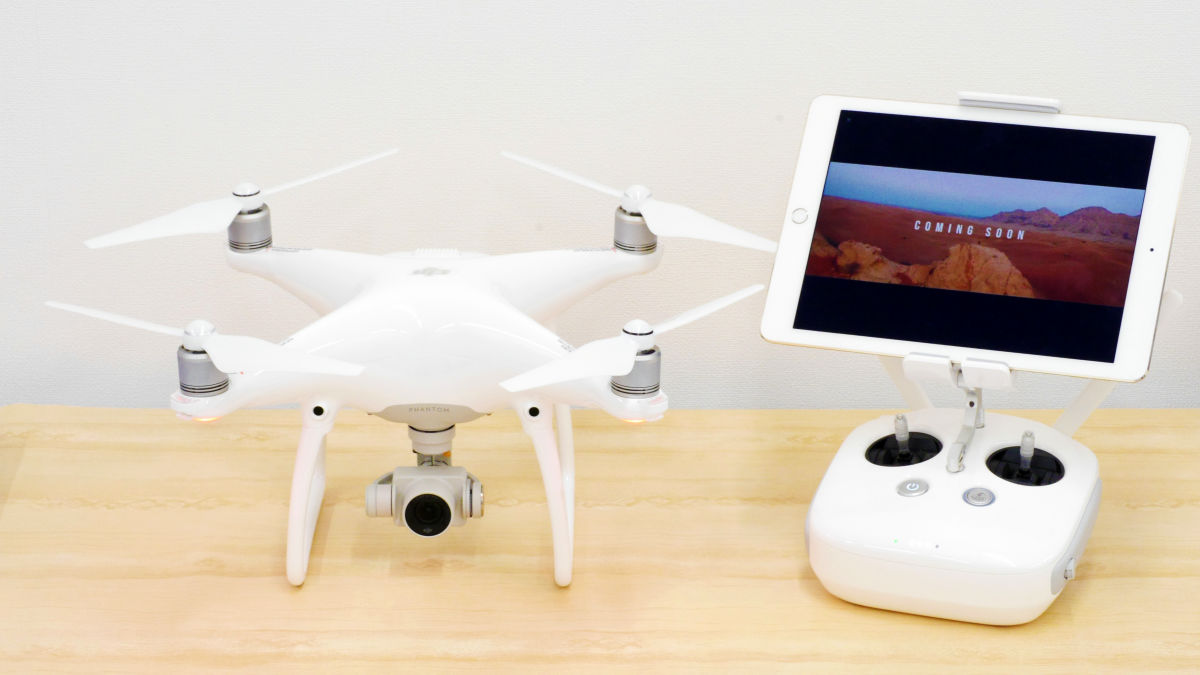
In early March 2016 DJI introduced a new drone "Phantom 4We announced. We also had Phantom 4 with obstacle avoidance capability which was not traditional by installing obstacle sensor, and it was also pichered in GIGAZINE editorial department, as we arrived on March 16, we opened it immediately and photographed here and there It was.
PHANTOM 4 - Phantom 4 is the smartest flying camera in the history of DJI
http://www.dji.com/jp/product/phantom-4
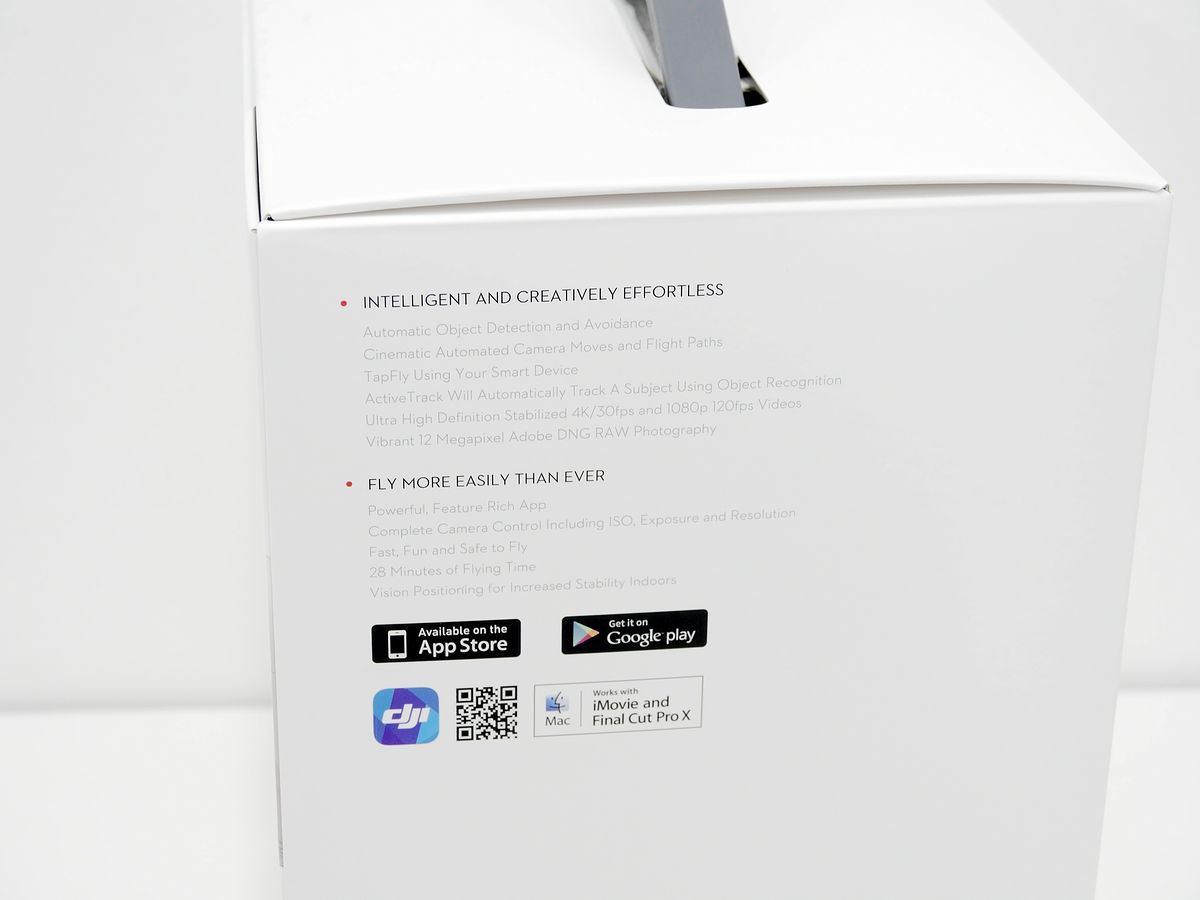
Arrived DJI Phantom 4 box. Phantom 3 was a horizontally flat box, so the image is totally different.

The design of the box is simple. Only brief explanation and QR code etc of application are printed on the horizontal side.
When opening the top cover, a box like a gray Styrofoam appears.
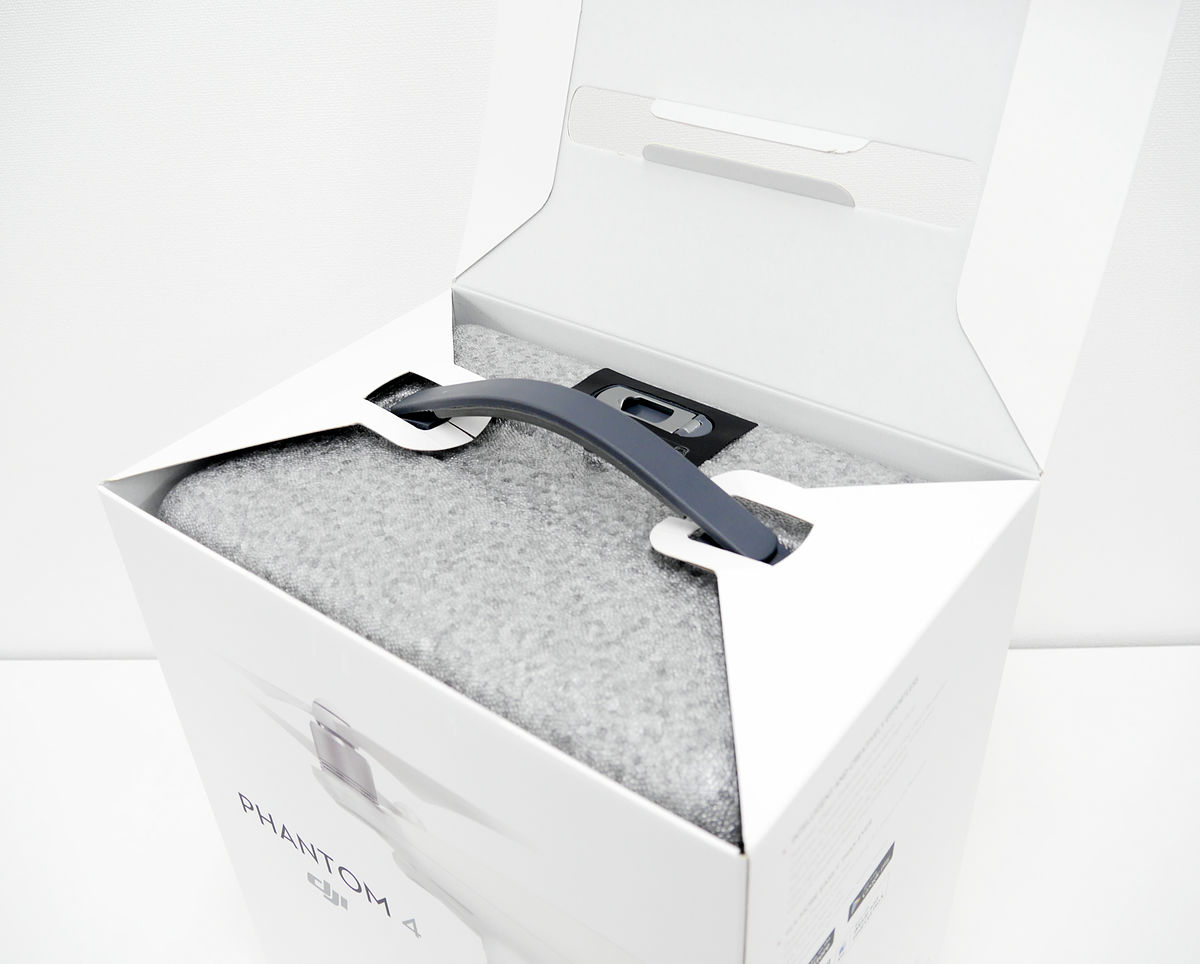
When taking out as it is, an inner box which also serves as a carrying case appeared.

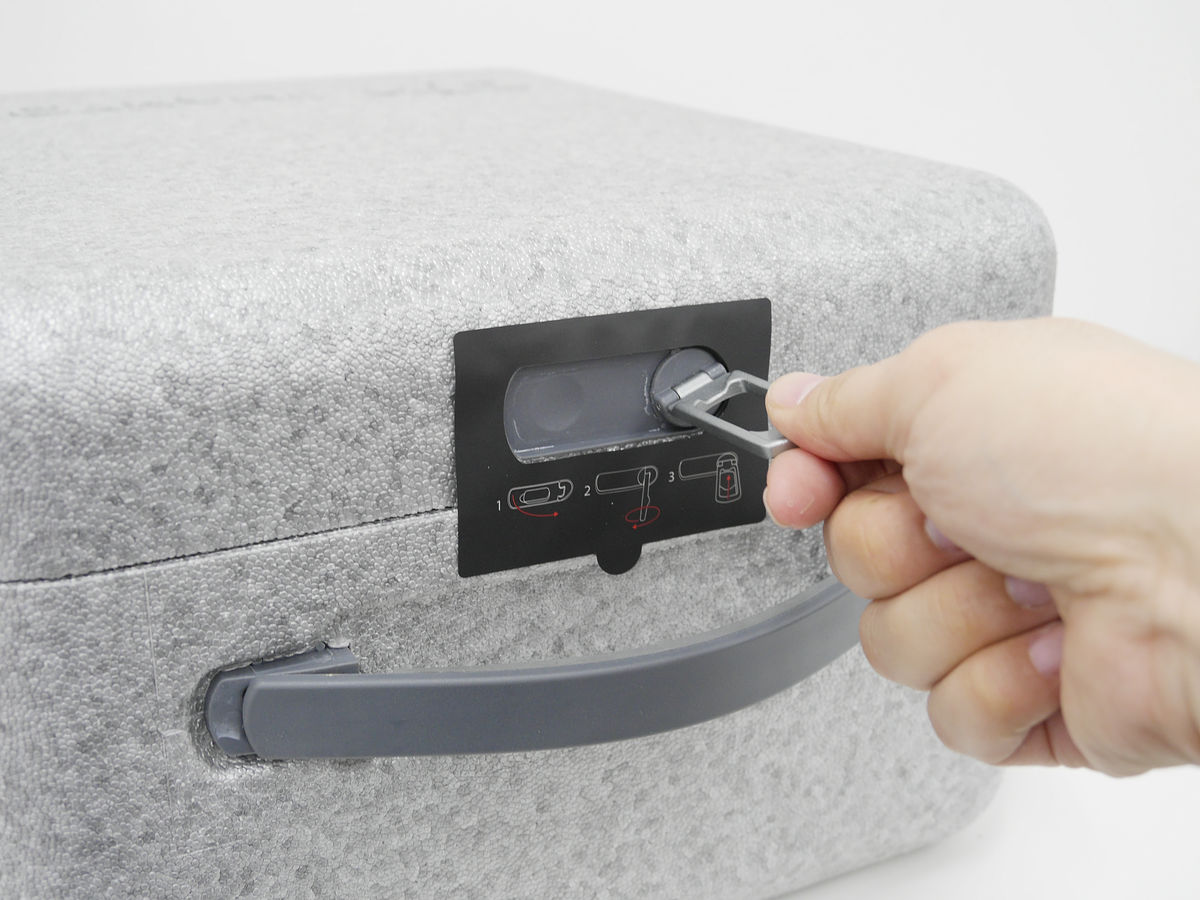
Such a lock is adopted in the carrying case ... ...

Raise the lever and turn it 90 degrees to open the lid.
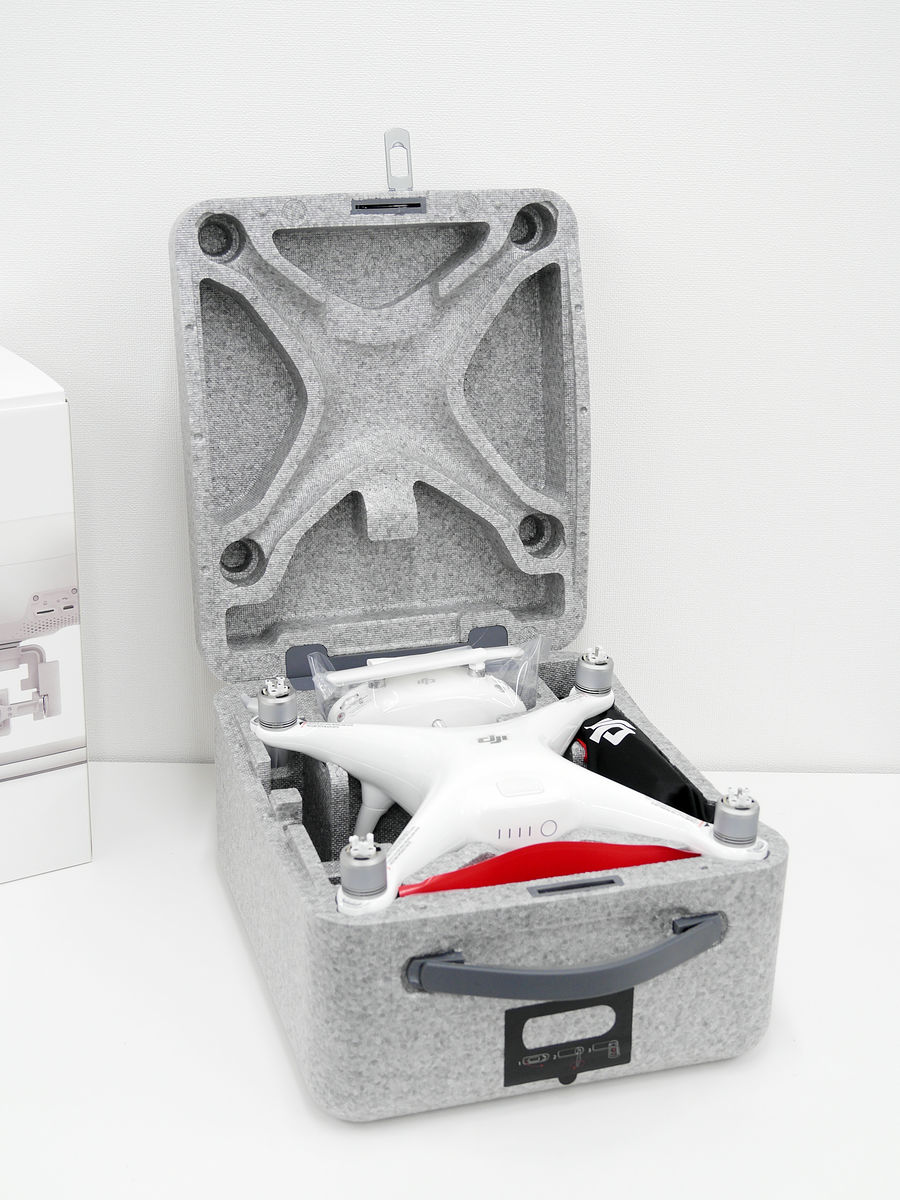
I opened the lid. It is clear that it is structured to be able to fix Phantom 4 firmly.
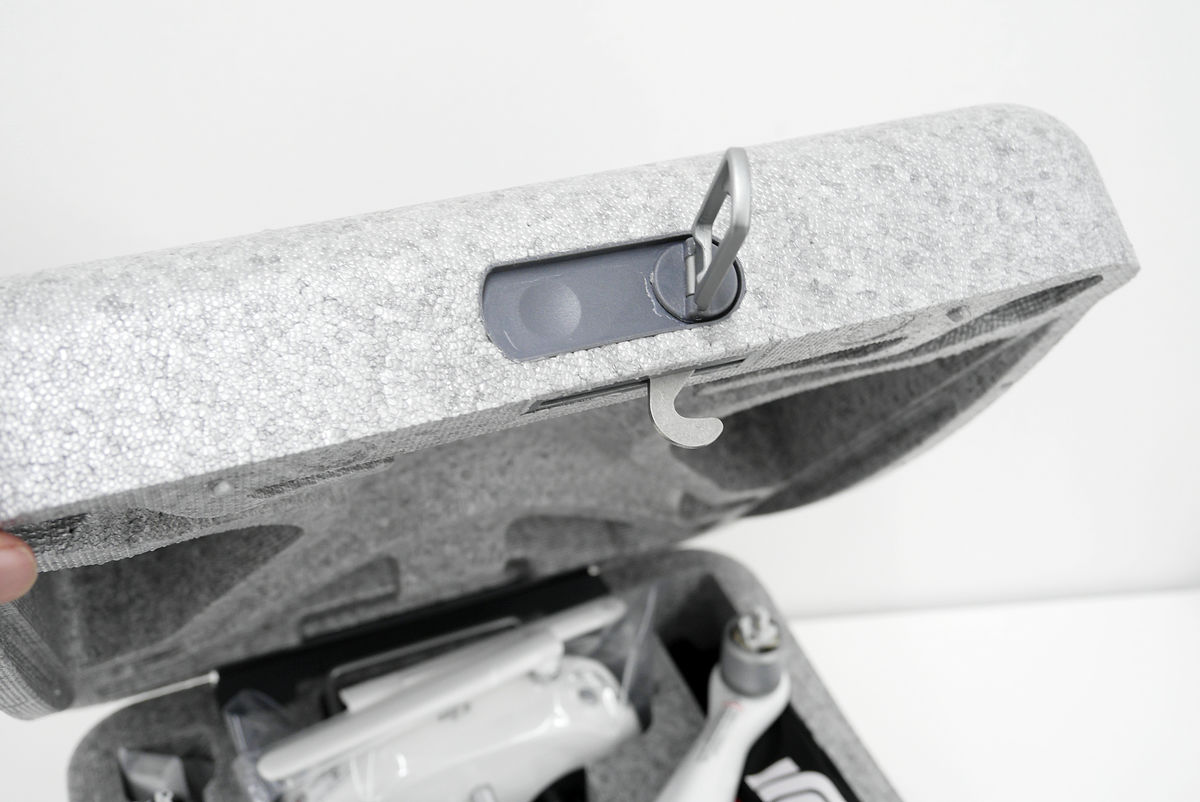
By the way the locking mechanism of the lid is like this.
All cases are molded with Styrofoam and designed to fit all the necessary devices.
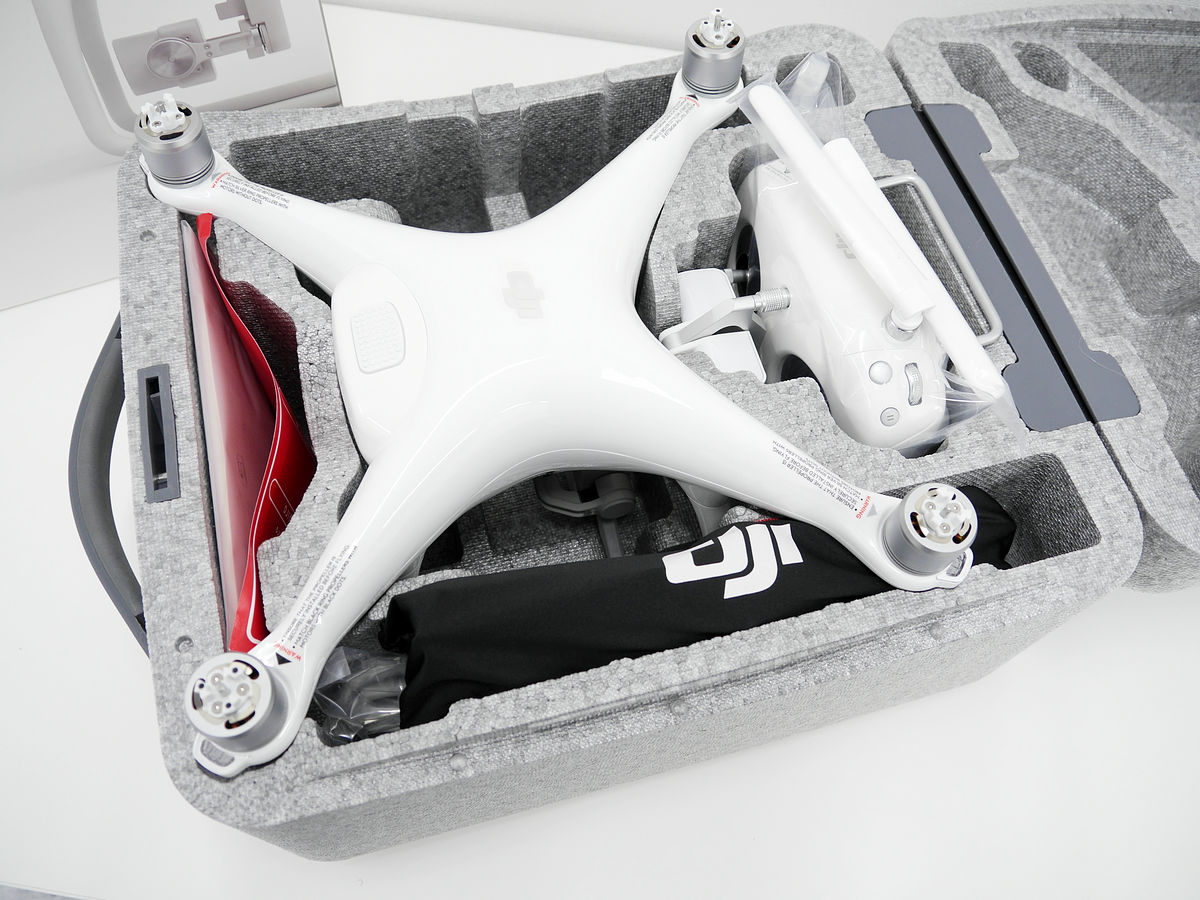
Contents is like this. There were 2 pairs / 8 pieces including manuals and the main body of Phantom 4, transmitter for steering, power supply and cables, and removable propeller, including spare.

Power supply surroundings and cables. There is an AC adapter and cable for charging, a Micro - USB conversion connector and a Micro - USB cable.
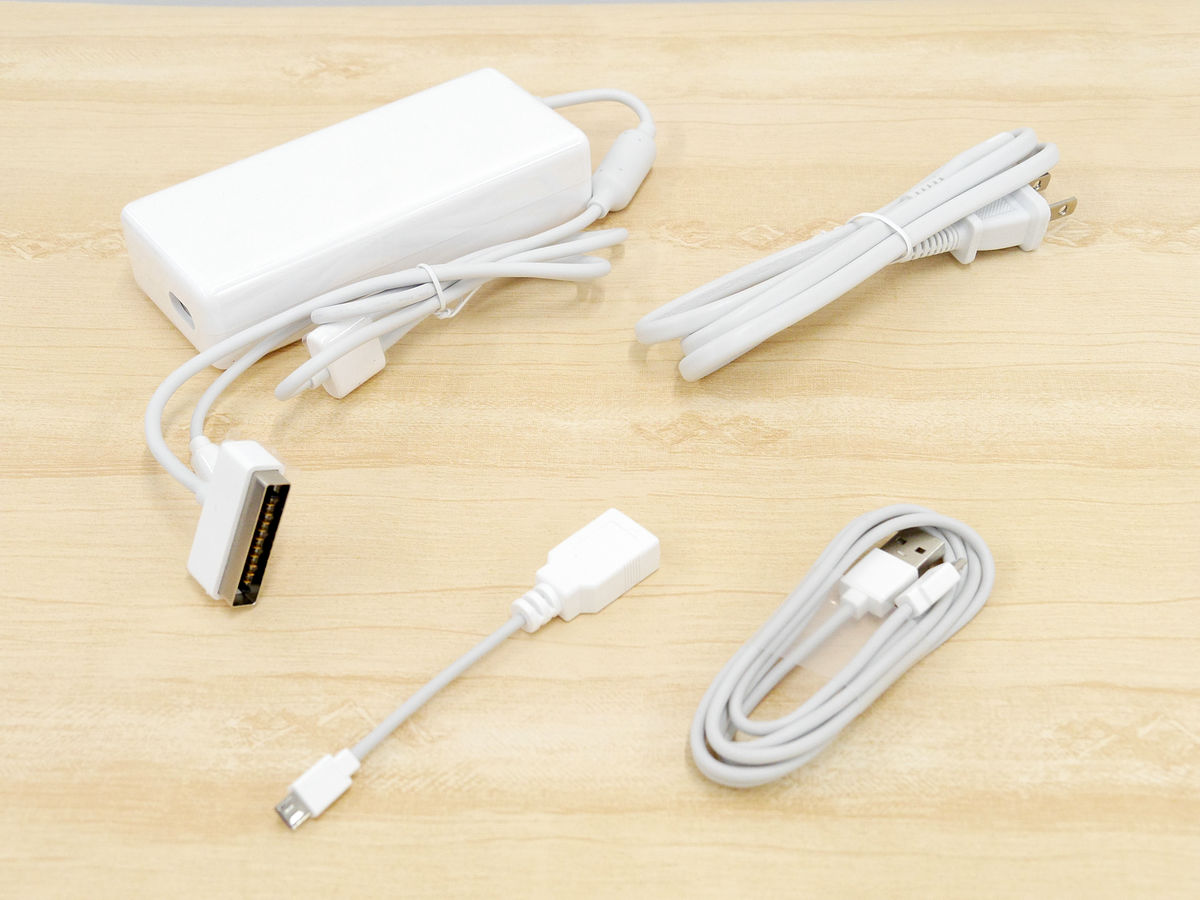
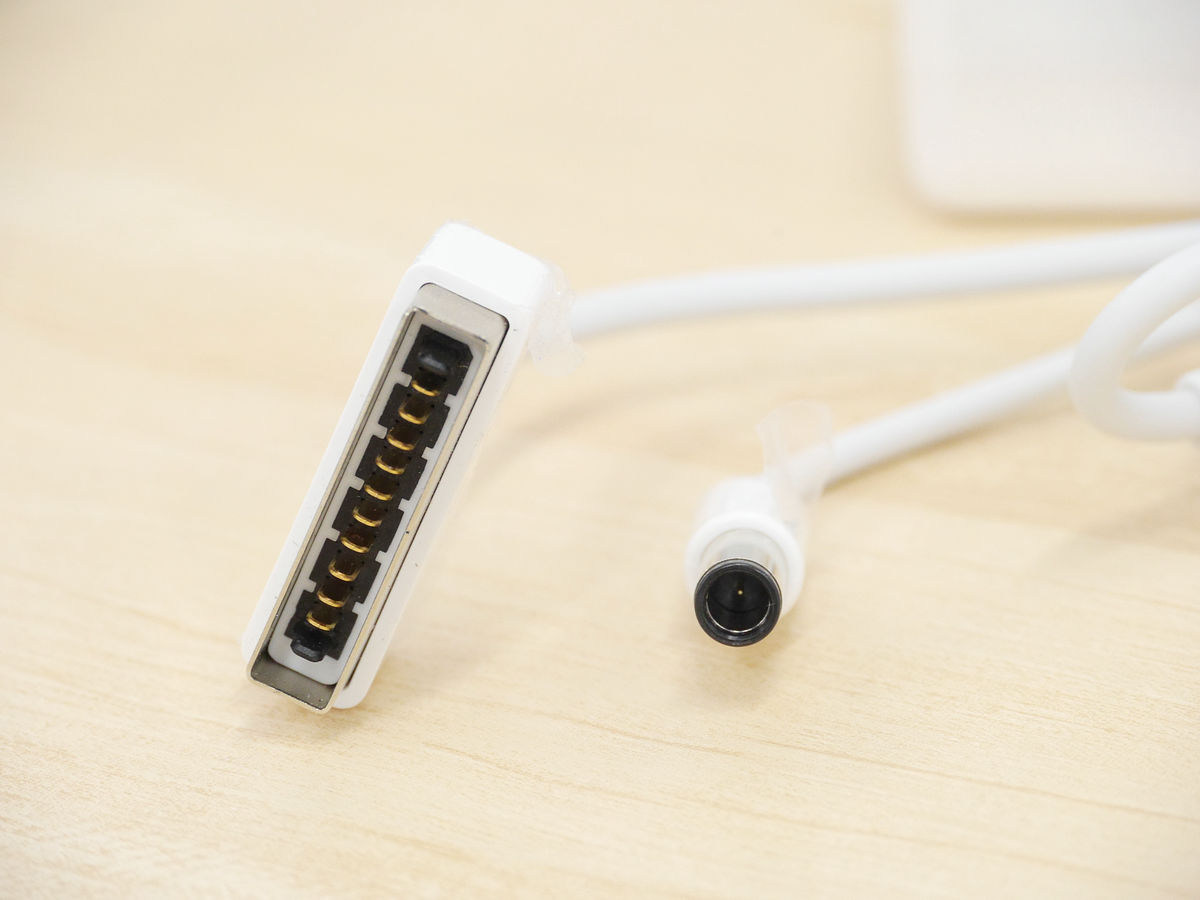
The tip of the AC adapter has two types of connectors in this way. The left is the terminal that connects to the battery for Phantom 4, the right one is for charging the transmitter.
Since it is possible to charge both at the same time, it will be less likely to take time for standby.
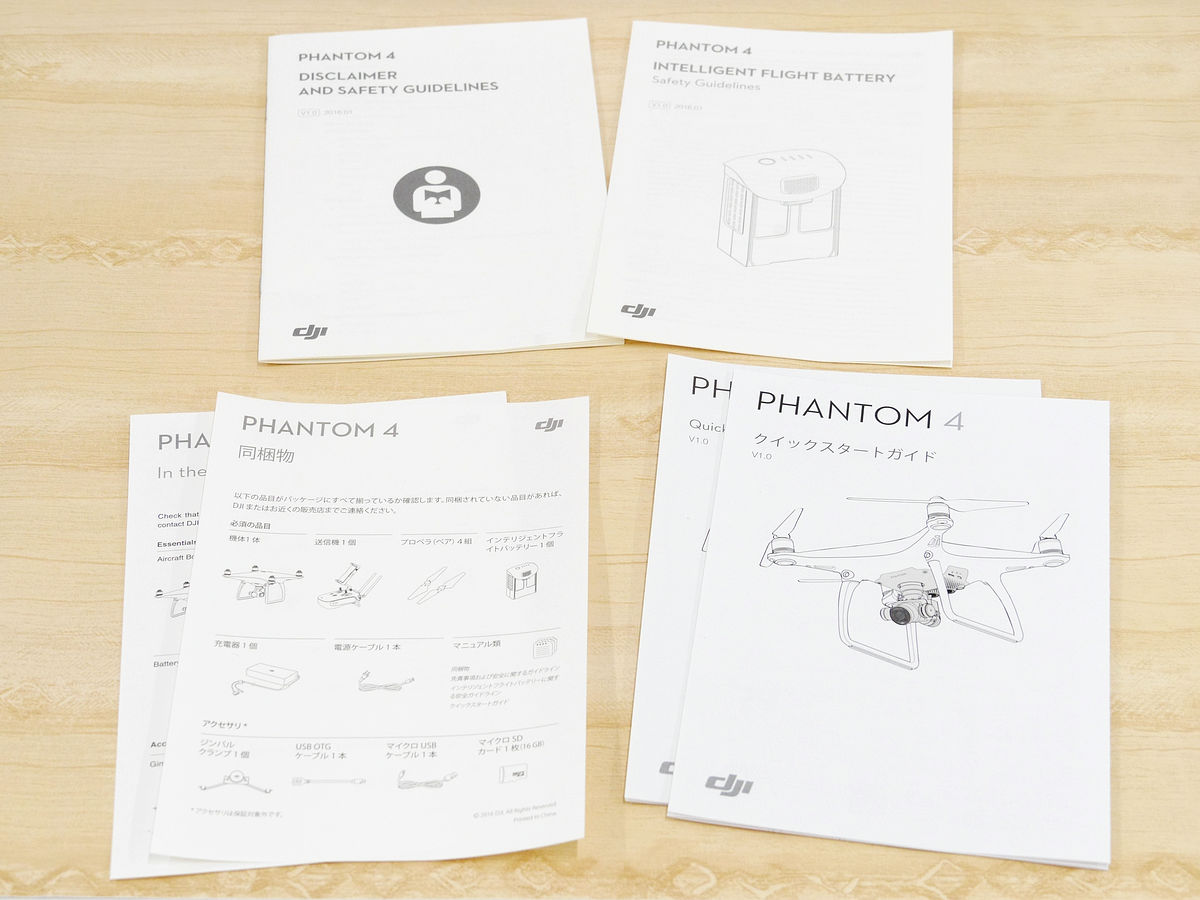
In the manuals, the Quick Start Guide and the instructions of the enclosed items were in English and Japanese, and two safety related English documents were included.
◆ Transmitter
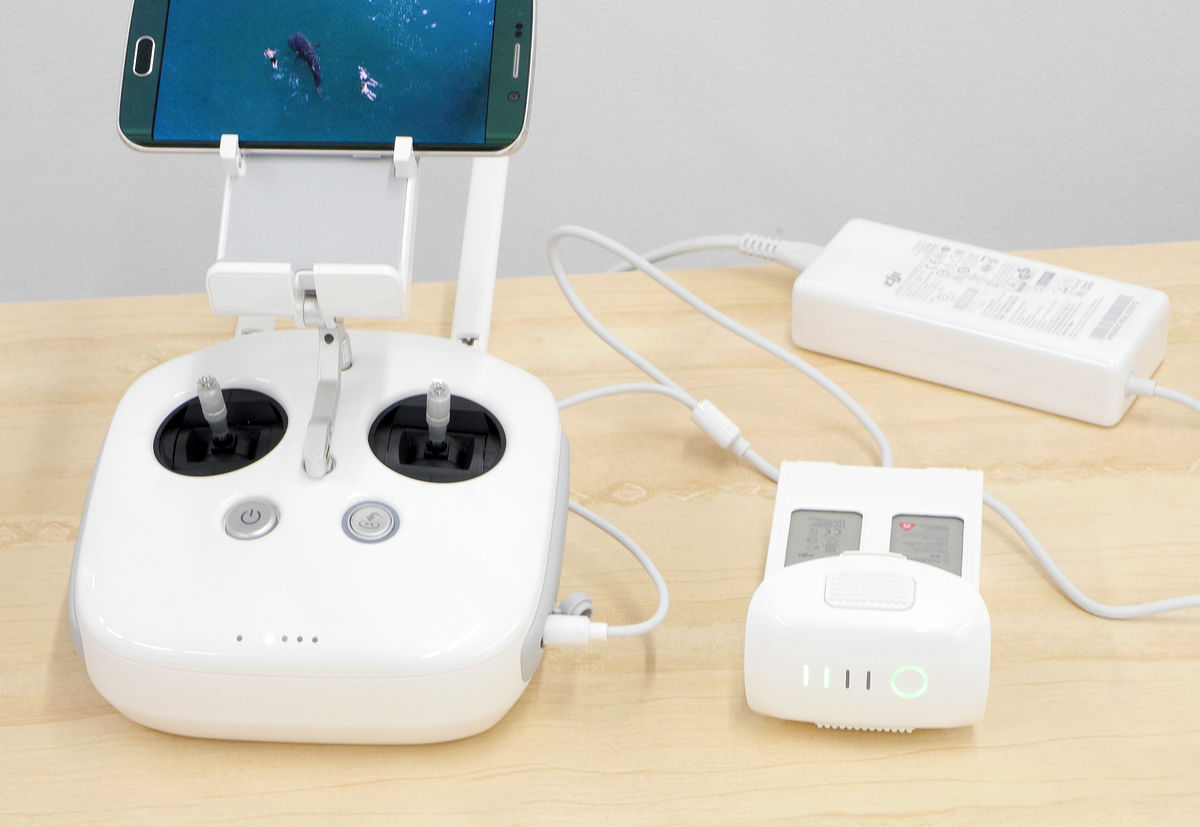
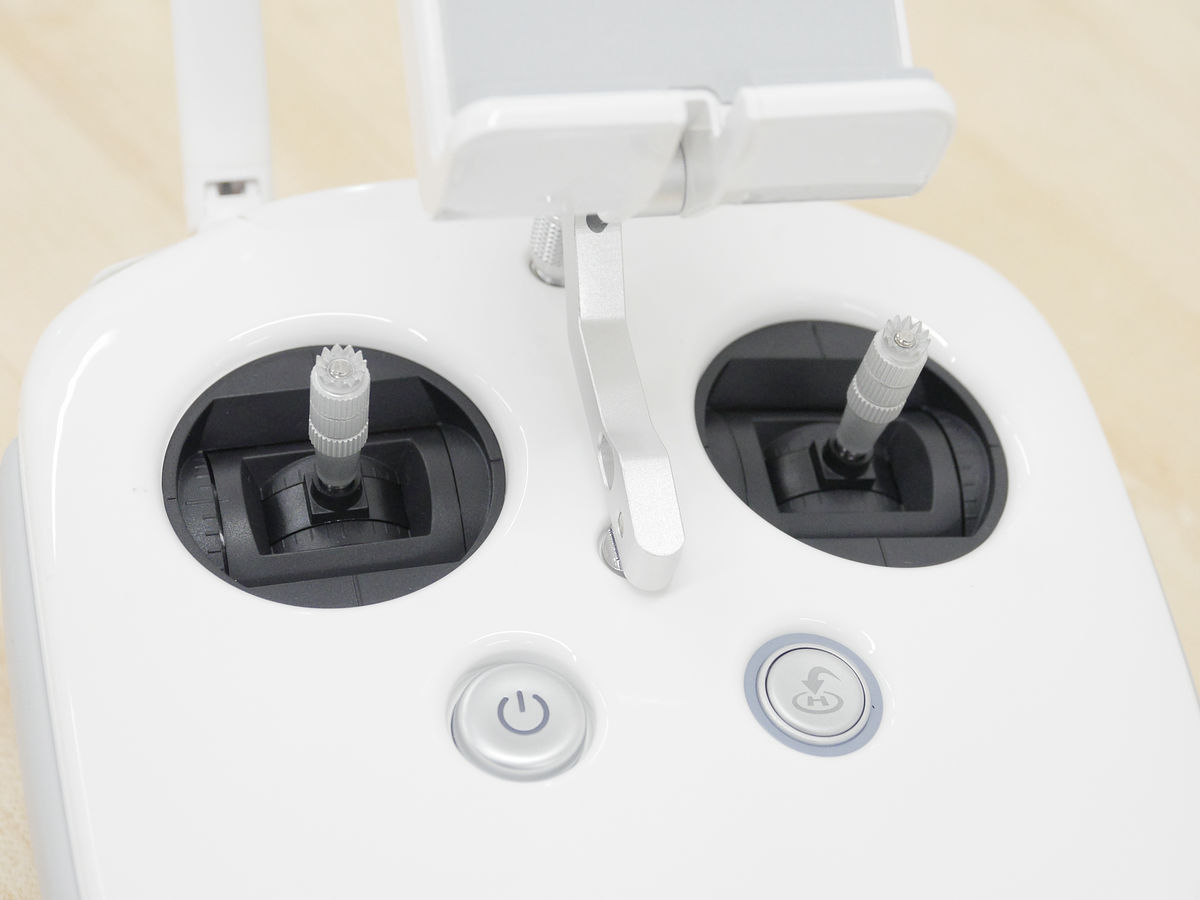
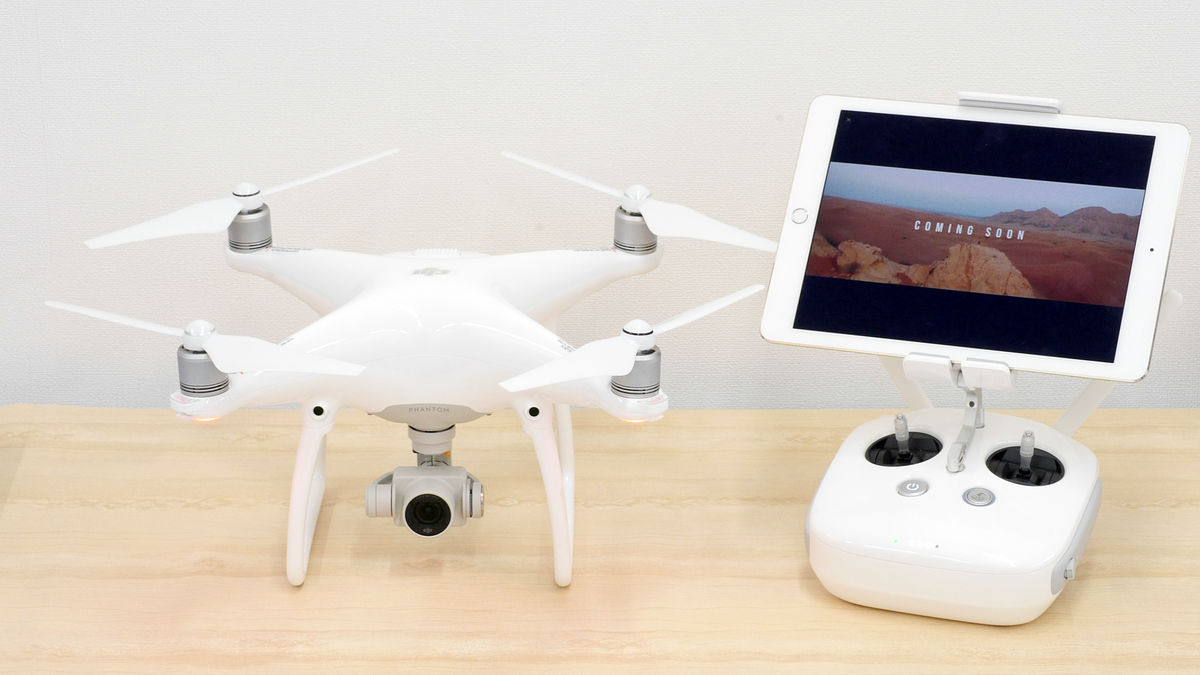
The transmitter in the state taken out from the box looks like this. Beforehand, a stand that puts a smartphone or tablet is set.

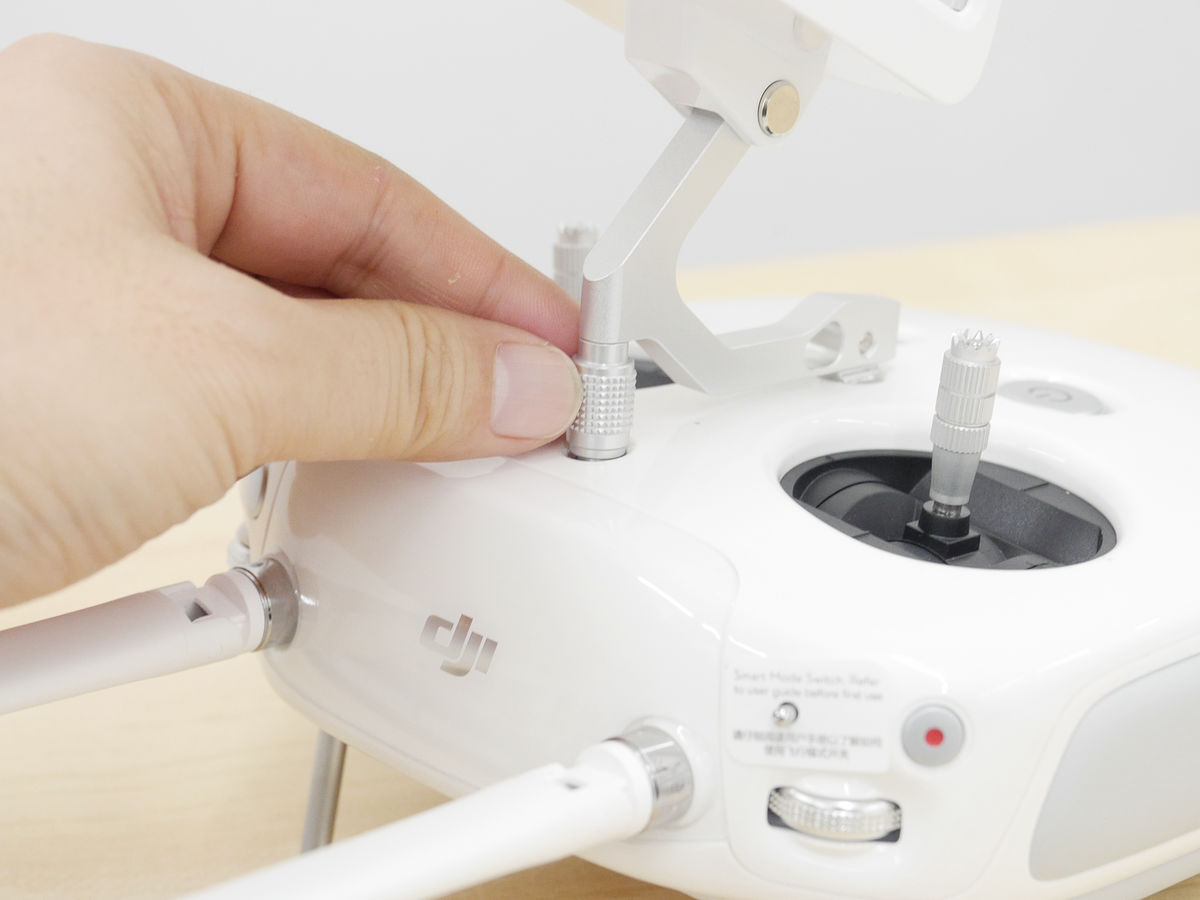
Two control sticks, power button, home return button are arranged on the top.
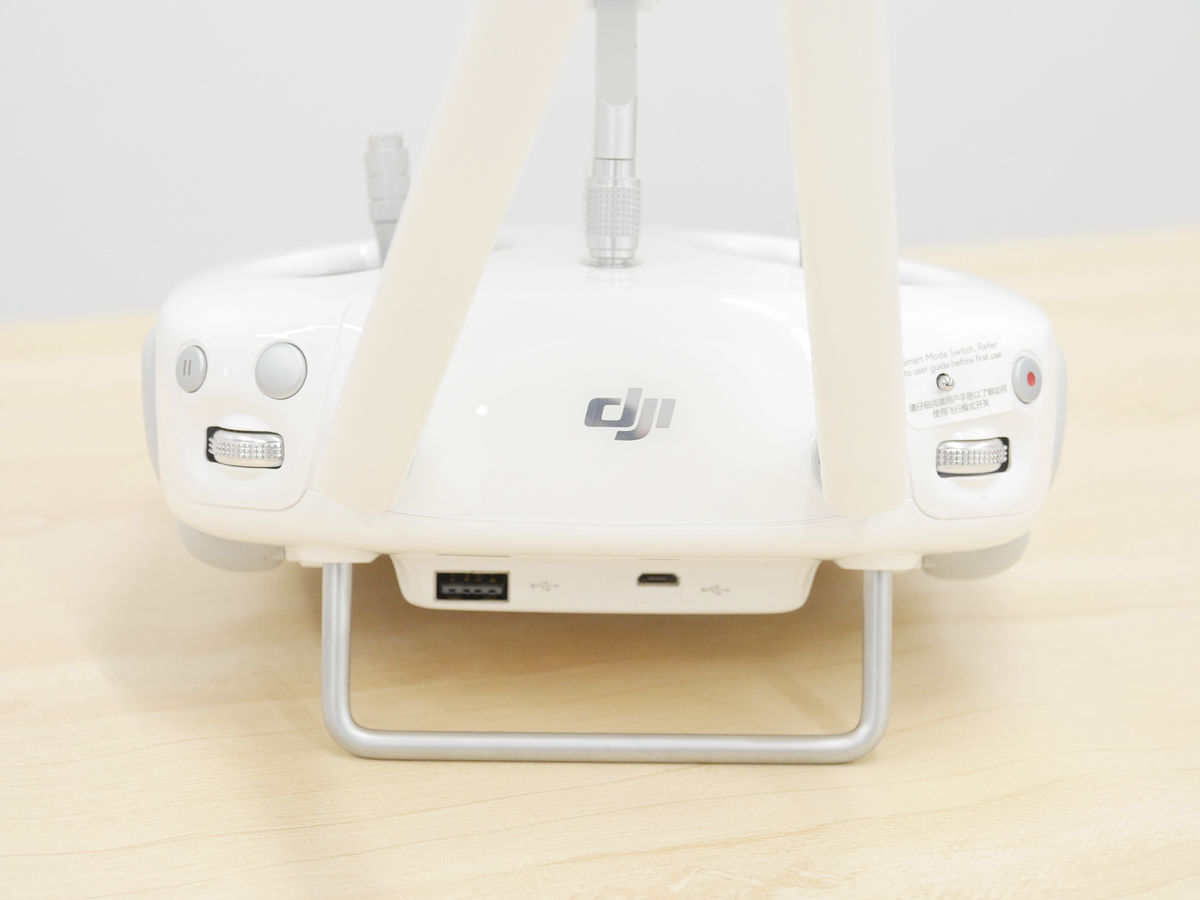
In addition to large and small buttons and rotary switches on the top surface, the USB terminal and Micro - USB terminal are placed.
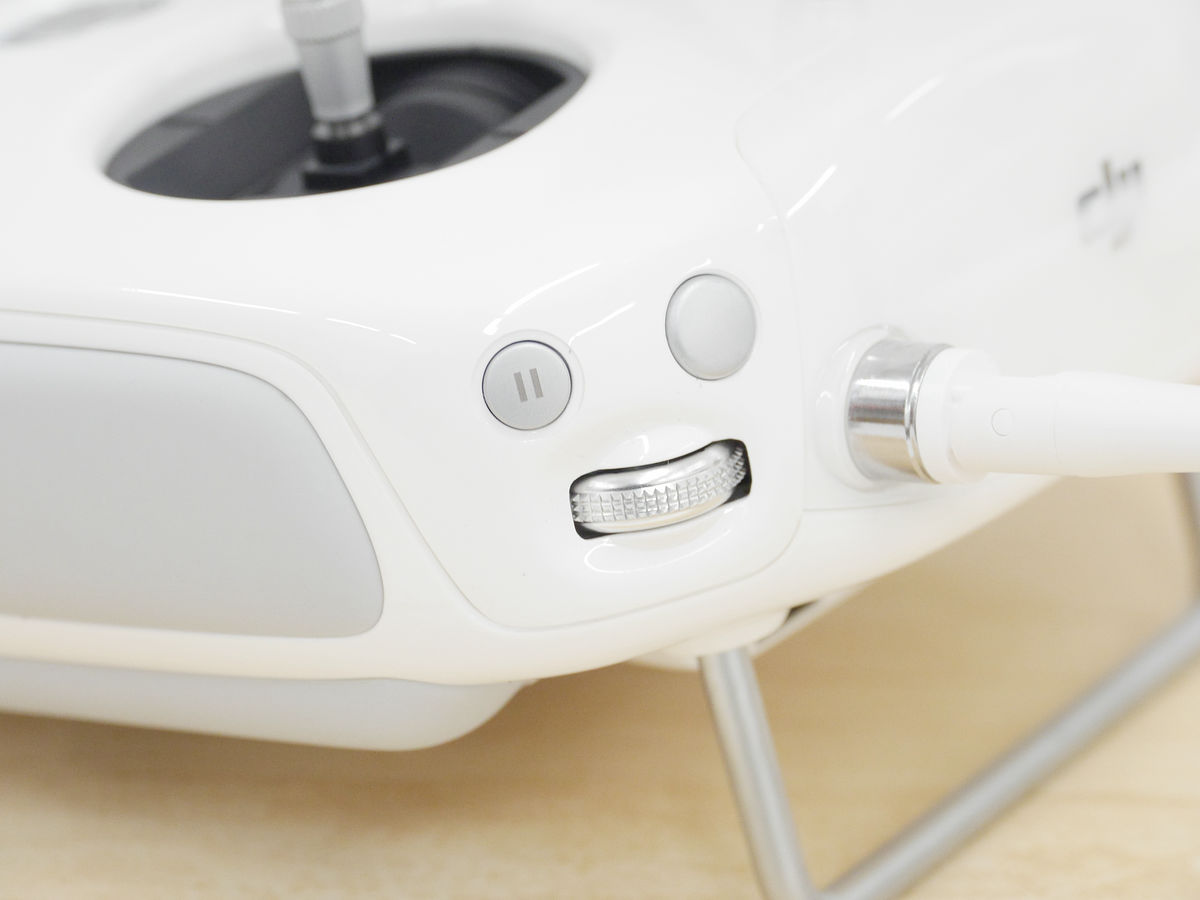
In the upper right corner of the main unit, there are a dial, a shutter button, a pause button for intelligent flight
In the upper left are dials for adjusting camera gimbals, recording buttons, flight mode switches.

The back is simple. At the position where the left and right index fingers come, two buttons are arranged on the left and right.

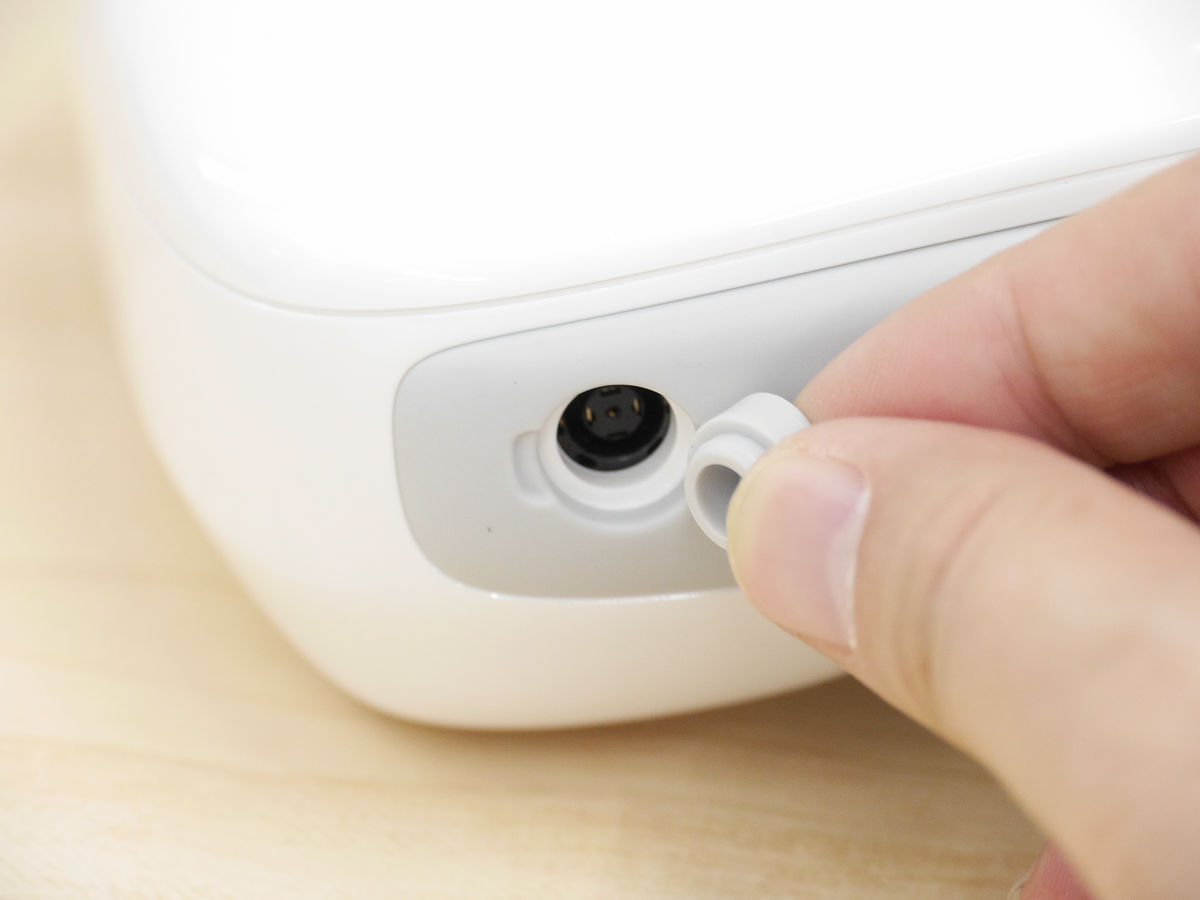
The terminal for charging is located where you removed the rubber cover in the grip on the right side of the body.
The holder can adjust the length in this way ... ...
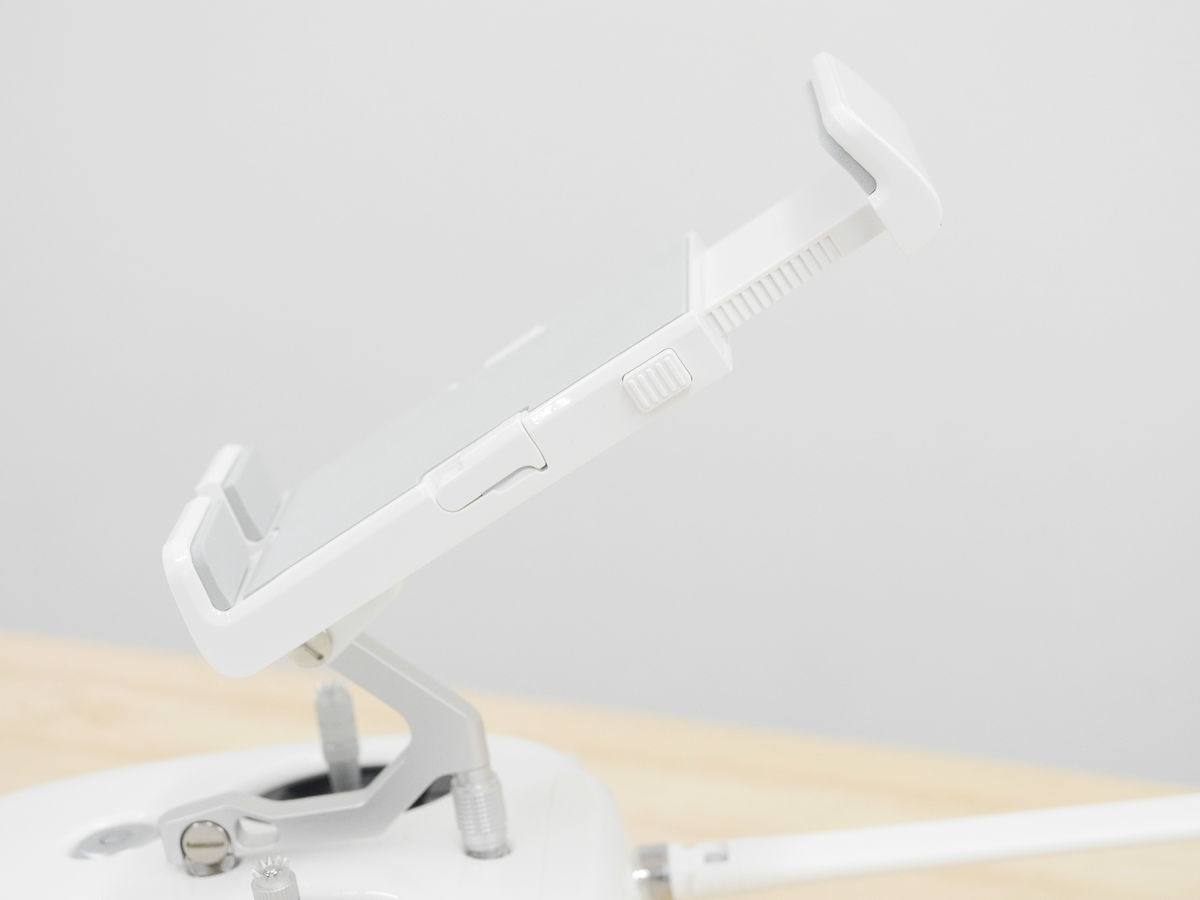
It corresponds to the size of iPad Air series.
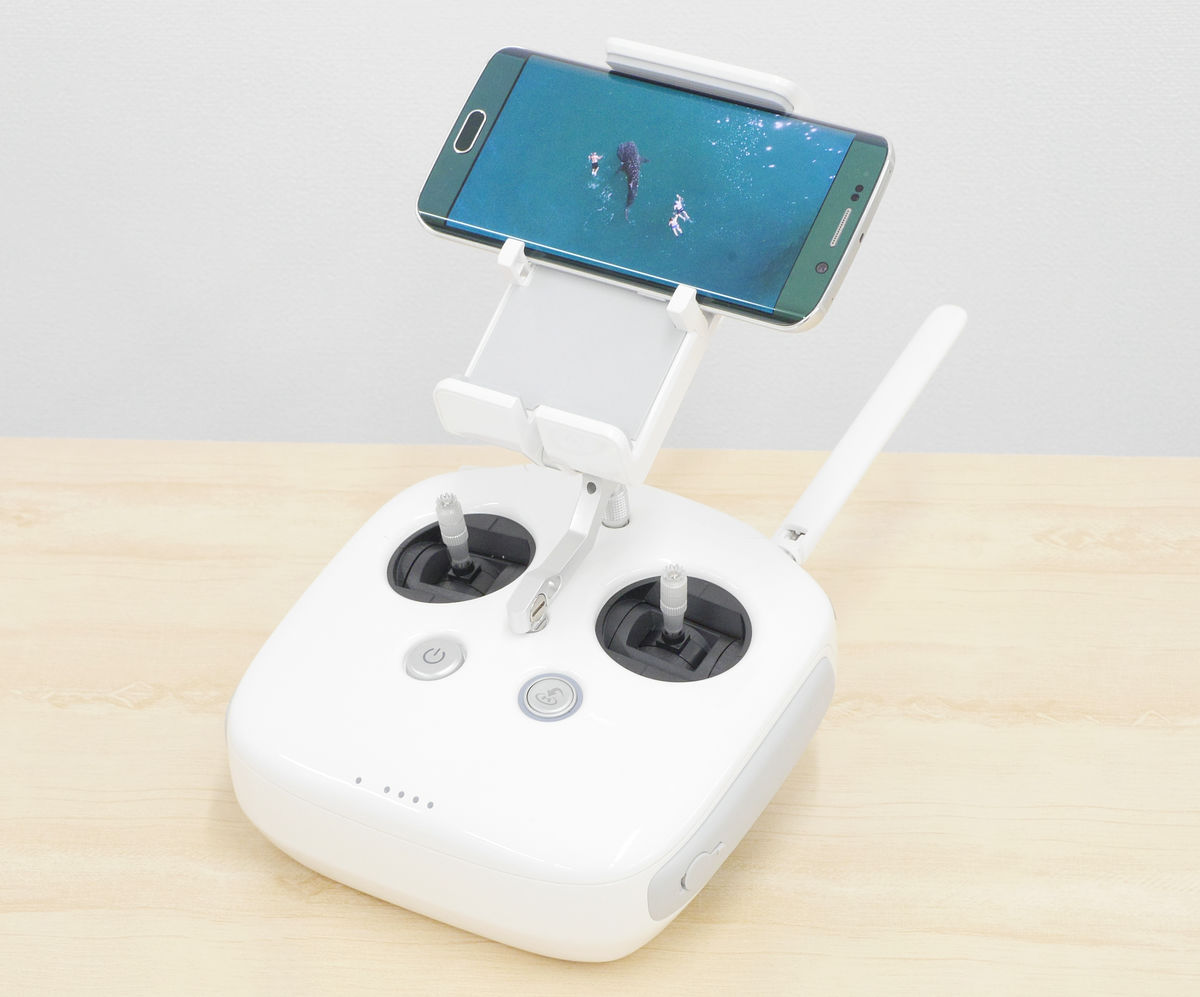
In the case of a smartphone, it is possible to respond by setting a claw in the middle like this.
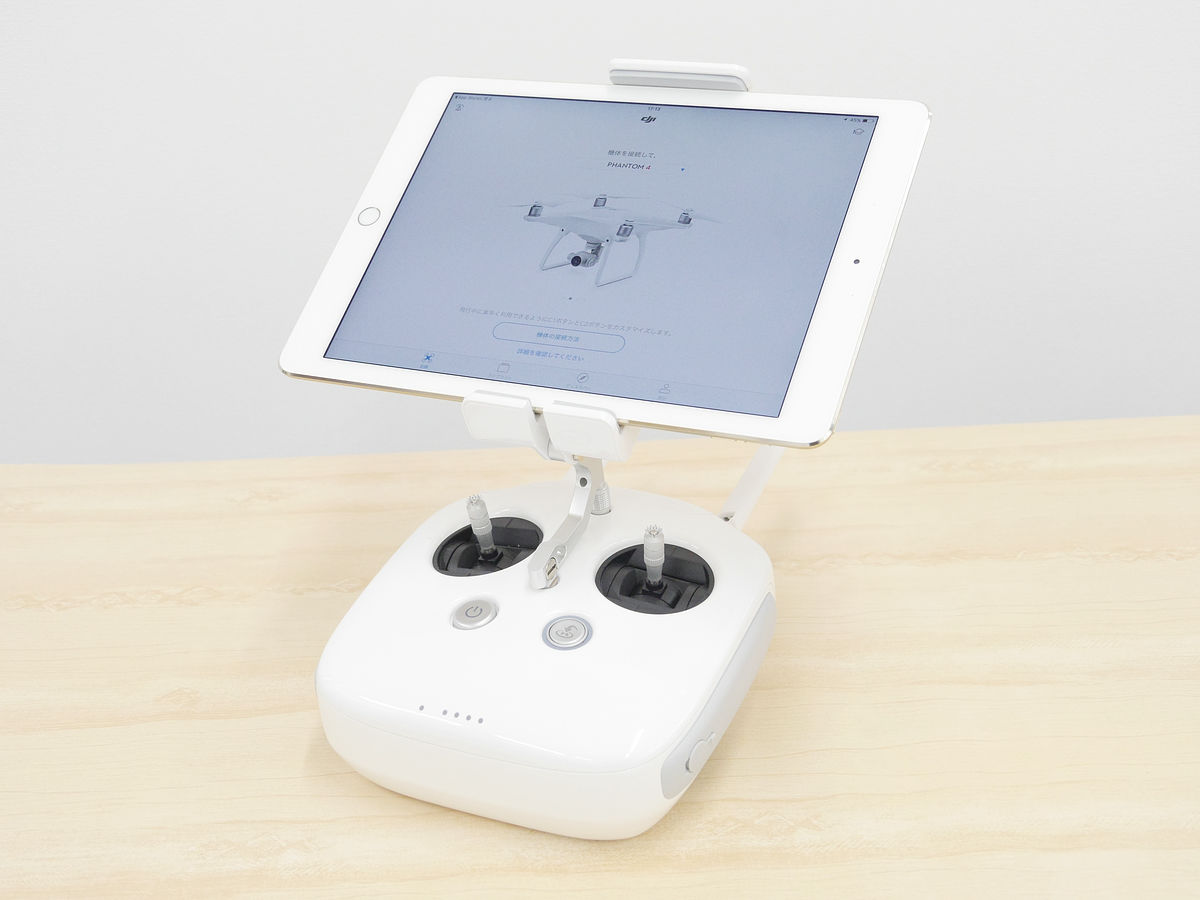
And connect the USB terminal and the tablet / smartphone equipped with the transmitter. In Phantom 4, this is the default method by connecting with a USB cable. Even for iOS terminals, you can connect using the Lightning cable.
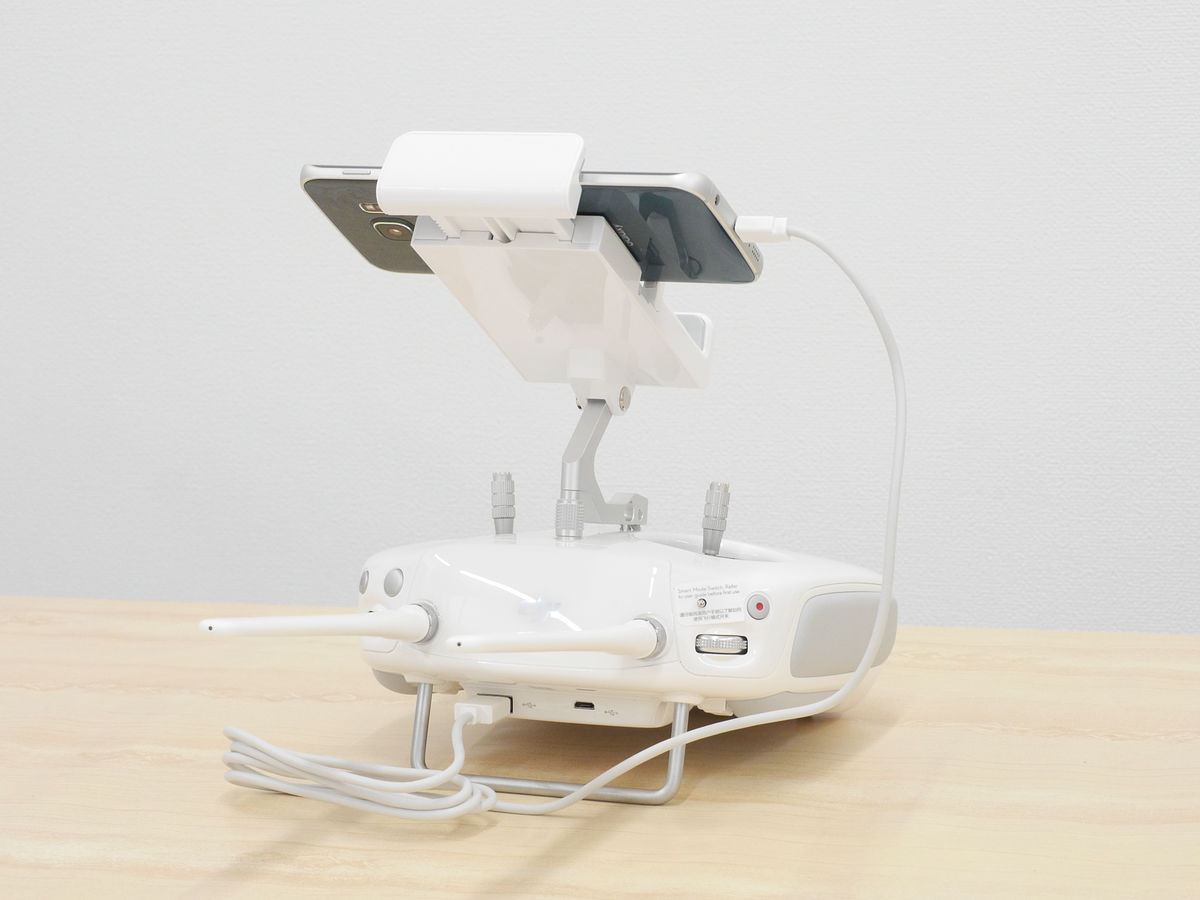
The angle of the display can be adjusted by turning the screw under the holder.
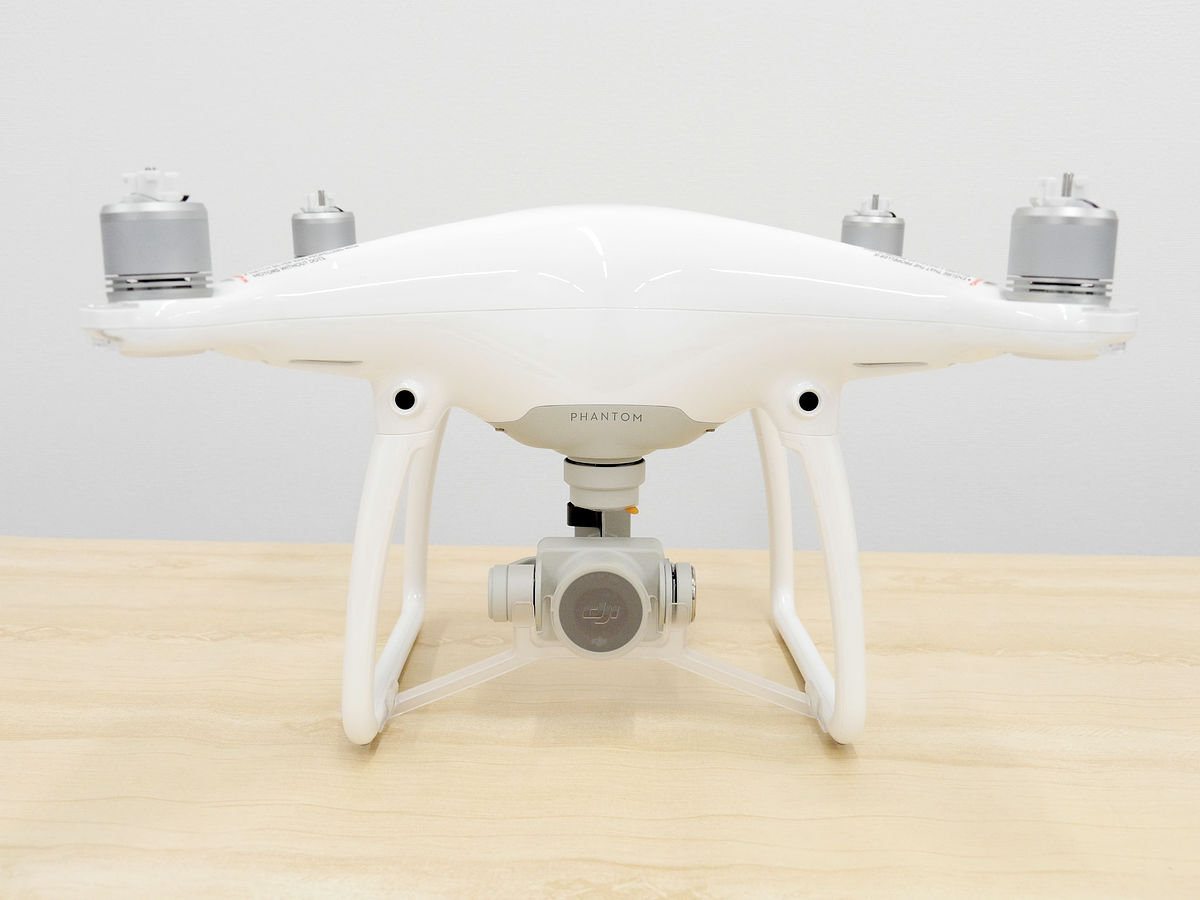
◆ Phantom 4 body
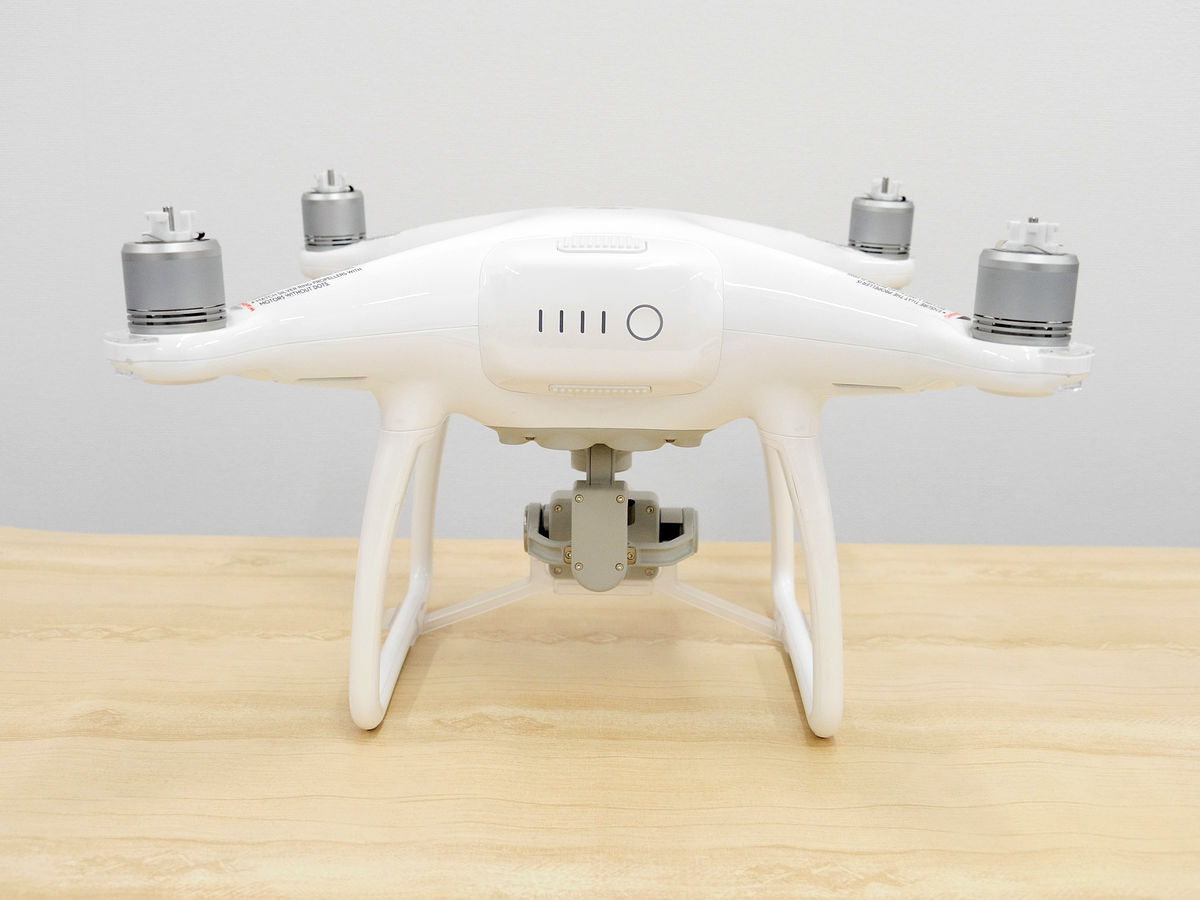
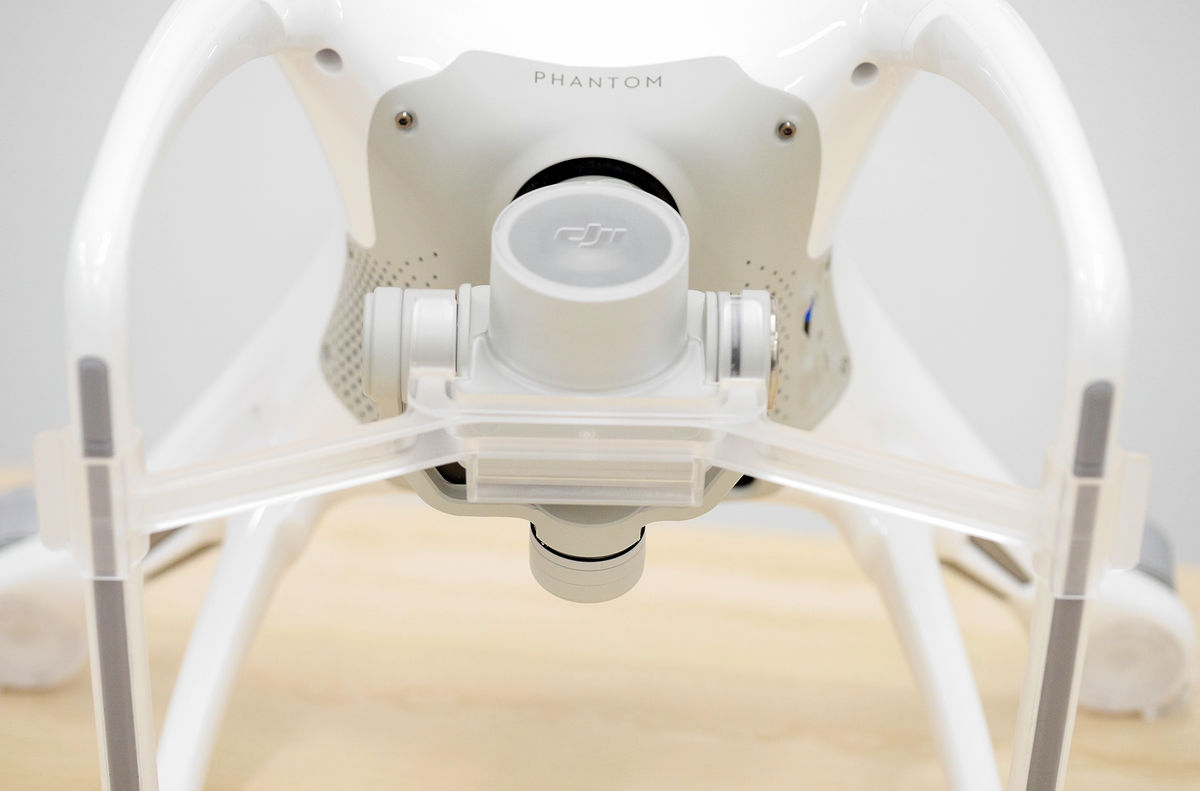
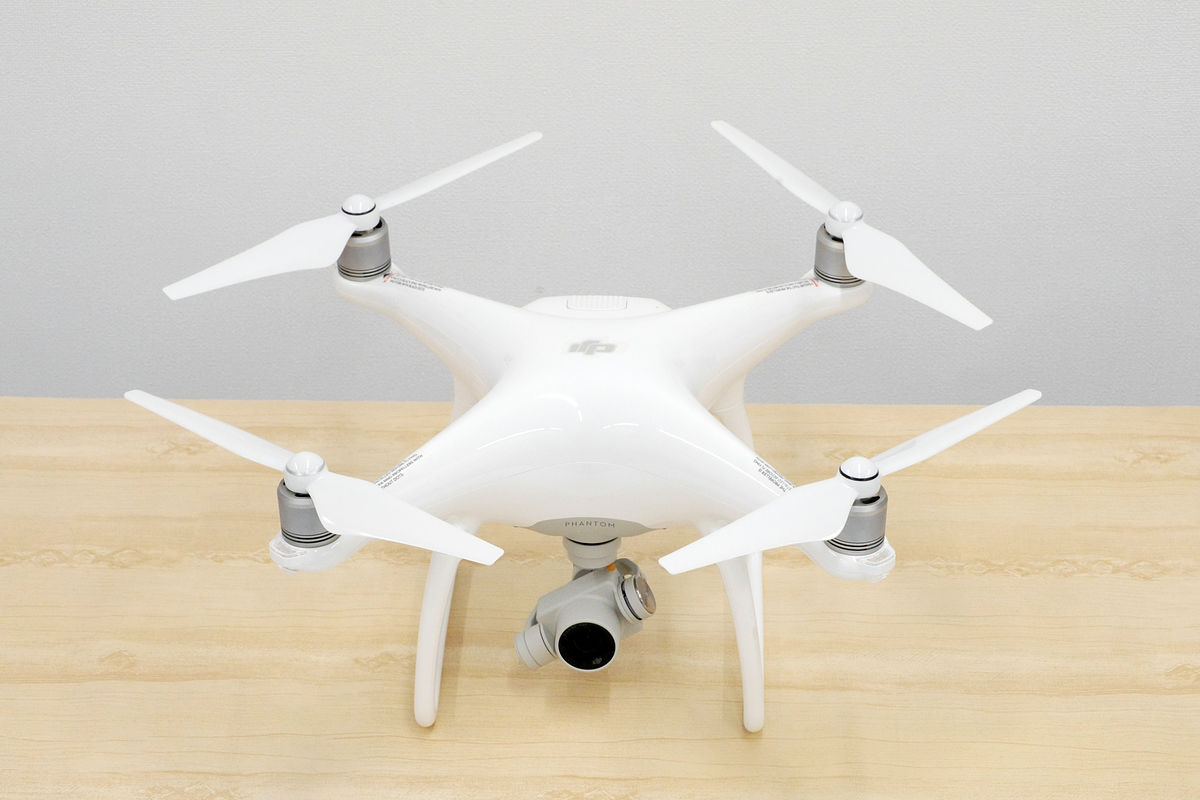
And the body of Phantom 4 looks like this. Compared with the previous Phantom 3, the body is slightly thicker and glossy on the surface.
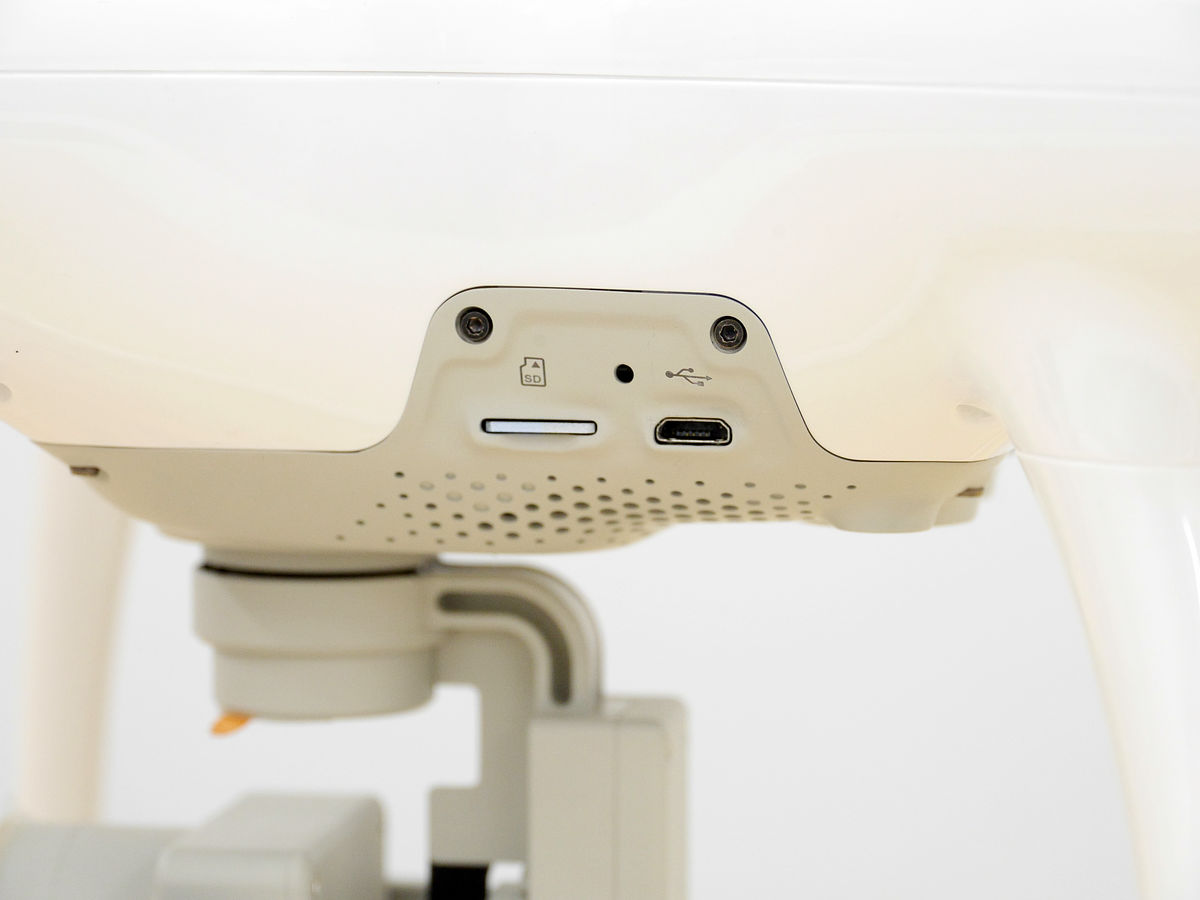
The microSD card slot and Micro - USB terminal are arranged on the left side of the right side. Compared to Phantom 3, it looks very simple as there is not one point design of red, gold and silver in the arm part.
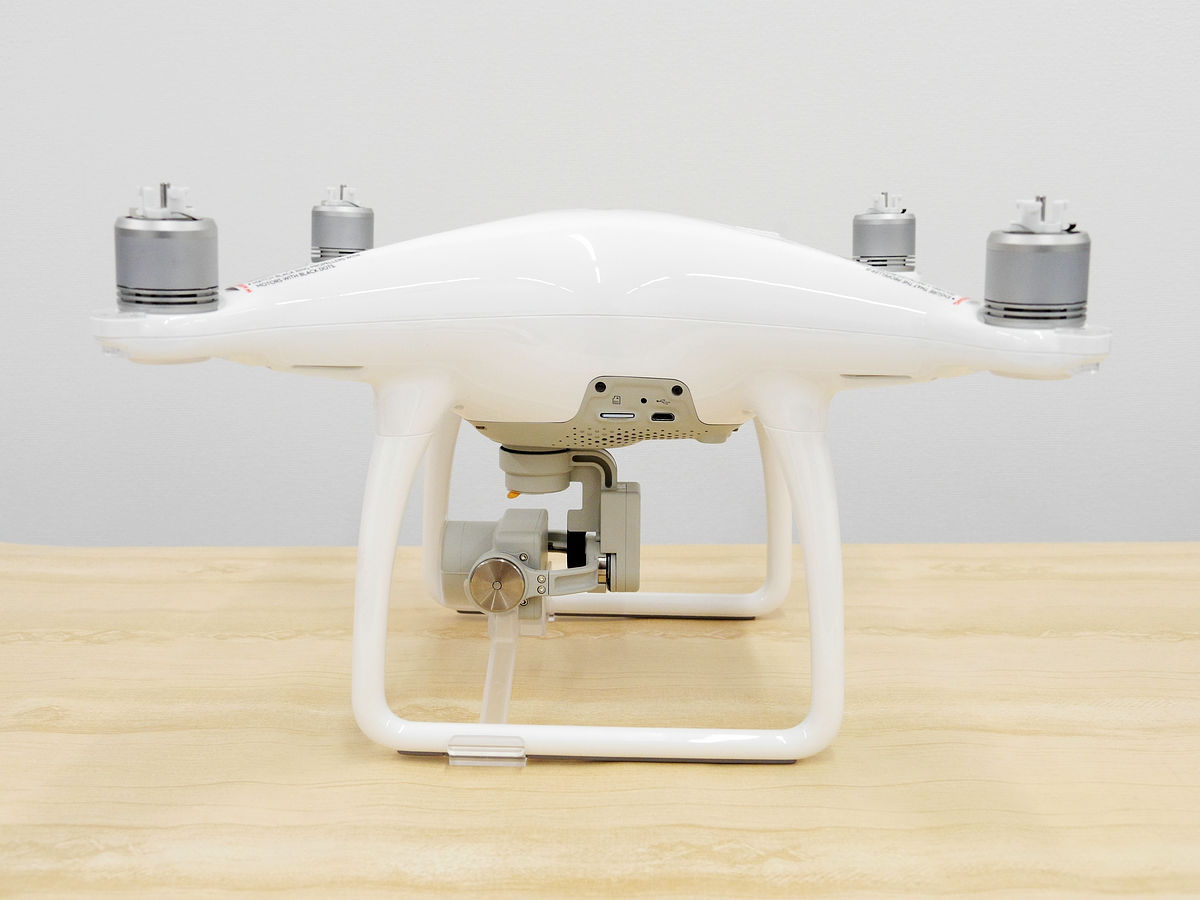
The microSD card is inserted in the slot and shipped.
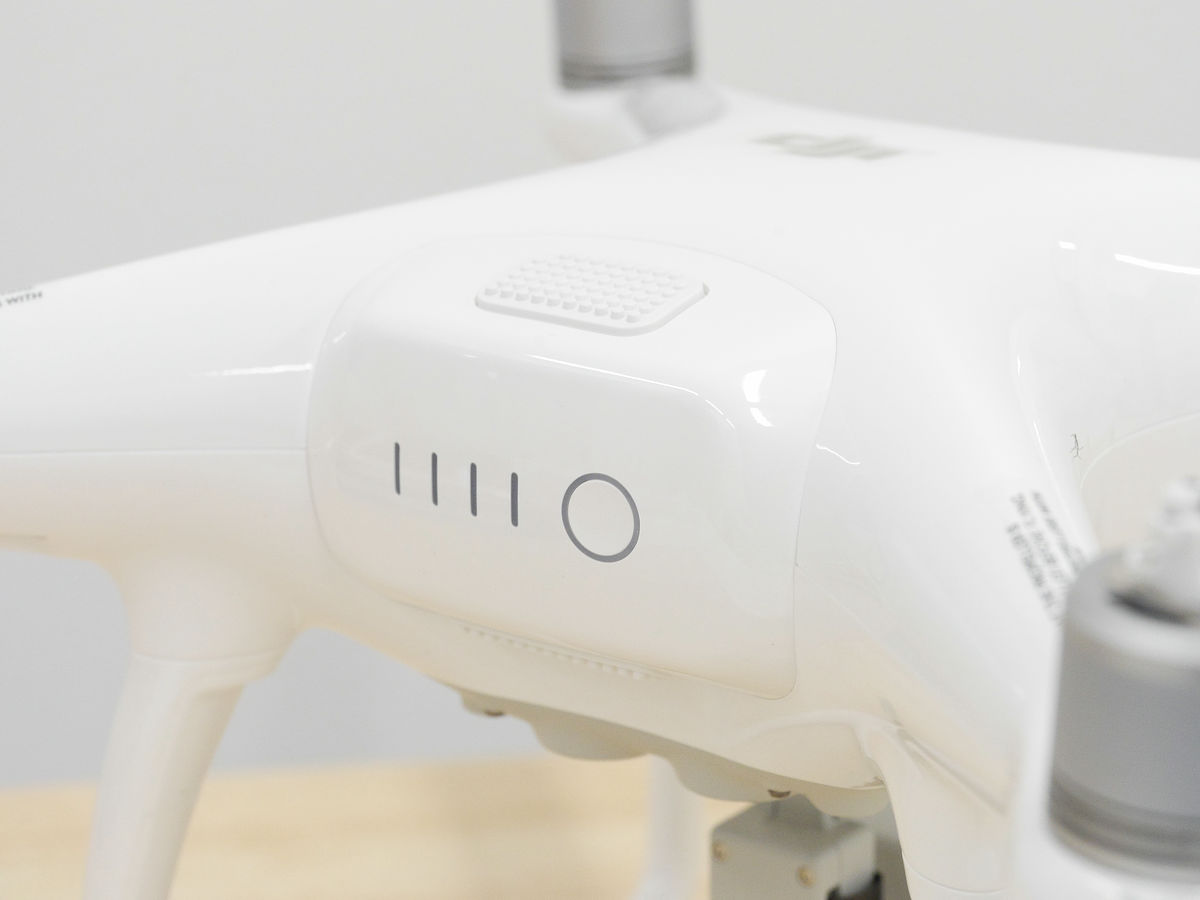
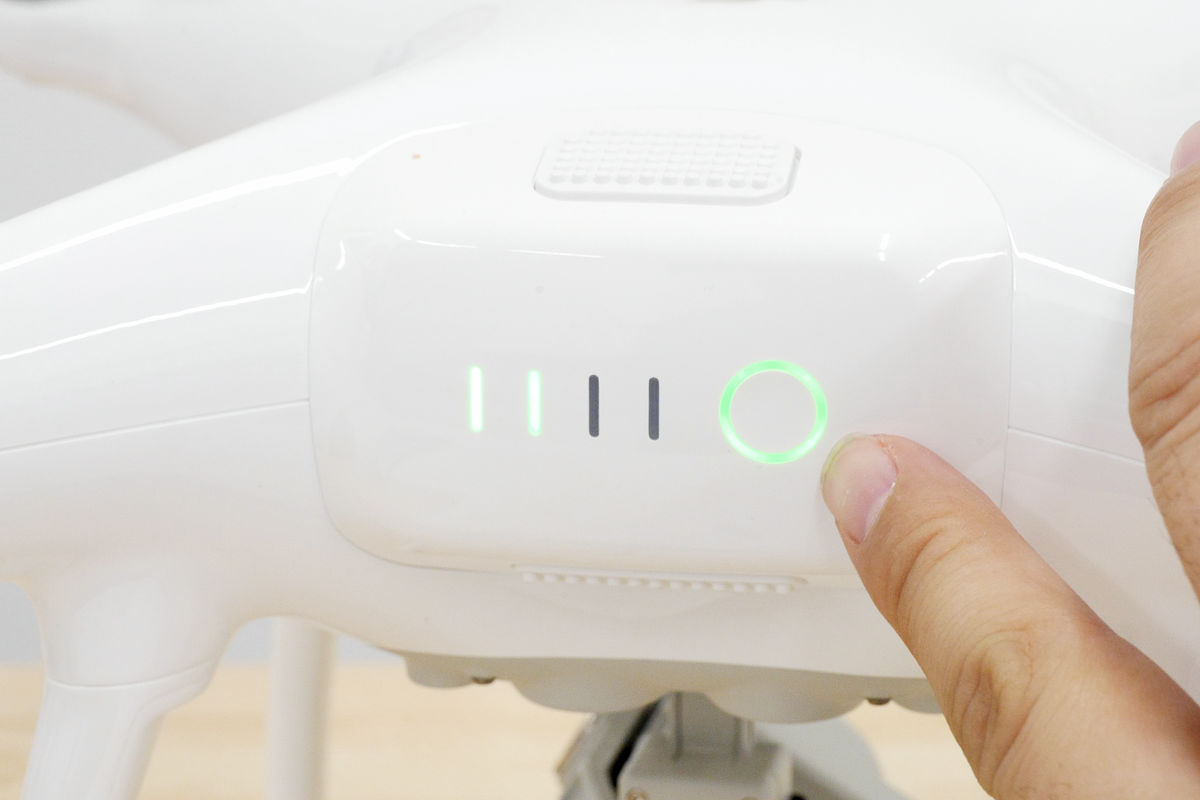
The back is like this. You can see the indicator showing the remaining capacity of the battery and the power switch.
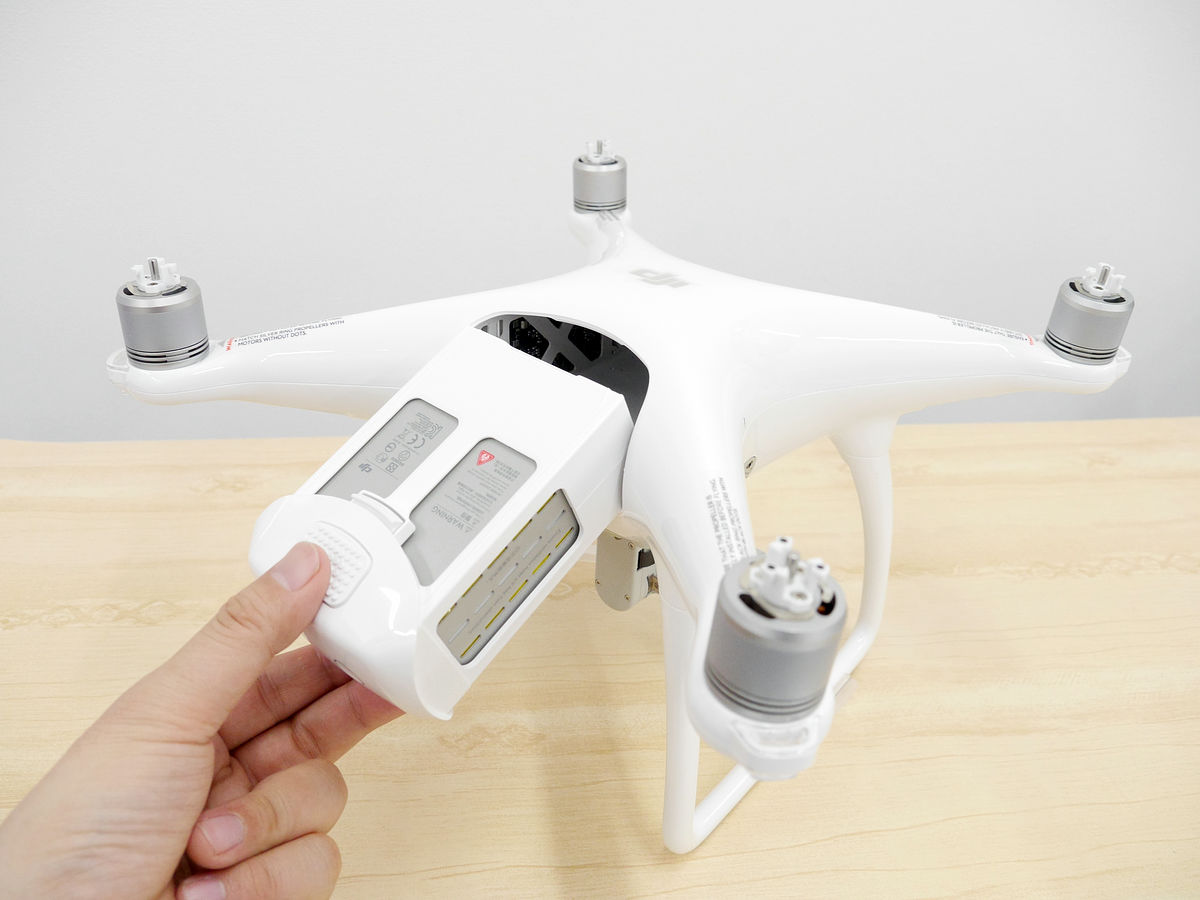
battery
Push the top and bottom claws and pull, you can get out of this way.
There was nothing on the right side.

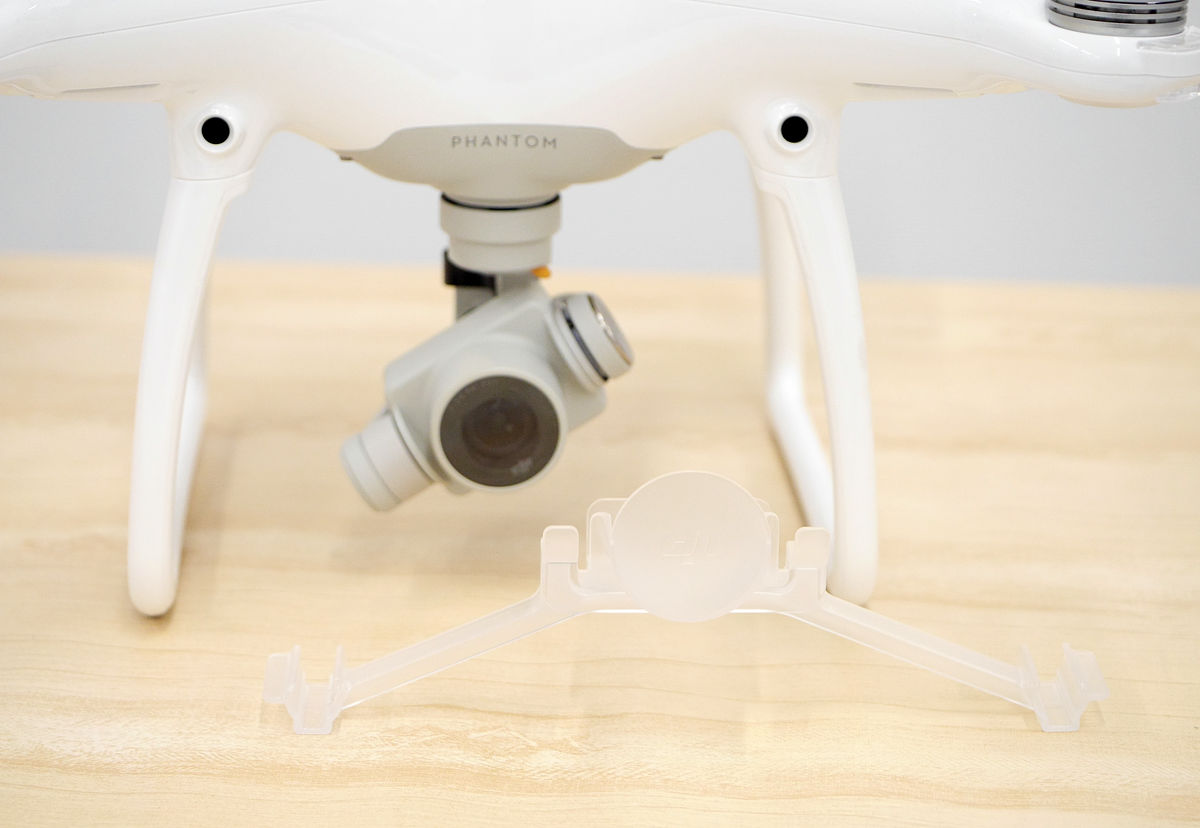
The camera is thus held in a transparent stay for protection.
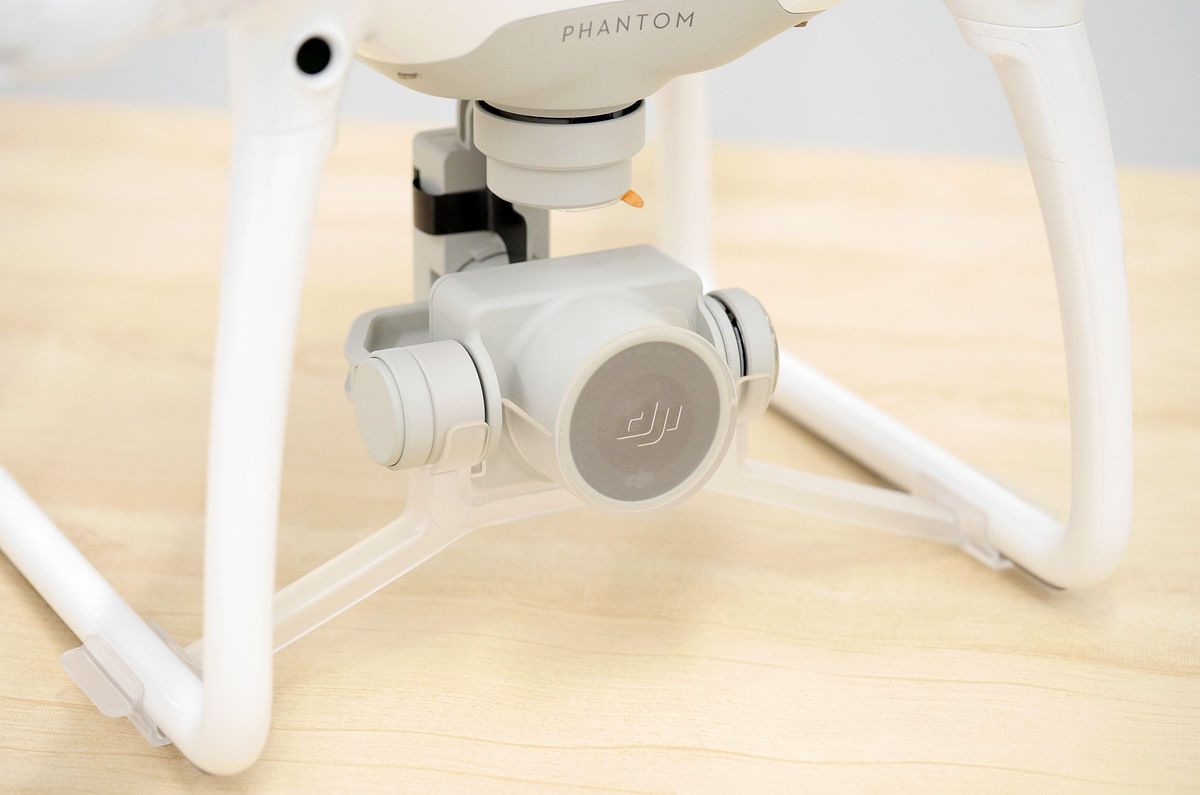
The stay is to be fixed with the left and right legs.
When I removed the stay, I turned around as the camera arrived. It is in the same state as Phantom 3 that it is free state when the power is not turned on.
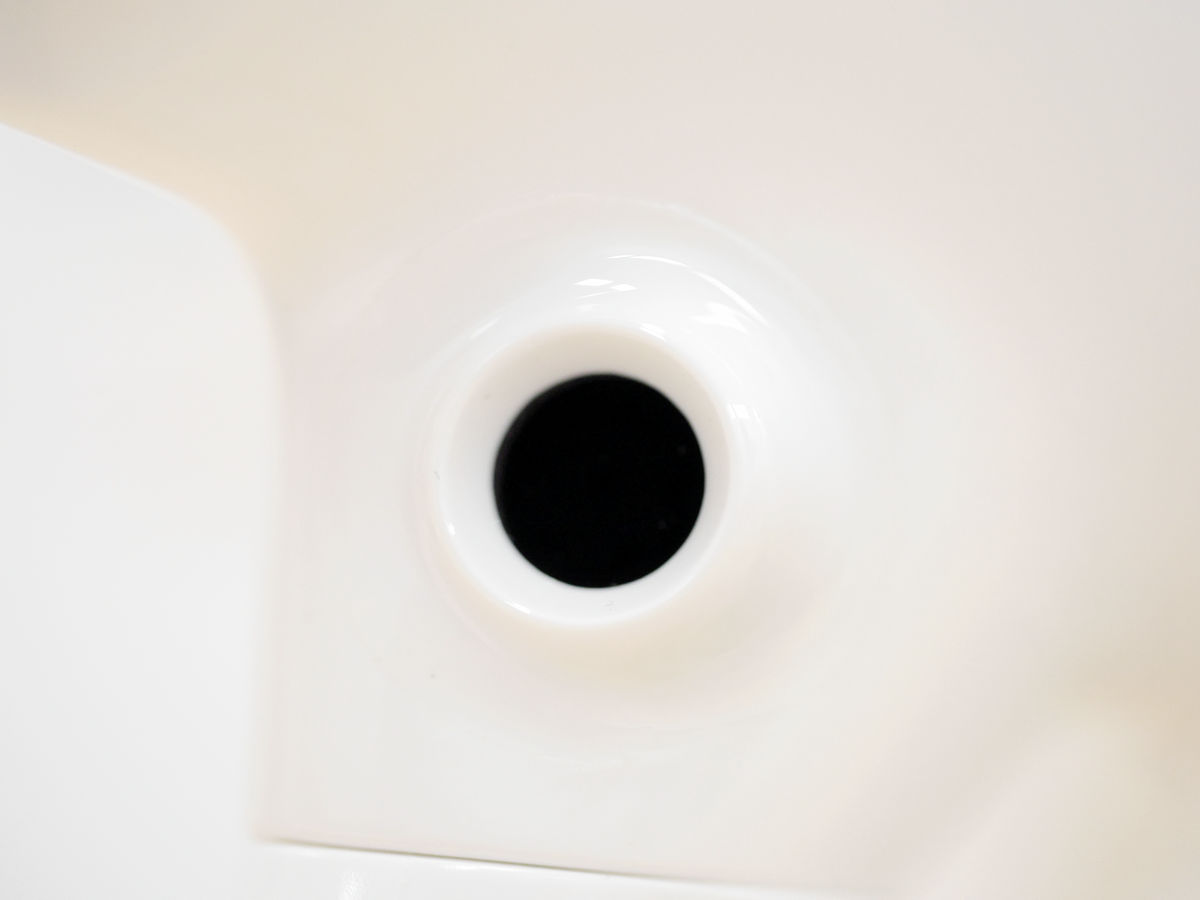
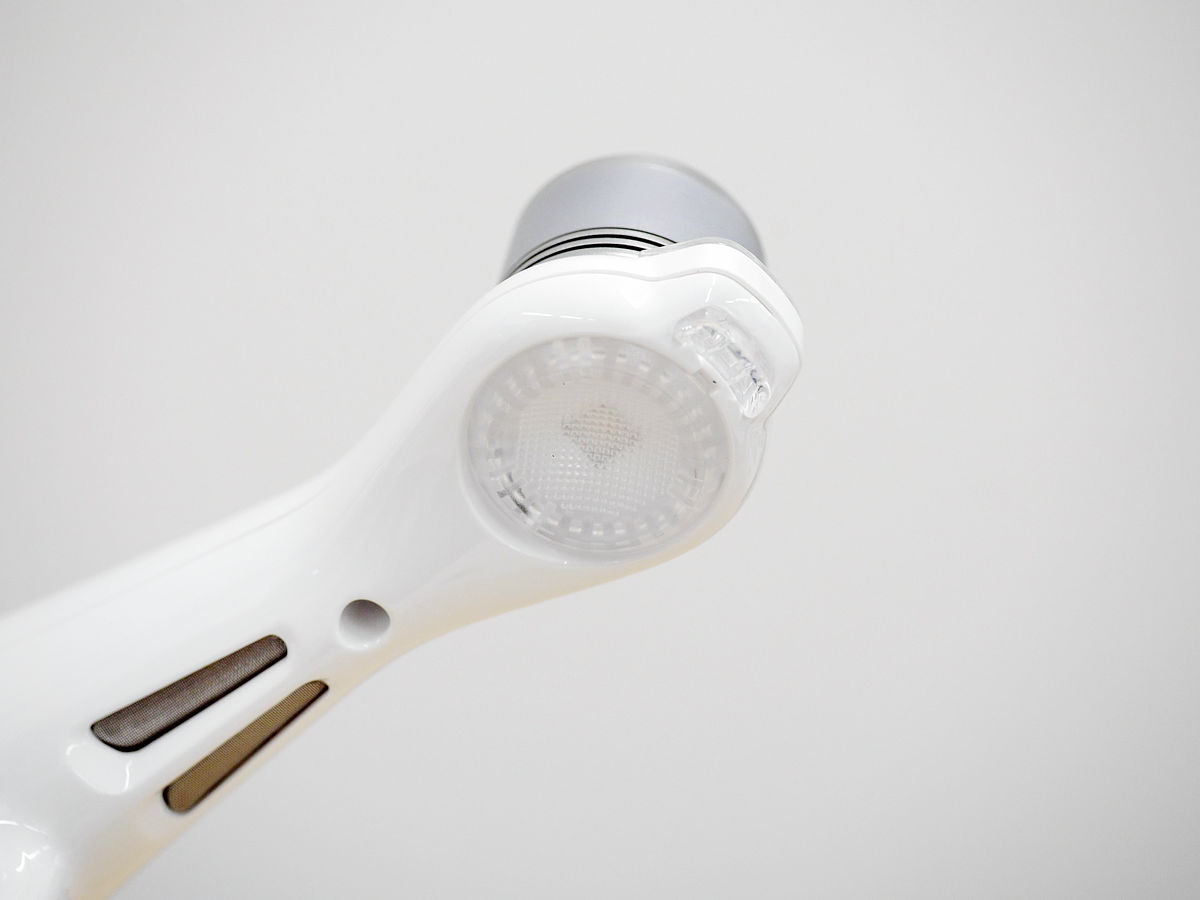
And, one of the big features of Phantom 4, two optical sensors for detecting obstacles are built in front of the main body.
Since it is an optical sensor, I thought whether the lens and the light receiving part could be seen or not, I could not confirm anything because it was black.
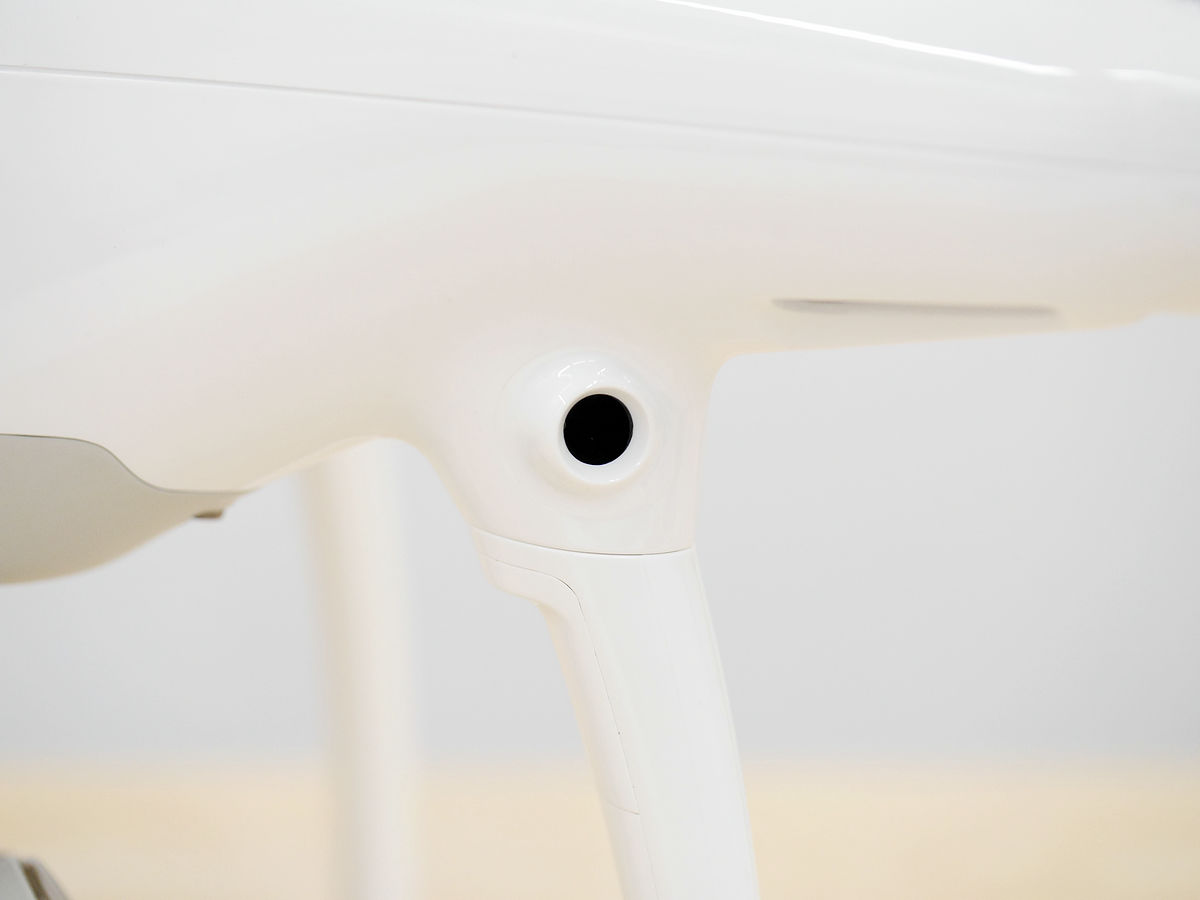
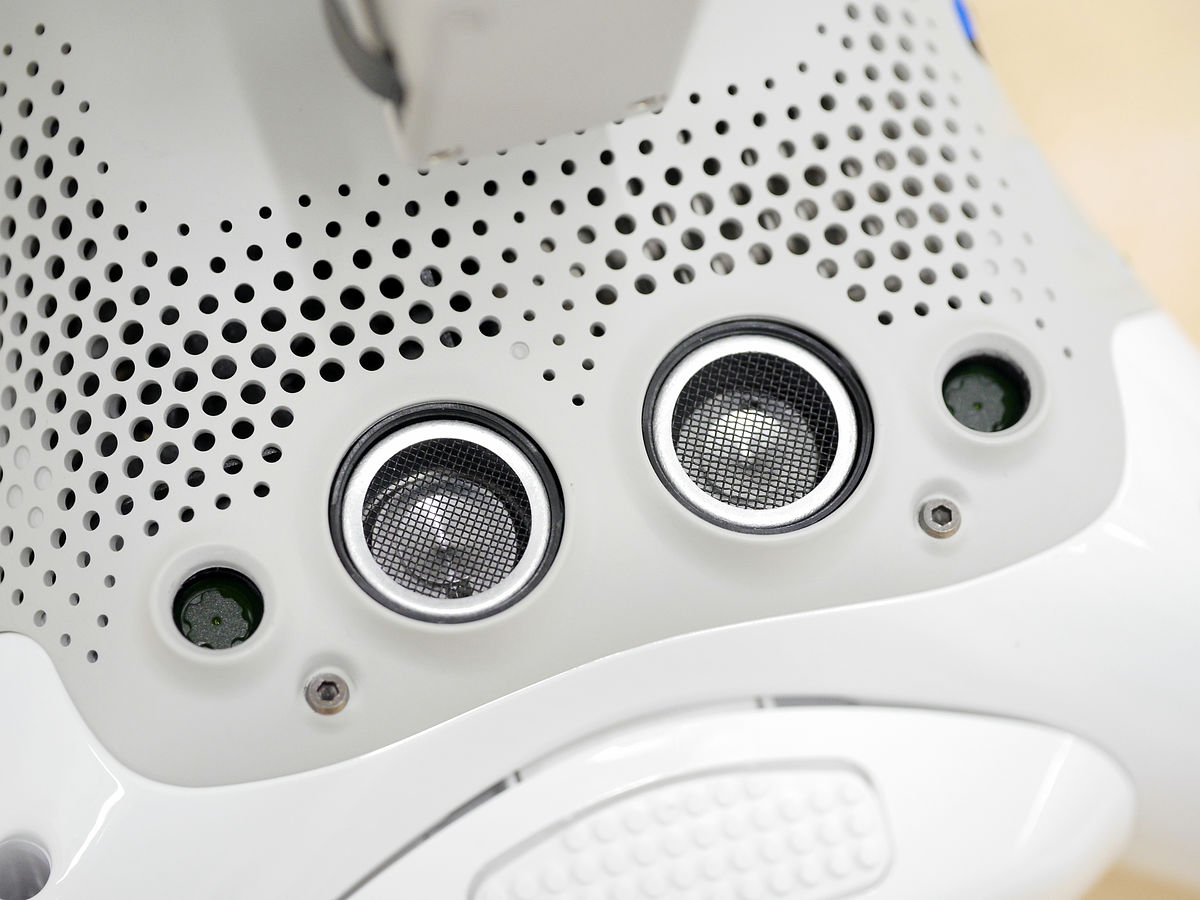
Also, two optical sensors and ultrasonic sensors are mounted on the bottom of the main body, facing downwards.
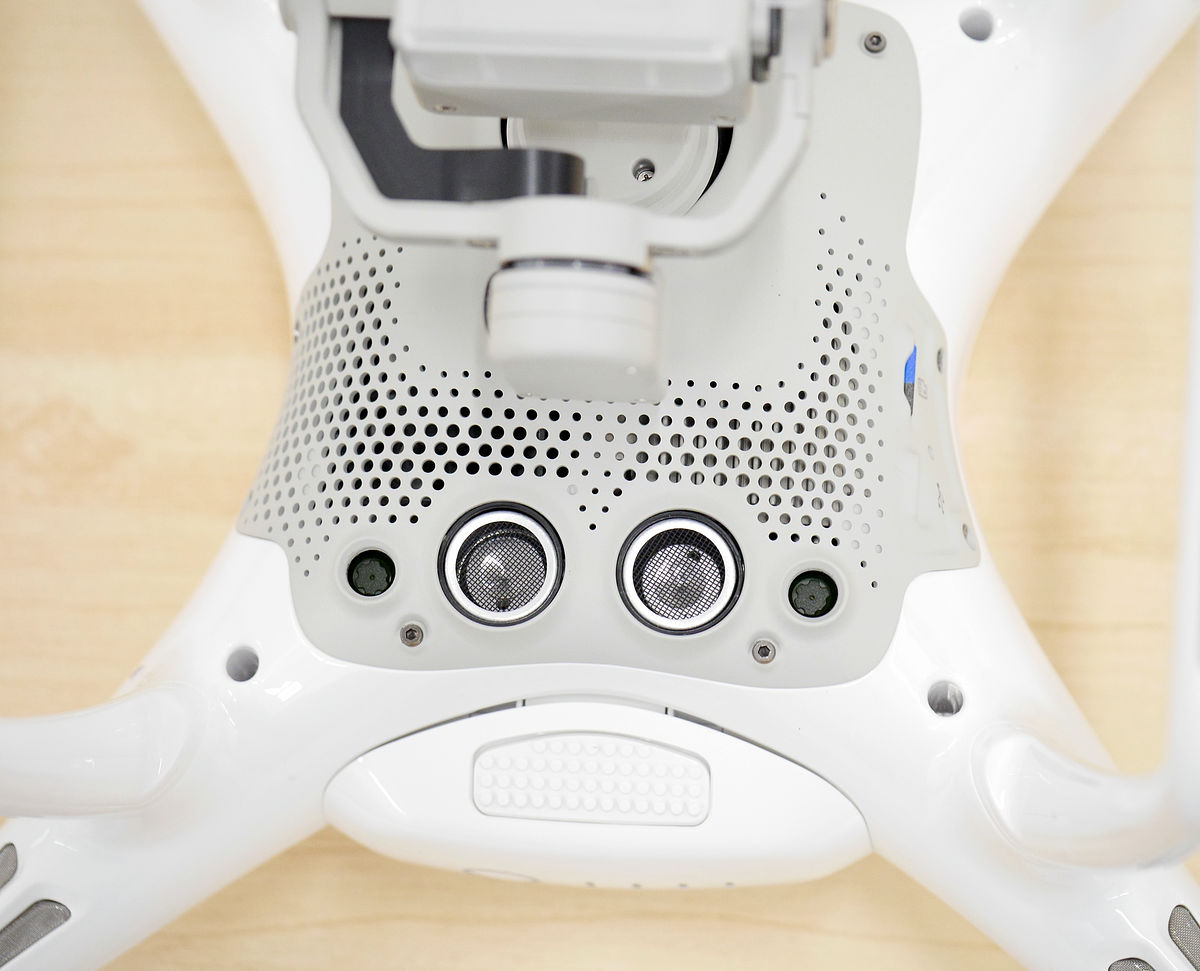
By utilizing these sensors, Phantom 4 has the ability to detect obstacles in the surroundings and automatically stop and avoid them.
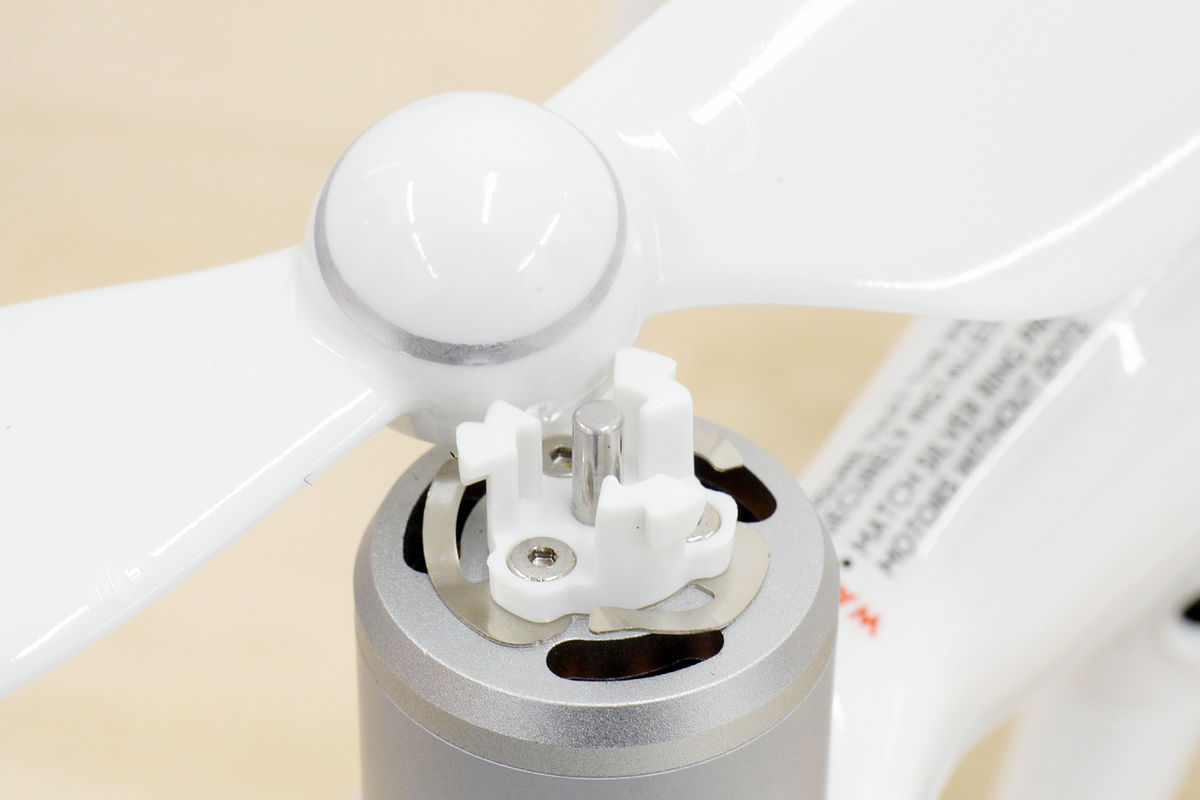
The shape of the motor that rotates the rotor is new, and it is no longer a type that tightens with a screw like the conventional one.
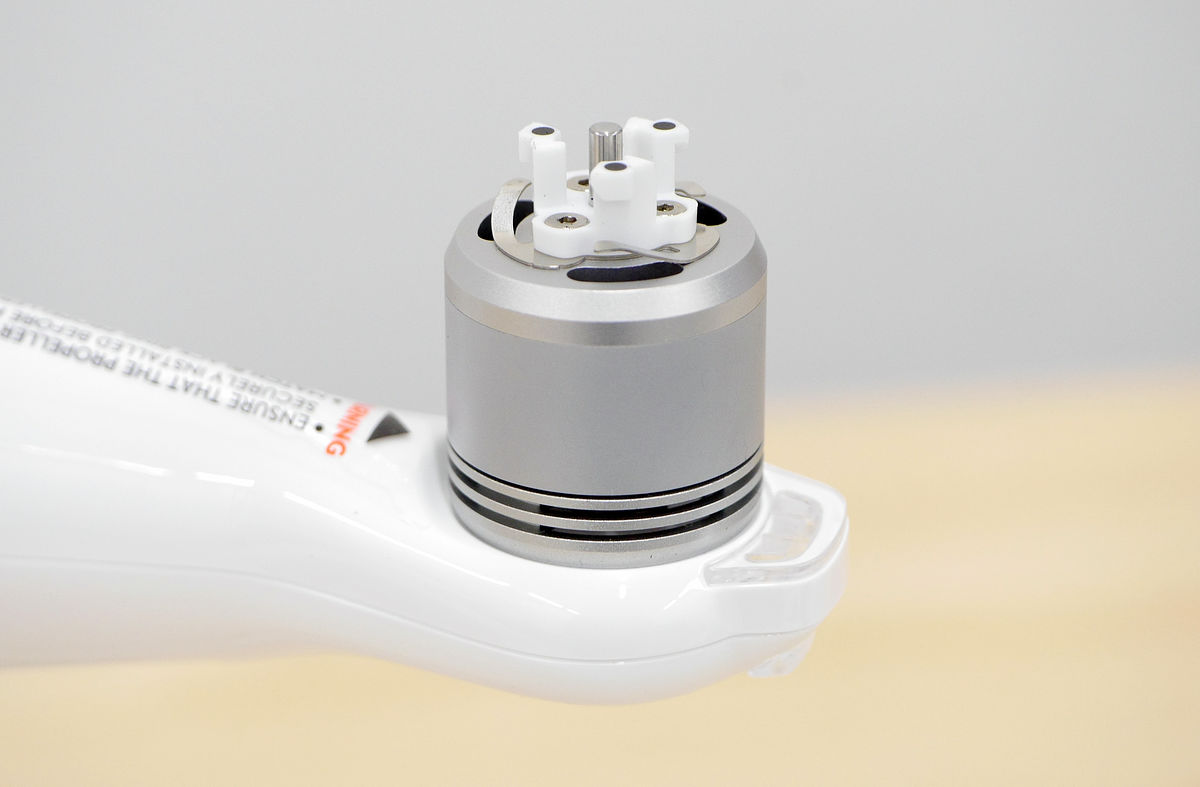
Under the motor, LED lamps are installed to check the direction of the aircraft and to inform the state of the battery.
In addition to the usual 4 plates, 4 rotors are included for spare.
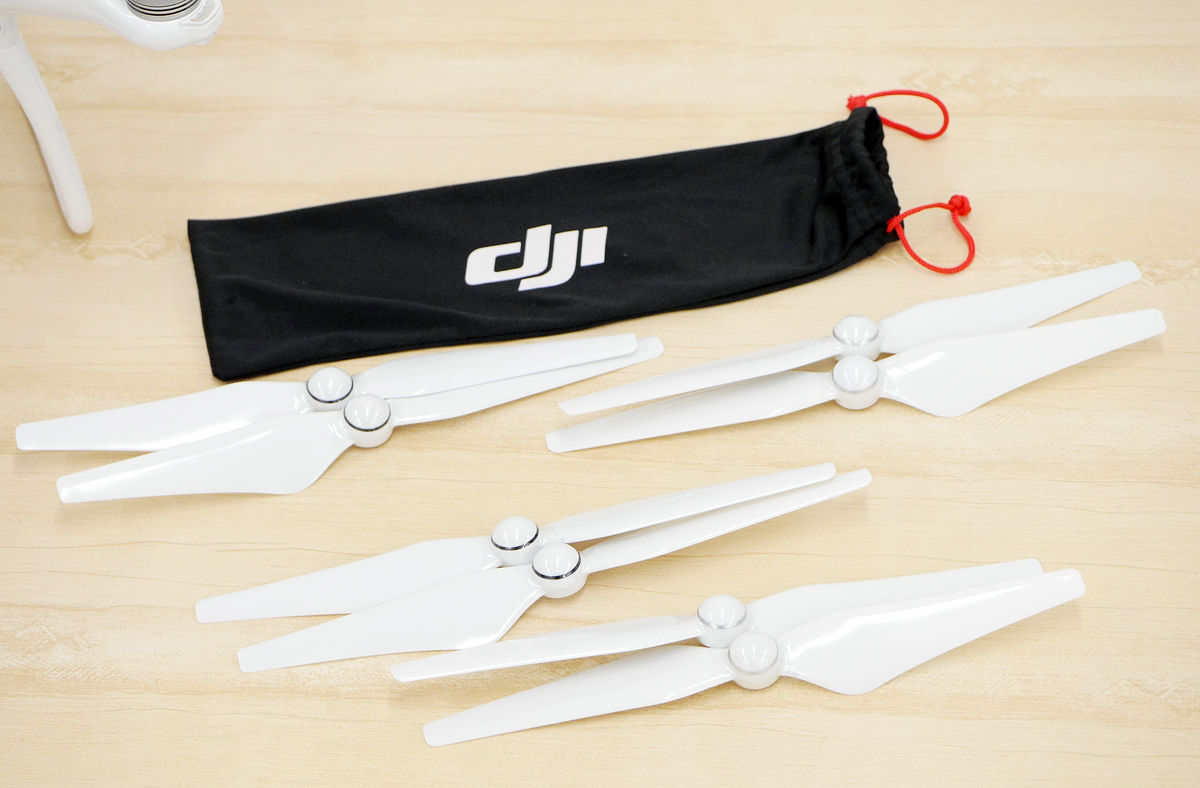
In this way, it is color-coded by black and gray rings ......
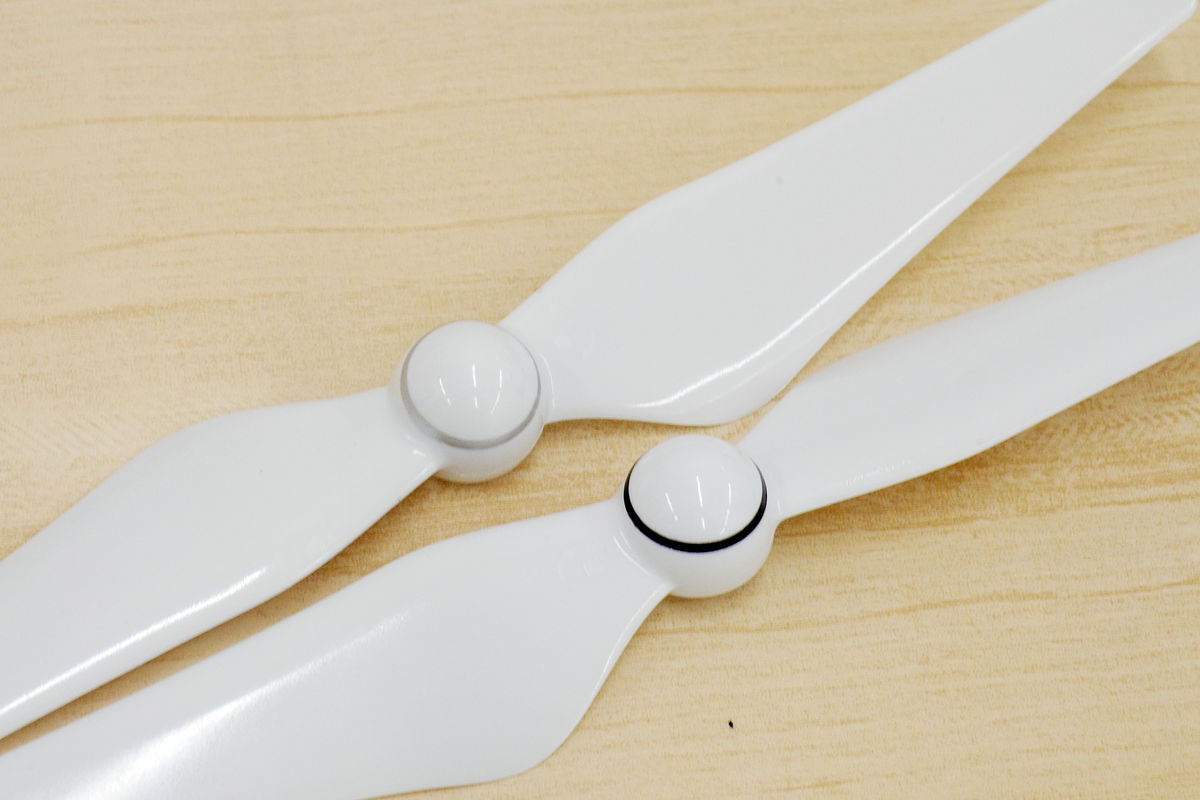
If there is a black ring, the rotor with the black dot on the motor mount
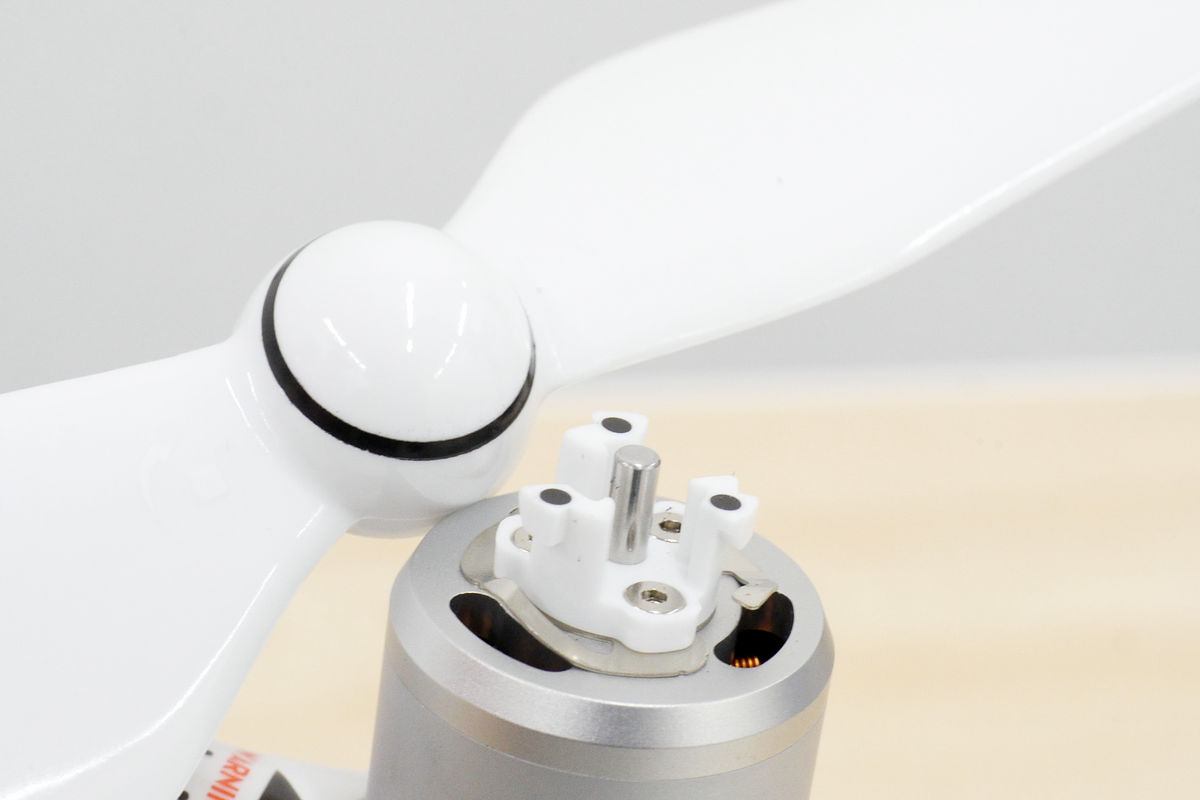
And the gray rotor is set to the motor which has nothing printed on the mount.
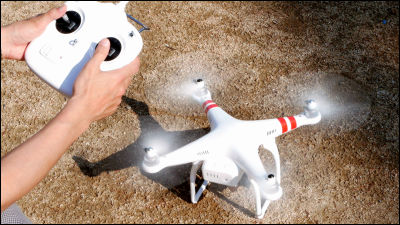
So, Phantom 4 equipped with a rotor to appear like a drone.
Set the iPad Air 2 on the transmitter, ready condition.
First turn on the transmitter ......

Next, turn on the power of Phantom 4.
The state of starting connection with the application from turning on the power is from the following movie. We will post a review on which Phantom 4 was actually skipped at a later date so please look forward to it.
"DJI Phantom 4" Power on - until application connection start - YouTube
Related Posts: