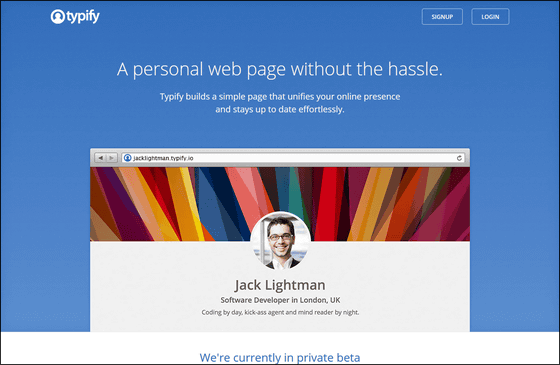
"Typify" to summarize various SNSs and create one simple personal introduction page

To Instagram specialized for Twitter, Facebook, photo sharingFoursquare specializing in location information sharingVarious SNS and internet services are overflowing in the world, and you can use several of these services at the same time, or use Twitter account for "○ ○" "for ΔΔ"TPOSome people use it separately. It is possible to create a personal introduction page by combining these multiple services on one screenTypify"is. For example, if you are an active illustrator on the net, you will be able to introduce individual accounts such as Twitter, Instagram, Flickr etc. that are uploading personal homepages and illustrations to others on one page.
Typify - A personal web page without the hassle
https://www.typify.io/
The various services cooperated with "Typify" are as follows.
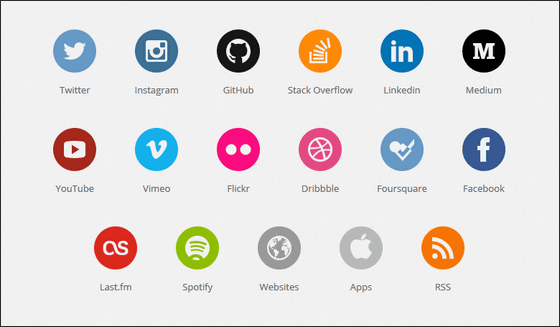
·Twitter
·Instagram
·GitHub
·Stack Overflow
·LinkedIn
·Medium
·YouTube
·Vimeo
·Flickr
·Dribbble
·Foursquare
·Facebook
·Last.fm
·Spotify
·website
· Apps
· RSS
◆ I actually used it
To use it, enter the mail address in the text box on the top page and click "Notify me".

Then this mail arrives from Typify to the written email, so click "Yes, subscribe me to this list." OK. All you have to do is wait for Typew to receive a usage permit email.

That's why when you actually login to Typify.
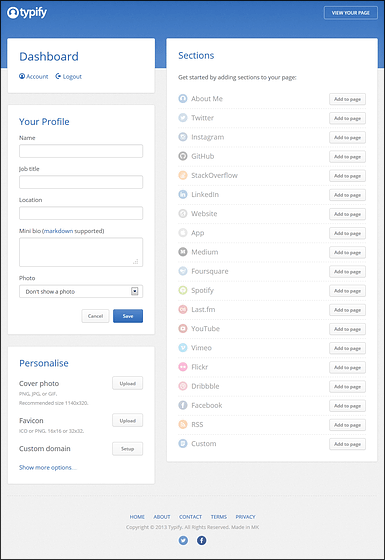
When you click "VIEW YOUR PAGE" in the upper right corner of the login screen ... ...
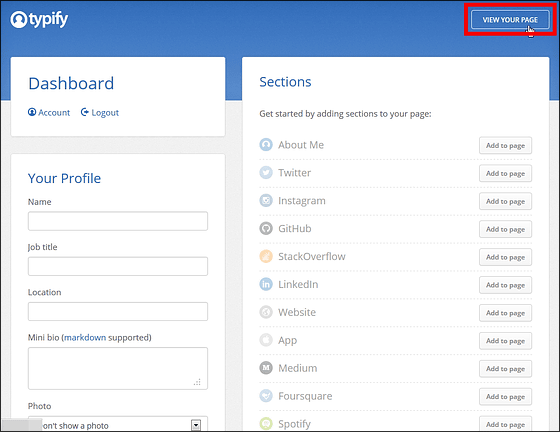
You can see your own page created using Typify. At the beginning, I did not set anything, so the complete ground state ......

Return to DASHBOARD and try entering your profile first. When entering a profile, if you enter text in "Name", "Job title (occupation)", "Location", "Mini bio" in the "Your Profile" part on the upper left of the screen OK. If you do not link with SNS, "Photo" can not be set. If you click "Save" after these inputs ... ...

The content is reflected on the personal page. However, the line break of the text entered in the "Mini bio (simple bio)" part is not well reflected.

In this "Mini bio (simple bio)" text boxMarkdown notationAs text input is possible with the markdown notation ......

You can write text clean like this.
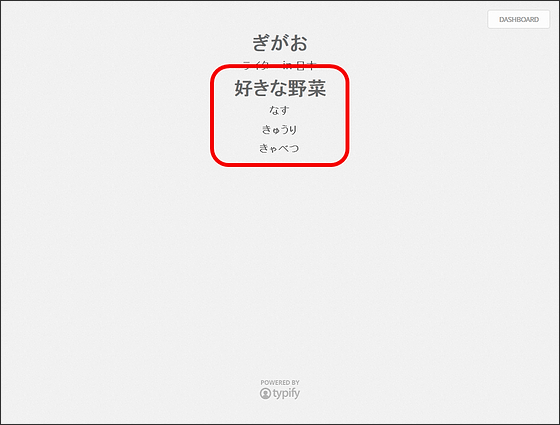
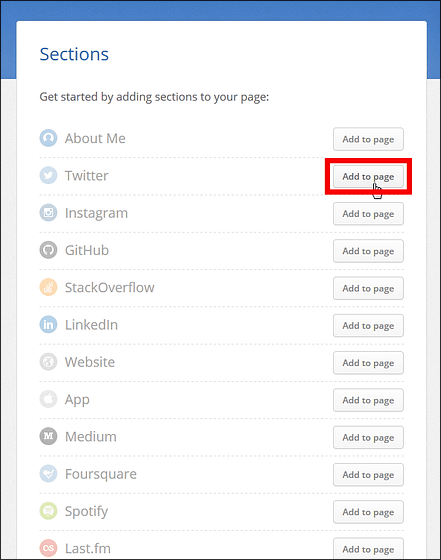
Next I will link Typify and my SNS and web service. After selecting the service you want to link, click "Add to page".
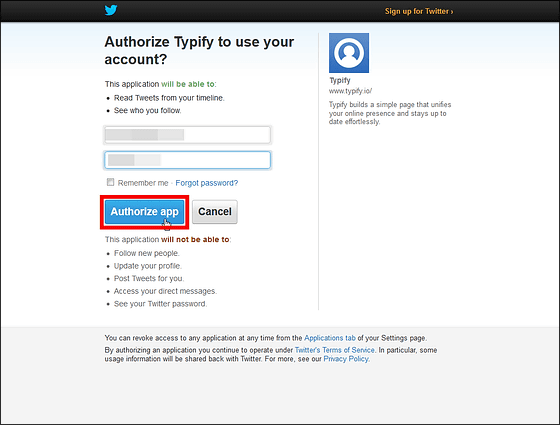
Enter the account information and click "Authorize app" as it moves to the linkage authentication screen.
The color of the icon of the added service is darkened, and the link is completed.
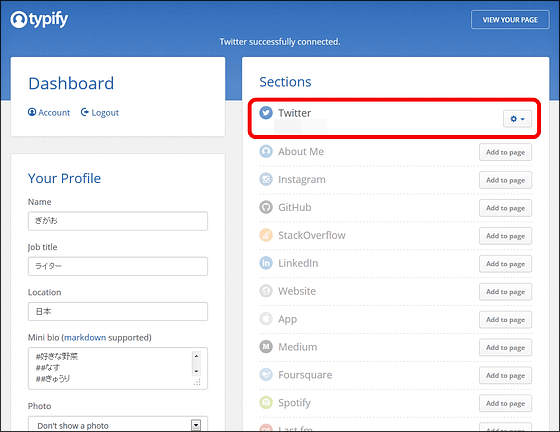
You can "Refresh" the added gear, "Add another ..." or "Remove" from the side gear icon.

The additional method is the same for other services, click "Add to page" ......

Login to the service ......
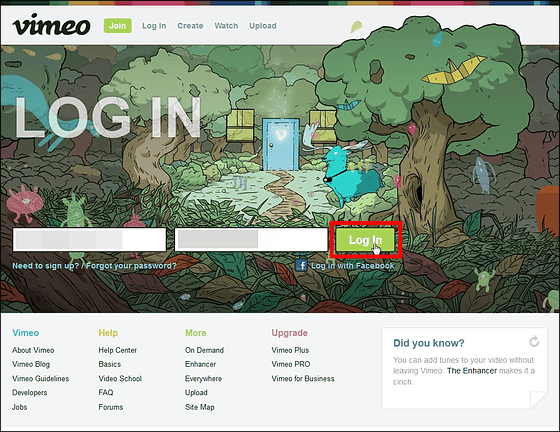
And if we validate cooperation with Typify it is OK.

That's why I tried to link with multiple services.
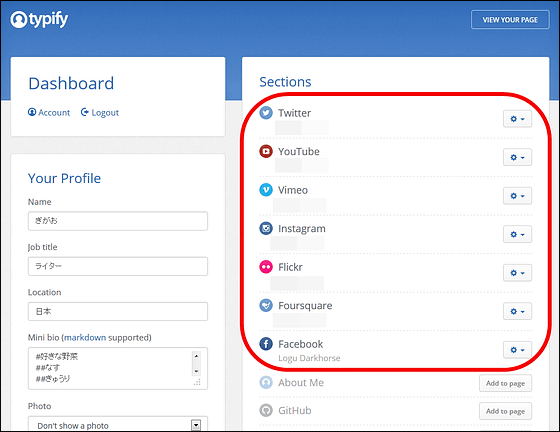
In addition to SNS like Twitter, Instagram, Facebook, it is also possible to link your own websites and blogs.

When linking websites and blogs, it is OK to select the URL of the site to be linked, the site name, color.
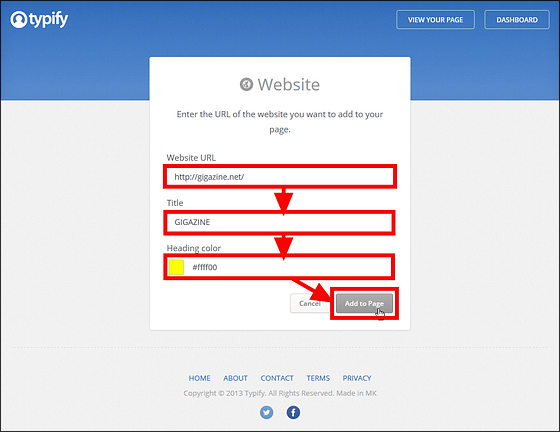
Furthermore, it is also possible to add favorite apps and apps you created to pages.

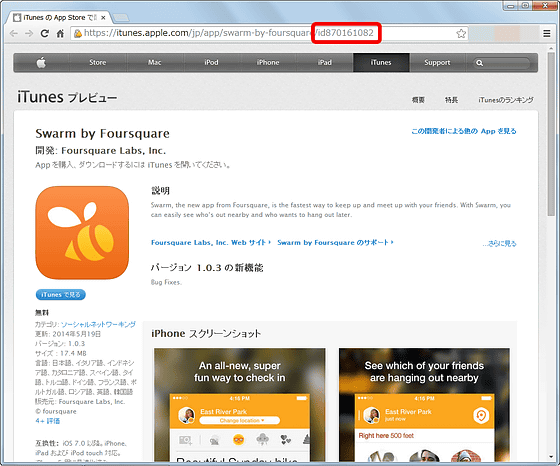
You can only add applications that are distributed on the App Store, just enter the ID of the application or the page URL of the App Store in the text box.
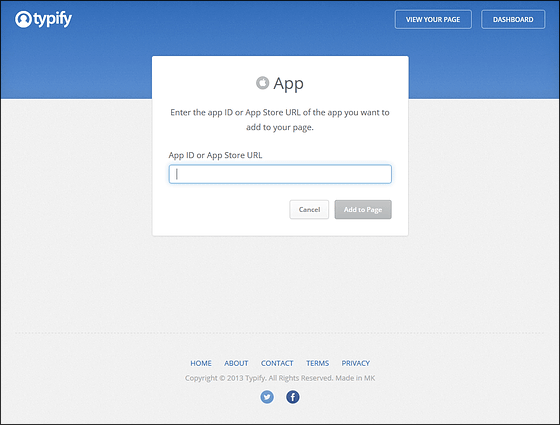
The application ID is the number in this red frame part.
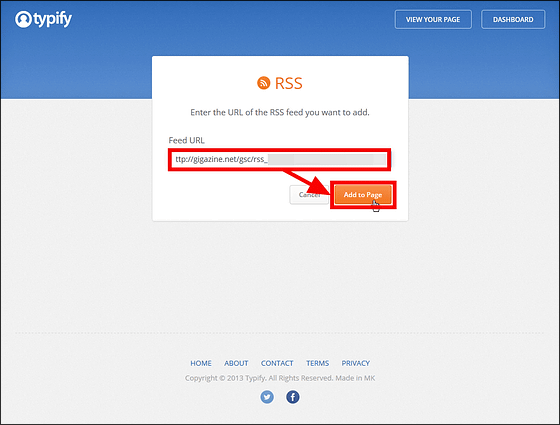
Furthermore, it is also possible to register RSS.

Just enter the feed URL in the text box and register for this. Because it's been awesome hereGIGAZINE secret clubWe decided to enter the full-text RSS that the member can obtain.
That's why I succeeded in adding lots of links.
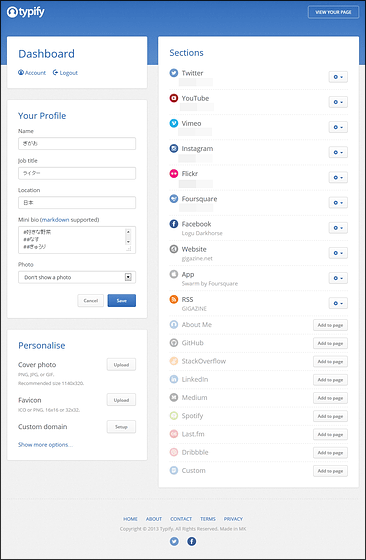
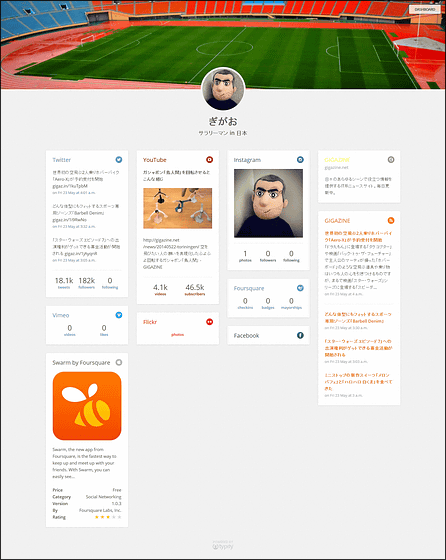
And when you open a personal page, information on each SNS, registered websites, applications, as well as information delivered via RSS are displayed in card format. Also, these cards are also links to registered SNS accounts and web pages, so if you know even the Typify page you can see at a glance what the other person is doing.

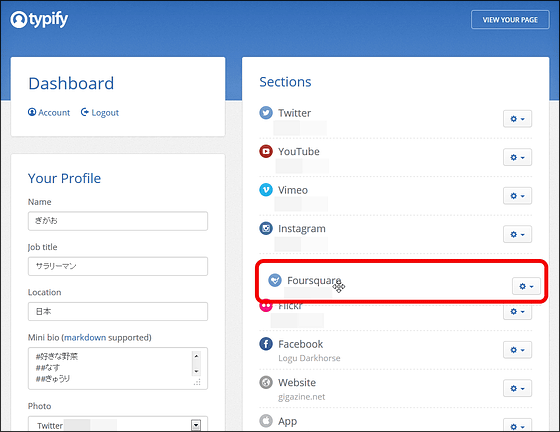
You can easily change the arrangement of the card by dragging the icon of the setting page
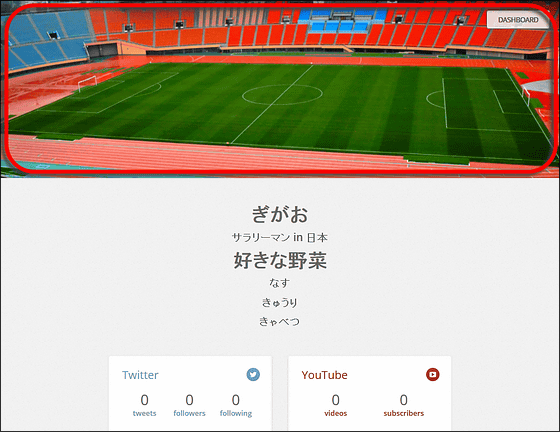
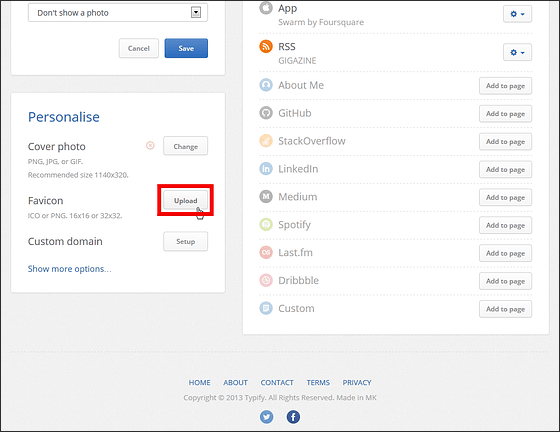
In addition, you can add images to personal pagesFabiconIt is also possible to add. If you want to do this, you can upload an image file of the specified size from "Personalize" at the bottom left of the setting page.
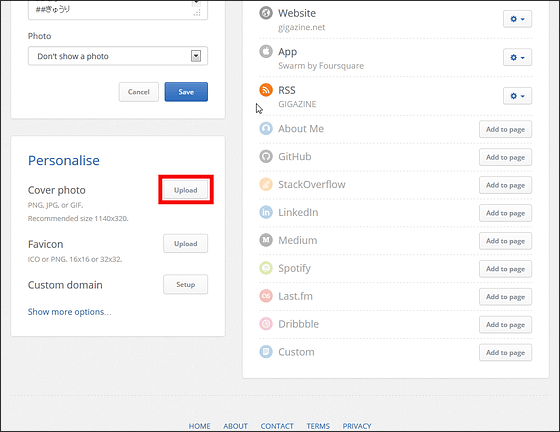
Cover images can be uploaded in 1140 x 340 vertical.
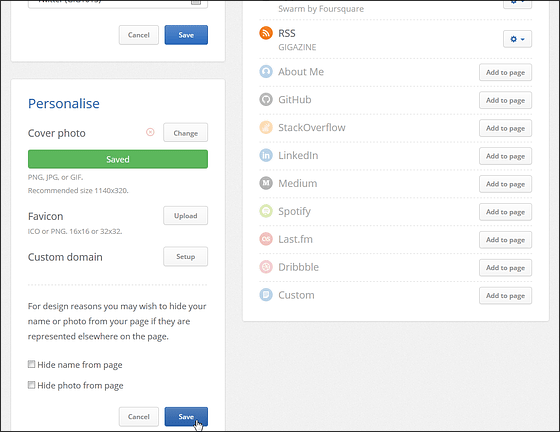
When uploading, images will be displayed at the top of the personal page.
In the same way you can upload favicon images yourself ....
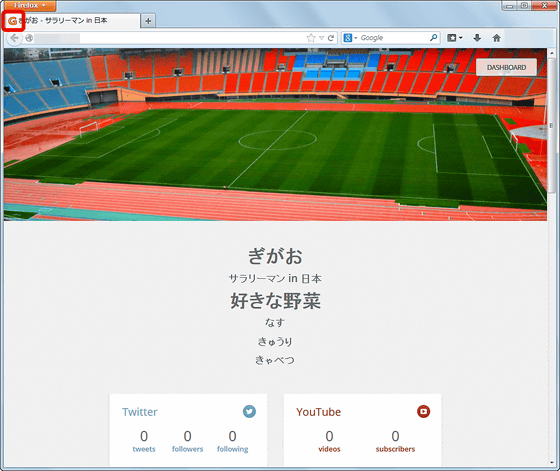
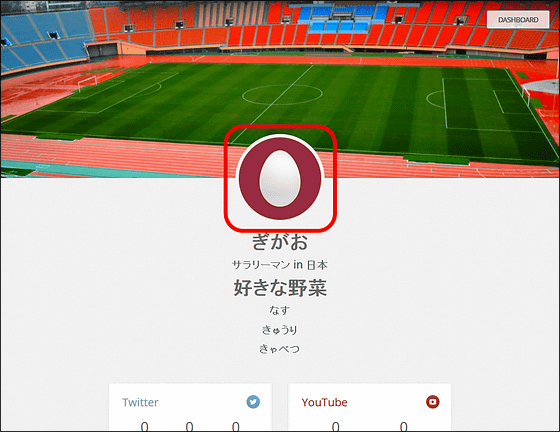
After uploading, you will be able to display the original image on the red frame.
Also, after linking with multiple services, click on "Photo" on the profile, you will be able to set your own photos displayed on the personal page.

Although you can not upload the image directly, it is possible to display the icon image used by the linked service.
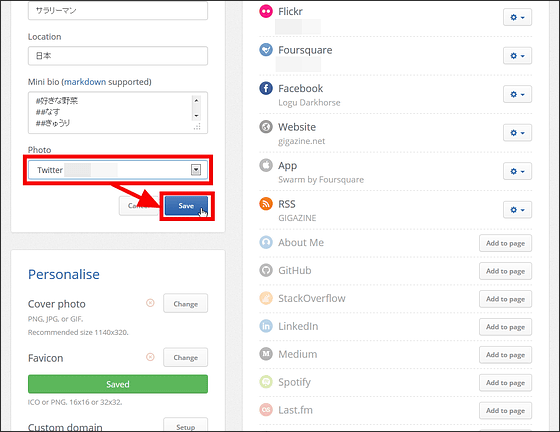
When I add a profile photo, it looks like this.
That is why if you fully exploit these features you will be able to complete the following pages and let people know what you are doing even if you are using multiple services.
Related Posts:
in Web Service, Review, Posted by logu_ii


