How can anyone make a guitar amp at 500 yen
From the parts to be prepared to the explanation of the circuit, how to actually create it, how to customize the experiment and omake, a movie carefully explained with a sound so that anyone can make a guitar amp at 500 yen has been released on Niconico movies.
【Easy】 Make a guitar amp at 500 yen 【LM 386】 (re) - Nico Nico Douga: GINZA
http://www.nicovideo.jp/watch/sm21829935
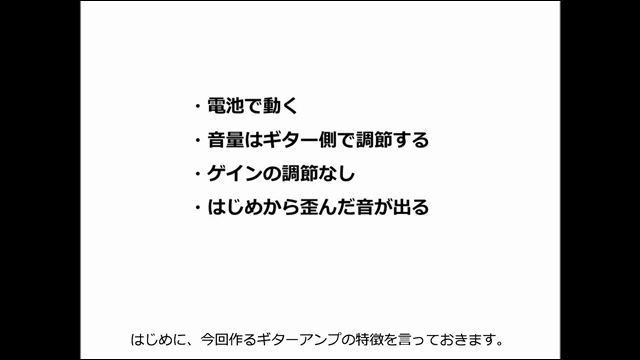
Firstly from the characteristics of the guitar amp we make this time. "Movement with batteries" "Adjust the volume on the guitar side" "No gain adjustment" "No distorted sound comes out from the beginning", the battery is 9 V, if you can adjust the gain and volume the budget is over There is no adjustment so it is characterized as having no clean sounds at all.
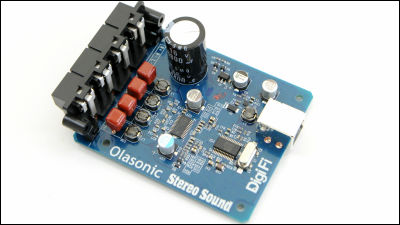
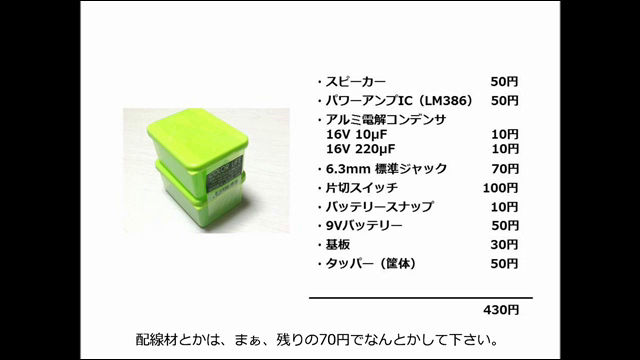
Materials to be prepared include speaker (50 yen), power amplifier IC (LM 386/50 yen), aluminum electrolytic capacitor (16 V 10 micro Farads / 10 yen, 16 V 220 micro Farads / 10 yen), 6.3 mm standard jack (70 yen) It is 430 yen in all of one-way switch (100 yen), battery snap (10 yen), 9V battery (50 yen), board (30 yen), Tapper (chassis / 50 yen). The material is based on the premise that "use one that is sold as a set of two at 100 ha" or "use something sold as a special price at the Sengoku Dentsu Akihabara Dentsu" . "Well, please do somehow with the remaining 70 yen."
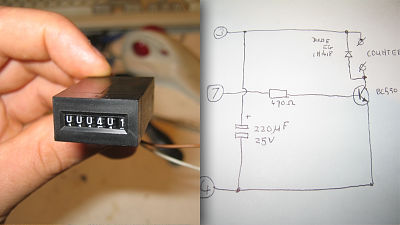
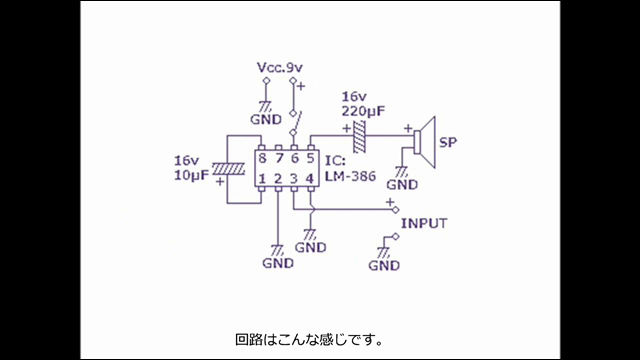
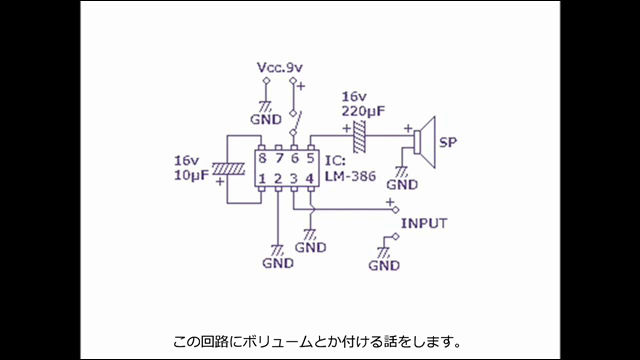
The circuit looks like this. In the movie, explanation of what the circuit shows is showing is carefully made and it is making it friendly for beginners.
Start creating. Note that the explanation procedure is only an example, so let's do it in each easy-to-follow procedure.

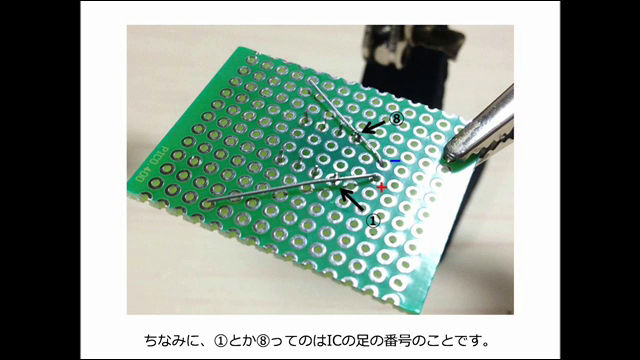
First insert the IC and 10 micro Farad capacitor into the board.

Turn it over and solder it and cut the remaining foot with a nipper. The number is the number waving on the foot of the IC.
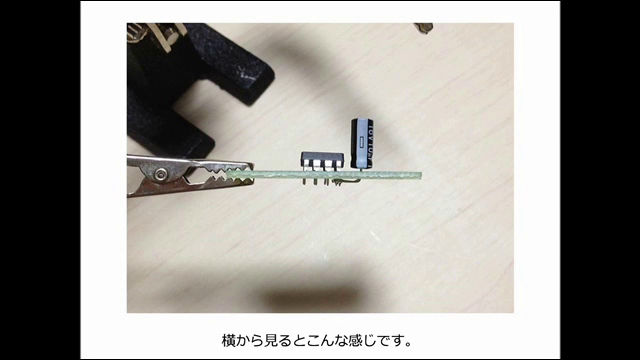
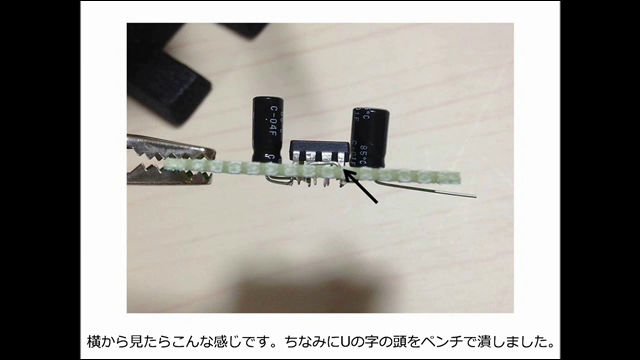
A side view.
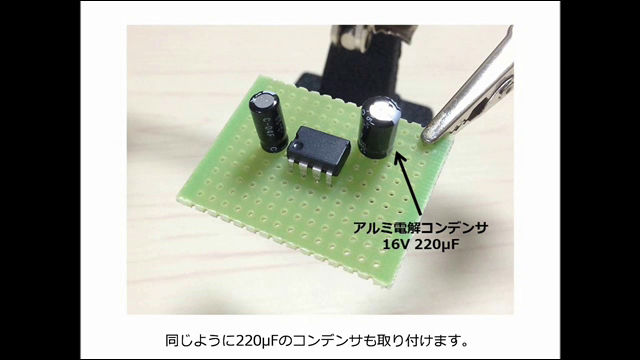
Next we will attach a capacitor of 220 micro Farads.
Solder the capacitor's plus to No. 5 of the IC and cut the remaining foot.

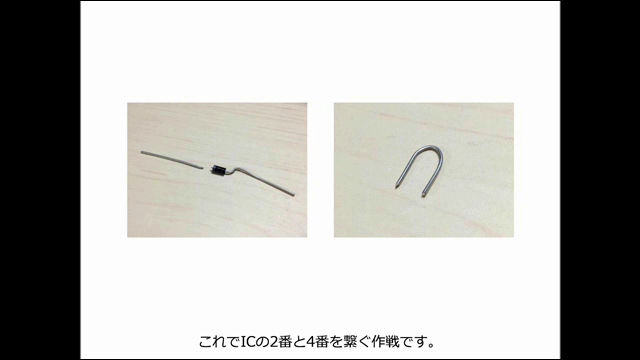
I will connect the 2nd and the 4th of the IC with the resistance and capacitor foot which I do not need to follow.
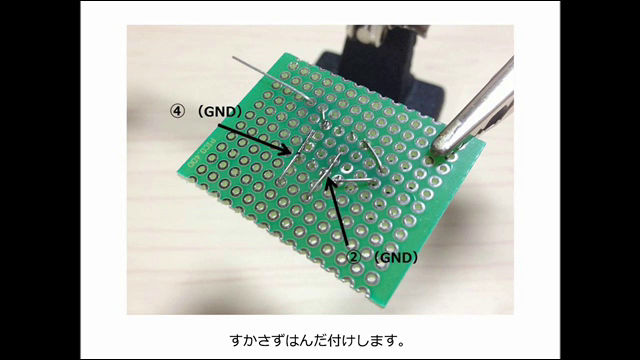
Insert the surplus foot before the 2nd and 4th foot of the IC ... ...

Slowly soldering.
The U - shaped foot crashed his head with pliers.
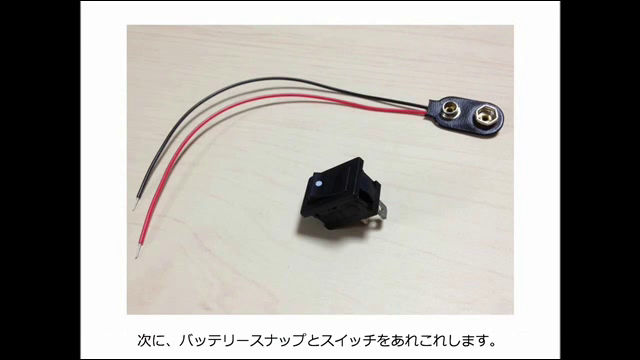
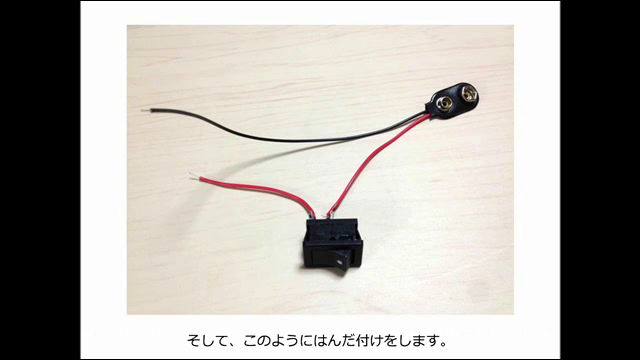
Next, it seems that we are going to take over the battery snaps and switches.
Cut the red wire of the snap at a nice feel and place the lead in the exposed condition and solder as follows.
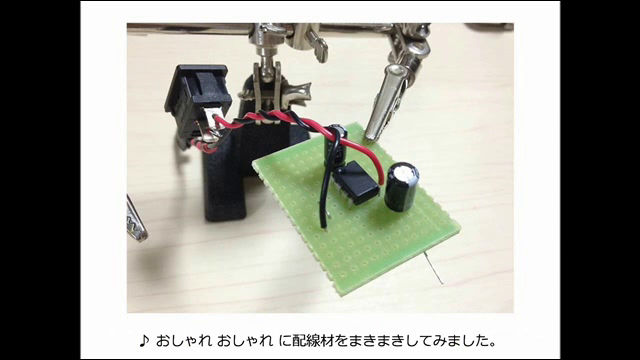
Pulling the wiring material.
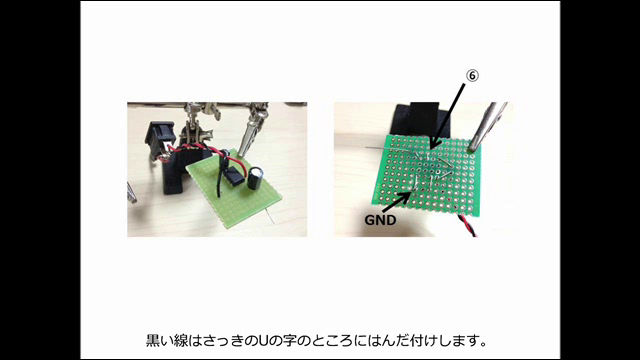
Solder the red wire on the switch to No. 6 on the IC and the black wire at the place of U just before.
We will prepare four more wiring materials and attach speakers and jacks. It is convenient to become easy to understand by preparing two reds and two blacks.
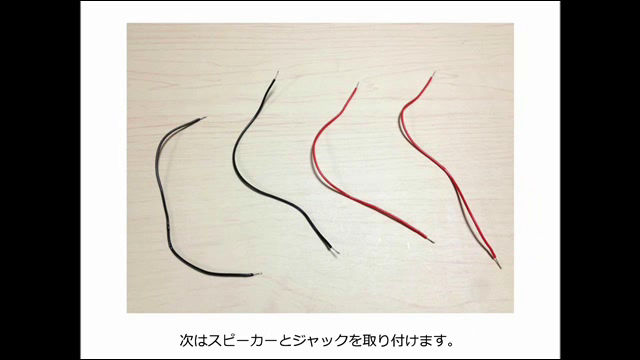
Solder the red wire to the positive and the black wire to the negative respectively.

First off from Jack. Solder the red wire to No. 3 of the IC and the black wire to the U shape.

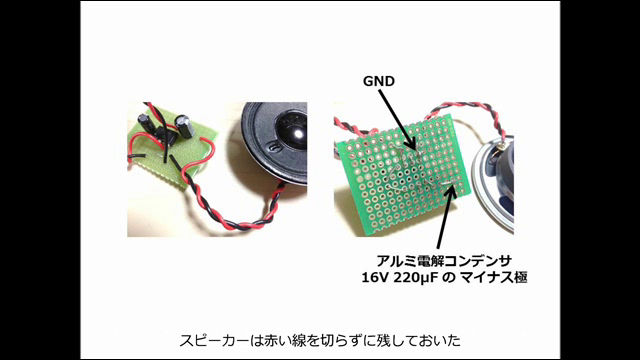
Speakers solder the black wire to the U shape on the minus leg of the 220 micro Farad condenser that did not cut the red line.
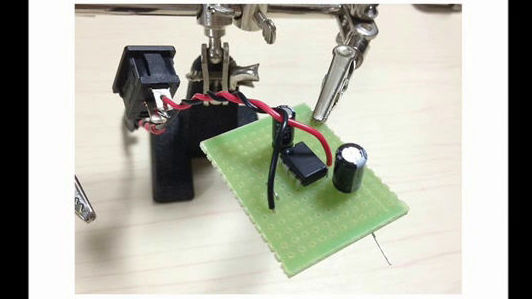
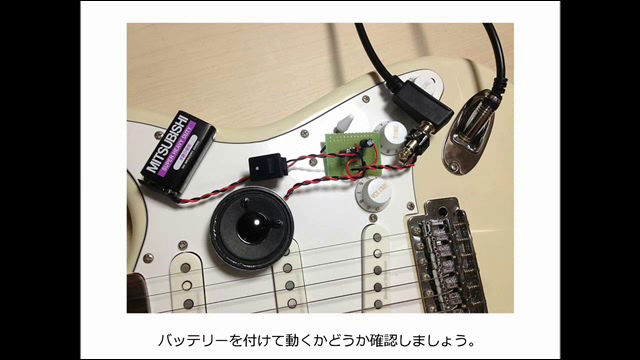
This completes the electronic work. Make sure to turn on the battery.
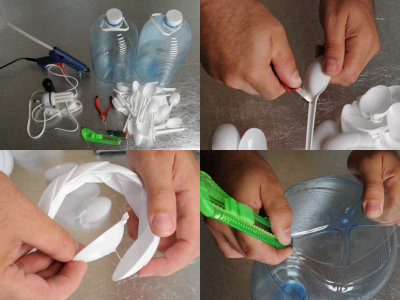
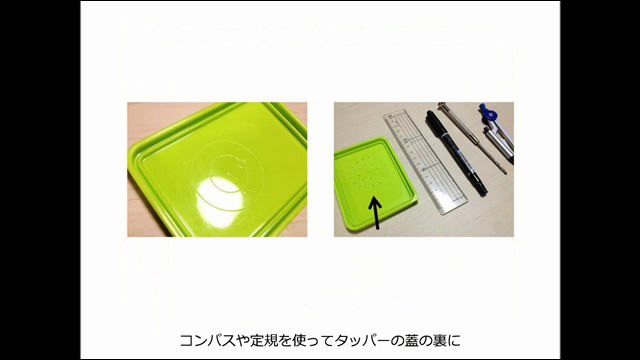
Now make a casing. What we are going to use this time is Tupper which seems to be used for food preservation.

Using a compass or a ruler write the points like the arrows on the photo on the back of the lid of Tapper.
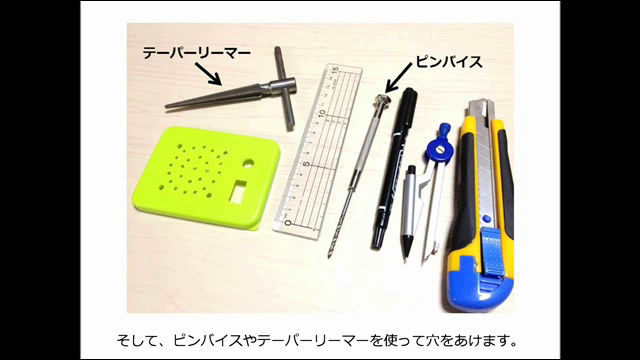
Drill holes with pin vise and taper reamer, and also make holes for switches and jacks with cutters and others.
I attach the circuit which I made earlier to the back of Tapper. I thought "How can I fix the speaker?", It seems that I decided to fix with a screw.
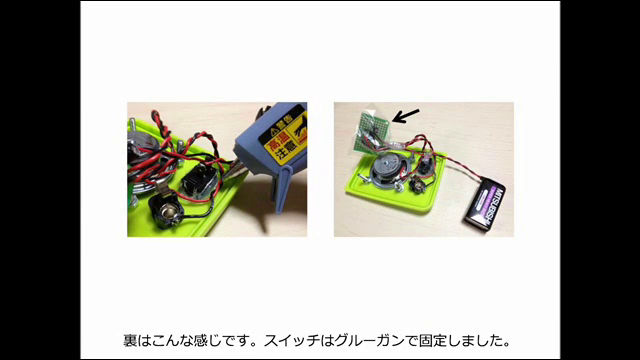
The back is like the following. Install the switch with glue gun, put the circuit in a suitable bag as shown in the picture on the right to prevent interference.
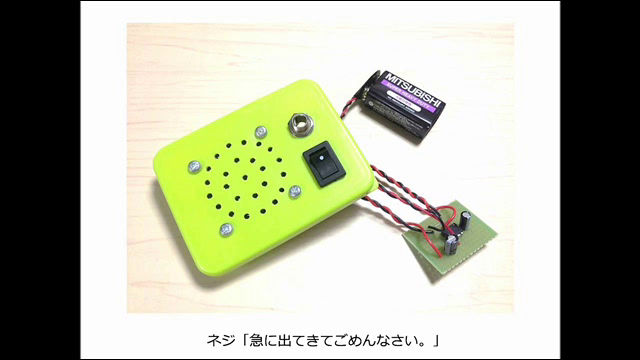
Closing the lid of Tupper is completed.

The trial starts from around 7: 43 seconds of the movie, and what kind of sound really is it? It is possible to verify that it is.

Moreover, although it is "Amplifier that was adjusting the volume on the guitar side because it is over budget", there are also methods to customize by attaching a volume etc. to the circuit as a bonus.
Related Posts: